Introduction
Welcome to the world of Chromebooks, where efficiency and simplicity unite to offer an exceptional computing experience. These lightweight laptops have gained immense popularity due to their affordability, speed, and seamless integration with Google’s suite of apps and services. One of the key features of Chromebooks is their ability to facilitate online communication through video calls, voice recordings, and virtual meetings. This is made possible by the presence of a built-in microphone.
In this article, we will explore the microphone on a Chromebook and discuss its functionalities, location, and options for external microphones. Additionally, we will provide troubleshooting tips for any microphone-related issues that you might encounter while using your Chromebook.
Whether you are a student attending online classes, a professional working from home, or simply someone who enjoys video chats with friends and family, understanding the ins and outs of the Chromebook microphone will greatly enhance your overall experience. So, let’s dive in and learn all about it!
Please note that the instructions and information provided in this article may vary slightly depending on the model and version of your Chromebook. It is always recommended to refer to the manufacturer’s documentation for specific details and guidance.
Understanding the Microphone on a Chromebook
The microphone on a Chromebook is a small but powerful component that allows you to record audio, participate in video calls, and interact with voice-activated applications. It is an essential feature for activities such as online learning, virtual meetings, and multimedia content creation.
The microphone on a Chromebook captures audio through a built-in microphone array, which consists of multiple microphones strategically placed around the device. This array helps minimize background noise and improve the overall quality of recorded audio.
Chromebooks utilize the Universal Audio Jack (UAJ) system, which combines the microphone and headphone ports into a single jack. This feature makes it easier to connect external audio devices such as headphones, headsets, and microphones.
It’s important to note that some Chromebook models may have additional microphone features, such as noise cancellation, beamforming, or stereo recording. These advanced features enhance the clarity and fidelity of recorded audio, providing a more immersive experience.
Understanding the capabilities of the microphone on your Chromebook will allow you to make the most of its functionalities. Whether you’re attending online classes, conducting virtual meetings, or recording audio for a project, a clear understanding of the microphone’s capabilities will ensure optimal performance and quality.
Now that we have a basic understanding of the microphone on a Chromebook, let’s explore how to locate it on your device in the next section.
Locating the Microphone on a Chromebook
Locating the microphone on your Chromebook is essential for utilizing its audio recording and communication capabilities effectively. While the exact placement may vary slightly depending on the model, there are a few common locations where you can find the microphone.
Typically, the microphone on a Chromebook is located near the top of the device, close to the camera. It is often situated either on the left or right side of the laptop’s bezel. You might notice a small pinhole or a tiny microphone icon engraved near the location of the microphone.
Another common placement for the microphone on a Chromebook is along the bottom edge of the display. It may be positioned centrally or towards one side, again indicated by a small pinhole or microphone icon.
Some Chromebook models may have additional microphones strategically placed on the keyboard or around the device to enhance sound input and noise cancellation. These microphones work in conjunction with the primary microphone to capture audio from different directions, resulting in improved audio quality during video calls or voice recordings.
If you’re having trouble locating the microphone on your specific Chromebook model, it is advisable to refer to the manufacturer’s documentation or the Chromebook’s online support resources. Here, you can find detailed illustrations and descriptions of the microphone’s exact location for your particular device.
Now that you know where to find the microphone on your Chromebook, you might be wondering if there are any external microphone options available. We’ll explore this topic in the next section.
External Microphone Options for Chromebooks
While the built-in microphone on a Chromebook is suitable for most everyday tasks, you may find yourself wanting to explore external microphone options for improved audio quality or specific recording needs. Fortunately, Chromebooks offer various options for connecting and using external microphones.
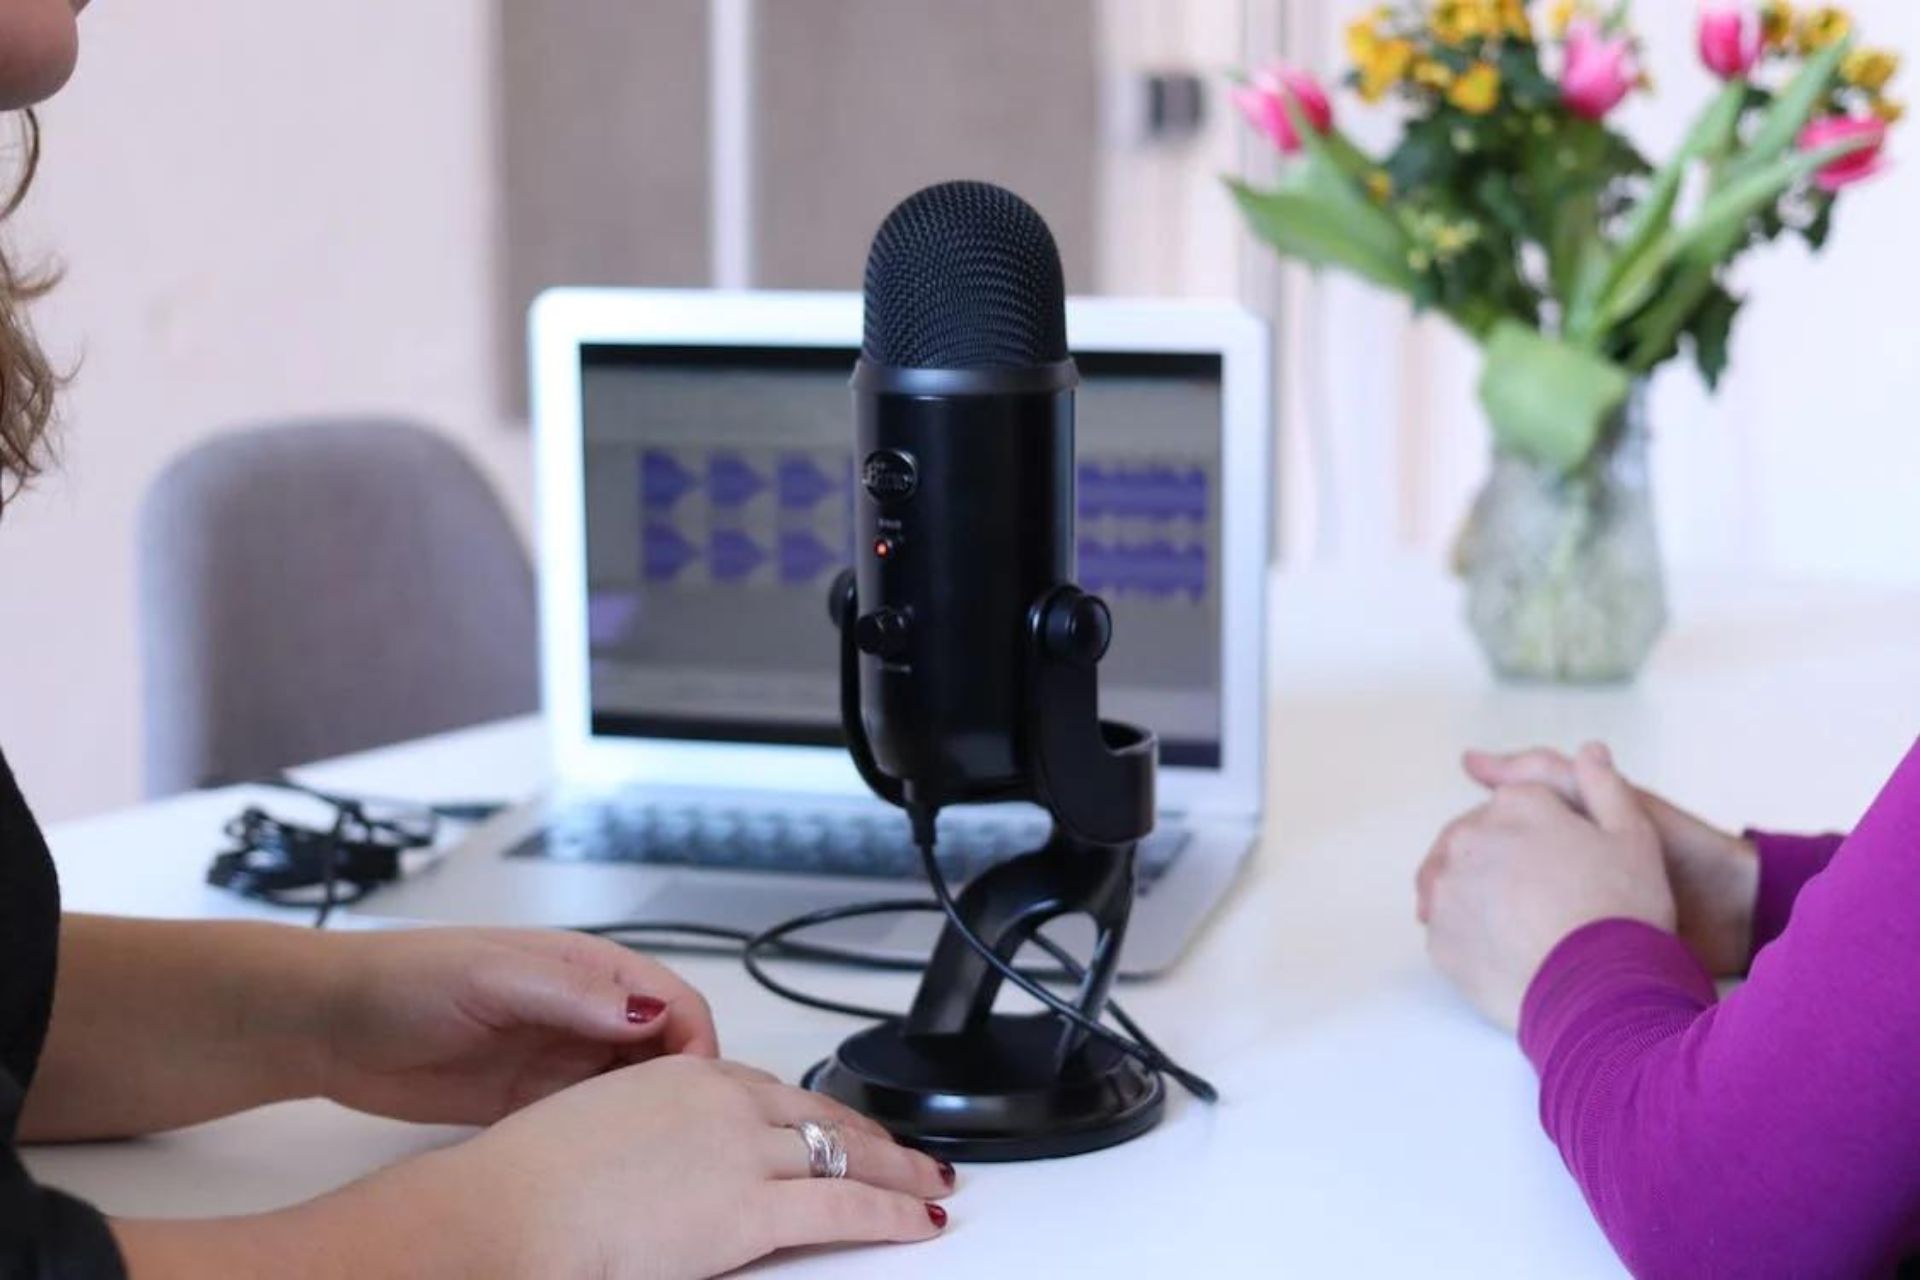
One of the simplest ways to connect an external microphone to your Chromebook is through the use of a USB microphone. USB microphones are plug-and-play devices that can be easily connected to your Chromebook’s USB port. They offer high-quality audio recording capabilities and often come with features like adjustable sensitivity and built-in pop filters to reduce unwanted noise.
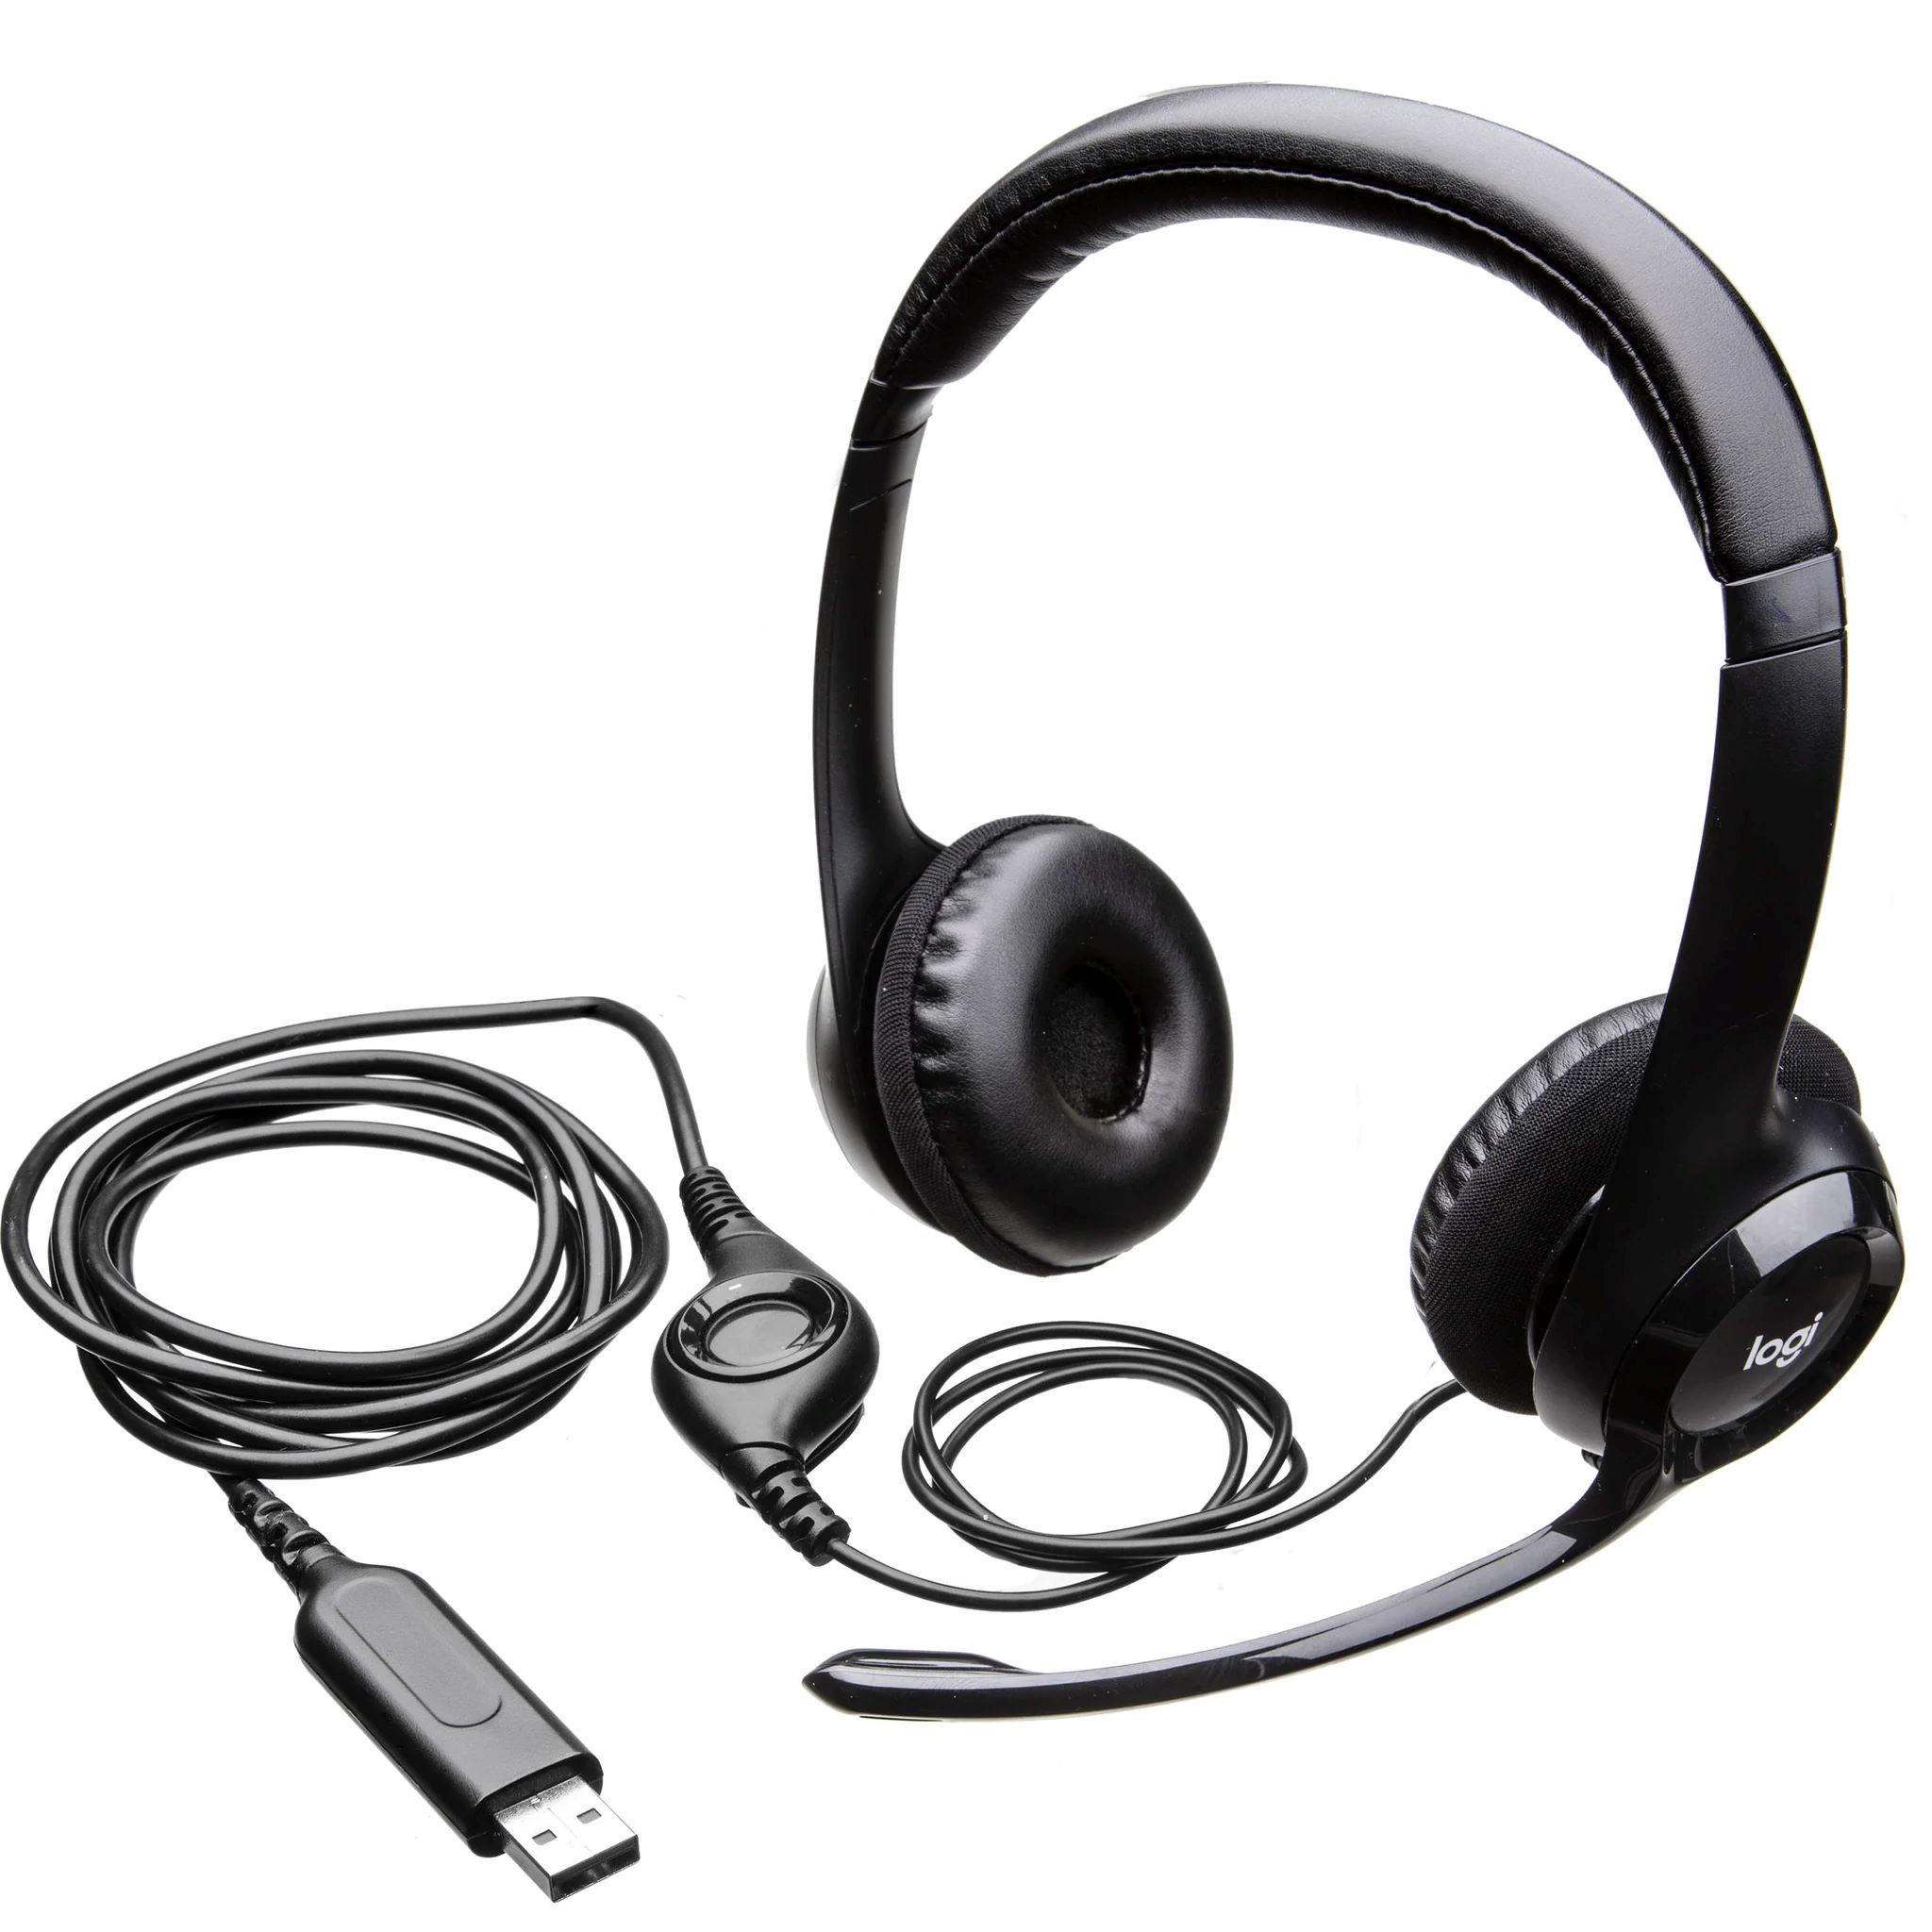
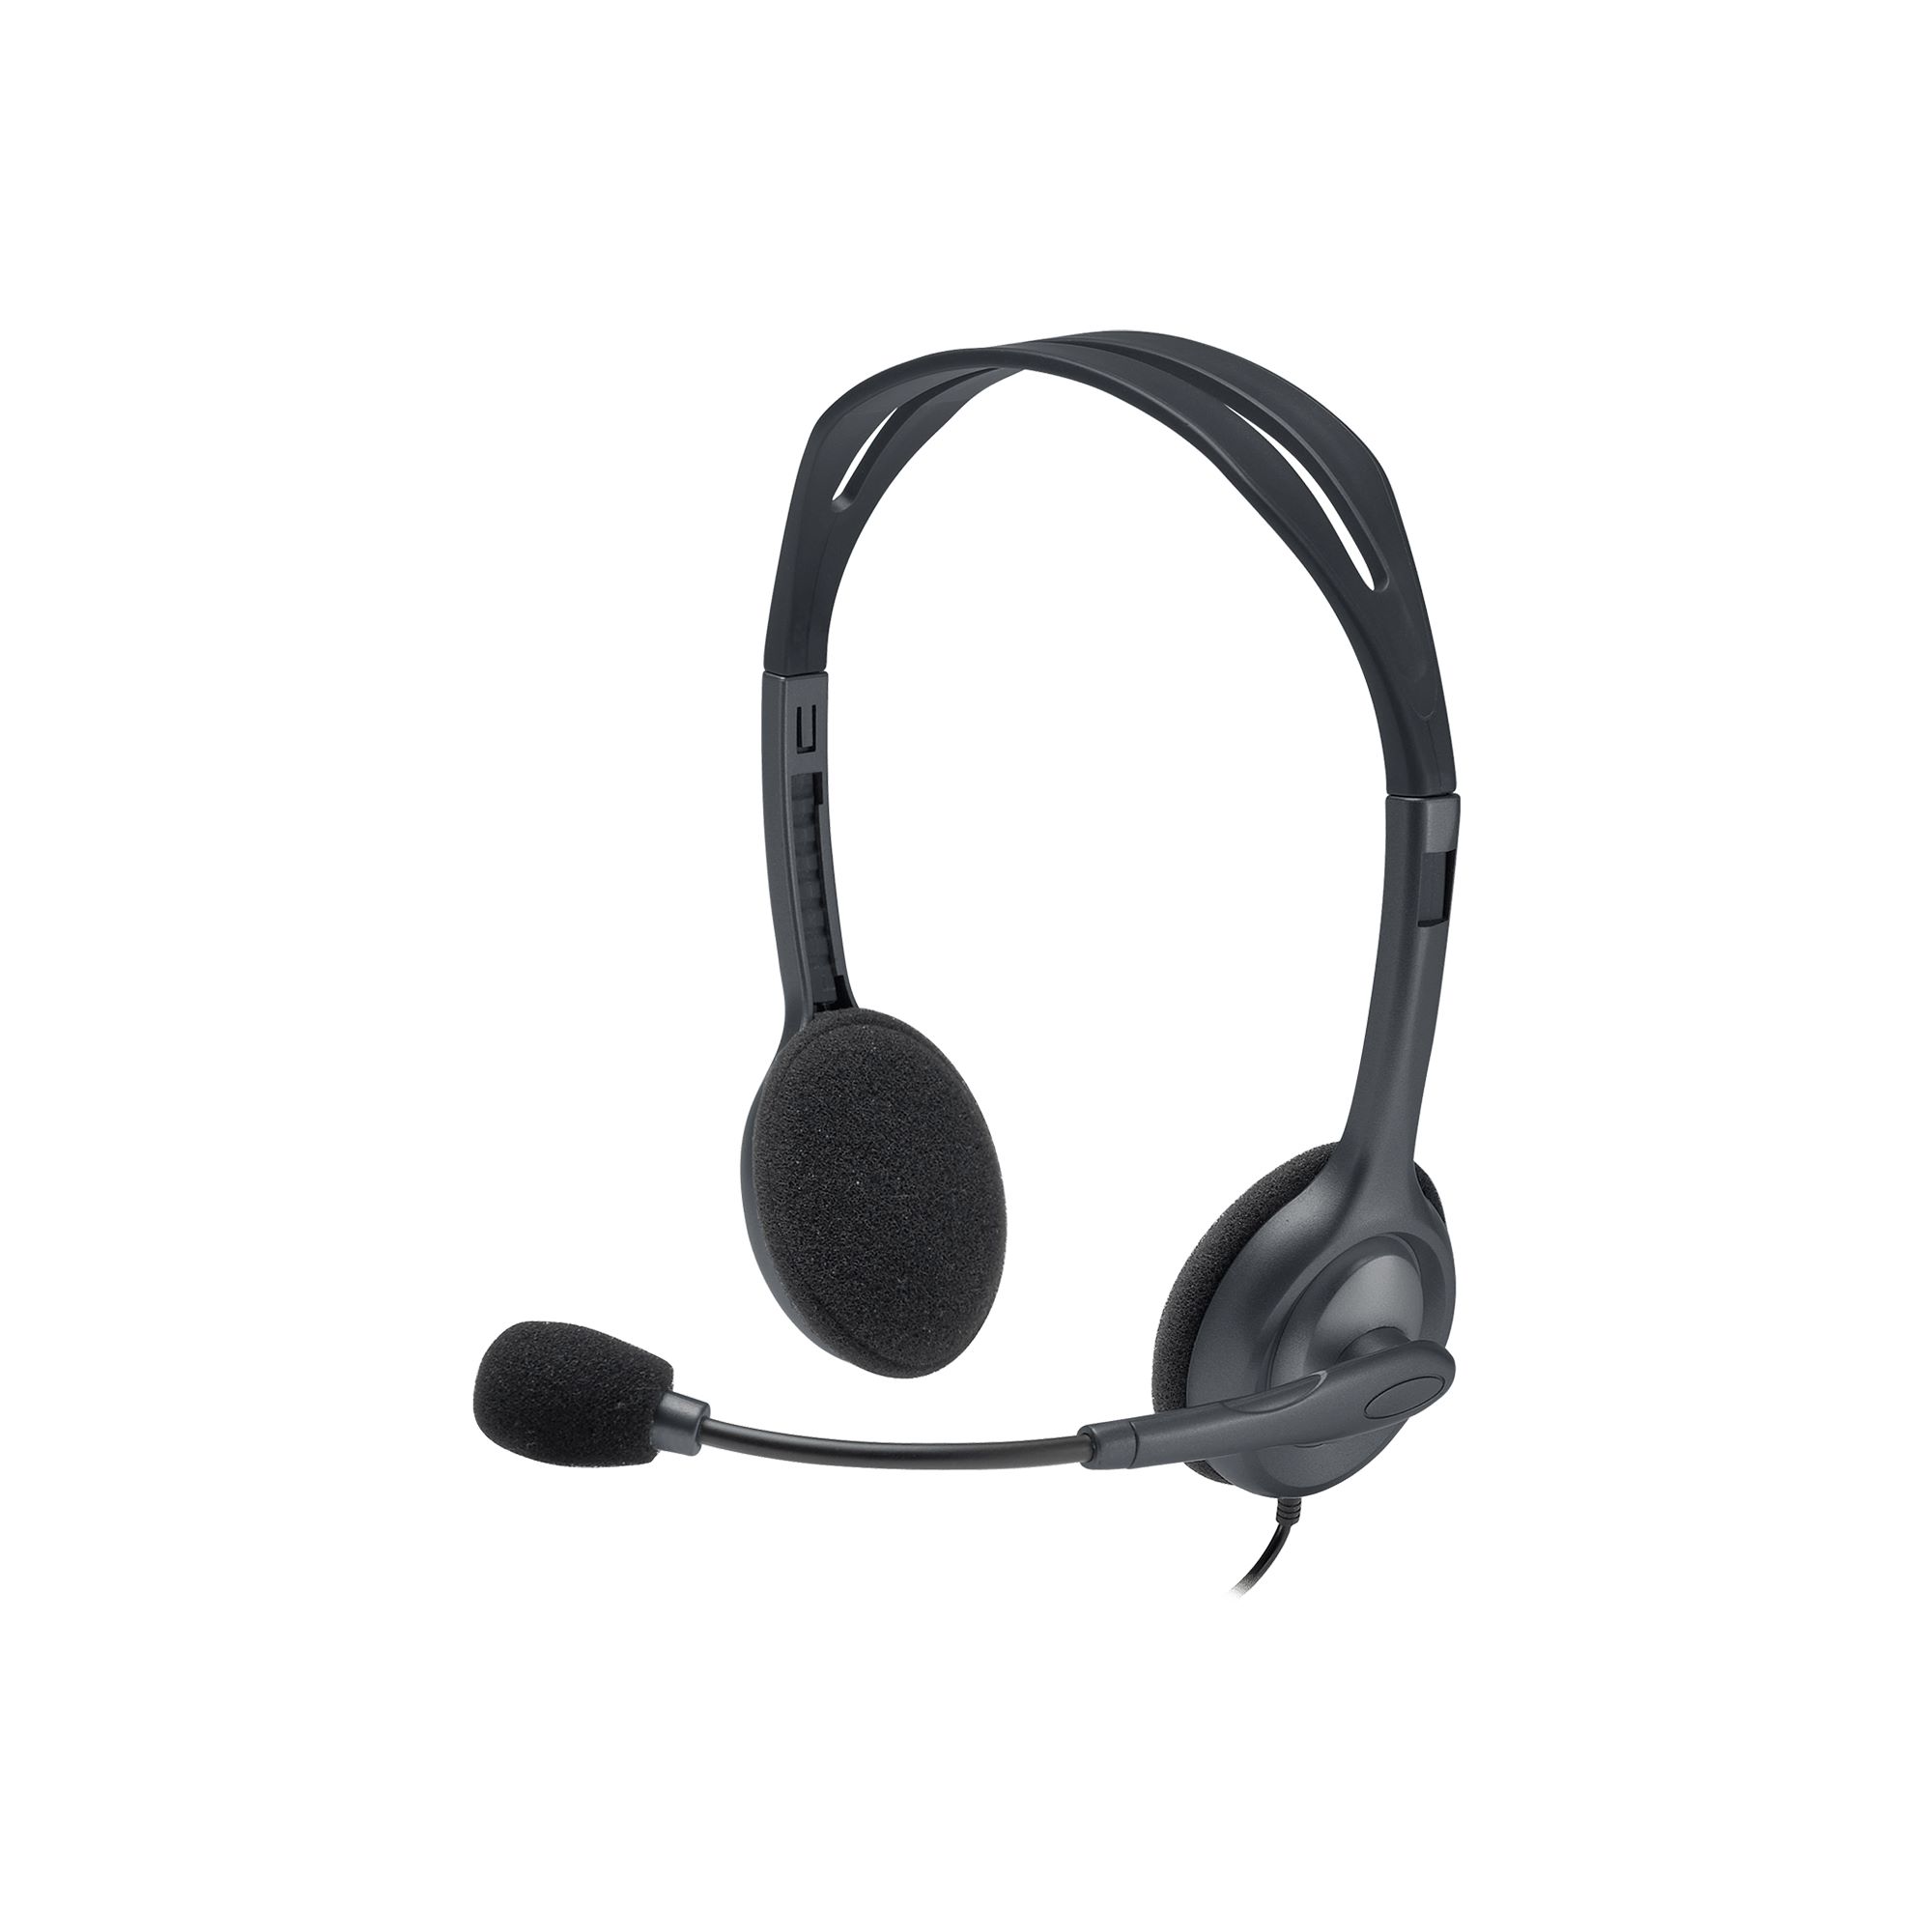
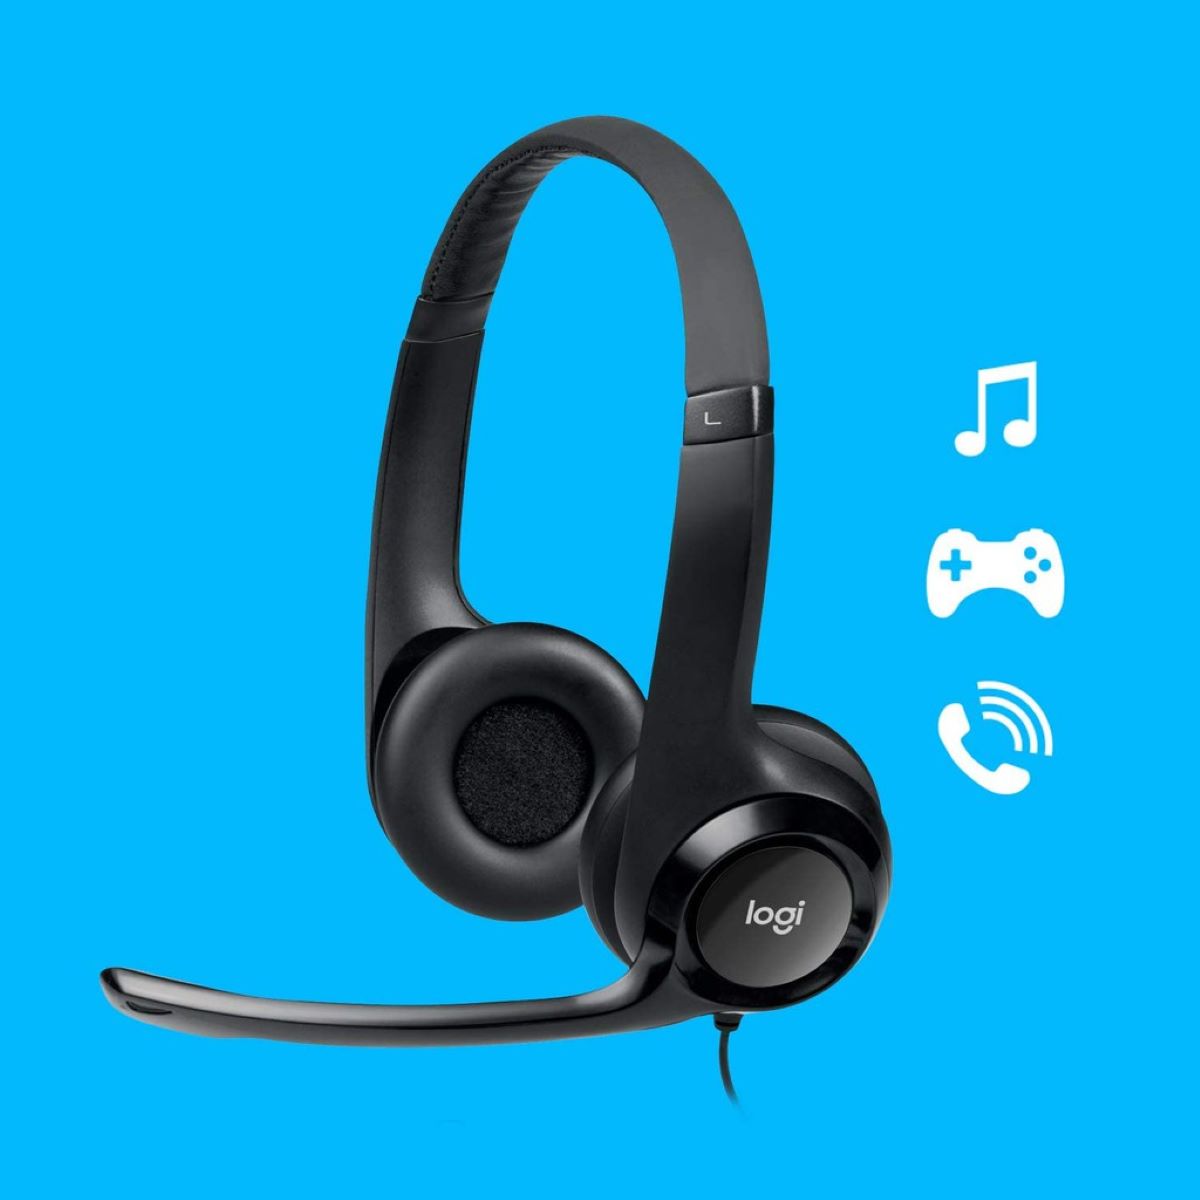
Another option is to use a 3.5mm headphone jack-compatible external microphone. These microphones can be connected to the headphone jack on your Chromebook using a compatible audio cable. This option is useful if you already have a dedicated microphone that uses a 3.5mm connection or if you prefer the convenience of a direct audio input.
For professional-grade audio recording or broadcasting purposes, you may consider using an XLR microphone. XLR microphones require an audio interface with XLR inputs to connect to your Chromebook. This option provides exceptional audio quality and additional control over settings like gain and phantom power.
When using external microphones with your Chromebook, it is important to ensure compatibility and proper configuration. Some microphones may require additional drivers or software settings, which you can usually download from the manufacturer’s website.
Whether you’re conducting interviews, recording podcasts, or producing music, exploring external microphone options can significantly elevate the audio quality and versatility of your Chromebook.
With the knowledge of external microphone options, let’s move on to troubleshooting any microphone issues that you might encounter with your Chromebook in the next section.
Troubleshooting Microphone Issues on a Chromebook
While Chromebooks are known for their reliability, you may occasionally encounter microphone issues that hinder proper audio recording or communication. If you’re facing any problems with the microphone on your Chromebook, here are some troubleshooting steps to help resolve the issue.
1. Check microphone permissions: Ensure that you have granted the necessary permissions for the microphone to function properly. You can do this by clicking on the lock icon in the address bar of your Chrome browser, selecting “Site settings,” and then checking if the microphone is allowed for the specific website or application you’re using.
2. Restart your Chromebook: A simple restart can often resolve temporary software glitches that may be affecting the microphone. Make sure to save any unsaved work before restarting your device.
3. Check for system updates: Keeping your Chromebook’s operating system up to date can address compatibility issues and bugs that may affect the microphone. Go to “Settings,” select “About Chrome OS,” and click on “Check for updates” to ensure your system is up to date.
4. Test the microphone with another application: Try using the microphone with a different application or website to rule out any specific software-related issues. If the microphone works fine with another app, the problem may lie within your original application.
5. Clean the microphone: Dust or debris on the microphone opening can sometimes affect audio quality. Use a clean, dry cloth or compressed air to gently clean the microphone area.
6. Disconnect and reconnect external microphones: If you’re using an external microphone, disconnect and reconnect it to ensure a secure connection. Check if the microphone is properly recognized by your Chromebook.
If none of the above steps resolve the microphone issue, it is advisable to contact the Chromebook manufacturer’s support or reach out to their online community for further assistance. They can provide specific troubleshooting steps or determine if there is a hardware-related problem that requires repair or replacement.
By following these troubleshooting steps, you can quickly identify and resolve any microphone issues on your Chromebook, enabling you to continue your audio recording or communication activities smoothly.
Tips for Optimal Microphone Performance on a Chromebook
To ensure that your Chromebook’s microphone delivers the best performance possible, you can follow these tips to optimize its audio recording capabilities:
1. Adjust microphone settings: Go to the system settings of your Chromebook and navigate to the “Sound” or “Audio” section. Here, you can adjust the microphone input volume and other audio settings to suit your preferences. Experimenting with these settings can help you find the optimal configuration for your specific needs.
2. Minimize background noise: Find a quiet location for your audio recordings or video calls. Background noise can negatively impact the quality of your audio, so it’s best to minimize any potential distractions. Consider using headphones with built-in noise cancellation features to further reduce unwanted sounds.
3. Position yourself appropriately: When using the built-in microphone, ensure that you are facing the device and speaking directly towards it. Maintaining a consistent distance from the microphone will help capture clear and consistent audio.
4. Use a pop filter: If you’re experiencing issues with plosive sounds (“p” and “b” sounds causing a burst of air), consider using a pop filter. A pop filter is a screen that is placed in front of the microphone to reduce these unwanted sounds. It helps produce smoother and more professional-sounding recordings.
5. Experiment with microphone placement: If you’re using an external microphone, try different placements to find the best sound. Moving the microphone closer or farther away from your mouth can make a significant difference in audio quality. Additionally, angling the microphone slightly or using a microphone stand can help achieve optimal positioning.
6. Monitor audio levels: Keep an eye on the input audio levels while recording or participating in a video call. Ideally, the levels should be in the green range, indicating sufficient volume without distortion. Adjust the microphone sensitivity or your speaking distance from the microphone if necessary.
7. Test with friends or colleagues: Before important meetings or recordings, test your microphone setup with a trusted friend or colleague. This allows you to assess the audio quality, make any necessary adjustments, and ensure that everything is working as expected.
By implementing these tips, you can optimize the microphone performance on your Chromebook and achieve professional-grade audio recordings or crystal-clear communication during video calls.
Wrapping Up
Understanding the microphone on your Chromebook and knowing how to optimize its performance is essential for seamless audio recording and communication. Whether you’re using the built-in microphone or exploring external microphone options, following the tips and troubleshooting steps mentioned in this article will help you make the most of your Chromebook’s audio capabilities.
Remember to familiarize yourself with the location of the microphone on your particular Chromebook model so that you can easily access it when needed. If you encounter any issues with the microphone, don’t hesitate to troubleshoot using the recommended steps or seek assistance from the manufacturer’s support channels.
By considering external microphone options, such as USB microphones or 3.5mm jack-compatible microphones, you can further enhance the audio quality and meet specific recording requirements. Whether you’re a student, professional, or content creator, these external options offer flexibility and versatility.
Optimizing microphone performance involves adjusting settings, minimizing background noise, proper positioning, and monitoring audio levels. By applying these tips, you can ensure clear and high-quality audio recordings, making your online meetings, video calls, and multimedia projects more engaging and professional.
As you continue to explore the capabilities of your Chromebook’s microphone, remember to stay updated with software and system updates to ensure compatibility and resolve any potential bugs that may affect audio performance.
With all this knowledge and these tips at your disposal, you’re ready to create, communicate, and collaborate with confidence, knowing that your Chromebook’s microphone will capture and deliver exceptional audio quality.