Introduction
With the rise of cloud computing and the increasing popularity of web-based applications, coding has become more accessible than ever. Gone are the days when you needed a powerful desktop computer or a specialized development setup to write code. Now, with the growing capabilities of Chromebooks, you can easily code on a lightweight and affordable device.
Chromebooks are known for their simplicity, speed, and security. They run on Chrome OS, a lightweight operating system designed by Google. While Chromebooks are primarily geared towards online activities, such as web browsing and document editing, they can also be used for coding.
In this article, we will guide you on how to set up your Chromebook for coding and explore different coding environments and tools that you can use. Whether you’re a beginner learning to code or an experienced developer looking for a portable coding solution, you’ll find valuable information and tips to make the most of your Chromebook.
Before we dive into the technical aspects, it’s important to note that while Chromebooks have come a long way in terms of capabilities, they still have some limitations. The processing power and storage capacity of Chromebooks may not match that of high-end laptops or desktop computers. However, with the right setup and optimizations, you can still code efficiently and effectively.
So, if you’re ready to unlock the coding potential of your Chromebook, let’s get started!
Setting up your Chromebook for coding
Before you can start coding on your Chromebook, you need to ensure that it is properly set up for development. Here are the steps to get you started:
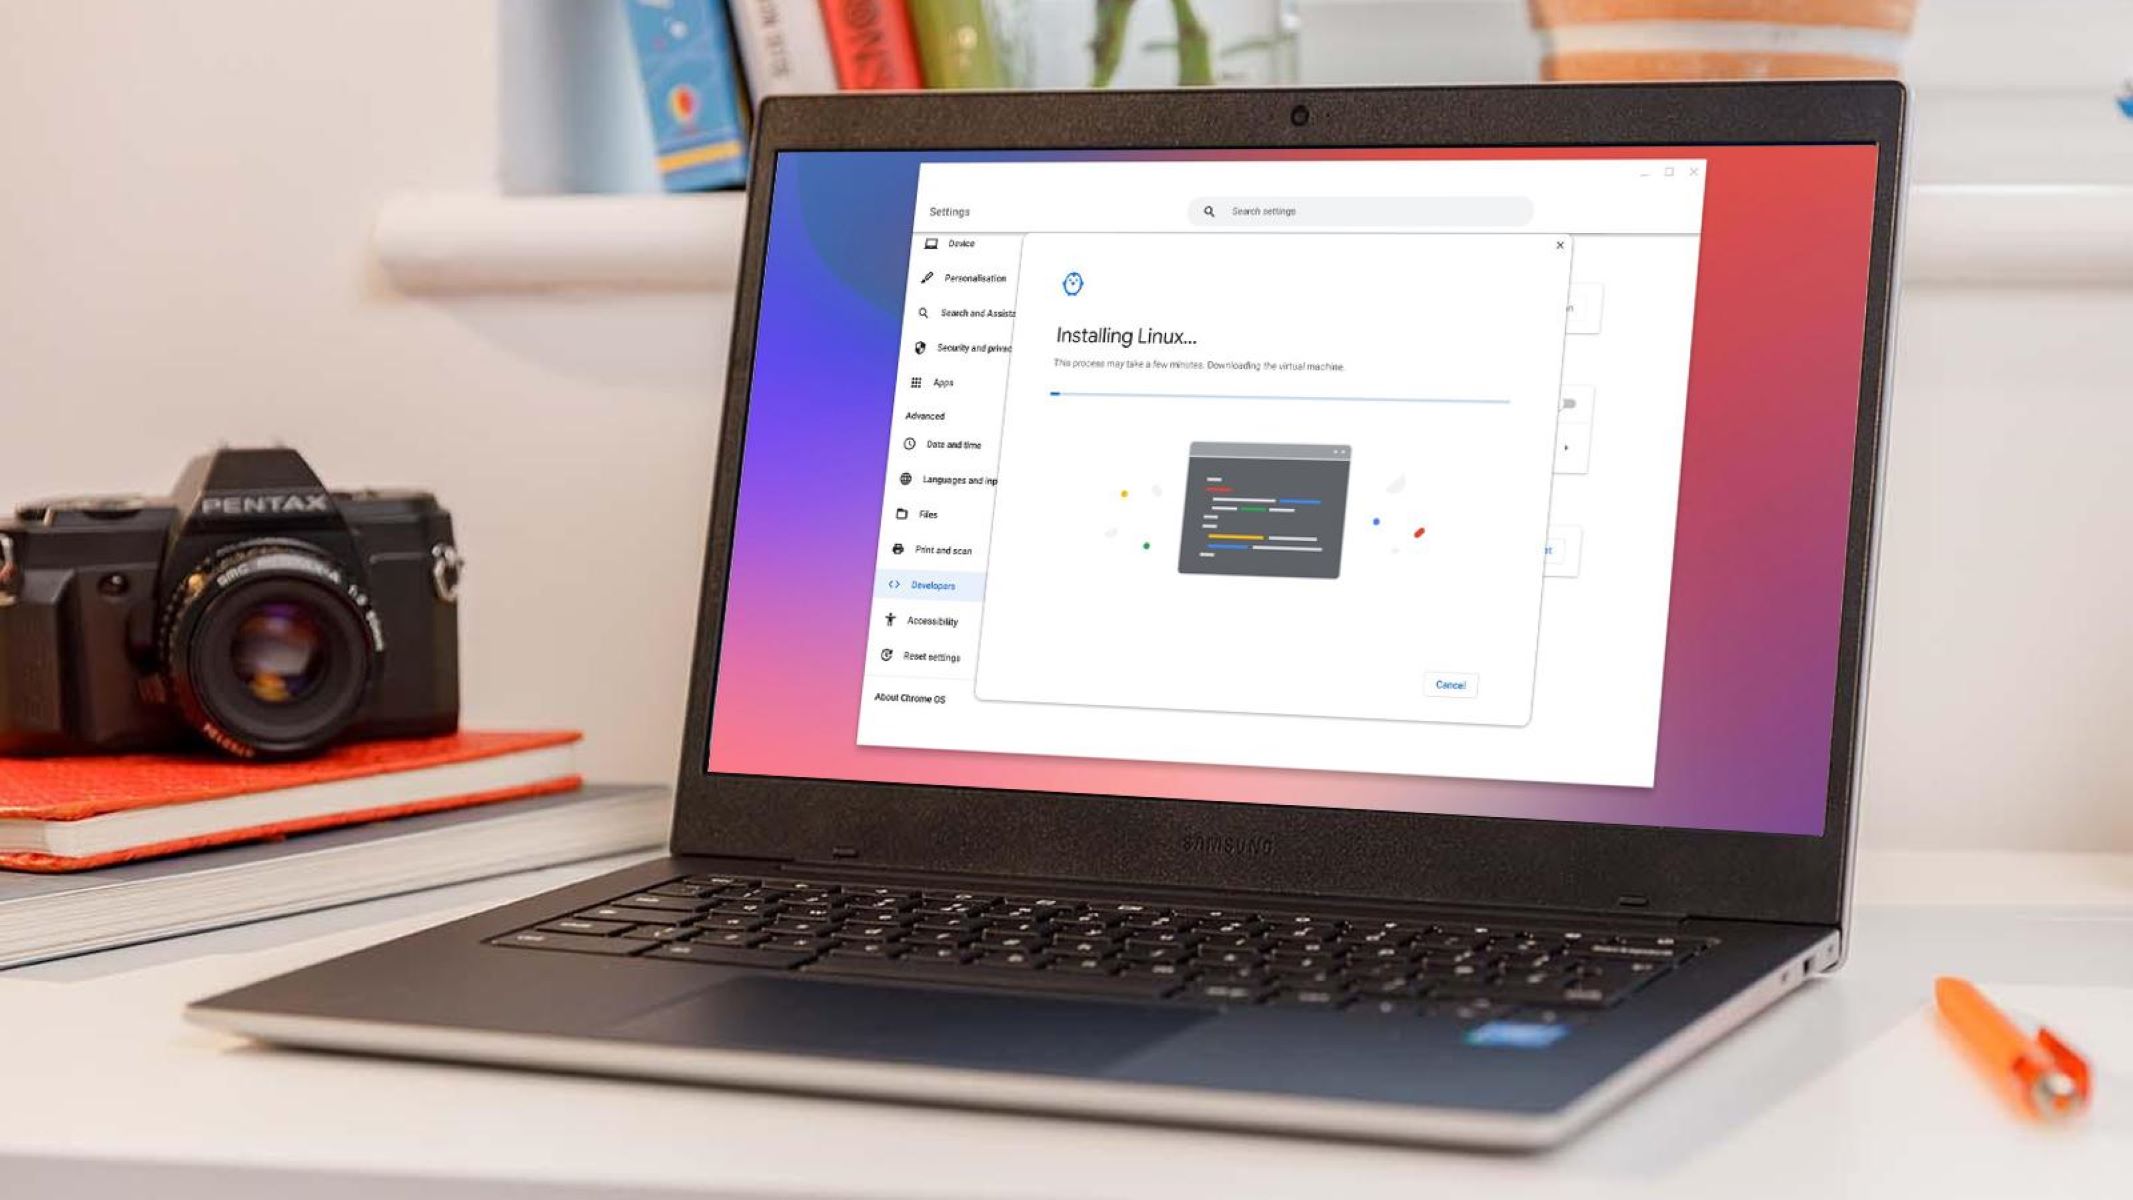
1. Enable Linux (Beta): Chrome OS now supports a Linux (Beta) feature that allows you to run Linux applications on your Chromebook. To enable this feature, go to Settings, click on “Linux (Beta)” in the left-hand menu, and follow the on-screen instructions to install and set it up.
2. Update your Chrome OS: Keeping your Chromebook up to date is important to ensure that you have access to the latest features and security patches. Go to Settings, click on “About Chrome OS”, and then click on “Check for updates” to make sure your Chromebook is running the latest version of Chrome OS.
3. Install necessary software: Depending on your coding requirements, you may need to install additional software packages. For example, if you’re coding in a specific programming language, you might need to install a compiler or interpreter. You can search for and install such software from the Linux (Beta) terminal using package managers like apt or snap.
4. Configure your development environment: To make coding on your Chromebook more efficient, you can customize your development environment. This includes setting up your preferred code editor, terminal emulator, and other tools. There are various options available, such as Visual Studio Code, Atom, Sublime Text, and many more. Choose the one that suits your needs and install it from the Linux (Beta) terminal.
5. Connect to external devices: If you require additional hardware for coding, such as external monitors, keyboards, or mice, you can easily connect them to your Chromebook. Most Chromebooks have multiple USB ports and can support external displays through HDMI or USB-C connectors.
Setting up your Chromebook for coding may require a bit of initial configuration, but once you have everything in place, you’ll have a powerful and versatile coding machine at your fingertips. In the next sections, we will explore different coding environments and tools that you can use on your Chromebook.
Choosing a coding environment
When it comes to coding on your Chromebook, you have several options for the coding environment you can choose. The coding environment you select will depend on your personal preferences, the programming languages you work with, and the specific features and tools you require. Here are some popular coding environments to consider:
1. Integrated Development Environments (IDEs): IDEs are comprehensive coding environments that provide a range of features like code editors, debuggers, and build tools. They offer a complete package for developing software in specific programming languages. Some popular IDEs that can be used on Chromebooks include Visual Studio Code, Eclipse, IntelliJ IDEA, and PyCharm. These IDEs can be installed from the Linux (Beta) terminal or used through online offerings.
2. Text Editors: If you prefer a lightweight and minimalist coding environment, text editors might be the right choice for you. These editors have fewer features compared to IDEs but are highly customizable and can be tailored to fit your coding workflow. Some popular text editors for Chromebooks include Sublime Text, Atom, and Codeanywhere. These editors can be installed from the Linux (Beta) terminal or used through online offerings.
3. Online Code Editors: Online code editors are web-based tools that eliminate the need for local installations and can be accessed using just a web browser. They are convenient for coding on Chromebooks, as they are platform-independent and do not require high system resources. Some popular online code editors include CodePen, JSFiddle, and Replit. These editors allow you to write, debug, and run your code directly in the browser.
4. Cloud-based IDEs: Cloud-based IDEs offer a complete development environment in the cloud, allowing you to code, build, and deploy applications without worrying about local installations or dependencies. They provide an online workspace with integrated code editors, collaboration tools, and deployment options. Cloud-based IDEs such as Cloud9, Koding, and Gitpod are accessible on Chromebooks and offer seamless coding experiences.
Choosing the right coding environment is crucial for your productivity and coding experience. Consider your programming language, workflow preferences, and the features you require when selecting a coding environment. Experiment with different options to find the one that suits your needs best.
Installing a code editor
Once you have set up your Chromebook for coding, the next step is to install a code editor. A code editor is an essential tool for writing, editing, and managing your code. It provides features like syntax highlighting, autocompletion, code navigation, and integration with version control systems. Here are the steps to install a code editor on your Chromebook:
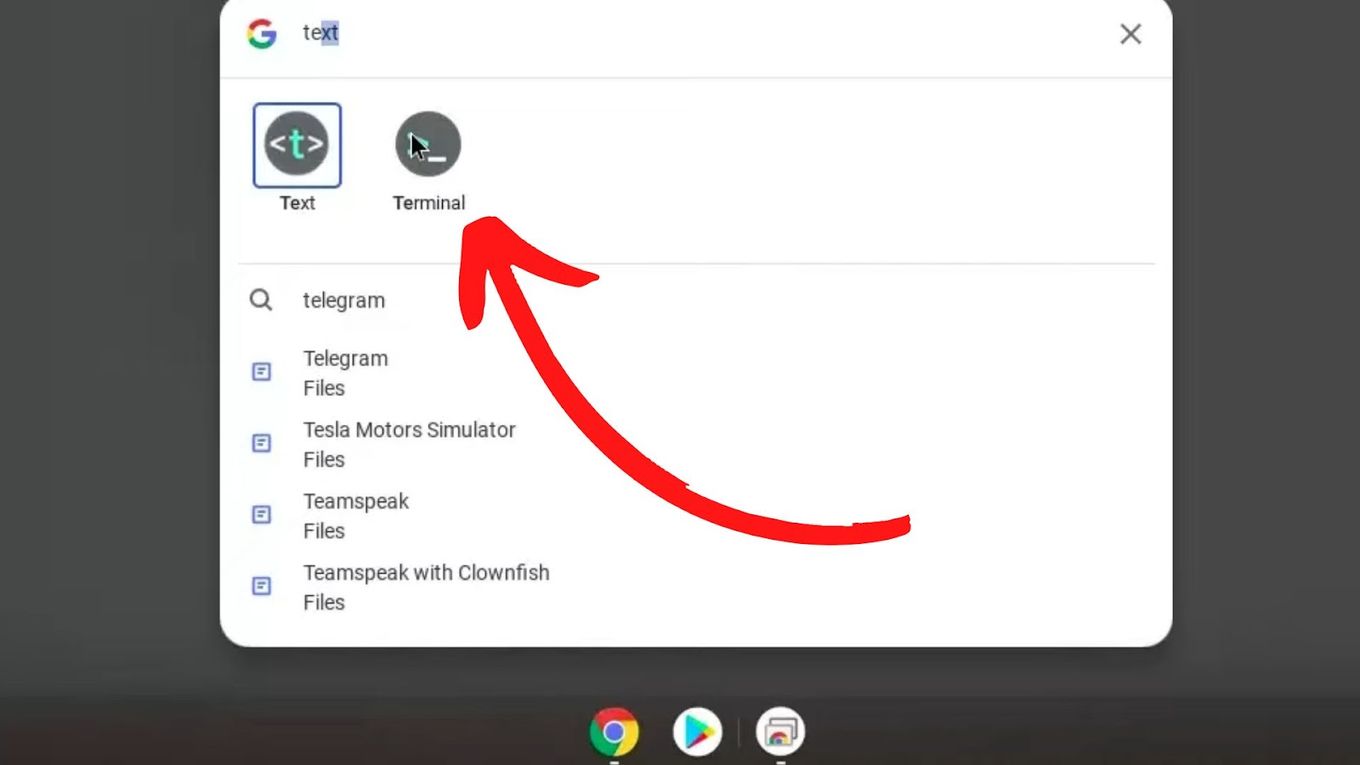
1. Open the Linux (Beta) terminal: To install a code editor, you’ll need to access the Linux (Beta) terminal on your Chromebook. Open the app drawer and search for “Terminal” or use the shortcut “Ctrl + Alt + T”.
2. Update package index: Before installing any software, it’s good practice to update the package index to ensure you’re installing the latest available versions. In the terminal, enter the following command:
sudo apt update
3. Install the code editor: Use a package manager to install the code editor of your choice. For example, to install Visual Studio Code, you can use the following command:
sudo apt install code
Alternatively, if the code editor you want to install has a specific package or installation instructions, you can follow those instead. Make sure to verify the official documentation or website of the code editor for the correct installation steps.
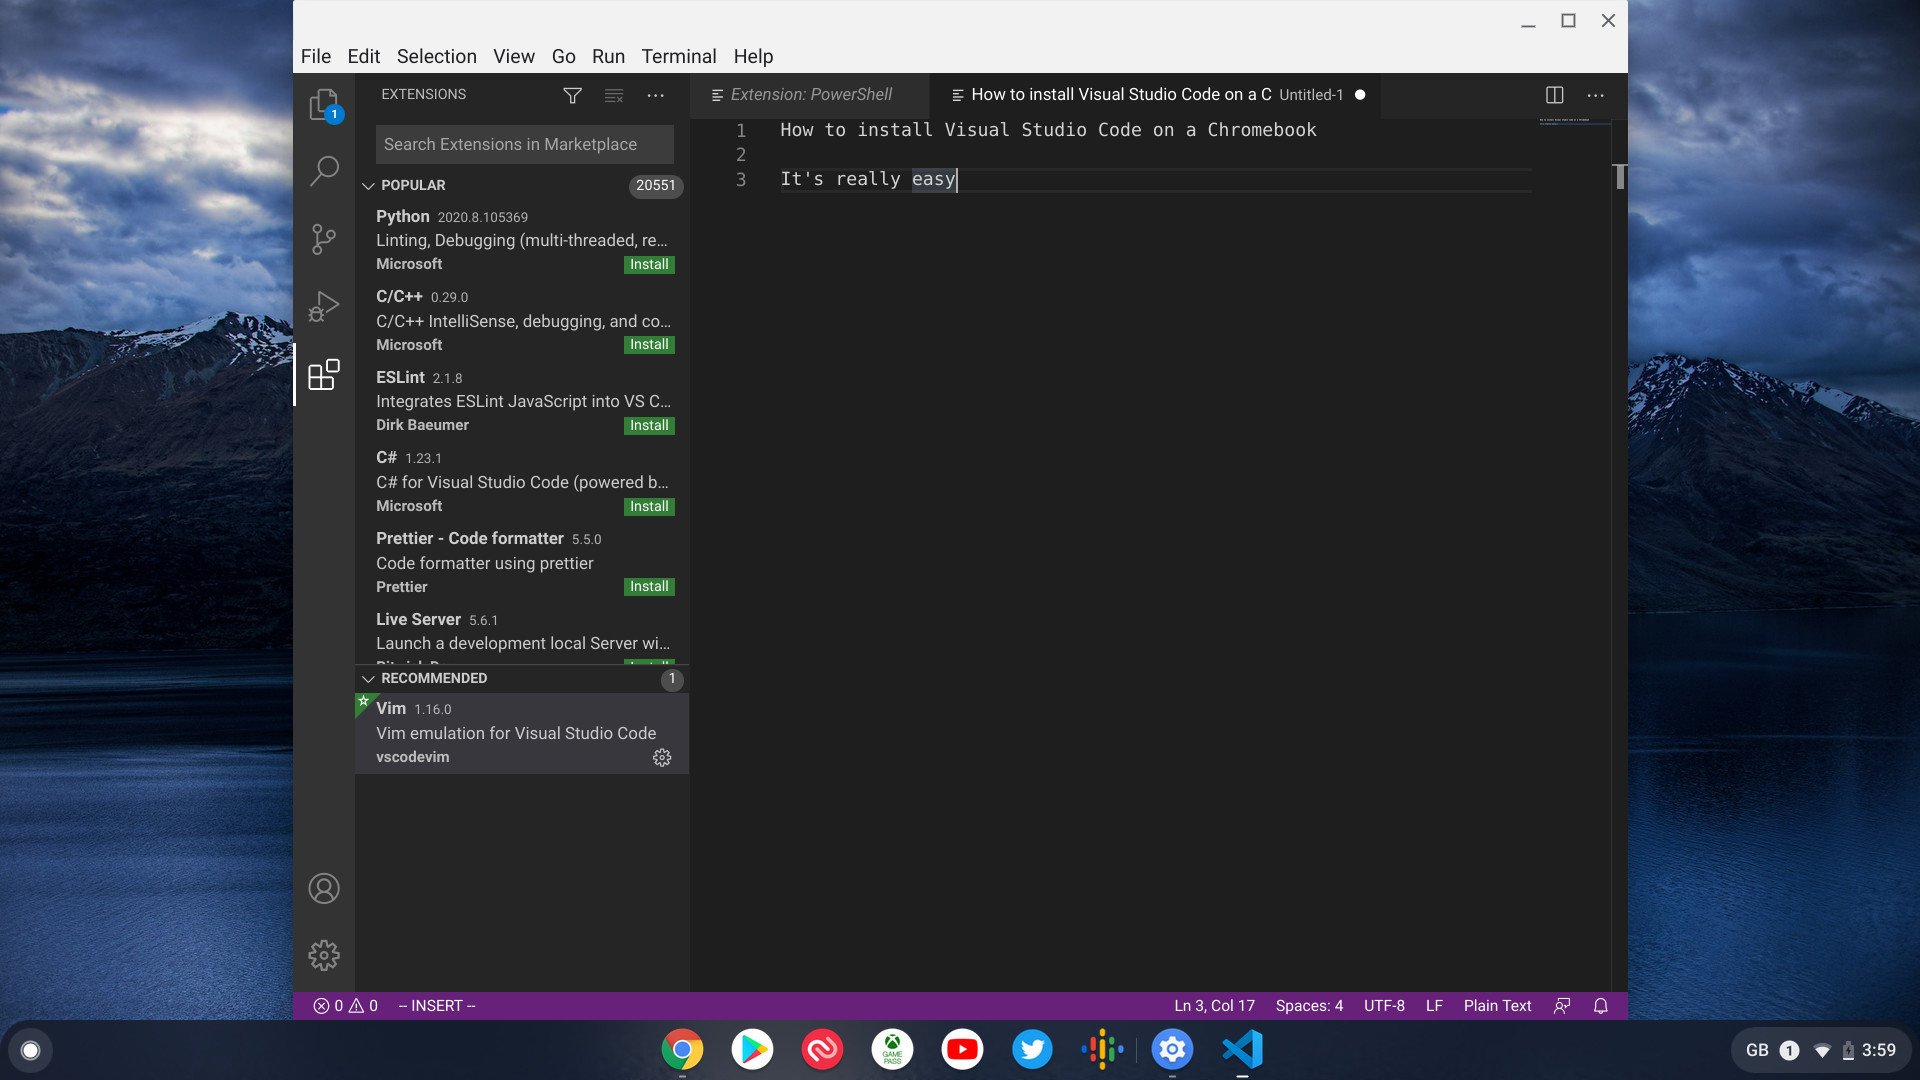
4. Launch the code editor: Once the installation is complete, you can launch the code editor either by searching for it in the app drawer or using the terminal. For example, to launch Visual Studio Code, you can enter the following command:
code
Your code editor should now open, and you can start coding on your Chromebook.
It is worth mentioning that there are code editors available in the Chrome Web Store as well. These web-based editors can be installed as Chrome extensions and run directly in your browser without the need for Linux (Beta) or local installations. They are a convenient option if you prefer an online coding experience.
Installing a code editor on your Chromebook is a crucial step in your coding journey. Once you have a code editor up and running, you can customize it to suit your coding preferences by installing extensions, configuring settings, and integrating it with other tools.
Running a local development server
When developing web applications or websites, it’s often necessary to run a local development server on your Chromebook. A local development server allows you to test and debug your code before deploying it to a live server. Here are the steps to run a local development server on your Chromebook:
1. Choose a local development server: There are several options available for running a local development server on your Chromebook. One popular choice is using Node.js and its built-in HTTP server module. Alternatively, you can use other server options like Apache or Nginx, depending on your preferences and the specific requirements of your project.
2. Install the necessary software: If you choose to use Node.js as your local development server, you’ll need to install it on your Chromebook. To do this, open the Linux (Beta) terminal and enter the following command:
sudo apt install nodejs
3. Create a project directory: Navigate to the location where you want to create your project directory, and use the following command to create it:
mkdir myproject
4. Start the development server: Once you have your project directory set up, navigate into it by using the following command:
cd myproject
Next, start the development server by running one of the following commands, depending on your choice of local server:
– For Node.js HTTP server:
npx http-server
– For Apache:
sudo service apache2 start
– For Nginx:
sudo service nginx start
5. Access your development server: Once your local development server is running, you can access it by opening your web browser and entering the local server address or localhost with the specified port number. For example, if you’re using the Node.js HTTP server and it’s running on port 8080, you would enter “http://localhost:8080” in your browser address bar.
Running a local development server on your Chromebook allows you to test your code in a controlled environment and make necessary changes before deploying it to a live server. It is also important to note that configuring your local development server may require additional steps and settings depending on your specific needs and the technology stack you are using.
Accessing cloud IDEs
In addition to running a local development environment, another option for coding on your Chromebook is using cloud-based Integrated Development Environments (IDEs). Cloud IDEs provide a web-based coding environment that allows you to write, edit, and compile your code directly in the browser without the need for local installations. Here’s how you can access cloud IDEs on your Chromebook:
1. Choose a cloud IDE: There are various cloud IDEs available that offer a range of features and support for different programming languages and frameworks. Some popular options include Cloud9, Koding, and Gitpod. Research and choose a cloud IDE that best suits your needs and coding preferences.
2. Sign up for an account: To access a cloud IDE, you will typically need to sign up for an account on their respective websites. This allows you to save your projects, collaborate with others, and access additional features provided by the cloud IDE.
3. Launch the cloud IDE: Once you have signed up for an account, visit the website of the cloud IDE you have chosen and log in with your credentials. This will take you to the cloud IDE’s interface, where you can create a new project or import an existing one.
4. Code in the cloud: With the cloud IDE interface open, you can start coding directly in your browser. The interface typically includes features like a code editor, terminal, file manager, and version control integration. You can write, edit, and debug your code all within the cloud IDE environment.
5. Collaborate and share: One of the advantages of cloud IDEs is the ability to collaborate with others on your projects. You can invite team members to work on the same project, share code snippets, and track changes through version control systems like Git. This allows for seamless collaboration and simplifies the process of working on group projects.
Cloud IDEs provide a convenient way to code on your Chromebook, offering portability, accessibility, and collaboration features. They are especially useful if you need to work on multiple devices or if you want to code on the go without the need to set up a development environment on each device. Additionally, cloud IDEs often provide integration with other cloud services, allowing you to easily deploy your applications to hosting platforms directly from the IDE.
Using online code editors
Online code editors are web-based tools that allow you to write and edit code directly in your browser without the need for any local installations. These editors are accessible on your Chromebook and offer a convenient way to code on the go or when you don’t have access to your development environment. Here’s how you can use online code editors:
1. Choose an online code editor: There are several popular online code editors available that offer a range of features for different programming languages. Some widely used options include CodePen, JSFiddle, and Replit. Research and choose the online code editor that best suits your coding needs.
2. Open the online code editor: Simply visit the website of the chosen online code editor on your Chromebook’s web browser. You will be presented with a coding interface where you can start writing code immediately. Some online code editors may require you to sign up for an account to access additional features or to save your projects.
3. Write and edit code: Once you’re in the online code editor interface, you can start writing and editing your code. These editors typically provide features like syntax highlighting, code autocompletion, and error checking to help you write code more efficiently. You can also easily switch between different programming languages or frameworks supported by the online code editor.
4. Run and test your code: Most online code editors provide a “Run” or “Preview” button that allows you to see the output of your code directly in the browser. This makes it convenient to test and debug your code without the need for additional tools or environments. Some online code editors even provide real-time collaboration features, allowing you to code and share projects with others simultaneously.
5. Save and share your code: Depending on the online code editor you choose, you may have the option to save your code projects and share them with others. This makes it easy to collaborate on projects or showcase your code for feedback or portfolio purposes. You can typically save your code projects either directly on the online code editor platform or export them to your local storage.
Online code editors offer a lightweight and portable coding solution, especially on Chromebooks. They eliminate the need for local installations and provide instant access to coding tools and features through a web browser. While they may have limitations in terms of offline usage or access to system resources, online code editors are a great option for quick coding tasks or when you need to code on the go.
Working with version control systems
Version control is an essential aspect of software development that allows you to track changes, collaborate with others, and revert to previous versions of your code. Whether you’re working on a personal project or collaborating with a team, understanding and using version control systems is crucial. Here’s how you can work with version control systems on your Chromebook:
1. Choose a version control system: There are several version control systems available, but Git is the most widely used and popular choice in the developer community. Git is a distributed version control system that can be used for both individual projects and team collaboration. If you haven’t already, install Git on your Chromebook using the Linux (Beta) terminal:
sudo apt install git
2. Set up a Git repository: Once Git is installed, navigate to your project’s directory using the Linux (Beta) terminal and initialize a Git repository by running the following command:
git init
This creates a new Git repository in your project directory.
3. Stage and commit changes: Start tracking changes in your Git repository by adding files to the staging area with the following command:
git add .
This stages all the changed files. To commit the changes, use the following command:
git commit -m "Commit message"
Make sure to provide a descriptive and meaningful commit message that explains the changes made in the commit.
4. Collaborate with others: If you’re working on a project with others, you can use Git to collaborate and manage changes efficiently. You can push your local commits to a remote repository, such as GitHub or GitLab, and pull changes made by others into your local repository using Git commands like git push and git pull. This enables seamless collaboration and keeps all team members up to date with the latest code changes.
5. Branching and merging: Git allows you to create branches, which are independent lines of development within the same repository. Branches are useful when working on features or bug fixes, allowing you to isolate changes without affecting the main codebase. You can create a new branch with the command git branch branch-name and switch to it with git checkout branch-name. Once you’re done with the changes in the branch, you can merge it back to the main codebase using git merge branch-name.
Working with version control systems like Git helps you keep track of changes, collaborate effectively, and ensure the integrity and stability of your codebase. It is a valuable skill for developers, and using Git on your Chromebook allows you to easily manage and control your project’s version history.
Troubleshooting common issues
While coding on your Chromebook, you may encounter some common issues that can hinder your productivity. Understanding how to troubleshoot these issues can save you time and frustration. Here are some common issues you may face when coding on a Chromebook and how to troubleshoot them:
1. Slow performance: If you notice that your Chromebook is running slowly while coding, there are a few things you can try. Close any unnecessary tabs or applications that are consuming resources. Clear your browsing history, cache, and cookies to free up storage space. Additionally, keep your Chromebook up to date by regularly installing software updates.
2. Insufficient storage: Chromebooks often have limited storage capacity. If you run out of storage space, consider deleting unnecessary files or offloading them to an external storage device or cloud storage. You can also use the Linux (Beta) terminal to find and delete large files or folders that are taking up space.
3. Connectivity issues: If you experience problems with internet connectivity, check your Wi-Fi connection and ensure that you are connected to a stable network. Restarting your router or connecting to a different network can help resolve connectivity issues. If you are using a cloud-based IDE or online code editor, try reloading the page or clearing your browser cache.
4. Incompatibility with certain applications or tools: Chrome OS has its limitations in terms of compatibility with certain applications or tools that may be essential for your coding needs. In such cases, consider alternative tools or workarounds that are compatible with Chromebooks. For example, if a specific code editor or development environment is not available, try using a cloud IDE or online code editor instead.
5. Error messages and debugging: When encountering error messages, take the time to carefully read and understand them. Use online resources like documentation, forums, or Stack Overflow to search for solutions and explanations. Debugging tools and techniques, such as console logging or using breakpoints, can also help diagnose and resolve coding errors.
6. Inconsistencies with font rendering or display: If you encounter issues with font rendering or display inconsistencies in your code editor, try changing the font settings or using a different code editor. Some code editors allow you to customize the font type, size, and color scheme to improve readability and reduce eyestrain.
7. Battery life and power management: Chromebooks are designed to be energy-efficient, but if you find that your battery life is draining quickly while coding, check for any power-hungry applications or browser extensions running in the background. Adjusting your power management settings by reducing screen brightness or modifying power usage options can also help extend battery life.
Remember, each troubleshooting scenario may have multiple solutions, so it’s important to experiment and find what works best for your Chromebook and coding environment. Don’t hesitate to seek help from online communities or forums dedicated to Chromebook users and developers if you encounter persistent issues or need further assistance.
Conclusion
Coding on a Chromebook has become increasingly popular and viable, thanks to the advancements in web technologies and the availability of coding tools and environments. With a properly configured Chromebook, you can code efficiently and effectively without the need for high-end hardware or expensive software.
In this article, we explored the process of setting up your Chromebook for coding, including enabling Linux (Beta), updating your Chrome OS, and installing necessary software and code editors. We discussed the various coding environments available, such as IDEs, text editors, cloud-based IDEs, and online code editors, and their benefits for Chromebook users.
We also covered running a local development server, accessing cloud IDEs, working with version control systems, and troubleshooting common issues that may arise while coding on your Chromebook. By understanding these key aspects, you can overcome any challenges and enhance your coding experience on your portable and lightweight device.
It’s important to note that while Chromebooks offer many advantages for coding, they do have some limitations in terms of processing power and storage capacity. Therefore, optimizing your coding workflow, utilizing cloud-based environments, and leveraging online resources can help you make the most of your Chromebook’s capabilities.
Whether you’re a student, beginner coder, or experienced developer, coding on a Chromebook can provide you with the flexibility and convenience to work on your projects from anywhere. By implementing the tips and techniques discussed in this article, you can embark on your coding journey with confidence on your Chromebook.