Introduction
Welcome to the digital age, where the internet has become an integral part of our lives. It offers limitless opportunities for learning, entertainment, and connection. However, it is essential to maintain a healthy online experience, especially for young users. As a Chromebook user, you may be seeking ways to block certain websites to ensure a safe and focused browsing environment. Whether you want to prevent access to inappropriate content or limit distractions during study or work time, there are several methods you can employ to block websites on your Chromebook.
In this article, we will explore four effective methods to block websites on Chromebook. These methods range from utilizing Chromebook’s built-in parental controls to utilizing Chrome extensions, modifying the hosts file, and using a content filtering router. Each method has its own advantages and can be tailored to meet your specific needs. By following these techniques, you can establish greater control over internet usage and create a safer browsing environment for yourself or your family.
Method 1: Using Chromebook’s built-in Parental Controls
Chromebook’s built-in parental controls provide a convenient and straightforward way to block websites. Follow the steps below to enable this feature:
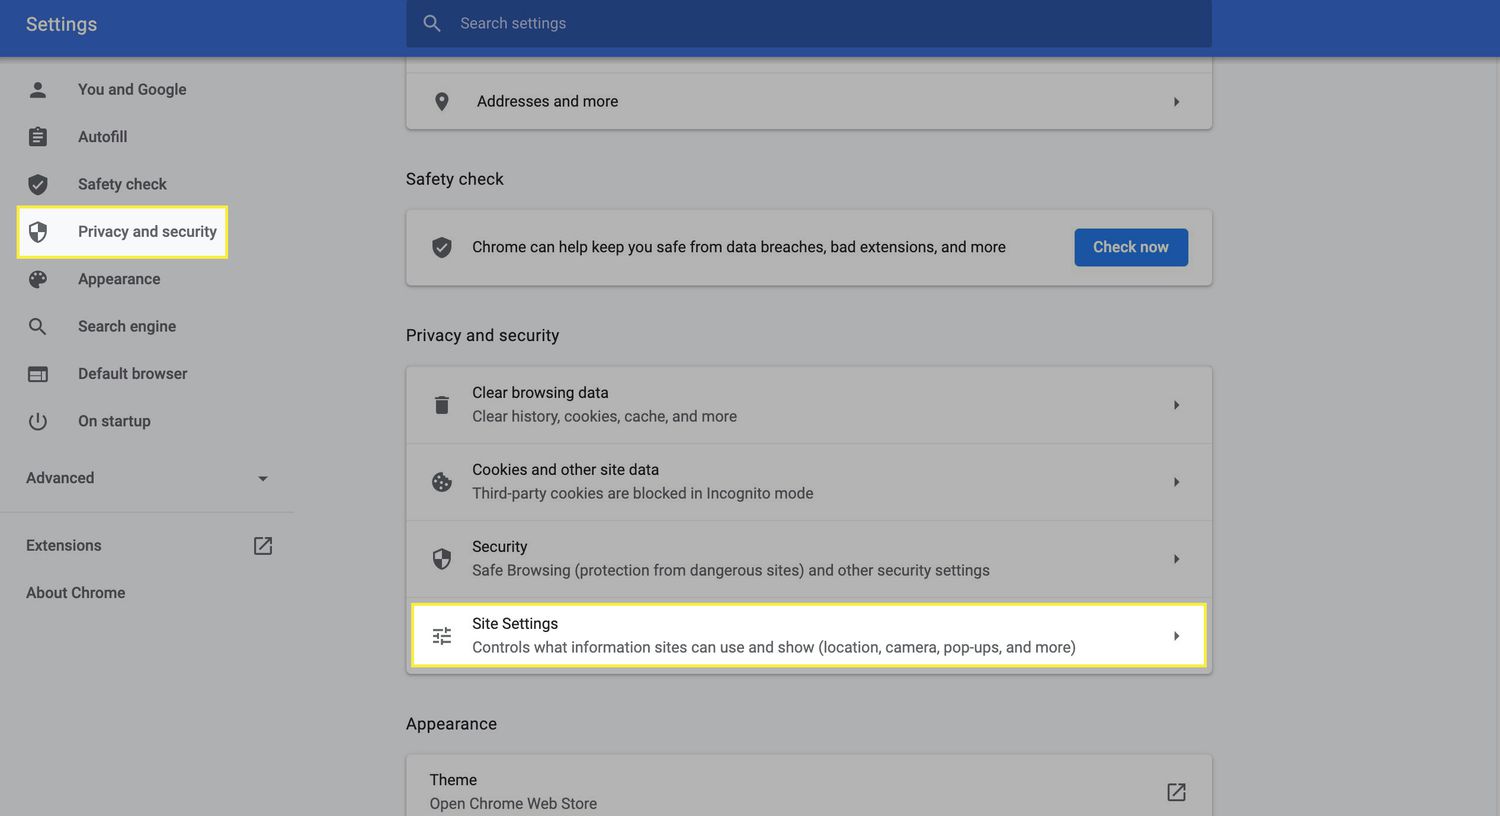
Step 1: Go to the settings menu on your Chromebook. You can access this by clicking on the clock in the bottom-right corner, then selecting the gear icon.
Step 2: In the settings menu, click on “People” and select the user account for which you want to enable parental controls.
Step 3: Under the user account settings, click on “Manage other people” and then click on the account for which you want to set up parental controls.
Step 4: Scroll down to the “Supervised Users” section and click on “Manage” next to the user account you want to apply the restrictions to.
Step 5: In the supervised user settings, you can enable SafeSearch, which filters out explicit content from search results. Additionally, you can customize the allowed and blocked sites list to control access to specific websites.
Once you have set up the supervised user account with the desired restrictions, the Chromebook will enforce these settings whenever the user is signed in. This method is especially useful for parents who want to create a safe browsing environment for their children or for individuals who want to limit their own access to certain websites.
Please note that in some cases, the supervised user account may not be available on all versions of Chromebook software. If this method is not available on your device, don’t worry. There are alternative solutions we will explore in the following sections.
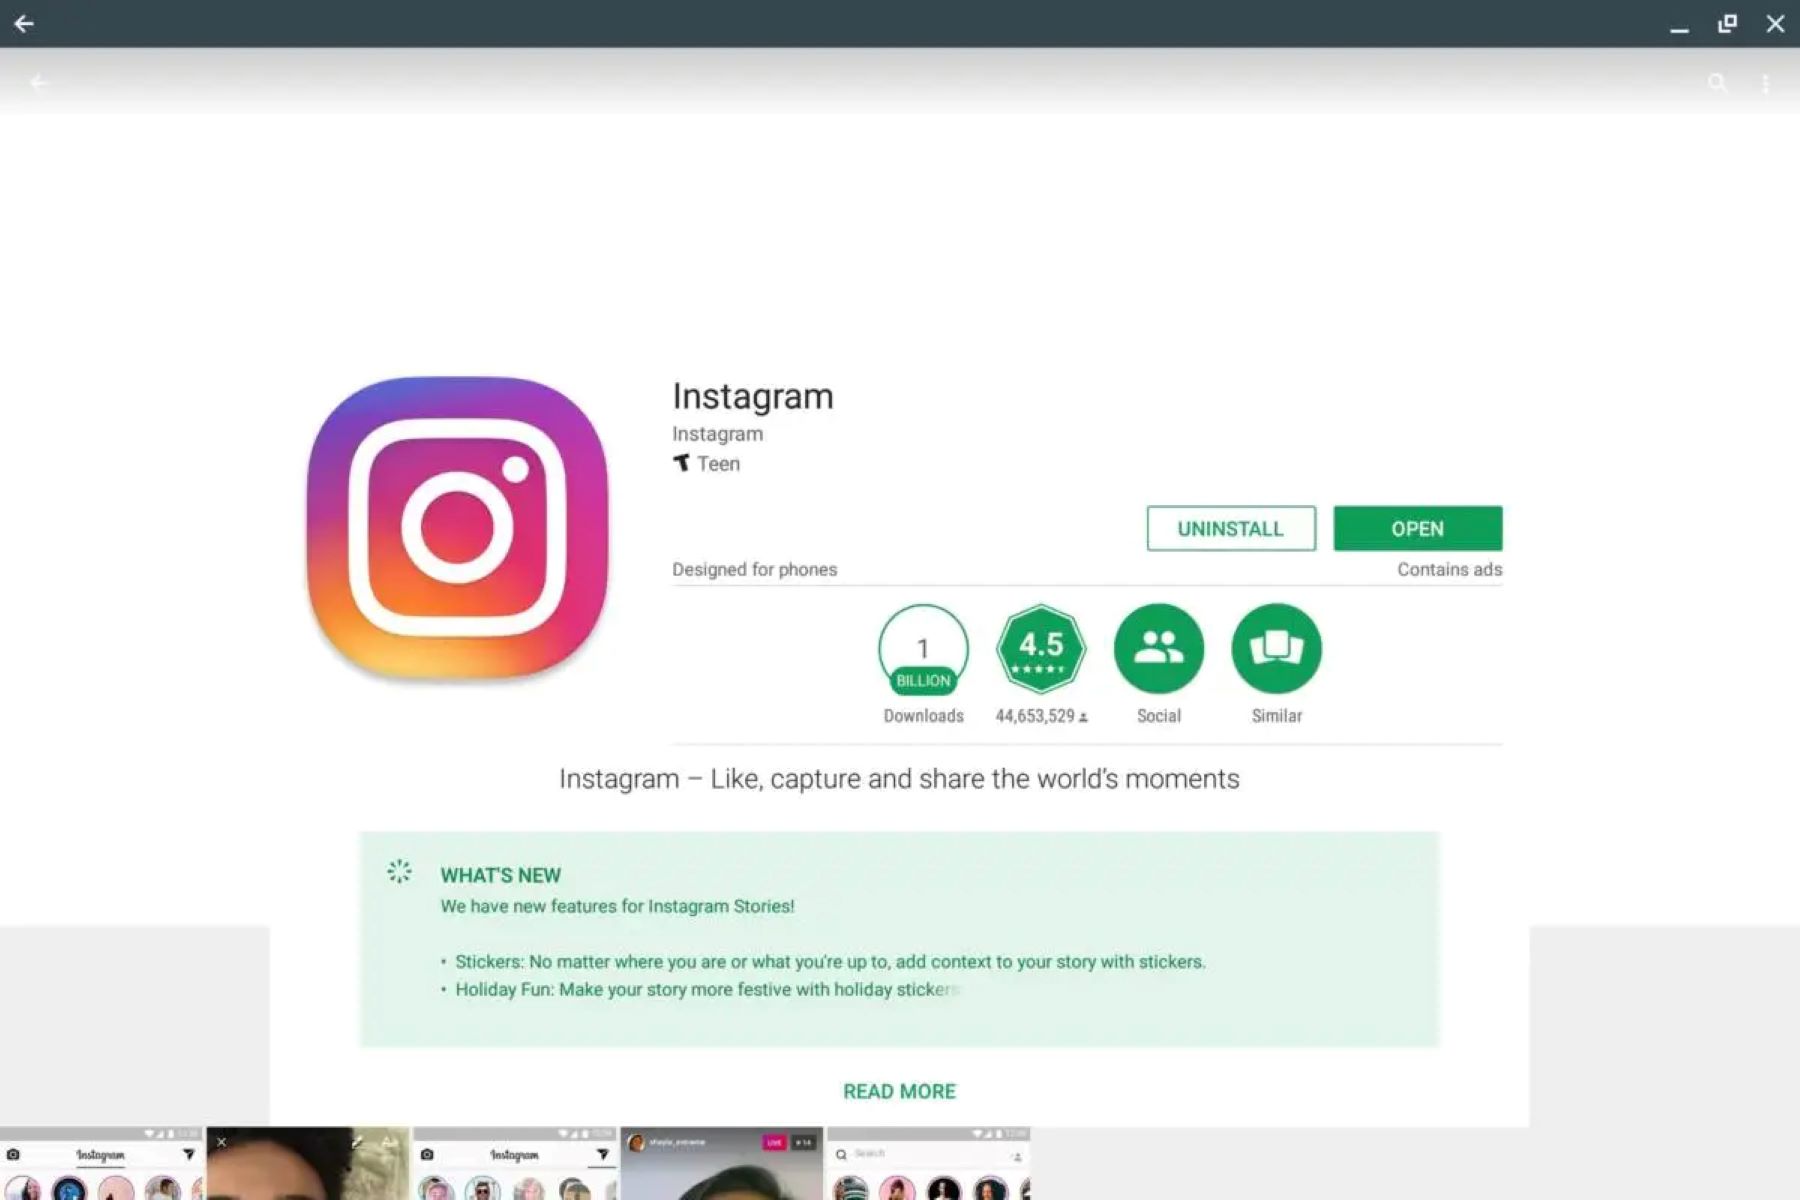
Method 2: Using a Chrome extension
If you’re looking for more advanced website blocking options, using a Chrome extension can be a powerful solution. There are several reliable extensions available that offer robust website filtering features. Follow the steps below to block websites using a Chrome extension:
Step 1: Open the Chrome Web Store and search for a website blocking extension. Some popular options include “Block Site,” “StayFocusd,” and “SiteBlock.” Choose the extension that best fits your needs and click on “Add to Chrome” to install it.
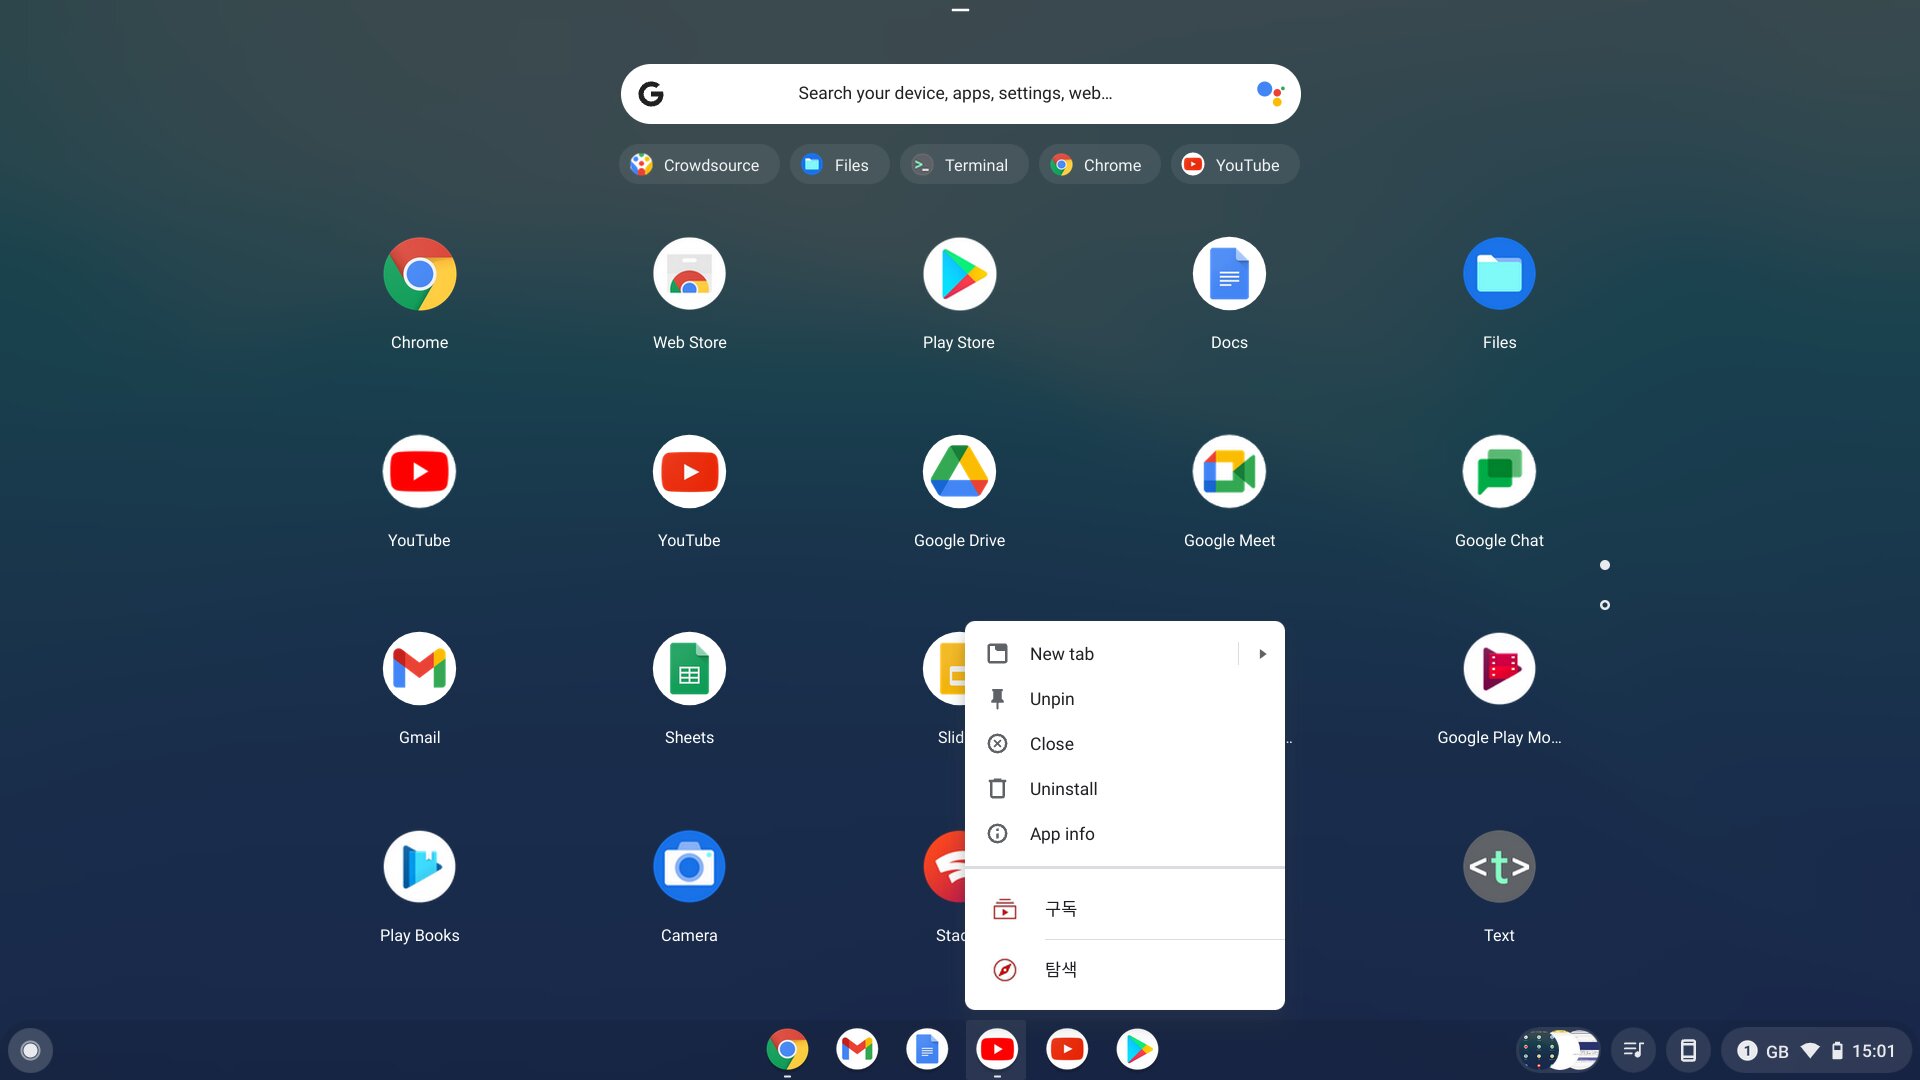
Step 2: Once the extension is installed, you’ll typically find its icon in the Chrome toolbar. Click on the extension icon to access its settings.
Step 3: In the extension settings, you can add the URLs of the websites you want to block. Some extensions allow you to set specific times during which the blocking should be active, allowing for personalized schedule controls.
Step 4: After adding the websites to the block list, make sure to save the settings or apply the changes. The extension will now prevent access to the specified websites.
Using a Chrome extension gives you more flexibility in terms of customization and control over website blocking. You can easily manage the blocked sites list, set time restrictions, and even add password protection to ensure that the settings cannot be bypassed.
However, keep in mind that extensions can sometimes impact browser performance or conflict with other extensions. Therefore, choose a reputable extension and monitor its impact on your Chromebook’s performance.
Now that you have learned how to block websites using a Chrome extension, you can effectively manage your browsing experience and stay focused on the tasks at hand.
Method 3: Modifying the hosts file
Another method to block websites on a Chromebook is by modifying the hosts file. The hosts file acts as a local DNS resolver, mapping domain names to IP addresses. By editing this file, you can redirect specific domain names to a different IP address that does not exist, effectively blocking access to those websites. Follow the steps below to modify the hosts file:
Step 1: Open the Chrome browser on your Chromebook and enter “chrome://flags” in the address bar.
Step 2: In the search bar, type “Experimental static IP configuration” and enable this experimental feature by clicking on the drop-down menu and selecting “Enabled.
Step 3: Restart your Chromebook for the changes to take effect.
Step 4: Once your Chromebook has restarted, open the Chrome browser and enter “chrome://net-internals/#dns” in the address bar.
Step 5: In the DNS tab, click on “Clear host cache” to clear any cached data.
Step 6: Now, open the Chrome browser and enter “chrome://system” in the address bar.
Step 7: Scroll down and click on “Open” next to the “Host resolver cache” option.
Step 8: In the host resolver cache folder, locate and open the “hosts” file using a text editor.
Step 9: Add the IP address 127.0.0.1 followed by the domain name of the website you want to block. For example, “127.0.0.1 www.example.com”. Add each website on a new line.
Step 10: Save the changes to the hosts file.
By modifying the hosts file, you can effectively block access to specific websites. However, please note that this method requires some technical knowledge and should be used with caution. Incorrect modifications to the hosts file can potentially disrupt internet connectivity or cause other issues.
Now that you know how to modify the hosts file on your Chromebook, you can take control of your browsing experience and block unwanted websites.
Method 4: Using a content filtering router
If you want to block websites across all devices connected to your home network, using a content filtering router is an effective solution. A content filtering router allows you to set up website blocking rules that apply to all devices accessing the internet through your router. Follow the steps below to set up website blocking using a content filtering router:
Step 1: Purchase a content filtering router that provides robust website filtering capabilities. Some popular options include routers that support OpenDNS or have built-in parental control features.
Step 2: Connect the content filtering router to your internet service provider’s modem and set up the router according to the manufacturer’s instructions.
Step 3: Access the router’s administration panel through a web browser by typing the router’s IP address (usually 192.168.0.1 or 192.168.1.1) into the address bar.
Step 4: Log in to the router’s administration panel using the provided username and password. Check the router’s manual or documentation for the default login credentials.
Step 5: Locate the website filtering or parental control settings in the router’s administration panel. The exact location and terminology may vary depending on the router model.
Step 6: Enable website blocking and add the URLs or keywords of the websites you want to block. Some routers may have pre-defined categories that you can block, such as adult content or social media.
Step 7: Save the changes in the router’s administration panel and restart the router if prompted.
Once the website blocking rules are set up in your content filtering router, all devices connected to your home network will be subject to these restrictions. This method provides a comprehensive solution for blocking websites across multiple devices simultaneously.
Keep in mind that this method requires purchasing a content filtering router and configuring it correctly. Additionally, it is worth noting that some determined users may be able to bypass the blocking measures by using a VPN or proxy. Consider combining this method with other approaches for enhanced website blocking.
Now you have a powerful tool to control internet access and prevent unwanted website visits across all devices connected to your home network.
Conclusion
In today’s digital age, it is essential to have the ability to block certain websites to maintain a safe and productive browsing environment. Whether you are a parent trying to protect your children from inappropriate content or an individual seeking to minimize distractions, the methods discussed in this article provide effective solutions for blocking websites on your Chromebook.
Method 1: Using Chromebook’s built-in parental controls allows you to create supervised user accounts with customized restrictions. This method is user-friendly and ideal for parents or individuals looking for basic website filtering options.
Method 2: Utilizing a Chrome extension provides more advanced website blocking features, including time restrictions and password protection. This method is suitable for users who require more control and flexibility over website filtering.
Method 3: Modifying the hosts file enables you to redirect specific domain names to a non-existent IP address, effectively blocking access to those websites. This method requires technical knowledge and should be used with caution.
Method 4: Using a content filtering router allows you to block websites across all devices connected to your home network. This method provides a comprehensive solution for maintaining safe browsing environments for all users.
Choose the method that best suits your needs and preferences. Consider the level of control you require, the technical expertise you possess, and the devices you want to apply the website blocking measures to.
Remember, no method is foolproof, and determined users may find ways to bypass the blocking measures. It is important to combine multiple approaches and regularly review the website blocking settings to ensure continued effectiveness.
By implementing these methods to block websites on your Chromebook, you can enhance online safety, minimize distractions, and maintain a focused and productive browsing experience.