Introduction
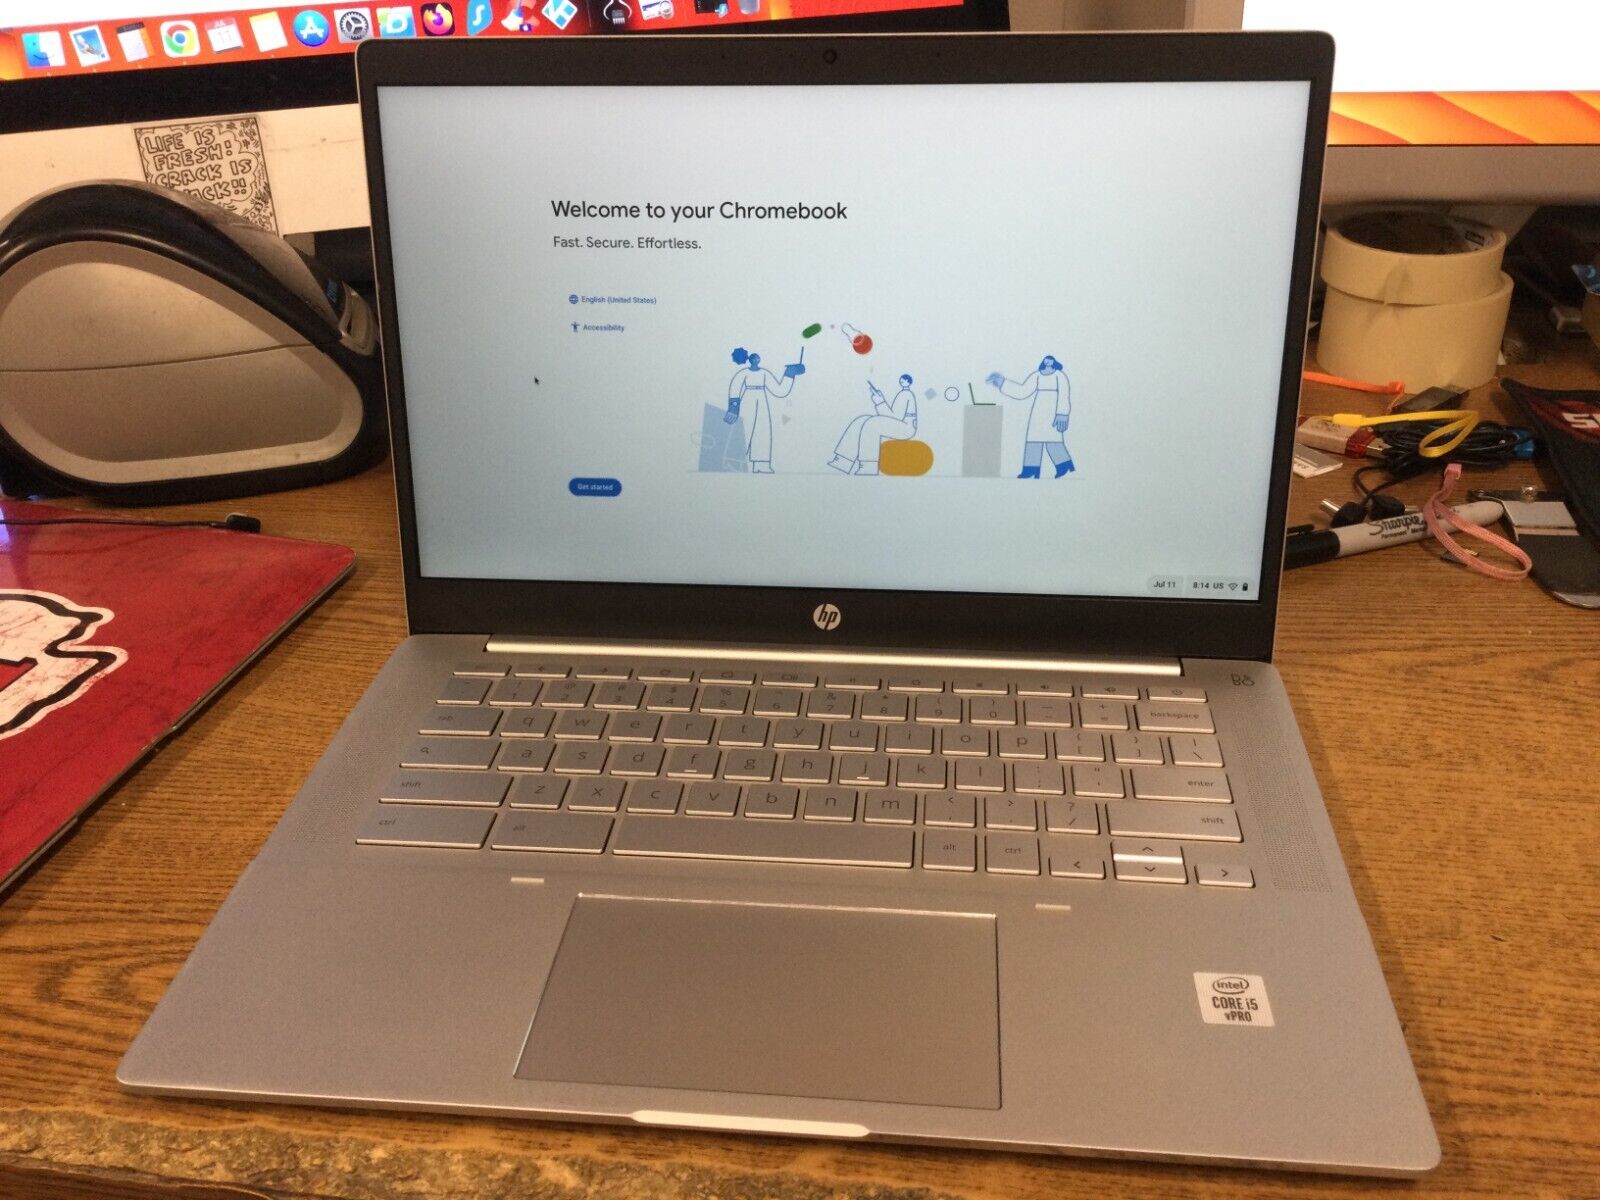
A webcam is a valuable tool for video conferencing, online meetings, and capturing memorable moments. If you own a Chromebook, you may be wondering about the options available for connecting a webcam to it. While Chromebooks are designed to work primarily with web-based applications, connecting an external webcam can expand their capabilities, allowing you to enjoy more versatile video communication.
In this guide, we will explore a range of options for connecting a webcam to your Chromebook. Whether you prefer a USB webcam, a wireless webcam, or even using your Android phone as a webcam, we have you covered. We will also discuss common troubleshooting tips to help you overcome any technical issues that may arise during the process.
It is worth mentioning that not all webcams are compatible with Chromebooks. Therefore, it is important to ensure that the webcam you choose is supported by the Chrome OS. Fortunately, there are several reliable options available in the market that are specifically designed for Chromebooks.
Now, let’s dive into the world of webcam connectivity and explore the various methods you can use to connect a webcam to your Chromebook. Whether you are a student, professional, or simply someone who enjoys connecting with others through video calls, this guide will help you make the most of your Chromebook’s capabilities.
Compatible Webcams for Chromebooks
Before you start the process of connecting a webcam to your Chromebook, it is important to make sure that the webcam you choose is compatible with the Chrome OS. While many webcams on the market are designed to work with Windows or Mac operating systems, not all of them may work seamlessly with Chromebooks.
Fortunately, there are several webcams that are specifically designed to work with Chromebooks, ensuring optimal compatibility and performance. When shopping for a webcam, look for models that offer “Chrome OS compatible” or “Chromebook compatible” as part of their features or specifications. This will ensure that the webcam is fully compatible with your Chromebook’s operating system and will work seamlessly with your device.
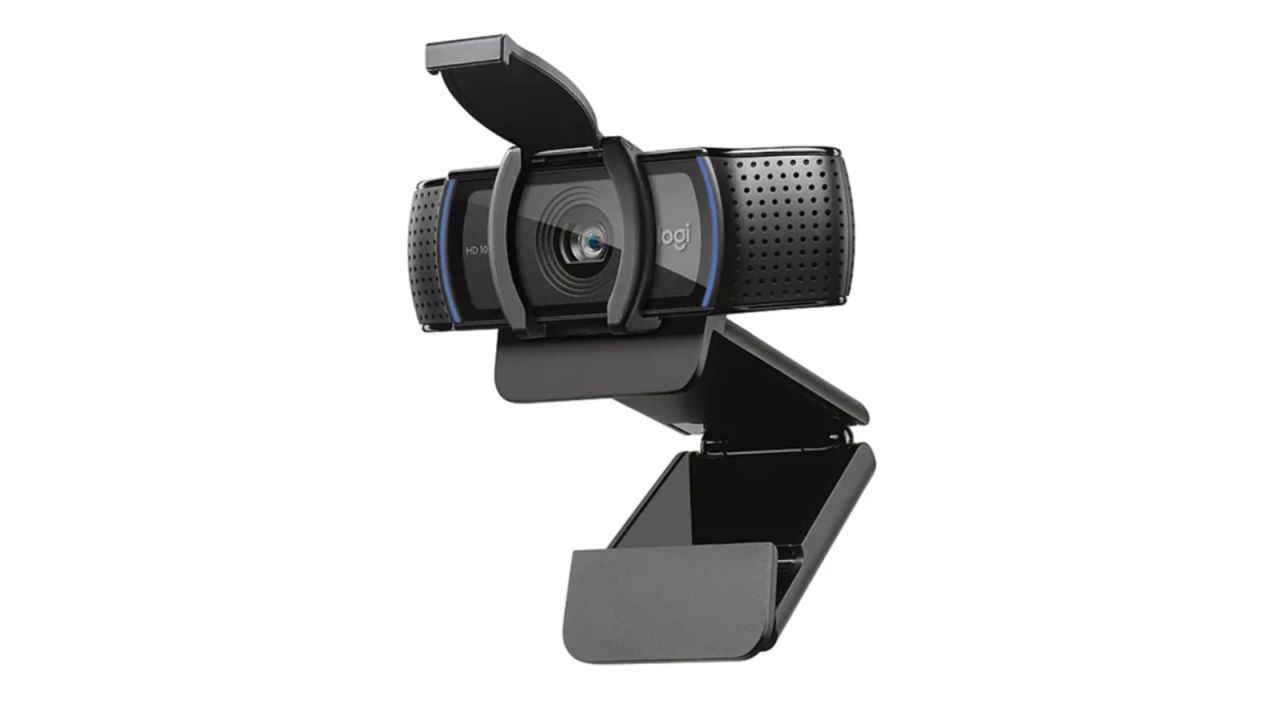
It is also recommended to choose webcams from reputable brands that have a track record of producing quality products. Popular webcam manufacturers such as Logitech, Microsoft, and Creative offer a range of models that are compatible with Chromebooks.
When selecting a compatible webcam for your Chromebook, consider the following factors:
- Resolution: Look for webcams that offer high-definition (HD) resolution to ensure clear and crisp video quality.
- Frame Rate: Opt for webcams that offer a higher frame rate, such as 30 frames per second (fps), for smoother video playback.
- Autofocus and Zoom: Some webcams come with autofocus and zoom capabilities, allowing you to adjust the camera focus and zoom in or out during video calls.
- Microphone: Consider webcams that have built-in microphones for convenient audio capture during video calls.
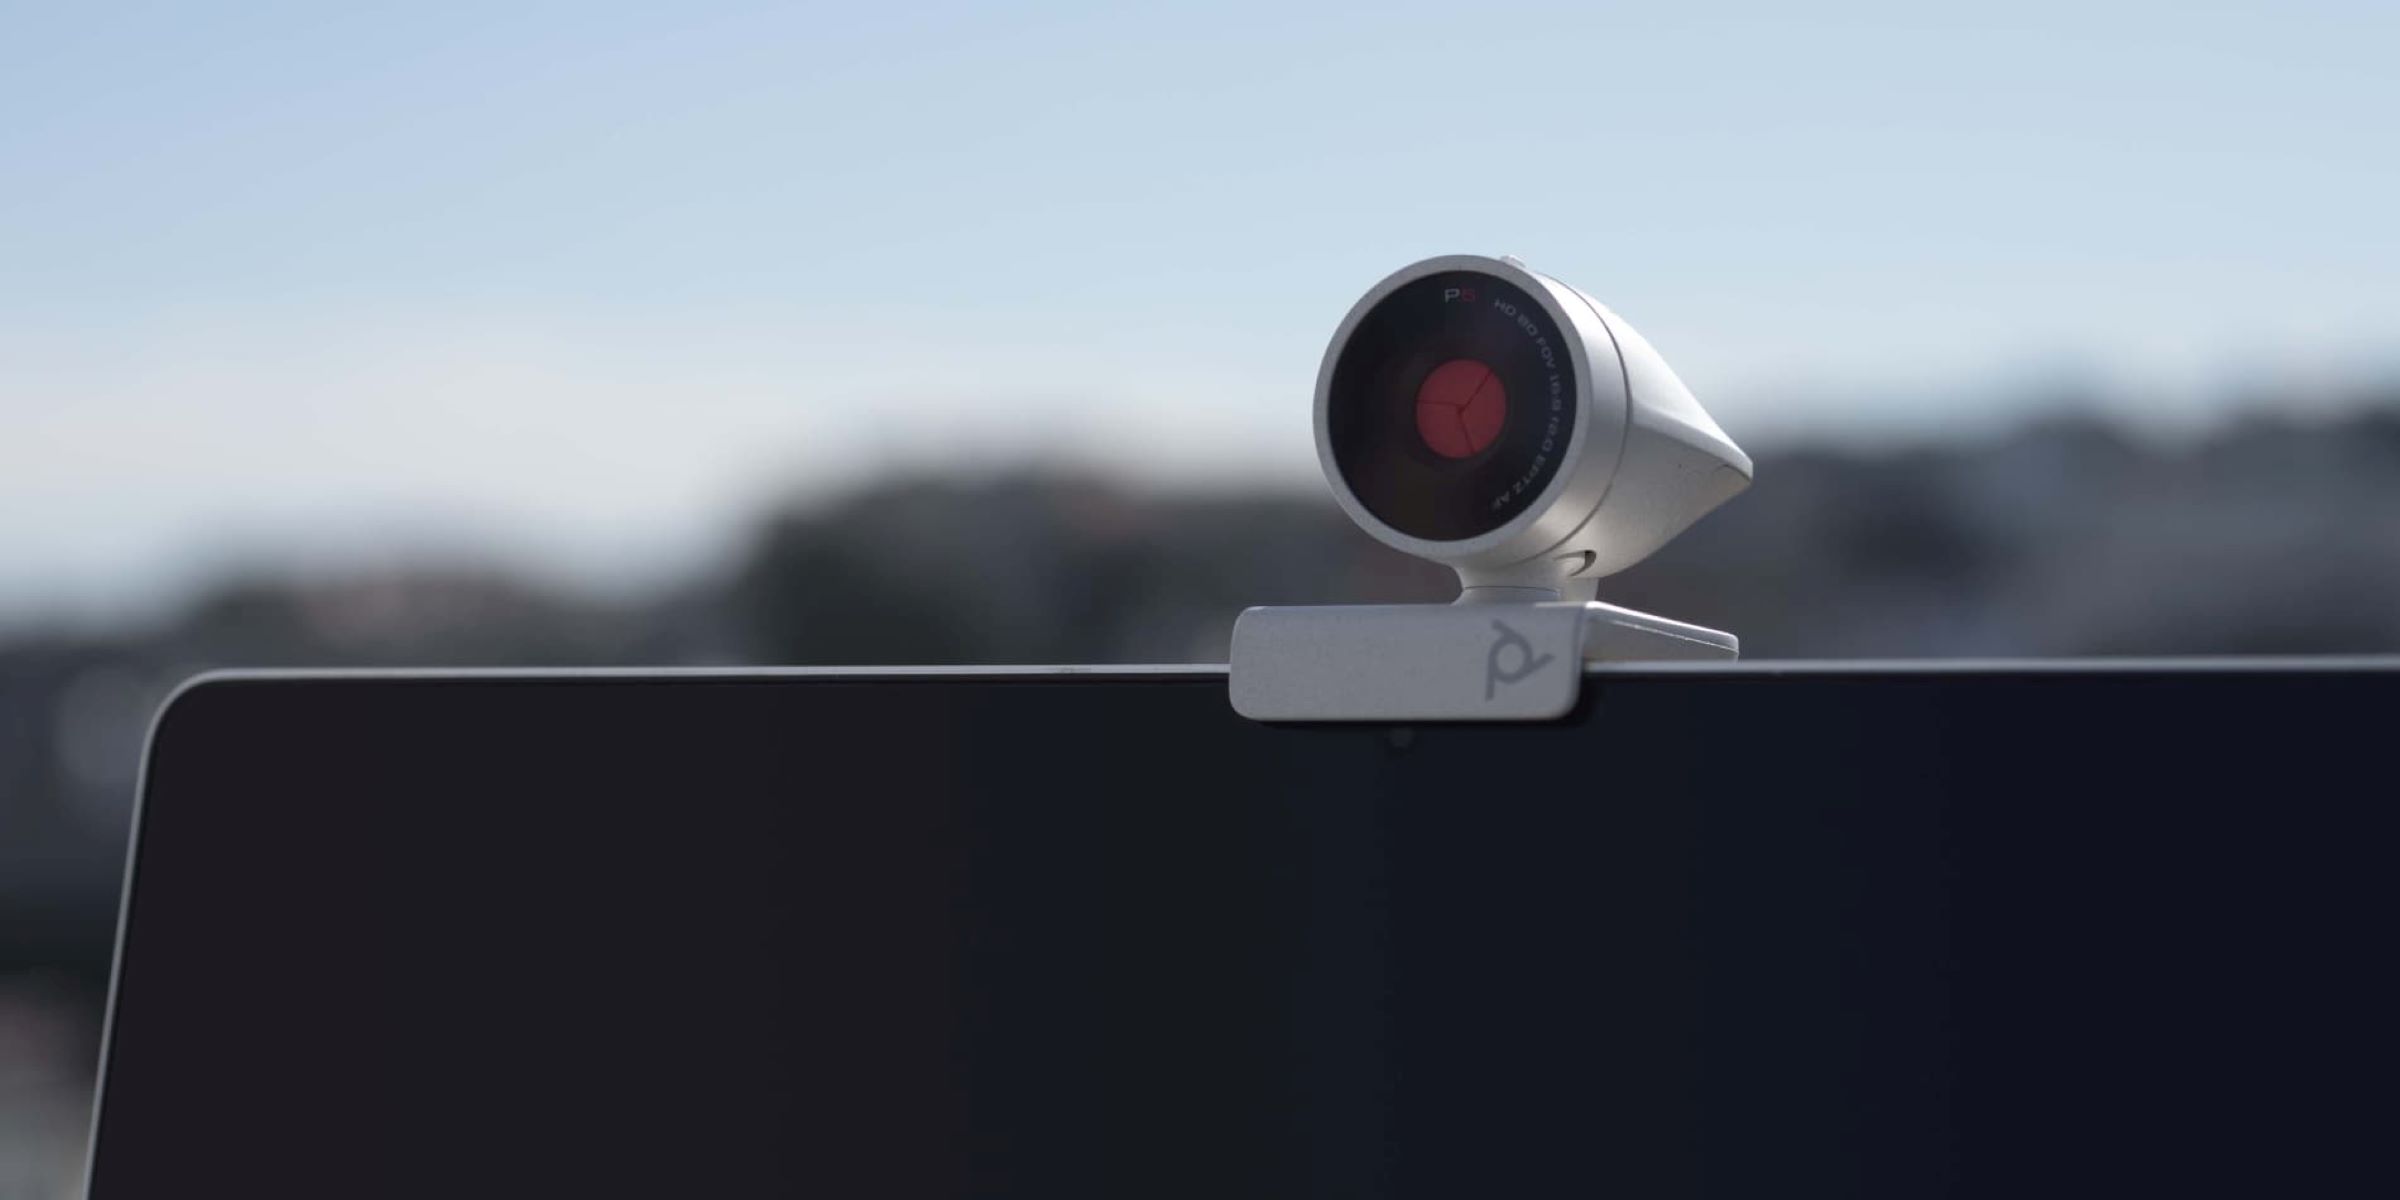
When it comes to connecting the webcam to your Chromebook, make sure you have the necessary ports available. Most webcams use USB connections, so ensure that your Chromebook has at least one USB port available. Some webcams also offer wireless connectivity options, which can be a great choice if you prefer a cable-free setup.
By choosing a compatible webcam, you can ensure a smooth and hassle-free experience when connecting it to your Chromebook. So, let’s move on to the next section and explore the step-by-step guide to connecting a webcam to your Chromebook.
Step-by-Step Guide to Connecting a Webcam to a Chromebook
Connecting a webcam to your Chromebook is a straightforward process. Whether you have a USB webcam, a wireless webcam, or plan to use your Android phone as a webcam, follow these steps to set it up:
- Option 1: Using a USB Webcam
- Start by ensuring that your Chromebook is connected to the internet and powered on.
- Connect the USB cable of the webcam to an available USB port on your Chromebook.
- Wait for the Chromebook to detect and install the necessary drivers for the webcam.
- Open your preferred video conferencing or communication app on your Chromebook (such as Google Meet or Zoom).
- In the app settings, select the webcam as the video input device.
- You should now be able to see the webcam’s video feed on your Chromebook screen.
- Option 2: Using a Wireless Webcam
- Ensure that both your Chromebook and the wireless webcam are connected to the same Wi-Fi network.
- Follow the manufacturer’s instructions to set up the wireless webcam and pair it with your Chromebook.
- Once the setup is complete, open your preferred video conferencing or communication app on your Chromebook.
- In the app settings, select the wireless webcam as the video input device.
- You should now be able to see the wireless webcam’s video feed on your Chromebook screen.
- Option 3: Using an Android Phone as a Webcam
- If you plan to use your Android phone as a webcam, download and install a webcam app from the Google Play Store on your phone.
- Connect your Android phone to your Chromebook using a USB cable.
- On your Chromebook, open a web browser and search for the name of the webcam app you installed on your phone.
- Download and install the corresponding Chrome extension for the webcam app.
- Open the webcam app on your Android phone and follow the instructions to pair it with the Chrome extension on your Chromebook.
- Once the pairing is complete, open your preferred video conferencing or communication app on your Chromebook.
- In the app settings, select the Android phone as the video input device.
- You should now be able to use your Android phone’s camera as a webcam on your Chromebook.
Following these steps will help you successfully set up and connect a webcam to your Chromebook, regardless of the type of webcam you are using. In case you encounter any issues during the setup process, refer to the troubleshooting section below for assistance.
Option 1: Using a USB Webcam
Using a USB webcam is one of the most common and straightforward methods to connect a webcam to your Chromebook. Follow these steps to set up a USB webcam:
- Start by ensuring that your Chromebook is connected to the internet and powered on.
- Connect the USB cable of the webcam to an available USB port on your Chromebook. Make sure the connection is secure.
- Wait for the Chromebook to detect and automatically install the necessary drivers for the webcam. In some cases, you may need to install the camera app from the Chrome Web Store.
- Open your preferred video conferencing or communication app on your Chromebook, such as Google Meet or Zoom.
- In the app settings or video settings, select the webcam as the video input device. The name of the webcam should appear in the list of available devices.
- You should now be able to see the webcam’s video feed on your Chromebook screen. Adjust the camera angle and settings as per your preference.
It is worth noting that some USB webcams have advanced features, such as autofocus, zoom, and integrated microphones. Depending on the webcam model, you may be able to adjust these settings within the video conferencing app or through the webcam’s software interface.
USB webcams offer the flexibility of being easily detachable from your Chromebook. You can use the same webcam with other devices, such as laptops or desktop computers, by simply disconnecting it from your Chromebook and plugging it into the other device’s USB port.
Ensure that your USB webcam is compatible with the Chrome OS and meets the requirements of your video conferencing applications. Choosing a high-resolution webcam with a decent frame rate will enhance the video quality and overall experience.
Now that you know how to use a USB webcam with your Chromebook, let’s explore another option for connecting a webcam wirelessly.
Option 2: Using a Wireless Webcam
If you prefer a cable-free setup, you can connect a wireless webcam to your Chromebook. Here’s how:
- Ensure that both your Chromebook and the wireless webcam are connected to the same Wi-Fi network.
- Follow the manufacturer’s instructions to set up the wireless webcam. This may involve connecting the webcam to a power source and configuring its Wi-Fi settings.
- Once the setup is complete, open your preferred video conferencing or communication app on your Chromebook.
- In the app settings or video settings, select the wireless webcam as the video input device. The name of the webcam should appear in the list of available devices.
- You should now be able to see the wireless webcam’s video feed on your Chromebook screen. Adjust the camera angle and settings as per your preference.
Wireless webcams offer the advantage of being easily movable within the range of the Wi-Fi network. This allows you to position the webcam wherever is most convenient or optimal for your video conferencing needs.
It is important to note that the performance of a wireless webcam can be influenced by the strength and stability of the Wi-Fi signal. Make sure you have a stable and reliable Wi-Fi connection to ensure smooth video streaming and uninterrupted communication.
Check the specifications and features of the wireless webcam to ensure compatibility with your Chromebook and the video conferencing apps you plan to use. Some wireless webcams may also offer additional features such as pan, tilt, and zoom functionalities, allowing you to adjust the camera’s position remotely.
With the wireless webcam connected to your Chromebook, you can enjoy the freedom of cable-free video conferencing and communication. Now, let’s explore an alternative method for using your Android phone as a webcam.
Option 3: Using an Android Phone as a Webcam
If you don’t have a dedicated webcam, you can still use your Android phone as a webcam for your Chromebook. Follow these steps to set it up:
- If you haven’t already, download and install a webcam app from the Google Play Store on your Android phone. Some popular options include DroidCam, Iriun, and EpocCam.
- Connect your Android phone to your Chromebook using a USB cable. Make sure the connection is secure.
- On your Chromebook, open a web browser and search for the name of the webcam app you installed on your phone.
- Download and install the corresponding Chrome extension for the webcam app. This extension will enable your Chromebook to communicate with the webcam app on your phone.
- Open the webcam app on your Android phone and follow the instructions to pair it with the Chrome extension on your Chromebook. This typically involves scanning a QR code or entering a pairing code displayed on your Chromebook.
- Once the pairing is complete, open your preferred video conferencing or communication app on your Chromebook.
- In the app settings or video settings, select your Android phone as the video input device. It should be listed as an available webcam option.
- You should now be able to use your Android phone’s camera as a webcam on your Chromebook. Adjust the camera angle and settings through the webcam app on your phone.
Using your Android phone as a webcam offers convenience and flexibility. It allows you to utilize the high-quality camera of your phone and take advantage of its advanced features, such as autofocus and image stabilization.
Make sure your Android phone is fully charged or connected to a power source during video calls to avoid battery drain. It is also recommended to use a stable Wi-Fi connection for the best streaming experience.
Keep in mind that the performance and video quality may be influenced by the specifications of your Android phone. Higher-end phones with better cameras will generally provide a superior video conferencing experience.
By using your Android phone as a webcam, you can turn your phone into a versatile tool for video communication and enjoy a portable and efficient setup for your Chromebook.
Now that you know how to use an Android phone as a webcam, let’s move on to troubleshooting common connection issues that you may encounter while setting up your webcam on a Chromebook.
Troubleshooting Common Webcam Connection Issues
While setting up a webcam on your Chromebook, you may encounter some common connection issues. Here are a few troubleshooting tips to help you overcome them:
1. Check the physical connections:
Ensure that all cable connections are secure and properly plugged into the appropriate ports. If you are using a wireless webcam, ensure that it is connected to the same Wi-Fi network as your Chromebook.
2. Restart your Chromebook:
Sometimes, a simple restart can resolve connectivity issues. Restart your Chromebook and try connecting the webcam again.
3. Check for software and driver updates:
Make sure that your Chromebook’s operating system and the webcam software or drivers are up to date. Check for any available updates and install them if necessary.
4. Adjust the camera settings:
Sometimes, the camera settings on your Chromebook may need adjustments. Open the camera app or the settings of the video conferencing app you are using and ensure that the webcam is selected as the video input device.
5. Clear cache and cookies:
Clearing the cache and cookies on your Chromebook can resolve any temporary issues that may be interfering with the webcam’s connection. Go to the Chrome browser settings and clear the browsing data.
6. Disable conflicting extensions:
If you have any browser extensions or add-ons that may conflict with the webcam functionality, try disabling them temporarily and check if the webcam starts working properly.
7. Try a different USB port or cable:
If you are using a USB webcam and experiencing connectivity issues, try connecting it to a different USB port on your Chromebook. You can also try using a different USB cable to rule out any cable-related problems.
8. Consult manufacturer support:
If you’ve followed all the troubleshooting steps and are still unable to connect your webcam to your Chromebook, reach out to the manufacturer’s support for further assistance. They may be able to provide specific troubleshooting steps related to your webcam model.
By following these troubleshooting tips, you should be able to resolve common webcam connection issues and successfully set up your webcam on your Chromebook. Now, you can enjoy seamless video communication and make the most of your Chromebook’s capabilities.
Conclusion
Connecting a webcam to your Chromebook opens up new possibilities for video conferencing, online meetings, and capturing memories. Whether you choose a USB webcam, a wireless webcam, or decide to use your Android phone as a webcam, the process is relatively straightforward.
In this guide, we discussed compatible webcams for Chromebooks and provided a step-by-step guide for each option: using a USB webcam, a wireless webcam, or an Android phone as a webcam. We also shared troubleshooting tips to help you overcome common webcam connection issues.
When selecting a webcam, make sure it is specifically designed to work with Chromebooks and meets your requirements in terms of resolution, frame rate, autofocus, and microphone capabilities. This will ensure optimal compatibility and performance.
Remember to follow the setup instructions provided by the webcam manufacturer and keep your Chromebook’s software and drivers up to date. In case you encounter any issues, refer to the troubleshooting tips outlined in this guide or contact the manufacturer’s support for further assistance.
Now that you have connected a webcam to your Chromebook, you can enjoy enhanced video communication, collaboration, and content creation. Say goodbye to grainy built-in cameras and embrace the improved video and audio quality that a dedicated webcam offers.
Whether you are a student, professional, or simply someone who enjoys connecting with others through video calls, the ability to connect a webcam to your Chromebook expands its functionality and allows you to stay connected with ease.
So go ahead, choose the method that suits your needs and start enjoying the benefits of having a webcam connected to your Chromebook. Enhance your virtual communication and make your video calls more interactive and engaging. Your Chromebook is now equipped to handle all your video conferencing needs!