Introduction
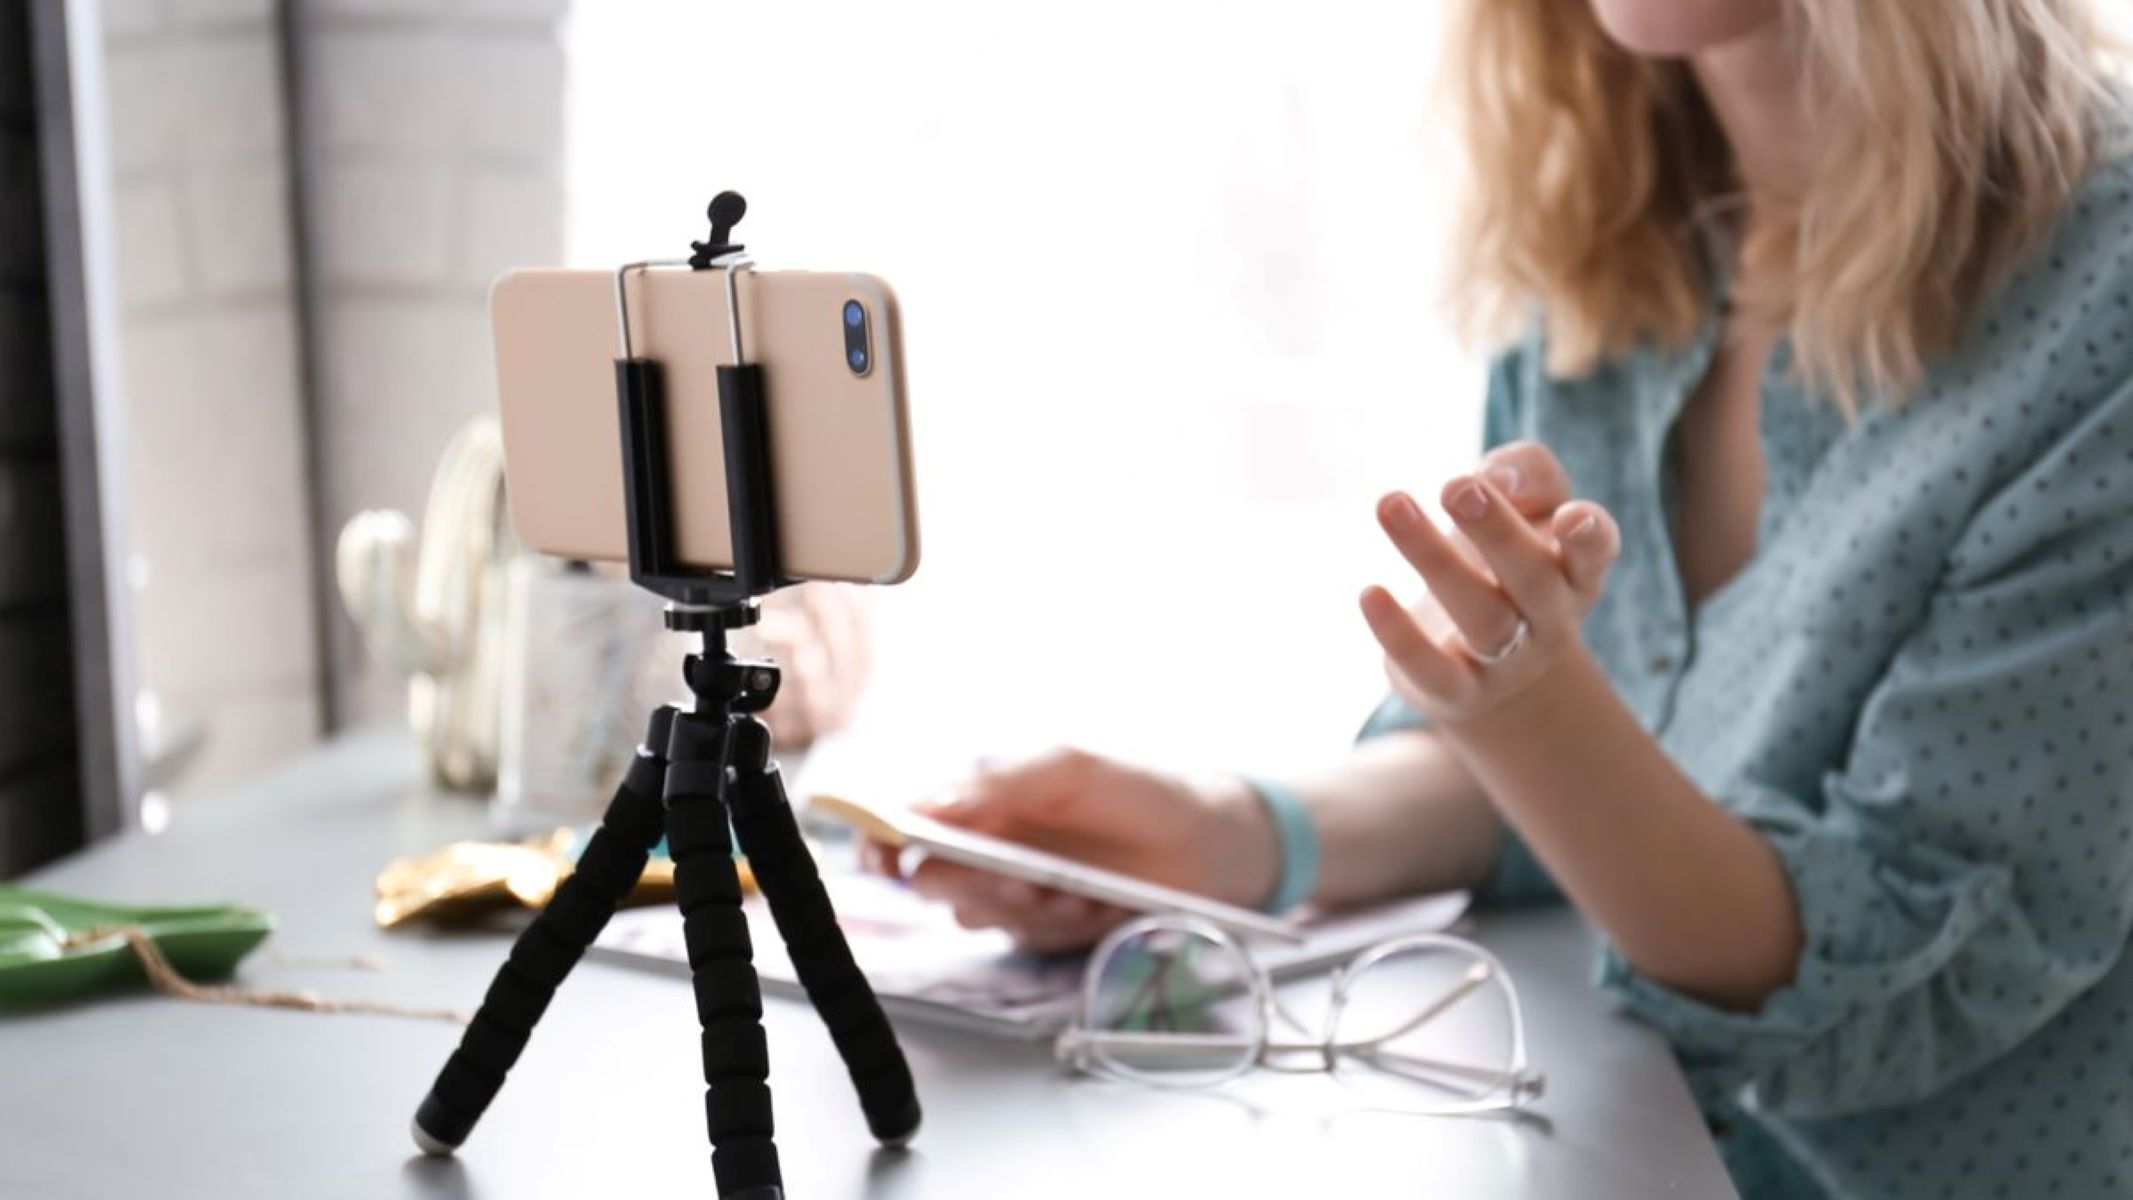
Gone are the days when webcams were limited to those bulky devices connected to our computers. In today’s tech-savvy world, there are numerous alternatives available to enhance your livestreaming experience. One such option is using your phone as a webcam for platforms like Twitch, allowing you to capture high-quality video and audio while providing more flexibility in your streaming setup.
In this guide, we will walk you through the step-by-step process of using your phone as a webcam for Twitch. Whether you’re a beginner or an experienced streamer, utilizing your phone as a webcam can be a game-changer, enabling you to provide your audience with a more engaging and professional livestreaming experience.
Before diving into the steps, it’s important to note that using your phone as a webcam requires the right apps and proper configurations. Fortunately, the process is straightforward, and we’ll provide you with all the information you need. So, grab your phone, follow along, and get ready to elevate your Twitch livestreams!
Step 1: Downloading the Required Apps
The first step in using your phone as a webcam for Twitch is to download the necessary apps onto both your phone and computer. These apps will help establish a seamless connection between your phone’s camera and your streaming software.
Here are the apps you’ll need:
- Camera App: Most modern smartphones come with a pre-installed camera app that allows you to take photos and record videos. This app will serve as the foundation for using your phone as a webcam.
- DroidCam (Android) or EpocCam (iOS): These are third-party apps that enable you to turn your phone’s camera into a webcam. DroidCam is available for Android devices, while EpocCam is compatible with iOS devices. You can find these apps in the respective app stores on your phone.
- OBS or Streamlabs OBS: On your computer, you’ll need streaming software like OBS (Open Broadcaster Software) or Streamlabs OBS. These programs allow you to configure your webcam input and control your livestream settings.
To download the required apps:
- Open the app store on your phone (Google Play Store for Android or App Store for iOS).
- Search for “DroidCam” (Android) or “EpocCam” (iOS) and install the app.
- On your computer, open a web browser and navigate to the OBS or Streamlabs OBS official website.
- Download and install the streaming software suitable for your operating system.
Once you’ve downloaded the necessary apps, you’re one step closer to transforming your phone into a powerful webcam. In the next step, we’ll guide you on how to connect your phone to your computer and establish a seamless connection between the two devices.
Step 2: Connecting Your Phone to Your Computer
Now that you have the required apps installed on your phone and computer, it’s time to establish a connection between the two devices. This step is crucial for enabling your computer to recognize your phone’s camera as a webcam.
Follow these steps to connect your phone to your computer:
- Connect your phone to your computer using a USB cable. Make sure the cable is properly connected on both ends.
- On your phone, open the DroidCam or EpocCam app. You may be prompted to grant permissions for the app to access your phone’s camera and microphone. Allow these permissions.
- In the app on your phone, you should see an IP address and a port number displayed. Take note of these details as we will need them in the next step.
- On your computer, open the OBS or Streamlabs OBS software.
- In the streaming software, go to the “Sources” tab and click on the “+” button. From the dropdown menu, select “Video Capture Device” or “Webcam”.
- In the popup window, give your webcam source a name and click “OK”.
- Under the “Device” dropdown menu, select either “DroidCam Source” or “EpocCam Source”, depending on the app you’ve installed on your phone.
- Enter the IP address and port number that you noted down from your phone app into the respective fields in OBS or Streamlabs OBS.
- Click “OK” to save the settings.
Now, your phone is successfully connected to your computer as a webcam. The next step involves setting up the phone app to ensure optimal performance and adjust any necessary settings.
Step 3: Setting Up the Phone App
After connecting your phone to your computer, it’s time to set up the phone app (DroidCam or EpocCam) for optimal performance. These settings can help ensure that your phone’s camera functions smoothly as a webcam during your Twitch livestreams.
Here are some important settings to configure in the phone app:
- Resolution: Adjust the resolution settings in the phone app to fit your streaming needs. Higher resolutions may offer better video quality, but keep in mind that higher resolutions require more bandwidth.
- Frame Rate: Set the frame rate in the app. Higher frame rates produce smoother video, but again, higher frame rates consume more bandwidth. Choose a frame rate that strikes the right balance between quality and performance.
- Video Orientation: Check the video orientation to ensure that it matches your desired perspective during the livestream. You can choose between landscape or portrait mode, depending on your preference and streaming setup.
- Audio Settings: If you want to use the microphone on your phone to capture audio during your livestream, make sure to enable the audio settings in the phone app. This will ensure that your viewers can hear you clearly.
Remember to save your settings in the phone app once you’ve made the necessary adjustments. Having these settings properly configured will help you optimize the performance of your phone as a webcam.
With your phone app set up, the next step is to configure your webcam in OBS or Streamlabs OBS, allowing you to control and customize your livestream settings.
Step 4: Configuring Your Webcam in OBS or Streamlabs OBS
Now that your phone app is set up, it’s time to configure your webcam within OBS (Open Broadcaster Software) or Streamlabs OBS. These streaming software platforms give you the ability to customize and control your livestream settings, including your webcam input.
Follow these steps to configure your webcam within OBS or Streamlabs OBS:
- Open OBS or Streamlabs OBS on your computer.
- In the main window, locate the “Sources” section and click on the “+” (plus) button.
- From the dropdown menu, select “Video Capture Device” or “Webcam”.
- A new window will pop up. Give your webcam source a name and click “OK”.
- In the “Device” dropdown menu, select the DroidCam Source or EpocCam Source option, depending on the app you installed on your phone.
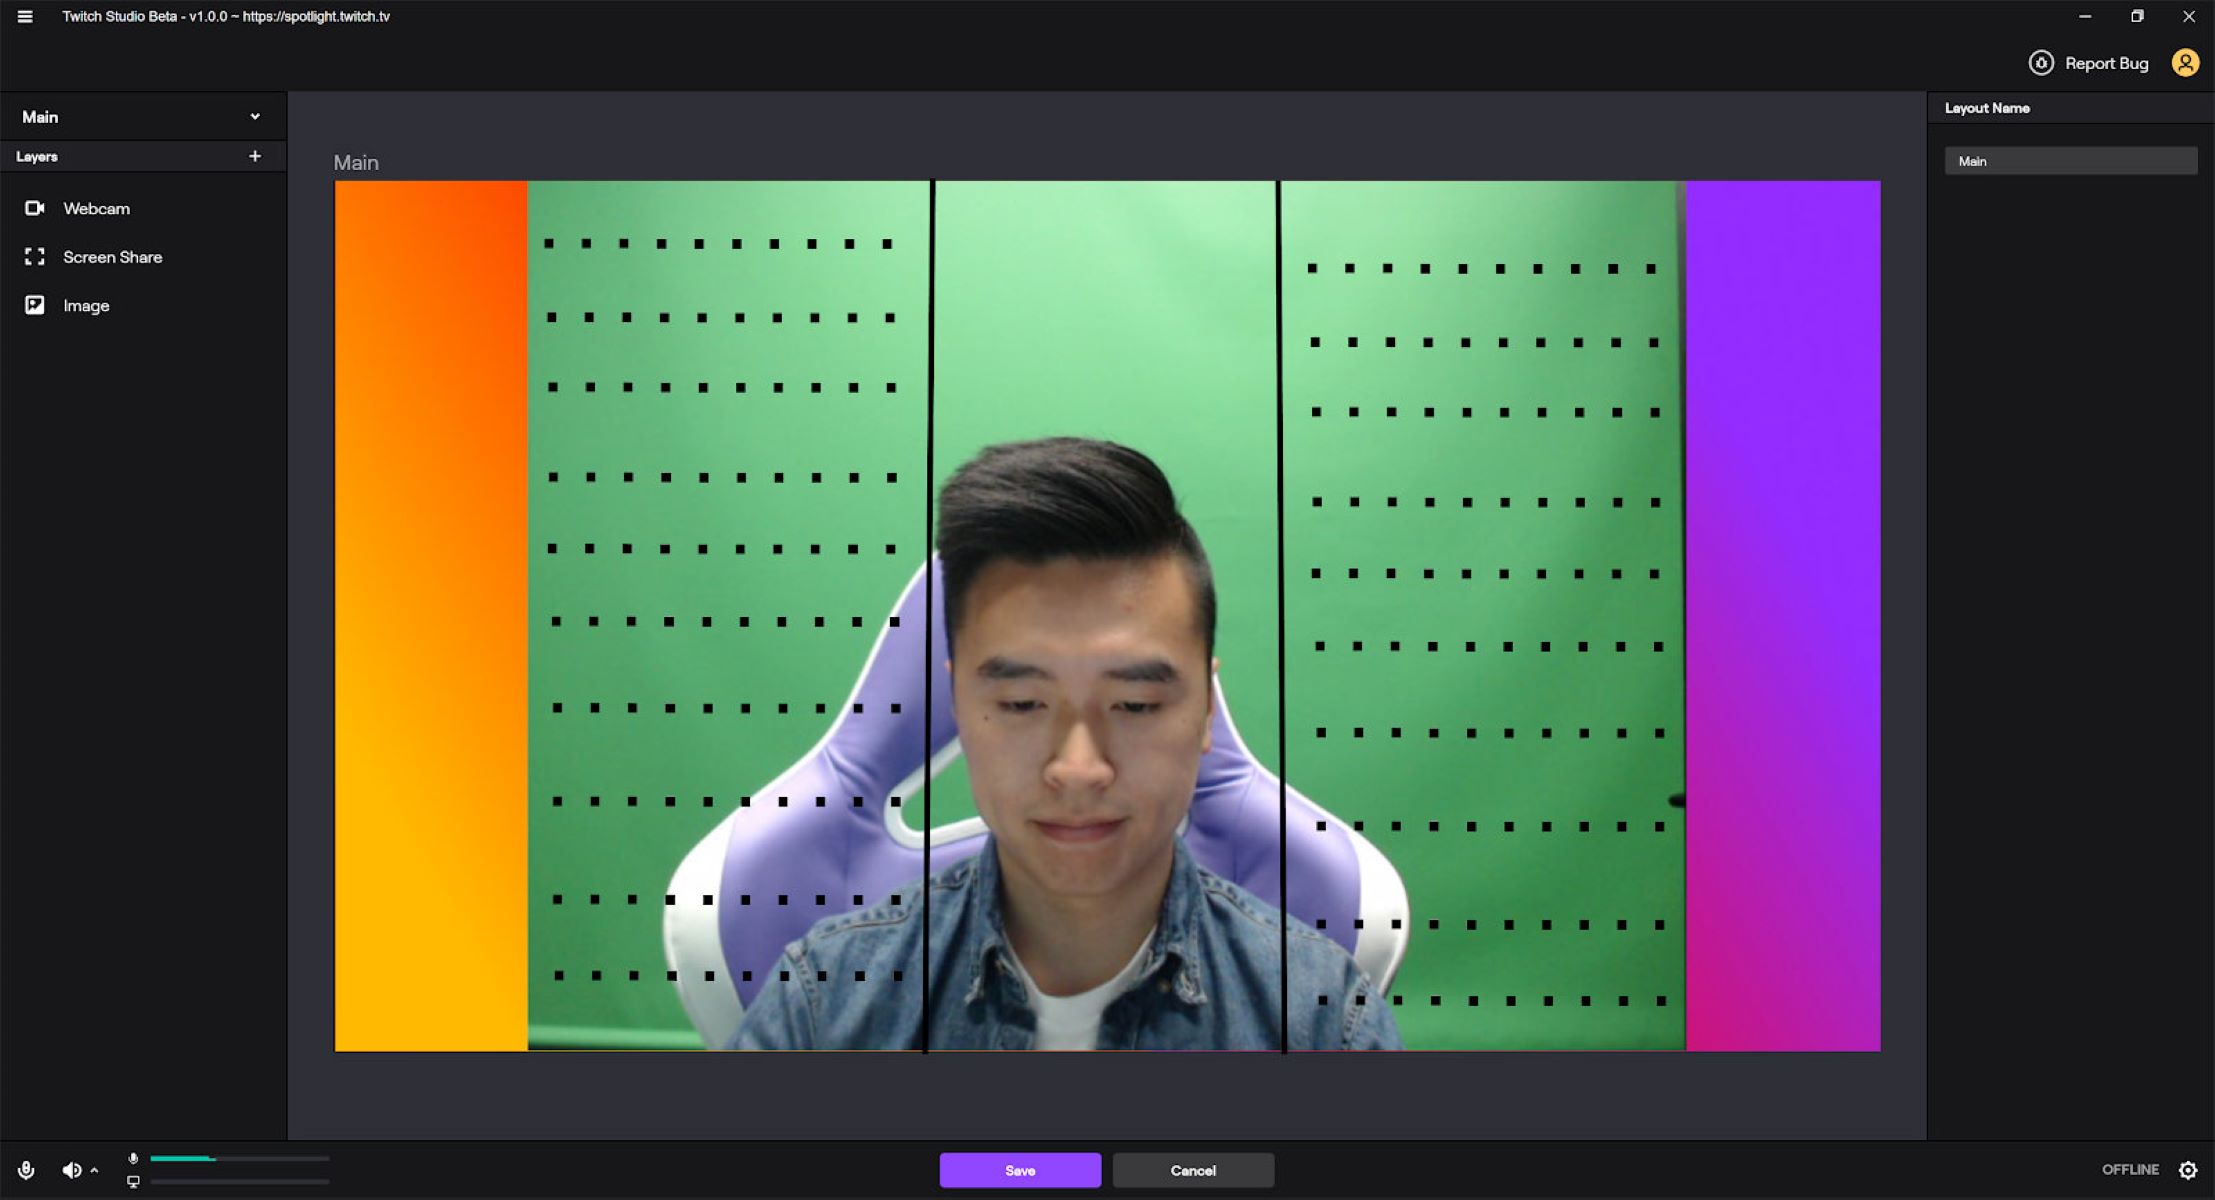
- Adjust the positioning and size of the webcam source within the preview window to fit your desired layout.
- Explore the additional settings for the webcam source to fine-tune the image and audio settings, such as brightness, contrast, and audio levels.
- Make sure to check that your webcam source is properly positioned within your stream layout by previewing your stream or doing a test recording.
Configuring your webcam within OBS or Streamlabs OBS allows you to have full control over the visual and audio aspects of your livestream. Take the time to experiment with the settings and find the best configuration that suits your style and content.
Once you’ve configured your webcam, it’s important to adjust and optimize the settings for optimal performance. This will help ensure a smooth and high-quality livestream experience.
Step 5: Adjusting Settings for Optimal Performance
After configuring your webcam in OBS or Streamlabs OBS, it’s important to fine-tune the settings to ensure optimal performance and deliver a high-quality livestream to your viewers. By adjusting these settings, you can optimize the performance of your phone as a webcam for Twitch.
Here are some key settings to consider adjusting:
- Video Bitrate: The video bitrate determines the amount of data used to transmit the video stream. Higher bitrates result in better video quality but require more bandwidth. Find the balance between high video quality and a stable internet connection.
- Audio Quality: If you’re using the microphone on your phone for audio, consider adjusting the audio quality settings. Experiment with different configurations to ensure clear and balanced audio during your livestreams.
- Network Stability: A stable and reliable internet connection is crucial for a smooth livestream. If you’re experiencing lag or dropped frames, check your network stability and consider using a wired connection for more consistent performance.
- Preview Window: Use the preview window in OBS or Streamlabs OBS to monitor the quality of your stream. Pay attention to the video and audio synchronization, resolution, and any visual issues that may need adjustment.
- Scene Transitions: Utilize scene transitions to add professional touches to your livestream. Experiment with different transitions (e.g., fade, slide, or cut) to create smooth transitions between scenes and enhance the viewer’s experience.
Take the time to test your livestream setup by doing a few practice streams or recording sessions. This will allow you to make any necessary adjustments and ensure that your settings are optimized for the best possible performance.
With your settings adjusted, it’s time to move on to the next step: testing your phone webcam setup to ensure everything is working as expected.
Step 6: Testing Your Phone Webcam Setup
Now that you’ve configured and adjusted the settings for your phone webcam setup, it’s crucial to test everything to ensure that your livestream will run smoothly when broadcasting on Twitch. Testing allows you to identify and resolve any potential issues before going live.
Follow these steps to test your phone webcam setup:
- Open OBS or Streamlabs OBS on your computer.
- Ensure that your phone is connected to your computer via USB and the DroidCam or EpocCam app is open on your phone.
- Start a new stream or recording session within OBS or Streamlabs OBS.
- Observe the video and audio quality of your phone webcam feed. Check for any lag, synchronization issues, or visual/audio distortions.
- Move around your streaming setup and test different angles and positions to ensure that your webcam captures the desired content.
- Monitor your computer’s performance during the test to ensure that it can handle the additional load of using your phone as a webcam.
- Make adjustments to your OBS or Streamlabs OBS settings as needed to optimize the performance of your phone webcam.
Through testing, you’ll be able to identify and address any potential issues before your livestream. This will result in a more polished and enjoyable experience for your viewers.
Once you’re satisfied with the test results and confident in your phone webcam setup, you’re ready to go live on Twitch and start streaming with your phone as your webcam.
Step 7: Troubleshooting Common Issues
While using your phone as a webcam for Twitch can greatly enhance your livestreaming experience, it’s important to be prepared to troubleshoot any common issues that may arise. By knowing how to address these issues, you can quickly resolve them and get back to streaming without interruption.
Here are some common issues you may encounter and how to troubleshoot them:
- No Connection: If your phone is not connecting to your computer or the app is not recognizing your phone’s camera, ensure that both devices are properly connected via USB. Restart both your phone and computer and try reconnecting.
- Poor Video Quality: If your video quality is not up to par, check for potential issues such as a low-resolution setting in the phone app or a low video bitrate in OBS or Streamlabs OBS. Adjust these settings accordingly to improve your video quality.
- Audio Issues: If you’re experiencing audio problems, ensure that the microphone on your phone is enabled in the app and detected by OBS or Streamlabs OBS. Check that your audio levels are properly adjusted and that there are no conflicting audio sources in your streaming software.
- Internet Connectivity: If you notice lag or dropped frames during your livestream, check your internet connection. Use a wired connection, if possible, for a more stable and reliable stream. Consider reducing your video bitrate or resolution if your internet connection cannot handle the current settings.
- Compatibility Issues: In some cases, certain phones or operating systems may not be fully compatible with the apps or streaming software. Ensure that you have the latest version of the app and streaming software installed, and check for any available updates or patches.
- Hardware Limitations: Keep in mind that using your phone as a webcam may put additional strain on your computer’s hardware. If you experience performance issues or your computer cannot handle the load, consider upgrading your hardware or adjusting your stream settings for optimal performance.
By troubleshooting these common issues, you can overcome any obstacles that may arise during your phone webcam setup. Remember to stay patient and be willing to experiment with different settings or solutions to find what works best for you.
With your troubleshooting skills honed, you’re now ready to confidently use your phone as a webcam for Twitch and provide your audience with captivating livestreams.
Conclusion
Using your phone as a webcam for Twitch can open up a world of possibilities for your livestreaming journey. By following the step-by-step process outlined in this guide, you can seamlessly integrate your phone’s camera into your streaming setup and provide your viewers with a more immersive and professional experience.
From downloading the necessary apps to configuring and fine-tuning your webcam in OBS or Streamlabs OBS, each step is crucial in ensuring optimal performance. Adjusting settings for video and audio quality, testing your setup, and troubleshooting common issues are essential for a smooth livestream.
Remember, while using your phone as a webcam offers convenience and flexibility, it’s important to be mindful of potential hardware limitations, internet connectivity, and compatibility issues. Regularly test your setup, make adjustments as needed, and stay up-to-date with the latest app and software updates to maintain a high-quality livestreaming experience.
By leveraging the power of your phone’s camera as a webcam, your Twitch livestreams can reach new heights. Whether you’re a seasoned streamer or just starting out, this guide provides you with the knowledge and tools to elevate your streaming game and captivate your audience.
So, grab your phone, dive into the world of livestreaming, and let your creativity shine through as you engage with your Twitch community like never before!



![How to Stream on Twitch Easily [Beginner-Friendly]](https://robots.net/wp-content/uploads/2020/10/Twitch-Featured-300x148.jpg)
