Introduction
Welcome to our guide on how to add a webcam to Twitch Studio! Twitch Studio is a powerful streaming software designed specifically for content creators on the popular streaming platform, Twitch. By adding a webcam to your Twitch Studio setup, you can enhance the viewing experience for your audience and create a more engaging live streaming session.
A webcam allows your viewers to see your reactions, expressions, and physical presence in real-time, helping to build a deeper connection with your audience. Whether you’re a gamer, a vlogger, or a creative streamer, incorporating a webcam into your Twitch streams can greatly enhance the overall production value and captivate your viewers.
In this guide, we will walk you through the step-by-step process of adding a webcam to Twitch Studio. We will cover everything from checking compatibility and connecting your webcam to configuring the settings and testing it to ensure it’s working correctly. By the end of this guide, you’ll have your webcam seamlessly integrated into your Twitch Studio setup and be ready to level up your streaming game.
Before we begin, it’s important to note that the instructions in this guide are tailored specifically for Twitch Studio. If you’re using a different streaming software, the steps may vary. Additionally, make sure that you have a compatible webcam and the necessary drivers installed. Let’s dive in and get your webcam up and running on Twitch Studio!
Step 1: Check Webcam Compatibility
The first step in adding a webcam to Twitch Studio is to ensure that your webcam is compatible with the software. Compatibility is essential to ensure a smooth and seamless streaming experience. Here’s how you can check if your webcam is compatible:
1. Research Twitch Studio Requirements: Visit the Twitch Studio website or documentation to find the system requirements for the software. Look for any specific webcam compatibility requirements mentioned, such as resolution, frame rate, or connectivity options.
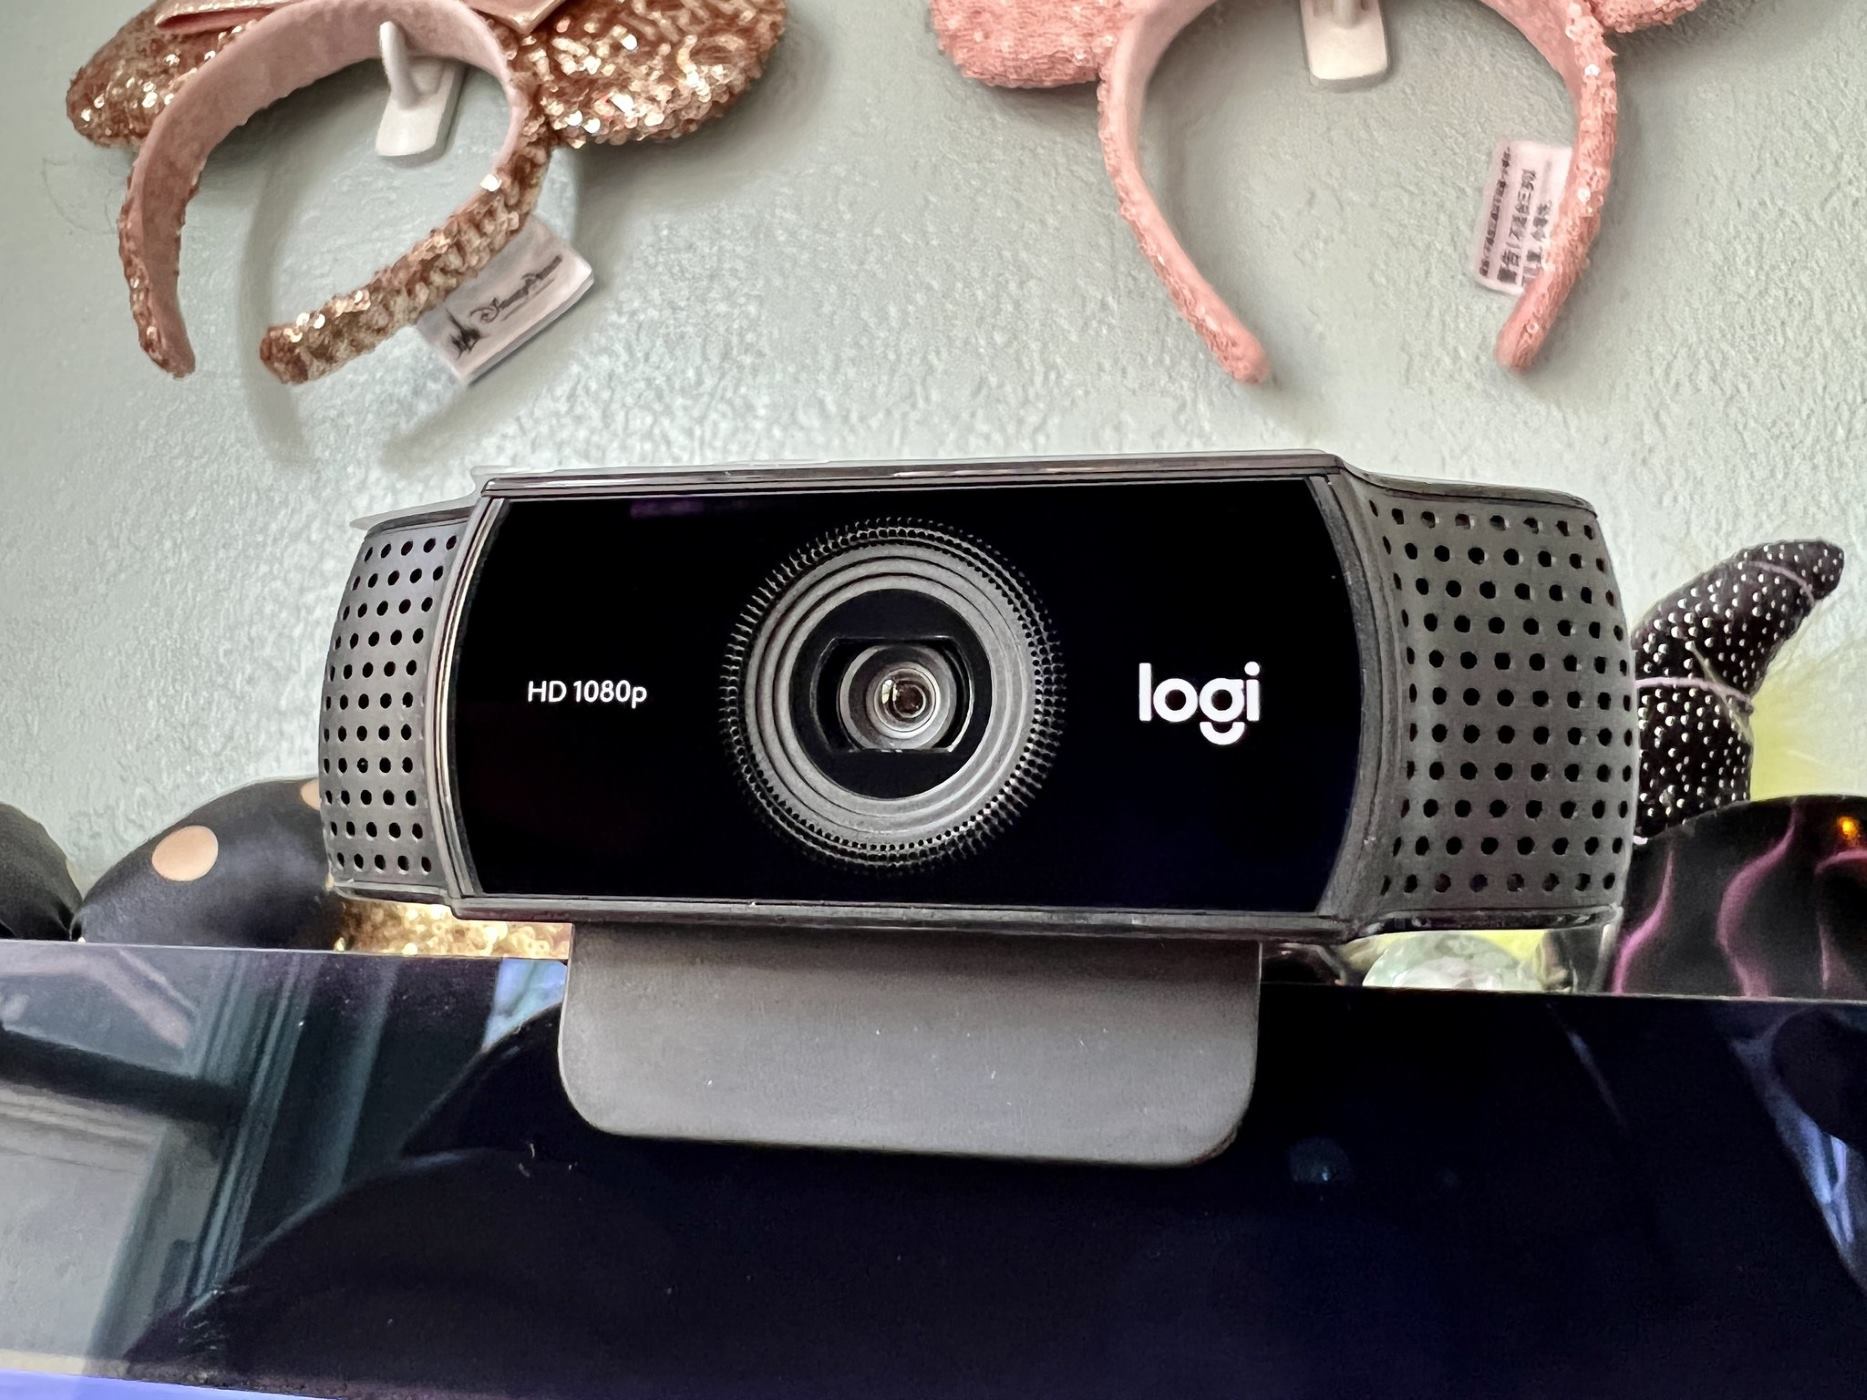
2. Check Webcam Specifications: Look up the specifications of your webcam, either on the manufacturer’s website or in the product manual. Pay attention to the resolution, frame rate, and connection options (such as USB or HDMI).
3. Compare Specifications: Compare the specifications of your webcam with the requirements listed by Twitch Studio. Ensure that your webcam meets or exceeds the minimum requirements specified.
4. Check for Software Compatibility: Some webcams may come with software or drivers that are not compatible with Twitch Studio. Research online or contact the webcam manufacturer to confirm if their software works seamlessly with Twitch Studio.
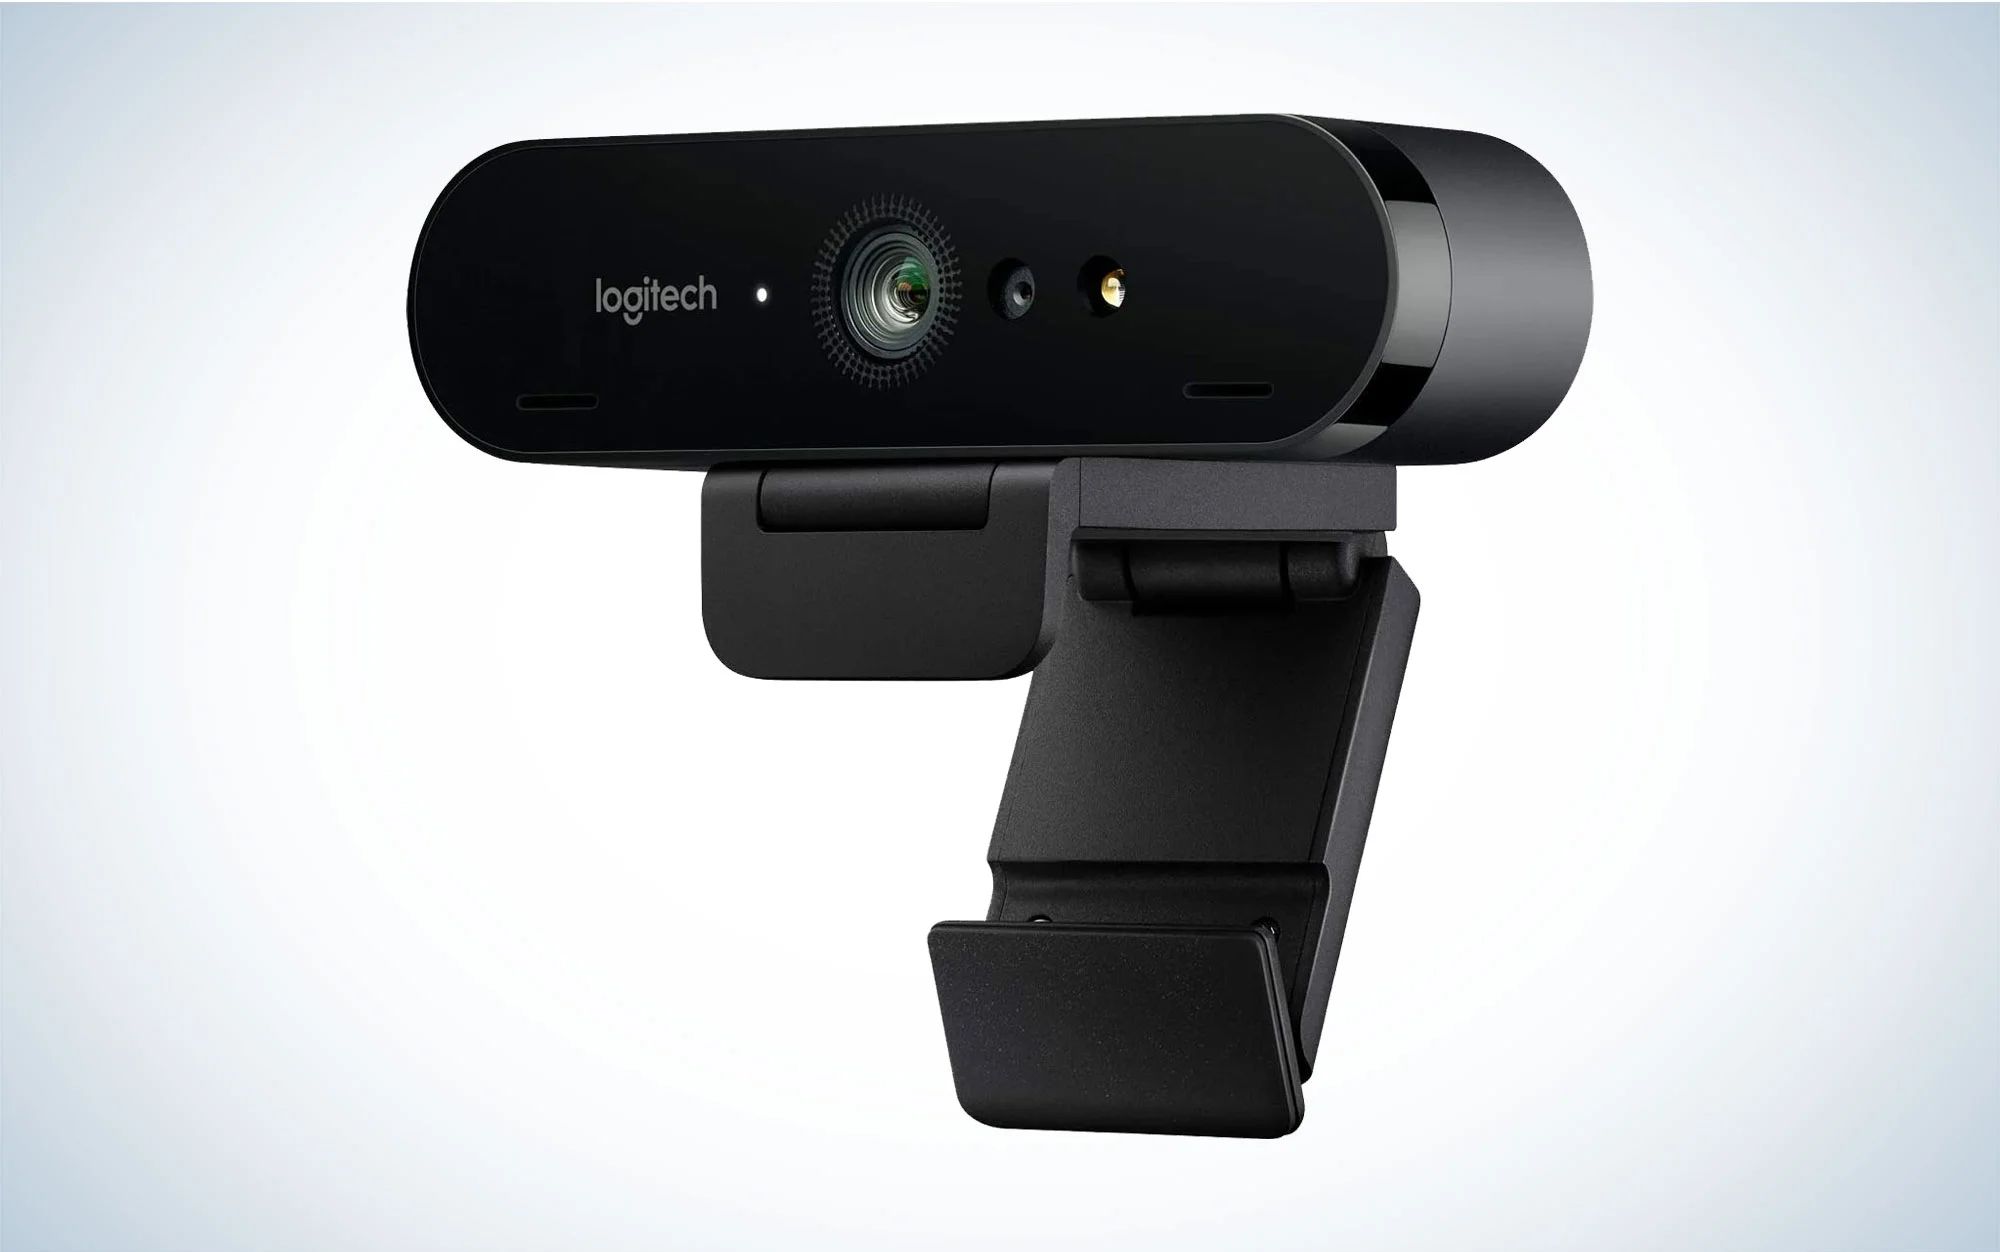
5. Consider Upgrades: If your current webcam doesn’t meet the compatibility requirements, you may need to consider upgrading to a webcam that fulfills the necessary specifications. Look for webcams that are specifically marketed as compatible with Twitch Studio to ensure the best experience.
Checking webcam compatibility is crucial because using an incompatible webcam can lead to technical issues or poor video quality during your live streams. By verifying that your webcam meets the necessary requirements, you can avoid frustrating setbacks and deliver a high-quality streaming experience to your viewers.
Step 2: Connect the Webcam to Your Computer
Once you have confirmed the compatibility of your webcam with Twitch Studio, it’s time to connect the webcam to your computer. Follow these steps to ensure a proper connection:
1. Locate the USB or HDMI Port: Identify the USB or HDMI port on your computer that you will use to connect the webcam. Most webcams use a USB connection, while some higher-end models may have an HDMI or Thunderbolt port.
2. Connect the Webcam: Take the USB or HDMI cable that came with your webcam and plug one end into the webcam’s port. Then, insert the other end into the corresponding port on your computer. Ensure that the connection is secure.
3. Power On the Webcam: If your webcam has a power button or switch, turn it on. Some webcams draw power directly from the USB connection and won’t have a separate power switch.
4. Wait for the Computer to Detect the Webcam: Your computer should automatically detect the webcam and install any necessary drivers. If prompted, follow the on-screen instructions to complete the driver installation process.
5. Verify the Webcam Connection: Once the drivers are installed, open the device manager on your computer and look for the webcam under the “Cameras” or “Imaging devices” category. If you see your webcam listed without any warning icons, it means the connection was successful.
Connecting your webcam to your computer is a vital step in the setup process. Make sure to use the included cables or adapters that came with your webcam to ensure a stable and reliable connection. Once the webcam is connected, you’re one step closer to enhancing your Twitch Studio streaming experience with video feed from your webcam.
Step 3: Install Webcam Drivers (If Required)
Installing webcam drivers is an essential step to ensure that your webcam functions properly with Twitch Studio. While many webcams have plug-and-play functionality and automatically install drivers upon connection, there are instances where manual installation is necessary. Follow these steps to install webcam drivers if required:
1. Check Manufacturer’s Website: Visit the manufacturer’s website of your webcam to find the latest drivers available for download. Look for a support or downloads section on their website and search for your webcam’s model number.
2. Download the Drivers: Locate the appropriate drivers for your webcam on the manufacturer’s website. Make sure to select the drivers that match your operating system version (e.g., Windows, macOS, Linux).
3. Install the Drivers: Once the drivers are downloaded, run the installation file. Follow the on-screen instructions to complete the driver installation process. This may involve accepting the software terms and conditions, choosing an installation location, and clicking “Next” or “Install” when prompted.
4. Restart Your Computer: After the driver installation is complete, it is recommended to restart your computer. This ensures that the drivers are properly integrated into your system and ready for use.
5. Test the Webcam: Once your computer has restarted, open Twitch Studio and access the webcam settings. Test the webcam to ensure that it is functioning correctly. If the webcam displays a clear video feed without any issues, then the driver installation was successful.
Installing webcam drivers, if required, ensures that your webcam communicates effectively with your operating system and other software applications, including Twitch Studio. The drivers enable the webcam to transmit high-quality video and audio, providing an optimal streaming experience for you and your viewers.
Step 4: Open Twitch Studio
Now that your webcam is connected and any necessary drivers are installed, it’s time to open Twitch Studio and get ready to integrate your webcam into your streaming setup. Follow these steps to open Twitch Studio:
1. Launch Twitch Studio: Locate the Twitch Studio application on your computer. You can usually find it in your list of installed programs or by searching for “Twitch Studio” in the Start menu or the application launcher on macOS.
2. Sign In to your Twitch Account: Once Twitch Studio launches, you will be prompted to sign in to your Twitch account. Enter your username and password and click on the “Sign In” button to proceed.
3. Grant Necessary Permissions: Depending on your operating system, Twitch Studio may require certain permissions to access your webcam. Ensure that you grant the necessary permissions when prompted. This allows Twitch Studio to access your webcam’s video feed.
4. Configure Stream Settings (Optional): Twitch Studio provides various options for configuring your stream settings. You can set your preferred streaming bitrate, resolution, and other quality settings to ensure a smooth and consistent streaming experience. Take some time to adjust these settings according to your preferences.
5. Access Webcam Settings: Once you have configured your stream settings, navigate to the webcam settings. Look for a “Webcam” or “Camera” option in the Twitch Studio interface. This is where you will configure your webcam settings and make adjustments to your video feed.
With Twitch Studio open, you are now ready to integrate your webcam into your streaming setup. The Twitch Studio interface provides a user-friendly platform to customize your streams, interact with your audience, and deliver captivating content with the help of your webcam.
Step 5: Access Webcam Settings
After opening Twitch Studio, the next step is to access the webcam settings. These settings allow you to customize and fine-tune your webcam feed according to your preferences. Follow these steps to access the webcam settings:
1. Navigate to the Webcam Settings: Look for a dedicated section or tab within the Twitch Studio interface that is specifically designated for webcam settings. Often, this section is labeled “Webcam,” “Camera,” or “Video Settings.”
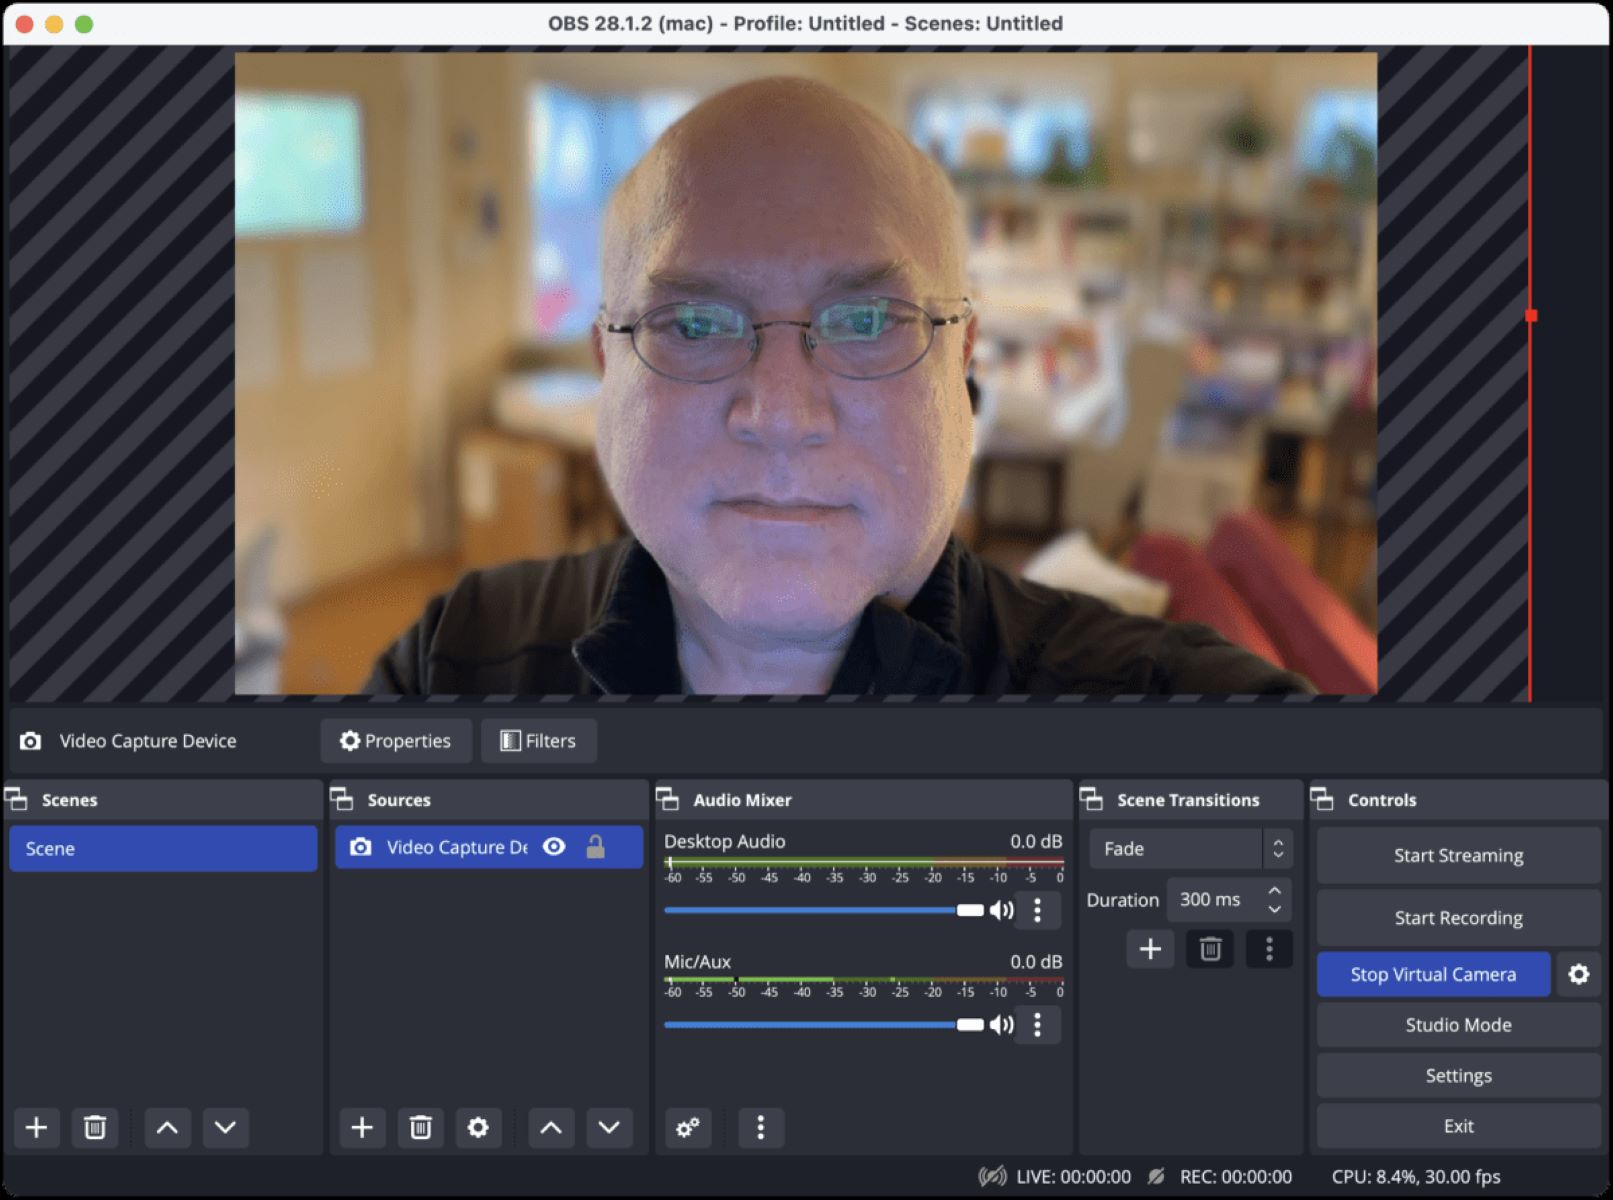
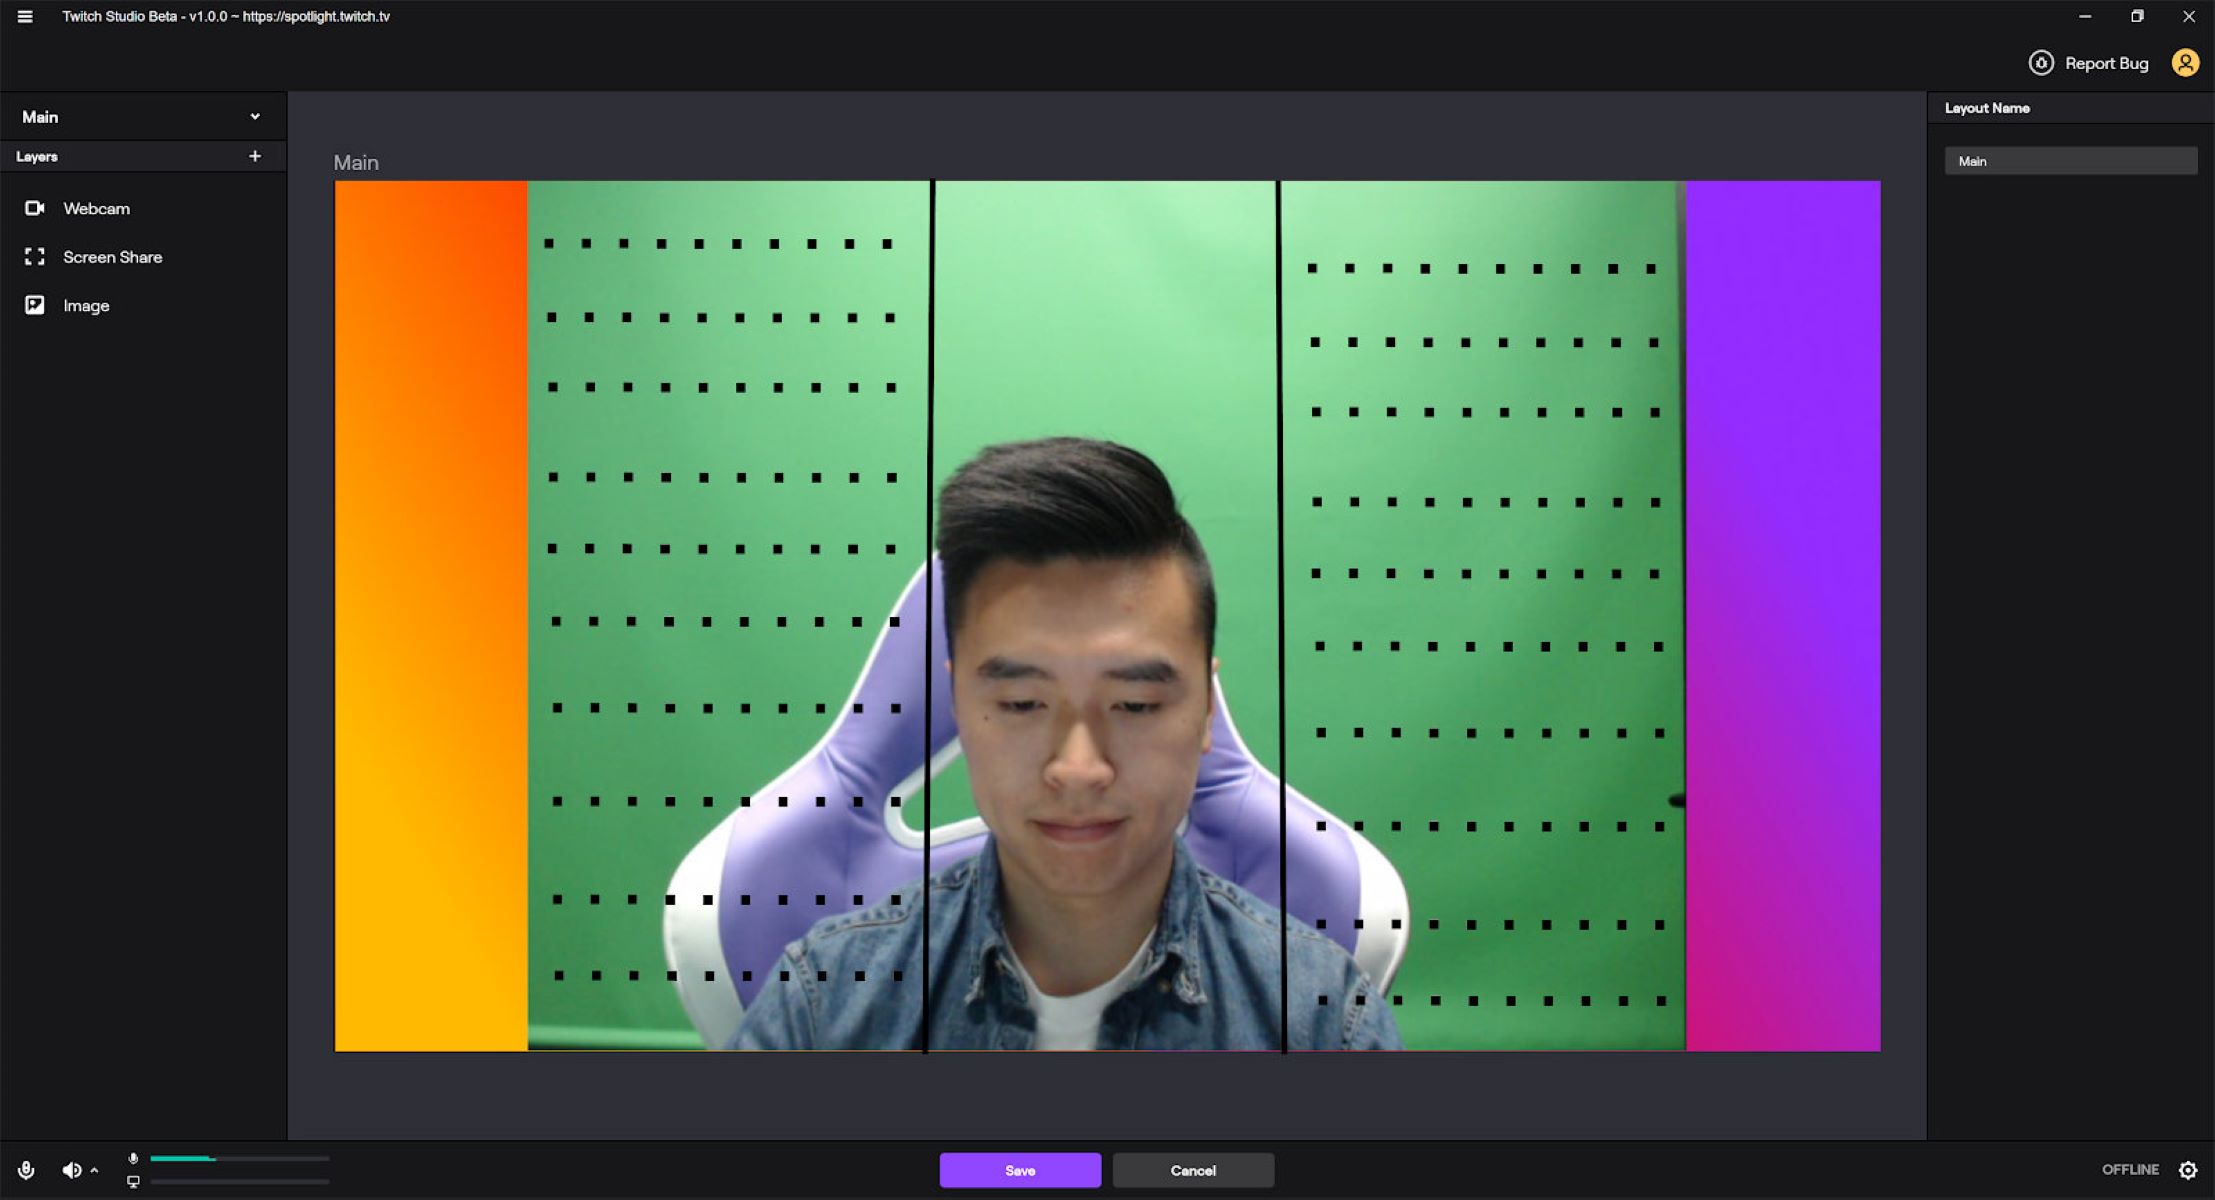
2. Locate the Webcam Feed: Once you are in the webcam settings section, you should be able to see a preview of your webcam feed. This shows you what your viewers will see during your live streams.
3. Explore Available Options: In the webcam settings section, you will find various adjustable options to enhance your webcam feed. Depending on the software version and the capabilities of your webcam, these options may include resolution, frame rate, exposure, white balance, autofocus, and zoom levels.
4. Review Default Settings: Take a moment to review the default settings of your webcam. These settings are the initial configuration that Twitch Studio assigns to the webcam. While the default settings are suitable for basic streaming, you may want to customize them to achieve the desired look and feel.
5. Make Adjustments: Depending on your preferences and the lighting conditions of your streaming environment, make necessary adjustments to the webcam settings. For example, you can adjust the exposure and white balance to properly capture your surroundings, or you can experiment with the zoom and framing to ensure the desired composition.
6. Preview the Changes: As you make adjustments, keep an eye on the webcam feed preview to see how the changes affect the video output. This allows you to make real-time adjustments until you achieve the desired look.
By accessing the webcam settings within Twitch Studio, you have the flexibility to optimize your webcam feed and create a visually appealing streaming experience. Take your time to explore the available options and fine-tune your webcam settings according to your preferences and the requirements of your specific streaming setup.
Step 6: Configure Webcam Settings
Once you have accessed the webcam settings in Twitch Studio, it’s time to configure the settings to achieve the desired video quality and appearance. Follow these steps to configure your webcam settings:
1. Adjust Resolution and Frame Rate: Review the available options for resolution and frame rate in the webcam settings. Depending on your webcam and computer capabilities, you may have different resolution and frame rate options to choose from. Select the resolution and frame rate that best matches your streaming requirements and the capabilities of your webcam.
2. Set Exposure and White Balance: The exposure and white balance settings allow you to adjust the brightness and color balance of your webcam feed. Experiment with these settings to ensure that your video appears natural and well-lit. If you are in a low-light environment, you may need to increase the exposure to enhance visibility.
3. Enable Autofocus (If Available): Some webcams support autofocus functionality. If your webcam has this feature, consider enabling it to ensure that your video remains sharp and focused even when you move or adjust your position during the stream. This can help maintain a professional and polished appearance.
4. Zoom and Framing: Depending on your streaming setup, you may want to adjust the zoom level and framing of your webcam feed. Use the available zoom controls to zoom in or out, and experiment with different framing options to achieve the desired composition. Ensure that the focus of your video remains the primary subject, whether it’s your face, gaming setup, or any other relevant element.
5. Test Different Settings: While configuring the webcam settings, it’s a good idea to test them in real-time. Twitch Studio often provides a preview of your webcam feed, allowing you to see the changes as you make them. Take the time to test different settings and observe the impact they have on your video feed.
6. Fine-Tune Based on Feedback: If you receive feedback or notice issues with your webcam feed during test streams or from your viewers, be open to further tweaking and refining the settings. Regularly evaluate the quality of your webcam feed and make adjustments as necessary to ensure the best possible streaming experience.
By configuring your webcam settings in Twitch Studio, you can tailor your video output to match your preferences and create a visually pleasing streaming experience. Experiment with different settings and strive for a balance between video quality, clarity, and the overall atmosphere you want to convey through your stream.
Step 7: Adjust Webcam Position and Framing
Now that you have configured the webcam settings in Twitch Studio, it’s time to ensure that the positioning and framing of your webcam feed are just right. Follow these steps to adjust your webcam position and framing:
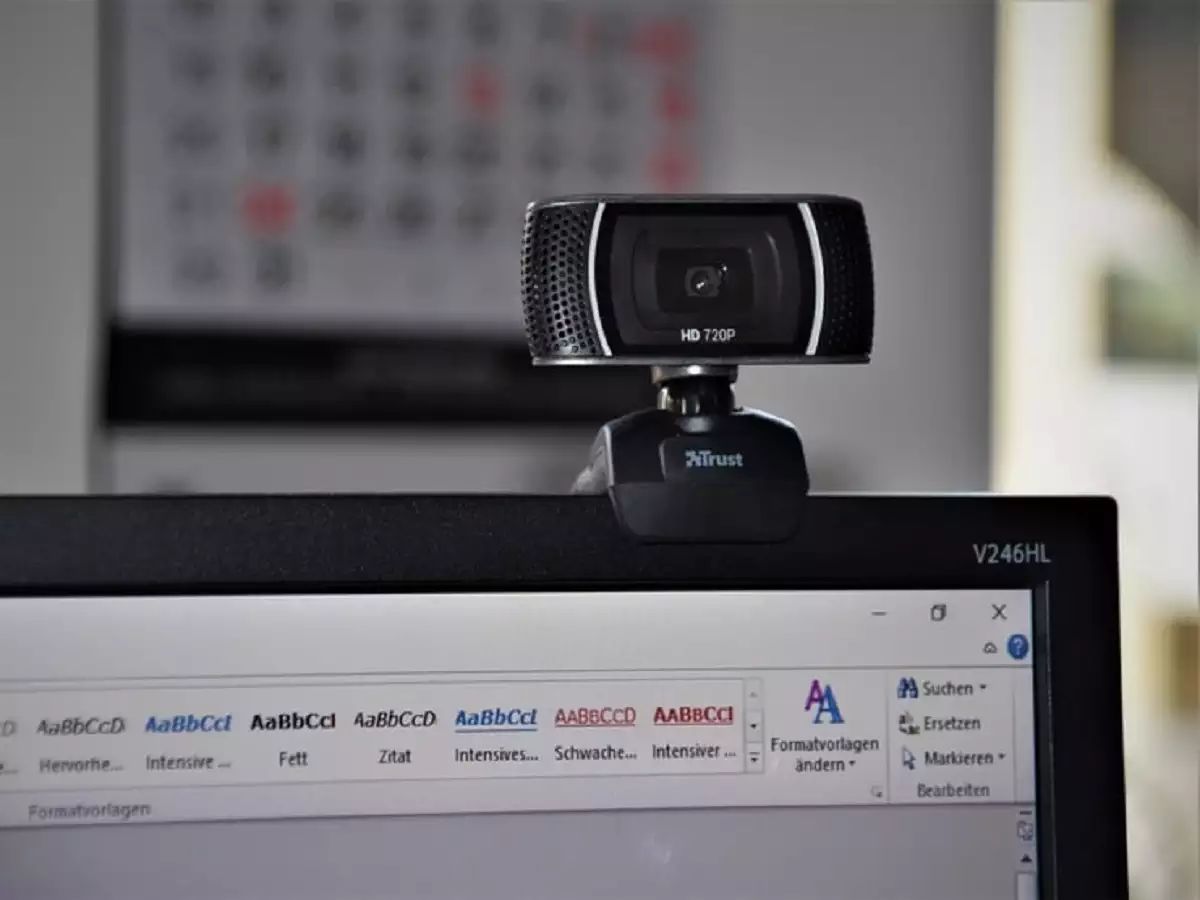
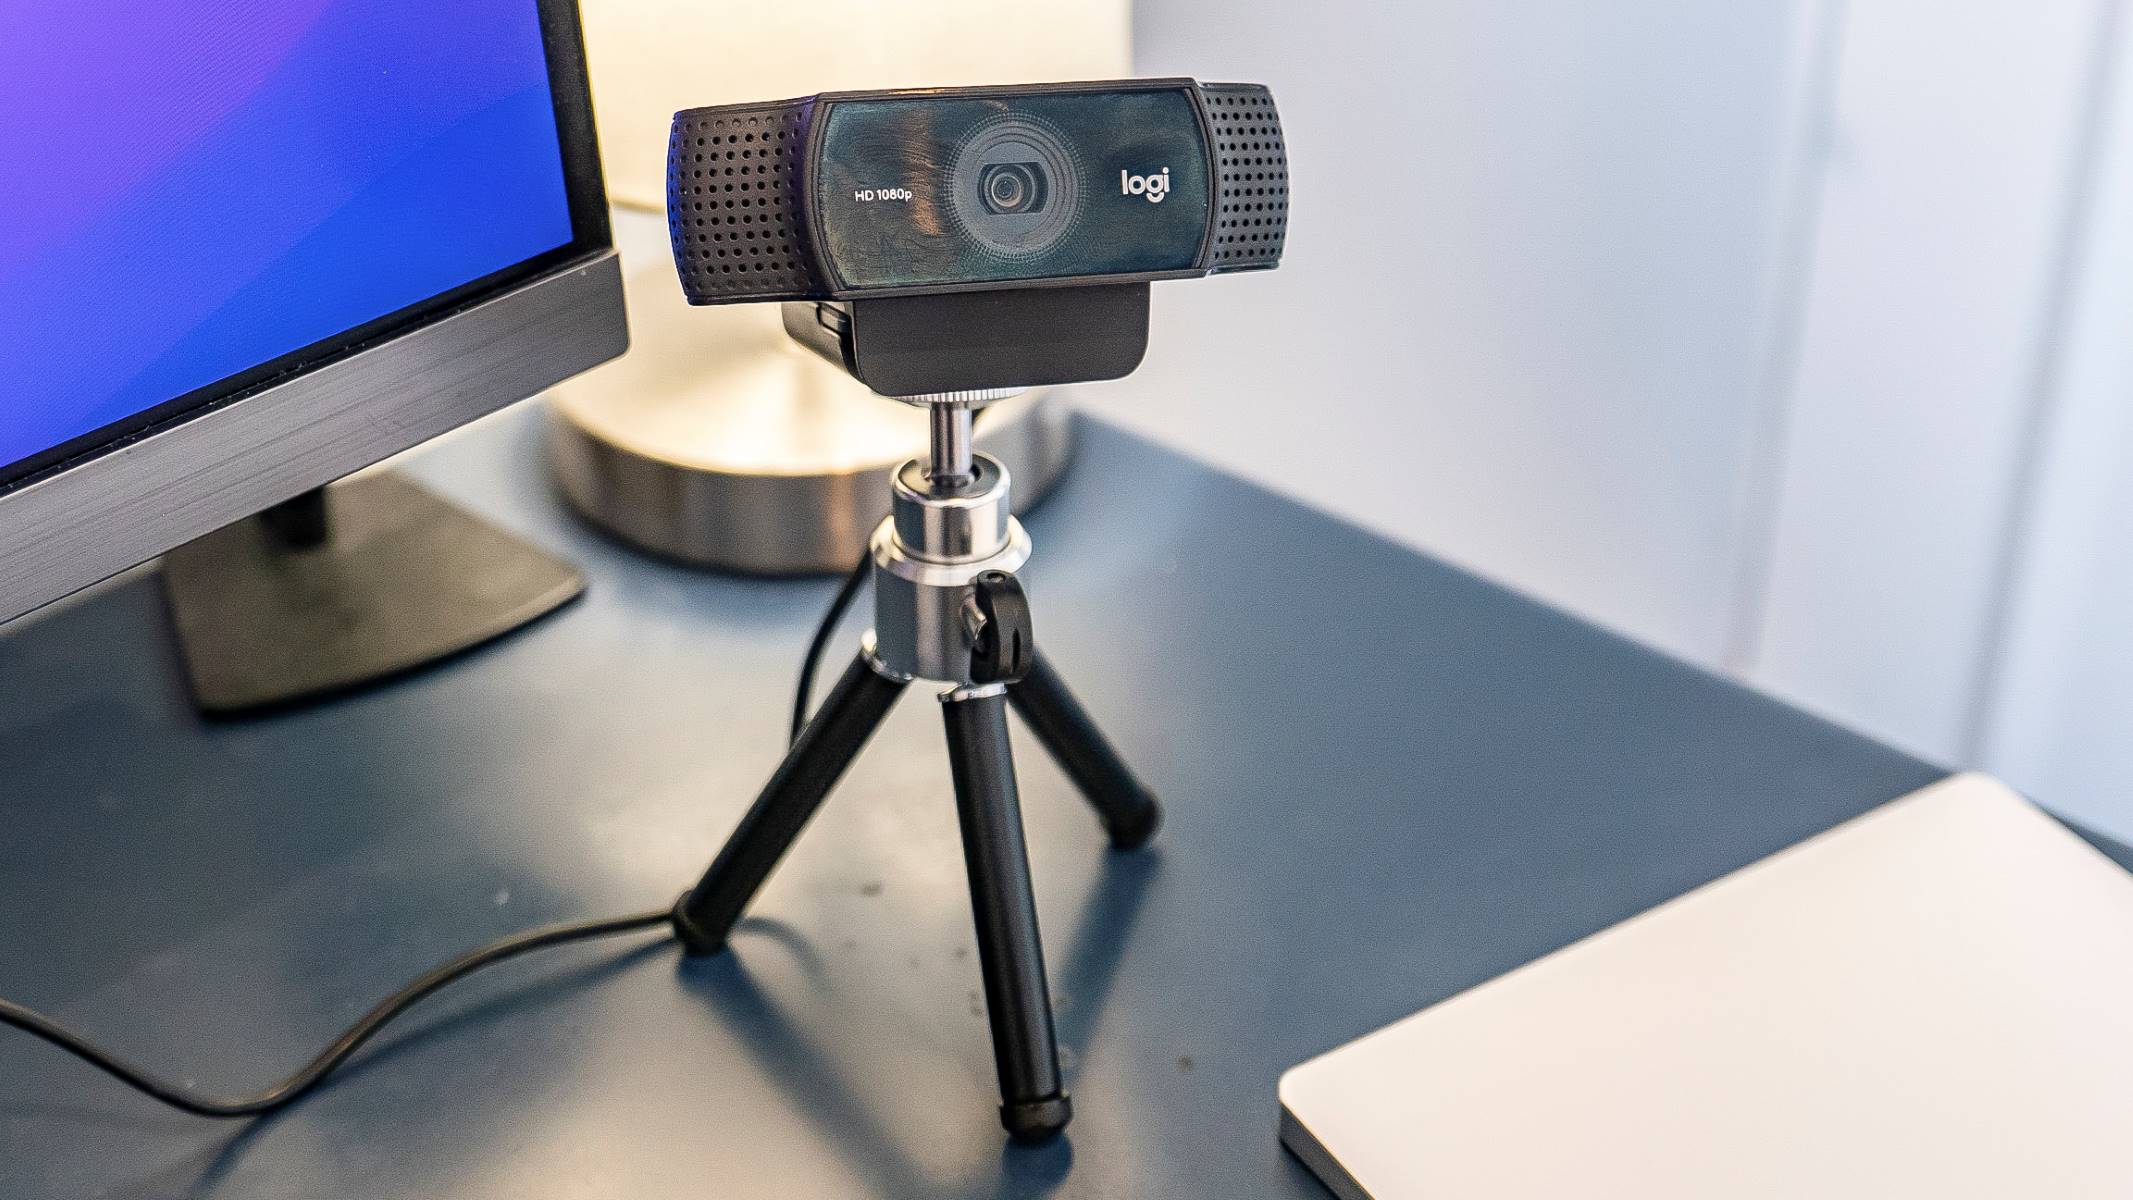
1. Evaluate Placement Options: Consider the different placement options for your webcam. You can position it on top of your monitor, attach it to a tripod, or use any other mounting solution that provides stability and optimal visibility. Choose a placement that allows your viewers to see you clearly without obstructing your content or gameplay.
2. Adjust Height and Angle: If your webcam can be tilted or swiveled, adjust the height and angle to capture your face and upper body appropriately. Make sure that your face is centered in the frame and that your posture is comfortable and natural. Avoid extreme angles or positions that may appear awkward or distracting to your viewers.
3. Consider Background and Lighting: Take a moment to consider the background and lighting in your streaming environment. Ensure that the background is clean, clutter-free, and visually appealing. Pay attention to the lighting and adjust it as necessary to avoid harsh shadows, glares, or overexposure. Good lighting can greatly enhance the quality of your webcam feed.
4. Test Different Positions: Conduct test streams and record yourself in various positions to see how the webcam feed appears. Assess the framing and positioning from the viewer’s perspective and make adjustments accordingly. Take note of any distracting elements or areas that need improvement.
5. Fine-tune Based on Feedback: If you receive feedback from viewers or notice any issues during test streams, be open to making further adjustments. Consider their suggestions and strive to find the best balance between visibility, positioning, and framing.
Remember, the position and framing of your webcam feed play a crucial role in creating a visually appealing streaming experience. Your viewers should be able to see you clearly without any distractions or obstructions. Take the time to evaluate and adjust your webcam’s position until you achieve the desired look and feel for your stream.
Step 8: Test Your Webcam
After adjusting the webcam position and framing, it’s important to thoroughly test your webcam to ensure that it is functioning properly before going live on Twitch Studio. Follow these steps to test your webcam:
1. Preview Your Webcam Feed: Open Twitch Studio and access the webcam settings. Locate the preview or preview mode that shows your webcam feed. This allows you to see how your video looks in real-time and make any necessary adjustments.
2. Check Video Quality: Observe the video quality of your webcam feed. Ensure that the resolution, frame rate, and clarity meet your expectations and the requirements of your stream. Pay attention to any pixelation, blurriness, or other distortions that may impact the viewing experience.
3. Test Different Lighting Conditions: If possible, experiment with different lighting conditions to see how your webcam performs in various scenarios. Evaluate how well it handles low-light conditions, bright lighting, and other challenging lighting situations. Make adjustments to the exposure and lighting setup as needed.
4. Evaluate Audio Sync: In addition to video quality, test the audio sync of your webcam. Speak or make sounds while watching the webcam feed and ensure that the audio is properly synced with the video. If you notice any delays or issues, adjust the settings or troubleshoot your audio setup.
5. Interact with Movements: Perform some movements or gestures while monitoring the webcam feed. This can include waving, nodding, or other actions that you commonly do during your streams. Verify that the webcam captures these movements accurately and without lag or distortion.
6. Test in Different Streaming Modes: If Twitch Studio offers different streaming modes (e.g., stream preview, record mode), consider testing your webcam in each mode to assess how it performs. This will give you a comprehensive view of how your webcam behaves during different streaming scenarios.
7. Seek Feedback: Share your test streams with trusted friends or fellow streamers and ask for their feedback. They can provide valuable insights and suggestions to improve your webcam setup. Pay attention to their comments regarding video quality, framing, and overall stream presentation.
By testing your webcam thoroughly, you can identify any issues or areas for improvement before going live on Twitch Studio. Regularly perform these tests to ensure that your webcam is delivering the best possible video and audio quality, resulting in an engaging and professional streaming experience for your viewers.
Conclusion
Adding a webcam to Twitch Studio is a fantastic way to enhance your live streaming experience. By following the steps outlined in this guide, you can seamlessly integrate your webcam into your Twitch Studio setup and engage your audience in a more personal and captivating manner.
From checking the compatibility of your webcam to configuring the settings and testing its functionality, each step plays a vital role in ensuring a smooth and high-quality streaming experience.
Remember to verify the compatibility of your webcam with Twitch Studio, connect it to your computer correctly, and install any necessary drivers. Once your webcam is connected, open Twitch Studio and explore the webcam settings to customize your video output according to your preferences.
Adjusting the webcam position and framing is crucial for achieving a visually pleasing stream. Test your webcam thoroughly by evaluating video quality, audio sync, and interactions with movements. Seek feedback from others to gather insights and make necessary adjustments.
By following these steps, you can create a professional-looking stream that captivates your viewers and helps you build a stronger connection with your audience.
Now it’s time to go live and share your passion, talents, and content with the world through Twitch Studio! Embrace the power of webcam integration and take your live streaming to the next level.