Introduction
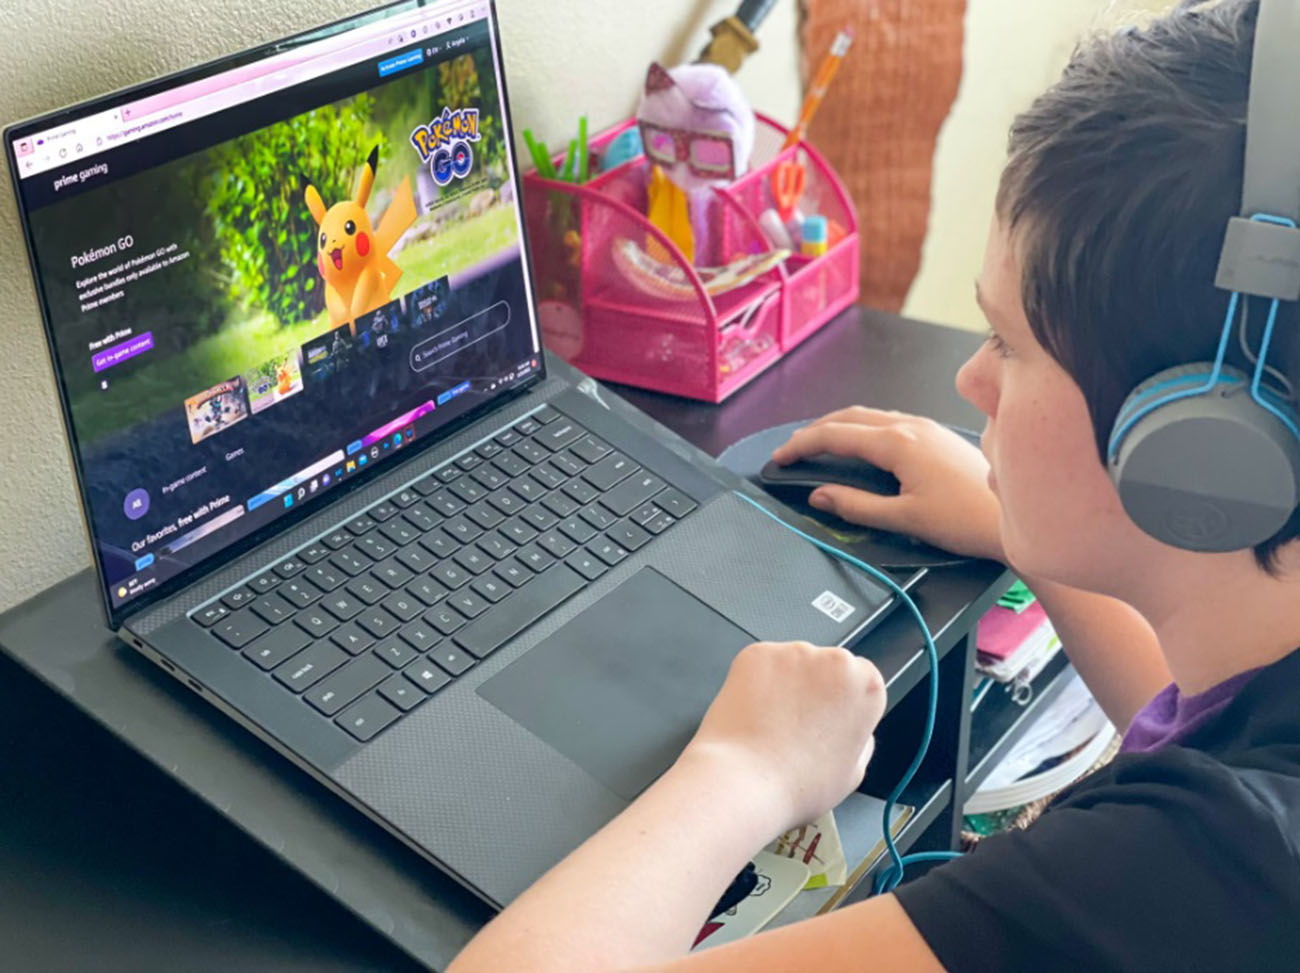
Welcome to the world of digital entertainment, where streaming platforms have revolutionized the way we consume media. If you’re a fan of both Amazon Prime and Discord, you’ll be thrilled to know that you can now combine the two to enhance your streaming experience.
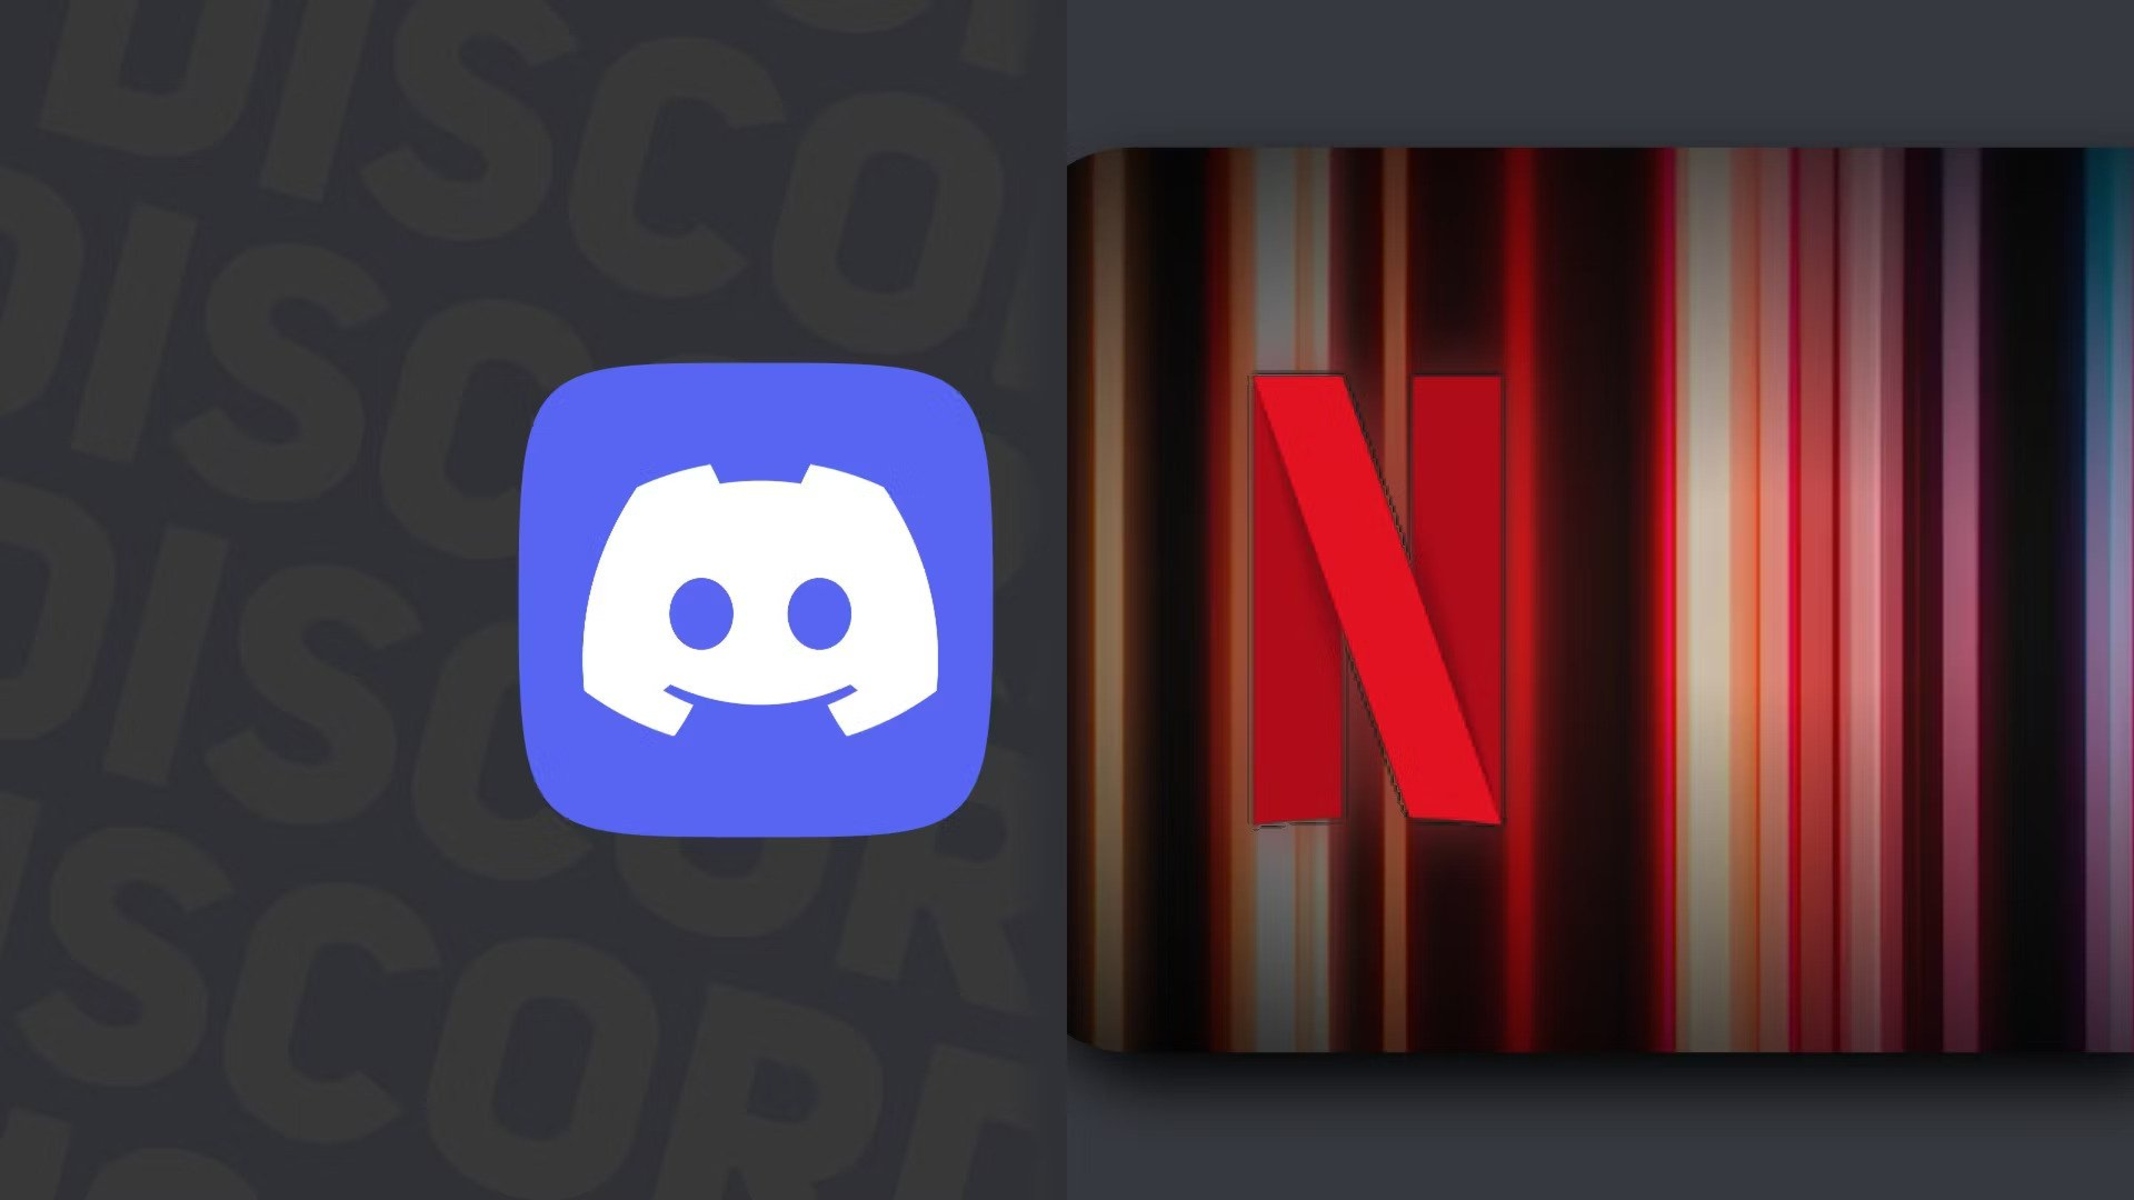
Discord, a popular communication platform amongst gamers and communities, allows users to voice chat, video chat, and share screens. It’s a perfect platform to connect and engage with friends while enjoying your favorite movies and TV shows. In this guide, we’ll walk you through the steps on how to stream Amazon Prime on Discord.
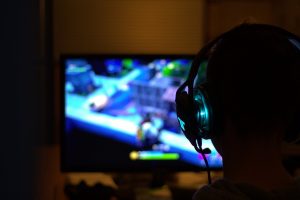
Streaming Amazon Prime on Discord grants you the opportunity to watch content simultaneously with your friends or community members. Whether you want to organize a movie night, share your reaction to a thrilling series, or simply enjoy a film together, Discord offers an immersive experience.
Before we dive into the steps, it’s important to note that streaming copyrighted content may infringe on intellectual property rights. Make sure to obtain the necessary permissions or use content that is legally available for streaming.
Now, let’s get started on setting up your Discord server and streaming Amazon Prime!
Step 1: Create a Discord server
To begin streaming Amazon Prime on Discord, you’ll first need to create a Discord server. Follow these simple steps to set up your server:
- Open the Discord application on your computer or visit the Discord website.
- If you’re new to Discord, click on the “Create a server” button. Otherwise, you can click on the “+” button on the left-hand side to create a new server.
- Give your server a name that reflects its purpose. You can choose a fun and creative name, or a more straightforward one, depending on your preference.
- Optionally, you can upload a server icon to make it visually appealing. This can be an image related to the theme of your server or a custom icon that represents your community.
- Once you’ve named your server and uploaded an icon (if desired), click on the “Create” button to complete the process.
Congratulations! You have successfully created your Discord server. Now it’s time to add the necessary bot to your server to enable streaming capabilities.
Remember to customize your server settings, such as roles, permissions, and channels, to create the desired environment for your community. You can also invite your friends or community members to join your server by sharing the invite link.
Now that your Discord server is set up, let’s move on to the next step: adding the Groovy bot to your server.
Step 2: Add Groovy bot to your server
To enable music and streaming capabilities on your Discord server, you’ll need to add a bot. In this case, we will be using the popular Groovy bot. Follow the steps below to add the Groovy bot to your server:
- Visit the Groovy bot website or search for “Groovy bot” on your preferred search engine.
- Click on the “Add to Discord” button on the Groovy bot website.
- Next, you’ll be redirected to the Discord website or application, where you’ll need to authorize the bot to access your server. Make sure to select the correct server from the dropdown menu.
- After authorizing the bot, you’ll be asked to complete a reCAPTCHA to verify that you’re not a robot.
- Finally, select the permissions you want to grant to the Groovy bot. It’s recommended to give it the necessary permissions to join voice channels, speak, and manage messages. These permissions are essential for streaming and controlling the music playback.
- Click on the “Authorize” button to add the Groovy bot to your server.
Once the bot is added, you’ll see it in the member list of your server. Now you’re ready to invite the bot to the voice channel and start streaming Amazon Prime on Discord.
Adding the Groovy bot to your server enhances the streaming capabilities of your Discord server. Not only can you stream music from various platforms, but you can also stream your favorite Amazon Prime content for a shared viewing experience.
Now that you’ve successfully added the Groovy bot, let’s move on to the next step: inviting the bot to the voice channel.
Step 3: Invite Groovy bot to the voice channel
Now that you have added the Groovy bot to your Discord server, the next step is to invite the bot to the voice channel where you want to stream Amazon Prime. Follow these steps to invite the Groovy bot to the voice channel:
- Open your Discord server and navigate to the voice channel where you and your friends will be streaming Amazon Prime.
- In the text chat section of the voice channel, type the command “!play” followed by the name of the song or artist you want to stream (e.g., “!play The Beatles”).
- The Groovy bot will join the voice channel and start playing the requested song.
- Now that the Groovy bot is in the voice channel, you and your friends can enjoy streaming Amazon Prime together. The bot will broadcast the audio from Amazon Prime to the voice channel.
- To control the playback of the Amazon Prime content, you can use various commands such as “!pause” to pause the playback, “!resume” to resume, “!skip” to skip to the next track, and more.
- You can also adjust the volume of the bot by using the command “!volume” followed by the desired volume percentage (e.g., “!volume 50” to set the volume to 50%).
Inviting the Groovy bot to the voice channel allows you and your friends to enjoy a synchronized streaming experience on Discord. Now you can sit back, relax, and watch your favorite movies or TV shows from Amazon Prime while chatting and sharing reactions with your friends in real-time.
Remember to ensure that all members in the voice channel have the necessary permissions to hear the bot and participate in the streaming session. This will ensure that everyone can enjoy the Amazon Prime content without any interruptions.
Now that you’ve invited the Groovy bot to the voice channel, let’s move on to the next step: connecting your Amazon Prime account to Twitch.
Step 4: Connect your Amazon Prime account to Twitch
In order to stream Amazon Prime content on Discord, you’ll need to connect your Amazon Prime account to Twitch. Twitch is a popular streaming platform that allows you to share your gaming sessions and other digital content. Follow these steps to connect your Amazon Prime account to Twitch:
- Open a web browser and navigate to the Twitch website.
- If you already have a Twitch account, log in. Otherwise, click on “Sign Up” to create a new account.
- Once you’re logged in to Twitch, click on your profile icon in the top-right corner and select “Settings” from the dropdown menu.
- In the left-hand menu of the Settings page, click on “Connections.”
- Scroll down until you find the “Other Connections” section, then click on “Connect” next to the Amazon Prime option.
- A new window will open, asking you to log in to your Amazon account. Enter your Amazon account credentials and click “Sign In.”
- After signing in, you will be prompted to authorize Twitch to access your Amazon Prime account. Click on “Authorize” to proceed.
- Once you’ve successfully connected your Amazon Prime account to Twitch, you will see a confirmation message on the Twitch website.
By connecting your Amazon Prime account to Twitch, you now have the necessary access to stream Amazon Prime content on Discord using the Twitch integration. This integration allows you to share your Amazon Prime videos and enjoy them together with your friends or community members on Discord.
Now that your Amazon Prime account is connected to Twitch, it’s time to move on to the next step: installing OBS Studio.
Step 5: Install OBS Studio
In order to stream your Amazon Prime content on Discord, you’ll need to install OBS Studio. OBS Studio is a free and open-source software that enables live streaming and recording of your screen. Follow these steps to install OBS Studio:
- Open a web browser and navigate to the OBS Studio website.
- Click on the “Download” button on the homepage.
- On the Downloads page, select the appropriate version of OBS Studio for your operating system (Windows, macOS, or Linux).
- Once the installer file is downloaded, double-click on it to begin the installation process.
- Follow the on-screen instructions to install OBS Studio. You can choose the default settings or customize them according to your preferences.
- After the installation is complete, launch OBS Studio on your computer.
Congratulations! You have successfully installed OBS Studio. This powerful software will be the key to streaming your Amazon Prime content on Discord, allowing you to share your favorite movies and TV shows with your friends or community.
OBS Studio offers a range of features and customization options to enhance your streaming experience. You can adjust the video and audio settings, add overlays, and even include your webcam feed. Take some time to explore OBS Studio and familiarize yourself with its functionalities to make the most out of your Amazon Prime streaming sessions on Discord.
Now that OBS Studio is installed, let’s move on to the next step: configuring OBS Studio to stream Amazon Prime on Discord.
Step 6: Configure OBS Studio
Now that you have OBS Studio installed on your computer, it’s time to configure it for streaming your Amazon Prime content on Discord. Follow these steps to configure OBS Studio:
- Launch OBS Studio and you’ll be greeted with the main OBS interface.
- Click on “Settings” in the bottom-right corner to open the settings window.
- In the settings window, navigate to the “Stream” tab.
- From the “Streaming Services” dropdown menu, select “Twitch.” This will ensure that OBS Studio is optimized for streaming on Twitch.
- Next, you’ll need to retrieve your Twitch stream key. Open a web browser and log in to your Twitch account.
- In your Twitch account dashboard, click on your profile icon in the top-right corner and select “Creator Dashboard” from the dropdown menu.
- In the left-hand menu of the Creator Dashboard, click on “Preferences,” then select the “Channel” tab.
- Scroll down to the “Stream Key & Preferences” section, and under “Primary Stream Key,” click on the “Copy” button to copy your stream key.
- Go back to OBS Studio and paste your Twitch stream key into the “Stream key” field.
- Adjust other settings as desired, such as the video bitrate and resolution, to ensure optimal streaming quality.
- Click on “OK” to save your settings and close the settings window.
With OBS Studio configured, you are now ready to start streaming your Amazon Prime content on Discord. But before you do that, make sure you have Amazon Prime open in a separate window or on a second monitor, ready to stream.
Take some time to explore OBS Studio’s additional settings and features to further customize your streaming experience. You can add scene transitions, overlay images or text, and even include audio sources, such as background music or a microphone feed, to enhance your streaming sessions.
Now that OBS Studio is configured, let’s move on to the next step: starting the stream and streaming Amazon Prime on Discord.
Step 7: Start streaming Amazon Prime on Discord
Now that you have OBS Studio configured, you are ready to start streaming your favorite Amazon Prime content on Discord. Follow these steps to begin streaming:
- Open Amazon Prime in a separate window or on a second monitor.
- Make sure the desired movie or TV show is selected and ready to play.
- Switch back to OBS Studio and click on the “Start Streaming” button in the bottom-right corner of the OBS interface.
- Once the OBS Studio stream is active, switch to Discord and join the voice channel where you want to stream.
- Share your screen in the Discord voice channel by clicking on the “Screen” icon in the bottom-left corner of the Discord interface.
- Select the screen that contains the Amazon Prime window, and click “Share.”
- Now, your Amazon Prime content will be streamed to the voice channel, allowing everyone in the channel to watch it in real-time.
While streaming Amazon Prime on Discord, you can communicate with your friends or community members using the voice chat feature. Share your thoughts, reactions, and discuss the content as if you were all watching together in person.
As the stream host, you have the ability to control the playback of the Amazon Prime content. Use the controls within the Amazon Prime window to play, pause, or seek through the video, ensuring a synchronized viewing experience for everyone in the voice channel.
Additionally, OBS Studio offers the flexibility to customize your stream further. You can add overlays, adjust audio settings, and even include a webcam feed to make your streaming experience more engaging and interactive.
Remember to respect copyright laws and only stream content that you have the rights to share or that is legally available for streaming. Be mindful of any limitations or restrictions that may apply to the content you are streaming.
Now that you have successfully started streaming Amazon Prime on Discord, sit back, relax, and enjoy the shared experience with your friends or community members. Happy streaming!
Conclusion
Streaming Amazon Prime on Discord opens up a whole new world of shared entertainment experiences with your friends or community members. By following the steps outlined in this guide, you have learned how to create a Discord server, add the Groovy bot for streaming capabilities, invite the bot to the voice channel, connect your Amazon Prime account to Twitch, install OBS Studio, configure OBS Studio, and start streaming Amazon Prime on Discord.
With the integration of Discord, Groovy bot, Twitch, and OBS Studio, you can now enjoy synchronized viewing of your favorite Amazon Prime movies and TV shows, accompanied by real-time communication with those in the voice channel. This allows for a more immersive and interactive streaming experience where you can share your thoughts, reactions, and engage in discussions as if you were all watching together in the same room.
Remember to always comply with copyright laws and only stream content that you have the rights to share or that is legally available for streaming. Respect any limitations or restrictions that may apply to the content you are streaming.
Take the time to explore and experiment with the various features and settings of OBS Studio to personalize your streaming sessions. Add overlays, adjust audio settings, and get creative to enhance the visual and auditory aspects of your stream.
Now that you have the knowledge and tools to stream Amazon Prime on Discord, gather your friends, create watch parties, and have an amazing shared viewing experience. Enjoy your favorite movies and TV shows together, build connections, and make lasting memories through the power of streaming on Discord.
Happy streaming!