Overview of Amazon Prime and Twitch
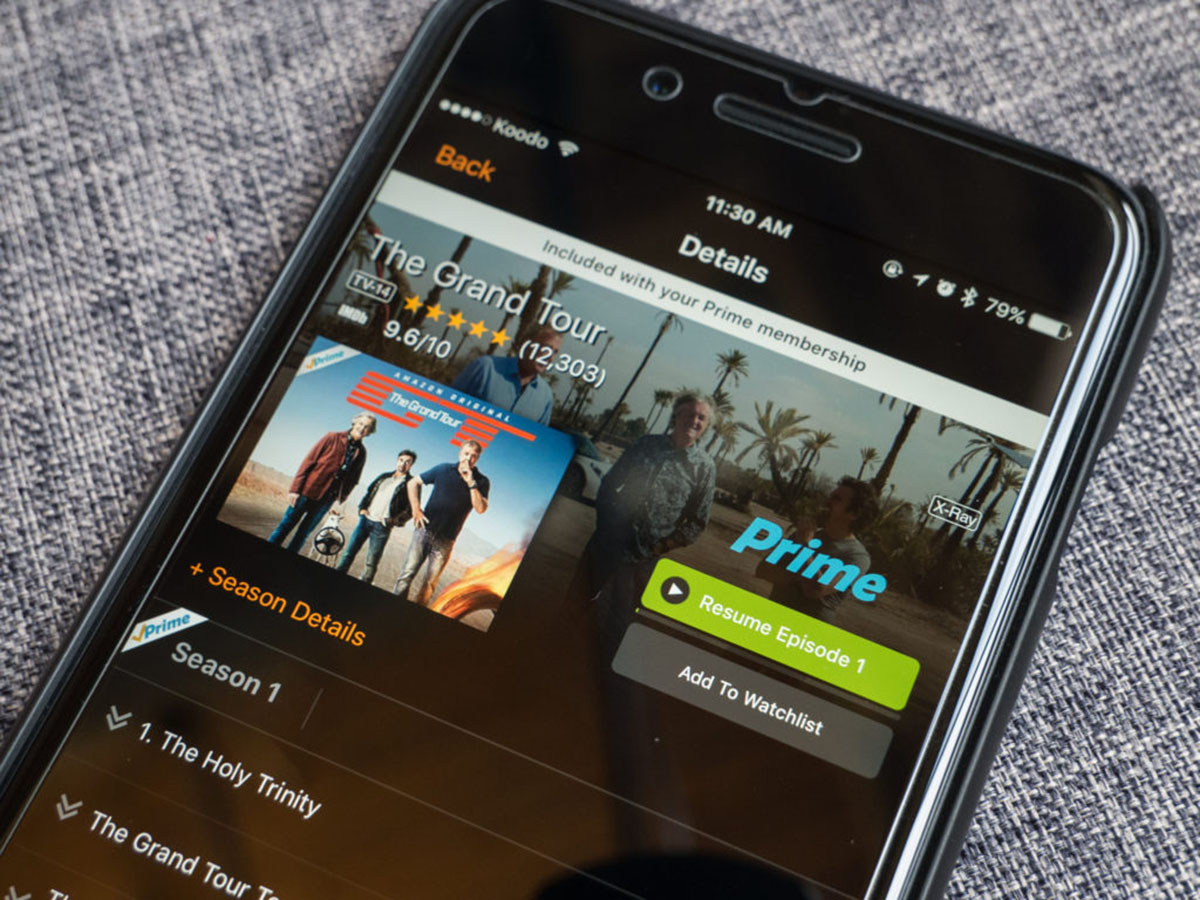
Amazon Prime and Twitch are two popular platforms that offer unique services to their users. Amazon Prime is a subscription-based service provided by Amazon, offering a wide range of benefits to its members. With Amazon Prime, users can enjoy perks such as free two-day shipping on eligible items, access to a vast library of movies and TV shows, ad-free music streaming, and exclusive deals on various products.
Twitch, on the other hand, is a live streaming platform primarily focused on gaming content. It allows users to watch and interact with their favorite streamers in real-time. Twitch offers a diverse range of content, including gameplay streams, talk shows, creative arts, and more. Viewers can engage with streamers through chat, donations, and subscriptions, showing their support for the content creator.
One of the exciting features that Amazon has integrated with Twitch is the ability to subscribe to Twitch channels using an Amazon Prime account. This means that if you are an Amazon Prime member, you can use your subscription benefits to support your favorite Twitch streamers at no additional cost. It’s a win-win situation, as you get to enjoy the benefits of both platforms.
By subscribing to a Twitch channel with Amazon Prime, you unlock several benefits. These include exclusive emotes (emoticons) that you can use in the chat, access to subscriber-only chat rooms, the removal of ads during streams, and the ability to support your favorite streamer financially. It’s a fantastic way to engage with the Twitch community and show your appreciation for the content creators you enjoy watching.
Now that you have a general understanding of Amazon Prime and Twitch, let’s explore the requirements and steps to subscribe to a Twitch channel with your Amazon Prime account.
Requirements for Subscribing with Amazon Prime on Twitch
In order to subscribe to a Twitch channel using your Amazon Prime account, there are a few requirements that you should be aware of. These include:
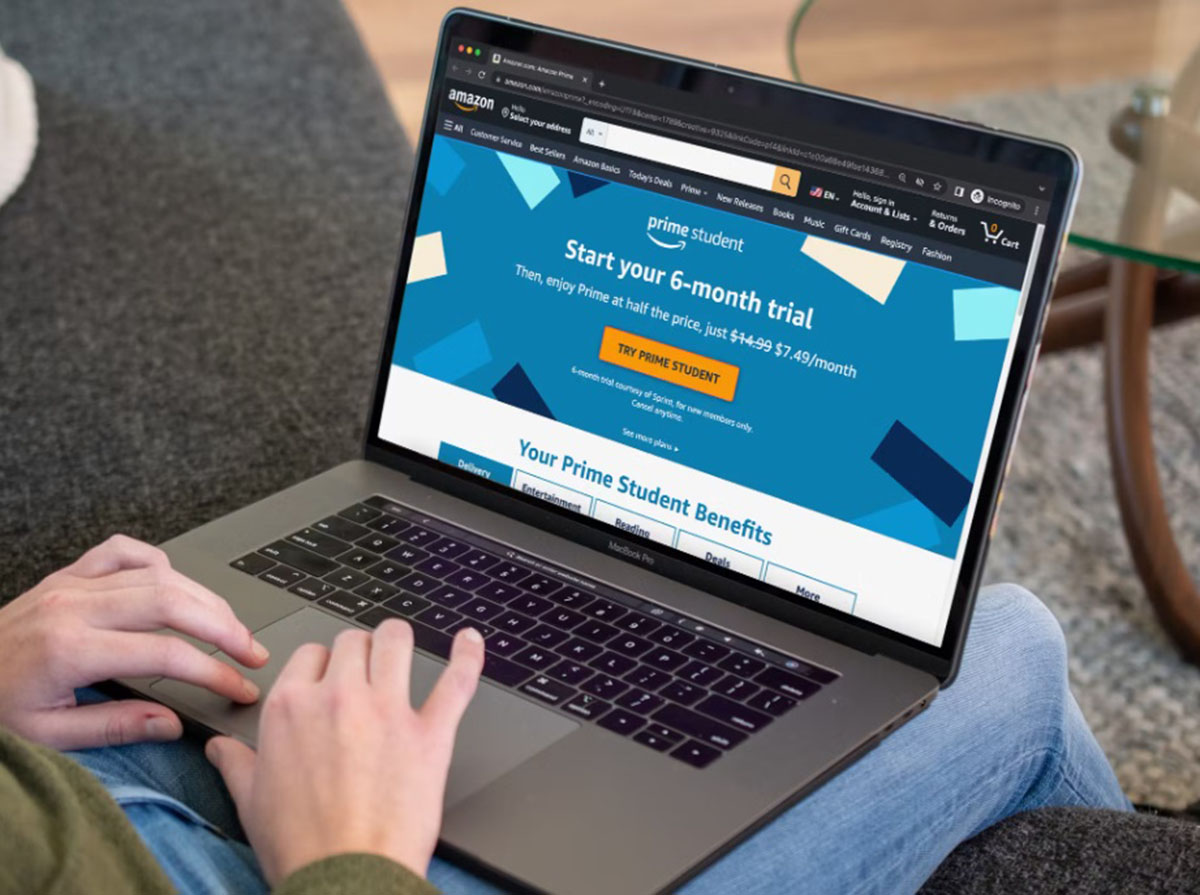
1. An active Amazon Prime subscription: To start, you must have a valid Amazon Prime subscription. Amazon Prime offers various membership options, including monthly and annual plans. If you’re not already a member, you can sign up for Amazon Prime on the Amazon website.
2. A Twitch account: You will need a Twitch account to subscribe to channels and interact with streamers. If you don’t have a Twitch account yet, you can easily create one by visiting the Twitch website and following the registration process. It’s free to sign up and only takes a few minutes.
3. Linking your Amazon Prime account to Twitch: To take advantage of the subscription benefits, you need to link your Amazon Prime account to your Twitch account. This ensures that Twitch recognizes your Amazon Prime membership and allows you to use your subscription benefits. Don’t worry; the process is quick and straightforward – we’ll cover it in the next section.
4. Compatibility with your country: The availability of Amazon Prime subscriptions and Twitch services may vary depending on the country you’re located in. Some benefits, such as Twitch Prime loot, may only be available to certain regions. Make sure to check the availability and compatibility of the services in your country before proceeding.
These are the main requirements you need to fulfill to subscribe to a Twitch channel using your Amazon Prime account. Once you meet these criteria, you’re all set to enjoy the benefits of your combined memberships. In the next section, we will guide you through the steps to link your Amazon Prime and Twitch accounts for seamless access to Twitch Prime benefits.
Step 1: Link Your Amazon Prime Account to Twitch
Before you can subscribe to a Twitch channel using your Amazon Prime account, you need to link the two accounts together. Here’s a step-by-step guide on how to do it:
1. Go to the Twitch website: Open a web browser and visit the official Twitch website at www.twitch.tv.
2. Sign in to your Twitch account: If you already have a Twitch account, click on the “Sign In” button located in the top-right corner of the Twitch homepage. Enter your login credentials to access your account. If you don’t have an account yet, click on the “Sign Up” button and follow the registration process to create a new Twitch account.
3. Access your Twitch settings: Once you’re logged in, click on your profile picture at the top-right corner of the Twitch homepage. In the dropdown menu, select “Settings” from the list of options.
4. Navigate to the Connections tab: Within the Settings menu, you’ll see a sidebar on the left-hand side. Click on the “Connections” tab to access the account linking options.
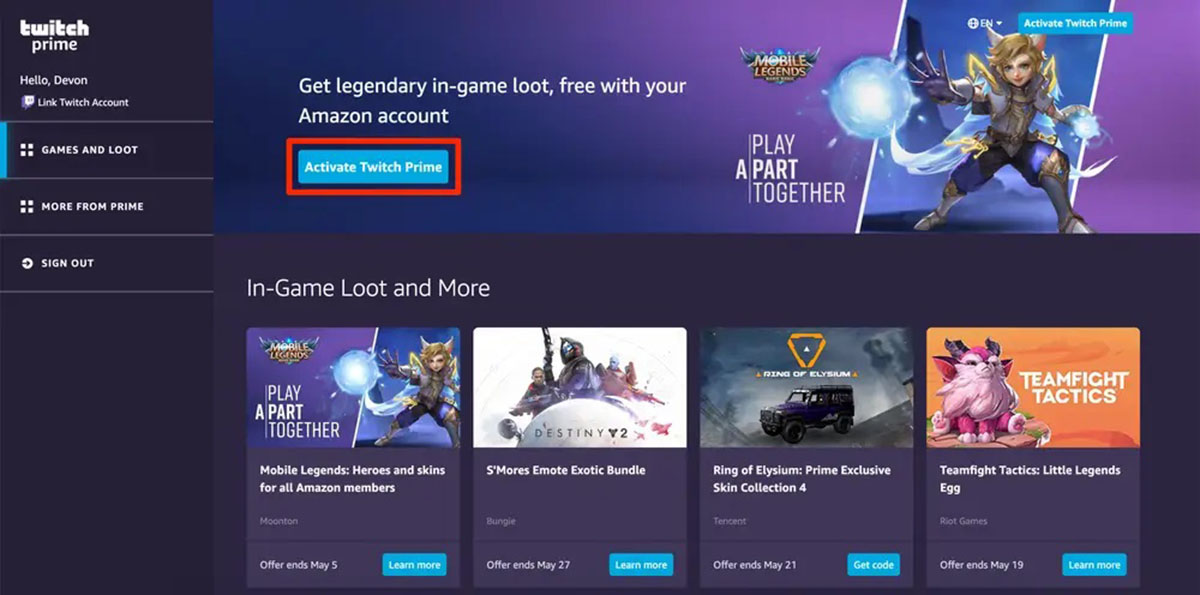
5. Connect your Amazon account: Scroll down until you find the section titled “Other Connections”. Look for the Amazon icon or the option to connect with Amazon Prime. Click on it to proceed.
6. Sign in to your Amazon account: A new window will open, prompting you to sign in to your Amazon account. Enter your Amazon login credentials and click “Sign In”.
7. Authorize the account linking: After signing in to your Amazon account, you’ll need to authorize the linking process. Read the information provided, and if you agree, click on “Authorize”.
8. Confirmation and completion: Once you’ve authorized the account linking, you should see a confirmation message that your Twitch and Amazon accounts have been successfully linked. You’re now ready to proceed with subscribing to Twitch channels using your Amazon Prime account!
By following these steps, you have successfully linked your Amazon Prime account to your Twitch account. This integration allows you to enjoy the benefits of Twitch Prime, including the ability to use your Amazon Prime subscription to subscribe to your favorite Twitch channels. In the next section, we’ll guide you through the process of finding the Twitch channel you want to subscribe to.
Step 2: Find the Twitch Channel You Want to Subscribe to
Now that you’ve successfully linked your Amazon Prime account to Twitch, it’s time to find the Twitch channel that you want to subscribe to. Follow these steps to locate the channel:
1. Visit the Twitch website: Open a web browser and go to www.twitch.tv. Make sure you are logged into your Twitch account.
2. Explore the Twitch directory: On the Twitch homepage, you’ll find a variety of content categories in the top navigation menu, such as “Browse,” “Discover,” and “Esports.” Click on any of these options to explore the channels and content available on Twitch.
3. Utilize the search bar: If you already know the name of the channel you want to subscribe to, you can use the search bar located prominently at the top of the Twitch homepage. Simply type in the name of the channel or the username of the streamer and hit enter.
4. Browse by category or game: Twitch has a wide range of categories and games available to browse. If you’re not sure which channel you want to subscribe to, you can explore different categories or games that align with your interests. Click on a category or game that catches your attention to explore the channels within that category.
5. Follow recommendations or popular channels: Twitch also provides recommendations and showcases popular channels on the homepage. These channels might be a good starting point if you’re unsure where to begin. You can click on these recommendations to learn more about the channel and decide if you want to subscribe to it.
6. Interact with streamers and their communities: While exploring Twitch channels, it’s a good idea to engage with the streamer and their community. Read the chat, ask questions, and participate in the conversation. This will help you understand the vibe and atmosphere of the channel and determine if it’s the right fit for you.
Remember, subscribing to a Twitch channel with your Amazon Prime account is a way of supporting the content creator and showing your appreciation. So, choose a channel that you enjoy watching and would like to support. Once you’ve found the channel you want to subscribe to, it’s time to move on to the next step: clicking on the subscribe button. We’ll guide you through it in the next section.
Step 3: Click on the Subscribe Button
After finding the Twitch channel you want to subscribe to, the next step is to click on the subscribe button. Here’s how to do it:
1. Open the Twitch channel page: Once you’ve located the Twitch channel you want to subscribe to, click on the channel’s name or profile picture to open their channel page.
2. Locate the subscribe button: On the channel page, you’ll find a button that says “Subscribe” or “Subscribe with Prime.” This button is usually located near the top of the page, below the streamer’s video player or in the channel header section.
3. Click on the subscribe button: To subscribe to the channel using your Amazon Prime account, simply click on the subscribe button. This action will open a popup or a new page, depending on your browser settings.
4. Confirm your subscription options: In the popup or new page, you’ll see various subscription options available. These options may include different tiers of subscriptions, such as Prime, Tier 1, Tier 2, or Tier 3, each with different benefits and price points. Select the subscription tier that suits your preferences.
5. Consider subscribing for the streamer’s community: Some streamers have their own subscription community, which may offer additional benefits, such as exclusive Discord servers or special events. Take a moment to read about these community perks and consider joining if it aligns with your interests.
6. Confirm your subscription: After selecting the desired subscription tier and reviewing any additional options, click on the “Confirm” button or a similar prompt to confirm your subscription.
7. Enjoy the benefits of your subscription: Congratulations! You’ve successfully subscribed to the Twitch channel using your Amazon Prime account. You can now enjoy the benefits that come with your subscription, such as exclusive emotes, subscriber-only chat rooms, and ad-free viewing experiences.
It’s important to note that subscriptions are typically renewed monthly, and your Amazon Prime subscription will automatically be applied to the Twitch channel you’ve chosen. If you wish to unsubscribe or change your subscription tier in the future, you can easily manage that from your Twitch account settings.
Now that you’ve completed the subscription process, you can start enjoying the content and community of the Twitch channel you’ve subscribed to. In the next step, we’ll guide you through confirming your subscription with your Amazon Prime account. Let’s move on to the next section!
Step 4: Select the Subscribe with Prime Option
After clicking on the subscribe button, you will be presented with various subscription options. One of these options is typically “Subscribe with Prime,” which allows you to use your Amazon Prime account to subscribe to the Twitch channel. Follow these steps to select the Subscribe with Prime option:
1. Review the subscription tiers: When you see the subscription options, take a moment to review the different tiers available. These tiers may offer different benefits or perks, such as exclusive emotes or badges. Consider which tier aligns with your preferences and budget.
2. Look for the Subscribe with Prime option: As you review the subscription options, keep an eye out for the option to subscribe with Prime. It may be labeled as “Subscribe for Free with Prime” or something similar. This option indicates that you can use your Amazon Prime benefits to subscribe without any additional cost.
3. Select the Subscribe with Prime option: Once you have located the Subscribe with Prime option, simply click on it to proceed with using your Amazon Prime account for the Twitch channel subscription. This action will usually be accompanied by a confirmation message indicating that your subscription is being applied.
4. Enjoy the benefits of your Twitch Prime subscription: By selecting the Subscribe with Prime option, you have successfully used your Amazon Prime benefits to subscribe to the Twitch channel. This means you can now enjoy the benefits of Twitch Prime, including ad-free viewing, exclusive emotes, and more.
It’s important to note that if you do not see the Subscribe with Prime option, it could be due to a few reasons. Firstly, ensure that your Amazon Prime account is linked to your Twitch account (refer back to Step 1 for instructions on how to link the accounts). Additionally, check that you meet the requirements for using your Amazon Prime benefits on Twitch, such as having an active Prime subscription and eligibility based on your country of residence.
By selecting the Subscribe with Prime option, you can support your favorite Twitch streamers using your existing Amazon Prime membership. It’s an excellent way to show your appreciation for the content creators you enjoy watching. At this point, you’re almost done. In the next step, we’ll guide you through confirming your subscription. Let’s continue to the final section!
Step 5: Confirm Your Subscription
After selecting the Subscribe with Prime option, the next step is to confirm your subscription. Follow these steps to ensure your subscription is confirmed:
1. Review your subscription details: Once you have selected the Subscribe with Prime option, a confirmation screen will typically appear. Take a moment to review the details of your subscription, including the selected subscription tier, its benefits, and any associated costs or trial periods. Make sure these details align with your intent to subscribe.
2. Ensure your Amazon Prime account is selected: On the confirmation screen, verify that your Amazon Prime account is selected for the subscription. If you have multiple Amazon accounts linked to Twitch, double-check that the correct account is chosen. If needed, you can switch accounts by selecting the appropriate option or by signing out and signing back in with the desired account.
3. Confirm your subscription: Once you have reviewed your subscription details and ensured the correct Amazon Prime account is selected, click on the confirmation button, usually labeled as “Confirm” or “Subscribe.” This action will finalize your subscription and initiate any associated billing if applicable.
4. Receive confirmation of your subscription: After confirming your subscription, you will typically receive a confirmation message or notification indicating that your subscription is now active. This confirmation may be displayed on the website or sent to your registered email address associated with your Twitch account. Take note of any confirmation details provided for your reference.
5. Enjoy your subscribed Twitch channel benefits: With your subscription confirmed, you can now enjoy the benefits of the subscribed Twitch channel. These benefits may include exclusive emotes, access to subscriber-only chat rooms, ad-free viewing, and more. Interact with the streamer and their community, and make the most of the subscription perks you now have access to.
Remember, your subscription will typically renew automatically based on the selected subscription tier, and the associated billing will be charged accordingly. If you need to manage your subscriptions, including canceling or changing your subscription tier, you can do so from your Twitch account settings.
Now that you have successfully confirmed your subscription, you’re all set to enjoy the content and benefits of the Twitch channel you have subscribed to using your Amazon Prime account. Congratulations! In the final section, we’ll briefly recap the benefits of subscribing with Amazon Prime on Twitch. Let’s conclude this guide.
Enjoy the Benefits of Subscribing with Amazon Prime on Twitch
By subscribing to a Twitch channel with your Amazon Prime account, you gain access to a range of benefits that enhance your viewing and support the content creator. Here are some of the benefits you can enjoy:
1. Exclusive Emotes: Subscribing with Amazon Prime grants you access to exclusive emotes (emoticons) that you can use in the channel’s chat. These emotes are custom-designed by the streamer and their community, adding a personalized touch to your interactions and allowing you to express yourself uniquely.
2. Subscriber-Only Chat Rooms: Some streamers create subscriber-only chat rooms, where subscribers can engage with the streamer and other subscribers in a more intimate, focused environment. These chat rooms often have a more relaxed atmosphere and provide an opportunity for deeper conversations and interactions.
3. Ad-Free Viewing Experience: Subscribing to a Twitch channel with Amazon Prime removes advertisements during the stream. This allows you to enjoy uninterrupted content without the interruption of pesky ads that can disrupt your viewing experience.
4. Support for the Content Creator: When you subscribe with Amazon Prime, the streamer receives financial support. Although the subscription itself is free for Amazon Prime members, the content creator still benefits from the revenue generated by the subscription. By subscribing, you are directly contributing to the success and sustainability of the streamer’s channel.
5. Community Recognition: Subscribing to a Twitch channel also gives you a badge that indicates your support as a subscriber. This badge can be displayed next to your name in the channel’s chat, making you stand out as a valued member of the community and allowing you to connect with other subscribers.
These benefits amplify your Twitch experience, allowing you to engage more deeply with the content creator and the community. Whether it’s through exclusive emotes, subscriber-only chat rooms, or enjoying an ad-free viewing experience, subscribing with Amazon Prime enhances your interaction and support for the channels you follow.
Make sure to take advantage of these benefits and actively participate in the Twitch community. Engage with the streamer and fellow subscribers, join in chats, and express your appreciation for the content creator’s hard work and dedication. Your support and engagement play a fundamental role in sustaining a vibrant and thriving streaming community.
Now that you are aware of the benefits of subscribing with Amazon Prime on Twitch, you can fully enjoy the perks that come with supporting your favorite streamers. Happy streaming and connecting with the Twitch community!

![How to Link Your Amazon Prime to Twitch? [Guide]](https://robots.net/wp-content/uploads/2022/04/How-To-Link-Amazon-Prime-To-Twitch-Featured-300x175.jpg)