Introduction
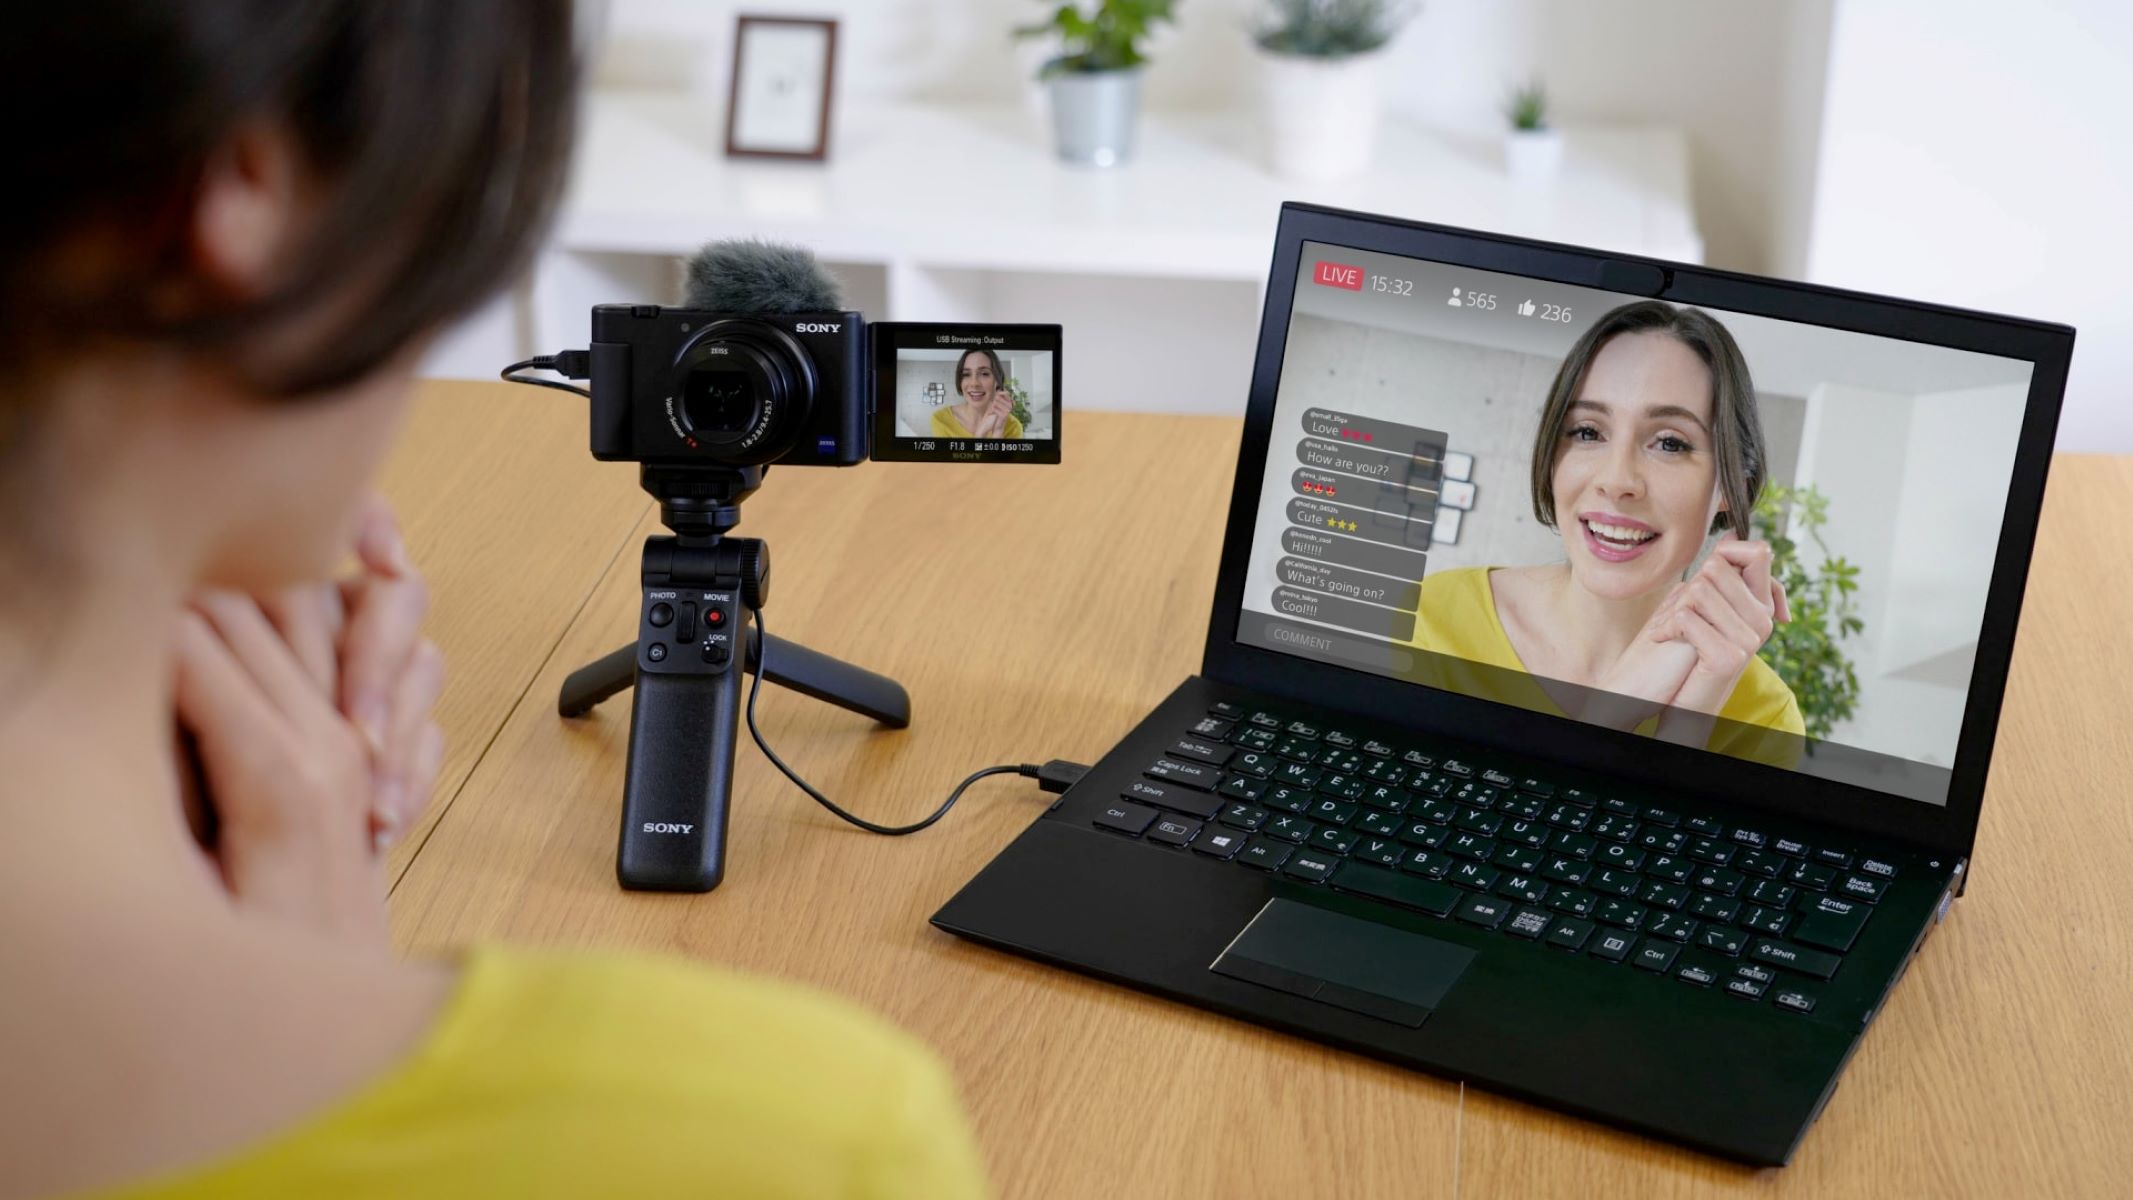
Welcome to our guide on how to use a Sony camera as a webcam. With the rise of video conferencing and online content creation, using a high-quality camera as a webcam can greatly enhance the visual experience. Sony cameras are renowned for their exceptional image quality and advanced features, making them popular among photographers and videographers. By utilizing your Sony camera as a webcam, you can take your video calls, live streams, and online presentations to the next level.
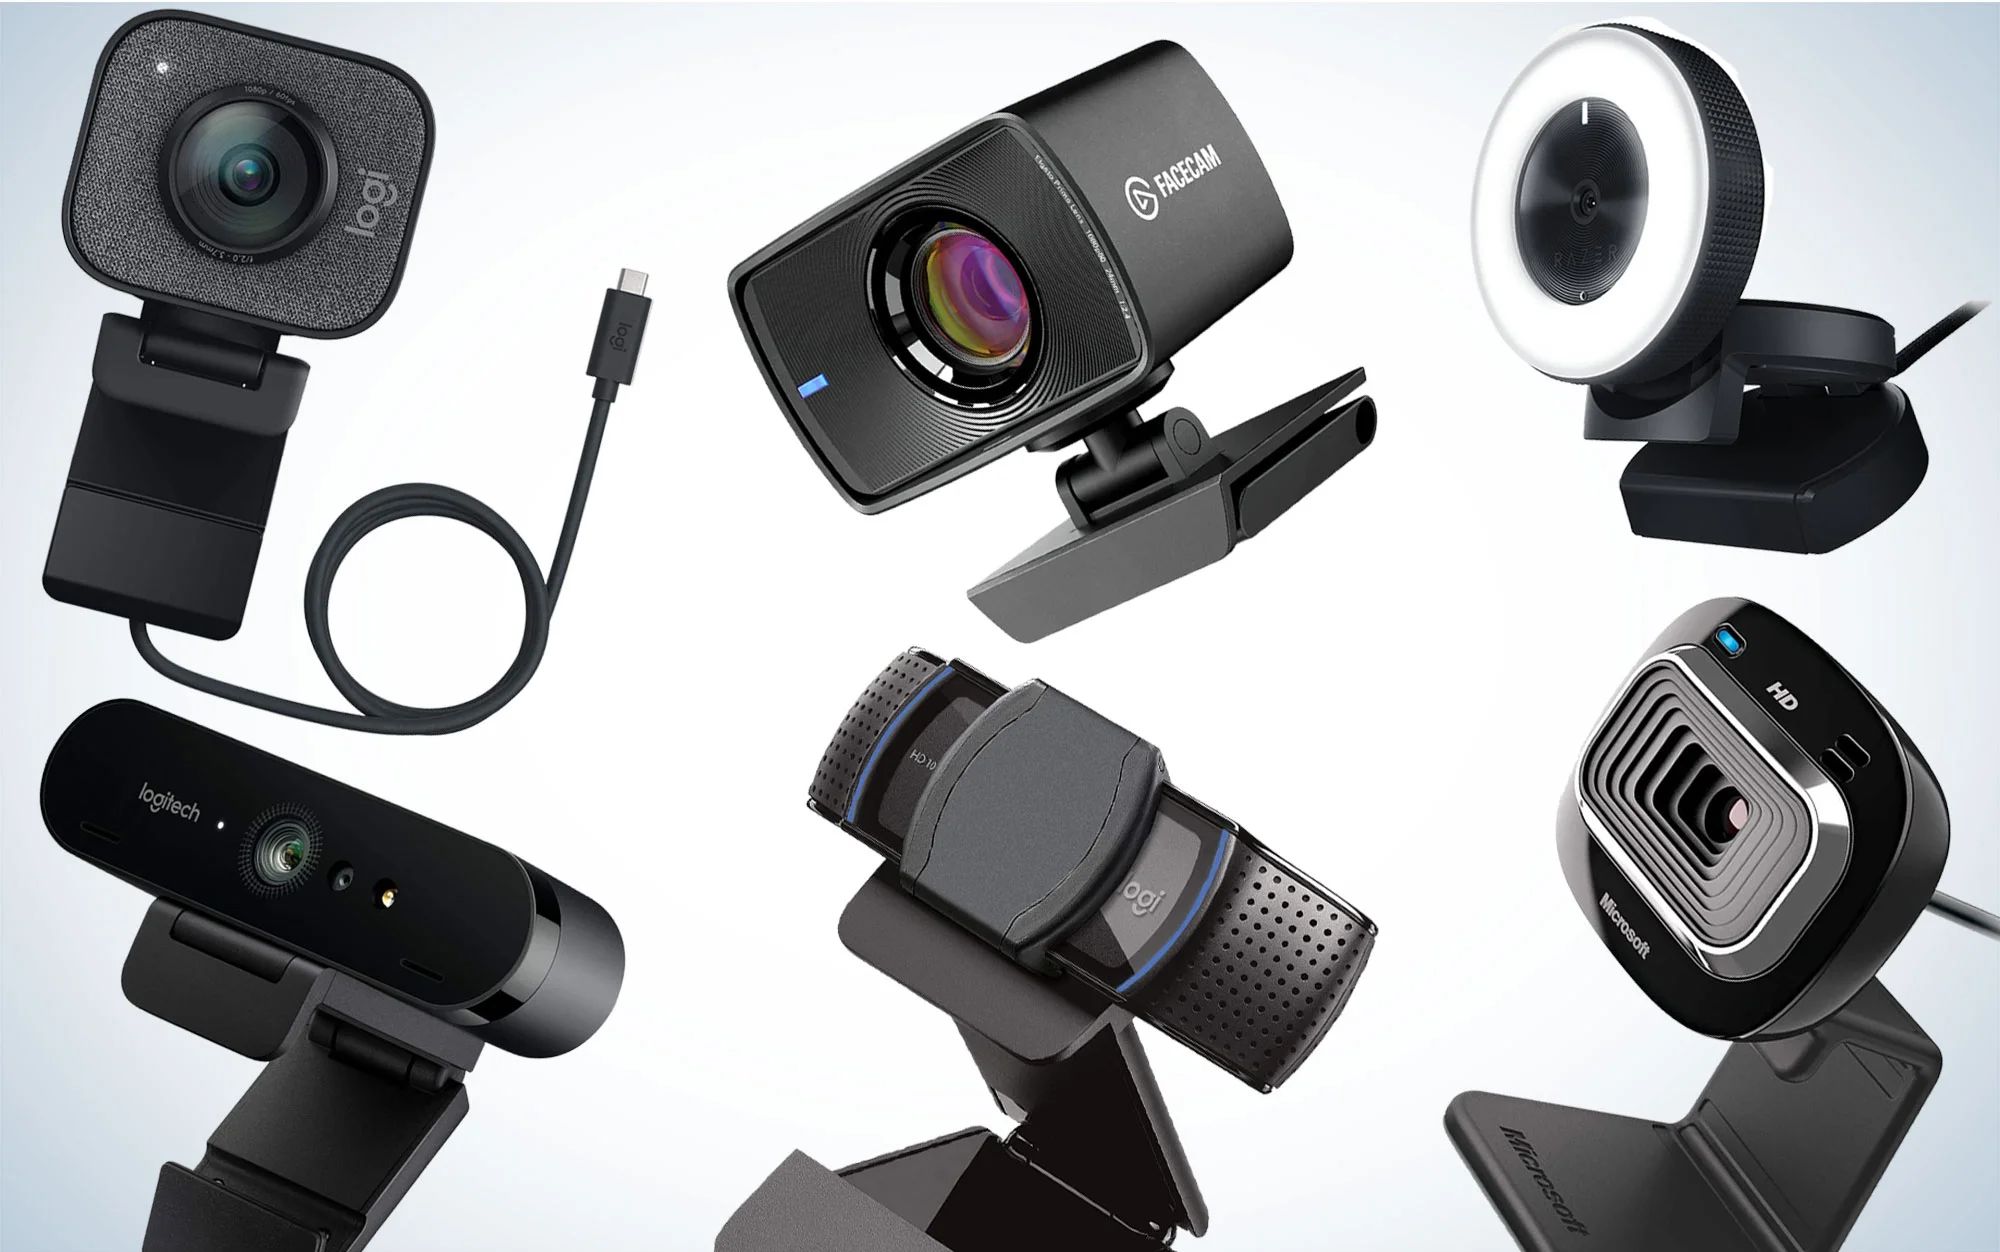
While most laptops and webcams have built-in cameras, they often lack the image quality and versatility provided by a dedicated camera. By using your Sony camera as a webcam, you can enjoy superior video quality, better control over exposure and focus, and access to a wider range of lenses. Whether you’re a professional content creator or someone who wants to look their best during video calls, using a Sony camera as a webcam can make a noticeable difference.
In this guide, we’ll walk you through the process of setting up your Sony camera as a webcam. We’ll cover compatibility requirements, the necessary software, and the steps to connect your camera to your computer. Additionally, we’ll provide instructions on configuring camera settings and how to set up the camera as a webcam in popular video conferencing software. We’ll also discuss troubleshooting tips to help you overcome any potential challenges along the way.
It’s important to note that while this guide is tailored to Sony cameras, the principles discussed may be applicable to other camera brands as well. So, even if you don’t own a Sony camera, you might still find the information provided here useful for setting up your own camera as a webcam.
Now, let’s dive in and unleash the full potential of your Sony camera!
Compatibility
Before you can start using your Sony camera as a webcam, it’s important to ensure that your camera is compatible with this functionality. Not all Sony camera models support the ability to function as a webcam out of the box. However, thanks to advancements in technology, many newer Sony cameras now offer this feature.
To determine if your Sony camera is compatible with being used as a webcam, you’ll need to check the camera’s specifications or consult the camera’s user manual. Look for terms such as “webcam functionality,” “USB streaming,” or “live streaming.” These features indicate that your camera can be used as a webcam.
Another important aspect to consider is the compatibility of your computer’s operating system. Most Sony cameras will work as webcams on both Windows and macOS platforms. However, it’s essential to verify if the camera’s drivers and software are compatible with your specific operating system version.
Additionally, you’ll need to ensure that your computer has the necessary ports and connections to establish a connection with the camera. Most Sony cameras use either a USB or HDMI connection. Check if your computer has the corresponding ports and cables required for connecting your camera.
It’s worth noting that while many Sony cameras can be used as webcams, the level of functionality and features may differ between models. Higher-end cameras often offer more advanced settings and options for customization. Therefore, it’s a good idea to research the capabilities of your specific camera model before proceeding.
Now that you know the importance of compatibility, let’s move on to the next step: downloading the required software.
Downloading the Required Software
Before you can begin using your Sony camera as a webcam, you’ll need to download and install the necessary software on your computer. The specific software required may vary depending on your camera model and operating system. Here are the general steps to follow:
1. Visit the Sony Support website: Start by visiting the official Sony support website (www.sony.com/support) to find the appropriate software for your camera model. Locate the “Downloads” or “Support” section and search for your specific camera model.
2. Download the software: Look for a software package that includes the webcam functionality. It might be labeled as “USB Streaming,” “Imaging Edge Webcam,” or something similar. Click on the relevant software package to begin the download process.
3. Install the software: Once the software package has finished downloading, locate the downloaded file and run the installer. Follow the on-screen instructions to complete the installation process. Make sure to choose the appropriate installation options based on your preferences.
4. Connect your camera: After the software is successfully installed, connect your Sony camera to your computer using a compatible USB or HDMI cable. Turn on your camera and set it to “USB mode” or “Streaming mode.” This mode may be different based on your camera model, so refer to the camera’s user manual for instructions.
5. Camera driver installation (if required): In some cases, you may need to install specific camera drivers on your computer to establish a proper connection. If prompted, follow the on-screen instructions to install the necessary drivers. It’s recommended to restart your computer after driver installation to ensure smooth functioning.
Once you have completed these steps, your Sony camera should be recognized as a webcam by your computer. Now it’s time to move on to the next section: connecting the camera to the computer.
Connecting the Camera to the Computer
Now that you have downloaded and installed the necessary software, it’s time to connect your Sony camera to your computer. The connection process will depend on the type of port your camera uses and the available ports on your computer. Here’s a step-by-step guide to connecting your camera:
1. Turn off your camera: Before making any connections, ensure that your camera is turned off. This step will prevent any potential issues during the connection process.
2. Locate the camera ports: Depending on your Sony camera model, you’ll have either a USB or HDMI port for connecting to your computer. Locate these ports on your camera. USB ports are typically found on the side or back, while HDMI ports are usually on the side.
3. Choose the appropriate cable: Determine the type of cable required to connect your camera to your computer. If your camera has a USB port, use a USB cable. If your camera has an HDMI port, use an HDMI cable.
4. Connect the cable: Take one end of the cable and plug it into the corresponding port on your camera. Ensure a secure connection by gently pushing the cable into place. For USB cables, use the USB port on your camera, and for HDMI cables, use the HDMI port on your camera.
5. Connect to your computer: Now, take the other end of the cable and connect it to the appropriate port on your computer. If you’re using a USB cable, plug it into a USB port on your computer. If it’s an HDMI cable, use an available HDMI input port.
6. Power on your camera: Once the connections are made, power on your Sony camera. Make sure it’s set to the appropriate mode for streaming or webcam functionality. Refer to your camera’s user manual for specific instructions on selecting the correct mode.
7. Software recognition: Your computer should now recognize the connected camera as a webcam. It may take a few moments for the software to detect the camera. If the connection isn’t established, try restarting your computer or camera, and ensure that you have installed the correct software drivers.
Once the camera is successfully connected, you can proceed to the next section to configure the camera settings for optimal webcam usage.
Configuring Camera Settings
After successfully connecting your Sony camera to the computer, it’s time to configure the camera settings for optimal webcam usage. These settings will ensure that you can capture high-quality video and make the necessary adjustments based on your preferences. Here are the key aspects to consider when configuring your camera settings:
1. Exposure and white balance: Adjusting the exposure and white balance settings can greatly improve the quality of your webcam video. Use the camera’s menu or dedicated buttons to access these settings. Experiment with different exposure levels and white balance presets to find the right balance for your lighting conditions.
2. Focus and depth of field: Depending on your camera model, you may have different focusing options. Choose manual or autofocus based on your preference and the specific scenario. Consider the depth of field, which controls the range of focus in your image. Adjust the aperture and focal length to achieve the desired depth of field for your webcam shots.
3. Framing and composition: Position your camera at the desired angle and adjust the framing to ensure that you are well-positioned within the frame. Consider the rule of thirds, where you position yourself slightly off-center to create a more visually appealing composition. Review the shot on your computer to make any necessary adjustments to the camera positioning and framing.
4. Audio settings: While the focus is on the visual aspect, don’t overlook audio quality. Some Sony cameras have built-in microphones that can capture decent audio, but you may want to consider using an external microphone for better sound. Connect the microphone to your camera or computer, depending on your setup, and adjust the audio levels to ensure clear and balanced sound during your webcam sessions.
5. Customization options: Sony cameras often provide additional customization options to fine-tune your webcam experience. Explore the camera’s menu to find features like image profiles, picture styles, and creative filters. These options allow you to personalize the look and feel of your webcam video.
Remember, the available settings may vary depending on your camera model. Refer to your camera’s user manual for detailed instructions on accessing and adjusting these settings. Take the time to experiment and find the configuration that works best for you.
With your camera settings properly configured, you’re almost ready to use your Sony camera as a webcam. In the next section, we’ll cover the steps to set up the camera as a webcam in popular video conferencing software.
Setting Up the Camera as a Webcam
Now that you have configured your Sony camera’s settings, it’s time to set it up as a webcam in your preferred video conferencing software. The exact steps may vary depending on the software you’re using, but the general process remains similar. Here’s a guide on how to set up your Sony camera as a webcam in popular video conferencing platforms:
1. Install the video conferencing software: If you haven’t already, download and install the video conferencing software of your choice. Popular options include Zoom, Microsoft Teams, Skype, and Google Meet. Ensure that you have the latest version of the software installed on your computer.
2. Open the video conferencing software: Launch the video conferencing software and log in to your account. Go to the settings or preferences section of the software, usually accessed by clicking on your profile picture or username.
3. Select the video settings: Within the settings or preferences section, look for the audio and video settings. Locate the camera option and select your Sony camera from the available list. It should be recognized as a webcam by its model name or a generic “USB Video Device” label.
4. Adjust video settings: Once your Sony camera is selected as the default webcam, you can further adjust the video settings within the video settings menu. Depending on the software, you may have options to set the resolution, frame rate, and other camera-specific settings. Make the necessary adjustments based on your preferences and the requirements of your video conferencing sessions.
5. Test the webcam: Before joining a call or starting a live stream, it’s essential to test your webcam to ensure it’s functioning correctly. Most video conferencing software provides an option to preview your video feed within the settings or preferences section. Use this feature to check if your Sony camera is providing the desired video quality and if the framing and lighting are appropriate.
6. Start your video call or live stream: Once you have confirmed that your Sony camera is set up as the webcam and functioning properly, you’re ready to start your video call or live stream. Open the desired conference or streaming session within the video conferencing software and enjoy the benefits of using your Sony camera for a superior visual experience.
Remember to properly position your Sony camera, ensure proper lighting, and follow good video conference etiquette during your calls. With the setup complete, you can now enjoy the enhanced video quality and professional look provided by your Sony camera.
Keep in mind that the specific steps and options within the video conferencing software may differ, so refer to the software’s documentation or help resources for more detailed instructions if needed.
Next, we’ll provide some troubleshooting tips to help you overcome any challenges you may encounter during the process.
Troubleshooting Tips
Setting up your Sony camera as a webcam may occasionally come with a few challenges. To help you overcome any potential issues, here are some troubleshooting tips:
1. Ensure the latest software versions: Make sure you have the latest drivers and software installed for both your camera and the video conferencing software. Check the manufacturer’s website for any available updates and download them accordingly.
2. Restart your devices: If you encounter any connectivity or recognition issues, try restarting both your camera and computer. Sometimes a simple restart can resolve minor glitches and ensure a fresh connection.
3. Check connection cables: Verify that the USB or HDMI cables are securely connected to both your camera and computer. A loose connection can cause intermittent issues or a complete failure in recognizing the camera as a webcam.
4. Try different USB or HDMI ports: If the camera is not being recognized, try connecting it to a different USB or HDMI port on your computer. Some ports might not provide enough power or have compatibility issues, so changing ports can resolve the problem.
5. Test with another computer: To isolate any potential hardware or software issues, try connecting your Sony camera to another computer and see if it functions as a webcam. If it works on another computer, it indicates that the problem may be specific to your initial computer setup.
6. Check camera settings: Ensure that your camera is set to the correct mode for USB streaming or webcam functionality. Refer to the camera’s user manual for instructions on how to switch to the appropriate mode.
7. Verify software settings: Double-check the video settings within your video conferencing software. Ensure that the correct camera is selected as the default webcam in the software settings or preferences. Additionally, make sure the camera is not being used by any other software or application that might conflict with its usage as a webcam.
8. Update operating system: In some cases, outdated operating systems can cause compatibility issues. Make sure your computer’s operating system is up to date and install any available updates for your specific platform.
9. Consult customer support: If you’re still experiencing difficulties, reach out to the customer support for your camera or the video conferencing software. They can provide specific guidance based on your camera model, computer setup, and software version.
By following these troubleshooting tips, you should be able to resolve common issues and use your Sony camera as a webcam seamlessly. Remember, each situation may be unique, so be patient and persistent while troubleshooting.
Now that you’re equipped with troubleshooting knowledge, you’re ready to enjoy the benefits of using your Sony camera as a professional-grade webcam.
Conclusion
Congratulations on successfully setting up your Sony camera as a webcam! By following the steps outlined in this guide, you can now enjoy a higher-quality video experience during your video calls, online meetings, and live streams. Your Sony camera provides superior image quality, advanced settings, and the versatility offered by interchangeable lenses, giving you an edge over traditional webcams.
Throughout this guide, we covered various aspects, starting from checking the compatibility of your camera, downloading the necessary software, connecting the camera to your computer, configuring camera settings, setting up the camera as a webcam in video conferencing software, and troubleshooting common issues.
Remember to experiment with different camera settings to find the optimal configuration for your specific needs. Pay attention to factors such as exposure, white balance, focus, framing, and audio settings to ensure a professional and visually pleasing experience.
Should you encounter any challenges during the process, refer back to the troubleshooting tips provided to help resolve common issues. Don’t hesitate to reach out to customer support for further assistance specific to your camera model and software.
Whether you’re a content creator, professional, or simply someone who wants to enhance their video communication, using a Sony camera as a webcam can elevate your visual presence and make a lasting impression.
Now, harness the power of your Sony camera and enjoy the benefits of a superior webcam experience. Say goodbye to grainy, low-quality video and embrace the clarity, depth, and versatility that your Sony camera brings to your online interactions.