Introduction
Connecting your PC to your TV using an HDMI (High-Definition Multimedia Interface) cable is a convenient way to enjoy the content on a larger screen. Whether you want to stream movies, play games, or give presentations, this simple connection can turn your TV into an extended display for your PC.
With the increasing popularity of high-definition content and the availability of HDMI ports on most modern computers and TVs, connecting the two devices has become a straightforward process. By following a few steps, you can easily connect your PC to your TV using HDMI and enhance your multimedia experience.
In this guide, we will walk you through the step-by-step process of connecting your PC to your TV via HDMI. You don’t need to be an IT expert to complete this task; with a basic understanding of computer hardware and a few minutes of your time, you can enjoy your favorite content on a bigger screen.
Before getting started, it’s important to note that the steps may slightly vary depending on your PC’s operating system and TV model. In general, however, the process remains the same. So, let’s dive in and get your PC connected to your TV using HDMI!
Step 1: Check your PC and HDMI ports
Before connecting your PC to your TV using HDMI, it is important to ensure that both your PC and TV have HDMI ports available. Most modern PCs and TVs come equipped with HDMI ports, but it’s always a good idea to double-check.
Start by examining your PC for an HDMI port. Typically, it will be located on the back or side panel of your computer tower or the side of your laptop. The HDMI port is rectangular and has a distinctive shape with several pins.
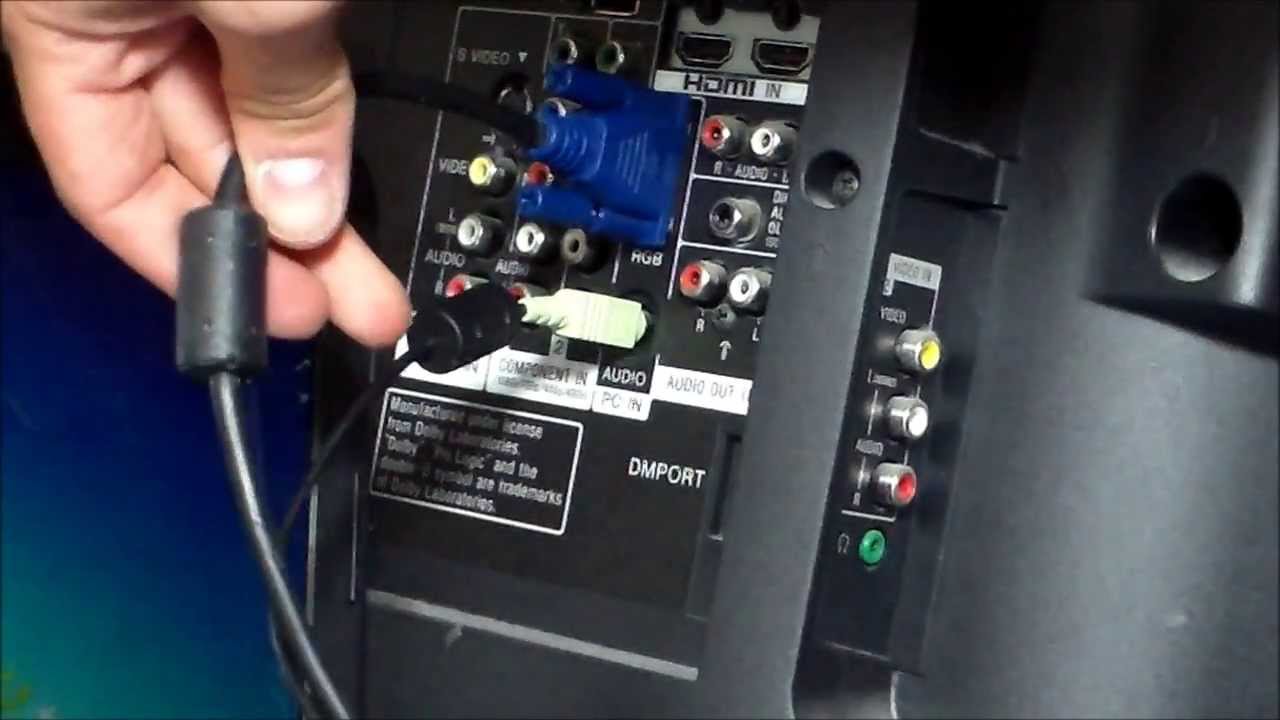
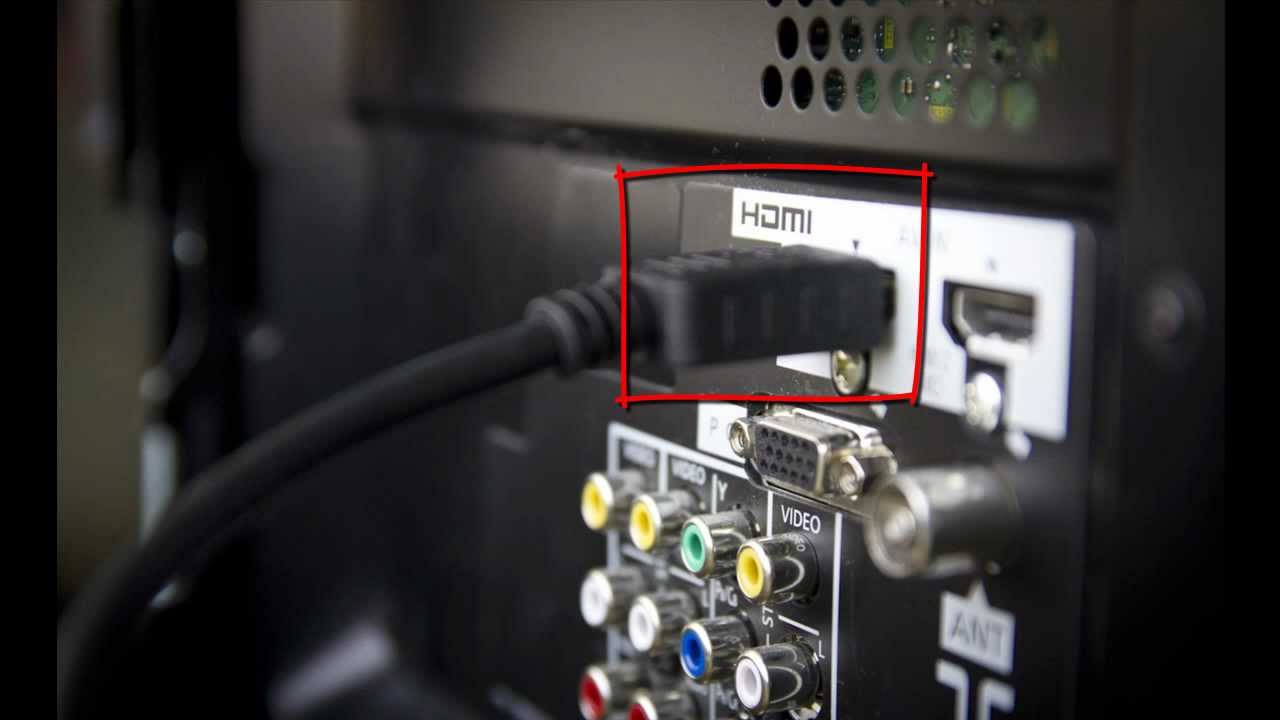
Next, locate the HDMI port on your TV. It is usually found on the back or side panel, marked as “HDMI.” TVs often have multiple HDMI ports, so ensure you choose an available one. You can also refer to your TV’s user manual for precise port identification.
Once you have located the HDMI ports on both your PC and TV, it’s a good idea to inspect them for any dirt, debris, or damage. Ensure they are clean and free from obstructions that may affect the connection quality.
It’s worth noting that some older PCs may not have an HDMI port. In such cases, there are alternative options available, like using a VGA or DVI port with an adapter to connect to your TV. However, HDMI is the preferred choice due to its superior digital video and audio capabilities.
Now that you have checked and confirmed the presence of HDMI ports on both your PC and TV, you are ready to move on to the next step: obtaining an HDMI cable.
Step 2: Obtain an HDMI cable
To connect your PC to your TV using HDMI, you will need to have an HDMI cable. This cable is widely available in electronics stores, online retailers, and even some department stores.
When purchasing an HDMI cable, it is important to consider the length you need. Measure the distance between your PC and TV to determine the appropriate cable length. It’s recommended to choose a slightly longer cable than you think you’ll need to allow for flexibility in positioning your devices.
HDMI cables come in different versions, such as HDMI 1.4, HDMI 2.0, and HDMI 2.1. The version you choose depends on various factors, including the resolution and refresh rate of your TV, the capabilities of your PC’s graphics card, and the type of content you want to display. For most common uses, HDMI 2.0 is sufficient, but if you have a 4K TV or plan to watch high-resolution content, consider opting for HDMI 2.1 for the best performance.
When selecting an HDMI cable, you may come across different price ranges. It’s essential to note that expensive cables do not necessarily mean better quality or performance. In most cases, a standard HDMI cable will work just fine, so there’s no need to overspend.
If you want additional features like Ethernet connectivity or audio return channel (ARC) support, make sure the cable you choose specifies these capabilities.
Once you have obtained your HDMI cable, you’re ready to move on to the next step: connecting the HDMI cable to your PC.
Step 3: Connect the HDMI cable to your PC
Now that you have your HDMI cable ready, it’s time to connect it to your PC. Follow these simple steps to establish the connection:
- Turn off your PC and TV before making any connections.
- Locate the HDMI port on your PC. It is usually found on the back or side panel of your desktop tower or the side of your laptop.
- Take one end of the HDMI cable and insert it into the HDMI port on your PC. Make sure it is securely plugged in.
- Now, turn on your PC and TV, and wait for them to boot up.
- If your PC does not automatically detect the connection, you may need to adjust the display settings. Right-click on your desktop and select “Display settings” (Windows) or go to System Preferences > Displays (macOS).
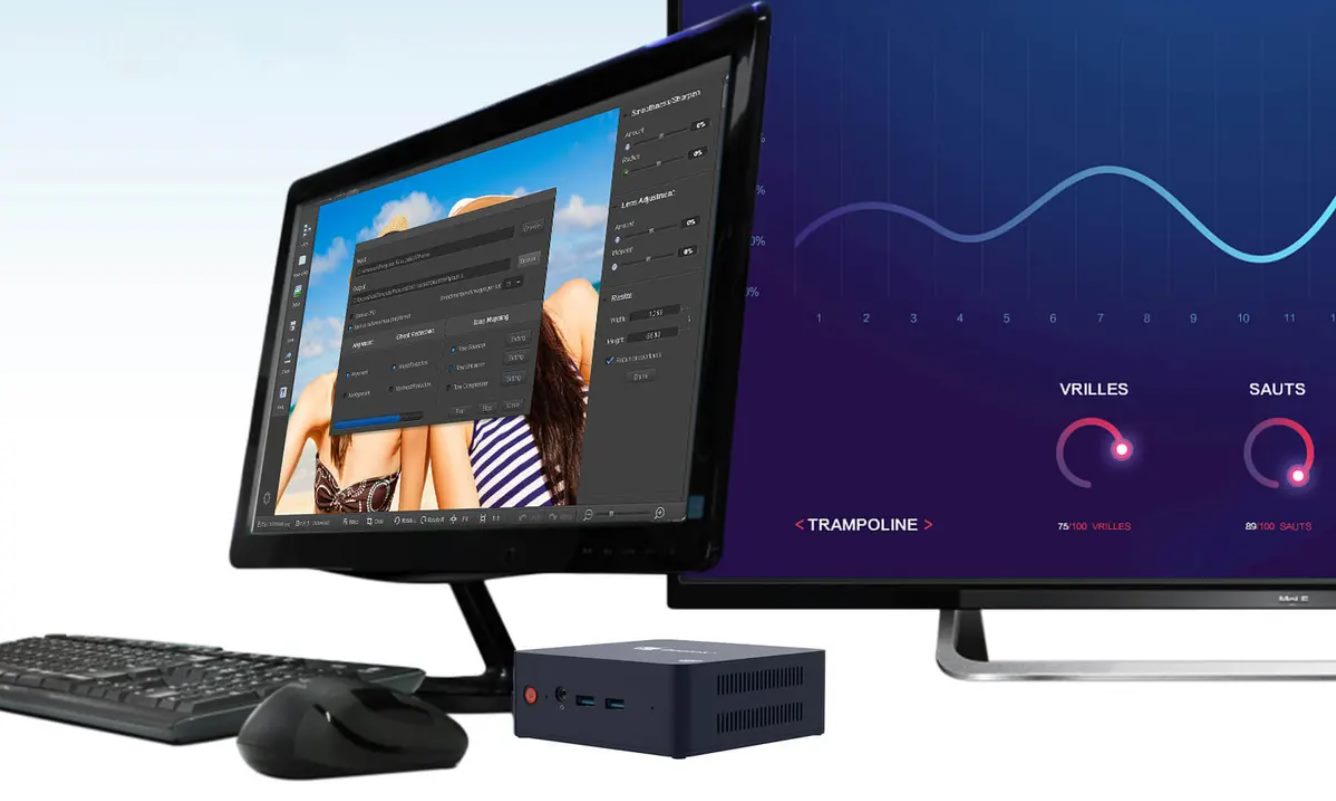
- In the display settings, you should see multiple display options. Choose the one that corresponds to your TV or select “Extend these displays” to use your TV as an extended display.
- Apply and save the changes. Your PC is now connected to your TV through HDMI.
It’s important to note that the exact steps to adjust display settings may vary depending on your PC’s operating system. Refer to your PC’s user manual or online resources for specific instructions if needed.
With the HDMI cable securely connected to your PC, it’s time to move on to the next step: connecting the HDMI cable to your TV.
Step 4: Connect the HDMI cable to your TV
Now that you have connected the HDMI cable to your PC, it’s time to establish the connection with your TV. Here’s how:
- Turn off your PC and TV before making any connections.
- Locate the HDMI port on your TV. It is typically found on the back or side panel, labeled as “HDMI”.
- Take the other end of the HDMI cable and insert it into the HDMI port on your TV. Make sure it is securely plugged in.
- Turn on your TV and switch to the corresponding HDMI input. Most TVs have a remote control with an “Input” or “Source” button, allowing you to select the HDMI input.
- If your TV has multiple HDMI ports, remember which HDMI port you used for the connection.
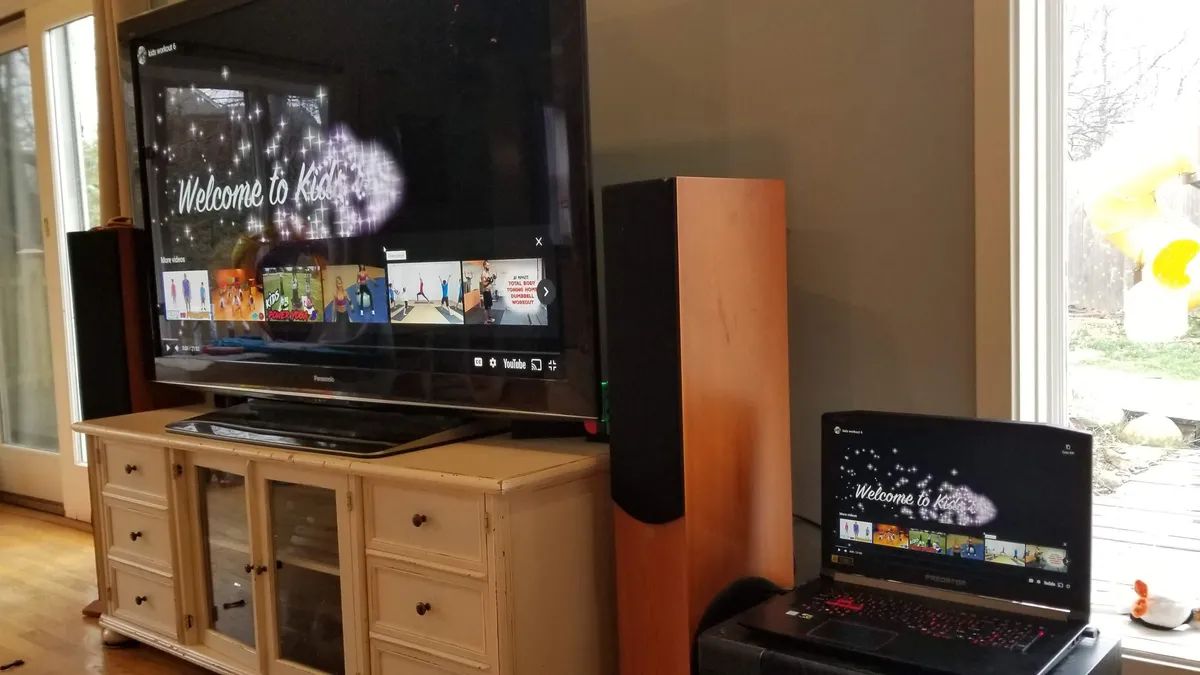
Once the HDMI cable is connected to your TV, turn on your PC and wait for it to boot up. The connection should be automatically detected, and your TV will mirror or extend your PC’s display.
It is worth noting that some TVs may require additional configuration to optimize the display settings. Consult your TV’s user manual or navigate through the TV’s menu to adjust resolution, aspect ratio, or any other display settings as needed.
With the HDMI cable securely connected to both your PC and TV, you are now ready to proceed to the next step: configuring your PC and TV settings.
Step 5: Configure your PC and TV settings
After connecting your PC to your TV using HDMI, it’s essential to configure the settings to ensure optimum display quality and performance. Here are the necessary steps to configure your PC and TV settings:
- On your PC, right-click on the desktop and select “Display settings” (Windows) or go to System Preferences > Displays (macOS).
- In the display settings, you should see the option to identify the displays. Click on the “Identify” button to see which screen is identified as “1” and which is “2”.
- Drag and arrange the displays according to your preference. You can drag and drop the display icons to match the physical arrangement of your PC and TV.
- In the display settings, you can adjust various parameters such as resolution, orientation, and scaling. Select the desired resolution and scaling options to optimize the display for your TV. You may need to experiment with these settings to find the best visual quality.
- If your TV supports audio over HDMI, ensure that the audio output is set to the HDMI device. In the sound settings, select the HDMI output as the default audio device.
- On your TV, explore the settings menu to adjust picture options like brightness, contrast, and color settings. These settings can enhance the viewing experience and cater to personal preferences.
It’s important to note that the specific configuration options may differ depending on your PC’s operating system and TV model. Refer to the user manuals or online resources for your specific devices if you encounter any difficulties.
By configuring both your PC and TV settings, you can ensure that the display quality is optimal, and the audio is properly routed through the HDMI connection.
With the settings now configured, it’s time to move on to the final step: testing the connection to ensure everything is working correctly.
Step 6: Test the connection
After connecting your PC to your TV using HDMI and configuring the settings, it’s crucial to test the connection to ensure that everything is working properly. Follow these steps to test the connection:
- Ensure both your PC and TV are turned on and set to the correct HDMI input.
- Play a video or open a media file on your PC to test the audio and video playback. The content should now be displayed on your TV screen.
- Check if the audio is playing through your TV speakers. If not, verify that the audio output is set to the HDMI device in your PC’s sound settings.
- If you experience any issues, ensure that all cable connections are secure and properly seated. You may also need to adjust the display or audio settings on your PC or TV, as mentioned in the previous steps.
- Test different applications or use cases, such as gaming or presentations, to ensure that the connection is stable and the content is displayed correctly.
If everything is working as expected, congratulations! You have successfully connected your PC to your TV using HDMI.
If you encounter any issues during the testing process, don’t worry. Double-check all the connections and settings, and consult the user manuals or online resources for troubleshooting tips specific to your PC and TV models.
Remember that the HDMI connection provides a versatile platform for enjoying various content on a larger screen, so take advantage of this setup to enhance your multimedia experience.
Now that you have successfully tested the connection, you’re all set to enjoy your favorite movies, play games, or give presentations on your TV using your PC.
Conclusion
Connecting your PC to your TV using an HDMI cable opens up a world of possibilities, allowing you to enjoy your favorite content on a larger screen. By following the steps outlined in this guide, you can easily establish a connection between your PC and TV, bringing your multimedia experience to new heights.
We began by checking the availability of HDMI ports on both your PC and TV. Ensuring that these ports are present and in good condition is essential for a successful connection.
Next, we discussed the importance of obtaining an HDMI cable. Choosing the appropriate cable length and version can impact your viewing experience, so it’s crucial to consider your specific requirements.
We then walked you through the processes of connecting the HDMI cable to your PC and TV, ensuring secure and proper connections for optimal performance.
Configuring the settings on both your PC and TV is a crucial step that shouldn’t be overlooked. Adjusting display settings, audio output, and picture options allows you to tailor the viewing experience to your preferences.
Finally, we emphasized the importance of testing the connection. By playing audio and video content and ensuring everything works as expected, you can confirm that the connection has been successfully established.
Now that you have completed all the steps, you’re ready to enjoy the benefits of connecting your PC to your TV using HDMI. Whether you’re streaming movies, playing games, or showcasing presentations, this connection opens up a whole new world of possibilities.
Remember, if you encounter any difficulties during the process, consult the user manuals or online resources specific to your PC and TV models. Troubleshooting tips and guidelines can help resolve any issues you may encounter.
So, grab your HDMI cable, follow the steps outlined in this guide, and start enjoying your multimedia content on the big screen. Happy connecting!