Introduction
Connecting a mini PC to a TV can open up a world of possibilities for entertainment and productivity. Whether you’re looking to stream movies and videos, play games, or use your TV as a second monitor, the process is relatively straightforward.
In this article, we will guide you through the step-by-step process of connecting a mini PC to a TV. We will cover various connection methods, including HDMI, VGA, and DVI, and provide tips for adjusting the display settings on your mini PC to ensure optimal performance.
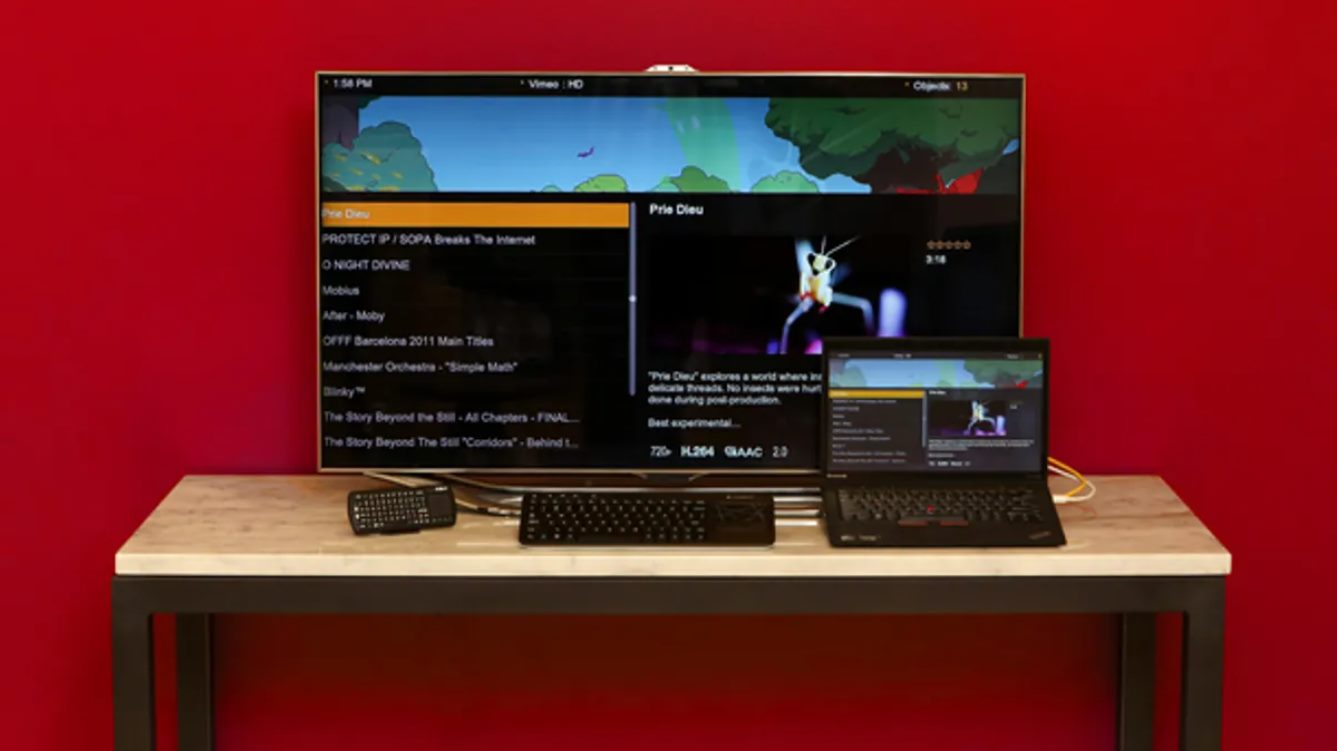
With the increasing popularity of mini PCs, which are compact and portable devices that can be used for various purposes, connecting them to a larger screen like a TV can enhance the overall experience. Not only will you have a larger display, but you can also enjoy high-definition visuals and immersive sound.
Before we dive into the technical details, it’s important to note that the specific steps may vary depending on the make and model of your mini PC and TV. Therefore, we recommend consulting the user manuals for both devices to ensure compatibility and to familiarize yourself with any specific instructions.
Now, let’s get started with the first step: gathering the necessary materials.
Step 1: Gathering the necessary materials
Before you can connect your mini PC to your TV, you’ll need to gather the necessary materials. Here’s what you’ll need:
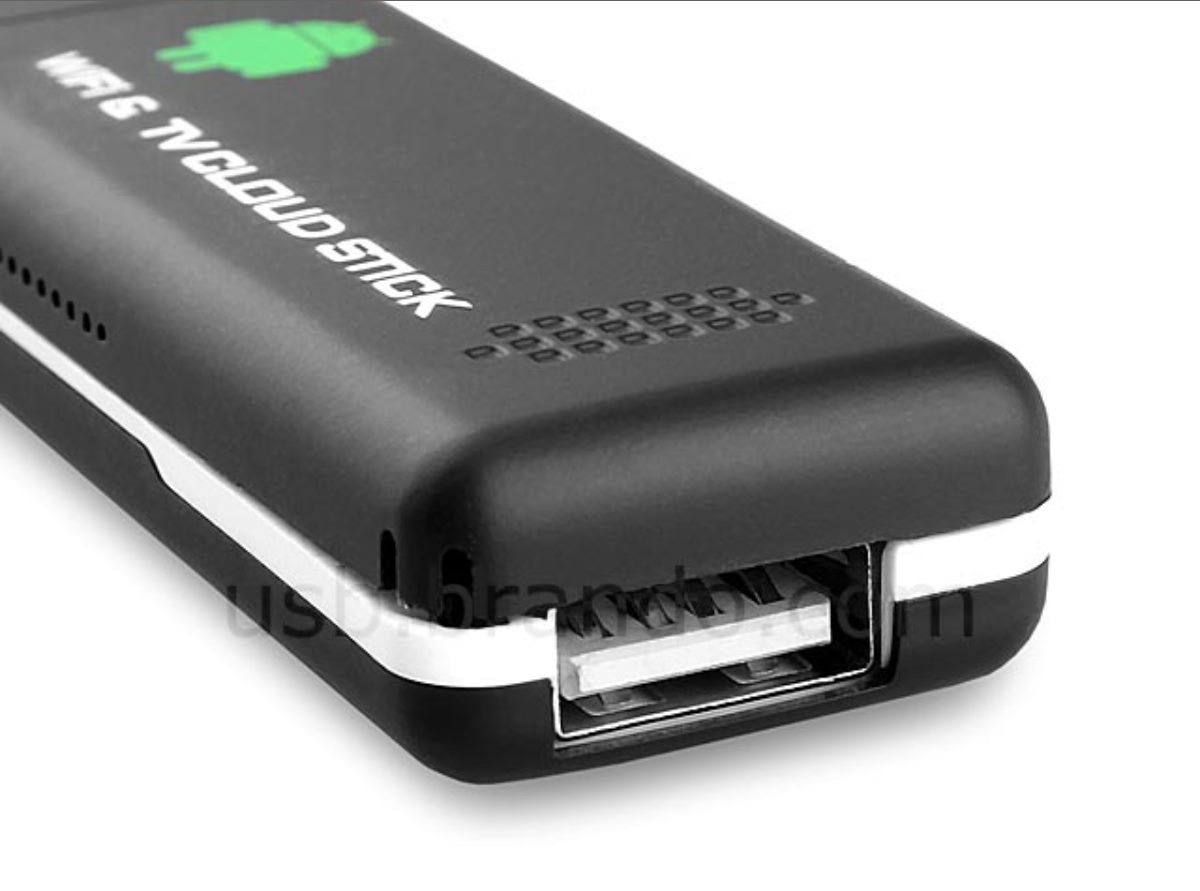
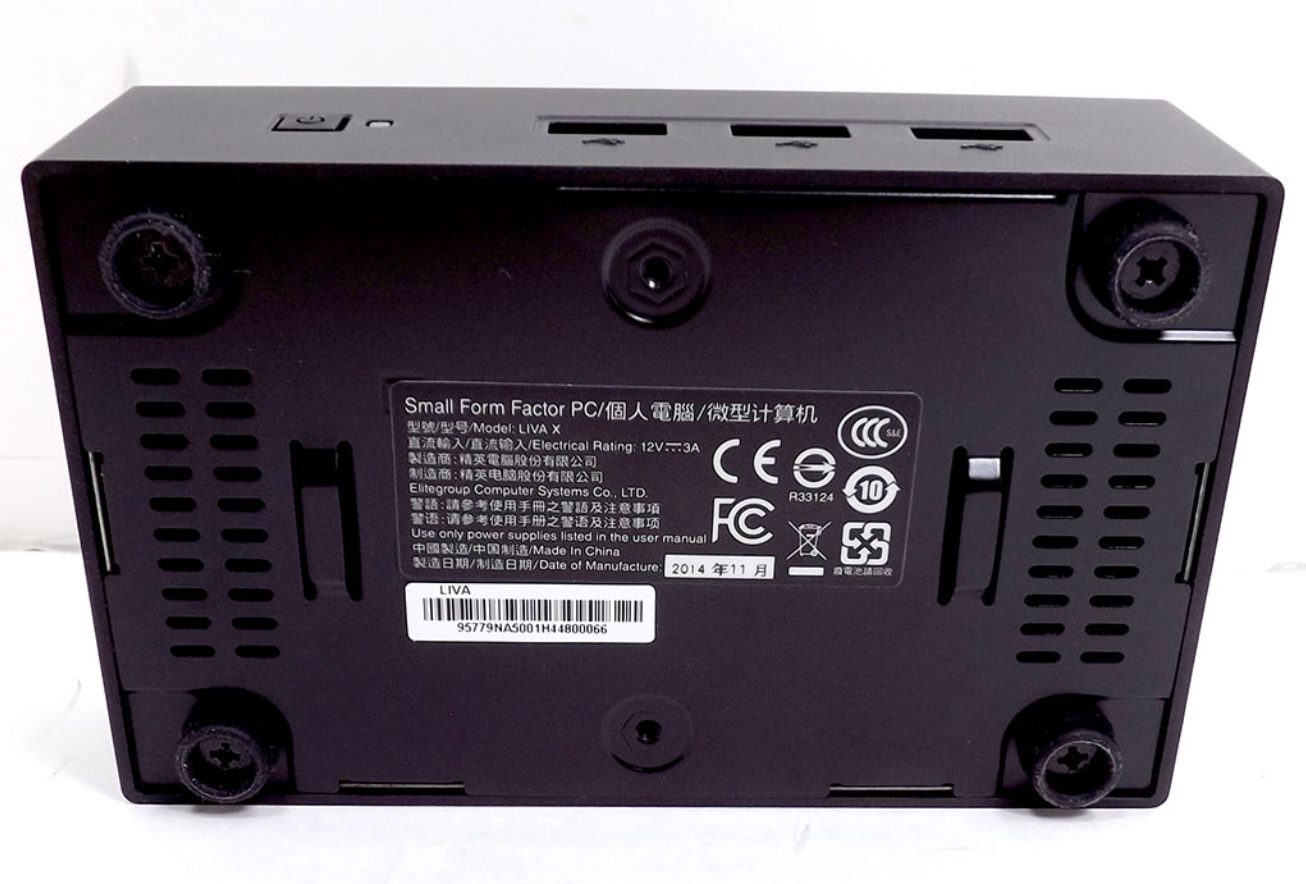
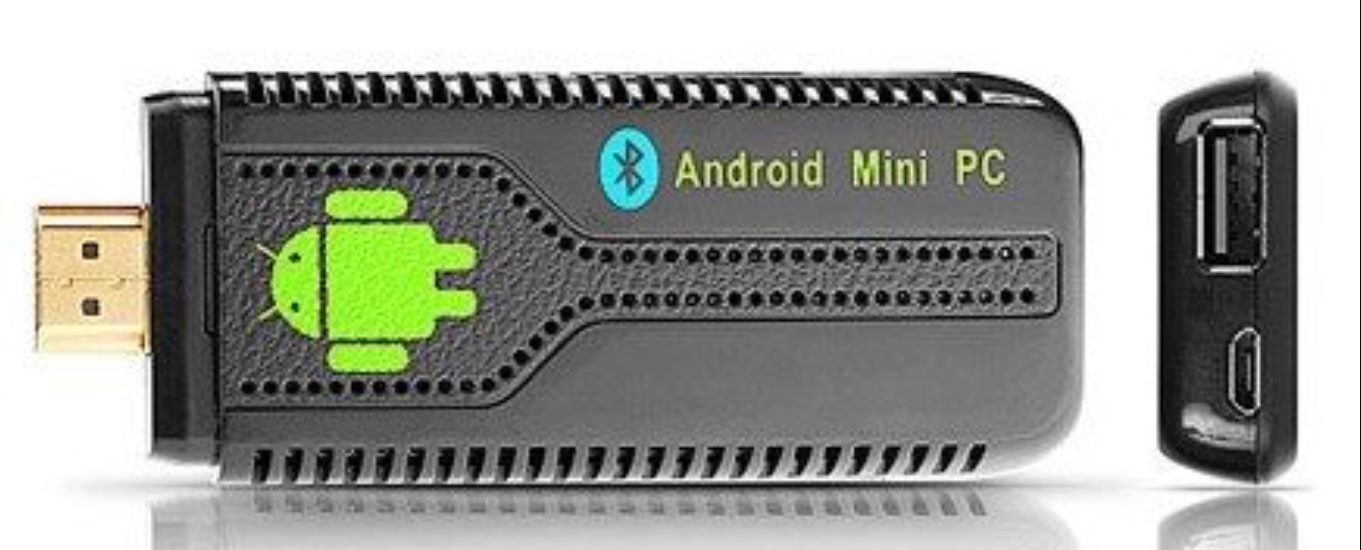
- A mini PC: This can be a compact desktop computer, a mini barebone system, or a mini stick PC. Ensure that your mini PC has the necessary ports for connecting to a TV.
- A TV: Any modern TV should have multiple input ports, such as HDMI, VGA, or DVI, which can be used to connect your mini PC.
- HDMI cable: If your mini PC and TV both have HDMI ports, this is the simplest and most common method of connection. Make sure to choose a high-quality HDMI cable for optimal performance.
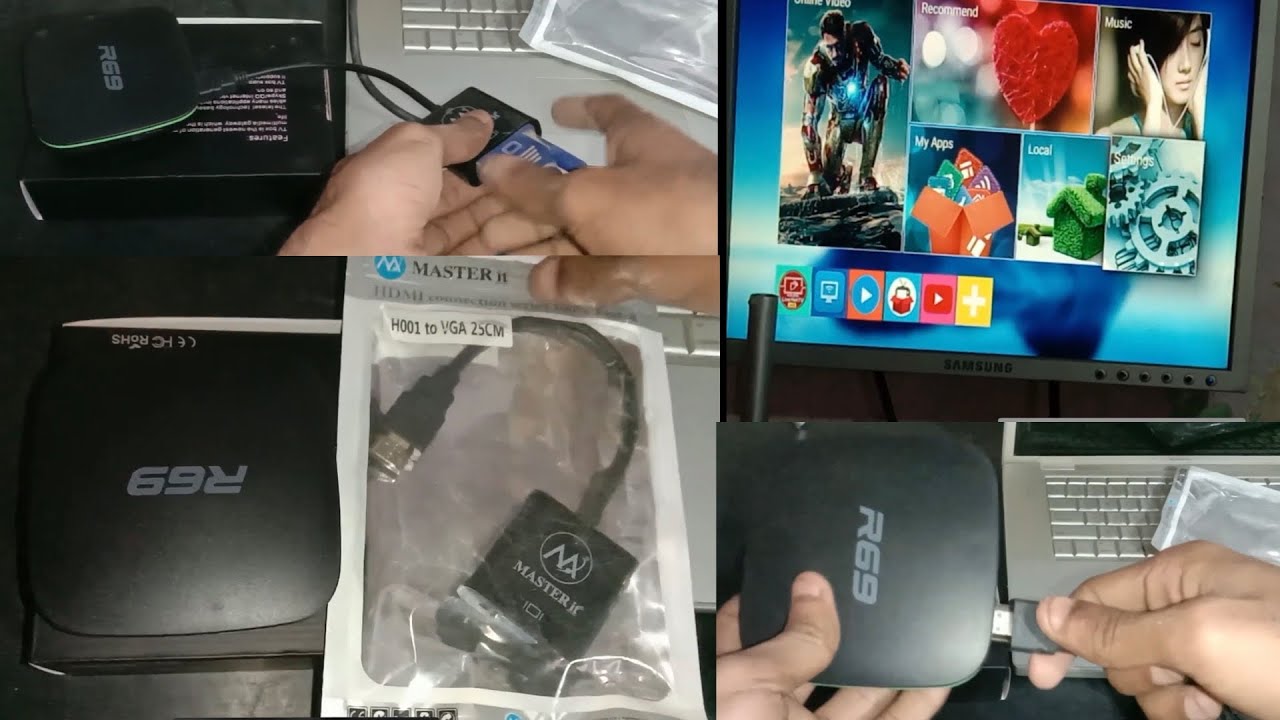
- VGA or DVI cable: If your mini PC or TV doesn’t have an HDMI port, you can use a VGA or DVI cable for the connection. However, please note that these cables do not transmit audio, so you’ll need a separate audio cable to connect the audio output of your mini PC to the TV.
- Audio cable: This is required if you’re using a VGA or DVI cable to connect your mini PC to the TV. You’ll need an audio cable with the appropriate connectors to connect the audio output of your mini PC to the audio input on your TV.
- Internet connection: To fully utilize your mini PC, ensure that you have a stable internet connection. You can connect your mini PC to the internet using Wi-Fi or an Ethernet cable.
Once you have gathered all the necessary materials, you’re ready to move on to the next step: connecting the mini PC to the TV using HDMI.
Step 2: Connecting the mini PC to the TV using HDMI
If your mini PC and TV both have HDMI ports, connecting them is as easy as pie. Just follow these steps:
- Locate the HDMI ports: On both the mini PC and the TV, locate the HDMI ports. They are usually labeled “HDMI” and may be located on the back or side of the devices.
- Connect one end of the HDMI cable to the HDMI port on your mini PC and the other end to the HDMI port on your TV.
- Ensure that the TV is set to the correct HDMI input: On your TV, use the remote control to select the HDMI input that corresponds to the HDMI port you just connected to.
- Power on both the mini PC and the TV.
- Wait for the devices to establish a connection. Once connected, you should see the display from your mini PC on your TV screen.
That’s it! You have successfully connected your mini PC to your TV using HDMI. The audio should automatically be transmitted through the HDMI cable, so you don’t need any additional audio cables.
If the display doesn’t appear on your TV, double-check that both devices are powered on and properly connected. You may also need to adjust the display settings on your mini PC to ensure that it detects the TV as an external display.
Now that your mini PC is connected to the TV, you can enjoy a larger screen for work, entertainment, or gaming. In the next step, we will guide you through adjusting the display settings on your mini PC to optimize the viewing experience.
Step 3: Adjusting the display settings on the mini PC
After connecting your mini PC to the TV using HDMI, it’s important to adjust the display settings to ensure the best possible viewing experience. Here’s how you can do it:
- Right-click on the desktop of your mini PC and select “Display settings” from the context menu.
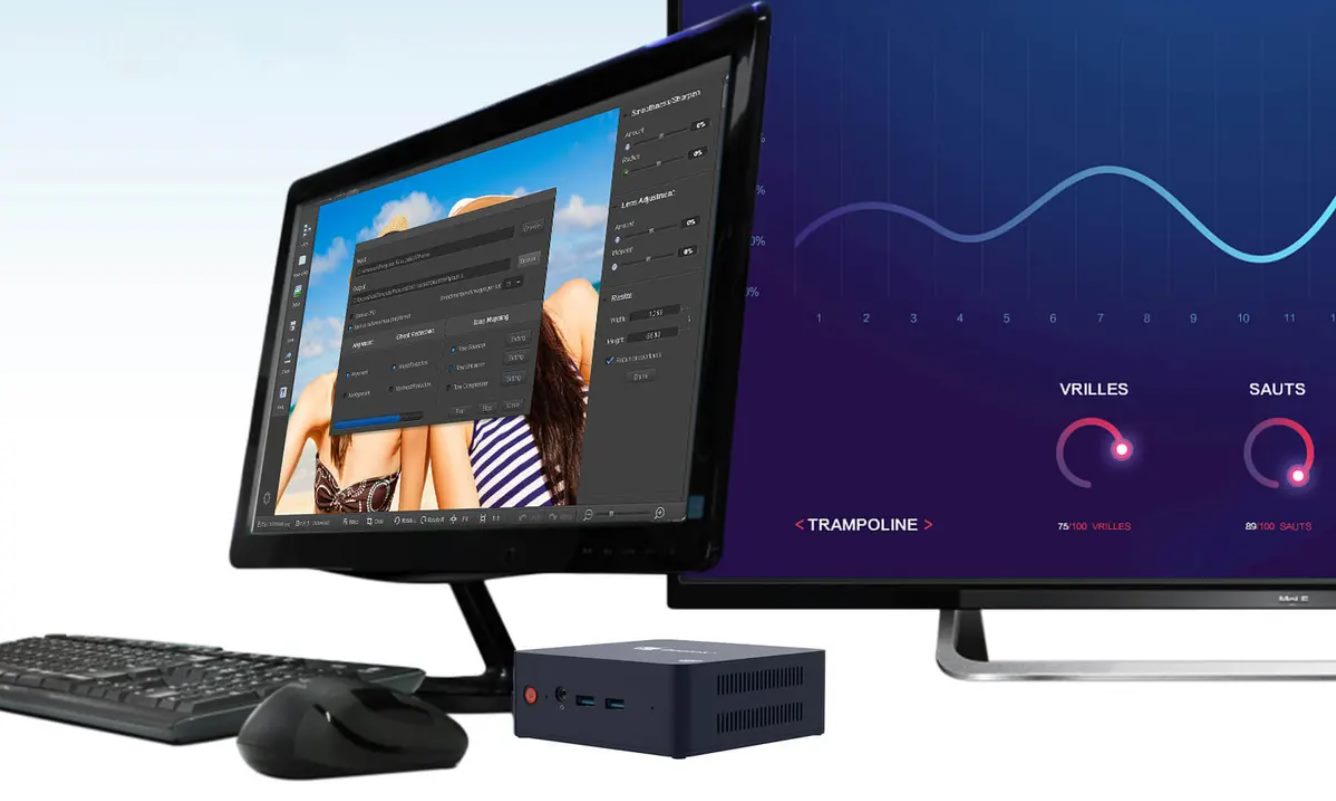
- In the Display settings menu, you will see a section labeled “Multiple displays.” Click on the drop-down menu and select “Extend these displays” if you want to use your TV as an extended monitor, or select “Duplicate these displays” if you want the same content to be displayed on both the mini PC and the TV.
- Scroll down to the “Resolution” section. Here, you can choose the resolution that matches your TV’s native resolution. It’s recommended to select the highest resolution available for the best image quality.
- Adjust other display settings as desired, such as orientation, scale, and brightness. You can experiment with these settings to find the configuration that suits your preferences.
- Click on the “Apply” button to save your changes.
- Check the display on your TV to ensure that the changes have taken effect. If necessary, you can further fine-tune the settings to achieve the desired result.
By adjusting the display settings on your mini PC, you can optimize the visual output and ensure that the content is properly displayed on your TV. It’s worth noting that the available display settings may vary depending on the operating system and graphics card of your mini PC.
With the display settings correctly configured, you can now take full advantage of your mini PC connected to the TV. Whether you’re streaming movies, playing games, or working on a larger screen, the possibilities are endless.
In the next step, we will explore an alternative method of connecting the mini PC to the TV using VGA or DVI cables.
Step 4: Connecting the mini PC to the TV using VGA or DVI cables
If your mini PC or TV doesn’t have HDMI ports, you can still connect them using VGA or DVI cables. Here’s how:
- Identify the VGA or DVI ports: Check the back or side of your mini PC and TV for VGA or DVI ports. The VGA port is usually blue and has 15 pins, while the DVI port is white and has a wider range of pin configurations.
- Connect one end of the VGA or DVI cable to the corresponding port on your mini PC and the other end to the VGA or DVI port on your TV.
- Attach one end of the audio cable to the audio output of your mini PC and the other end to the audio input of your TV. This step is necessary since VGA or DVI cables do not transmit audio, and you need a separate audio connection.
- Power on both the mini PC and the TV.
- On your TV, use the remote control to select the appropriate input corresponding to the VGA or DVI connection.
Once the devices are powered on and connected, you should see the display from your mini PC on your TV screen. However, please note that VGA and DVI cables do not transmit audio, so you’ll need to use the separate audio cable for sound.
If the display doesn’t appear correctly or you encounter issues, make sure that all connections are secure and that the devices are properly powered on. You may also need to adjust the display settings on your mini PC, as we discussed in the previous step.
Now that you have successfully connected your mini PC to your TV using VGA or DVI cables, you can enjoy an expanded viewing experience. In the next step, we will guide you through adjusting the display settings specifically for this type of connection.
Step 5: Adjusting the display settings on the mini PC (for VGA or DVI connection)
When connecting your mini PC to your TV using VGA or DVI cables, it’s important to adjust the display settings on your mini PC to ensure optimal performance. Here’s how you can do it:
- Right-click on the desktop of your mini PC and select “Display settings” from the context menu.
- In the Display settings menu, you will see a section labeled “Multiple displays.” Click on the drop-down menu and select “Extend these displays” if you want to use your TV as an extended monitor, or select “Duplicate these displays” if you want the same content to be displayed on both the mini PC and the TV.
- Scroll down to the “Resolution” section. Depending on the capabilities of your mini PC and TV, you may see different resolution options. Choose the resolution that matches the capabilities of your TV for optimal display quality.
- Adjust other display settings, such as screen orientation, brightness, and color settings, to suit your preferences. You can experiment with these settings to achieve the desired visual experience.
- Click on the “Apply” button to save your changes.
- Check the display on your TV to ensure that the adjustments have taken effect. If necessary, fine-tune the settings further to achieve the desired result.
By adjusting the display settings on your mini PC, you can optimize the visual output and ensure that the content is displayed properly on your TV. It’s worth noting that the available display settings may vary depending on the operating system and graphics card of your mini PC.
You are now ready to enjoy your mini PC’s display on your TV through the VGA or DVI connection. Whether you’re streaming videos, playing games, or working with a larger screen, this setup provides a versatile and immersive experience.
If you encounter any issues with the display or settings, double-check all connections and ensure that your devices are properly powered on. You may also refer to the user manuals for your mini PC and TV for additional troubleshooting steps.
In the next step, we will explore common issues that may arise during the connection process and provide some troubleshooting tips.
Step 6: Troubleshooting common issues
While connecting your mini PC to your TV is generally a straightforward process, you may encounter some common issues along the way. Here are a few troubleshooting tips to help you overcome these challenges:
- No display on the TV: Ensure that both your mini PC and TV are powered on. Double-check the connections between the devices to ensure they are secure. Additionally, make sure that you have selected the correct input source on your TV that corresponds to the connection type (HDMI, VGA, or DVI).
- Distorted or fuzzy display: This issue might indicate an incompatible resolution setting. Adjust the resolution on your mini PC to match the native resolution of your TV for the clearest display. You can find the appropriate resolution in the display settings of your mini PC.
- No audio on TV: If you have connected your mini PC to your TV using VGA or DVI cables, you’ll need a separate audio cable to transmit sound. Ensure that the audio cable is securely connected to both devices. Check that the volume is not muted on both the mini PC and the TV, and verify that the audio settings on your mini PC are correctly configured.
- Poor or no network connectivity: If you’re experiencing network connectivity issues, ensure that your mini PC is properly connected to your network through Wi-Fi or Ethernet. Check your router and internet connection to ensure they are working correctly. Consider restarting your mini PC and router if needed.
- Color or brightness issues: If you notice color or brightness discrepancies between your mini PC and the TV, adjust the display settings on your mini PC. Experiment with the color and brightness settings to achieve your desired visual experience.
If you encounter any other issues not mentioned here, it’s recommended to consult the user manuals for your mini PC and TV or seek assistance from the manufacturer’s support team. They can provide you with specific troubleshooting steps tailored to your devices.
Now that you’re equipped with troubleshooting tips, you can confidently connect and troubleshoot any issues that may arise during the process of connecting your mini PC to your TV. Enjoy your enhanced entertainment and productivity experience!
Conclusion
Connecting your mini PC to your TV opens up a multitude of possibilities for entertainment and productivity. Whether you prefer streaming movies, playing games, or working on a larger screen, the process is relatively simple and can be done using various connection methods.
In this article, we have explored the steps to connect your mini PC to your TV using HDMI, VGA, or DVI cables. We have also provided instructions on adjusting the display settings on your mini PC to ensure optimal performance and troubleshooting tips for common issues that may arise during the connection process.
By following the steps outlined in this article, you can enjoy a seamless connection between your mini PC and TV, unlocking a whole new level of visual experience and functionality. Whether you’re enjoying your favorite movies with immersive sound or boosting your productivity with a larger workspace, the combination of a mini PC and TV can greatly enhance your digital lifestyle.
Remember to refer to the user manuals for your specific devices for further guidance and support as they may have device-specific instructions or troubleshooting steps.
Now that you have the knowledge to connect your mini PC to your TV, it’s time to get started. Gather the necessary materials, follow the steps outlined in this article, and experience the joy of an expanded digital world right on your TV screen.