Introduction
In today’s digital age, the demand for versatile and compact devices has skyrocketed. One such innovation that has gained significant popularity is the mini PC. With its small form factor and powerful capabilities, a mini PC can serve as an excellent choice for various applications, including as a Home Theater PC (HTPC) or an Android PC.
A mini PC is a compact computer that usually fits in the palm of your hand but still packs a punch in terms of performance. It typically comes equipped with the necessary hardware components like a processor, memory, storage, and connectivity options. What sets it apart is its compact size, allowing it to be easily placed in tight spaces or even mounted behind a TV or monitor.
Using a mini PC as an HTPC or an Android PC provides numerous benefits. As an HTPC, it can transform your living room into a multimedia hub, enabling you to stream movies, TV shows, music, and videos directly to your TV. Additionally, you can access and manage your media library, play games, and browse the internet from the comfort of your couch. On the other hand, utilizing a mini PC as an Android PC allows you to take advantage of the vast ecosystem of Android apps and games on a big screen.
Setting up a mini PC as an HTPC or an Android PC may seem daunting at first, but with the right guidance, it can be a straightforward process. In this guide, we will walk you through the steps to help you set up your mini PC, from choosing the right hardware to configuring the operating system, connecting it to your home theater system, and optimizing its performance and power settings.
Whether you’re a cinephile looking for a convenient way to enjoy your favorite movies or a tech enthusiast eager to explore the possibilities of an Android PC, this guide will provide you with the necessary insights to set up your mini PC and enhance your entertainment experience.
What is a Mini PC?
A mini PC, also known as a mini computer or a small form factor (SFF) PC, is a compact computing device that packs impressive capabilities into a small and portable design. It is designed to provide the power and functionality of a traditional desktop PC or laptop while occupying minimal space.
While the specific dimensions of a mini PC can vary, they are typically much smaller than traditional desktop computers, often resembling devices like set-top boxes or streaming devices. Despite their small size, mini PCs are equipped with all the essential hardware components required for computing tasks. This includes a processor, memory (RAM), storage (either SSD or HDD), and various connectivity options such as USB ports, HDMI or DisplayPort outputs, and Wi-Fi.
Mini PCs are available in different configurations, ranging from entry-level models suitable for basic web browsing and document editing to high-performance options capable of handling resource-intensive tasks like video editing or gaming. The compact nature of mini PCs makes them ideal for a variety of applications, including home entertainment, business computing, digital signage, and even small form factor gaming setups.
One of the key advantages of a mini PC is its versatility. Due to their small size, mini PCs can be easily integrated into various environments, whether it’s on a desk, mounted behind a monitor, or placed inconspicuously in a home theater setup. Their portability also makes them excellent choices for users who are frequently on the move or need a portable workstation for presentations or ad hoc computing tasks.
In addition to their compact design and portability, mini PCs are also known for their energy efficiency. They typically consume less power than traditional desktop computers, which not only helps reduce electricity costs but also contributes to a greener computing environment.
Overall, mini PCs offer a convenient and space-saving computing solution without compromising on performance. With their wide range of applications and compact design, they have become a popular choice for individuals and businesses alike who prioritize efficiency, flexibility, and minimalism in their computing setup.
Benefits of Using a Mini PC as an HTPC or Android PC
Utilizing a mini PC as an HTPC or an Android PC offers several advantages, making it a compelling choice for enhancing your home entertainment or Android experience.
1. Space-saving and versatile: Mini PCs are incredibly compact and can be easily integrated into your existing home theater setup or placed discreetly in your entertainment center. This space-saving feature is especially beneficial if you have limited room or prefer a clutter-free environment. Moreover, their versatile nature allows them to be used for various applications beyond just media consumption, giving you the flexibility to accomplish other computing tasks.
2. High-definition multimedia capabilities: Mini PCs designed for home theater use typically come with powerful hardware and support for high-definition video playback. This enables you to enjoy your favorite movies, TV shows, and streaming services in stunning detail and clarity on your big screen, creating an immersive cinematic experience in the comfort of your own home.
3. Access to a wide range of apps: When used as an Android PC, a mini PC grants you access to the vast ecosystem of Android apps and games on a larger display. This opens up a world of possibilities, allowing you to download and enjoy your favorite apps from the Google Play Store, stream content from popular services, play games, and more.
4. Customizability: Mini PCs offer a higher degree of customization compared to traditional media streaming devices. You have the flexibility to choose the operating system, media player software, and apps that best suit your needs and preferences. This level of customization allows you to tailor your mini PC experience to your specific requirements, ensuring a seamless and personalized entertainment setup.
5. Cost-effective solution: Mini PCs can provide a cost-effective alternative to purchasing separate devices for different applications. Instead of buying a dedicated media streaming device and an Android device, a mini PC can serve both purposes, saving you money and reducing the number of devices cluttering your entertainment center.
6. Future-proofing and upgradability: Many mini PCs have modular designs that allow for easy hardware upgrades. This means you can keep up with technological advancements and improve your mini PC’s performance by upgrading components like the processor, memory, or storage. This future-proofing ability ensures that your mini PC remains relevant and capable of handling new software and media formats for years to come.
In summary, using a mini PC as an HTPC or an Android PC provides space-saving convenience, high-definition multimedia capabilities, access to a wide range of apps, customizability, cost-effectiveness, and future-proofing. These benefits combine to offer a versatile and enjoyable home entertainment or Android experience that can be tailored to your specific needs and preferences.
Step 1: Choosing the Right Mini PC
Selecting the right mini PC is crucial to ensure that it meets your specific needs and offers optimal performance for your intended use as an HTPC or an Android PC. Here are some key factors to consider when choosing a mini PC:
1. Processing power: Look for a mini PC with a powerful processor that can handle the demands of media playback or other tasks you plan to perform. Consider the number of cores, clock speed, and the specific generation of the processor to ensure smooth performance.
2. Memory (RAM) and storage: Opt for a mini PC with sufficient RAM and storage capacity. Higher RAM allows for better multitasking, while ample storage space ensures you have enough room for media files, apps, and games. Consider a mini PC with expandable storage options if you anticipate needing additional space in the future.
3. Connectivity options: Ensure that the mini PC has the necessary connectivity options to connect to your devices and peripherals. Look for USB ports, HDMI or DisplayPort outputs, Wi-Fi, Ethernet, and Bluetooth capabilities to ensure compatibility with your existing equipment.
4. Graphics capabilities: If you plan to use your mini PC for gaming or high-definition media playback, consider one with dedicated graphics or integrated graphics with superior performance. This will ensure smooth visuals and enhanced gaming experiences.
5. Operating system: Decide if you prefer a mini PC that comes with a pre-installed operating system, such as Windows, Linux, or Android, or if you prefer a barebones model that allows you to install your preferred OS. Consider the compatibility and availability of apps and software for your chosen operating system.
6. Size and form factor: Consider the physical dimensions and form factor of the mini PC, ensuring it can fit in the desired location or be mounted behind a TV or monitor. Pay attention to heat dissipation and cooling mechanisms to prevent overheating in confined spaces.
7. Price and budget: Determine your budget and compare prices to find a mini PC that offers the best value for your money without compromising on the necessary features and performance.
Through careful consideration of these factors, you can narrow down your options and choose a mini PC that meets your specific requirements. Remember to prioritize the features that are most important to you and align with your intended use for the mini PC as an HTPC or an Android PC.
Step 2: Setting Up the Operating System
Once you have chosen the right mini PC, the next step is to set up the operating system (OS). The OS serves as the foundation for your mini PC’s functionality and determines the user interface, software compatibility, and overall user experience. Here’s how to set up the operating system on your mini PC:
1. Pre-installed OS: If your mini PC comes with a pre-installed OS, follow the on-screen prompts to set it up. This typically involves selecting your language, time zone, and creating a user account. Ensure that you have the necessary license or activation key for the OS, if applicable.
2. Installing a new OS: If your mini PC is a barebones model or you prefer a different OS, you will need to install it. Determine which OS you want to install, such as Windows, Linux, or Android, and obtain the installation media or ISO file from the official website or a trusted source.
3. Creating a bootable USB drive: In most cases, you will need a bootable USB drive to install the OS. Use a reliable software tool like Rufus or UNetbootin to create a bootable USB drive with the OS installation files. Follow the instructions provided by the software to make the USB drive bootable.
4. BIOS settings: Before installing the OS, access the BIOS settings of your mini PC by pressing a specific key during the startup (usually Delete, F2, or F12). Make sure the boot priority is set to boot from the USB drive. Save the changes and exit the BIOS.
5. Installing the OS: Restart your mini PC with the bootable USB drive inserted. The installation process will vary depending on the OS you are installing. Follow the on-screen instructions to select the installation language, partition the storage, and create a user account. It is recommended to format the drive and perform a clean installation for optimal performance.
6. Post-installation updates and drivers: After the OS installation is complete, check for any available updates for the OS and install them to ensure your system is up to date with the latest security patches and improvements. Additionally, install the necessary drivers for your mini PC’s hardware components, such as graphics drivers, network drivers, and audio drivers. These drivers can usually be downloaded from the mini PC manufacturer’s website.
By following these steps, you can successfully set up the operating system on your mini PC. Having the appropriate OS installed ensures that your mini PC is ready to run the desired applications and perform tasks as an HTPC or an Android PC. Take the time to familiarize yourself with the features and functionality of the OS to optimize your overall user experience.
Step 3: Configuring Audio and Video Settings
After setting up the operating system on your mini PC, the next step is to configure the audio and video settings. Properly configuring these settings is essential to ensure optimal playback quality and compatibility with your home theater system or monitor. Here’s how to configure the audio and video settings on your mini PC:
1. Audio settings:
- Audio output: Access the audio settings in the control panel or system settings of your OS. Select the appropriate audio output device, such as HDMI or a dedicated audio jack, based on how you plan to connect your mini PC to the audio system.
- Audio format: Choose the desired audio format or codec based on the capabilities of your audio system. Common formats include Stereo, Dolby Digital, DTS, and Dolby Atmos.
- Volume control: Adjust the volume settings in both the mini PC’s audio settings and your audio system to achieve the desired volume level. Test the audio output with various media sources to ensure proper sound reproduction.
2. Video settings:
- Display resolution: Set the display resolution to match the capabilities of your monitor or TV. Higher resolutions, such as 1080p or 4K, deliver sharper and more detailed visuals.
- Refresh rate: Configure the refresh rate of the display to avoid flickering or visual artifacts. Select the highest refresh rate supported by your display for smoother motion and improved visual clarity.
- Color calibration: Use the built-in display calibration tools or software to adjust the color settings for accurate color reproduction. Calibrating the display ensures that colors are vibrant and accurate.
- Aspect ratio: Set the aspect ratio to match the content being displayed. For example, use a 16:9 aspect ratio for widescreen content and a 4:3 aspect ratio for older non-widescreen content.
- Screen positioning: If necessary, adjust the screen positioning settings to ensure that the display is properly centered and fills the entire screen without any cutoffs or overscan.
Once you have configured the audio and video settings, test the playback of various media sources, such as movies, TV shows, and music, to ensure that the audio and video quality is satisfactory. Make any necessary adjustments to the settings based on your preferences and the capabilities of your audio and video equipment.
Properly configuring the audio and video settings on your mini PC is crucial to ensuring an immersive and enjoyable multimedia experience. By taking the time to fine-tune these settings, you can enhance the audio and video output and fully capitalize on the capabilities of your home theater system or monitor.
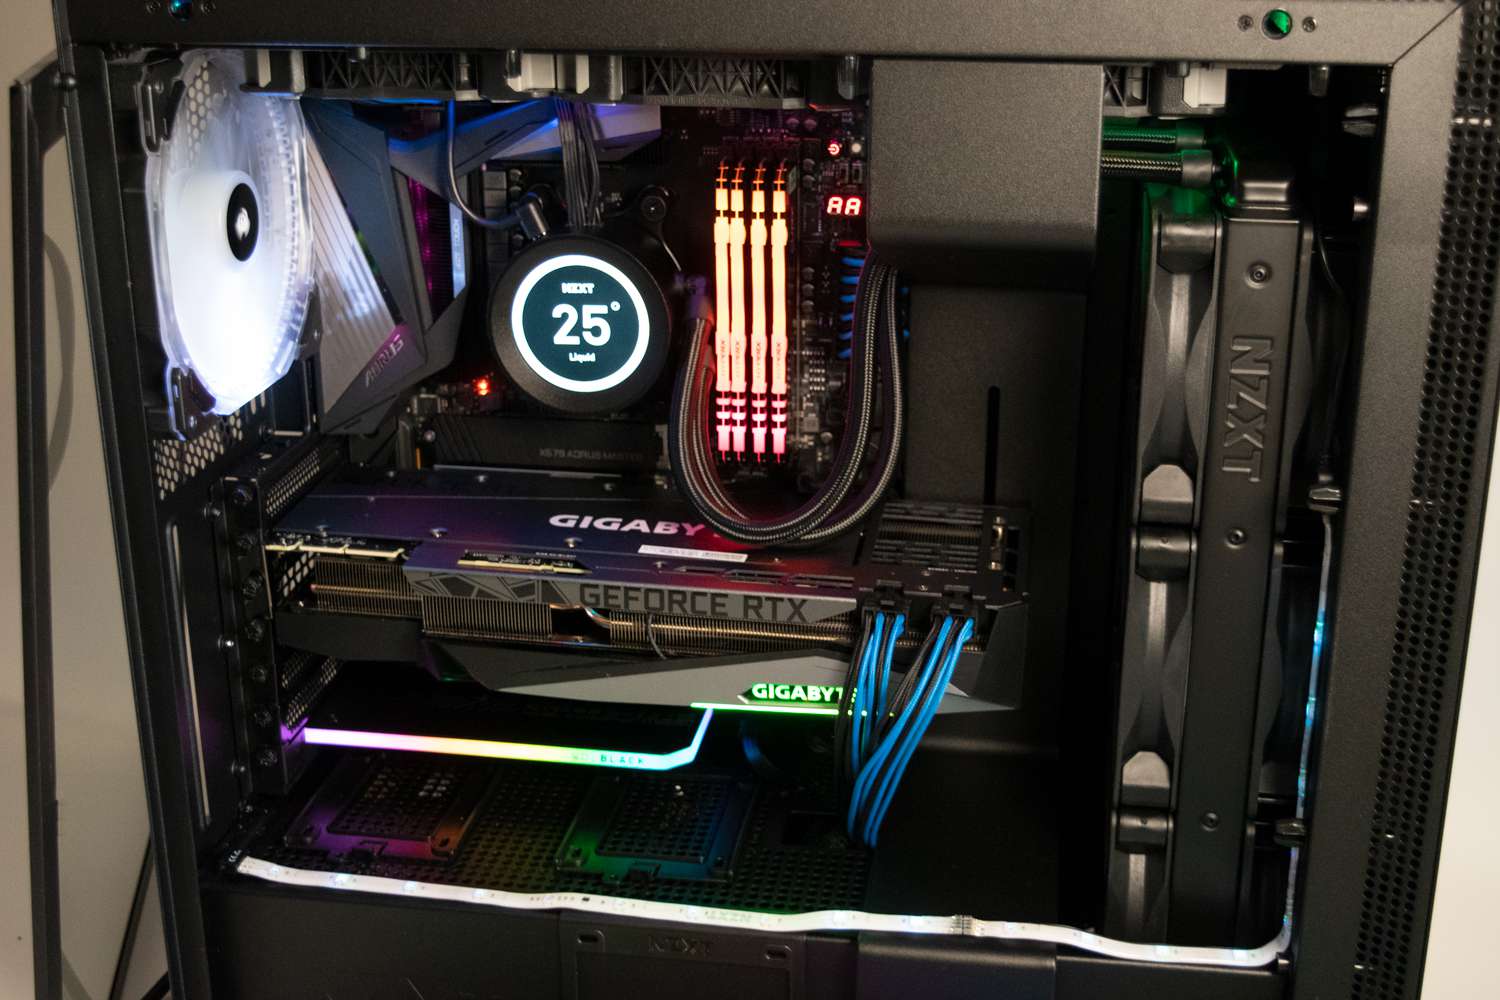
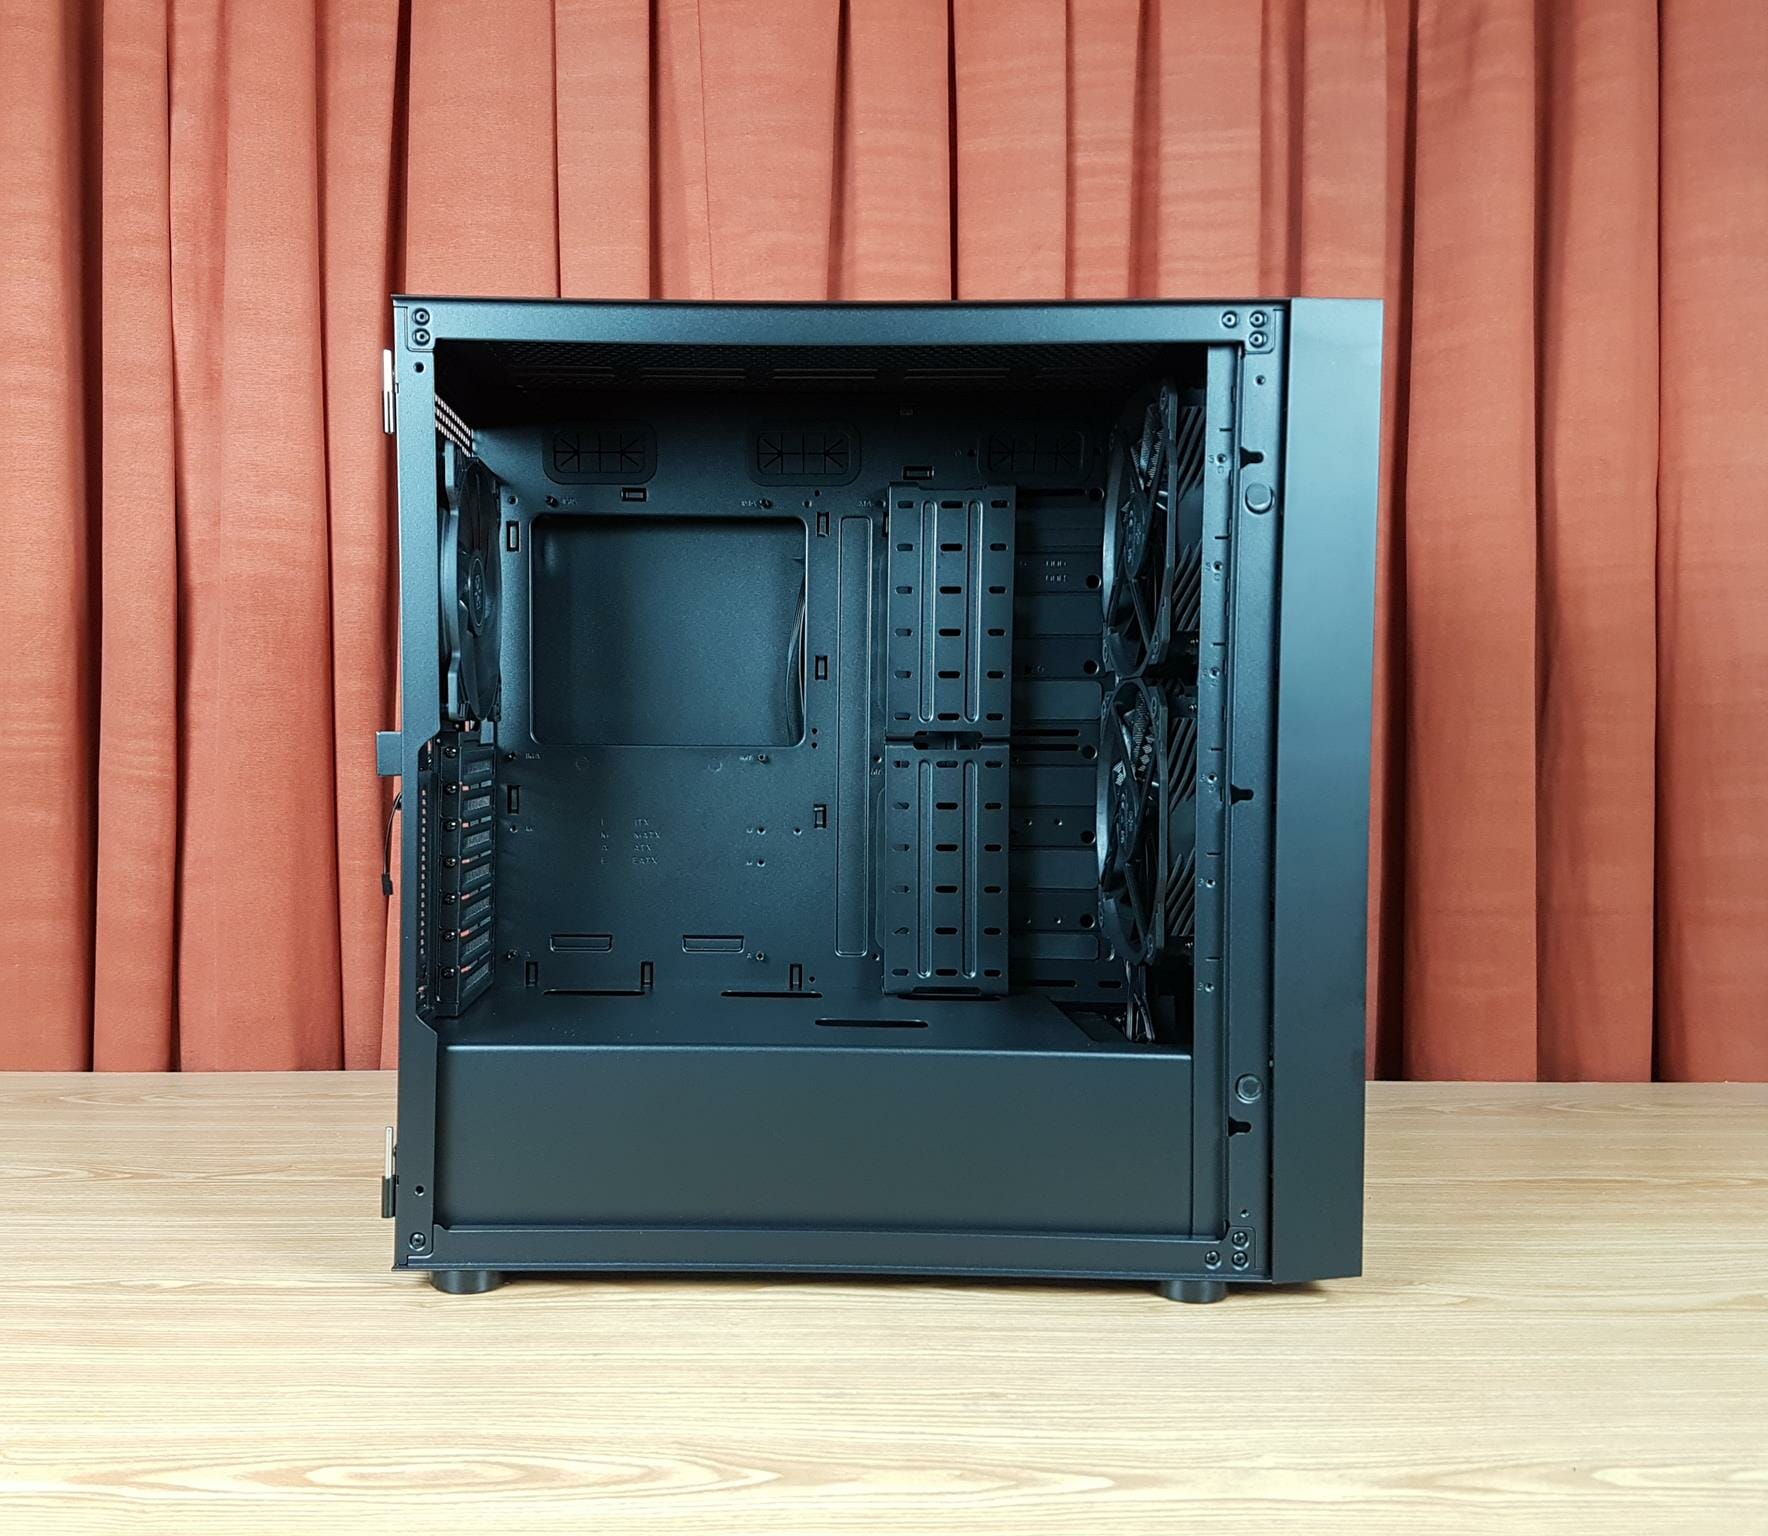
Step 4: Setting Up Storage and Memory
Setting up the storage and memory on your mini PC is an important step in optimizing its performance and ensuring smooth operation. A well-configured storage and memory setup will allow you to store and access your media files and applications efficiently. Here’s how to set up the storage and memory on your mini PC:
1. Storage:
- SSD vs. HDD: Consider using a Solid-State Drive (SSD) as your primary storage option for faster boot times and improved overall performance. If you require more storage capacity at a lower cost, you can also include a traditional Hard Disk Drive (HDD) for additional storage space.
- Partitioning: Partition the storage drive into separate partitions or volumes to organize your data and applications. Create a separate partition for the operating system and allocate appropriate space for media files, apps, and data storage.
- Backup and data redundancy: Implement a backup strategy by regularly backing up your important files to external storage or cloud-based solutions. Consider setting up a RAID configuration or utilizing backup software to ensure data redundancy and protection against hardware failure.
2. Memory (RAM):
- Verify compatibility: Ensure that the memory modules you are using are compatible with your mini PC’s motherboard. Check the specifications provided by the manufacturer or refer to the user manual for supported memory types, capacity, and speed.
- Install memory modules: Open the mini PC’s casing and locate the memory slots on the motherboard. Insert the memory modules properly into the slots, ensuring that they are securely seated. Follow the manufacturer’s guidelines for the proper installation process.
- Optimal configuration: If your mini PC has multiple memory slots, you can optimize performance by installing memory modules in matched pairs or utilizing dual-channel memory configurations. This helps improve memory bandwidth and overall system performance.
After setting up the storage and memory, it is recommended to format the storage drive and ensure that the memory modules are recognized by the operating system. Install any necessary drivers or firmware updates related to storage or memory for optimal performance.
Properly configuring the storage and memory on your mini PC ensures efficient data storage and retrieval, faster access times, and improved system responsiveness. By following these steps, you can maximize the performance of your mini PC and enhance your overall user experience.
Step 5: Installing Media Player and Apps
Once you have set up the storage and memory on your mini PC, the next step is to install a media player and other apps that will enhance your multimedia experience. Installing the right media player and apps will allow you to easily manage and enjoy your favorite movies, TV shows, music, and more. Here’s how to install media player and apps on your mini PC:
1. Media player:
- Research and choose: There are various media player options available, each with its own set of features and capabilities. Research and choose a media player based on your preferences and requirements. Popular options include VLC Media Player, Kodi, Plex, and Windows Media Player.
- Download and install: Visit the official website of the media player you have chosen and download the installer. Run the installer and follow the on-screen instructions to install the media player on your mini PC.
- Configure settings: Once the media player is installed, configure the settings according to your preferences. This may include setting up subtitles, audio and video playback options, and organizing your media library for easier access.
2. Additional apps:
- Streaming apps: Install popular streaming apps like Netflix, Amazon Prime Video, Hulu, or Disney+ to access a wide range of movies, TV shows, and exclusive content.
- Music and audio apps: Install music streaming apps such as Spotify, Apple Music, or Google Play Music to enjoy your favorite songs and playlists. You can also consider audiobook apps like Audible or podcast apps.
- Media management apps: Install media management apps like Plex, Emby, or Kodi to organize and manage your media library effectively. These apps provide features like metadata retrieval, posters, trailers, and custom playlists.
- Gaming apps: If you’re utilizing your mini PC as an Android PC, install gaming apps from the Google Play Store or sideload APKs for your favorite games. Some popular gaming platforms include Steam, Epic Games Store, or GOG Galaxy.
- Productivity apps: Install productivity apps such as office suite applications, web browsers, communication tools, or photo and video editing software to transform your mini PC into a versatile workstation.
When installing apps, ensure that you download them from reputable sources to avoid any security risks or malware. Consider utilizing an app store or marketplace specific to your operating system for a curated and trusted app selection.
By installing a media player and other apps that cater to your specific entertainment and productivity needs, you can transform your mini PC into a versatile multimedia hub. Take the time to explore different apps and customize them to suit your preferences for an optimized media and app experience.
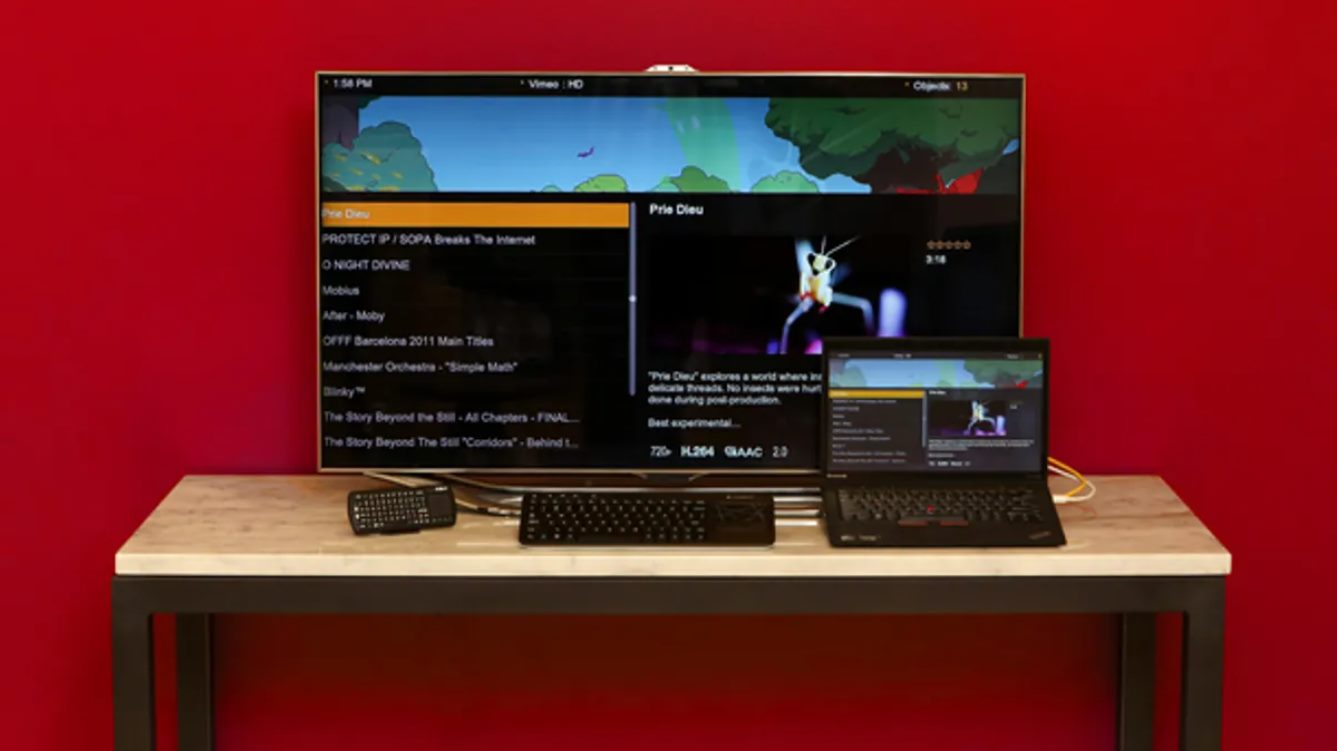
Step 6: Connecting to the Home Theater System
Connecting your mini PC to your home theater system is a crucial step to ensure that you can fully enjoy your multimedia content on the big screen and with immersive audio. With the right connections and settings, you can create a seamless and high-quality viewing experience. Here’s how to connect your mini PC to your home theater system:
1. Video connection:
- HDMI: The most common and recommended method is to connect your mini PC to your home theater system using an HDMI cable. Simply connect one end of the cable to the HDMI output port of your mini PC and the other end to an available HDMI input on your TV or AV receiver.
- VGA or DisplayPort: If your mini PC or home theater system does not have HDMI ports, you can use VGA or DisplayPort connections. Connect one end of the appropriate cable to the mini PC’s video output port and the other end to the corresponding input on your TV or receiver. Keep in mind that VGA does not transmit audio, so you will need a separate audio connection.
2. Audio connection:
- HDMI audio: When using an HDMI connection, audio is typically transmitted along with the video signal. Ensure that your mini PC’s audio output is set to HDMI or Auto in the audio settings. Connect the HDMI cable from the mini PC’s HDMI output port to an HDMI input on your home theater system.
- Separate audio connection: If you are not using HDMI for audio or your mini PC does not have an HDMI port, connect a separate audio cable from the mini PC’s audio output to an available audio input on your home theater system. This can be done using a 3.5mm audio cable, RCA cables, or an optical audio cable.
3. Power and network connections:
- Power: Ensure that your mini PC is connected to a power outlet using the provided power adapter. Make sure all the power connections are secure and the mini PC is receiving power.
- Network: Connect your mini PC to your home network using either an Ethernet cable or Wi-Fi. This will allow you to access online streaming services, download updates, and stream media from other networked devices.
Once the connections are made, power on your mini PC and home theater system. Switch the input source on your TV or receiver to the correct HDMI or video input. Confirm that the audio and video settings on your mini PC match the capabilities of your home theater system for optimal performance.
By successfully connecting your mini PC to your home theater system, you can enjoy your favorite movies, TV shows, music, and more on a larger screen with immersive audio. Take the time to test the audio and video playback to ensure everything is functioning as desired, and make any necessary adjustments in the settings for optimal viewing and audio experience.
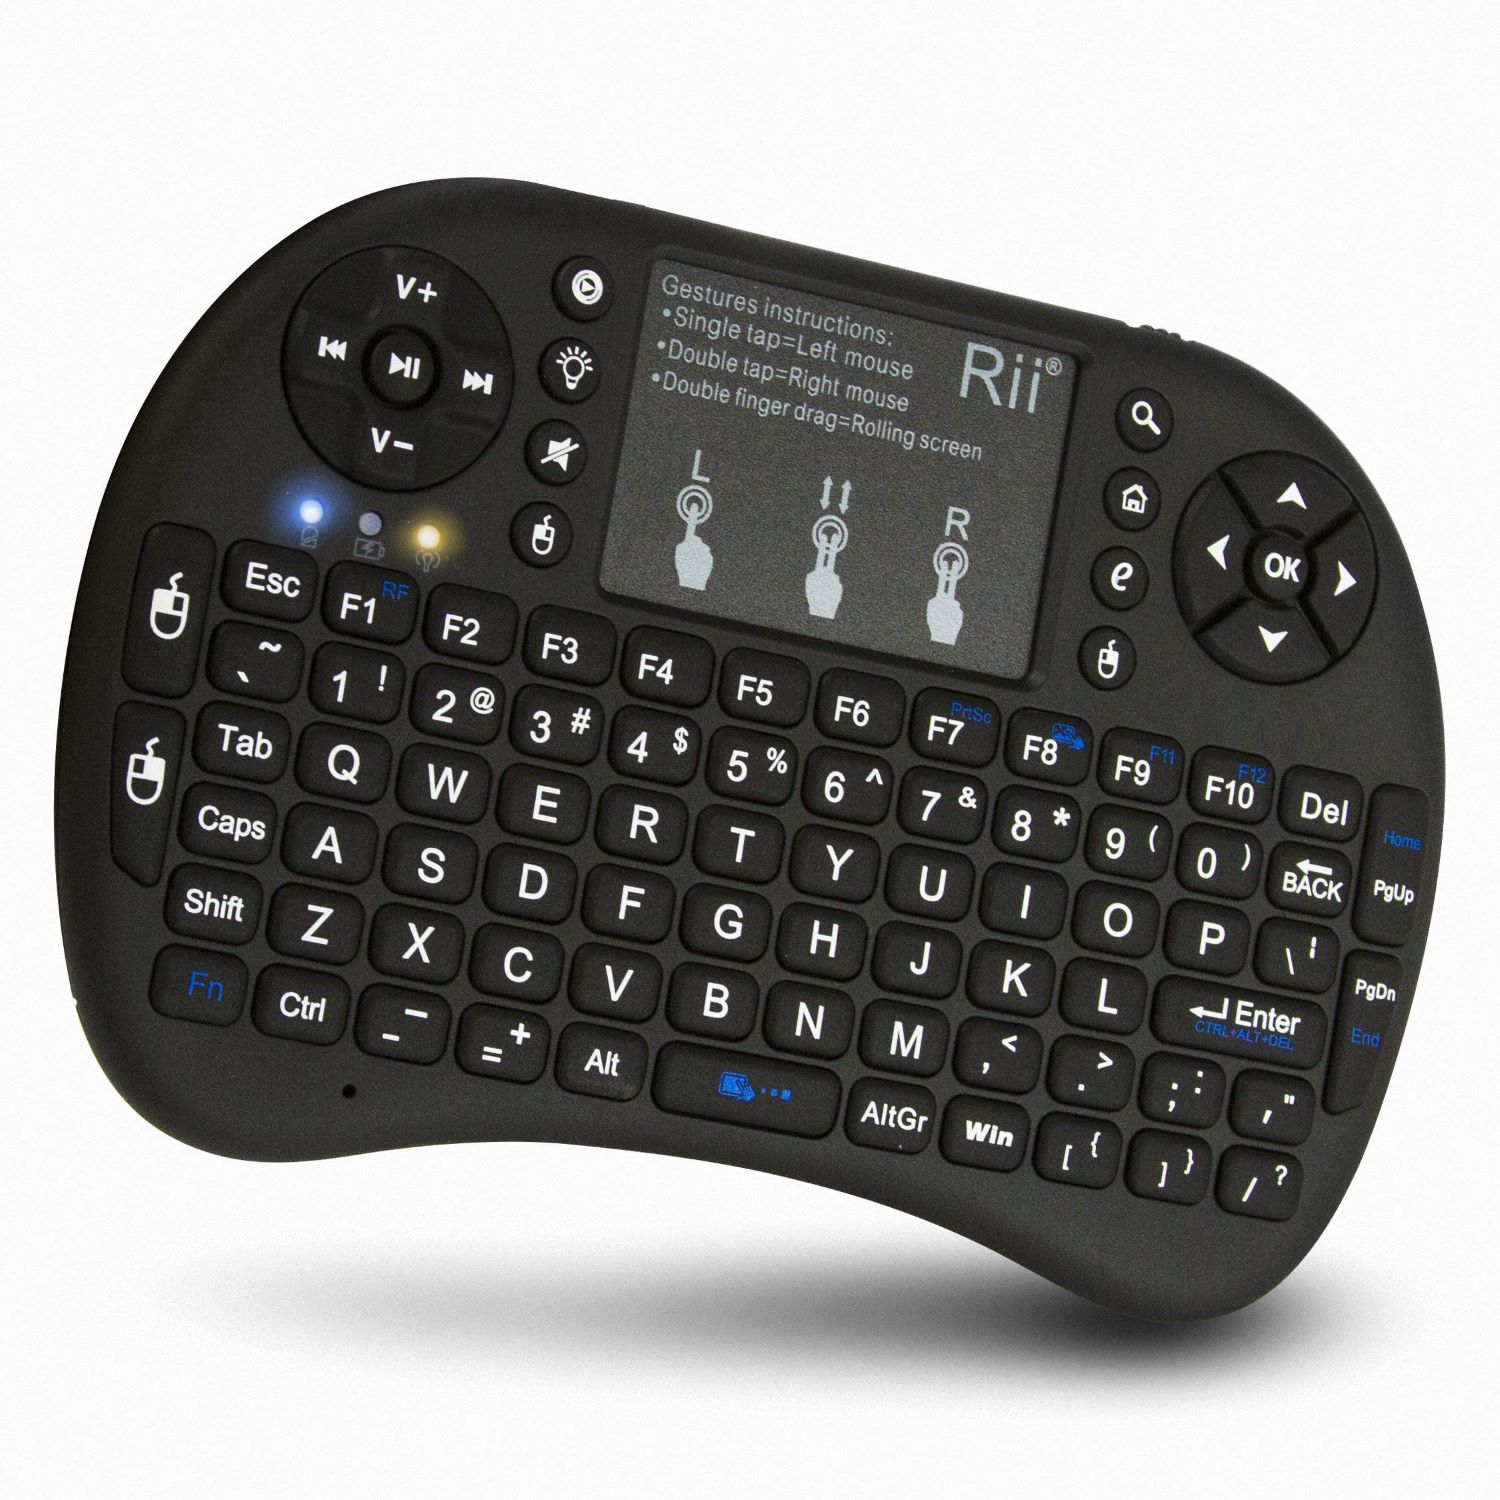
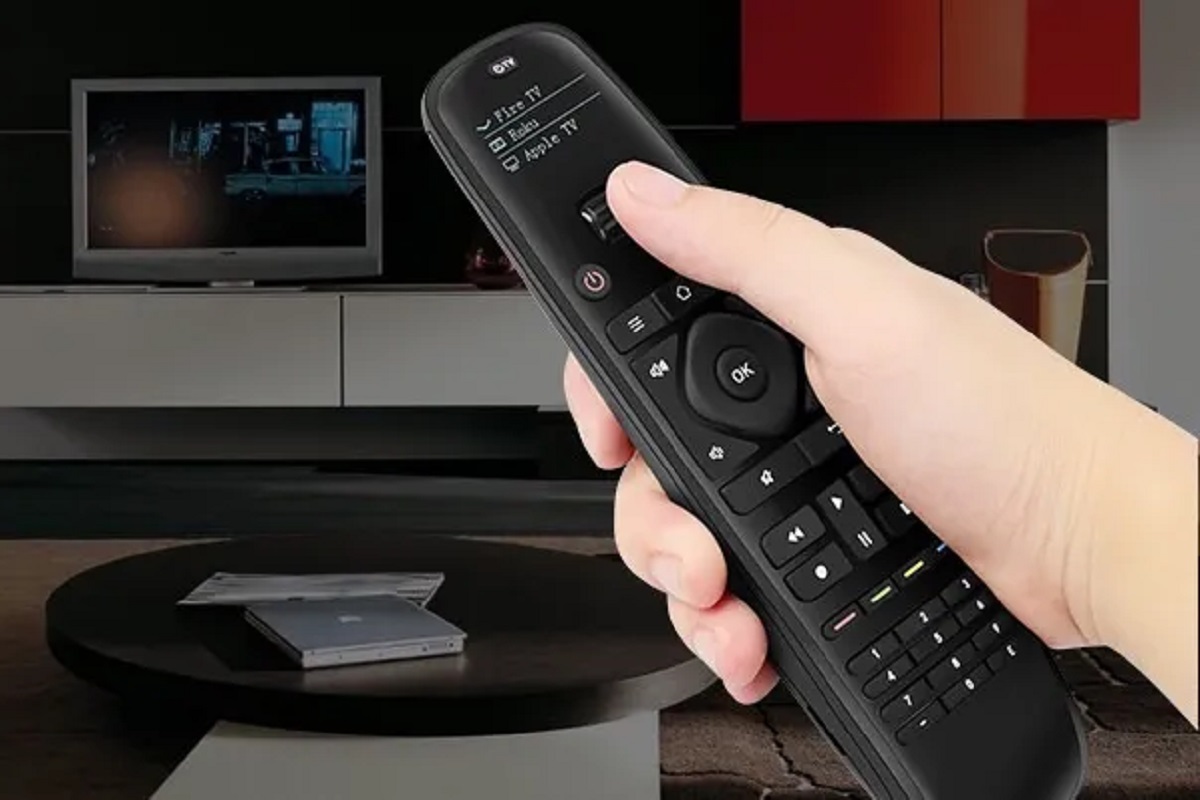
Step 7: Remote Control Options
Having convenient remote control options for your mini PC is essential to ensure a hassle-free and comfortable user experience. With the right remote control, you can easily navigate through menus, control playback, and access various features on your mini PC. Here are some remote control options to consider for your mini PC:
1. Dedicated remote control: Many mini PC models come with a dedicated remote control that is specifically designed for navigating the media player interface and controlling playback. These remotes often feature a simplified layout with buttons for navigation, volume control, play/pause, and other essential functions. They may also include a built-in keyboard or touchpad for easier text input.
2. Smartphone or tablet app: Another convenient option is to use a smartphone or tablet app as a remote control. Many media player apps offer companion apps that can be installed on your smartphone or tablet, allowing you to control your mini PC using the touch interface of your mobile device. These apps generally provide a virtual remote control with similar functionality to a physical remote.
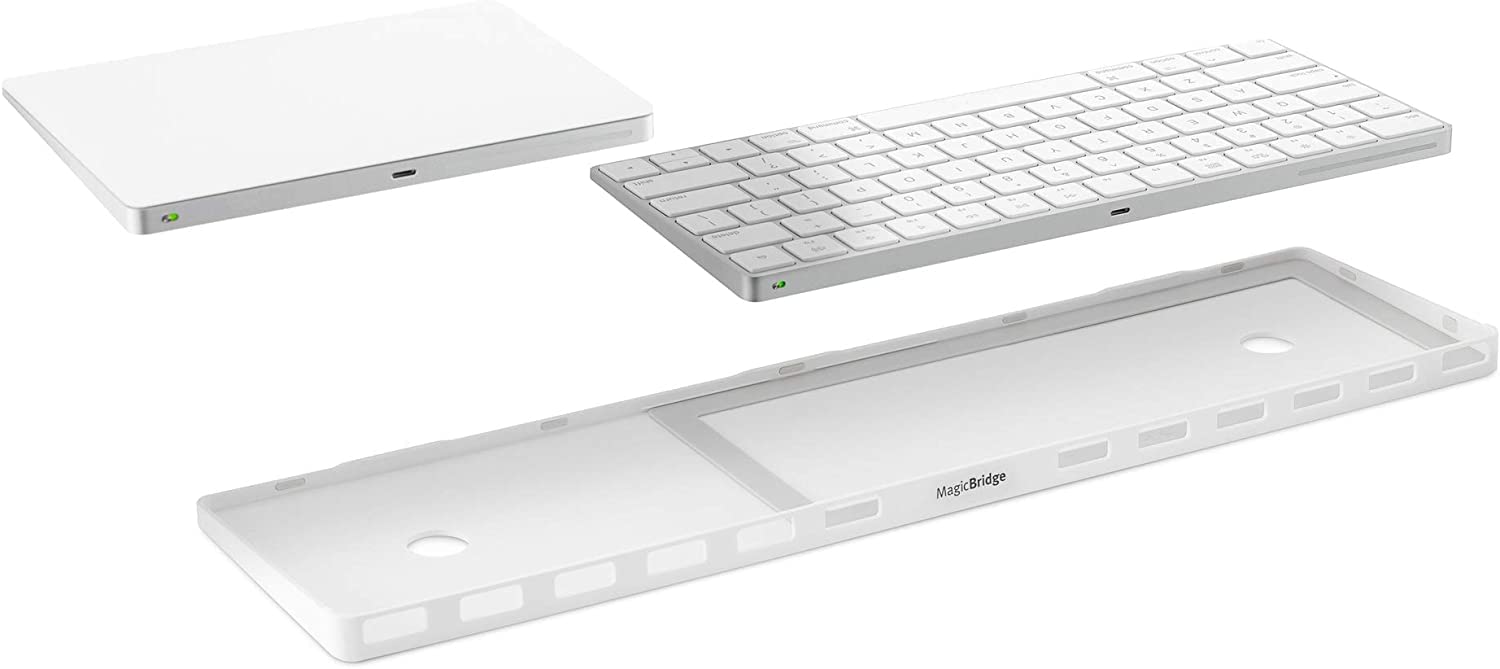
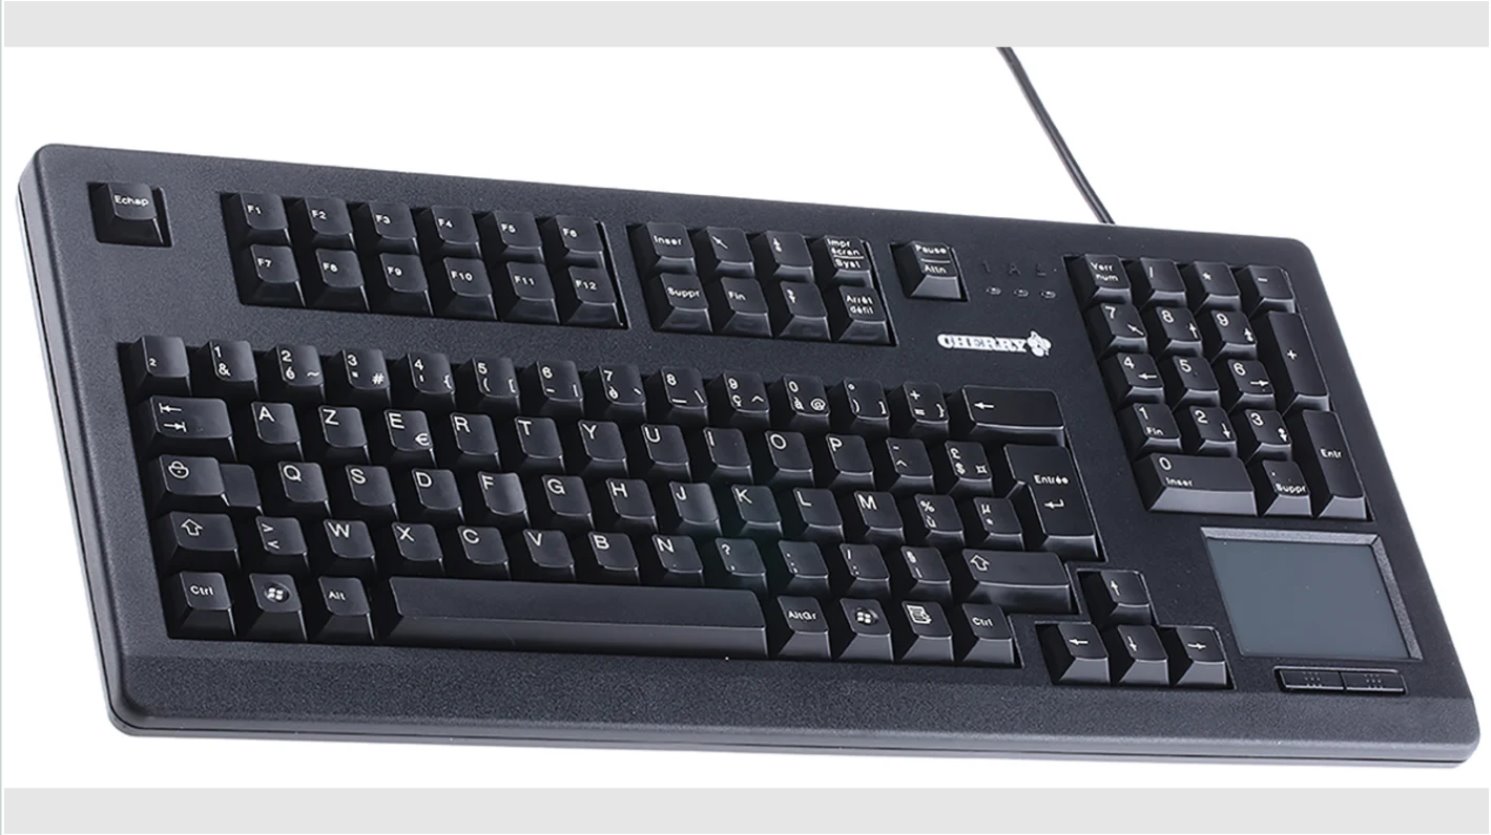
3. Wireless keyboard and mouse: For more extensive control and input options, you can connect a wireless keyboard and mouse to your mini PC. This setup allows for easier text input, navigation, and a more traditional computing experience. Bluetooth or USB wireless receivers can be used to connect the peripherals to the mini PC.
4. Universal remote control: If you prefer reducing the number of remote controls cluttering your entertainment space, consider using a universal remote control. These remotes can be programmed to control multiple devices, including your mini PC, TV, and audio receiver. Ensure that the universal remote control supports the necessary input options and has the capability to send the appropriate infrared (IR) or radio frequency (RF) signals to control your mini PC.
5. Voice control: Voice control is becoming increasingly popular and can be a convenient way to interact with your mini PC. Some media player apps and operating systems offer built-in voice control capabilities, allowing you to control playback, search for content, and perform other tasks using voice commands. Additionally, smart speakers with virtual assistants like Amazon Alexa or Google Assistant can be integrated with your mini PC for voice control functionality.
Consider your preferences and the specific capabilities of your mini PC when choosing a remote control option. It’s important to ensure compatibility with your media player app or operating system. Experiment with different remote control options to find the one that suits your needs and offers a seamless and effortless control experience.
With a well-chosen remote control option, you can navigate your mini PC’s interface with ease, control media playback, and enjoy your multimedia content without the inconvenience of using a keyboard and mouse.
Step 8: Optimizing Performance and Power Settings
Optimizing the performance and power settings of your mini PC can ensure smooth operation and maximize efficiency. By fine-tuning these settings, you can enhance the overall user experience and prolong the battery life, if applicable. Here’s how to optimize the performance and power settings of your mini PC:
1. Performance settings:
- Power profile: Access the power settings in your operating system and choose a power profile that balances performance and power consumption. Options may include “High Performance,” “Balanced,” or “Power Saver.” Select the power profile that aligns with your needs and preferences.
- Processor performance: Adjust the processor settings to optimize performance. In the power settings or BIOS, enable “Turbo Boost” or similar features to allow the processor to dynamically increase clock speeds when necessary. Keep in mind that higher performance settings may lead to increased power consumption and heat generation.
- Graphics settings: If your mini PC has dedicated graphics, access the graphics settings and adjust them according to your requirements. This may include enabling hardware acceleration, adjusting display refresh rates, or optimizing graphics quality for gaming or media playback.
- Background processes: Reduce the number of background processes and applications running simultaneously to allocate more resources to the tasks at hand. Close unnecessary applications and disable startup programs that are not essential. This can help improve system responsiveness and performance.
2. Power settings:
- Sleep and hibernate options: Configure the sleep and hibernate options to conserve power when the mini PC is inactive for a certain period of time. Adjust the timing settings according to your preferences, keeping in mind that longer idle times will result in more power savings but may require more time for the mini PC to wake up.
- Display settings: Adjust the display brightness and timeout settings to balance visibility and power consumption. Lowering the brightness or reducing the timeout period can save significant power, especially for devices with battery power.
- Power management features: Ensure that power management features, such as “Standby” or “Idle Timer,” are enabled in both the operating system and BIOS. These features help conserve power by automatically turning off or reducing power to certain components when they are not in active use.
- Power-saving peripherals: Consider utilizing power-saving features for peripherals like USB devices or wireless adapters. Some devices may have options to automatically power off or enter a low-power mode when not in use.
By optimizing the performance and power settings, you can strike a balance between performance and power efficiency. The specific options and settings may vary depending on your operating system and hardware configuration, so refer to the respective documentation or user manuals for detailed instructions.
Regularly monitor the performance and power consumption of your mini PC to ensure that the settings remain appropriate for your needs. Make adjustments as necessary to achieve the desired balance between performance and power efficiency.
By implementing these optimizations, you can enjoy a snappy and efficient mini PC experience while maximizing battery life, if applicable, and minimizing power consumption for a more environmentally friendly computing setup.
Conclusion
Setting up a mini PC as an HTPC or an Android PC can significantly enhance your home entertainment experience or provide a versatile computing solution. By following the steps outlined in this guide, you can ensure a smooth and successful setup process.
Choosing the right mini PC is paramount and involves considering factors such as processing power, memory, storage, connectivity options, and budget. Installing the operating system and configuring audio and video settings are crucial steps in optimizing the performance and compatibility of your mini PC with your home theater system or monitor.
Installing a media player and other apps tailored to your entertainment and productivity needs allows you to fully exploit the capabilities of your mini PC. Connecting your mini PC to your home theater system ensures an immersive viewing experience with high-quality audio and video playback.
Selecting the appropriate remote control options provides convenience and ease of use, while optimizing performance and power settings can enhance the overall user experience and increase efficiency. Fine-tuning these settings allows for improved system responsiveness, resource allocation, and power management.
In conclusion, setting up a mini PC as an HTPC or an Android PC offers tremendous possibilities for a personalized and enjoyable multimedia or computing experience. By carefully following the steps outlined in this guide, you can unleash the full potential of your mini PC and create a versatile entertainment hub or productivity workstation tailored to your specific needs and preferences. So embrace the potential of your mini PC and embark on a journey of enhanced entertainment and productivity with confidence.