Introduction
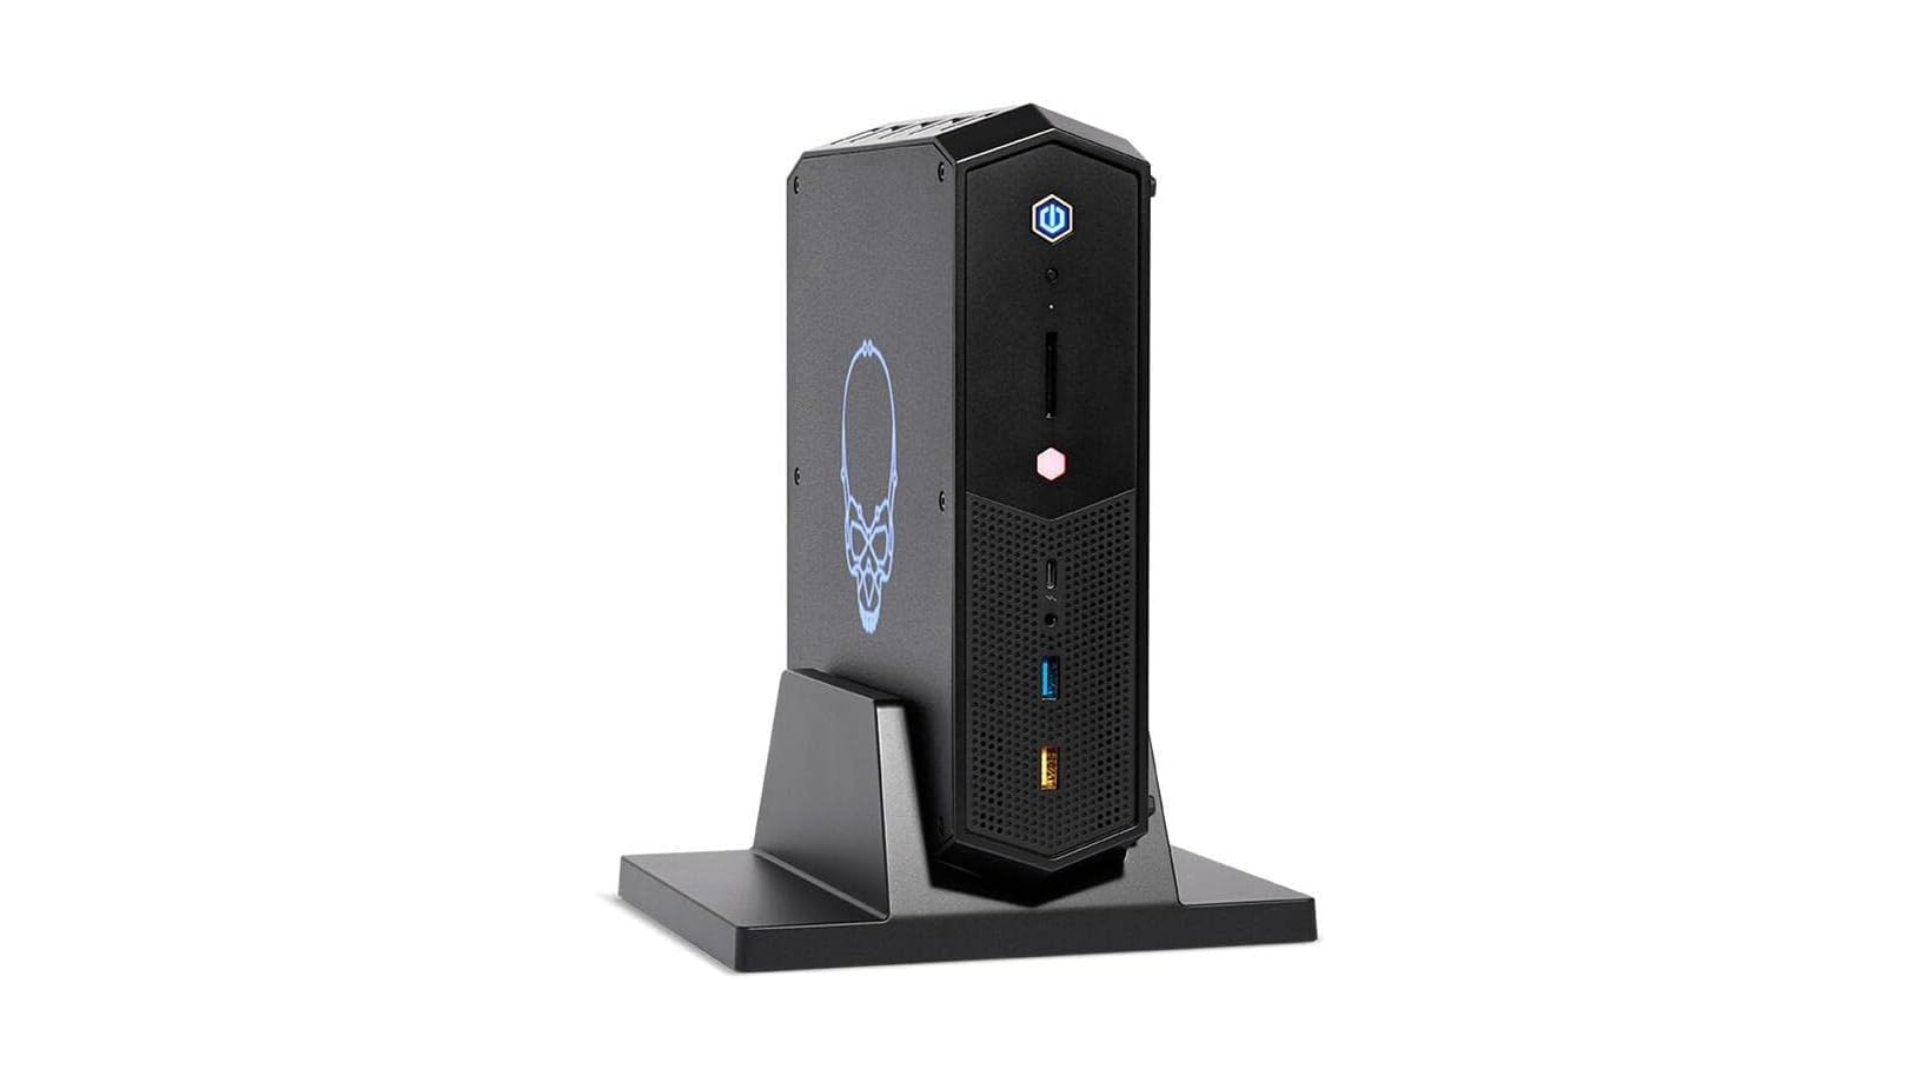
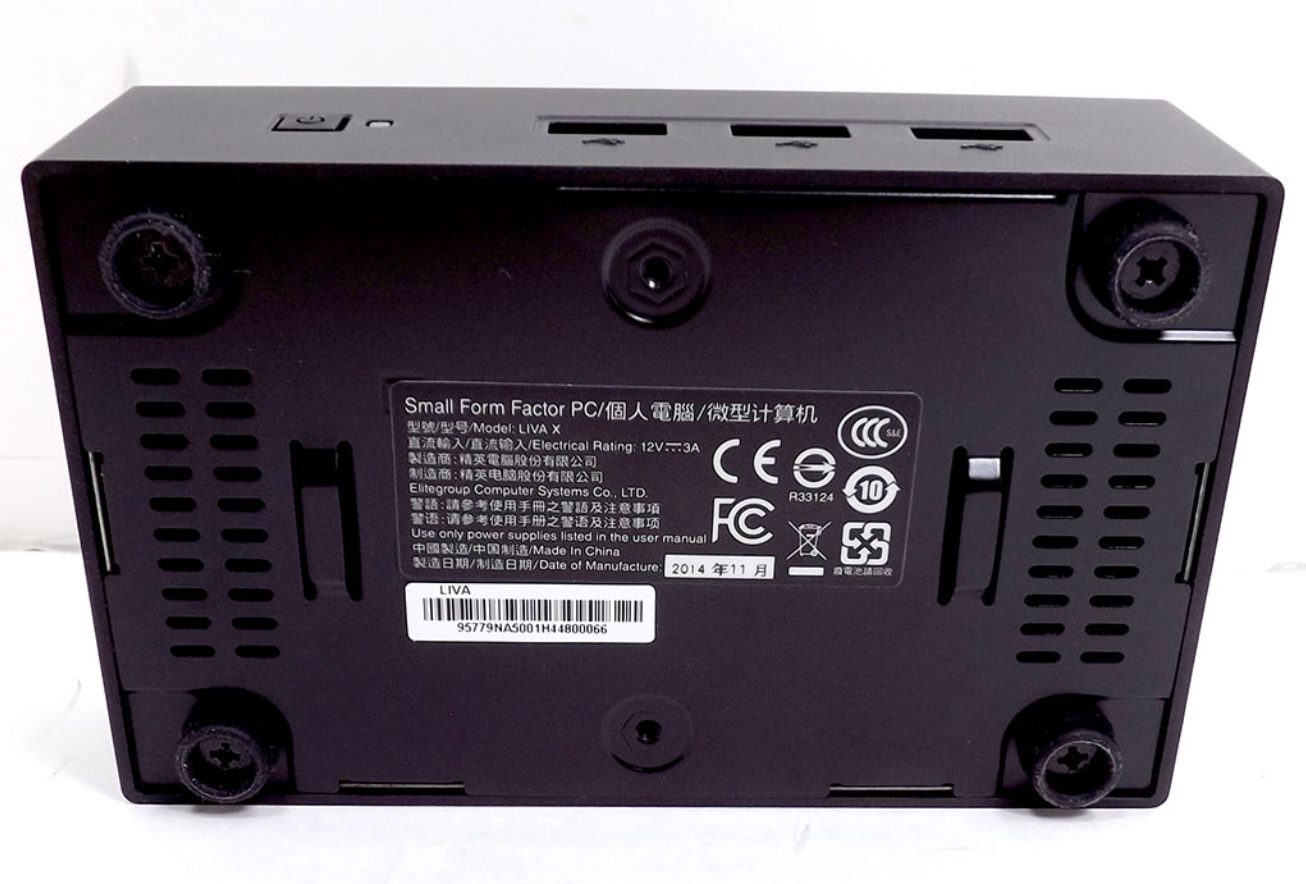
Are you looking for a powerful yet compact computer for your home or office? Look no further than the Liva Mini PC! The Liva Mini PC is a small form factor computer that packs a punch with its impressive performance and sleek design. Whether you need a mini desktop for everyday tasks, streaming media, or even light gaming, the Liva Mini PC has got you covered.
In this article, we will guide you through the process of mounting the Liva Mini PC, from unboxing to configuration. We will provide step-by-step instructions and helpful tips to ensure a smooth and successful installation. So, let’s get started and turn your Liva Mini PC into a fully functioning workstation!
Before we dive into the installation process, let’s take a quick look at the tools and equipment you will need:
- Screwdriver
- Monitor or TV with HDMI or VGA input
- Keyboard and mouse
- Power outlet
Tools and Equipment Needed
Before you start mounting your Liva Mini PC, it’s important to gather all the necessary tools and equipment. Here’s a list of items you’ll need:
- Screwdriver: You’ll need a screwdriver to open the mini PC case and secure it in place.
- Monitor or TV with HDMI or VGA input: The Liva Mini PC can be connected to a monitor or TV using either HDMI or VGA cables, depending on the available input on your display device.
- Keyboard and mouse: To interact with your Liva Mini PC, you’ll need a keyboard and mouse for navigation and input. USB or wireless options are both compatible.
- Power outlet: Make sure you have access to a power outlet near the mounting location to power up your Liva Mini PC.
It’s important to ensure that you have all the necessary tools and equipment readily available before beginning the mounting process. This will help to streamline the process and avoid any unnecessary delays.
Now that you have your tools and equipment ready, let’s move on to the step-by-step instructions for mounting your Liva Mini PC.
Step 1: Unboxing the Liva Mini PC
Before you can start the mounting process, you’ll need to unbox your Liva Mini PC. Follow these steps to safely unbox and prepare your device:
- Begin by finding a clear and spacious area to unbox your Liva Mini PC. Make sure there is enough room to comfortably access the components and work.
- Remove the packaging material, such as bubble wrap or styrofoam, from the box. Set aside the accessories, cables, and power adapter that come with the mini PC.
- Gently lift the Liva Mini PC out of the box, ensuring that you have a firm grip on it. Be careful not to drop or mishandle the device during this process.
- Inspect the Liva Mini PC for any visible damage. If you notice any dents, scratches, or other issues, contact customer support for assistance.
- Remove the protective plastic covering from the mini PC case. This will reveal the sleek and compact design of the Liva Mini PC.
- Locate the accessories that came with the mini PC, such as the power adapter, cables, and mounting brackets. Ensure that all the necessary components are present.
By carefully unboxing your Liva Mini PC, you can minimize the risk of damaging the device and ensure that all the necessary components are accounted for. Once you have completed this step, you’re ready to move on to the next step: connecting the components.
Step 2: Connecting the Components
Now that you have unboxed your Liva Mini PC, it’s time to connect the components. Follow these step-by-step instructions to ensure a proper and secure connection:
- Locate the mounting brackets that came with your Liva Mini PC. These brackets will be used to securely attach the mini PC to your desired surface.
- Position the brackets on the back of the mini PC, aligning them with the mounting holes. Use the provided screws to firmly attach the brackets to the device.
- Select the surface where you want to mount your Liva Mini PC. Ensure that the surface is stable, flat, and can support the weight of the device.
- Using a screwdriver, secure the brackets to the surface by screwing them in place. Make sure the brackets are tightly fastened to prevent any movement or instability.
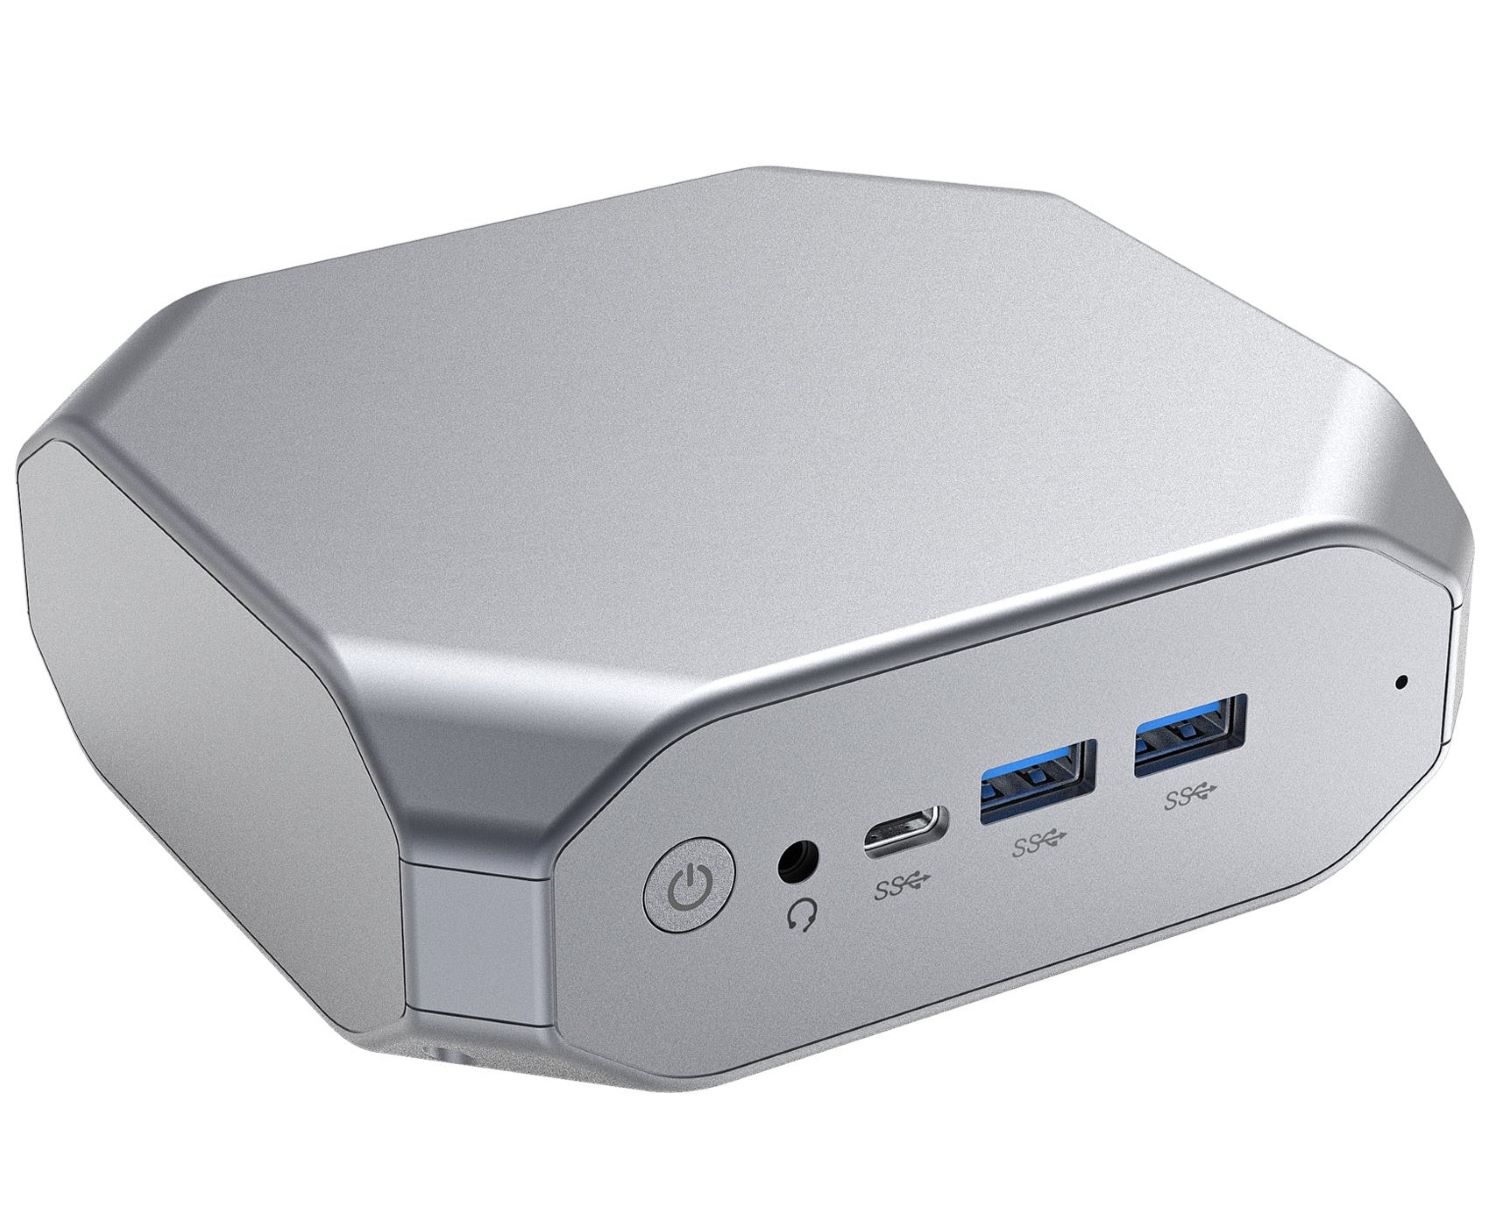
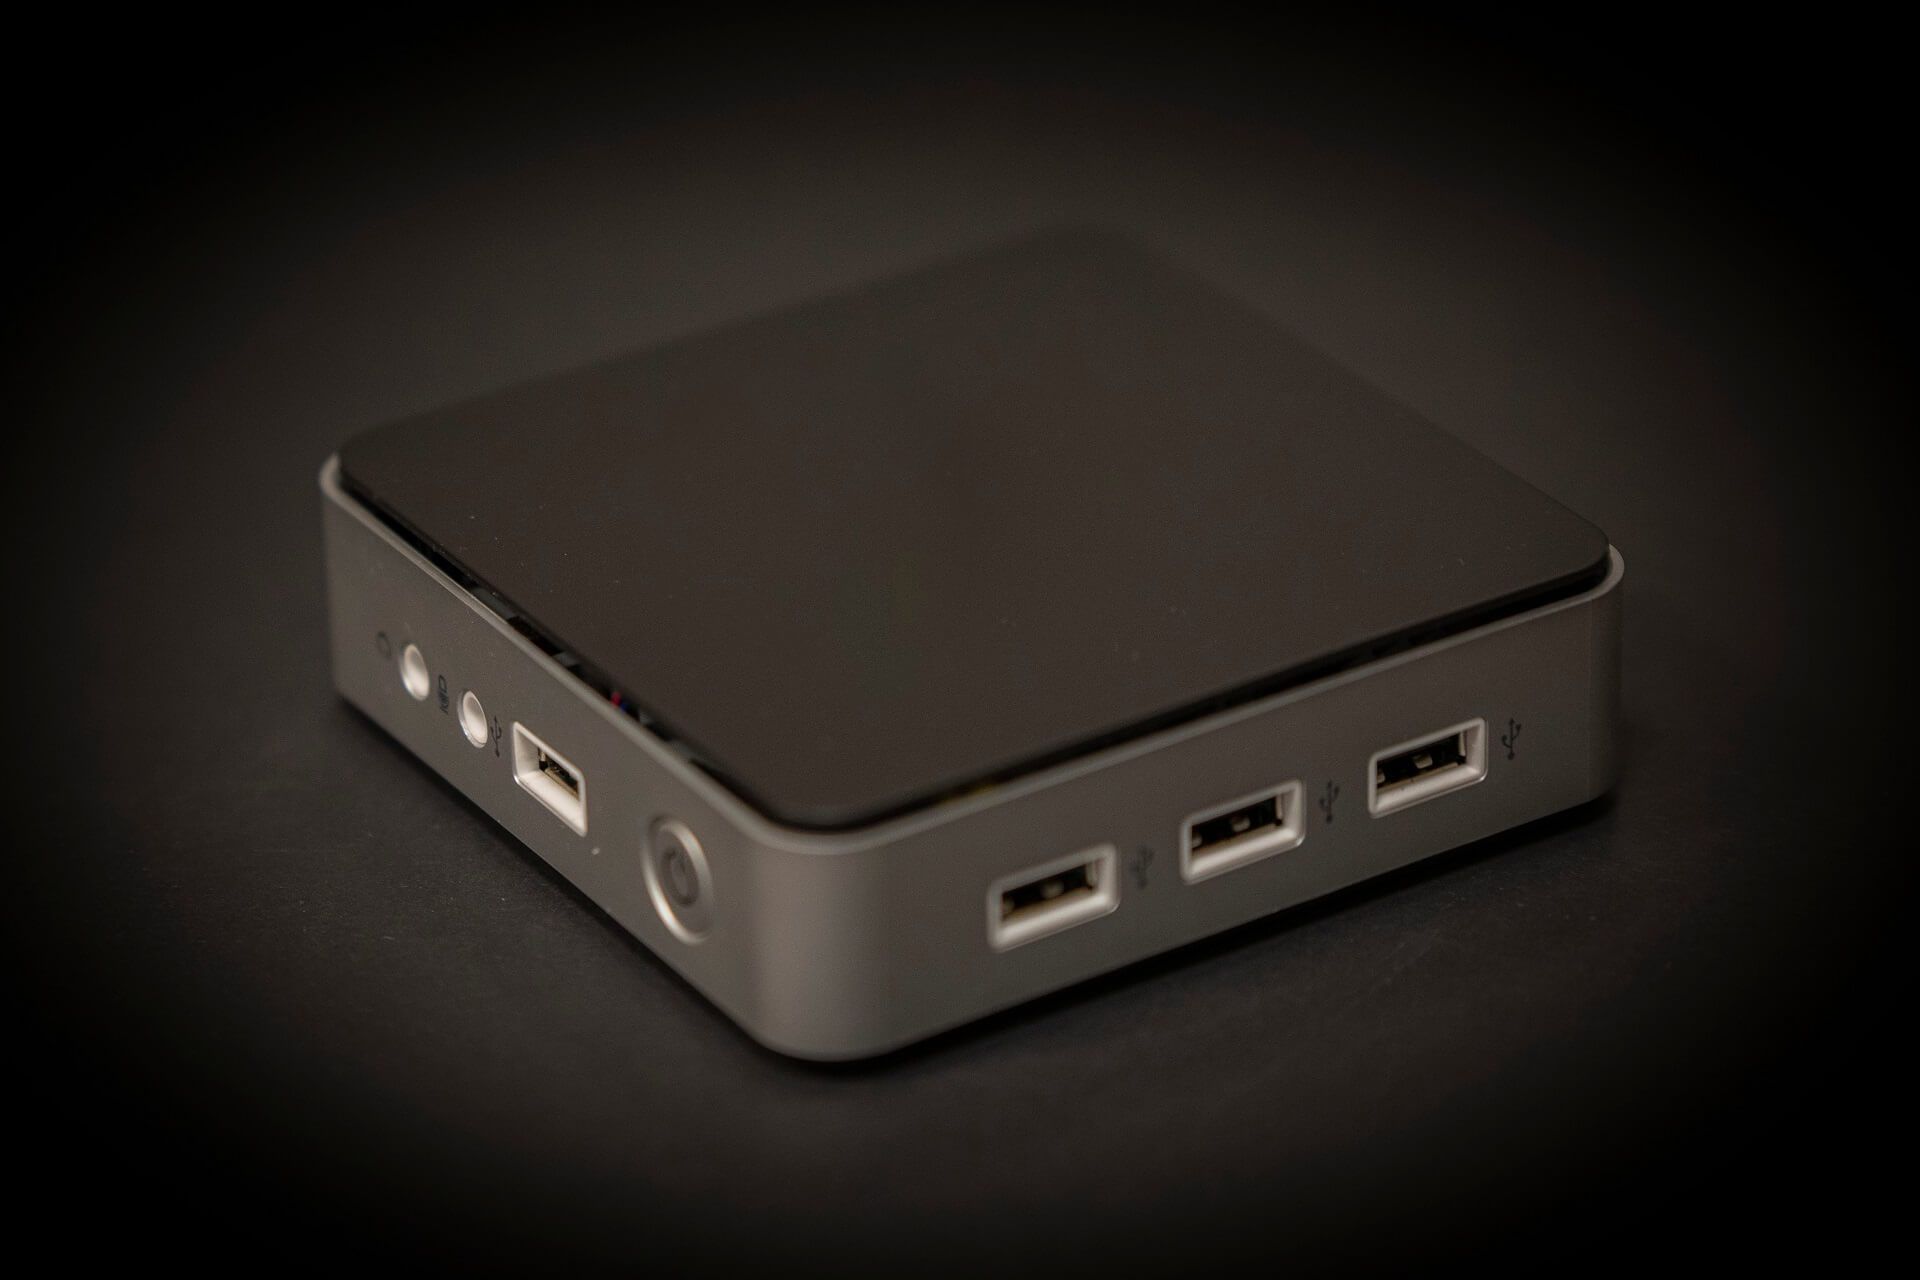
- Connect the necessary cables to the back of the Liva Mini PC. Depending on your setup and available ports, you may need to connect the HDMI or VGA cable for video output, USB devices for peripherals, and the power adapter for power supply.
- Check that all the cables are securely connected to their respective ports. Give them a gentle tug to ensure they are firmly plugged in.
By carefully following these instructions, you will have successfully connected the components of your Liva Mini PC. Once the components are securely connected, you’re ready to move on to the next step: mounting the Liva Mini PC.
Step 3: Mounting the Liva Mini PC
Now that you have connected all the necessary components of your Liva Mini PC, it’s time to mount the device onto the surface you have selected. Follow these step-by-step instructions to securely mount your Liva Mini PC:
- Position the Liva Mini PC with the attached brackets near the mounted brackets on the surface. Make sure the brackets align with each other.
- Gently slide the mini PC into the mounted brackets, ensuring a snug fit. The brackets should securely hold the device in place.
- If your mounting surface allows for it, use the provided screws to fasten the Liva Mini PC to the brackets. This will provide additional stability and prevent any accidental movement.
- Double-check that the mini PC is securely mounted and does not wobble or shift when touched. This will ensure the safety of the device and prevent any potential damage.
- Take a moment to adjust the positioning of the Liva Mini PC if necessary. Ensure that it is easily accessible for cable connections and use.
- Once you are satisfied with the mounting position, proceed to the next step: connecting your Liva Mini PC to a monitor or TV.
By following these instructions, you have successfully mounted your Liva Mini PC onto a surface. The securely mounted device will provide stability and ensure optimal functionality. Now that your Liva Mini PC is in place, you can move on to the next step: connecting it to a monitor or TV.
Step 4: Connecting to a Monitor or TV
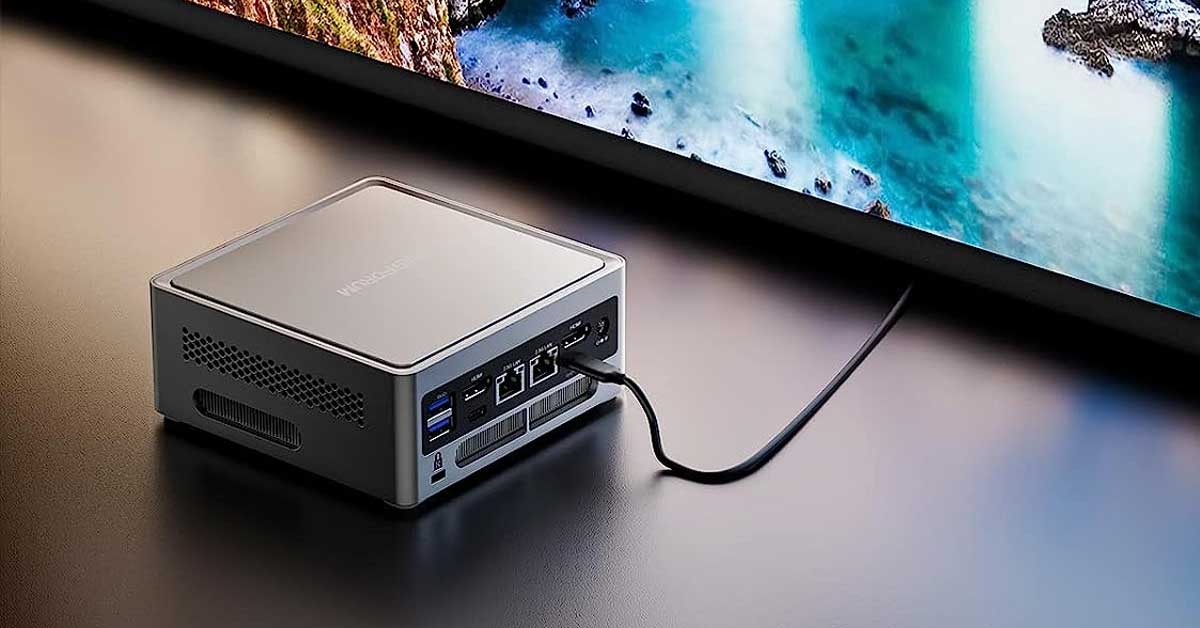
With your Liva Mini PC securely mounted, it’s time to connect it to a monitor or TV for display. Follow these step-by-step instructions to make the connection:
- Locate the appropriate cable for your display device. Depending on the available ports, you may need an HDMI or VGA cable.
- Connect one end of the cable to the HDMI or VGA port on the back of the Liva Mini PC.
- Connect the other end of the cable to the corresponding input port on your monitor or TV.
- Ensure that the cable is securely connected on both ends to prevent any loose connections or signal interruptions.
- Power on your monitor or TV and switch to the correct input source. This will allow the display device to recognize and show the output from the Liva Mini PC.
- Turn on your Liva Mini PC by connecting the power adapter to the device and plugging it into a power outlet.
Once you have completed these steps, your Liva Mini PC should now be connected to the monitor or TV. The display should show the output from the mini PC, allowing you to interact with it using a keyboard and mouse. If the display does not show anything, double-check the cable connections and ensure that the correct input source is selected on your monitor or TV.
With your Liva Mini PC successfully connected to a monitor or TV, you’re now ready to move on to the next step: powering up the device and configuring it.
Step 5: Powering Up and Configuring the Liva Mini PC
Now that you have connected your Liva Mini PC to a monitor or TV, it’s time to power it up and configure the settings. Follow these step-by-step instructions to get your Liva Mini PC up and running:
- Ensure that the Liva Mini PC is connected to a power outlet using the provided power adapter.
- Press the power button on the mini PC to turn it on. You should see the device light up and hear the fans start running.
- After powering up, the Liva Mini PC will start loading the operating system. Follow the on-screen instructions to complete the initial system setup.
- Configure your desired language, time zone, and other settings according to your preferences.
- Install any necessary drivers or software updates that are prompted during the initial setup process. This will ensure that your Liva Mini PC is up to date and running smoothly.
- Set up your network connection, whether it’s through Wi-Fi or Ethernet, to enable internet access on your Liva Mini PC.
- Customize your desktop settings, such as wallpaper, icon arrangement, and display resolution, to suit your preferences.
- Install any essential software or applications that you may require for your tasks or entertainment purposes.
- Take some time to familiarize yourself with the features and capabilities of your Liva Mini PC. Explore the operating system and experiment with different settings to optimize your user experience.
By following these instructions, you have successfully powered up and configured your Liva Mini PC. It is now ready to be used for a wide range of activities, whether it’s productivity tasks, multimedia streaming, or light gaming.
If you encounter any issues or need assistance during the setup process, refer to the user manual or reach out to the manufacturer’s customer support for guidance.
Congratulations! You have now completed all the necessary steps to mount, connect, power up, and configure your Liva Mini PC. Enjoy the compact yet powerful performance of your new mini desktop!
Step 6: Troubleshooting Tips
While setting up and using your Liva Mini PC, you may encounter certain issues or challenges. Don’t worry, here are some troubleshooting tips to help you overcome common problems:
- No display: If you don’t see any image on your connected monitor or TV, double-check the cable connections. Ensure that the cable is securely plugged into both the Liva Mini PC and the display device. Additionally, verify that the correct input source is selected on your monitor or TV.
- No power: If the Liva Mini PC does not turn on, check if the power adapter is properly connected to both the device and the power outlet. If it still doesn’t power up, try using a different power outlet or consult the user manual for troubleshooting steps.
- Overheating: If you notice that your Liva Mini PC is getting too hot, make sure that the ventilation openings are clear. Check for any dust or debris blocking the airflow and clean the device if necessary. You can also consider using a cooling pad or an external fan to help with heat dissipation.
- Slow performance: If your Liva Mini PC is experiencing sluggish performance, there are a few things you can try. Make sure that you have enough free storage space on the device and that the operating system and software are up to date. You can also close unnecessary background applications or perform a system scan for malware or viruses.
- Audio issues: If you’re having trouble with audio output, check the volume settings on your Liva Mini PC and the connected monitor or TV. Verify that the audio cable is securely connected and try using different speakers or headphones to isolate the issue.
If you encounter any persistent or complex issues with your Liva Mini PC, it’s recommended to consult the user manual or contact the manufacturer’s customer support for further assistance. They will be able to provide you with specific troubleshooting steps tailored to your device.
By following these troubleshooting tips, you’ll be able to address common issues and ensure a smooth and enjoyable experience with your Liva Mini PC.
Conclusion
Congratulations on successfully mounting and setting up your Liva Mini PC! By following the step-by-step instructions outlined in this guide, you have transformed your compact device into a fully functional workstation or entertainment hub.
We started by unboxing the Liva Mini PC and gathering all the necessary tools and equipment. Then, we proceeded to connect the components, securely mount the mini PC, and connect it to a monitor or TV. After ensuring all the physical connections were in place, we powered up the device and configured the settings according to our preferences.
Throughout the process, we provided troubleshooting tips to help you overcome any challenges you may encounter, such as display issues, power problems, overheating, slow performance, or audio glitches.
Now that your Liva Mini PC is up and running, the possibilities are endless. Whether you use it for work, entertainment, or both, the compact and powerful nature of the Liva Mini PC ensures a seamless computing experience.
Remember to explore the features and capabilities of your Liva Mini PC, personalize your desktop settings, and install any necessary software or applications to enhance your productivity and enjoyment.
If you ever need assistance or have any questions, consult the user manual or reach out to the manufacturer’s customer support. They are there to help you make the most of your Liva Mini PC.
Thank you for choosing the Liva Mini PC and entrusting us to guide you through the mounting and setup process. Enjoy the versatility, performance, and convenience that this compact powerhouse brings to your computing experience!