Introduction
Welcome to the world of mini PCs, where compact and versatile computing power meets portability and convenience. Building your own mini PC is a rewarding and cost-effective way to create a device that perfectly suits your needs, whether it’s for gaming, multimedia streaming, or office productivity.
In this guide, we will walk you through the process of building a mini PC from scratch. From selecting the right components to installing the operating system and optimizing your device, you’ll have all the information you need to bring your mini PC to life.
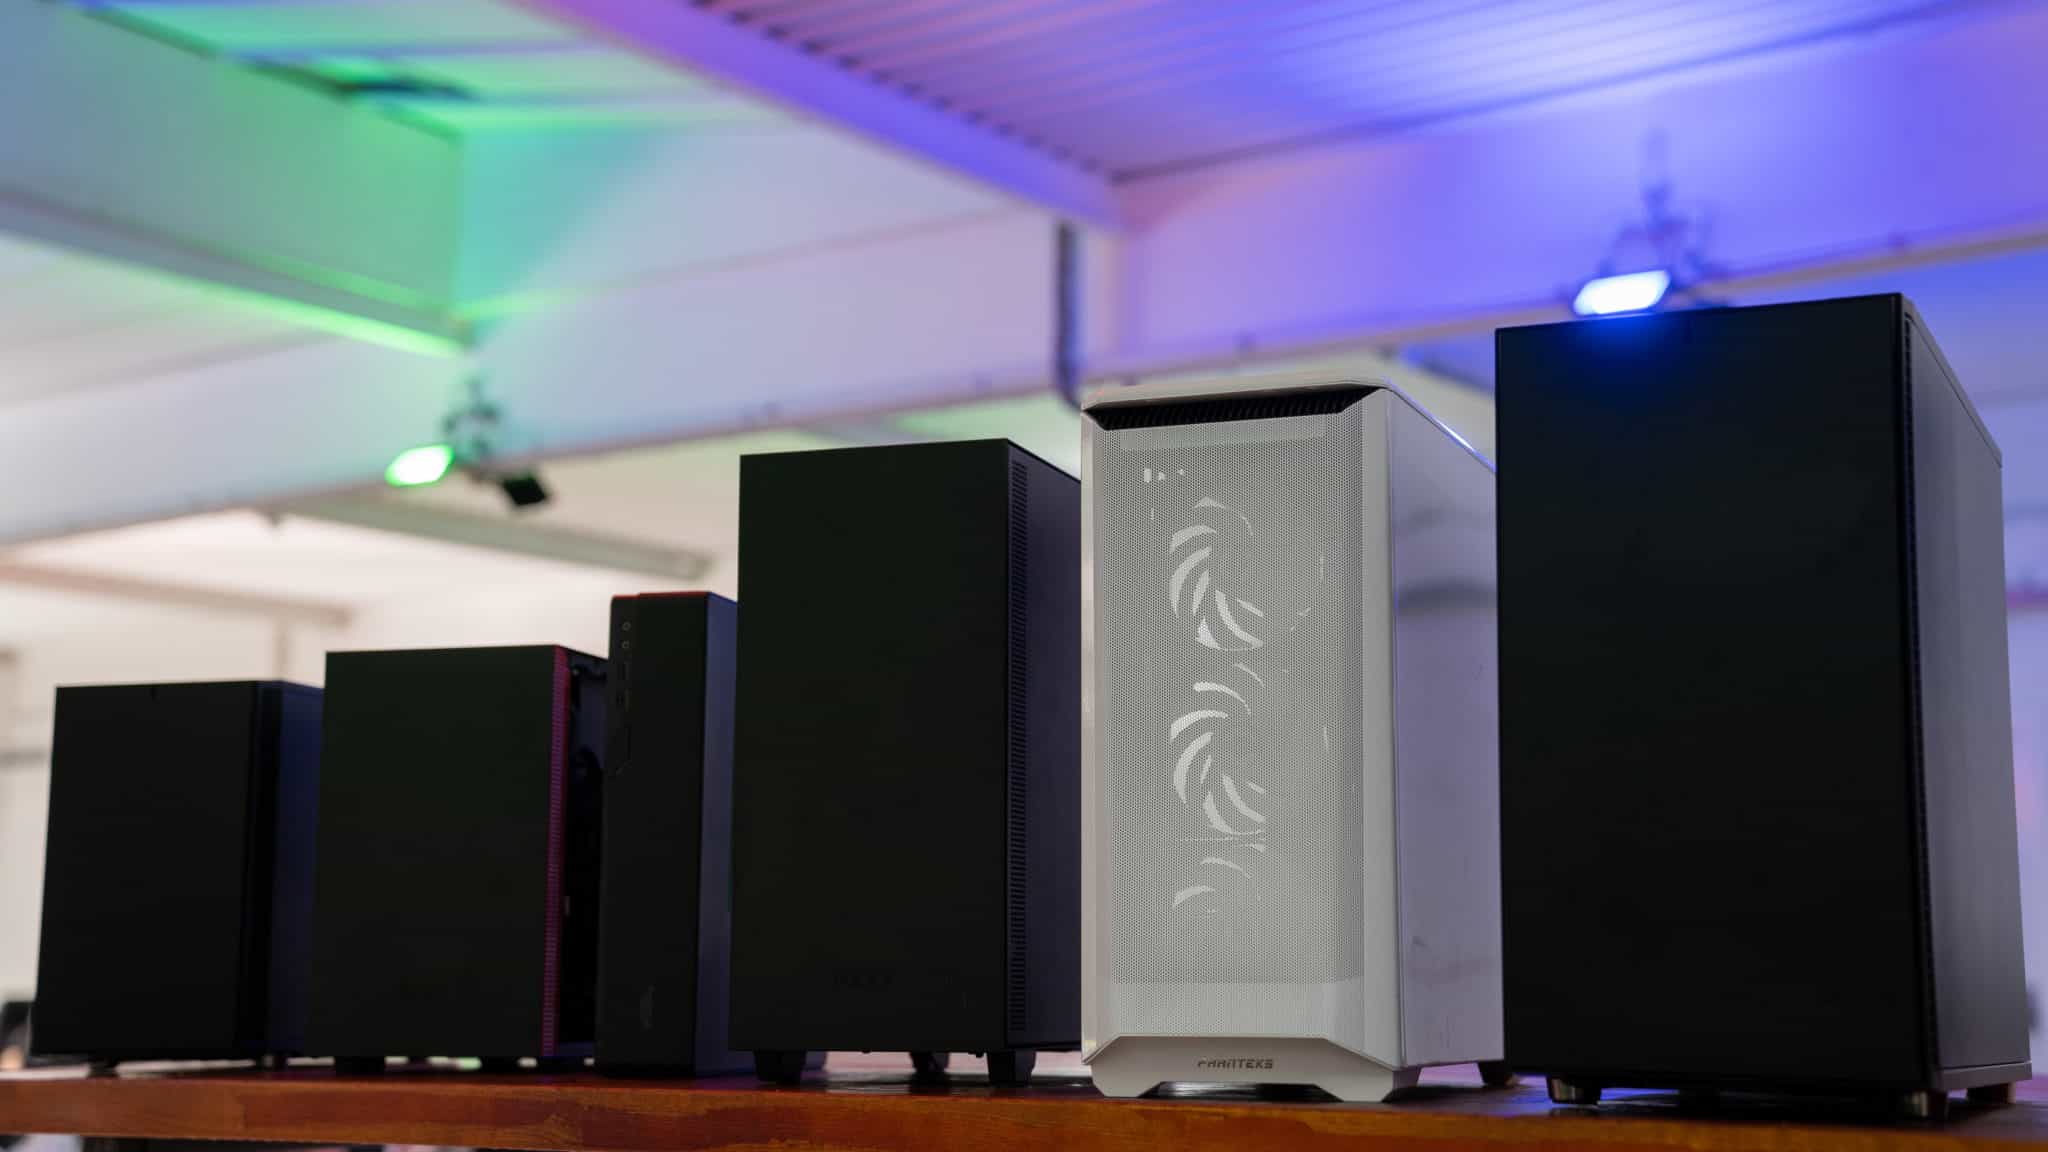
Mini PCs are becoming increasingly popular due to their compact size, energy efficiency, and versatility. They are perfect for those who want a powerful computer without taking up too much space. These tiny powerhouses can pack a punch and handle a wide range of tasks, from basic web browsing to running demanding applications.
One of the main advantages of building a mini PC is the level of customization it offers. You have the freedom to choose the exact components that meet your specific requirements and budget. Whether you prefer a speedy processor, ample storage space, or a dedicated graphics card, you can tailor your mini PC to suit your exact needs.
Building a mini PC also allows you to future-proof your device. As technology advances, you can easily upgrade individual components to keep up with the latest trends and ensure optimal performance.
Whether you are a seasoned computer enthusiast or a beginner looking to dip your toes into the world of PC building, this guide will provide you with the step-by-step instructions and insights you need to successfully build and customize your very own mini PC. So, let’s dive in and discover the exciting world of mini PC building!
Choosing the Right Components
When it comes to building a mini PC, choosing the right components is crucial. Each component has a significant impact on the performance and capabilities of your mini PC. Here are the key components to consider:
- Processor (CPU): The processor is the brain of your mini PC, responsible for executing instructions and tasks. Look for a processor that matches your requirements, whether it’s for basic daily tasks or high-performance gaming.
- Memory (RAM): RAM determines the amount of data your mini PC can handle simultaneously. Opt for a minimum of 8GB for smooth multitasking and gaming, but consider higher capacities if you work with demanding applications or virtual machines.
- Storage: Choose between a traditional hard disk drive (HDD) for larger storage capacities or a solid-state drive (SSD) for faster data access speeds. Consider a combination of both if you need ample storage and fast performance.
- Graphics Card (GPU): If you plan on gaming or working with multimedia applications, a dedicated graphics card is essential for enhanced visual performance. Integrated graphics may suffice for basic tasks.
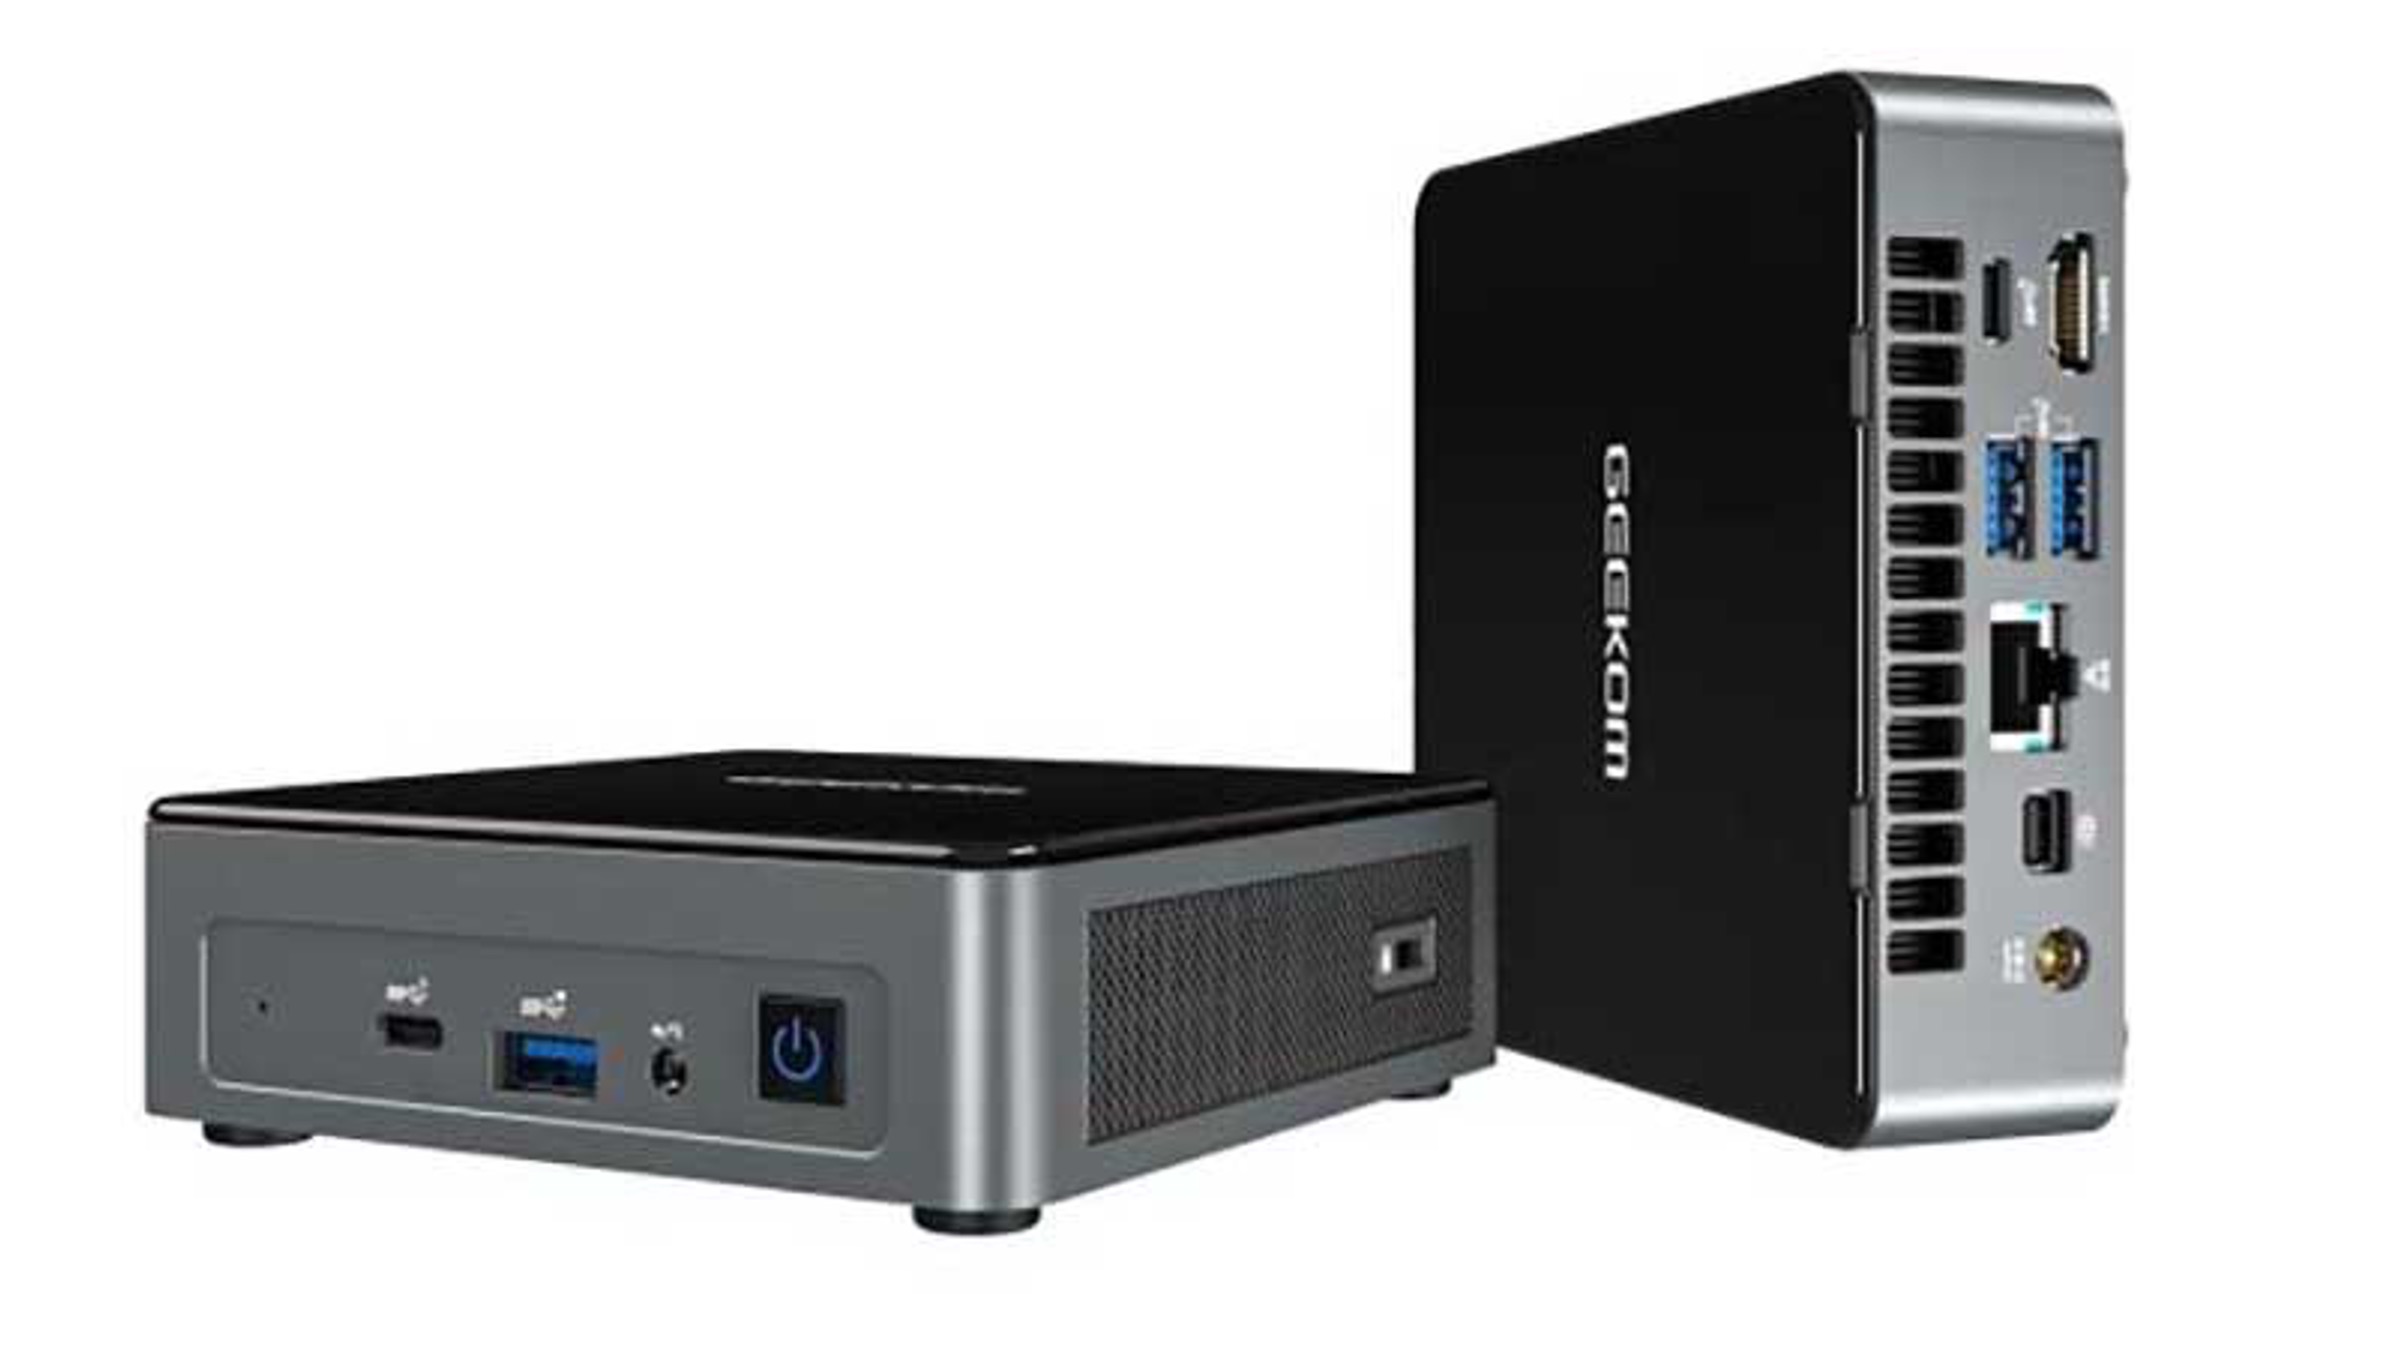
- Motherboard: The motherboard acts as the central hub that connects all the components. Ensure compatibility with your chosen processor and other components, choose one with sufficient USB, SATA, and expansion slots.
- Power Supply Unit (PSU): Select a PSU with enough wattage to power your components. Consider an efficient and reliable model to protect against power issues.
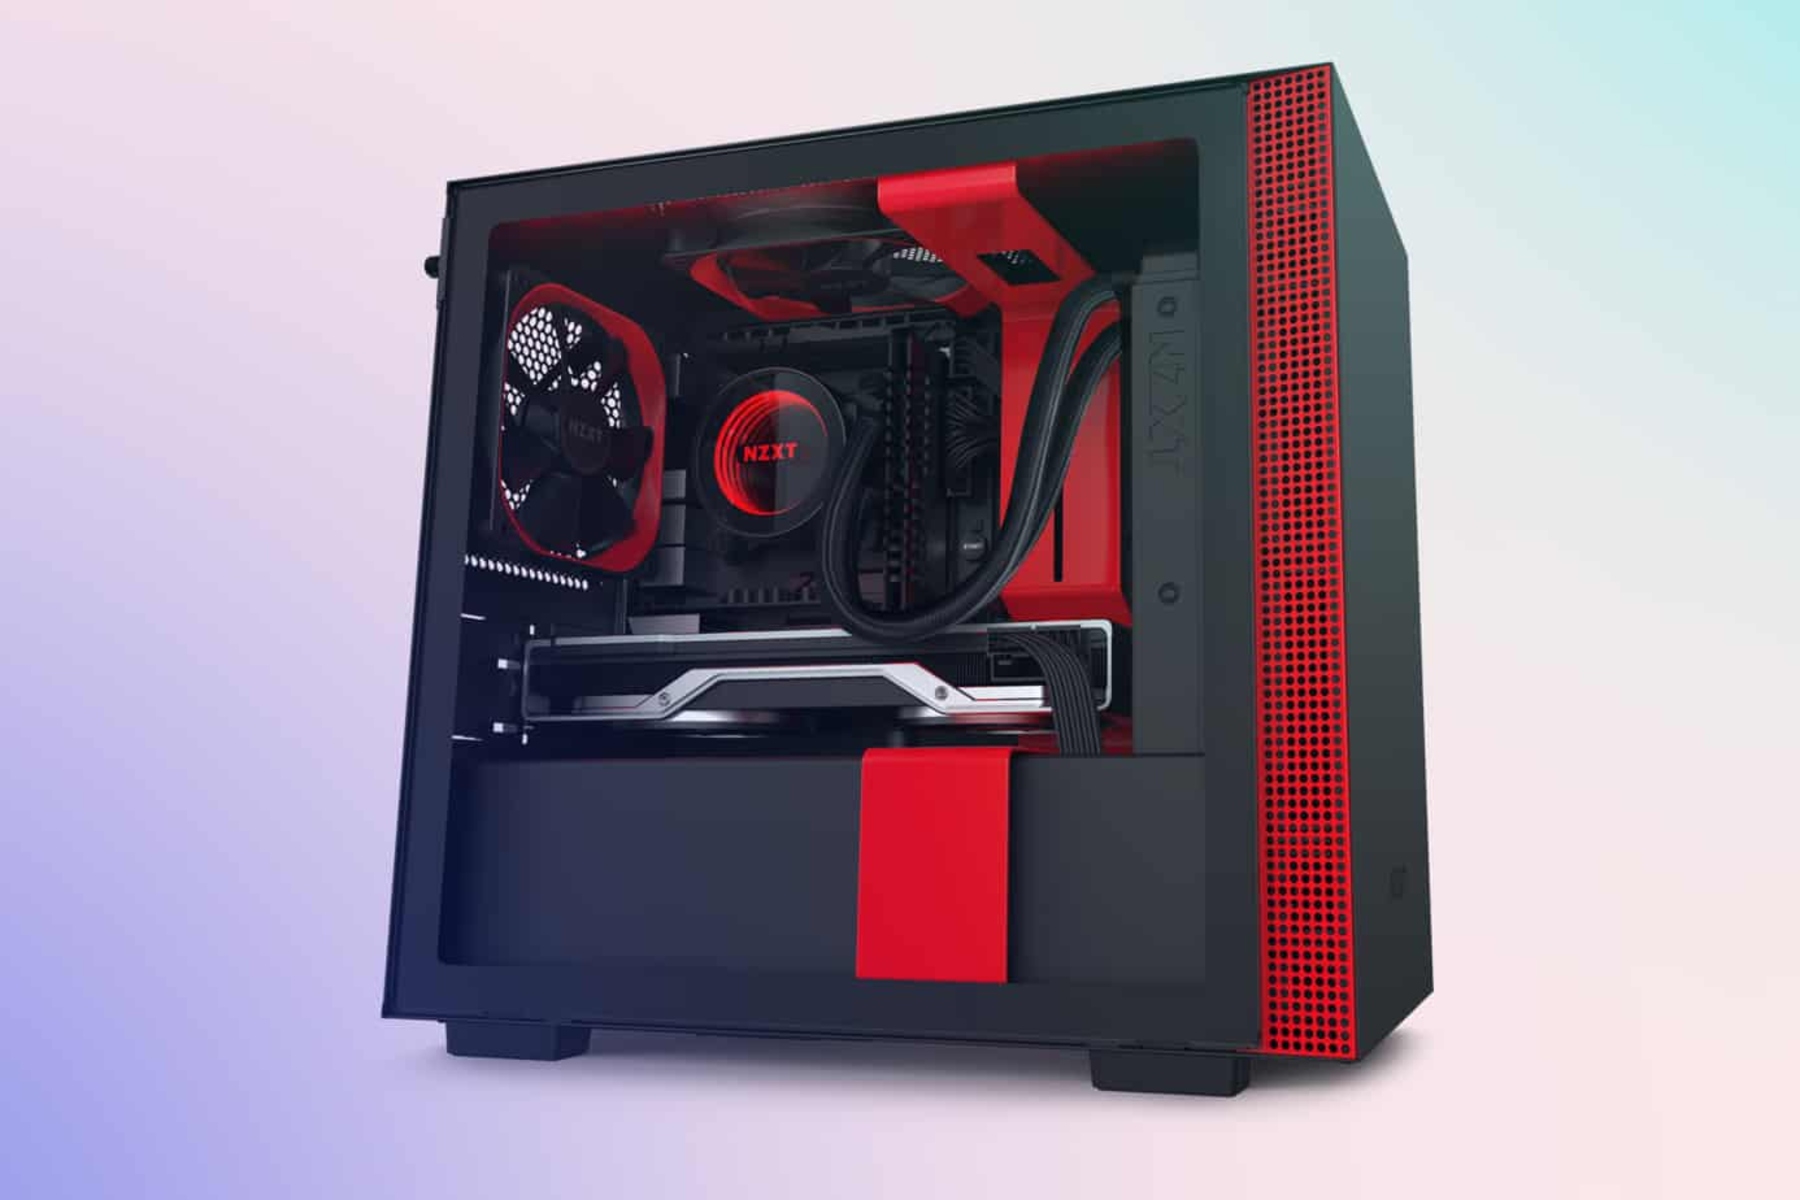
- Case: Choose a compact case that supports mini ITX or micro ATX motherboards. Consider factors such as airflow, cable management, and expansion slots.
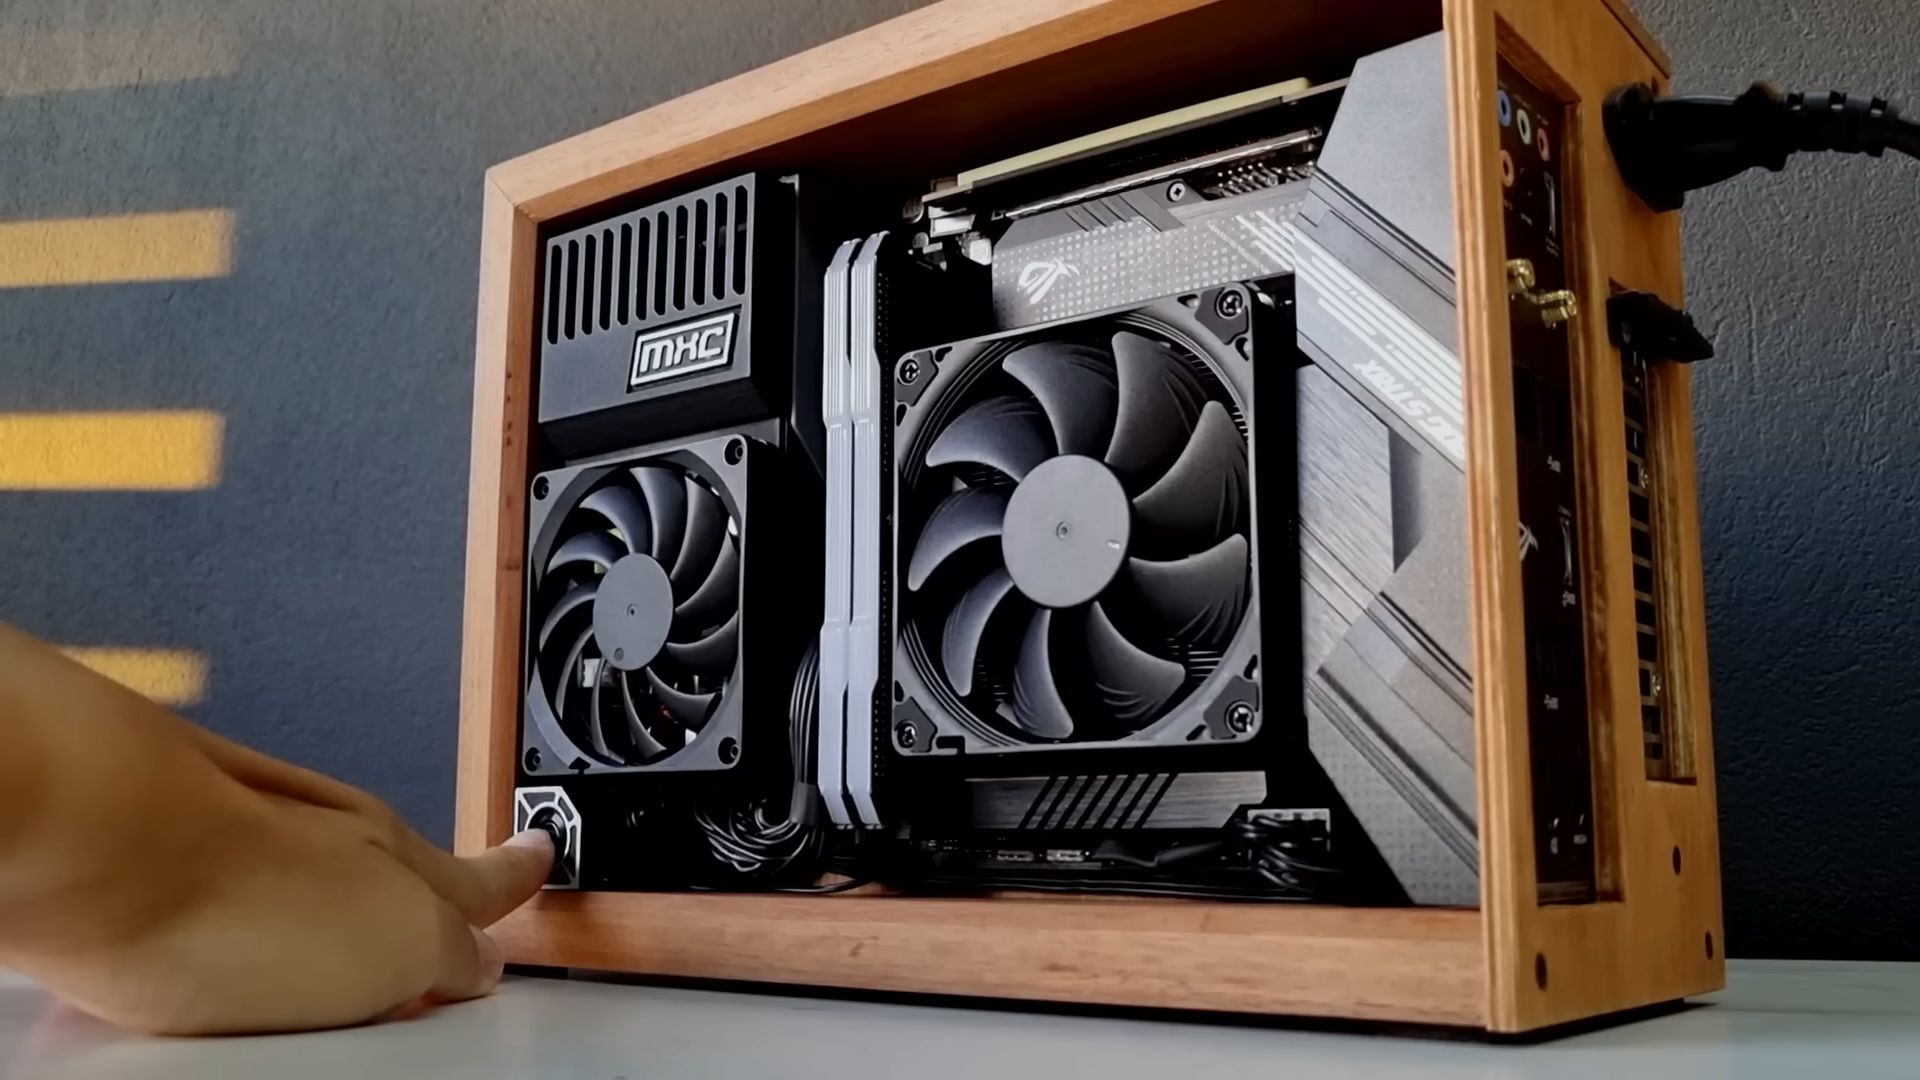
- Cooling: Pay attention to cooling solutions. High-performance components generate heat, so invest in adequate cooling fans or even liquid cooling if necessary.
- Peripherals: Don’t forget about peripherals such as a monitor, keyboard, and mouse. Opt for ones that suit your preferences and needs.
Research is key when selecting components for your mini PC. Consider your budget, the intended use of the system, and compatibility between components. Read reviews, compare specifications, and choose reputable brands to ensure quality and reliability.
Once you’ve chosen the components, you’ll be ready to move on to the exciting part – assembling your mini PC!
Assembling the Mini PC
Now that you have chosen all the necessary components for your mini PC, it’s time to put them together. Follow these steps to assemble your mini PC:
- Prepare your workspace: Clear a clean, well-lit area to assemble your mini PC. Ensure you have all the necessary tools, such as a screwdriver and thermal paste.
- Install the CPU and RAM: Carefully insert the CPU into the motherboard socket following the manufacturer’s instructions. Install the RAM modules into the appropriate slots, making sure they are securely seated.
- Mount the motherboard: Carefully place the motherboard into the case, aligning it with the mounting holes. Screw it in place using the provided screws. Connect the necessary cables, such as the power and data cables.
- Install the storage devices: Mount your chosen storage devices, whether HDD or SSD, into their respective drive bays. Connect the SATA cables to the motherboard.
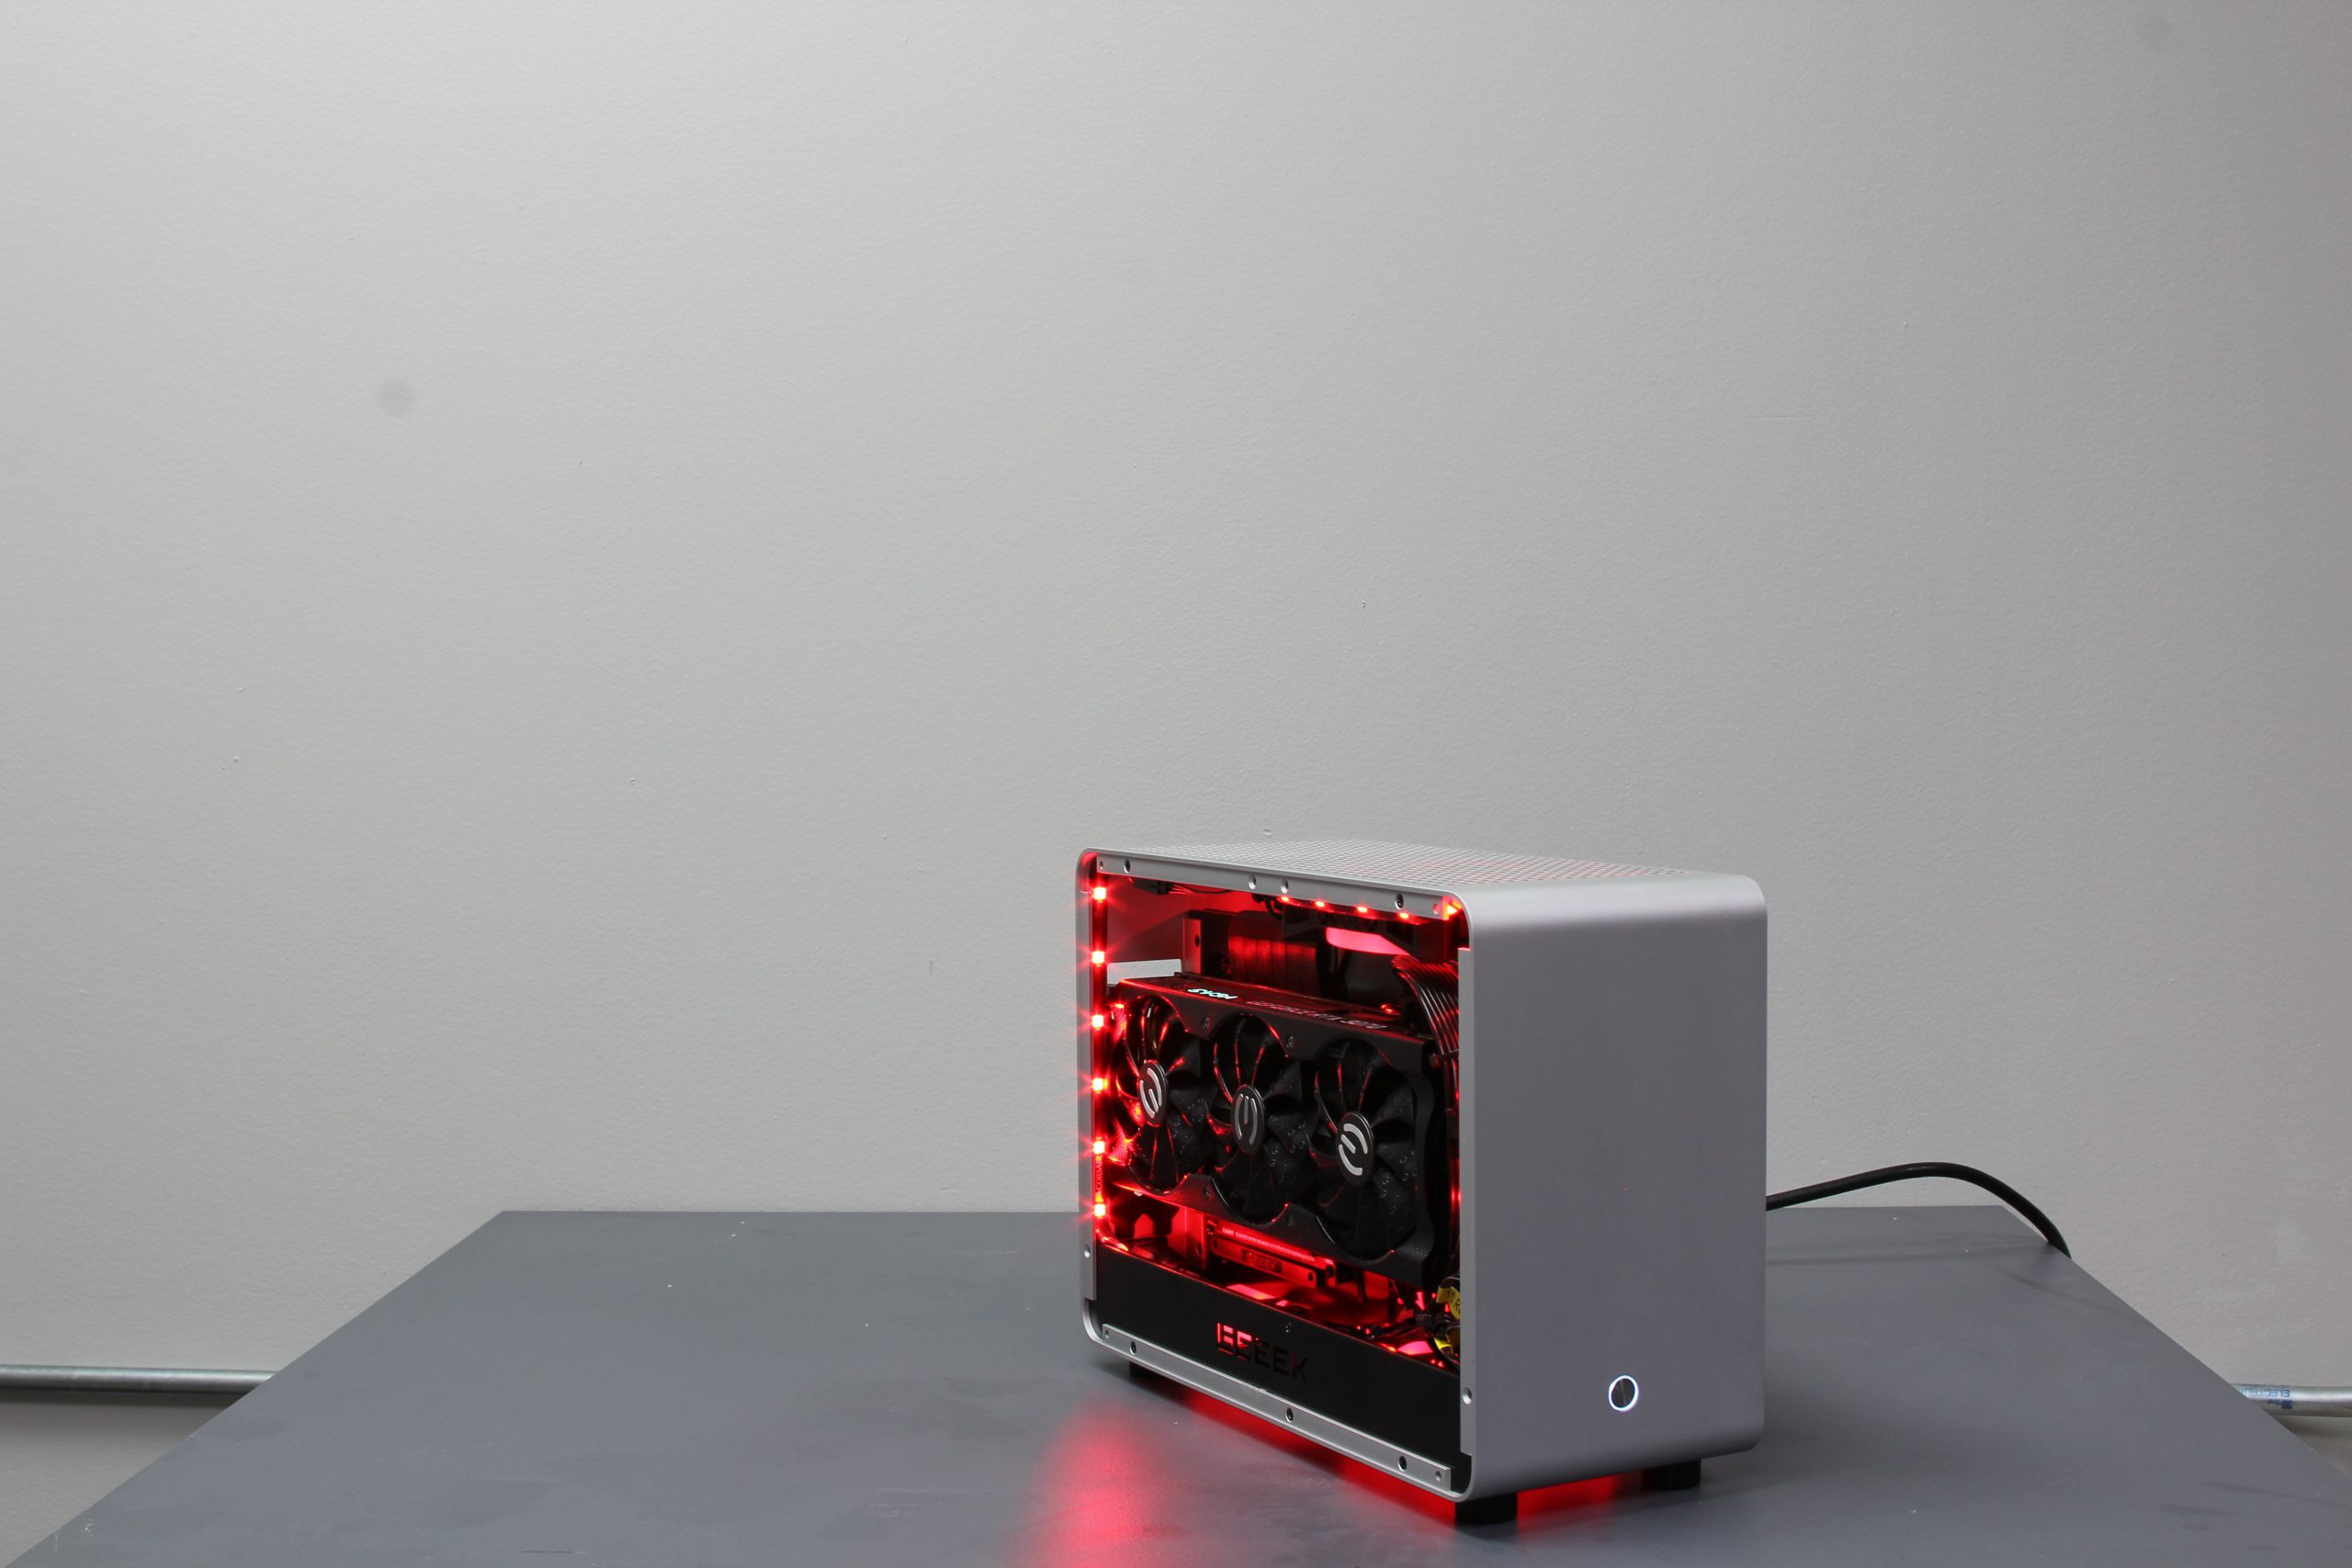
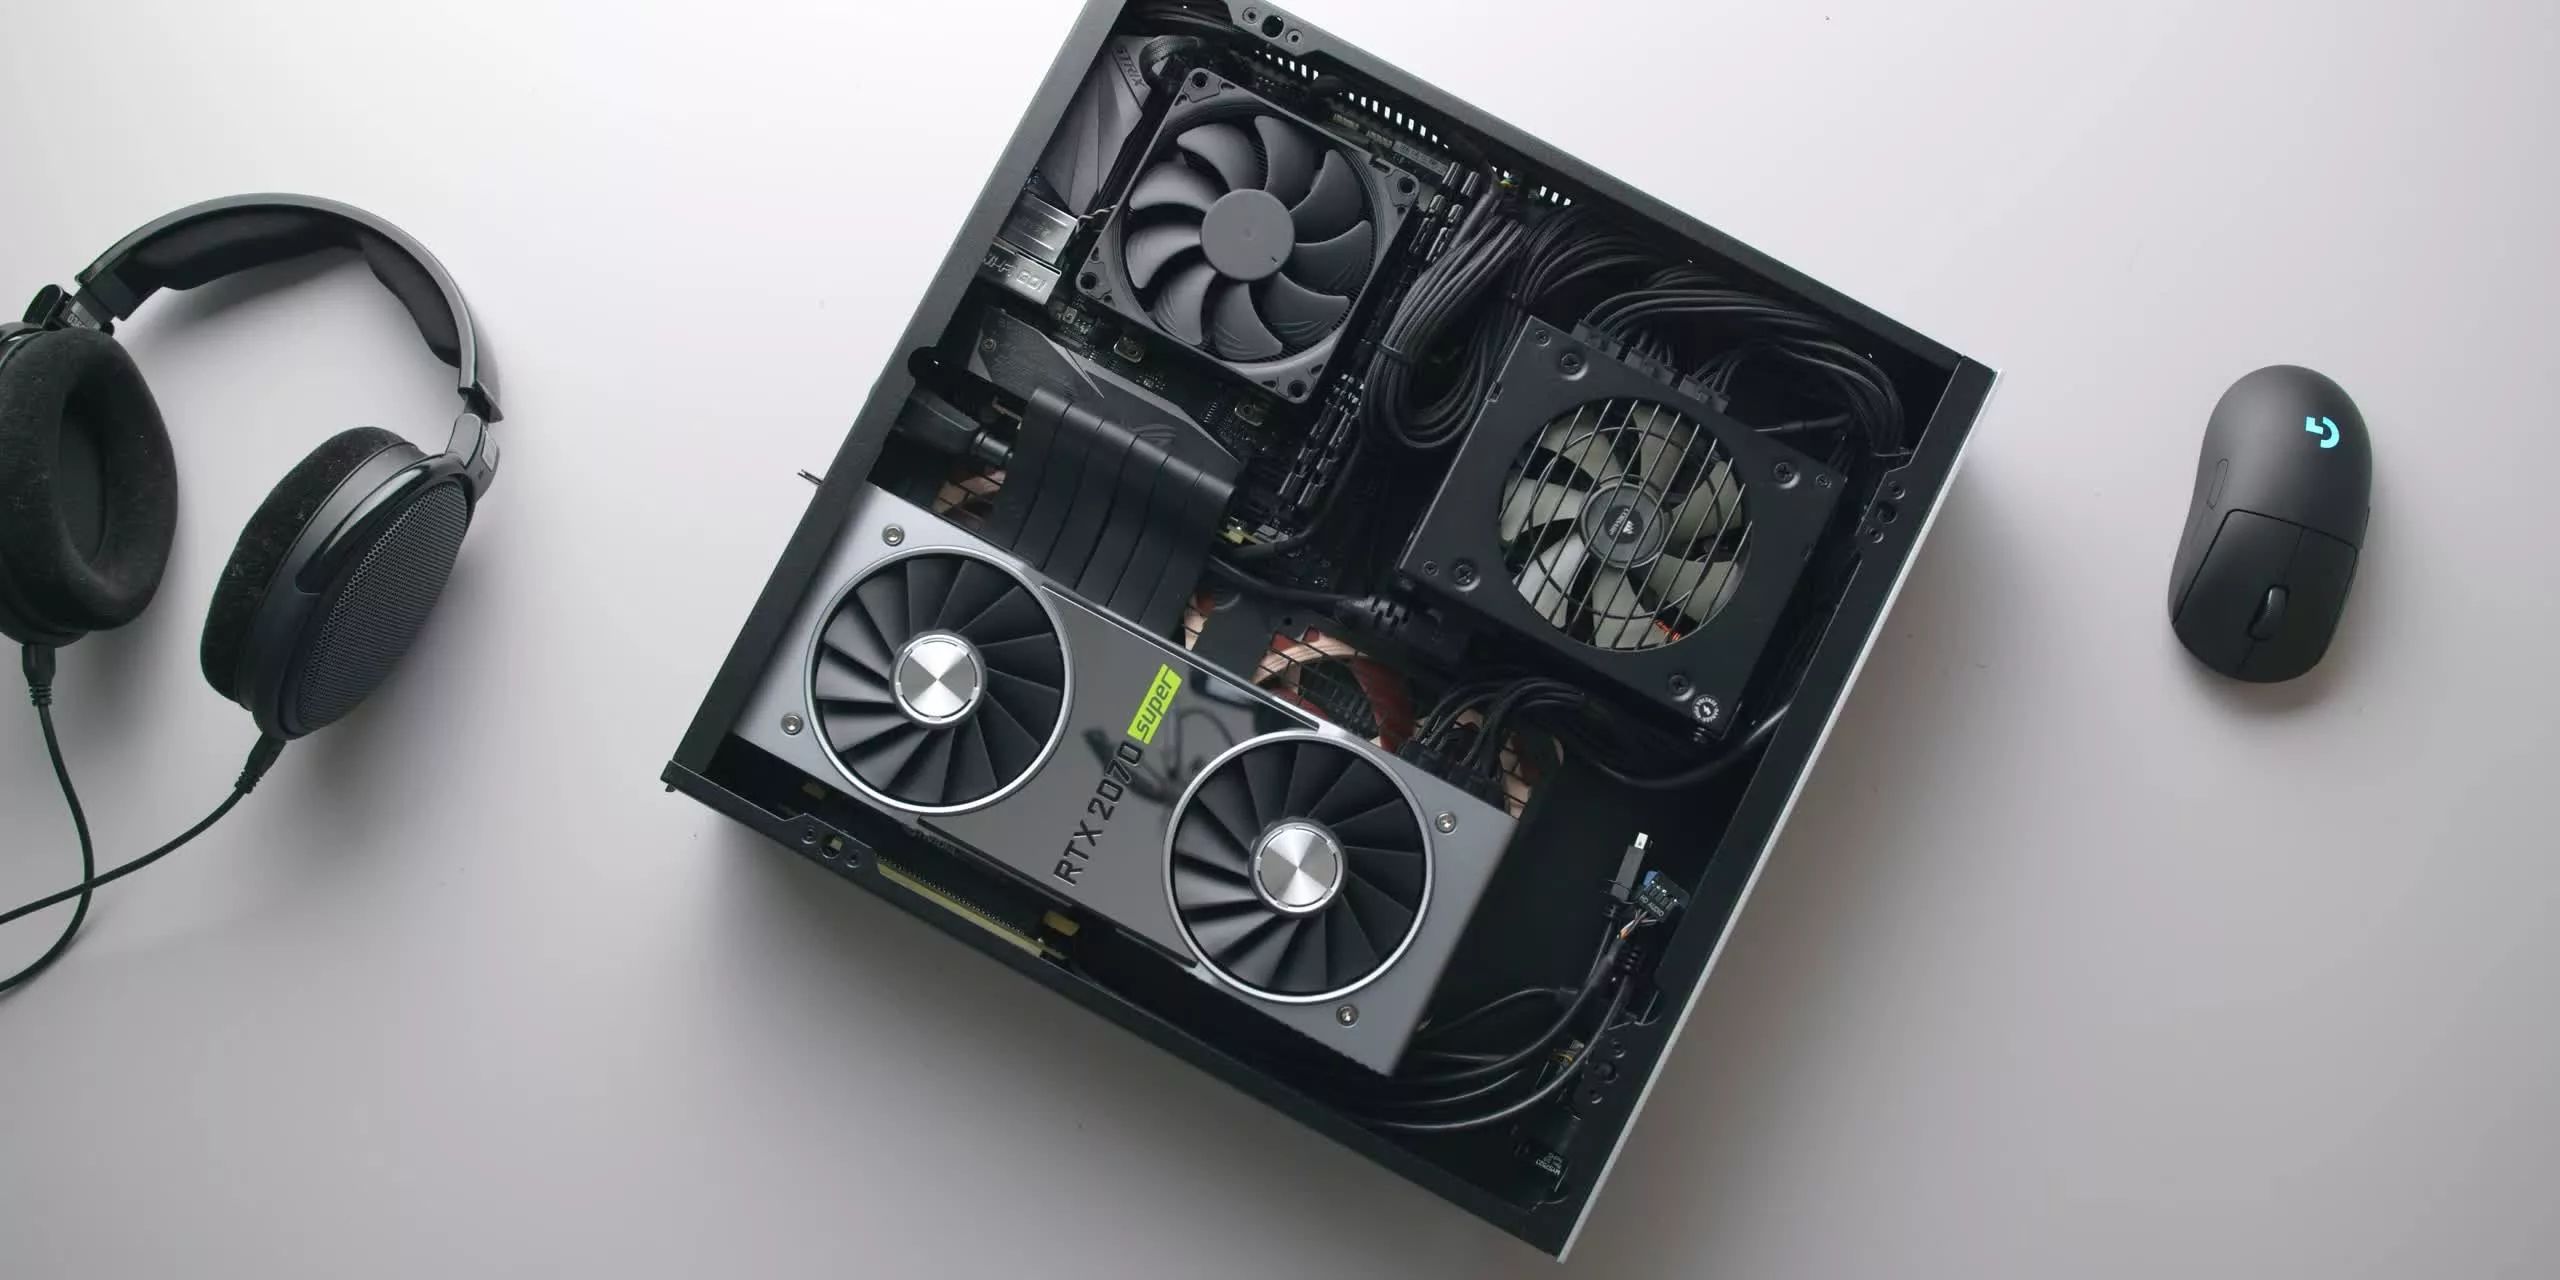
- Install the GPU: If you have a dedicated graphics card, carefully insert it into the appropriate PCIe slot on the motherboard. Secure it in place with the screws provided and connect the power cables if necessary.
- Connect the PSU: Attach the power supply unit to the case and connect the necessary power cables to the motherboard, CPU, GPU, and storage devices. Ensure a secure connection.
- Connect peripherals: Connect your keyboard, mouse, monitor, and any other peripherals to the appropriate ports on the motherboard or GPU.
- Double-check connections: Before closing the case, double-check all connections to ensure everything is properly connected and secure.
- Close the case: Carefully close the mini PC case, securing it with the provided screws. Ensure all cables are neatly organized and not obstructing any components or airflow.
- Power on: Connect the power cable, switch on the power supply, and press the power button on your mini PC. If all connections are correct, your mini PC should boot up successfully.
Follow any additional instructions provided by the component manufacturers or your motherboard’s manual. Take your time, be careful, and pay attention to detail throughout the assembly process.
Assembling your mini PC can be a rewarding experience, allowing you to fully customize your system and take pride in your own creation. Once your mini PC is assembled, it’s time to install the operating system and configure the BIOS.
Installing the Operating System
After successfully assembling your mini PC, it’s time to install an operating system (OS) to get your system up and running. Here’s a step-by-step guide to installing the operating system:
- Choose an operating system: Decide on the operating system you want to install on your mini PC. Windows, macOS, and Linux are popular options. Make sure to download the appropriate installation files or obtain a physical copy of the OS.
- Create installation media: If you have downloaded the OS, create a bootable USB drive using software such as Rufus (for Windows) or Etcher (for macOS and Linux). If you have a physical copy of the OS, skip this step.
- Boot from installation media: Insert the bootable USB drive or physical installation media into your mini PC. Restart the system and access the BIOS by pressing the designated key (usually Del, F2, or Esc). Change the boot order to prioritize the installation media.
- Follow the installation wizard: The installation process will vary depending on the operating system. Follow the on-screen instructions, such as selecting the language, accepting the license agreement, and choosing the installation location.
- Customize settings: During the installation process, you’ll have the opportunity to customize settings such as user accounts, network configuration, privacy options, and system preferences. Make the desired selections based on your preferences.
- Wait for the installation to complete: The installation process may take some time. Be patient and allow the operating system to install all the necessary files and drivers.
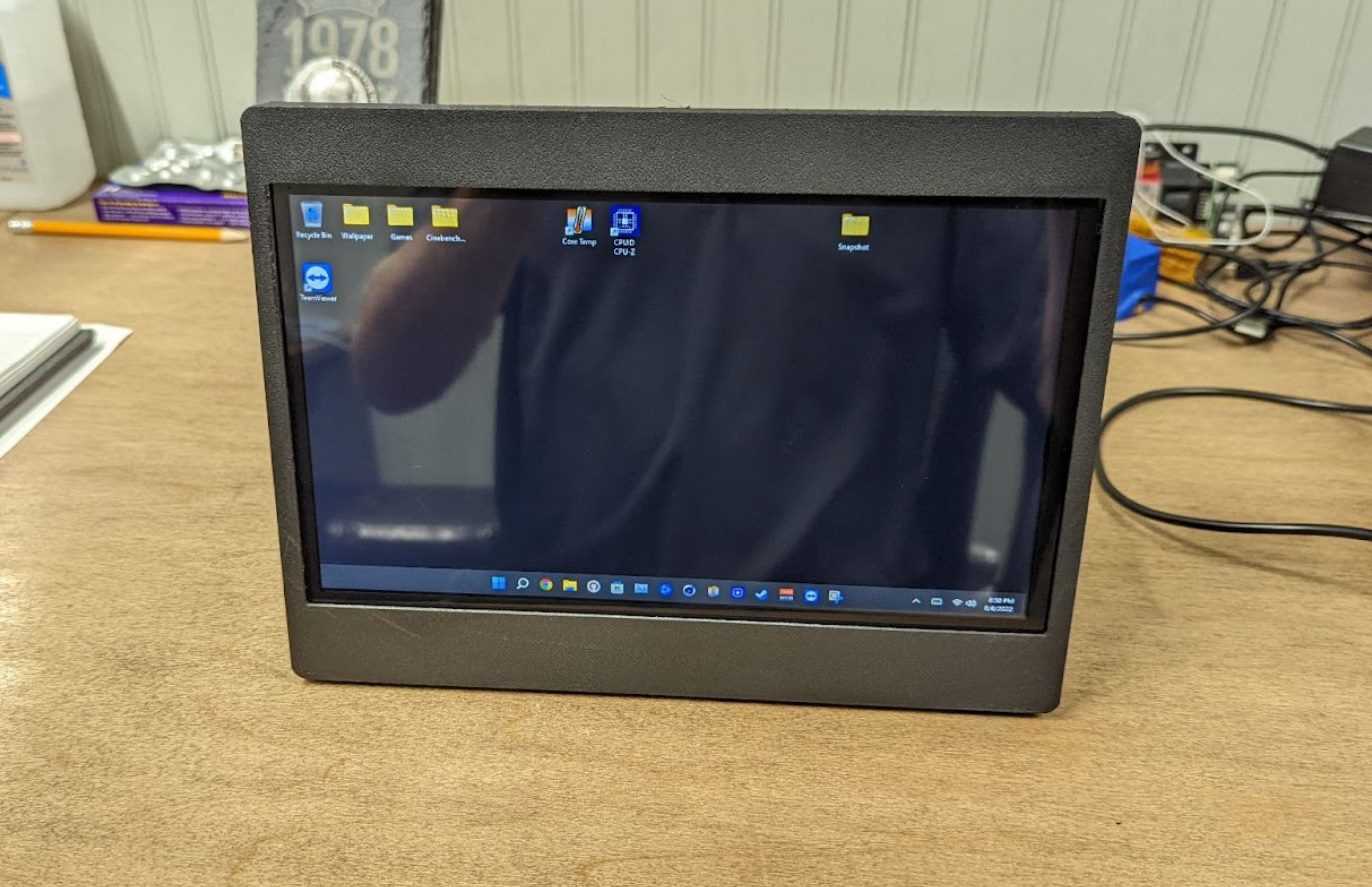
- Restart your mini PC: Once the installation is complete, restart your mini PC. Remove the installation media and ensure your mini PC boots from the installed operating system.
- Configure your OS: After the restart, follow the setup wizard to personalize your operating system. Set up user accounts, configure system settings, and install any necessary updates or drivers.
- Install essential software: Install applications that you need for your mini PC, such as web browsers, productivity tools, media players, and other software that suits your needs.
Remember to keep your operating system up to date by regularly installing updates and patches. This will ensure security and optimal performance for your mini PC.
Once your operating system is installed and configured, the next step is to set up and optimize the BIOS settings to maximize the performance and stability of your mini PC.+
Setting Up and Optimizing the BIOS
After installing the operating system on your mini PC, it’s essential to fine-tune the BIOS (Basic Input/Output System) settings to optimize performance and ensure system stability. Here’s a guide to setting up and optimizing the BIOS:
- Access the BIOS: Restart your mini PC and press the designated key (often Del, F2, or Esc) to access the BIOS menu. Be sure to press the key at the right time during the boot process.
- Update the BIOS: Check the manufacturer’s website for the latest BIOS version for your motherboard. If there is a newer version available, follow the manufacturer’s instructions to update the BIOS. Updating the BIOS can improve compatibility, fix bugs, and enhance performance.
- Set the boot order: In the BIOS menu, navigate to the Boot tab and set the boot order according to your preferences. Ensure that the boot device with your operating system is set as the first boot option.
- Enable XMP: If you are using high-performance RAM, enable the XMP (Extreme Memory Profile) option in the BIOS. XMP allows your RAM to operate at its advertised speed and timings, providing improved performance.
- Configure power settings: Adjust the power management settings in the BIOS to balance performance and energy efficiency. Options such as CPU power saving modes and fan speed control can be adjusted based on your preferences.
- Optimize CPU settings: Depending on your mini PC’s intended usage, you may want to tweak the CPU settings. Some BIOS menus offer options to adjust the CPU multiplier, voltage, or clock speed. Be cautious when making changes and monitor temperature levels to avoid overheating.
- Enable hardware virtualization: If you plan to use virtualization software, enable the hardware virtualization feature in the BIOS. This option is often found in the Advanced CPU settings or Virtualization Technology menu.
- Save and exit: Once you have made the necessary changes, save the settings and exit the BIOS menu. Your mini PC will restart, and the optimized BIOS settings will take effect.
Note that the BIOS layout and available options may vary depending on the motherboard manufacturer and BIOS version. Refer to the motherboard manual or the manufacturer’s website for specific instructions and explanations of each option.
Optimizing the BIOS can enhance the overall performance and stability of your mini PC. It allows you to fine-tune settings to better suit your needs and maximize the capabilities of your hardware. Once you have optimized the BIOS, it’s time to install the necessary drivers for your components.
Installing the Drivers
After setting up and optimizing the BIOS on your mini PC, the next step is to install the drivers for your hardware components. Installing the correct drivers ensures that your mini PC functions properly and utilizes the full capabilities of your hardware. Here’s how to install the drivers:
- Identify your hardware: Begin by identifying the specific components in your mini PC that require drivers. This typically includes the motherboard, graphics card, sound card, network adapter, and any other peripheral devices.
- Download the drivers: Visit the manufacturer’s website for each component and navigate to the “Support” or “Downloads” section. Locate the drivers that correspond to your specific model and operating system. Download the latest version of each driver to ensure compatibility and performance.
- Install the drivers: Once the drivers are downloaded, double-click each installer file and follow the on-screen instructions. Most driver installers will guide you through the process, which may include accepting license agreements, selecting installation options, and restarting your mini PC.
- Install motherboard drivers first: It is recommended to install the motherboard drivers first, as they often include essential drivers for other components. These drivers provide functionalities such as USB ports, audio, and networking capabilities.
- Graphics card drivers: Install the drivers for your graphics card to ensure optimal performance in games, multimedia applications, and graphic-intensive tasks. These drivers enable features like 3D acceleration and multiple display support.
- Audio and network drivers: Install the drivers for your sound card and network adapter. These drivers ensure proper audio playback and network connectivity.
- Other peripheral drivers: If you have additional peripheral devices such as printers, scanners, or game controllers, install the drivers provided by their respective manufacturers. These drivers enable smooth communication between your mini PC and the peripherals.
- Check for updates: Once the drivers are installed, check for updates on a regular basis. Visit the manufacturer’s website periodically or use driver update software to ensure you have the latest drivers for optimal performance and compatibility.
It is important to note that some drivers may be automatically installed by the operating system, but it is still recommended to install the drivers from the manufacturer’s website for the most up-to-date versions.
By installing the appropriate drivers, you ensure that your mini PC operates smoothly and takes full advantage of its hardware capabilities. Once all the drivers are installed, you can proceed to customize and personalize your mini PC to create the perfect computing experience.
Customizing and Personalizing Your Mini PC
Now that you have successfully installed the necessary drivers for your mini PC, it’s time to customize and personalize your system to make it truly your own. Here are some ways to customize and personalize your mini PC:
- Desktop customization: Choose your favorite wallpaper, icons, and theme to give your desktop a personalized look. Customize the taskbar and start menu layout to suit your workflow.
- Customize system settings: Explore the system settings and personalize options like display settings, power settings, sound settings, and accessibility features. Adjust these settings to meet your preferences and enhance your user experience.
- Install additional software: Customize your mini PC by installing software that suits your needs and hobbies. Whether it’s productivity tools, multimedia software, or games, select software that enhances your mini PC experience.
- Create user profiles: If multiple people will be using your mini PC, create separate user profiles to keep personal settings, documents, and preferences separate.
- Configure security measures: Set up antivirus software and other security measures to protect your mini PC from threats. Adjust firewall settings and enable automatic updates to ensure your system remains secure.
- Customize keyboard shortcuts: Take advantage of keyboard shortcuts to streamline your workflow and make navigating your mini PC more efficient. Customize shortcuts for frequently used applications or functions.
- Organize files and folders: Create a logical folder structure to keep your files organized and easily accessible. Use categories, tags, or labels to further organize your files based on their type or purpose.
- Personalize your browser: Customize your web browser with themes, extensions, and bookmarks that suit your browsing habits and preferences. Configure privacy settings to protect your online activities.
- Consider hardware upgrades: If you find that certain components aren’t meeting your needs, consider upgrading them. Whether it’s adding more RAM, replacing the storage drive, or upgrading the graphics card, hardware upgrades can enhance performance and capabilities.
- Backup and restore: Regularly back up your important data to prevent loss in case of hardware failure or other unforeseen circumstances. Use backup software or cloud storage services to create backups and easily restore your data if needed.
Remember, the beauty of a mini PC is its versatility and customization options. Take the time to explore and experiment with different settings and features to create a personalized computing experience that suits your needs and preferences.
With your mini PC customized to your liking, you’re ready to take full advantage of its capabilities and enjoy a seamless computing experience tailored to your preferences.
Troubleshooting Common Issues
While building and using a mini PC can be an exciting endeavor, it’s not uncommon to encounter occasional issues or challenges along the way. Here are some common issues you may encounter with your mini PC and the troubleshooting steps to resolve them:
- No power: If your mini PC isn’t powering on, first check that the power cable is securely connected and the power supply switch is turned on. If the issue persists, ensure that all power connections inside the mini PC are properly connected.
- Startup errors: Random errors, crashes, or failure to boot could be caused by hardware or software issues. Ensure that all components are securely connected and that the latest drivers and updates are installed. Consider running hardware diagnostics or performing a clean installation of the operating system.
- Overheating: Mini PCs are compact, and proper airflow is crucial to prevent overheating. Ensure that the cooling system is functioning properly, clean any dust in the fans and heat sinks, and consider adding additional case fans or upgrading to a liquid cooling solution if necessary.
- Intermittent connectivity: If you experience intermittent or inconsistent connectivity issues with your network or peripherals, verify that all cables and connections are secure. Update drivers for network adapters and try using different ports or cables to troubleshoot the issue.
- Slow performance: If your mini PC is running slower than expected, first ensure that all drivers and software are up to date. Check the CPU and RAM usage to identify any resource-intensive processes, and consider upgrading components if necessary.
- Compatibility issues: Some hardware or software components may not be compatible with each other, causing compatibility issues. Verify that all components are compatible and meet the required specifications. Refer to manufacturer documentation or online forums for guidance on resolving compatibility issues.
- Blue screen of death (BSOD): BSOD errors usually indicate a hardware or driver problem. Update drivers for all components, check for any hardware failures, and scan for malware or viruses that may be causing the issue.
- Audio or video issues: If you’re experiencing issues with audio or video playback, ensure that the correct audio and video drivers are installed. Adjust audio settings, update codecs, and check the connections between your mini PC and the display or audio devices.
- Peripheral device issues: If a peripheral device such as a printer, scanner, or external storage device isn’t working correctly, verify that all drivers are installed and up to date. Ensure that the device is properly connected and recognized by the operating system.
- Software conflicts: Conflicts between different software applications can cause stability issues. Check for updates or patches for the software, consider reinstalling the affected programs, and disable or remove any unnecessary or conflicting software.
When troubleshooting issues with your mini PC, it’s important to approach the problem systematically. Start by identifying the symptoms, gather relevant information, and attempt practical and logical solutions. If all else fails, consider seeking assistance from manufacturers, online forums, or technical support services.
By troubleshooting common issues, you can ensure that your mini PC runs smoothly and troubleshoot any potential problems that may arise during your computing journey.
Conclusion
Congratulations on successfully building and customizing your mini PC! By following the steps outlined in this guide, you have created a compact and powerful computing device that suits your needs and preferences. From choosing the right components to installing the operating system, optimizing the BIOS, and troubleshooting common issues, you have overcome challenges and created a personalized computing experience.
Remember, the beauty of building your own mini PC is the ability to customize it to your liking. Take the time to personalize the appearance, adjust system settings, and install software that matches your workflow and hobbies. Regularly update your drivers, firmware, and operating system to ensure optimal performance and security.
If you have encountered any issues during the building process or while using your mini PC, don’t be discouraged. Troubleshooting is a normal part of the journey, and resources are available to help you overcome challenges and find solutions.
Always stay up to date with the latest developments in hardware and software to ensure that your mini PC remains capable and efficient. Keep an eye out for new technologies, components, and possibilities to continue enhancing your mini PC experience.
Enjoy the benefits of your custom-built mini PC, be it for gaming, multimedia consumption, or productivity. Take pride in the fact that you have created a unique and powerful system that reflects your needs and preferences.
Thank you for following this guide, and we hope that your mini PC brings you many hours of enjoyment and productivity!