Introduction
Building your own mini PC can be an exciting and rewarding project. Whether you’re looking for a compact and portable computer for work or a multimedia center for entertainment, creating a customized mini PC allows you to tailor it to your specific needs.
By building a mini PC, you have the flexibility to choose your preferred hardware components, operating system, and peripherals. This not only gives you better control over performance and compatibility but also allows you to save money compared to buying a pre-built system.
In this guide, we will walk you through the step-by-step process of building your own mini PC. From choosing the right operating system to assembling the hardware and configuring the system, we’ll provide you with the information you need to embark on this DIY project.
But before you dive into this hands-on adventure, it’s important to gather all the necessary materials to ensure a smooth building process. You’ll need a variety of hardware components, such as a motherboard, processor, RAM, storage, and a power supply. Additionally, you’ll also need an operating system, whether it’s Windows, Linux, or a specialized media center software.
Once you have everything ready, you can begin the installation process. This includes setting up your chosen operating system onto the storage device and configuring the necessary settings. You’ll also need to assemble the hardware components into a compact and functional unit, ensuring proper cable management and cooling.
After the hardware assembly is complete, you’ll need to connect peripherals such as a monitor, keyboard, mouse, and speakers to fully utilize your mini PC. Finally, you can power on the system, configure any remaining settings, and start enjoying your very own custom-built mini PC.
It’s important to note that during the building process, you may encounter common issues or troubleshooting challenges. We’ll cover some of these issues and provide solutions to help you overcome them, ensuring a smooth and successful mini PC build.
So, if you’re ready to embark on this exciting journey of building your own mini PC, gather your materials and let’s dive into the step-by-step process of creating a compact and powerful computing machine tailored to your needs!
Gather Your Materials
Before you begin building your mini PC, it’s important to gather all the necessary materials to ensure a smooth and successful assembly process. Here is a list of the essential components you’ll need:
- Motherboard: Choose a mini-ITX or micro-ATX motherboard that fits your needs and offers the necessary features and connectivity options.
- Processor: Select a compatible processor based on your desired performance level and budget. Ensure that it is compatible with the motherboard you’ve chosen.
- RAM: Determine the amount of RAM you need for your specific tasks, such as multitasking, gaming, or content creation.
- Storage: Opt for a fast and reliable solid-state drive (SSD) or hard disk drive (HDD) for storing your operating system and data.
- Power Supply Unit (PSU): Choose a power supply that provides sufficient wattage to support all your components and ensure stable power delivery.
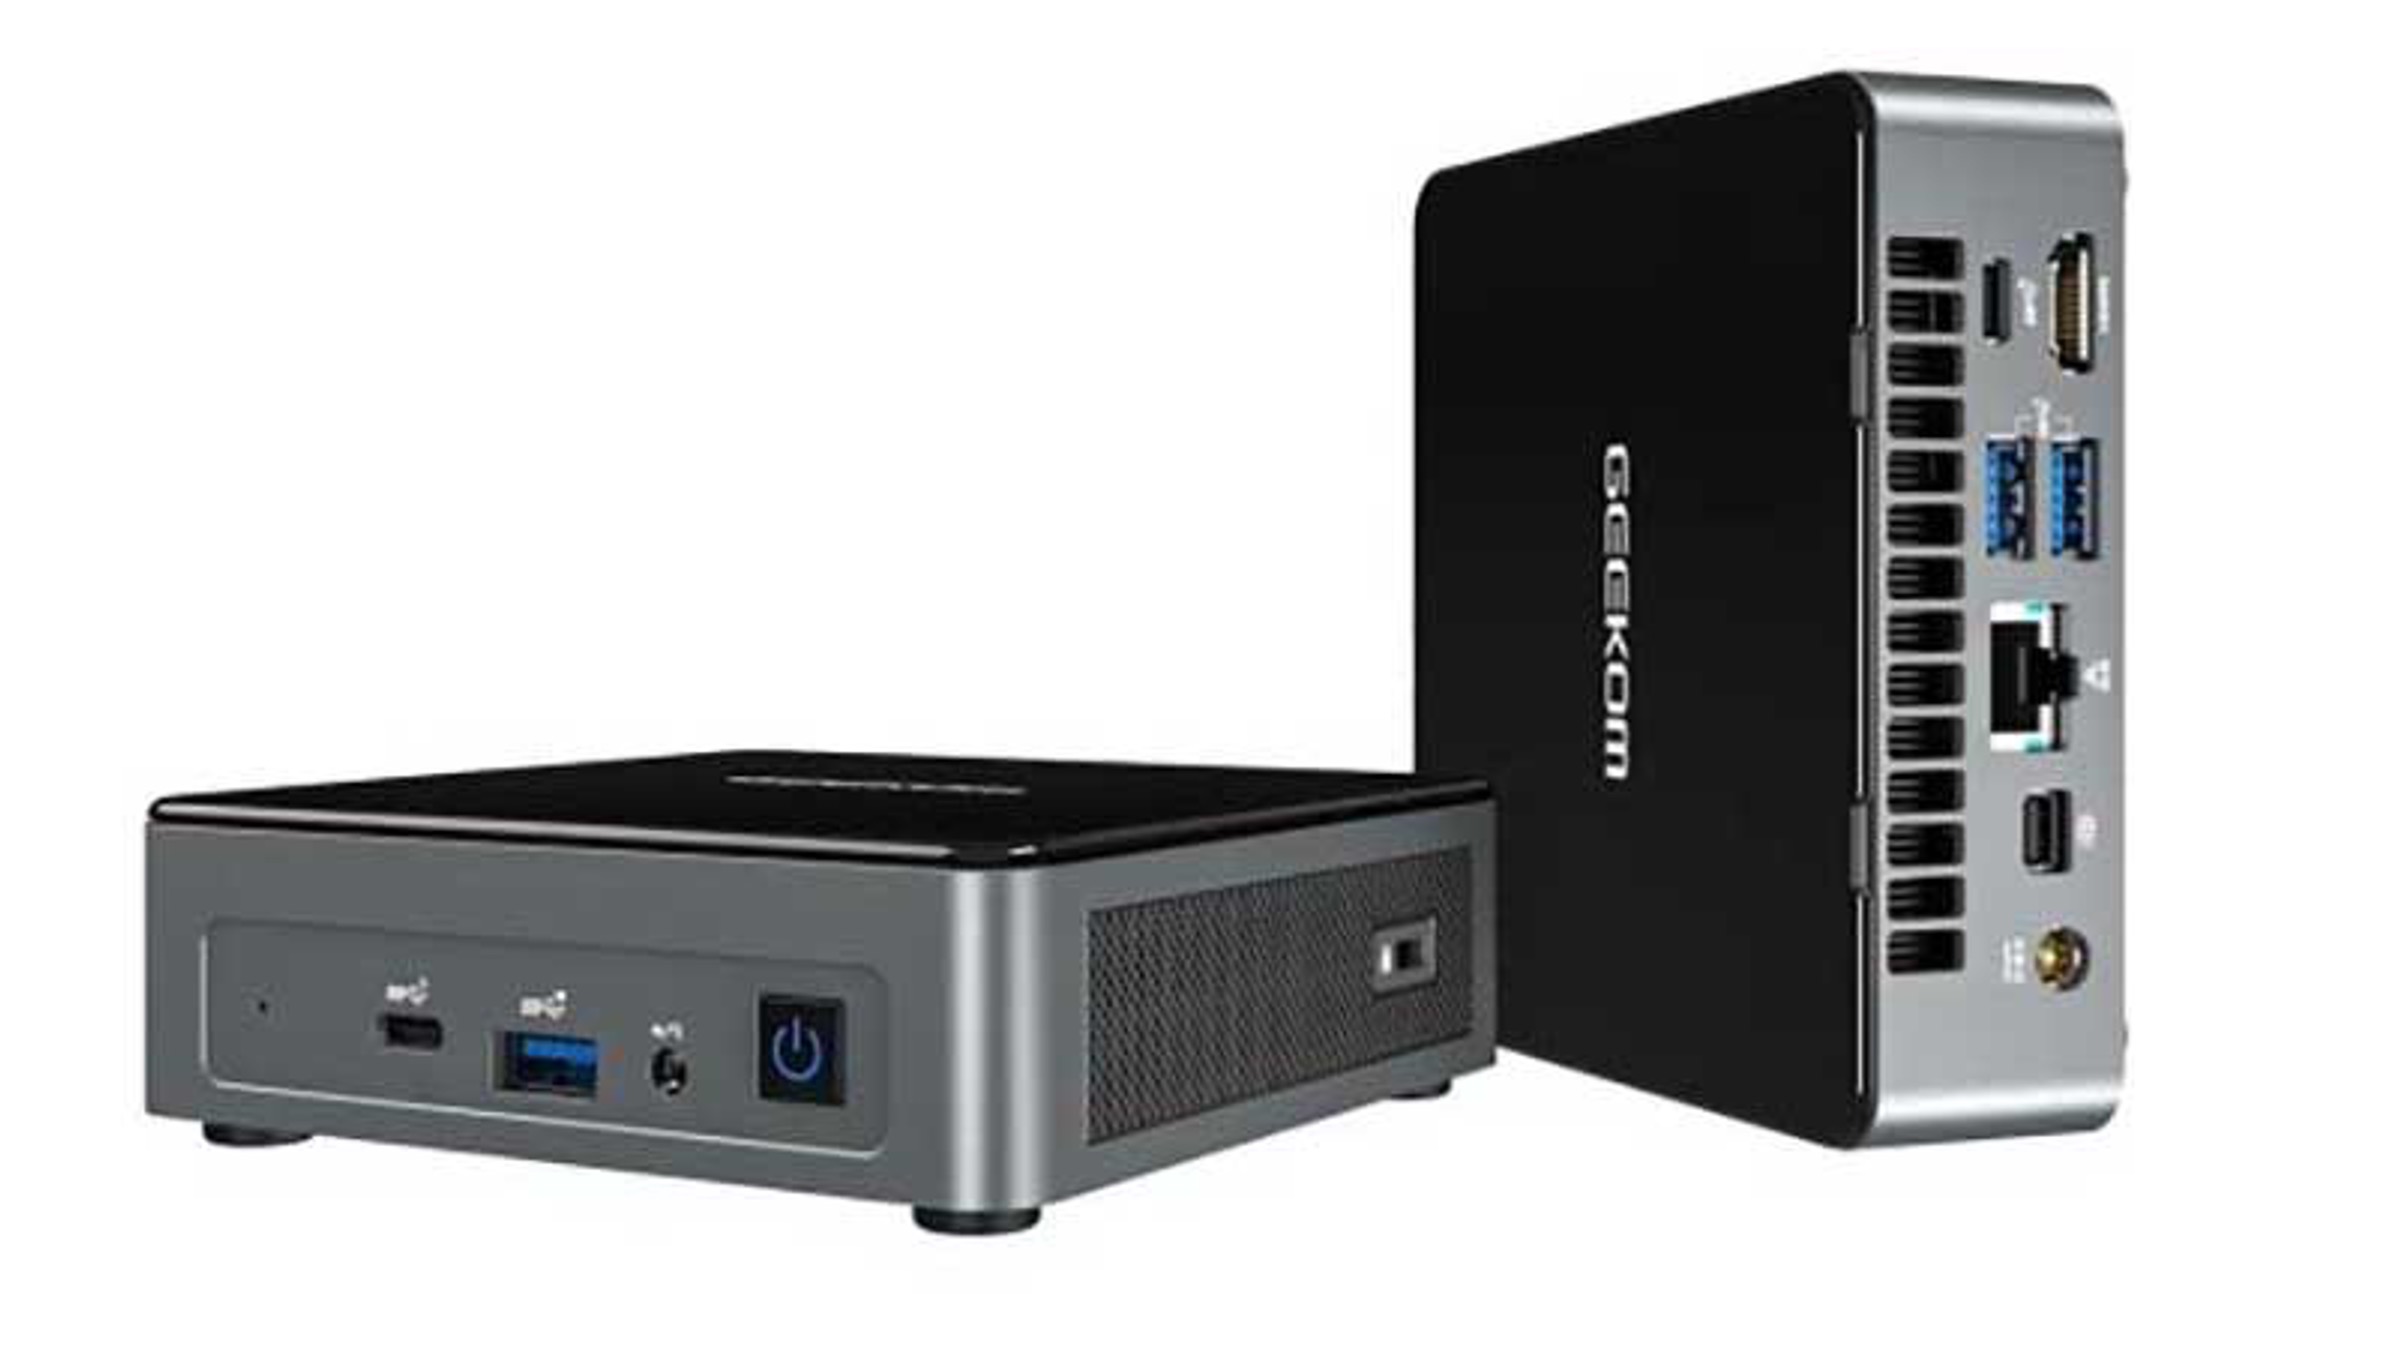
- Case: Look for a compact and compatible case that accommodates all your chosen components while allowing sufficient airflow and cooling.
- Operating System: Decide on the operating system that best suits your needs, whether it’s Windows, Linux, or a specialized media center software.
- Peripherals: Consider peripherals such as a monitor, keyboard, mouse, and speakers, as well as any specific cables or adapters you may need.
In addition to these core components, you may also want to gather additional accessories such as a wireless network card, a dedicated graphics card for gaming or graphics-intensive tasks, or even RGB lighting elements to add a personalized touch to your mini PC.
It’s important to research and compare the specifications and compatibility of each component before making a purchase. Ensure that they are all compatible with each other and fit within the size constraints of your chosen mini PC case.
Once you have gathered all the necessary components, review your checklist to make sure nothing is missing. It’s always a good idea to double-check the compatibility and requirements of each component.
Now that you have all the materials ready, you’re one step closer to building your very own mini PC. In the next section, we will explore the different operating system options available for your mini PC and how to choose the right one for your needs.
Choose Your Operating System
When it comes to choosing the operating system (OS) for your mini PC, you have several options to consider. The OS you select will determine the functionality, performance, and compatibility of your system. Here are a few popular choices:
- Windows: Microsoft Windows is a widely used operating system known for its user-friendly interface and compatibility with a vast array of software and hardware. It offers a familiar environment and excellent support for productivity, gaming, and multimedia tasks.
- Linux: Linux is an open-source operating system with various distributions (distros) available, such as Ubuntu, Fedora, and Debian. Linux is highly customizable, secure, and lightweight, making it a popular choice for tech-savvy users or those looking for a more specialized and tailored experience.
- Media Center Software: If you plan to use your mini PC primarily for media consumption, you might consider software specifically designed for this purpose, such as Kodi or Plex. These media center applications provide a streamlined interface and extensive media management capabilities.
When choosing your operating system, consider your specific needs and preferences. If you’re accustomed to Windows or require software that’s exclusive to the Windows platform, then opting for the latest version of Windows might be the most suitable choice. However, if you prefer a more customizable and open-source environment, Linux could be an excellent option.
It’s also worth noting that your hardware components may have certain requirements or dependencies on specific operating systems. Before making a decision, ensure that your chosen OS is compatible with your mini PC’s hardware components to avoid any compatibility issues or limitations.
Take some time to research and explore the features, advantages, and disadvantages of each operating system. You may also want to consider the availability of support and community forums for troubleshooting and assistance.
Once you’ve decided on the operating system that aligns with your needs and preferences, you can proceed to the next step of installing the OS onto your mini PC’s storage device. In the following section, we will walk you through the installation process, regardless of the operating system you’ve chosen.
Install the Operating System
Now that you have chosen the operating system (OS) for your mini PC, it’s time to install it onto your storage device. The installation process may vary depending on the OS you’ve selected, but we will guide you through the general steps.
Before you begin, make sure you have the installation media or image file for your chosen OS. This could be a USB drive, DVD, or ISO file. You will also need access to a separate computer with an internet connection to download the necessary files, if applicable.
Here are the general steps to install an operating system on your mini PC:
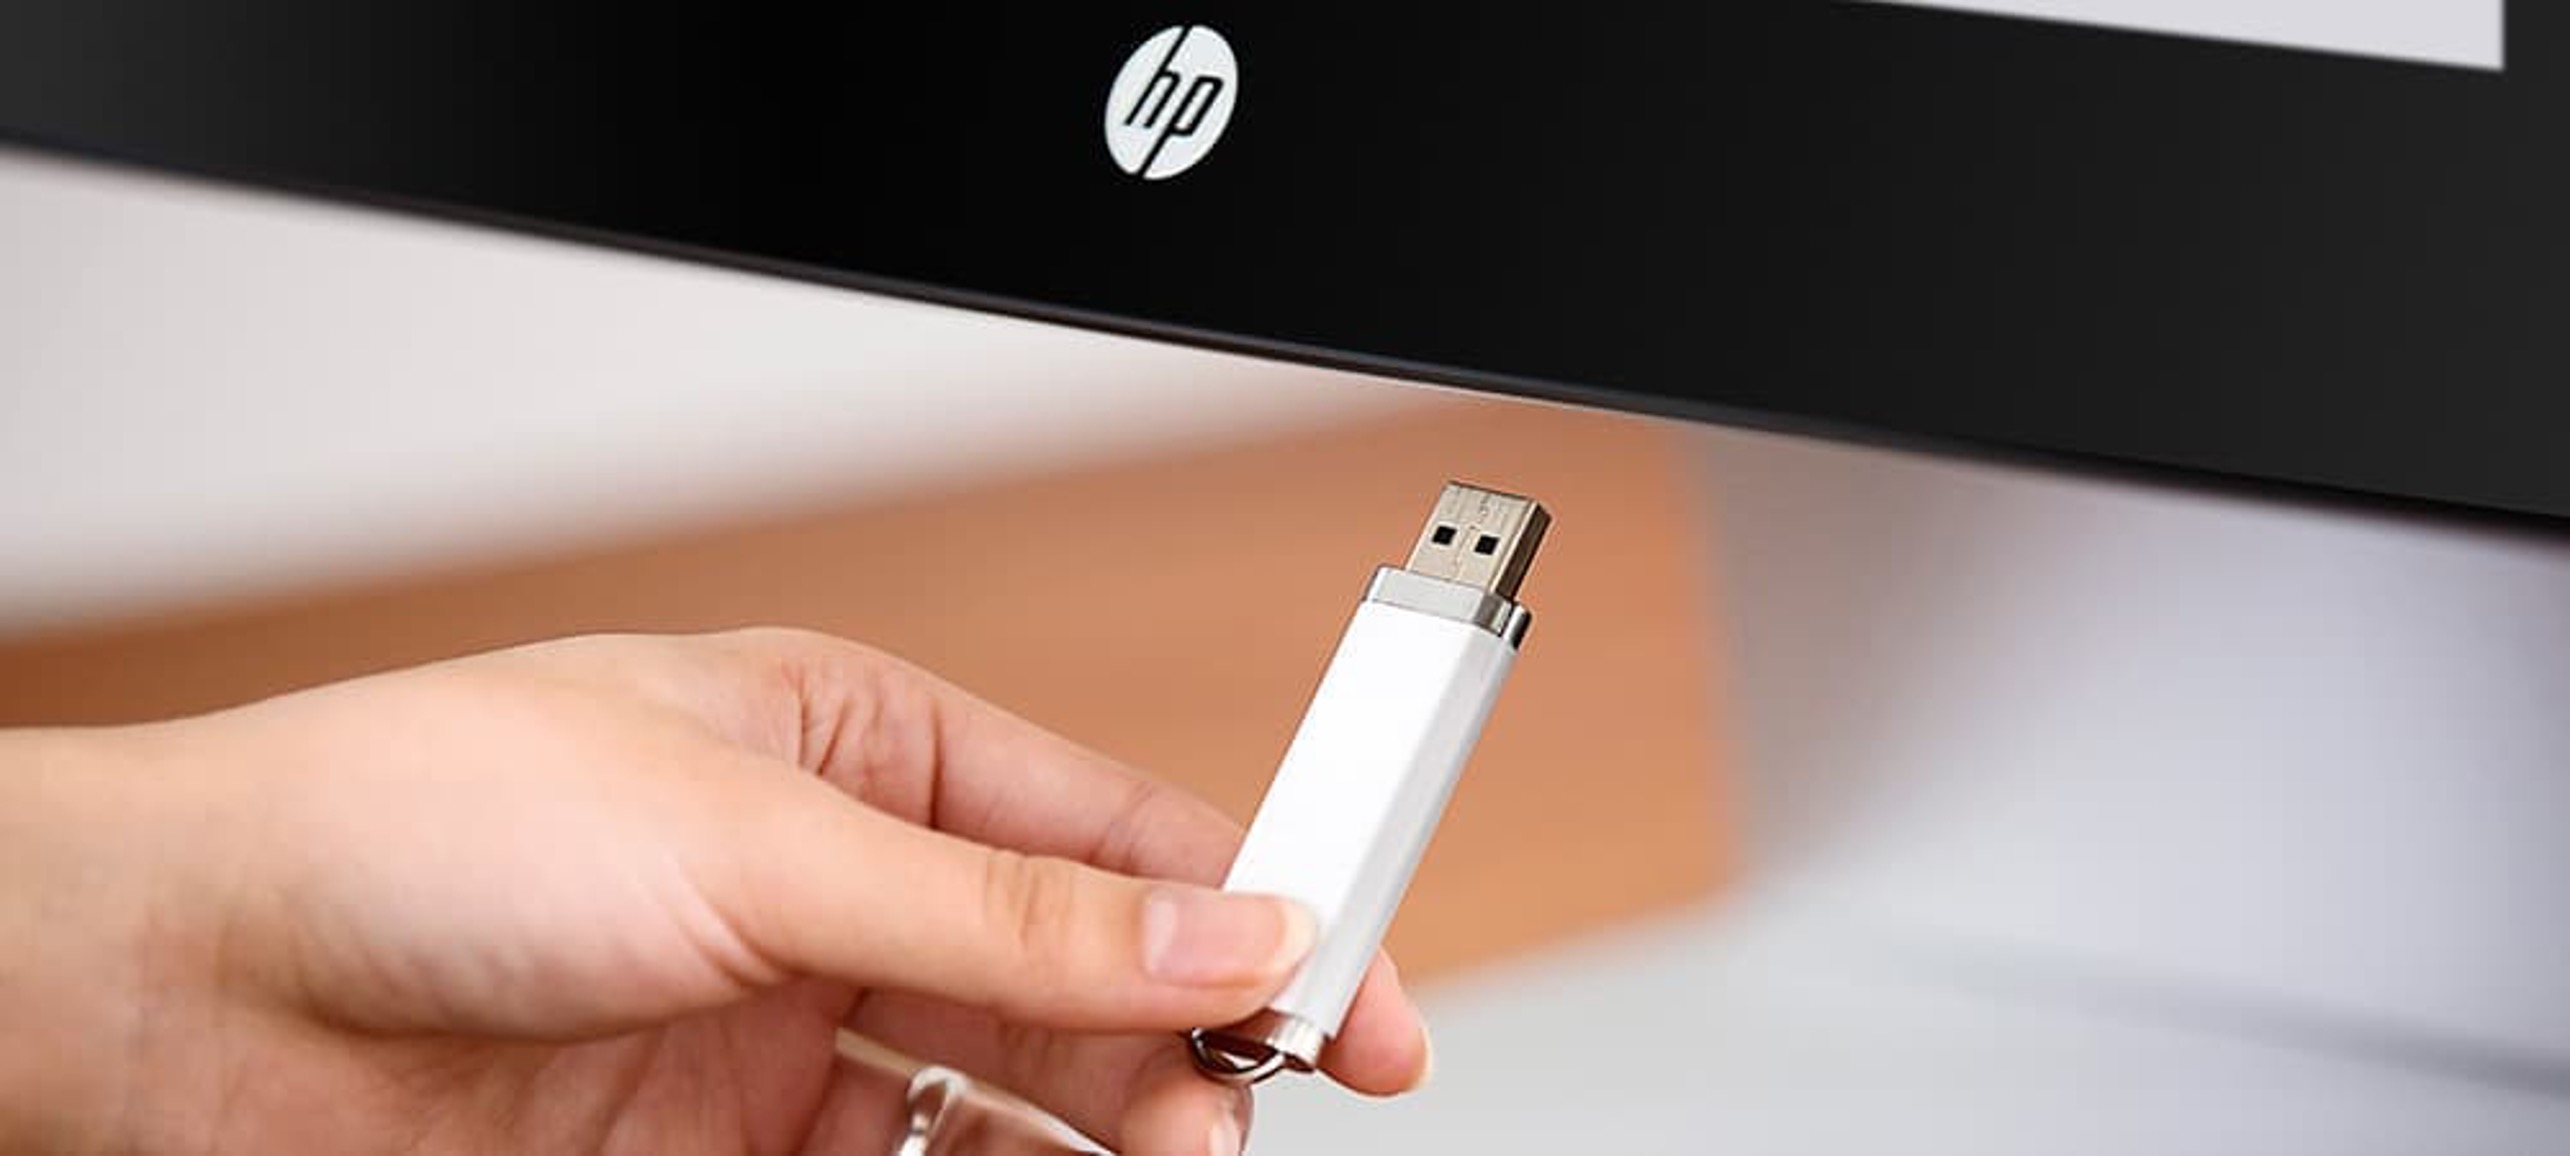
- Create Bootable Media: If you have an ISO file, you’ll need to create a bootable USB drive or DVD. Many tools are available online to help you with this process.
- Access BIOS/UEFI Settings: Power on your mini PC and press the appropriate key (usually F2, Del, or Esc) to access the BIOS or UEFI settings. Navigate to the boot options and prioritize the bootable media you created.
- Boot from the Installation Media: Save the BIOS/UEFI settings and exit. Your mini PC should now boot from the installation media you created.
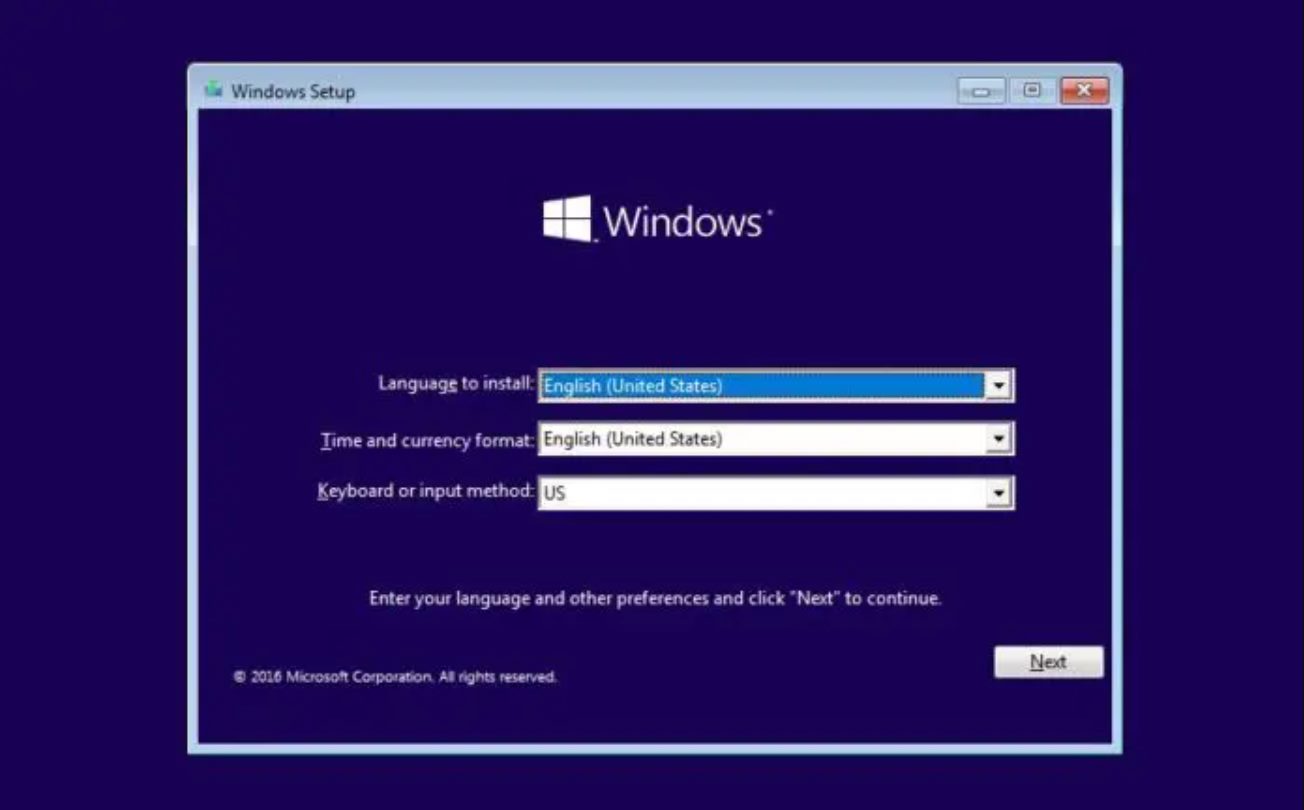
- Follow the Installation Wizard: The installation process will vary for each operating system, but you will generally be guided through a series of steps. Select the language, agree to the license terms, and choose the desired installation location when prompted.
- Configure Settings: Depending on the OS, you may be prompted to configure additional settings such as user accounts, network connectivity, and privacy preferences. Follow the instructions provided.
- Complete the Installation: Once all settings are configured, the installation process will continue. The duration will depend on the operating system and the speed of your mini PC. After the installation, your mini PC will reboot.
- Set Up Additional Drivers and Updates: After the installation, you may need to install additional drivers or updates specific to your hardware components. Check the manufacturer’s website for the latest drivers and updates for your mini PC.
Once you have completed these steps, your mini PC will be running your chosen operating system. Customize the settings, install necessary software and applications, and configure preferences to your liking.
Congratulations! You have successfully installed the operating system on your mini PC. Now, it’s time to move on to the next section where we will guide you through assembling the hardware components.
Assemble the Hardware
With your operating system installed, it’s time to move on to the exciting process of assembling the hardware components of your mini PC. Follow these steps to ensure a successful assembly:
- Prepare the Case: Start by opening the mini PC case according to the manufacturer’s instructions. This will give you access to the internal components and mounting points.
- Install the Motherboard: Carefully place the motherboard into the case, aligning the screw holes with the standoffs. Gently screw the motherboard into place, ensuring it is secure and properly grounded.
- Install the Processor (CPU): Depending on the type of CPU, you may need to install it before or after mounting the motherboard. Follow the CPU installation instructions provided by the manufacturer to ensure proper alignment and secure installation.
- Install the Memory (RAM): Insert the RAM modules into the appropriate slots on the motherboard, aligning the notch(es) on the RAM with the slot(s). Apply gentle pressure until the RAM clicks into place.
- Connect Storage Devices: Connect your storage devices, such as an SSD or HDD, to the appropriate SATA connectors on the motherboard. Use SATA cables to establish the connections, ensuring they are firmly connected on both ends.
- Connect Power Supply: Connect the power supply cables to the motherboard’s power connectors, ensuring they are securely plugged in. Connect the power cables to the storage devices and any other peripheral devices as needed.
- Connect Front Panel and Other Cables: Connect the front panel cables from the case, including the power switch, reset switch, LED indicators, and USB headers, to the corresponding pins on the motherboard. Additionally, connect any other necessary cables, such as USB, audio, or Ethernet cables.
- Install Additional Components: If you have any expansion cards, such as a graphics card or wireless network card, carefully insert them into the appropriate slots on the motherboard, securing them with screws or clips.
- Ensure Proper Cable Management: Organize the cables inside the case to prevent clutter and ensure proper airflow. Use cable ties or Velcro straps to secure and route the cables neatly, away from fans and other components.
- Double-Check Connections: Before closing the case, double-check all cable connections and ensure they are properly seated. Make sure there are no loose connections or cables that could interfere with the components or obstruct airflow.
- Close and Secure the Case: Finally, close the mini PC case, securing it with the provided screws or latches. Ensure the case is securely closed and properly aligned.
Once you have completed these steps, you have successfully assembled the hardware components of your mini PC. Take a moment to appreciate your work before moving on to the next section, where we will guide you through connecting peripherals to your newly built mini PC.
Connect to Peripherals
Now that you have assembled the hardware components of your mini PC, it’s time to connect the necessary peripherals to fully utilize your new system. Follow these steps to ensure a seamless connection:
- Monitor: Connect your monitor to the mini PC’s video output port using the appropriate cable, such as HDMI, DisplayPort, or DVI. Ensure that the cable is securely plugged in and tighten any screws if necessary.
- Keyboard and Mouse: Connect your keyboard and mouse to the available USB ports on the mini PC. If you are using wired peripherals, simply plug in the USB cables. For wireless devices, follow the manufacturer’s instructions to establish a wireless connection.
- Speakers or Headphones: If you plan to use speakers or headphones for audio output, connect them to the audio output port on the mini PC. Depending on the type of speakers or headphones, you may need to use the analog audio jack or a digital audio connection.
- Internet Connectivity: If you are using a wired internet connection, connect one end of the Ethernet cable to the mini PC’s Ethernet port and the other end to your network router or modem. For wireless connectivity, follow the instructions to connect to your Wi-Fi network.
- Other Peripherals: If you have additional peripherals, such as printers, scanners, or external storage devices, connect them to the appropriate ports on the mini PC. Make sure to follow the manufacturer’s instructions for proper connection and configuration.
Once you have connected all the necessary peripherals, double-check that each connection is secure. Ensure that all cables are properly plugged in and tightened to avoid any loose connections or interruptions in functionality.
Now that your mini PC is connected to the necessary peripherals, you’re ready to power it on and configure any remaining settings. In the next section, we will guide you through the process of powering on your mini PC and configuring the initial setup.
Power On and Configure
With all the necessary hardware components and peripherals connected to your mini PC, it’s time to power it on and configure the initial setup. Follow these steps to ensure a smooth and successful start:
- Power Supply: Ensure that the power supply unit (PSU) is properly connected to the mini PC and the power outlet. Check that all power cables are securely plugged in.
- Power On: Press the power button on the mini PC case to turn it on. The power button is typically located on the front or top panel. If everything is connected correctly, you will see the system start to boot up.
- BIOS/UEFI Settings: During the first boot, keep an eye on the screen for any instructions on accessing the BIOS or UEFI settings. Press the designated key (often Del, F2, or F10) to enter the BIOS/UEFI interface.
- Configure Boot Order: In the BIOS/UEFI settings, navigate to the boot options and set the desired boot order. If you installed the operating system on an SSD, ensure that the SSD is set as the primary boot device.
- Save Changes and Exit: Save the changes in the BIOS/UEFI settings and exit. The system will reboot automatically.
- Operating System Setup: Follow the on-screen instructions to complete the initial setup of your chosen operating system. This may include selecting language and region settings, creating user accounts, and configuring network connectivity
- Install Software and Updates: After the initial setup, install any necessary software and applications based on your needs. Be sure to keep your operating system and applications up to date by installing the latest updates.
- Configure Preferences: Customize your mini PC’s settings and preferences according to your preferences. This may include display resolution, desktop background, power settings, and other personalization options available in your operating system.
- Ensure Device Security: Take the necessary precautions to ensure the security of your mini PC. This includes setting up a reliable antivirus software, enabling firewalls, and keeping an eye on software and firmware updates.
By following these steps, you will power on your mini PC and complete the initial setup, allowing you to start using your custom-built system for various tasks, whether it’s productivity, gaming, multimedia, or any other purpose.
Now that you have successfully powered on and configured your mini PC, it’s time to address any potential issues or troubleshooting challenges. In the next section, we will explore some common problems that you may encounter during the mini PC building process and provide solutions to overcome them.
Troubleshooting Common Issues
While building and setting up your mini PC, you may encounter some common issues. Here are a few troubleshooting tips to help you overcome these challenges:
- No Power or Boot: If your mini PC doesn’t power on or boot up, check that the power supply cables are securely connected. Ensure that the power outlet is working, and try using a different power cord if possible.
- No Display: If you’re not getting a display on your monitor, double-check the connections between the monitor and the mini PC. Verify that the monitor is powered on and set to the correct input source. Try using a different video cable or port. You may also need to ensure that the graphics card, if applicable, is properly seated.
- System Lockup or Random Crashes: If your mini PC freezes or crashes randomly, ensure that all hardware components are properly installed and connected. Update your device drivers and install the latest software and firmware updates. If the problem persists, check the temperatures of your CPU and GPU to ensure they are within normal operating ranges.
- No Internet Connection: If you’re having trouble connecting to the internet, ensure that the Ethernet cable is securely plugged into the mini PC and the router or modem. Check that your Wi-Fi adapter, if applicable, is properly installed and configured. Restart your router or modem, update your network drivers, or try connecting to a different network to troubleshoot the issue.
- Driver or Software Compatibility: Incompatibility between drivers and software can cause various issues. Make sure all installed drivers are up to date and compatible with your operating system. Check for software updates or patches, and consider rolling back drivers or reinstalling them if necessary.
- Overheating and Cooling: If your mini PC is experiencing overheating, ensure that all fans are functioning correctly and that the airflow inside the case is adequate. Check for any obstructions or dust build-up that may hinder proper cooling. Consider adding additional fans or upgrading cooling solutions if necessary.
If you encounter any other specific issues not mentioned here, consult the documentation and support resources provided by the manufacturers of your components. Online forums and communities can also be valuable resources for finding solutions and troubleshooting tips related to your mini PC build.
Remember, patience and thorough troubleshooting are key to resolving any issues you may encounter. Don’t hesitate to seek assistance from knowledgeable individuals if necessary.
By following these troubleshooting tips, you can overcome common issues and ensure a smooth and enjoyable experience with your custom-built mini PC.
Conclusion
Congratulations on successfully building your own mini PC! By following the steps outlined in this guide, you have created a custom-built computing solution that fits your needs and preferences. The process of selecting hardware components, choosing an operating system, and assembling everything together may have seemed daunting at first, but with patience and attention to detail, you have accomplished a rewarding DIY project.
Your mini PC can now serve as a versatile tool for various tasks, whether it’s work, gaming, multimedia, or simply browsing the web. The flexibility and customization options of your mini PC allow you to adapt it to your evolving needs in the future. Upgrading components, adding peripherals, or changing the operating system is all possible to further enhance your mini PC’s functionality.
Throughout the assembly and setup process, you may have encountered some challenges and had to troubleshoot common issues. By following the troubleshooting tips provided, you have gained valuable experience and knowledge in diagnosing and addressing potential problems that may arise with your mini PC.
Remember to keep your mini PC up to date by regularly installing software updates, firmware updates, and security patches. This will ensure that your system remains stable, secure, and compatible with the latest software and applications.
Lastly, enjoy your mini PC and make the most of its capabilities. Whether it’s for work, entertainment, or both, your custom-built system offers the freedom and satisfaction of having a personalized computing experience.
Thank you for joining us on this mini PC building journey. We hope this guide has been helpful in assisting you in creating your own mini PC. Happy computing!