Introduction
The Nexbox T11 Mini PC is a compact and powerful device that allows you to transform any display into a fully functional computer. Whether you need to work on documents, browse the internet, or stream multimedia content, this mini PC offers a convenient and portable solution. With its small form factor and versatility, the Nexbox T11 is suitable for various applications, ranging from home entertainment to office productivity.
In this guide, we will take you through the process of setting up your Nexbox T11 Mini PC and getting it ready for use. From unboxing the device to installing the operating system and connecting peripherals, we will provide you with step-by-step instructions to ensure a seamless setup experience. We will also cover important aspects such as connecting to Wi-Fi, updating drivers and software, and configuring audio and video settings.
Additionally, we will explore how to install and uninstall applications on the Nexbox T11 Mini PC, allowing you to customize the device according to your specific needs. We will also discuss transferring files to and from the mini PC, enabling you to seamlessly access and manage your data.
With its compact size and powerful performance, the Nexbox T11 Mini PC offers a myriad of possibilities for both personal and professional use. This guide aims to provide you with all the information necessary to set up and optimize your Nexbox T11, transforming it into a highly efficient and versatile computing device.
So, let’s dive into the world of the Nexbox T11 Mini PC and discover how you can maximize its potential for your computing needs!
Unboxing the Nexbox T11 Mini PC
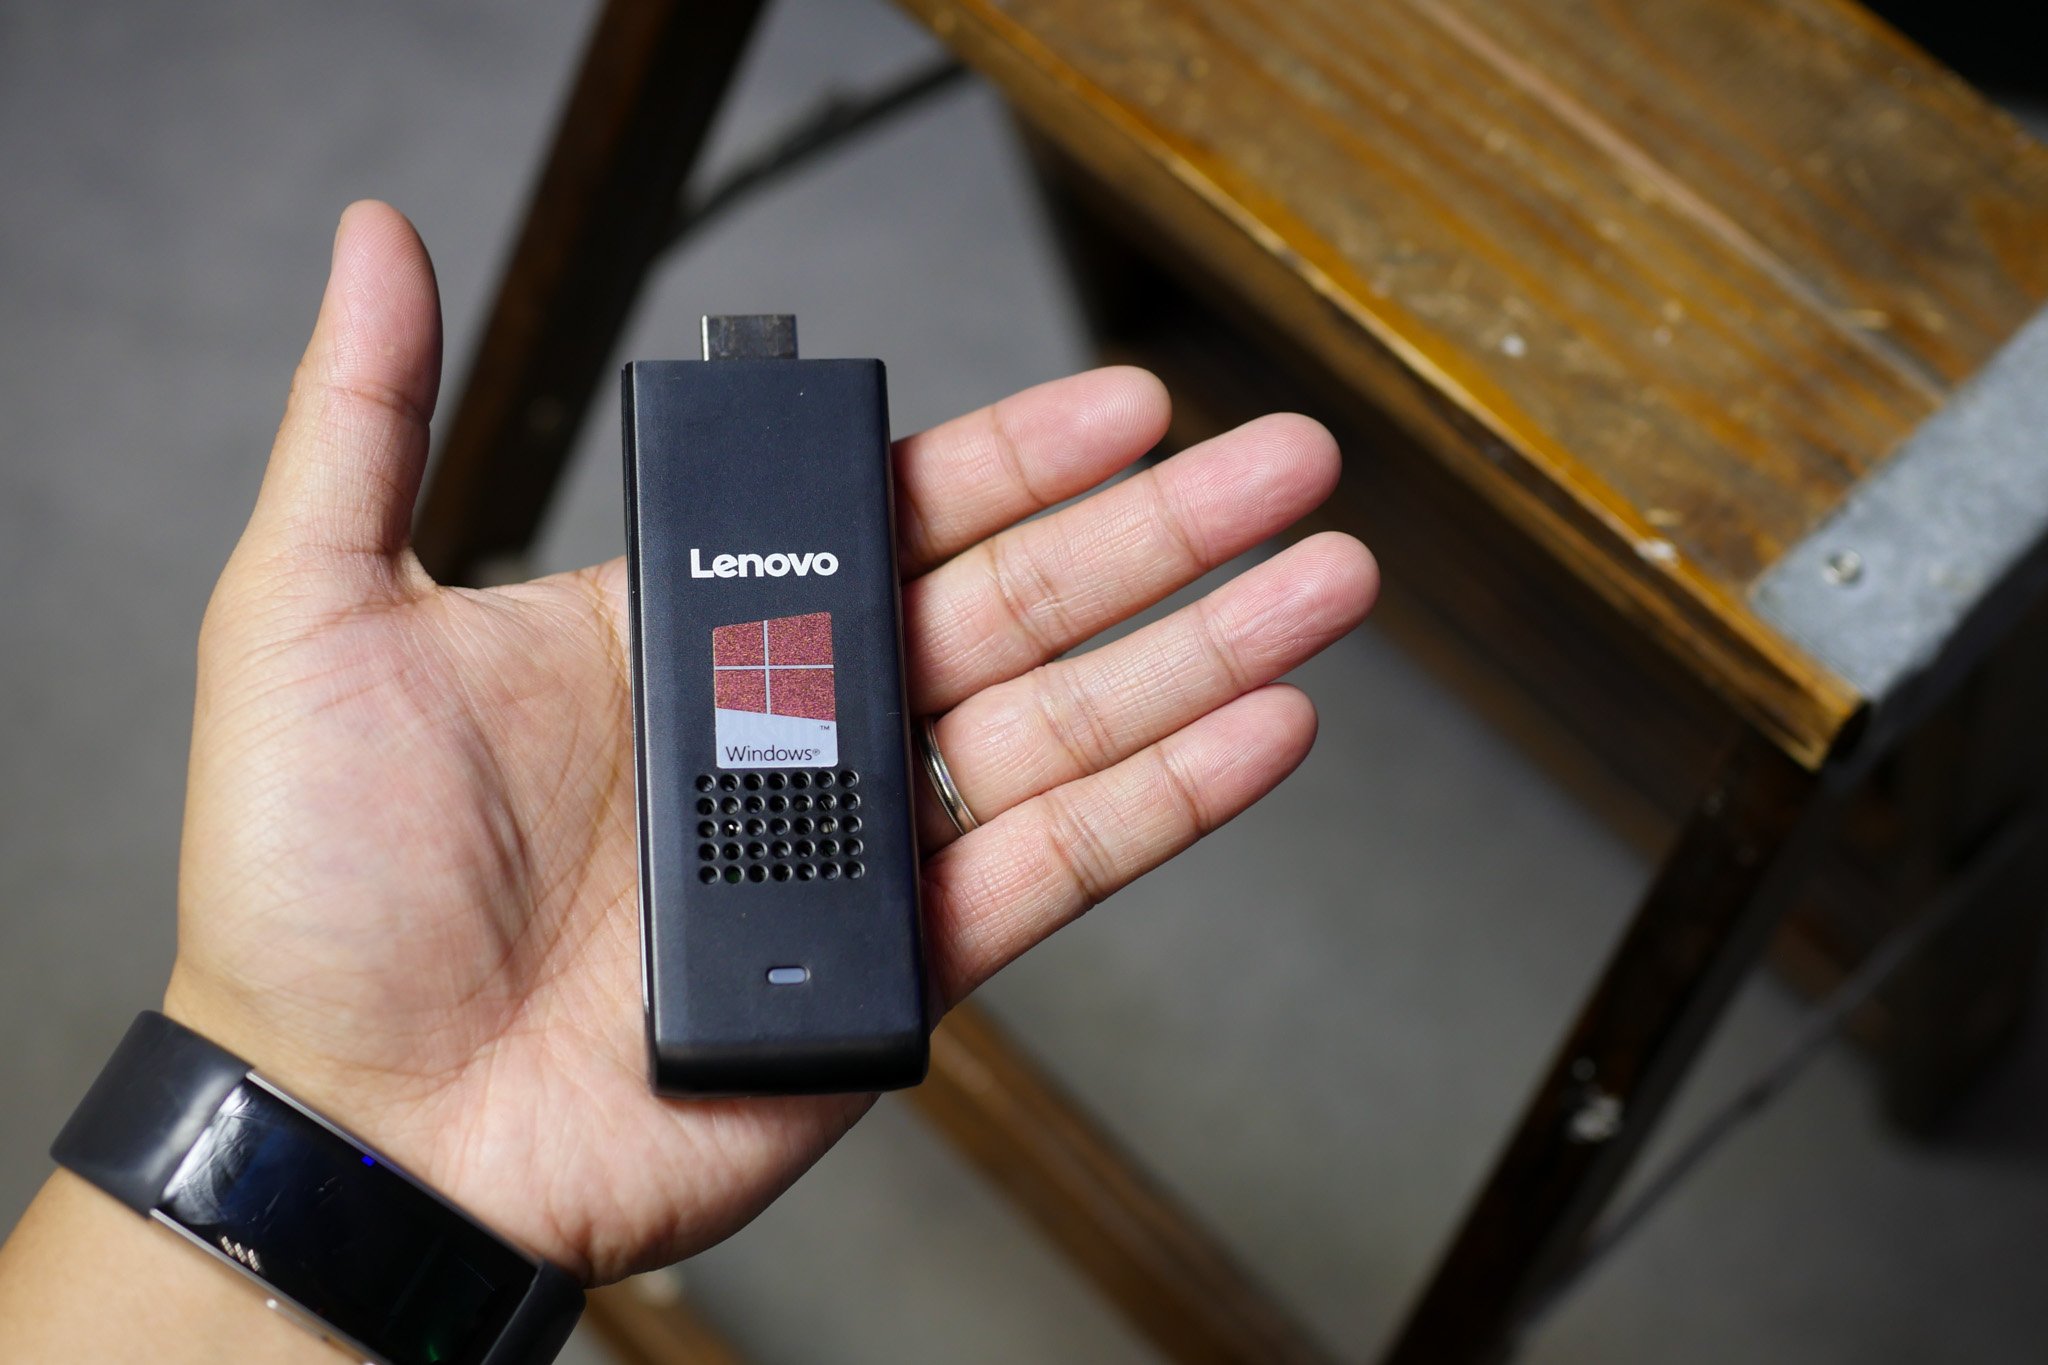
When you receive your Nexbox T11 Mini PC, the first step is to unbox it carefully. Start by removing the outer packaging and inspecting the contents of the box. You should find the mini PC itself, along with the necessary accessories, which typically include a power adapter, HDMI cable, and user manual.
Once you have unpacked everything, take a moment to familiarize yourself with the device. The Nexbox T11 Mini PC has a sleek and compact design, making it easy to fit into any setup. It is equipped with multiple ports, including USB, HDMI, Ethernet, and audio jacks, allowing you to connect various peripherals and devices.
Before moving on, check for any visible damages or defects on the mini PC. It is important to ensure that the device is in proper working condition before proceeding with the setup process. If you notice any issues, contact the manufacturer or retailer for assistance.
Now that you have unboxed and inspected the Nexbox T11 Mini PC, you are ready to move on to the next step: connecting the device to your display.
To ensure a seamless setup experience, make sure to keep all the included accessories and packaging in a safe place. You may need them for future reference, troubleshooting, or if you decide to transport the mini PC.
With the unboxing complete, you are now ready to embark on the journey of setting up your Nexbox T11 Mini PC. Let’s move on to the next section and discover how to connect the device to your display.
Connecting the Nexbox T11 Mini PC to Your Display
Now that you have unboxed your Nexbox T11 Mini PC, it’s time to connect it to your display for a complete setup. The Mini PC comes with an HDMI port, providing a simple and convenient way to connect it to most modern monitors or TVs.
First, locate the HDMI cable that came with your Nexbox T11. One end of the cable will have a standard HDMI connector, while the other end may have a different connector type depending on your display. Insert the HDMI cable into the HDMI port on the Mini PC, ensuring a secure connection.
Next, locate an available HDMI input on your display. Make sure the display is powered off before connecting the mini PC. Connect the other end of the HDMI cable to the HDMI input on your display. Again, ensure a secure connection.
Once the HDMI cable is securely connected on both ends, power on your display and switch to the appropriate input source. This may involve using the display’s remote control or on-screen menu to select the HDMI input that corresponds to the connected Nexbox T11 Mini PC.
After selecting the correct input source, power on the Nexbox T11 Mini PC by connecting it to a power outlet using the provided power adapter. The device will start booting up, and you should see the operating system loading on your display.
If you encounter any issues such as a blank screen or distorted display, ensure that the HDMI cable is properly connected and that the display is set to the correct input source. If the problem persists, try using a different HDMI cable or connecting the Mini PC to a different display to troubleshoot the issue.
With your Nexbox T11 Mini PC successfully connected to your display, you are now ready to proceed to the next section and power on the device for the initial setup.
Powering On the Nexbox T11 Mini PC
With the Nexbox T11 Mini PC connected to your display, it’s time to power on the device and start the initial setup. The power button is typically located on the front or side panel of the mini PC.
Before pressing the power button, make sure the mini PC is securely connected to a power source using the provided power adapter. Once you have confirmed the power connection, press and hold the power button for a few seconds until you see the device powering on.
Upon powering on, the Nexbox T11 Mini PC will go through a boot-up process. This may take a few moments, so be patient as the device initializes. You will typically see the manufacturer’s logo or a loading screen on your display during this time.
Once the boot-up process is complete, you will be prompted to set up the operating system. Follow the on-screen instructions to select your language, region, and other relevant settings. Depending on the specific operating system installed on the Nexbox T11, you may need to create or sign in to an account during this setup process.
It is important to note that the initial setup process may vary slightly depending on the specific configuration and operating system of your Nexbox T11 Mini PC. However, the steps outlined here should provide a general guideline for getting the device up and running.
After completing the initial setup, you will be greeted with the desktop or home screen of the operating system. Congratulations! Your Nexbox T11 Mini PC is now powered on and ready to be customized further to suit your needs.
In the next section, we will cover the process of setting up a Wi-Fi connection on the Nexbox T11 Mini PC, ensuring that you can connect to the internet and take full advantage of its online capabilities.
Setting Up the Operating System
After powering on your Nexbox T11 Mini PC, it’s time to set up the operating system to customize your experience. The specific steps may vary depending on the operating system that comes pre-installed on your device, but the general process remains similar.
First, familiarize yourself with the desktop or home screen of the operating system. Take a moment to explore the available icons, menus, and settings. This will help you navigate through the setup process and customize the mini PC to your liking.
Next, follow the on-screen instructions to set up your user account. This may involve entering your name, creating a username and password, and selecting privacy settings. It is important to choose a strong password to protect your data and ensure the security of your Nexbox T11 Mini PC.
Once your user account is set up, you may be prompted to adjust additional settings such as time zone, display resolution, and language preferences. Take the time to customize these settings according to your preferences and geographical location.
During the operating system setup, you may also have the option to sign in with an existing account, such as a Microsoft account or a Google account. This can provide additional features and integration with online services. However, it is completely optional, and you can choose to create a local account if you prefer to keep your data offline.
After completing the setup process, you will have access to the full functionality of the operating system. From here, you can personalize the desktop, install additional applications, and customize various system settings to optimize your Nexbox T11 Mini PC for your specific needs.
It’s important to keep your operating system up to date by regularly installing software updates and security patches. This ensures that your mini PC remains secure and performs at its best. Check for updates in the system settings or control panel and follow the prompts to download and install any available updates.
In the next section, we will explore how to connect your Nexbox T11 Mini PC to a Wi-Fi network, enabling you to access the internet and enjoy online activities.
Connecting to a Wi-Fi Network
Connecting your Nexbox T11 Mini PC to a Wi-Fi network is essential for accessing the internet and enjoying online activities. Here are the steps to connect to a Wi-Fi network:
1. Access Network Settings: Navigate to the network settings of your operating system. This can usually be found in the system settings or control panel. Look for the Wi-Fi or network connections option.
2. Scan for Available Networks: Click on the option to scan for available Wi-Fi networks. Your Nexbox T11 Mini PC will search for nearby networks and display a list of available options.
3. Select a Network: Choose the Wi-Fi network you want to connect to from the list. Make sure to select a network that you have authorized access to. If the network is secured, you will need to enter the network password. If it is an open network, you can simply select it.
4. Connect to the Network: Once you have entered the password (if required), click on the connect button or select the option to connect to the chosen Wi-Fi network. The Nexbox T11 Mini PC will establish a connection to the network.
5. Verify Connection: After a few moments, your Mini PC should successfully connect to the Wi-Fi network. You can verify the connection by checking the network status in the system settings or by looking for the Wi-Fi symbol in the taskbar or status bar of the operating system.
6. Test the Connection: To ensure that the Wi-Fi connection is working properly, open a web browser and try accessing a website. If the webpage loads successfully, it indicates that your Mini PC is connected to the Wi-Fi network and can access the internet.
7. Troubleshooting: If you encounter any issues while connecting to a Wi-Fi network, double-check that you have entered the correct password (if applicable) and that the network is within range. You can also try restarting your Mini PC and router to resolve any connectivity issues.
By following these steps, you can easily connect your Nexbox T11 Mini PC to a Wi-Fi network, enabling you to enjoy online browsing, streaming, and other internet-based activities.
In the next section, we will discuss how to update drivers and software on your Nexbox T11 Mini PC to ensure optimal performance and compatibility.
Updating Drivers and Software
Regularly updating the drivers and software on your Nexbox T11 Mini PC is crucial for ensuring optimal performance, compatibility, and security. Here’s how you can update the drivers and software:
1. Check for Updates: Open the system settings or control panel of your operating system and look for the option to check for updates. Depending on the specific operating system, this may be listed as “Updates,” “Software Update,” or a similar name.
2. Install Available Updates: If there are any available updates, click on the install button or select the option to download and install them. The Nexbox T11 Mini PC will start downloading and installing the updates automatically.
3. Restart the Mini PC: After the updates are installed, it is recommended to restart your Mini PC. This ensures that the updates take effect and any necessary system changes are applied.
4. Driver Updates: In addition to software updates, it’s essential to keep your drivers up to date. Drivers are software programs that enable communication between the operating system and the hardware components of your Mini PC. Check the manufacturer’s website for your Nexbox T11 Mini PC and look for driver updates specific to your device. Download and install the latest drivers for optimal performance and compatibility.
5. Automatic Updates: To simplify the process of updating drivers and software, you can enable automatic updates. This option allows your Nexbox T11 Mini PC to automatically check for and install updates in the background without manual intervention. It ensures that your system stays up to date with the latest features and security patches.
6. Software Management: Along with updating the operating system, it is essential to keep your installed applications up to date. Many applications have built-in update mechanisms that can be accessed through their settings or preferences menu. Regularly check for updates for all your installed applications and install them as necessary.
Keeping your Nexbox T11 Mini PC up to date with the latest drivers and software is crucial for optimal performance and security. It ensures that your system is equipped with the latest features, bug fixes, and compatibility improvements.
In the next section, we will explore how to configure audio and video settings on your Nexbox T11 Mini PC, allowing you to personalize your multimedia experience.
Configuring Audio and Video Settings
Configuring the audio and video settings on your Nexbox T11 Mini PC is essential for ensuring an optimal multimedia experience. Here’s how you can customize these settings:
1. Audio Settings: Locate the audio settings in the system settings or control panel of your operating system. Here, you can adjust the audio output device, volume levels, and sound enhancements. Select the appropriate output device, such as speakers or headphones, and adjust the volume to your preference. You can also explore additional audio settings, such as equalizer options or surround sound configurations, depending on your system and installed software.
2. Display Settings: Access the display settings in the system settings or control panel to adjust the video output settings. Here, you can configure the screen resolution, refresh rate, and color settings. Choose the optimal resolution for your display to ensure sharp and clear visuals. Adjust the refresh rate to prevent screen flickering or adjust color settings for accurate color reproduction.
3. Multiple Displays: If you are connecting your Nexbox T11 Mini PC to multiple displays, you can configure the multi-monitor settings. This allows you to extend or duplicate the desktop across multiple screens, enabling a larger workspace or enhanced multimedia experience. Adjust the display arrangement and select the desired display mode according to your preferences and requirements.
4. Media Playback: Depending on your media playback software, there may be additional audio and video settings to customize your multimedia experience. Explore the options within your media player to adjust audio effects, subtitle settings, aspect ratio, or video filters. This allows you to personalize the visual and audio characteristics of your media files.
5. Graphics Card Settings: If your Nexbox T11 Mini PC has a dedicated graphics card, you may have additional graphics settings to fine-tune. Install the graphics card driver specific to your device and access the graphics control panel. Here, you can adjust settings such as anti-aliasing, texture filtering, and performance options to optimize your gaming or visual experience.
By configuring the audio and video settings on your Nexbox T11 Mini PC, you can tailor the multimedia experience to your preferences and ensure optimal audiovisual performance. Take advantage of the available settings to enhance your gaming, movie streaming, or multimedia playback.
In the next section, we will discuss how to add peripherals to your Nexbox T11 Mini PC, expanding its capabilities and connectivity options.
Adding Peripherals to the Nexbox T11 Mini PC
One of the advantages of the Nexbox T11 Mini PC is its versatility in connecting various peripherals to expand its capabilities and connectivity options. Here’s how you can add peripherals to your Mini PC:
1. USB Devices: The Nexbox T11 Mini PC comes equipped with USB ports that allow you to connect various USB devices. This can include keyboards, mice, external storage devices, printers, and more. Simply plug the USB device into any available USB port on the Mini PC, and it should be automatically recognized by the system.
2. Bluetooth Devices: If your Nexbox T11 Mini PC has built-in Bluetooth functionality, you can connect Bluetooth-enabled devices such as wireless keyboards, mice, speakers, headphones, and game controllers. Enable Bluetooth in the system settings or control panel, put your peripheral device in pairing mode, and follow the on-screen instructions to establish the connection.
3. HDMI Devices: The HDMI port on the Nexbox T11 Mini PC allows you to connect it to external displays or TVs. This allows you to enjoy your content on a larger screen. Simply connect one end of an HDMI cable to the Mini PC’s HDMI output and the other end to the HDMI input of your display or TV.
4. Audio Devices: To connect external audio devices, such as speakers or headphones, the Nexbox T11 Mini PC usually has audio output jacks. Simply plug in the audio device using the appropriate audio connector, usually a 3.5mm audio jack, and the system should recognize it. Adjust the audio settings to ensure the sound output is directed to the connected audio device.
5. Ethernet Connection: The Nexbox T11 Mini PC has an Ethernet port for wired internet connectivity. If you prefer a more stable and faster internet connection, you can connect an Ethernet cable from your router or modem to the Mini PC’s Ethernet port. The Mini PC should automatically detect the wired connection and establish network connectivity.
6. Other Peripherals: Depending on your specific requirements, you can connect other peripherals to your Nexbox T11 Mini PC, such as webcams, microphones, card readers, and more. These can be connected via USB ports or other appropriate ports available on the Mini PC.
Adding peripherals to your Nexbox T11 Mini PC enhances its functionality and allows you to customize your setup according to your needs. Make sure to install any necessary drivers or software for the peripherals to ensure proper functionality.
In the next section, we will explore how to install and uninstall applications on your Nexbox T11 Mini PC, enabling you to customize the device with the software you need.
Installing and Uninstalling Applications
Installing and uninstalling applications on your Nexbox T11 Mini PC allows you to customize the device with the software you need. Here’s how you can manage applications on your Mini PC:
1. Installing Applications:
– App Store: If your Nexbox T11 Mini PC has an app store or a software repository, you can browse through the available applications and install them directly from there. Open the app store, search for the desired application, and click on the install or download button. The Mini PC will then download and install the application automatically.
– Third-Party Websites: Alternatively, you can download applications from trusted third-party websites. Visit the website of the application developer or other reputable software repositories. Download the installation package (usually a .exe or .msi file) and double-click on it to initiate the installation process. Follow the on-screen prompts to install the application.
2. Uninstalling Applications:
– App Store: If you installed an application from an app store or software repository, you can uninstall it through the same platform. Open the app store, locate the application in your installed apps list, and click on the uninstall or remove button. The Mini PC will then remove the application and its associated files.
– Control Panel: For applications installed from third-party websites or platforms, you can uninstall them through the control panel. Open the control panel or system settings, navigate to the “Programs” or “Apps & Features” section, and find the application you want to uninstall. Click on it, and select the uninstall option. Follow the on-screen instructions to complete the uninstallation process.
3. Managing Installed Applications:
– Application Updates: Keep track of the applications installed on your Nexbox T11 Mini PC and check for updates regularly. Many applications provide automatic update mechanisms to ensure you have the latest features and security patches. Open the respective application or app store, and look for options related to updates.
– Space Management: Over time, your Mini PC’s storage may become crowded with installed applications. It’s a good practice to regularly review and remove applications that are no longer needed. This helps free up storage space and keeps your Mini PC running smoothly.
By effectively managing installed applications on your Nexbox T11 Mini PC, you can tailor the device’s functionality to suit your specific needs. Install the applications you require for work, entertainment, or productivity, and regularly review and remove applications that are no longer useful.
In the next section, we will discuss how to transfer files to and from your Nexbox T11 Mini PC, allowing you to manage your data effectively.
Transferring Files to and from the Nexbox T11 Mini PC
Transferring files to and from your Nexbox T11 Mini PC is essential for managing and accessing your data. Here’s how you can effectively transfer files:
1. USB Storage Devices:
– To transfer files from a USB storage device to your Mini PC, simply plug the USB device into one of the available USB ports on your Mini PC. The device should be automatically recognized, and you can access its contents through the file manager or explorer on your Mini PC. Copy and paste or drag and drop the desired files from the USB storage device to the desired location on your Mini PC’s storage.
– To transfer files from your Mini PC to a USB storage device, follow the same steps as above but in reverse. Connect the USB storage device to the Mini PC, navigate to the location of the files you want to transfer, and copy and paste or drag and drop the files to the USB storage device.
2. Network File Sharing:
– If your Nexbox T11 Mini PC is connected to a local network, you can transfer files between devices using network file sharing. Ensure that file sharing is enabled on your Mini PC and the other devices in the network. You can then access shared folders on your Mini PC through the file manager or explorer on other devices. Simply copy and paste or drag and drop files between the shared folders to transfer them.
3. Cloud Storage:
– Another convenient way to transfer files to and from your Nexbox T11 Mini PC is by using cloud storage services such as Google Drive, Dropbox, or Microsoft OneDrive. Install the respective cloud storage application on your Mini PC, sign in to your account, and sync the desired files or folders with the cloud storage. You can then access the files from any other device with the same cloud storage account and download or upload files as needed.
4. Email or Messaging Services:
– For smaller files or documents, you can transfer them through email or messaging services. Attach the file to an email or message and send it to the desired recipient. You can also receive files in a similar manner by downloading the attached file from an email or message.
By utilizing these methods, you can easily transfer files to and from your Nexbox T11 Mini PC. Whether it’s using USB storage devices, network file sharing, cloud storage, or email and messaging services, choose the method that best suits your needs and preferences.
With this, we have covered all the essential steps to set up, configure, and utilize your Nexbox T11 Mini PC. We hope this guide has provided you with the necessary information to make the most of your Mini PC’s capabilities.
Conclusion
Setting up and utilizing the Nexbox T11 Mini PC can greatly enhance your computing experience. From unboxing the device to configuring audio and video settings, connecting peripherals, and transferring files, following the steps outlined in this guide will help you maximize the potential of your Mini PC.
By unboxing the Nexbox T11 Mini PC carefully, connecting it to your display, and powering it on, you lay the foundation for a seamless setup process. Setting up the operating system and connecting to a Wi-Fi network enable you to personalize your device and stay connected to the internet.
Updating drivers and software ensures optimal performance and security, while configuring audio and video settings allows you to fine-tune the multimedia experience to your preferences. Adding peripherals expands the capabilities of your Mini PC, while installing and uninstalling applications allows you to customize the device with the software you need.
Furthermore, being able to transfer files to and from your Nexbox T11 Mini PC ensures efficient data management and accessibility. Whether it’s using USB storage devices, network file sharing, cloud storage, or email and messaging services, you have multiple options to transfer and share your files.
With the completion of this guide, you now have the knowledge to set up, configure, and utilize your Nexbox T11 Mini PC to its full potential. Enjoy the convenience, versatility, and power that this compact device offers in various aspects of your personal and professional life.
If you have any further questions or encounter any difficulties along the way, refer to the user manual or reach out to the manufacturer’s customer support for assistance. Happy computing!