Introduction
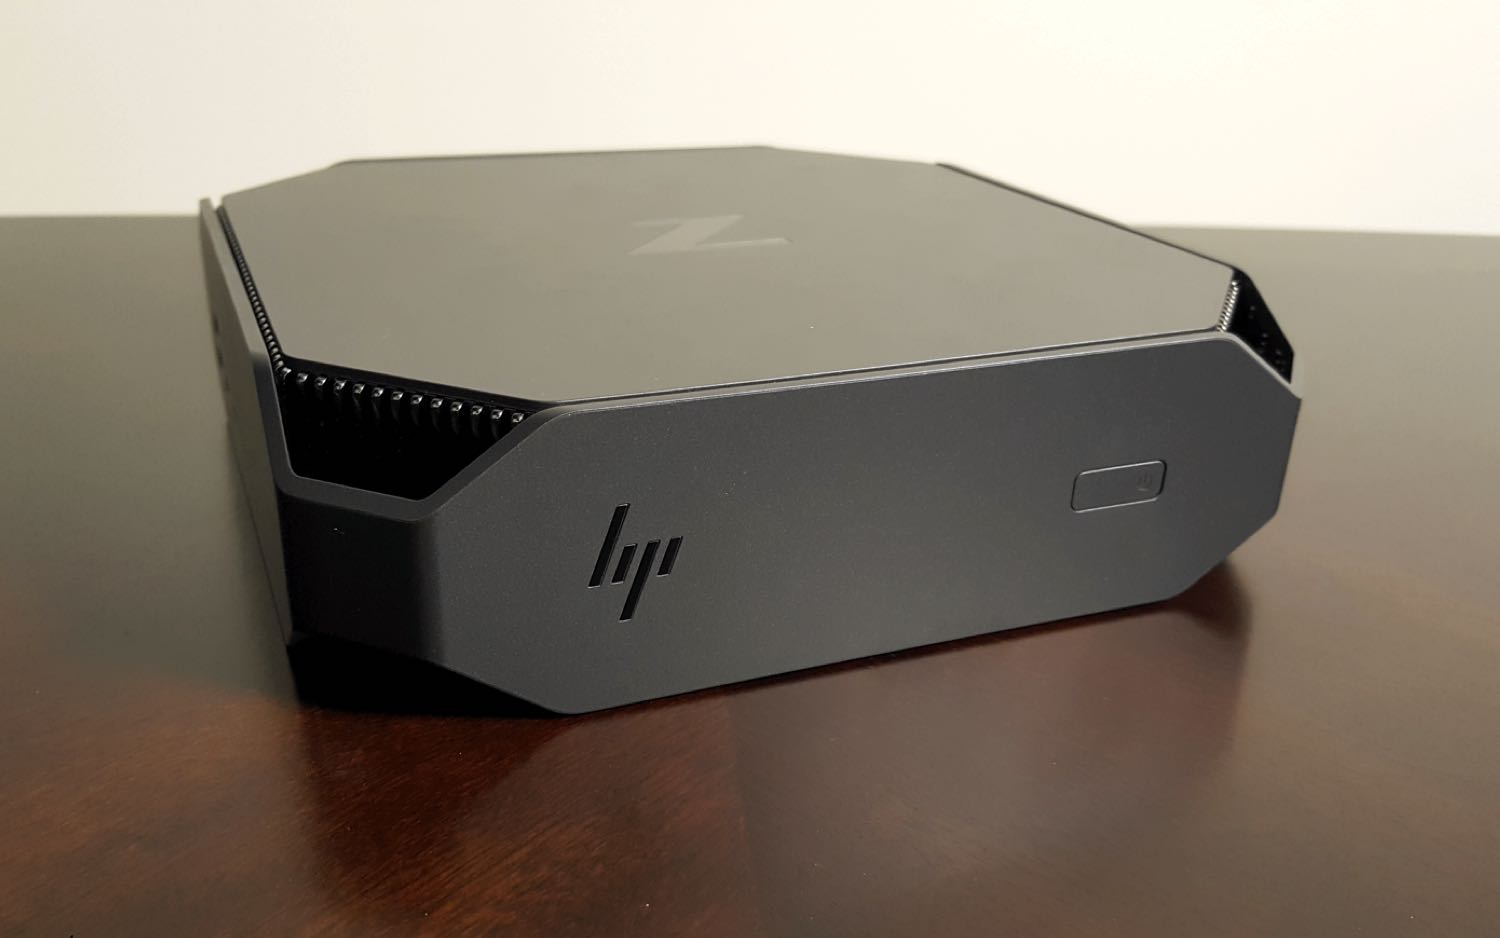
Are you experiencing slow performance or frequent freezing on your HP Mini PC? Upgrading the RAM can be a cost-effective solution to improve its overall speed and responsiveness. The RAM (Random Access Memory) plays a crucial role in managing the temporary data that the computer uses while running programs and applications. By increasing the RAM capacity, you can provide your HP Mini PC with more space to handle multiple tasks simultaneously, enhancing its performance and overall user experience.
Before diving into the process of upgrading the RAM on your HP Mini PC, it’s important to consider a few factors. Firstly, you will need to determine the maximum RAM capacity supported by your specific model. This information can usually be found in the user manual or on the manufacturer’s website. Additionally, you should identify the type and speed of RAM modules compatible with your Mini PC to ensure a successful upgrade.
In this guide, we will walk you through the step-by-step process of upgrading the RAM on your HP Mini PC. We’ll cover everything from checking the RAM compatibility to securely installing the new RAM module. With a little patience and the right tools, you can give your Mini PC a much-needed boost in performance.
Things to Consider Before Upgrading RAM on HP Mini PC
Before embarking on the journey of upgrading the RAM on your HP Mini PC, there are a few important factors to consider. These considerations will help ensure a smooth and successful RAM upgrade, maximizing the performance of your Mini PC.
1. Compatibility: It’s crucial to check the compatibility of the RAM modules with your specific HP Mini PC model. Refer to the user manual or visit the manufacturer’s website to find the supported RAM types, capacities, and speed. Using incompatible RAM may lead to system instability or even damage.
2. RAM Capacity: Determine the maximum RAM capacity your Mini PC can support. While some models have a fixed maximum limit, others may offer the flexibility to upgrade beyond the factory-installed RAM. Ensure that the new RAM module doesn’t exceed the supported limit to avoid any complications.
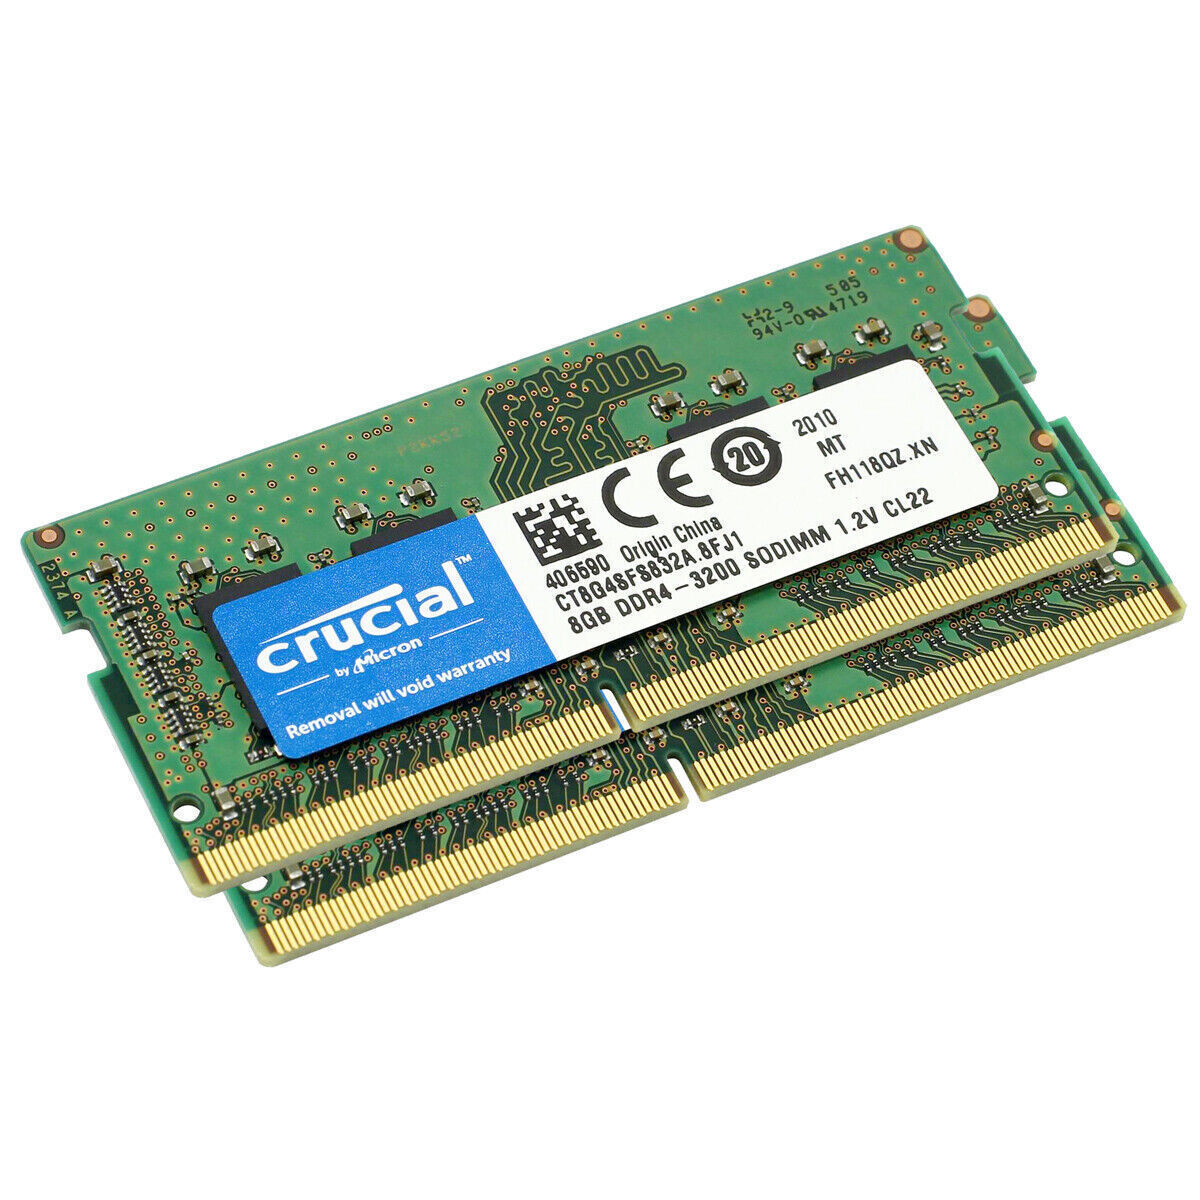
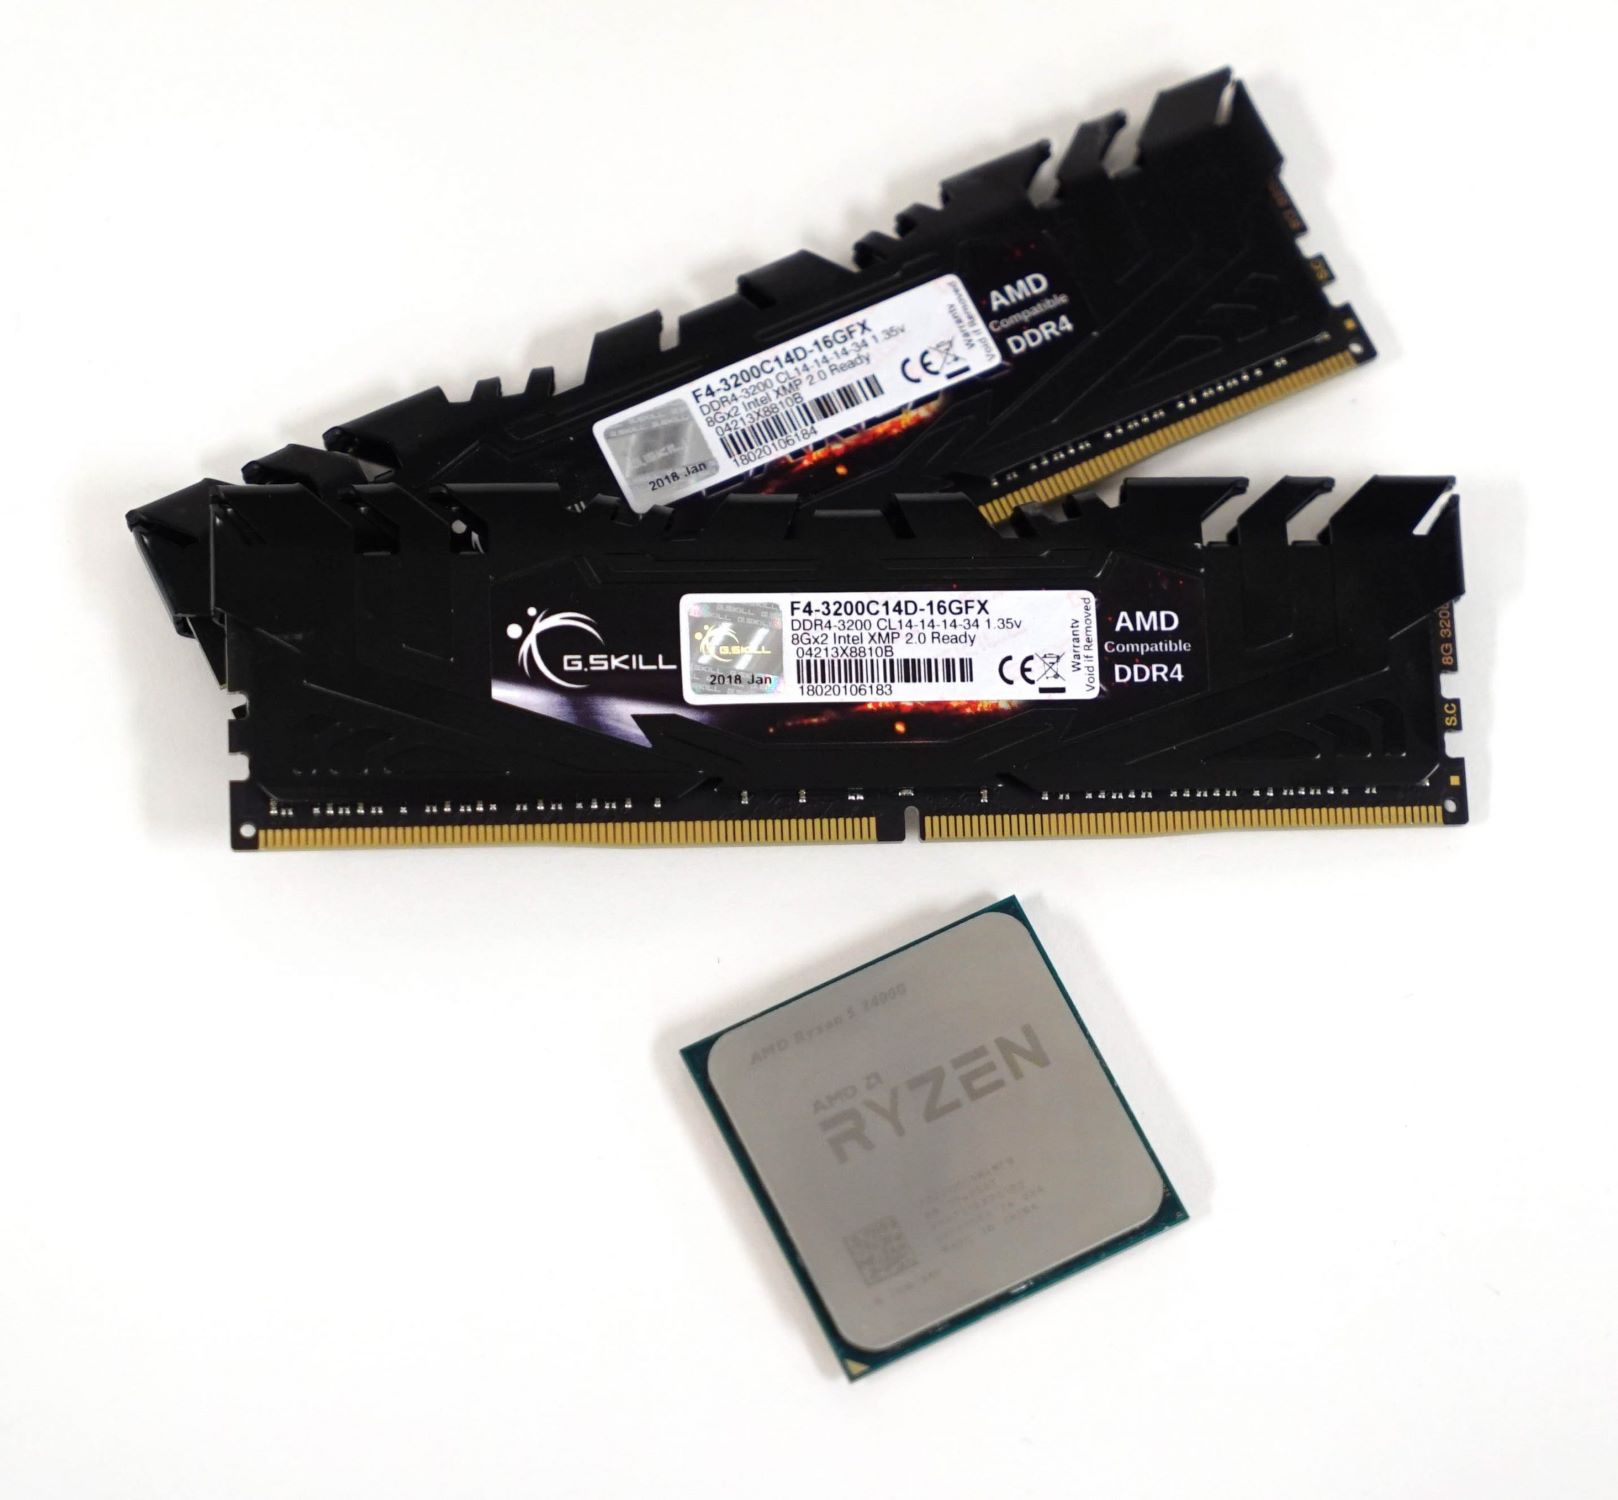
3. RAM Type and Speed: Identify the type and speed of RAM your Mini PC requires. Common RAM types include DDR3 and DDR4. It’s essential to choose the correct RAM type to ensure compatibility and optimal performance. Additionally, check if your Mini PC supports dual-channel memory for improved speed and efficiency.
4. Operating System: Consider the operating system requirements and limitations when selecting the RAM upgrade. Some operating systems may have limitations on RAM capacity or require specific configurations to utilize larger amounts of RAM effectively.
5. Budget: Set a budget for your RAM upgrade. RAM prices can vary based on capacity, brand, and speed. It’s advisable to balance your needs and budget to find a suitable RAM module that meets your requirements without stretching your finances.
By carefully considering these factors before upgrading the RAM on your HP Mini PC, you can ensure that you make the right choices and avoid any compatibility issues or performance inconsistencies. Now that you are armed with the necessary information, let’s proceed with the step-by-step guide to upgrading the RAM on your HP Mini PC.
Step-by-Step Guide to Upgrading RAM on HP Mini PC
Now that you have considered the important factors, it’s time to dive into the step-by-step process of upgrading the RAM on your HP Mini PC. Follow these instructions carefully to ensure a successful RAM upgrade:
- Check the RAM compatibility: Refer to the user manual or the manufacturer’s website to determine the compatible RAM types, capacities, and speed for your specific HP Mini PC model.
- Gather the necessary tools: Before starting the upgrade, gather the required tools, such as a screwdriver (usually Phillips head), an antistatic wrist strap, and a clean workspace with good lighting.
- Prepare the HP Mini PC: Shut down the Mini PC and unplug all cables. Place the Mini PC on a soft, static-free surface to prevent any electrostatic damage.
- Locate the RAM slot: Open the Mini PC’s case by removing the screws on the bottom or back panel. Locate the RAM slot, which is usually easily accessible and identified by a cover with a RAM symbol.
- Remove the old RAM module: Carefully remove the old RAM module by gently pushing aside the retaining clips or tabs on either side. Slide the module out at a 45-degree angle, avoiding excessive force.
- Install the new RAM module: Align the notch on the new RAM module with the notch in the RAM slot. Insert the module into the slot at a 45-degree angle, making sure it is fully seated. Apply even pressure until the retention clips or tabs automatically lock the module in place.
- Secure the RAM module: Double-check that the RAM module is securely installed by gently pushing down on both ends. The module should be fully inserted and locked into place.
- Test the RAM upgrade: Close the Mini PC’s case, reattach the screws, and reconnect all cables. Power on the Mini PC and observe if it detects the new RAM module during startup. Additionally, run memory-intensive tasks or applications to ensure that the RAM upgrade is functioning correctly.
By following these steps, you can successfully upgrade the RAM on your HP Mini PC. Remember to exercise caution and take necessary antistatic precautions throughout the process. With the increased RAM capacity, your Mini PC should experience improved performance, allowing you to multitask seamlessly and enjoy a faster computing experience.
Check the RAM Compatibility
Before upgrading the RAM on your HP Mini PC, it is crucial to check the compatibility of the RAM modules with your specific model. This step ensures that the new RAM will work seamlessly with your Mini PC’s hardware and operating system.
To determine the RAM compatibility, start by referring to the user manual or visiting the manufacturer’s website for your specific HP Mini PC model. Look for information regarding the supported RAM types, capacities, and speed. This information is usually listed in the technical specifications section.
Pay attention to the RAM type, as there are different generations such as DDR3 and DDR4. DDR4 RAM is faster and more power-efficient, but it may not be supported by older Mini PC models. Therefore, it is essential to select RAM that is compatible with your specific Mini PC.
Additionally, check the maximum RAM capacity your Mini PC can support. Some models have a fixed maximum limit, while others offer the flexibility to upgrade beyond the factory-installed RAM. Ensure that the new RAM module’s capacity does not exceed the supported limit to avoid any compatibility issues.
Besides, consider the RAM speed or frequency supported by your Mini PC. RAM modules come in different speed ratings, such as 2400MHz or 3200MHz. It is important to match the speed specifications of your Mini PC’s motherboard. If a RAM module with a higher speed rating is installed, it will typically be limited to the maximum supported speed of the motherboard.
Lastly, take note of any dual-channel memory support. Dual-channel memory increases performance by allowing the Mini PC to access two RAM modules simultaneously. If your Mini PC supports dual-channel memory, it is recommended to install RAM modules in pairs of the same capacity and speed to take advantage of this feature.
By thoroughly checking the RAM compatibility before the upgrade, you can ensure that the new RAM modules are the right fit for your HP Mini PC. This step prevents any compatibility issues or potential damage to your Mini PC’s hardware, resulting in a smooth and successful upgrade process.
Gather the Necessary Tools
Before you begin the process of upgrading the RAM on your HP Mini PC, it is important to gather the necessary tools. Having the right tools on hand will help ensure a smooth and efficient upgrade process. Here are the tools you will need:
- Screwdriver: Most HP Mini PCs require a Phillips head screwdriver to remove the screws that secure the case. Make sure you have the appropriate size of screwdriver to avoid damaging the screws or the Mini PC.
- Antistatic Wrist Strap: To prevent electrostatic discharge (ESD) damage, it is highly recommended to use an antistatic wrist strap. This strap helps to ground your body and prevent any static electricity from damaging the delicate electronic components of your Mini PC.
- Clean Workspace: Prepare a clean and well-lit workspace before starting the RAM upgrade. Ensure that the area is free of dust and static electricity. A clean workspace will help prevent any accidental damage during the installation process.
By having these tools readily available, you will be well-equipped to perform the RAM upgrade on your HP Mini PC. It is important to take precautions such as using an antistatic wrist strap and working in a clean environment to avoid static discharge and damage to the delicate components of your Mini PC. Now that you have gathered the necessary tools, you’re ready to proceed with the RAM upgrade process.
Prepare the HP Mini PC
Before you begin the RAM upgrade process on your HP Mini PC, it’s important to properly prepare the computer. Taking a few minutes to prepare the Mini PC will help ensure a smooth and successful RAM upgrade. Follow these steps to prepare your HP Mini PC:
- Shut Down and Unplug: Make sure your Mini PC is powered off completely. Shut down any running applications, save your work, and turn off the computer. Unplug the power cord from the Mini PC and disconnect any other peripherals that may be attached, such as external hard drives or USB devices.
- Static Discharge Precautions: Static electricity can damage computer components, so it’s important to take precautions. Wear an antistatic wrist strap to prevent any static discharge that could harm the sensitive electronic components inside the Mini PC. If you don’t have an antistatic wrist strap, touch a grounded metal object to discharge any static electricity before proceeding.
- Clean and Clear Workspace: Find a clean and well-lit workspace for your Mini PC upgrade. It’s important to have enough room to safely open the Mini PC’s case and work comfortably. Clear the workspace of any clutter or objects that may obstruct your work area.
- Ground Yourself: To further prevent static discharge, make sure to ground yourself properly. Touch a grounded metal object, such as a metal table or radiator, to discharge any static electricity before touching the Mini PC’s internal components.
- Position the Mini PC: Take the Mini PC and place it on a soft and static-free surface. This helps to prevent any potential damage to the Mini PC and ensures that it remains stable during the RAM upgrade process.
By properly preparing your HP Mini PC before starting the RAM upgrade, you reduce the risk of static electricity damage and ensure a safe and efficient upgrade process. Remember to shut down the Mini PC, unplug it, wear an antistatic wrist strap, and work in a clean and clear workspace. With the Mini PC adequately prepared, you are now ready to proceed to the next step of locating the RAM slot.
Locate the RAM Slot
To upgrade the RAM on your HP Mini PC, you need to locate the RAM slot where the existing RAM module is installed. Follow these steps to locate the RAM slot:
- Prepare the Mini PC: Ensure that your Mini PC is powered off, unplugged, and properly prepared according to the previous section.
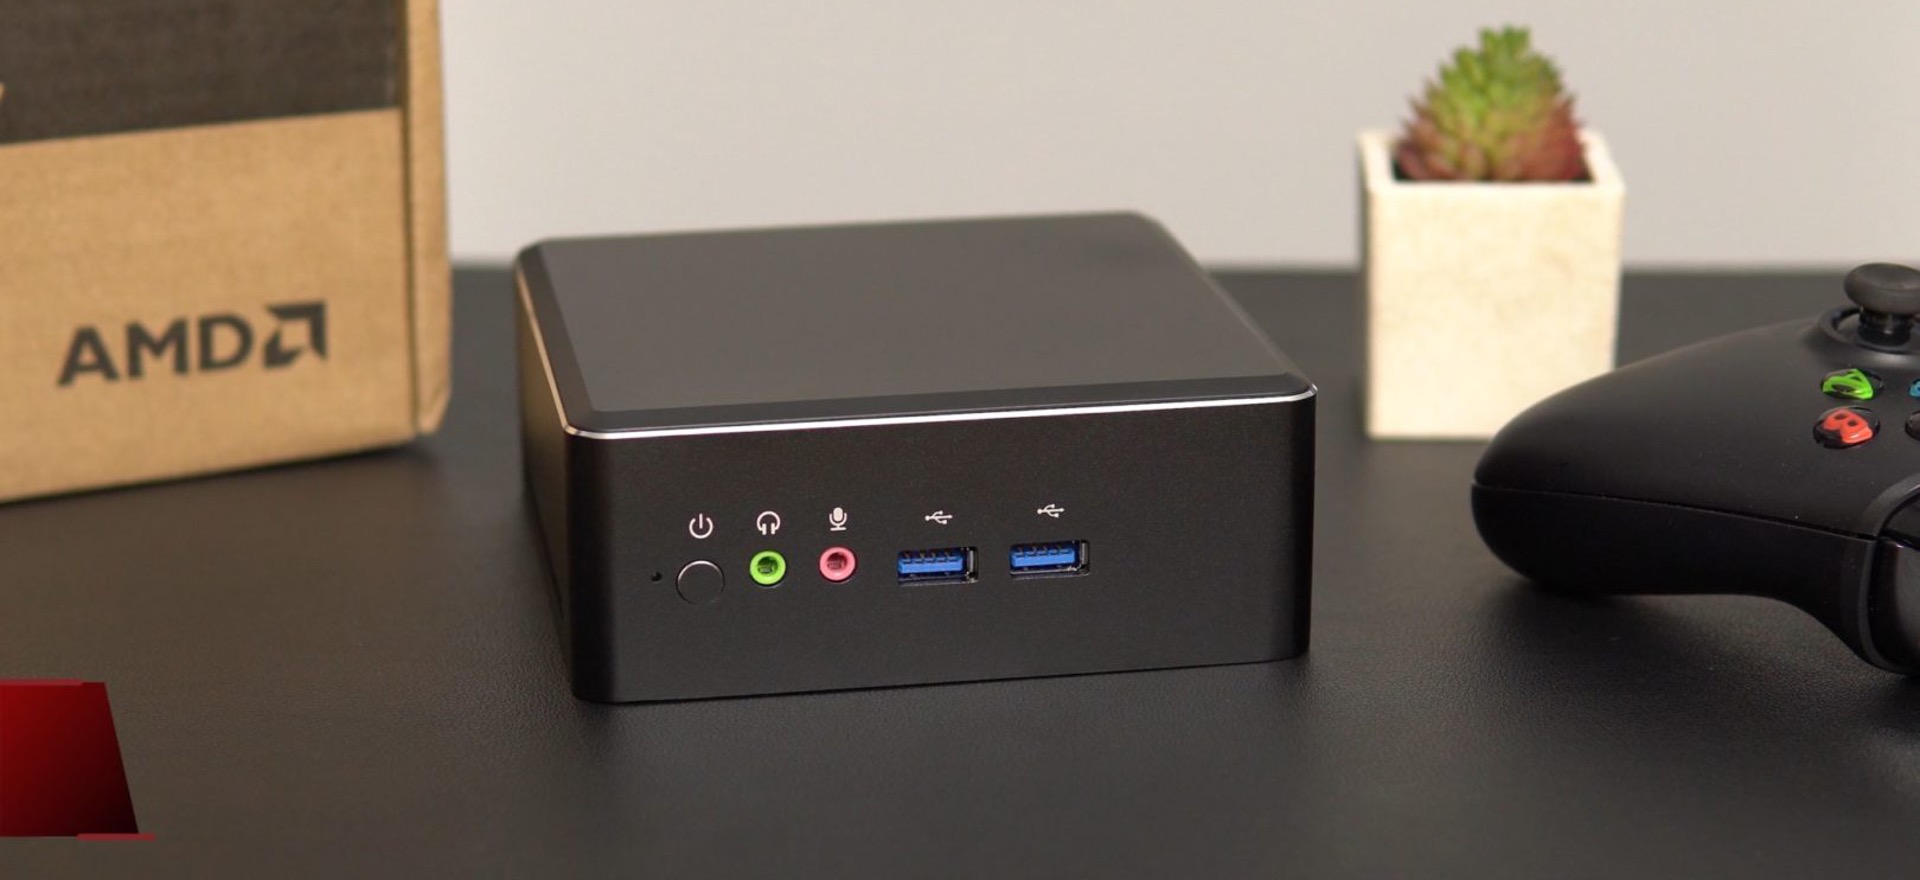
- Find the Access Panel: Depending on the Mini PC model, the RAM slot may be located on the bottom or back panel of the computer. Look for screws or latches that secure the access panel.
- Remove the Access Panel: Use a screwdriver to remove the screws or release the latches holding the access panel in place. Carefully set the screws aside in a safe place to avoid losing them.
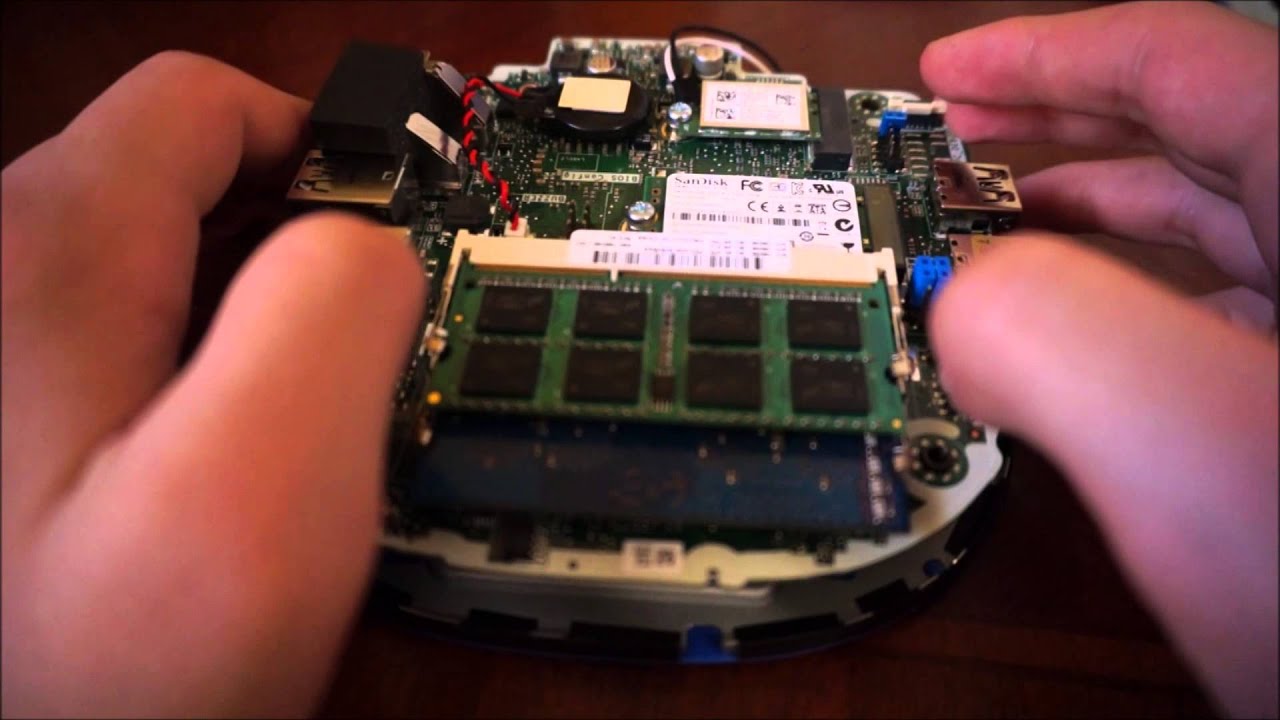
- Identify the RAM Slot: Once you have removed the access panel, you will see the motherboard and components inside the Mini PC. Look for a rectangular-shaped slot with a cover labeled with the RAM symbol. This is where the RAM module is installed.
- Take Note of Other Components: While locating the RAM slot, take note of any other components or slots nearby, such as the CPU, hard drive, or other expansion slots. This will help you identify the RAM slot more accurately.
It’s important to handle the Mini PC with care while locating the RAM slot. Avoid applying excessive force or touching any other components, as they are delicate and can be easily damaged. If you are unsure about the location of the RAM slot, refer to the user manual or the manufacturer’s website for your specific Mini PC model.
Once you have successfully located the RAM slot, you are ready to move on to the next step of removing the old RAM module. Remember to maintain antistatic precautions and handle the Mini PC with care throughout the upgrade process to ensure a smooth and error-free upgrade.
Remove the Old RAM Module
Now that you have located the RAM slot in your HP Mini PC, it’s time to remove the old RAM module. Follow these steps to safely remove the old RAM:
- Take Precautions: Make sure your Mini PC is powered off, unplugged, and you are properly grounded by wearing an antistatic wrist strap or touching a grounded metal object.
- Identify the Retaining Clips or Tabs: Look for the retaining clips or tabs on both sides of the RAM module in the RAM slot. These clips or tabs help secure the RAM module in place.
- Release the Retaining Clips or Tabs: Gently push aside the retaining clips or tabs on both ends of the RAM module. This will loosen the grip of the clips and allow the RAM module to be removed.
- Slide the RAM Module Out: Holding the RAM module by its sides, slide it out of the RAM slot at a 45-degree angle. Be careful not to apply excessive force or bend the module.
- Set Aside the Old RAM Module: Once the old RAM module is removed, set it aside in a safe place. If you do not plan to reuse it or keep it as a spare, consider properly disposing of it in accordance with local regulations.
It’s important to handle the old RAM module with care during the removal process. Avoid touching the gold-plated connectors as they are sensitive to static electricity and can be easily damaged. By following these steps, you have successfully removed the old RAM module from your HP Mini PC.
Take a moment to inspect the RAM slot for any dust or debris. Use compressed air or a clean, dry cloth to gently clean the slot if needed. Ensure that the slot is clean and ready for the installation of the new RAM module. In the next section, we will cover the steps to install the new RAM module.
Install the New RAM Module
With the old RAM module removed, it is time to install the new RAM module into your HP Mini PC. Follow these steps to properly install the new RAM module:
- Take Precautions: Ensure that your Mini PC is powered off, unplugged, and you are properly grounded by wearing an antistatic wrist strap or touching a grounded metal object.
- Align the Notch: Take the new RAM module and align the notch on the bottom of the module with the tab in the RAM slot. This ensures proper orientation and prevents installation errors.
- Insert at a 45-Degree Angle: Hold the RAM module at a 45-degree angle and gently insert it into the slot. Make sure it is fully inserted and aligned with the slot. Do not force the module; it should slide in smoothly without much resistance. If it doesn’t, remove the module and double-check the alignment.
- Apply Even Pressure: Once the RAM module is properly inserted, apply even pressure with your fingers to push it down towards the motherboard. The module should be perpendicular to the motherboard and seated firmly in the slot.
- Verify Secure Installation: Double-check that the retaining clips or tabs automatically lock into place on both sides of the RAM module. This ensures that the module is securely installed and prevents any accidental dislodging.
It’s important to handle the new RAM module with care during the installation process. Avoid touching the gold-plated connectors as they are sensitive to static electricity and can be easily damaged. Take your time to ensure the module is properly aligned and securely inserted into the RAM slot.
Once the new RAM module is securely installed, move on to the next section to learn how to secure the RAM module in place and prepare for testing the RAM upgrade.
Secure the RAM Module
After installing the new RAM module in your HP Mini PC, it’s important to secure it properly to ensure stability and optimal performance. Follow these steps to securely lock the RAM module in place:
- Double-Check Alignment: Before securing the RAM module, double-check that it is aligned properly in the RAM slot. Ensure that the notch on the bottom of the module is properly aligned with the tab in the slot.
- Apply Even Pressure: Using equal pressure on both ends of the RAM module, push down gently until you hear or feel a click. This indicates that the retention clips or tabs on both sides have engaged and locked the module in place.
- Verify Stability: Once the retention clips or tabs have locked the RAM module, check for any visible gaps between the module and the slot. The module should be firmly seated and flush against the motherboard.
By securely locking the RAM module in place, you ensure a stable connection and help prevent any accidental dislodging during use. This step is crucial for the proper functioning and performance of the RAM module in your Mini PC.
If the RAM module does not click into place or if there are any gaps, remove the module and double-check the alignment. Make sure the notch on the RAM module aligns properly with the tab in the RAM slot. Reinsert the module, applying equal pressure on both ends, until it securely locks into place.
With the RAM module now securely installed, you are almost ready to test the RAM upgrade. But before that, let’s move on to the next section to learn about the final steps to prepare your HP Mini PC for testing.
Test the RAM Upgrade
Now that you have successfully installed and secured the new RAM module in your HP Mini PC, it’s time to test the RAM upgrade to ensure it is functioning correctly. Follow these steps to test the RAM upgrade:
- Close the Mini PC Case: Place the Mini PC’s access panel back onto the case and secure it with the screws or latches you removed earlier. Make sure the panel is aligned properly and snugly fastened.
- Reconnect Cables and Peripherals: Reconnect all cables, including the power cord, monitor cable, keyboard, and mouse. If you had any peripherals disconnected earlier, such as external hard drives or USB devices, reconnect them as well.
- Power On the Mini PC: Press the power button to turn on the Mini PC. Allow it to boot up and complete the startup process.
- Check RAM Recognition: During the boot process, pay attention to the screen for any messages related to the RAM. The system should detect the new RAM module and display the total amount of RAM installed. If there are no error messages and the correct amount of RAM is displayed, it indicates that the RAM upgrade was successfully recognized by the Mini PC’s system.
- Perform RAM-Intensive Tests: To further test the RAM upgrade, run memory-intensive tasks or applications on your Mini PC. This can include multitasking with multiple applications, running software that requires high memory usage, or editing large files. Monitor the performance of your Mini PC and observe if there is a noticeable improvement in speed and responsiveness.
By testing the RAM upgrade, you can ensure that the new RAM module is functioning correctly and providing the expected performance boost to your HP Mini PC. If you encounter any issues, such as system instability or error messages, double-check the RAM module’s compatibility and installation. It may be necessary to repeat the installation process or consult with technical support for further assistance.
Congratulations on completing the RAM upgrade on your HP Mini PC! With the enhanced RAM capacity, you can now enjoy improved performance and smoother multitasking on your Mini PC. Remember to periodically clean the Mini PC’s internal components and ensure proper maintenance to keep it running optimally.
Conclusion
Upgrading the RAM on your HP Mini PC can significantly enhance its performance and improve your overall computing experience. By increasing the RAM capacity, you provide your Mini PC with the necessary resources to handle multiple tasks simultaneously, boosting its speed and responsiveness.
Before beginning the RAM upgrade process, it is essential to consider factors such as RAM compatibility, capacity, type and speed, as well as your Mini PC’s operating system and budget. Taking these factors into account ensures a successful and trouble-free RAM upgrade.
Following the step-by-step guide provided in this article, you can confidently upgrade the RAM on your HP Mini PC. Make sure to gather the necessary tools, prepare the Mini PC, locate the RAM slot, remove the old RAM module, install the new RAM module, secure it properly, and test the RAM upgrade for optimal performance.
Remember to handle the Mini PC and RAM modules with care, taking necessary precautions to prevent static discharge. If you encounter any difficulties or have any concerns, consult the user manual or seek technical support for assistance.
By upgrading the RAM on your HP Mini PC, you can enjoy faster multitasking, improved system responsiveness, and enhanced performance for various applications and tasks. With a little patience and the right tools, you can breathe new life into your Mini PC and make it more capable of meeting your computing needs.
Take pride in successfully upgrading the RAM on your HP Mini PC and enjoy the benefits of a more powerful and efficient computing experience.