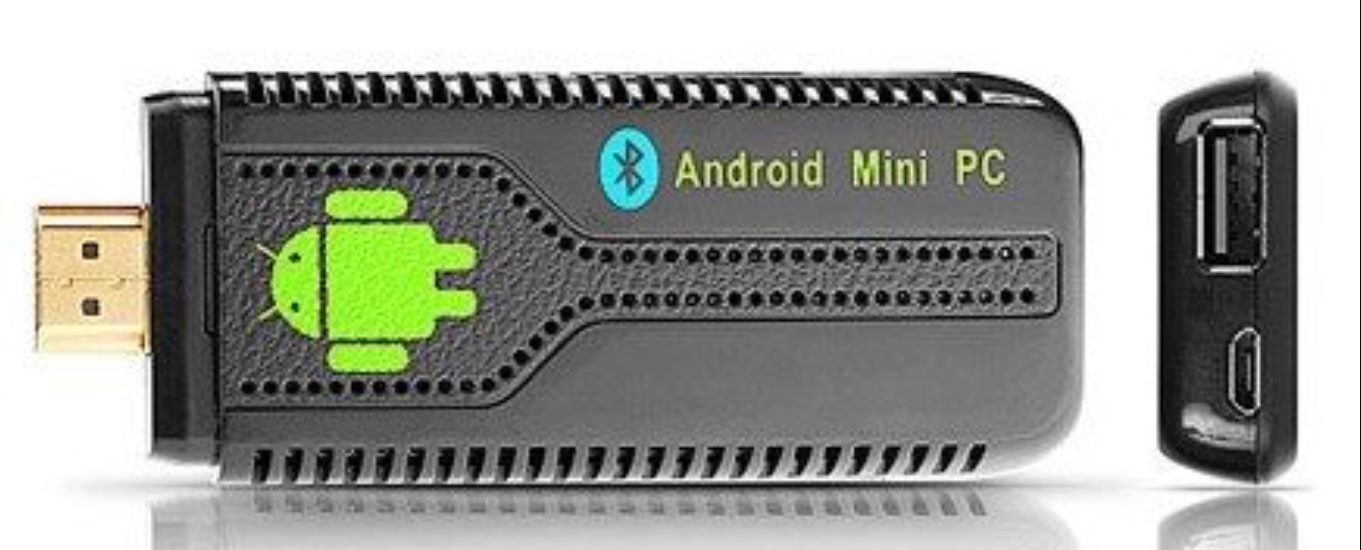
Setting Up Your Android Mini PC
Setting up your Android Mini PC is the first step towards controlling it effectively. Follow these guidelines to ensure a smooth setup process:
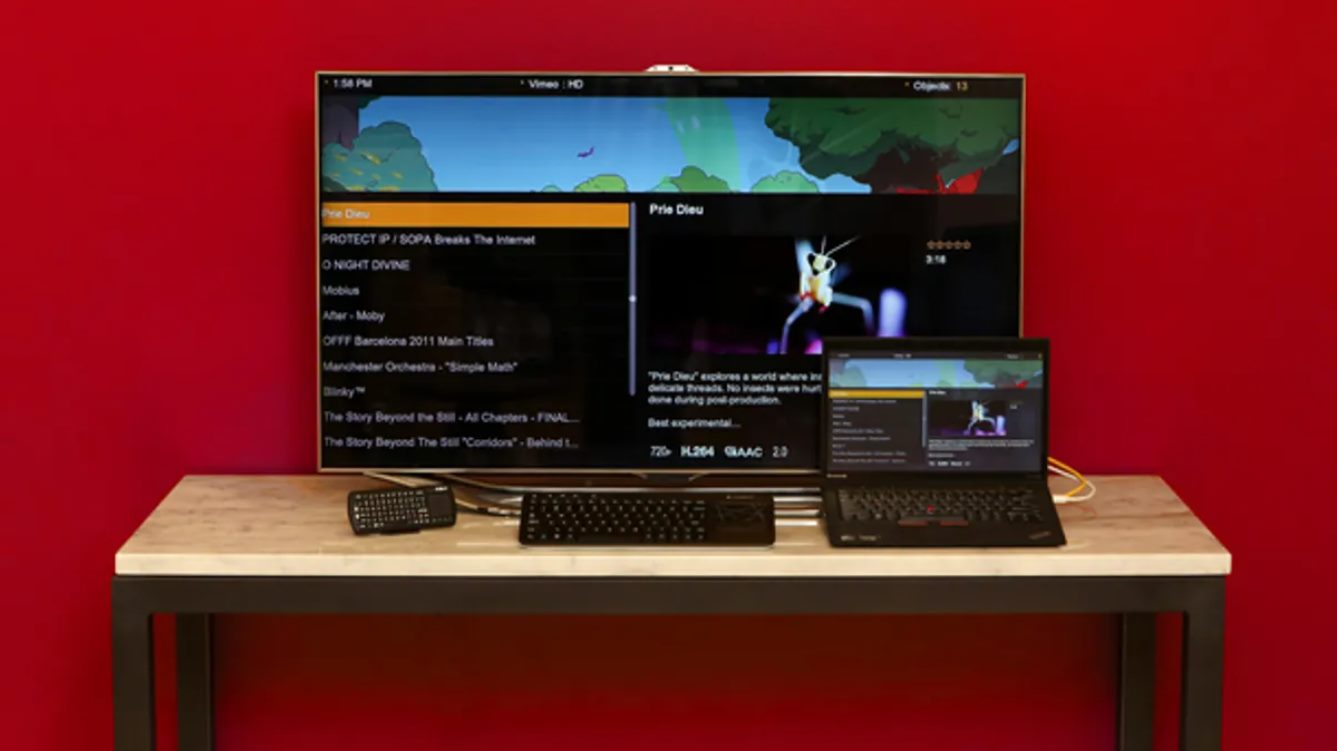
1. Connect to your TV or monitor: Begin by connecting your Android Mini PC to your TV or monitor using an HDMI cable. Make sure to use the appropriate HDMI input on your TV or monitor.
2. Power up the Mini PC: Next, plug in the power adapter to provide power to your Android Mini PC. Once it’s powered up, you’ll see the startup screen on your TV or monitor.
3. Language and network setup: Select your preferred language and proceed with the network setup. Choose either a wired or wireless connection and enter the required details.
4. Update the firmware: Check for any available firmware updates and make sure to install them. This ensures that your Android Mini PC is running the latest software, which can improve performance and stability.
5. Google account setup: To access the full range of Android features and applications, sign in with your Google account or create a new one. This will enable you to download apps, access your emails, and sync your data.
6. Customize your preferences: Explore the settings menu to customize your Android Mini PC according to your preferences. Adjust display settings, sound preferences, and other personalization options to enhance your overall experience.
7. Install essential apps: Visit the Google Play Store and install essential apps such as a web browser, media player, productivity tools, and any other apps that you require for your specific needs.
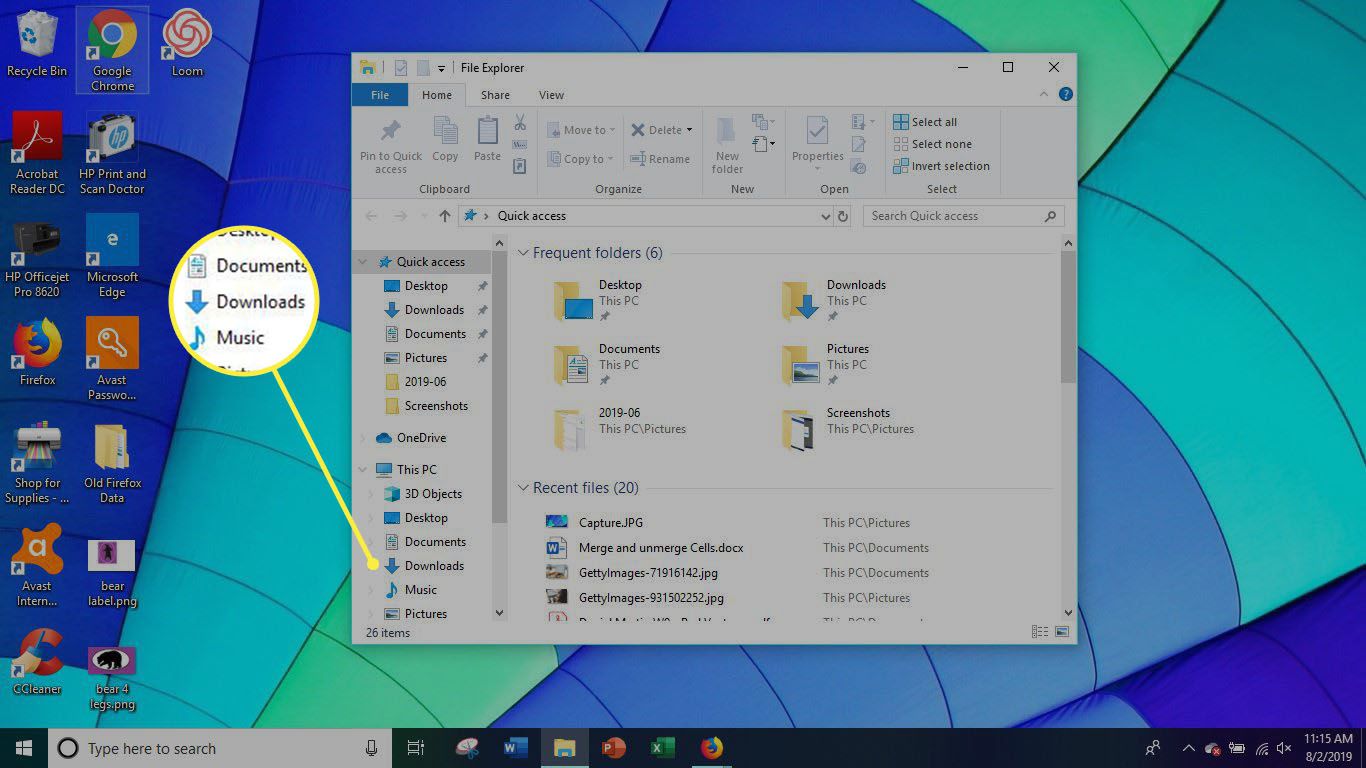
8. Set up a file manager: Install a file manager app to easily explore, manage, and organize files on your Android Mini PC. This will help you keep track of your downloaded files and make file transfers more convenient.
9. Configure security settings: Protect your Android Mini PC by setting up a secure lock screen, enabling app permissions, and installing an antivirus app to safeguard against malware and other security threats.
10. Explore additional features: Take the time to familiarize yourself with other features of your Android Mini PC, such as screen mirroring, Bluetooth connectivity, and connecting external storage devices.
By following these steps, you’ll have your Android Mini PC set up and ready to be controlled using various methods. Now, let’s explore the different ways you can control your Android Mini PC for a seamless user experience.
Controlling with a Remote Control
Controlling your Android Mini PC with a remote control provides a convenient and user-friendly way to navigate through the interface and access various functions. Here’s how you can effectively control your device using a remote control:
1. Basic navigation: The remote control will typically have directional buttons that allow you to move the cursor or navigate through menus. Use these buttons to scroll through apps, select options, and navigate the Android interface.
2. Home and back buttons: Most remote controls have dedicated home and back buttons. The home button takes you back to the main screen, while the back button helps you navigate back within apps or menus.
3. Text input: When you need to enter text, some remote controls have a built-in keyboard or a virtual keyboard displayed on the screen. Simply use the directional buttons to select letters or use the on-screen keyboard to type.
4. Shortcut buttons: Certain remote controls may have dedicated buttons for specific functions. These could include quick access to specific apps or media controls like play, pause, and volume adjustment.
5. Voice control: Some remote controls have voice control functionality. This allows you to use voice commands to search for content, launch apps, or control specific actions. Simply press the voice control button and speak your command.
6. Pairing the remote control: If your Android Mini PC doesn’t automatically recognize the remote control, you may need to pair it manually. Look for instructions in the device’s user manual on how to pair the remote control via Bluetooth or IR.
7. Power management: Many remote controls have power buttons that allow you to put your Android Mini PC to sleep or turn it off completely. Utilize these power management functions to conserve energy and extend battery life.
8. Adjusting settings: In some cases, remote controls may allow you to access specific settings directly. This can include adjusting display settings, audio preferences, or network configurations. Check the remote control manual for details on accessing these settings.
Controlling your Android Mini PC with a remote control provides a familiar and intuitive experience similar to using a traditional TV remote. However, there are other control options available that may better suit your needs. Let’s explore some alternative methods of controlling your Android Mini PC.
Using a Keyboard and Mouse
Controlling your Android Mini PC using a keyboard and mouse combination offers more precision and efficiency, especially when performing tasks that require text input or precise cursor control. Here’s how you can effectively use a keyboard and mouse to control your device:
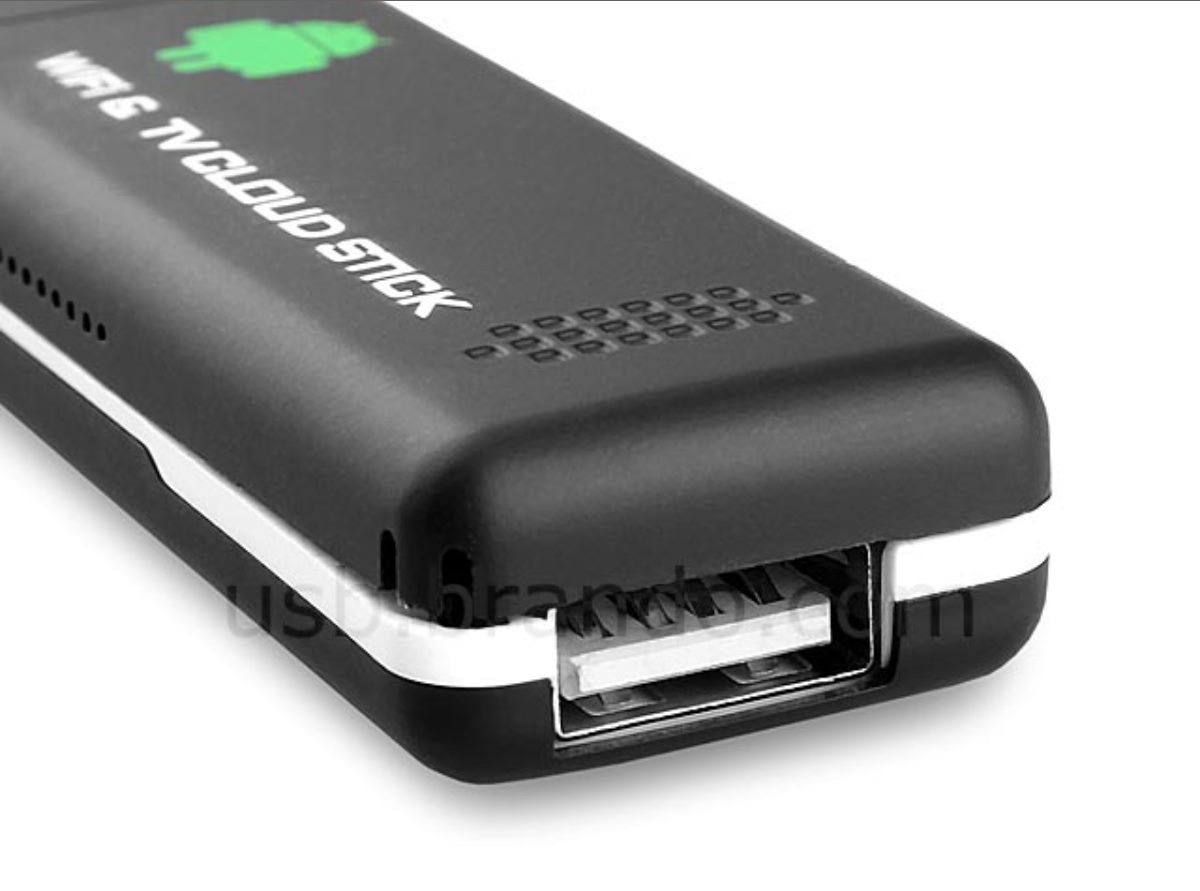
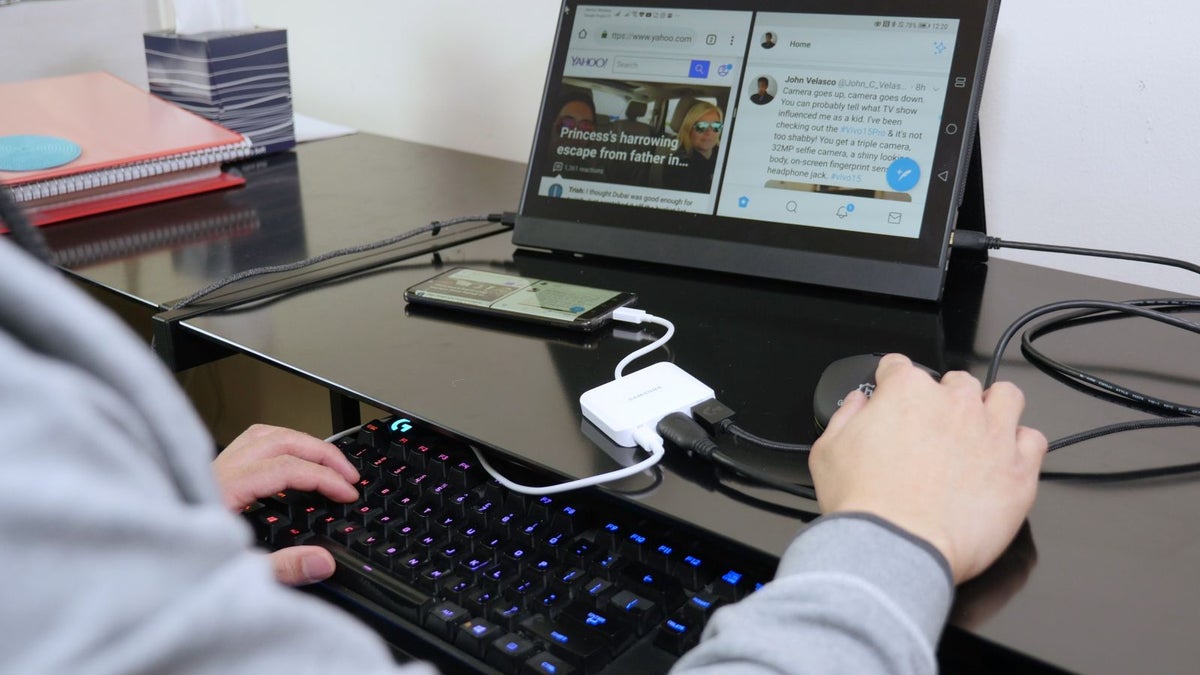
1. Connecting the keyboard and mouse: Connect the keyboard and mouse to your Android Mini PC using either USB ports or Bluetooth connectivity, depending on the compatibility of your device. Make sure that the keyboard and mouse are turned on and in pairing mode if using Bluetooth.
2. Navigating with the mouse: The mouse allows you to easily move the cursor on the screen by simply moving the physical mouse. Use the left-click and right-click buttons to perform actions such as selecting and opening apps or menus.
3. Keyboard shortcuts: Take advantage of keyboard shortcuts to navigate quickly and perform various functions. Common shortcuts such as Ctrl+C to copy, Ctrl+V to paste, or Alt+Tab to switch between apps can enhance your efficiency while using the Android Mini PC.
4. Precise text input: When you need to enter text, using a keyboard offers faster and more accurate input compared to other control methods. Simply use the keyboard to type in passwords, search queries, or compose emails, providing a more comfortable typing experience.
5. Right-click functionality: The mouse’s right-click button allows access to context menus, providing additional options and functionality within apps and settings. Right-clicking can also simulate long-press actions on touch screen devices, enabling more actions to be performed.
6. Customizing mouse speed and keyboard settings: Depending on your preference, you can adjust the mouse speed or sensitivity to suit your needs. Additionally, explore the keyboard settings to customize key assignments, enable or disable certain functions, and optimize your typing experience.
7. Extra functionality with gaming keyboards and mice: If you have a gaming keyboard and mouse, you can take advantage of additional features such as programmable buttons, customizable RGB lighting, and macros. These can enhance your gaming or productivity experience on the Android Mini PC.
8. Switching between control methods: One advantage of using a keyboard and mouse is the ability to seamlessly switch between control methods. If you prefer using a remote control or other input devices for certain tasks, you can easily switch to those options without disconnecting the keyboard and mouse.
Using a keyboard and mouse provides a familiar and efficient control method for navigating and interacting with your Android Mini PC. However, there are other control methods available that can offer different advantages. Let’s explore some additional ways to control your Android Mini PC.
Navigating with a Touchpad
If your Android Mini PC has a built-in touchpad or if you connect an external touchpad, you can take advantage of its intuitive and gesture-based navigation for seamless control. Here’s how you can effectively navigate your device using a touchpad:
1. Understanding basic gestures: Familiarize yourself with common touchpad gestures such as tapping, scrolling, and swiping. Tapping with one finger simulates a left-click, while tapping with two fingers simulates a right-click. Scrolling can be done by swiping up or down with two fingers.
2. Moving the cursor: Simply move your finger across the touchpad to control the on-screen cursor. The cursor will follow the movement of your finger, allowing you to easily navigate menus, apps, and other elements on your Android Mini PC.
3. Scrolling through content: When viewing web pages, documents, or long lists, use the two-finger scroll gesture to scroll up and down. This enables smooth and efficient scrolling, providing a more comfortable reading or browsing experience.
4. Multitasking with gestures: Take advantage of gesture controls to switch between apps or perform multitasking actions. For example, swipe three fingers left or right to switch between open apps, or swipe up with three fingers to access the recent apps overview.
5. Pinch-to-zoom: Zooming in or out on your Android Mini PC can be done using the pinch-to-zoom gesture. Place two fingers on the touchpad and pinch them together or spread them apart to zoom in or out respectively. This is particularly useful when viewing images or browsing websites.
6. Three-finger swipe for navigation: Some touchpads support a three-finger swipe gesture for navigation. This allows you to swipe left or right with three fingers to navigate backward or forward within apps or web pages.
7. Configure touchpad settings: To optimize your touchpad experience, explore the touchpad settings in your Android Mini PC’s system preferences. Here, you may be able to adjust settings such as sensitivity, scrolling direction, and gestures.
8. Combining touchpad with keyboard shortcuts: When using a touchpad, you can complement your navigation with keyboard shortcuts to enhance productivity. For example, use the touchpad to navigate to the desired location and then use a keyboard shortcut to perform an action or move to the next item.
Navigating with a touchpad provides a responsive and intuitive control method for your Android Mini PC. This option allows for precise cursor control and enables you to effortlessly perform various gestures to enhance your overall user experience.
Controlling with a Game Controller
Controlling your Android Mini PC with a game controller can provide a fun and immersive gaming experience as well as convenient navigation through the device’s interface. Here’s how you can effectively control your device using a game controller:
1. Connect the game controller: Connect your game controller to your Android Mini PC either through USB or wireless Bluetooth connectivity, depending on the capabilities of your device and the controller.
2. Button mapping: Some game controllers allow you to customize button mapping, which means you can assign specific functions to different buttons. Explore the controller settings to customize button layouts according to your preference.
3. Basic navigation: Most game controllers have directional buttons or analog sticks that allow you to navigate through menus and select options. Use these controls to scroll, highlight, and select apps or items on your Android Mini PC.
4. Gamepad mode: Switch your game controller to gamepad mode if it has multiple modes. In gamepad mode, the controller will behave like a traditional gamepad, making it compatible with a wider range of games and apps.
5. Game compatibility: Some games on the Google Play Store are optimized for game controllers. Look for gamepad-supported games to fully utilize your game controller’s capabilities and enhance your gaming experience.
6. Emulators and retro gaming: Game controllers are especially useful when playing retro games or using emulators on your Android Mini PC. Emulators allow you to play classic console games with the familiar controls of a game controller.
7. Multimedia control: In addition to gaming, game controllers often feature media control buttons such as play, pause, volume control, and navigation. These buttons allow you to control media playback and navigate through multimedia apps with ease.
8. Compatible apps: Beyond gaming, many other apps on your Android Mini PC can be controlled using a game controller. This includes media players, streaming apps, and even productivity apps that support gamepad navigation.
9. Bluetooth game controller: If your Android Mini PC supports Bluetooth connectivity, you can use a wireless Bluetooth game controller for a clutter-free gaming experience. Simply pair the controller with your Android Mini PC and start playing.
10. Multiplayer gaming: Game controllers are perfect for multiplayer gaming on your Android Mini PC. Connect multiple game controllers, invite friends, and enjoy multiplayer games together for a fun and social gaming session.
Controlling your Android Mini PC with a game controller offers a versatile and enjoyable way to navigate the device’s interface and enjoy gaming. However, there are other control methods available that might better suit your needs. Let’s explore some additional ways to control your Android Mini PC.
Utilizing Voice Control
Utilizing voice control on your Android Mini PC allows for hands-free operation and a seamless control experience. Voice control enables you to navigate through menus, launch apps, perform searches, and control various functions using voice commands. Here’s how you can effectively utilize voice control on your device:
1. Activate voice control: Depending on your device, voice control can be activated by pressing a dedicated button on your remote control or by using a specific voice command such as “Hey Google” or “OK Google.” Check your device’s settings to enable and configure voice control.
2. Basic voice commands: Start by familiarizing yourself with basic voice commands that your Android Mini PC supports. For example, you can use voice commands to open apps, play music, adjust volume, or perform web searches. Just speak the command clearly and naturally.
3. Hands-free operation: Voice control allows you to operate your Android Mini PC without the need for a remote control or keyboard. Simply speak your commands, and the device will carry out the requested actions, making it convenient for tasks such as playing music or getting weather updates while you are busy with other activities.
4. Natural language processing: Android devices are equipped with natural language processing capabilities, which means you can use conversational commands and questions. For example, you can ask your device to “Find Italian restaurants near me” or “What’s the weather forecast for tomorrow?” This enhances the user experience and makes voice control feel more intuitive.
5. Smart home integration: Many Android devices offer integration with smart home devices such as lights, thermostats, and speakers. You can control these devices using voice commands, allowing you to create a voice-controlled smart home ecosystem with your Android Mini PC as the hub.
6. Accessibility and convenience: Voice control offers enhanced accessibility for individuals with mobility impairments or those who prefer a hands-free control experience. It provides an alternative method of interaction, making it easier and more convenient for users who may have difficulty using traditional input devices.
7. Voice commands for media control: When playing media on your Android Mini PC, you can use voice commands to control playback, adjust volume, and switch between different media apps. This allows for a more seamless and immersive media experience.
8. Third-party voice assistants: In addition to the built-in voice control features, you can also explore third-party voice assistants available on the Google Play Store. These assistants may offer additional functionalities and integrations, providing an even more comprehensive voice control experience.
Utilizing voice control on your Android Mini PC allows for a hands-free and intuitive control experience. Whether you’re looking to perform simple tasks or control your smart home devices, voice control offers a convenient and user-friendly way to interact with your device.
Syncing with Your Smartphone
Syncing your Android Mini PC with your smartphone allows for seamless integration and synchronization of data and apps between the two devices. This enables you to access and control your smartphone content, notifications, and more directly from your Android Mini PC. Here’s how you can effectively sync your smartphone with your Android Mini PC:
1. Account synchronization: To start the syncing process, make sure you are signed in with the same Google account on both your smartphone and Android Mini PC. This ensures that your data, apps, and settings are consistent across both devices.
2. Notifications synchronization: By syncing your devices, you can receive and interact with your smartphone notifications on your Android Mini PC. Whether it’s incoming calls, text messages, social media alerts, or app notifications, you’ll be able to view and respond to them directly from your desktop.
3. App synchronization: Many apps offer cross-device synchronization, allowing you to seamlessly access your data and continue where you left off on your smartphone or Android Mini PC. This includes popular services like Google Chrome, Google Drive, and various productivity apps.
4. File sharing: Syncing your devices enables easy file sharing between your smartphone and Android Mini PC. You can transfer files, documents, photos, and videos wirelessly, eliminating the need for cables or cloud storage services.
5. Continuity between devices: Syncing your smartphone with your Android Mini PC ensures a seamless transition between devices. For example, if you were browsing websites or watching videos on your smartphone, you can pick up where you left off on your Android Mini PC without any hassle.
6. Device mirroring: Some applications and services allow you to mirror your smartphone’s screen onto your Android Mini PC. This enables you to view and control your smartphone’s interface, apps, and content on a larger screen.
7. Control and manage your smartphone: With syncing, you can control and manage your smartphone directly from your Android Mini PC. This includes features such as making and receiving calls, sending SMS messages, accessing contacts, and managing app installations or updates.
8. Enhanced productivity: Syncing your devices can significantly enhance your productivity. You can seamlessly switch between devices, access your files and documents, and collaborate on projects with ease using apps that support real-time syncing and cloud storage.
9. Data backup and restore: By syncing your smartphone with your Android Mini PC, you can easily back up your important data, contacts, photos, and videos. In case of data loss or when setting up a new device, you can effortlessly restore your data from the backup.
Syncing your smartphone with your Android Mini PC offers numerous benefits, including seamless integration, quick file sharing, and enhanced productivity. It provides a unified experience between your devices, allowing you to access and control your smartphone content directly from your Android Mini PC.
Using a Bluetooth Mouse and Keyboard
Using a Bluetooth mouse and keyboard with your Android Mini PC offers a more comfortable and efficient way to control your device. Bluetooth connectivity eliminates the need for wires, providing freedom of movement and flexibility. Here’s how you can effectively use a Bluetooth mouse and keyboard with your Android Mini PC:
1. Pairing the devices: Ensure that your Bluetooth mouse and keyboard are in pairing mode. On your Android Mini PC, navigate to the Bluetooth settings and search for available devices. Select your mouse and keyboard from the list and follow the on-screen instructions to complete the pairing process.
2. Cursor control with the mouse: Once the mouse is paired, you can use it to control the cursor on your Android Mini PC. The movement of the mouse corresponds to the movement of the cursor on the screen, providing precise control for navigating through menus, selecting options, and interacting with apps.
3. Keyboard input: The Bluetooth keyboard allows for comfortable and efficient text input on your Android Mini PC. Use the keyboard to type messages, search queries, emails, and more, providing a more traditional and familiar input method compared to on-screen keyboards.
4. Customizable keyboard shortcuts: Take advantage of the keyboard’s customizable shortcut keys. Assign specific functions or launch particular apps using programmable keys on the keyboard, enhancing your productivity and efficiency while using your Android Mini PC.
5. Multimedia control: Some Bluetooth keyboards come with multimedia keys, allowing you to control media playback directly from the keyboard. These keys typically include play, pause, volume control, and track navigation buttons, providing convenient access to media controls.
6. Portable and versatile: Using a Bluetooth mouse and keyboard offers portability, allowing you to control your Android Mini PC from a distance without the need for cables. This can be particularly useful if you want to operate your device from the comfort of your couch or if you have a home theater setup.
7. Switching between devices: Bluetooth devices can often be paired with multiple devices. This means you can easily switch between controlling your Android Mini PC and other devices such as laptops or tablets with a simple switch of the Bluetooth connection, providing flexibility and convenience.
8. Battery management: Some Bluetooth mice and keyboards come with built-in battery management features such as automatic sleep or power-saving modes. These features help conserve battery life, ensuring that your devices last longer between charges.
Using a Bluetooth mouse and keyboard with your Android Mini PC offers a convenient and ergonomic control solution. The wireless connectivity and customizable features of these devices improve navigation, text input, and overall user experience on your Android Mini PC.
Remote Desktop and VNC Control
Remote Desktop and VNC (Virtual Network Computing) control allow you to access and control your Android Mini PC remotely from another device, such as a computer, laptop, or tablet. This feature is particularly useful when you want to operate your Android Mini PC from a different location or when you need to troubleshoot or assist someone with their device. Here’s how you can effectively utilize Remote Desktop and VNC control with your Android Mini PC:
1. Enable Remote Desktop: On your Android Mini PC, navigate to the system settings and enable the Remote Desktop feature. Make note of the IP address or the hostname provided, as you will need it to connect to the device remotely.
2. Install VNC Viewer: On your remote device, install a VNC viewer app or software. There are various VNC viewer options available, including both free and paid versions. Some popular choices include RealVNC, TightVNC, and VNC Viewer.
3. Connect to your Android Mini PC: Launch the VNC viewer on your remote device and enter the IP address or hostname of your Android Mini PC. Follow the on-screen instructions to establish a remote connection. You may be prompted to enter a password if you have set up one for the Remote Desktop feature.
4. Remote control and navigation: Once connected, you can see and control the Android Mini PC interface on your remote device. You can navigate through menus, open apps, and interact with the device as if you were physically using it. Use your mouse or touchpad on the remote device to control the cursor on the Android Mini PC screen.
5. File transfer and management: Depending on the VNC viewer you are using, you may have the ability to transfer files between the remote device and the Android Mini PC. This allows you to easily manage and access files on your Android Mini PC remotely.
6. Multi-monitor support: If your Android Mini PC is connected to multiple monitors, certain VNC viewers allow you to switch between monitors or view all monitors simultaneously on your remote device. This makes it convenient to work with multiple screens remotely.
7. Shared clipboard and text input: Some VNC viewers offer a shared clipboard feature, enabling you to copy and paste text between your remote device and the Android Mini PC. This facilitates seamless text input and data transfer between the two devices.
8. Security considerations: When using Remote Desktop and VNC control, ensure that you have a strong and secure password set up for the Remote Desktop feature on your Android Mini PC. Additionally, using a VPN (Virtual Private Network) or enabling encryption options within the VNC viewer can add an extra layer of security to your remote sessions.
Remote Desktop and VNC control offer a convenient way to access and control your Android Mini PC from a remote location. Whether you need to assist someone with their device or want to operate your Android Mini PC from another device, these features provide a flexible and efficient remote control solution.
Controlling via HDMI-CEC
Controlling your Android Mini PC via HDMI-CEC (Consumer Electronics Control) allows for simplified and seamless control of your device using your TV remote or other HDMI-CEC compatible devices. HDMI-CEC utilizes the HDMI connection between your Android Mini PC and your TV to enable control commands through a single remote. Here’s how you can effectively control your Android Mini PC via HDMI-CEC:
1. Enable HDMI-CEC: On your Android Mini PC, navigate to the system settings and enable the HDMI-CEC feature. The specific location of this setting may vary depending on the device and the Android version.
2. Connect your Android Mini PC to your TV: Ensure that your Android Mini PC is connected to your TV using an HDMI cable. Make sure the HDMI cable is securely plugged into both devices.
3. Enable HDMI-CEC on your TV: On your TV, navigate to the settings menu and enable HDMI-CEC or any similar feature. The terminology may vary depending on the TV manufacturer, with common names being Anynet+ (Samsung), Bravia Sync (Sony), or Simplink (LG).
4. Control through your TV remote: Once HDMI-CEC is enabled on both your Android Mini PC and your TV, you can use your TV remote to control your Android Mini PC. Most TV remotes have navigation buttons, a home button, and other essential controls that can be used to navigate through menus, launch apps, and control media playback on your Android Mini PC.
5. Power on/off synchronization: When using HDMI-CEC, turning on or off your TV will also power on or off your Android Mini PC automatically. This synchronization simplifies the startup and shutdown process and ensures that both devices are controlled simultaneously.
6. Audio and video control: HDMI-CEC allows you to control audio and video settings on your Android Mini PC through your TV remote. This includes adjusting volume levels, changing audio output sources, and navigating through video playback options.
7. One-touch play: With HDMI-CEC, you can activate the one-touch play feature, which automatically turns on your TV and switches to the correct input when you power on your Android Mini PC. This streamlines the process of starting up your device and prepares your TV for immediate use.
8. CEC-enabled devices: In addition to your TV remote, other HDMI-CEC compatible devices connected to your TV, such as soundbars or gaming consoles, may also be able to control your Android Mini PC. Explore the settings of these devices to enable and configure HDMI-CEC functionality.
Controlling your Android Mini PC via HDMI-CEC provides a convenient and user-friendly method of control, eliminating the need for multiple remotes and providing a unified control experience through your TV remote or other HDMI-CEC compatible devices. Enjoy the simplicity and ease of controlling your Android Mini PC through your TV setup.
Conclusion
Controlling your Android Mini PC effectively is crucial for a seamless and enjoyable user experience. Whether you utilize a remote control, a keyboard and mouse, a touchpad, a game controller, voice control, syncing with your smartphone, a Bluetooth mouse and keyboard, remote desktop and VNC control, or HDMI-CEC, each method offers its own advantages and caters to different preferences and needs.
Setting up your Android Mini PC correctly is the first step towards successful control. Connecting it to your TV or monitor, updating the firmware, and customizing your preferences ensure a smooth setup process.
The choice of control method depends on factors such as personal preference, the tasks you need to accomplish, and the devices you have available. Remote control allows for easy navigation and basic control, while a keyboard and mouse combination offers precise input and flexibility. A touchpad provides intuitive gesture-based navigation, and a game controller enhances gaming experiences. Voice control enables hands-free operation, and syncing with your smartphone promotes seamless integration. Bluetooth mouse and keyboard provide portability and versatility, while remote desktop and VNC control allow for remote access and troubleshooting. HDMI-CEC simplifies control through your TV or other HDMI-CEC compatible devices.
Regardless of the method you choose, it is important to make sure your control actions align with ethical standards and comply with applicable laws, such as respecting privacy and using authorized software and applications.
By effectively controlling your Android Mini PC, you can navigate through menus, access apps and functions, and perform a wide range of tasks with ease and efficiency. Explore the control methods described above to find the one that best suits your needs and enhances your interaction with your Android Mini PC.
Remember to stay informed about any updates or new features related to control methods, as technology continues to evolve and provide even more advanced and convenient ways to control and interact with your Android Mini PC.