Introduction
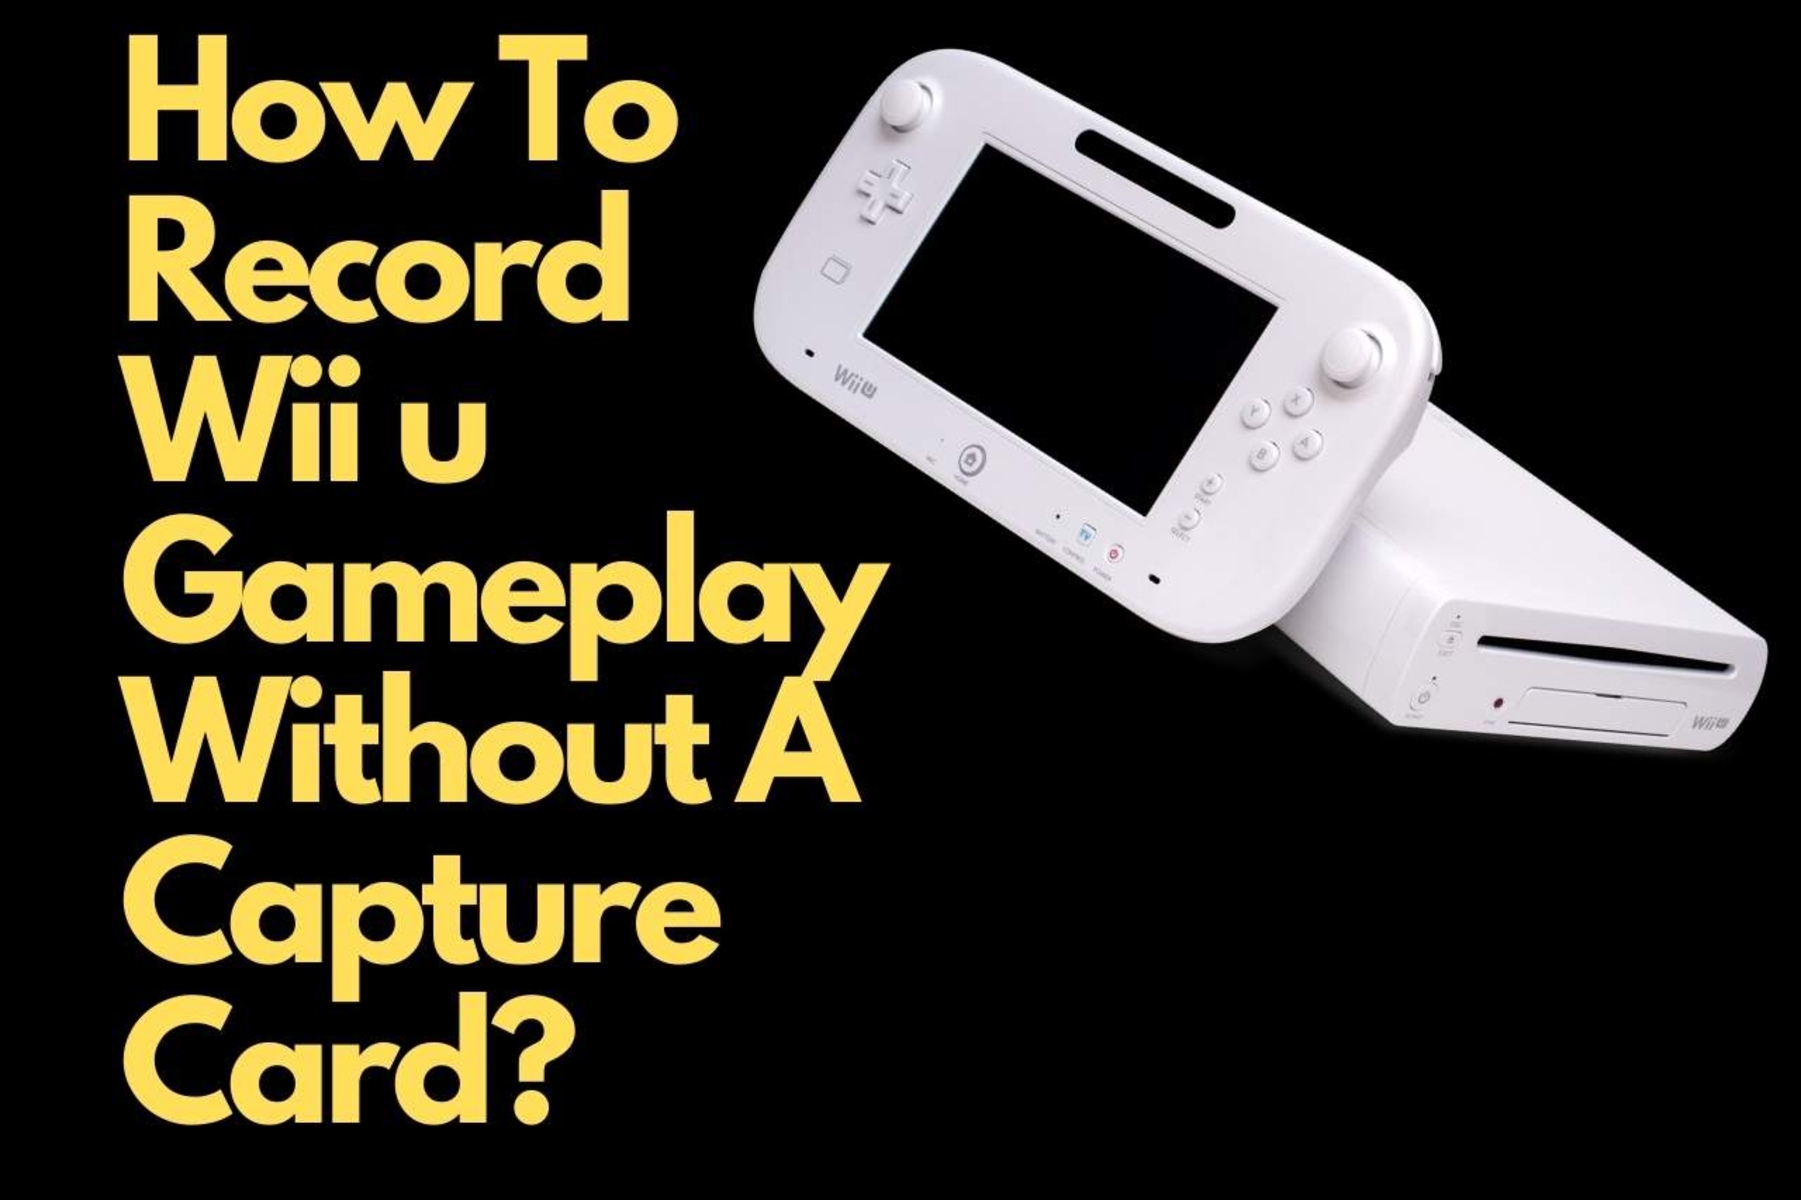
Welcome to the exciting world of gaming! The Wii U, Nintendo’s popular video game console, offers a captivating gaming experience with its innovative features and extensive library of games. Whether you are a seasoned player or just starting out, recording your gameplay can open up a whole new realm of possibilities. From sharing your epic gaming moments with friends to creating tutorial videos for fellow gamers, recording your Wii U gameplay can help you capture and preserve those special moments.
In this article, we will explore various methods you can use to record your Wii U gameplay without the need for a dedicated capture card. These methods are easy to implement and can give you high-quality recordings to showcase your gaming skills and creativity. So, if you’re ready to dive into the world of recording your Wii U gameplay, let’s get started!
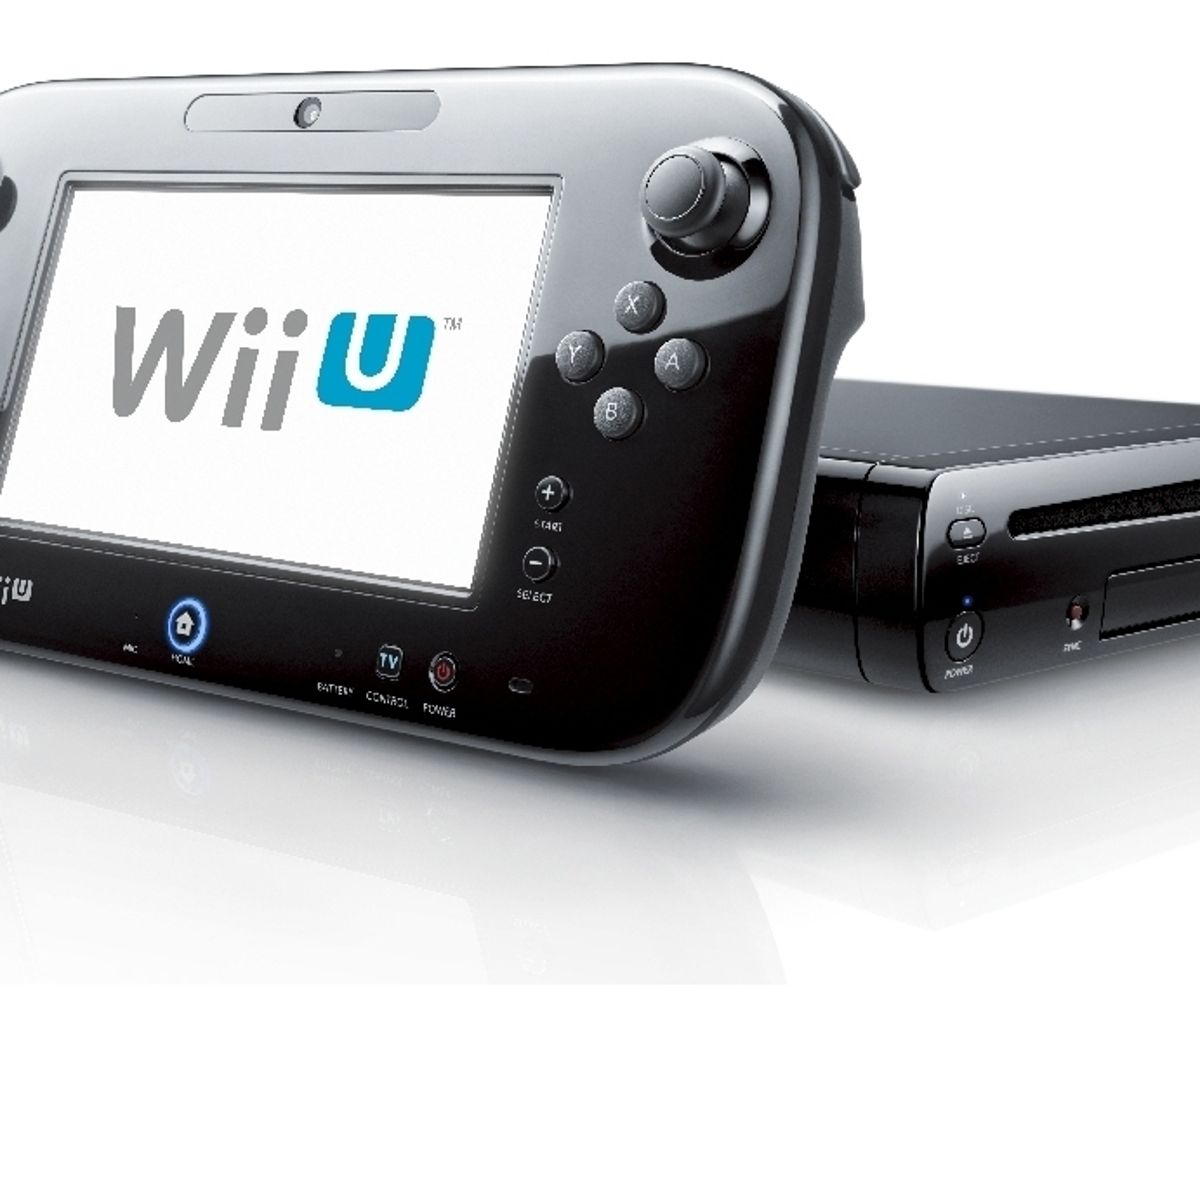
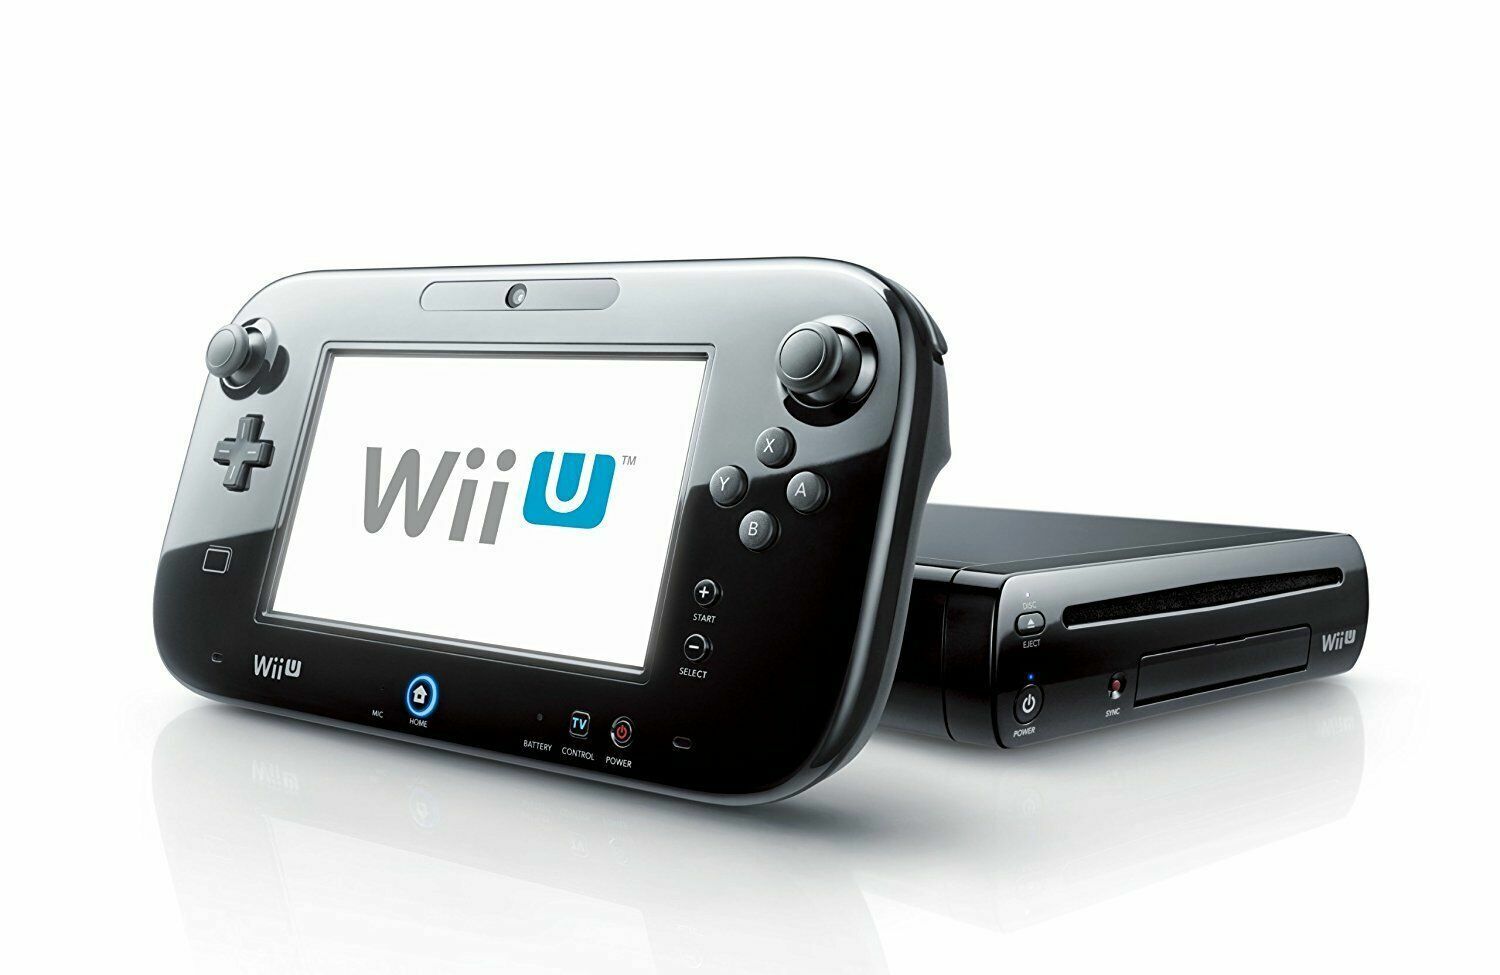
Before we delve into the different methods, let’s have a quick overview of the Wii U console. Released in 2012, the Wii U introduced a unique dual-screen gaming experience with its GamePad controller, which features a built-in touchscreen display. This innovative feature allows for a range of gameplay possibilities and interactive experiences.
Now, you may be wondering why you should consider recording your Wii U gameplay. The answer is simple – sharing and engaging with the gaming community. By recording your gameplay, you can share your favorite moments, achievements, and strategies with others. Whether you want to showcase your gaming skills on social media or create a gaming channel on platforms like YouTube, recording your gameplay can help you build an audience and connect with fellow gamers.
Now that we understand the benefits, let’s explore the different methods you can use to record your Wii U gameplay without a dedicated capture card. Each method offers its unique advantages and may require different equipment or software. So, read on to find the method that works best for you!
Overview of Wii U
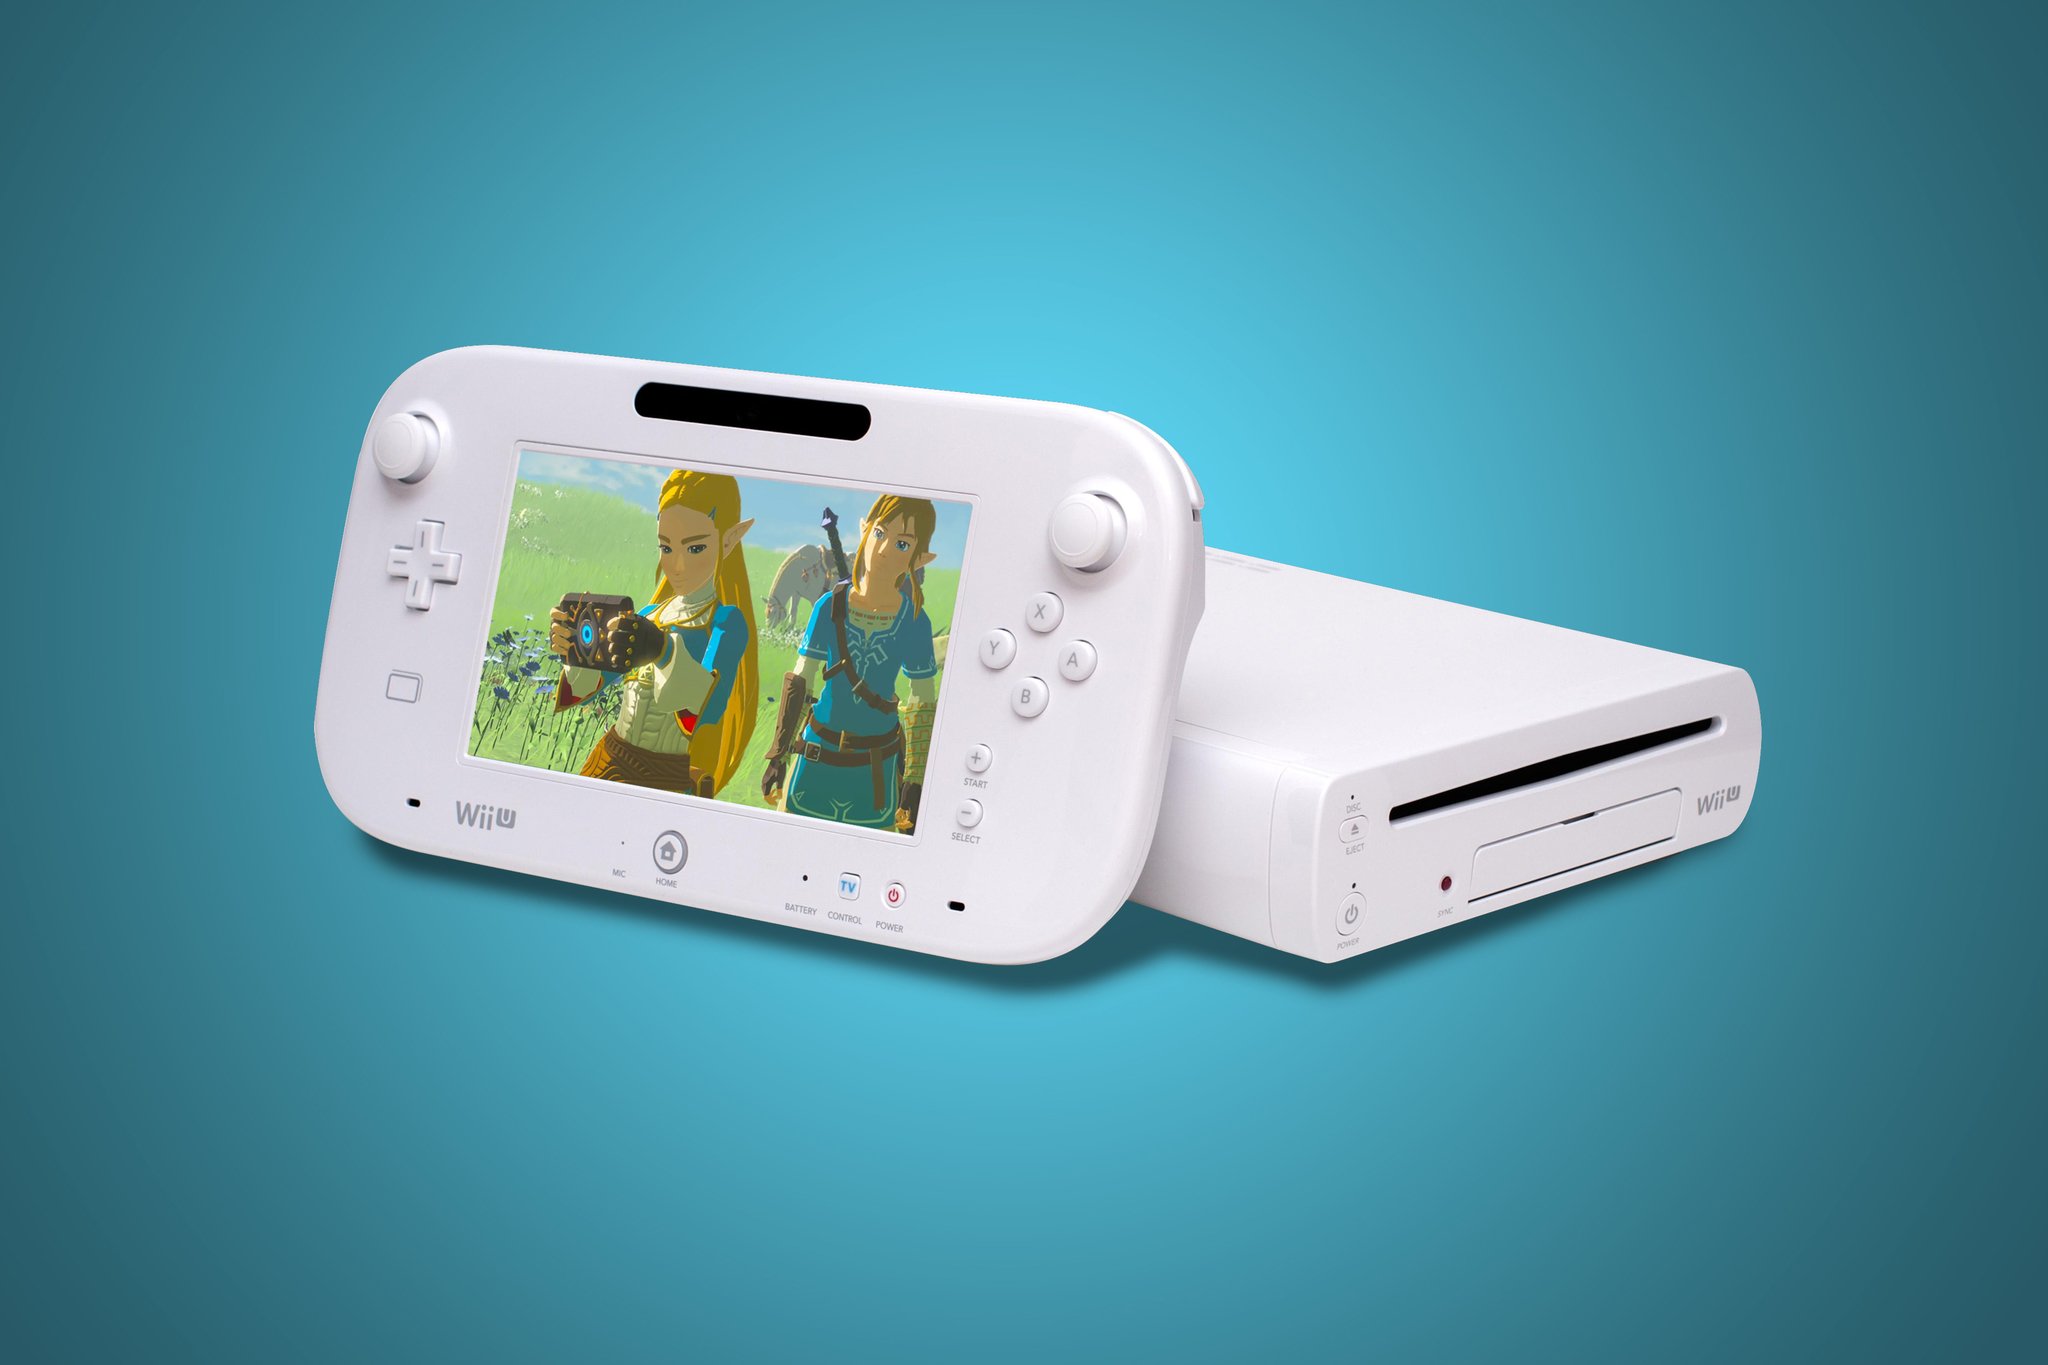
The Wii U, released by Nintendo in 2012, is a video game console that brought a new level of innovation to the gaming world. With its unique GamePad controller, the Wii U offered an immersive gaming experience that was unlike anything seen before. The console featured high-definition graphics, motion controls, and a versatile library of games to cater to a wide range of gaming preferences.
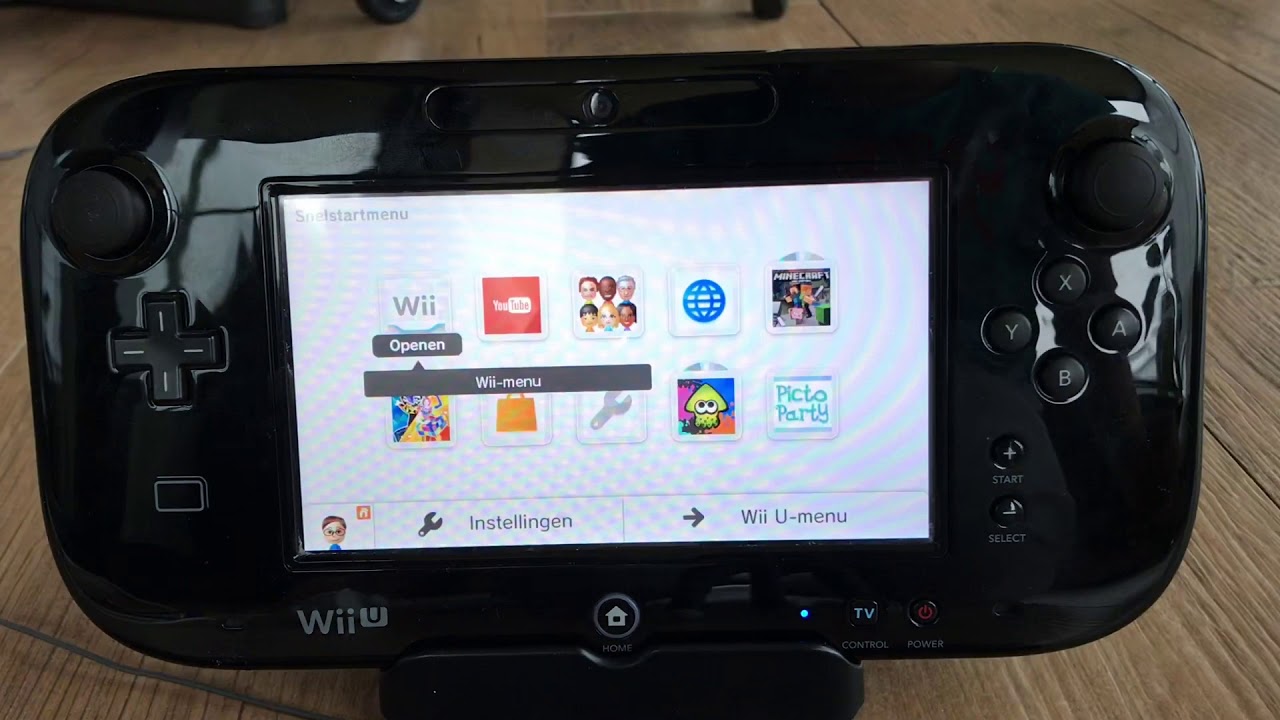
The standout feature of the Wii U was its GamePad controller, which featured a built-in touchscreen display. This second screen provided additional gameplay options and unique game experiences. It allowed players to interact with games using touch gestures, draw on the screen, or even use it as a separate display for select games. The GamePad also had motion sensors, a front-facing camera, and microphone, adding even more versatility to the console.
Another notable aspect of the Wii U was its backwards compatibility with Wii games. This meant that users could still enjoy their existing Wii game collection on the Wii U console. The Wii U also introduced the Miiverse, a social network where players could share their experiences, drawings, and tips with others. It added a whole new level of community engagement to the gaming experience.
In terms of technical specifications, the Wii U featured an IBM Power-based multi-core processor, with an AMD Radeon-based High Definition GPU. It had built-in storage options, including configurations with 8GB or 32GB of internal flash memory. The console supported various connectivity options, including Wi-Fi and Bluetooth, allowing for online multiplayer gaming and integration with other devices.
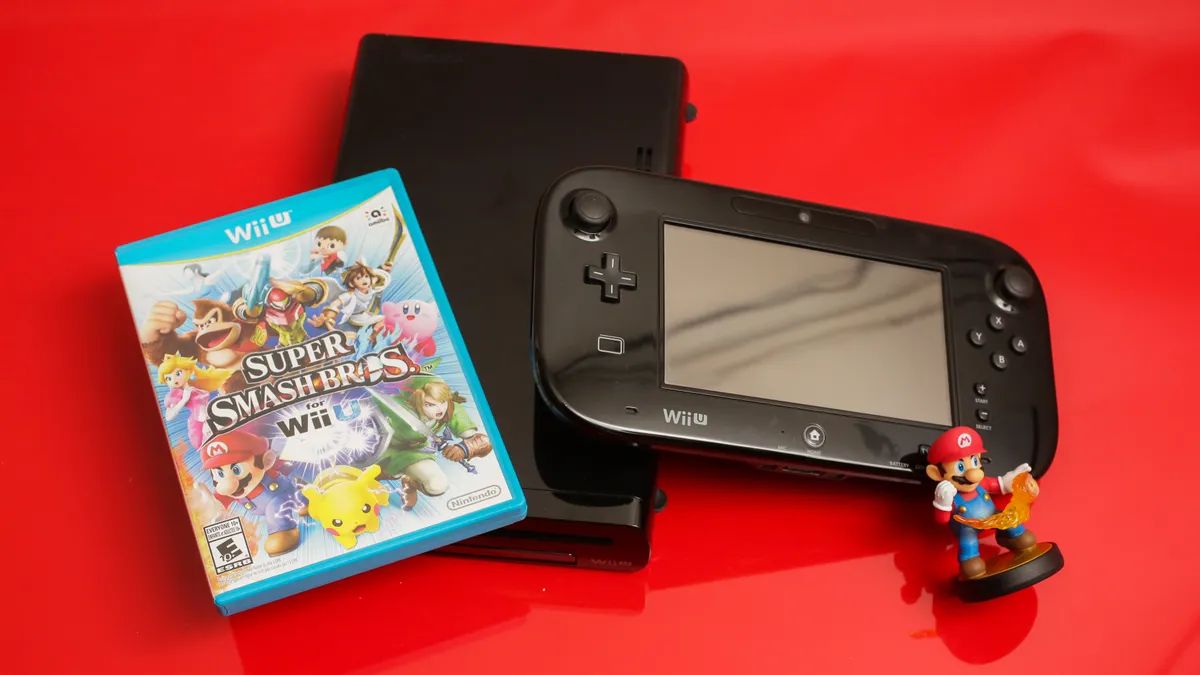
Moreover, the Wii U offered a diverse range of gaming experiences, with titles that appealed to both casual and hardcore gamers. From popular first-party franchises like Super Mario, The Legend of Zelda, and Mario Kart to third-party releases, the Wii U had something for everyone. The console also supported Nintendo’s innovative Amiibo figures, which added extra features and enhancements to compatible games.
Overall, the Wii U was a console that pushed the boundaries of gaming innovation. Its unique GamePad controller, diverse library of games, and community features made it a beloved platform for gamers around the world. Now that you have an understanding of the Wii U, let’s explore how you can record your gameplay on this exciting console.
Why Record Your Wii U
Recording your Wii U gameplay can offer a multitude of benefits that enhance your gaming experience and connect you with the gaming community in exciting ways. Let’s explore some of the reasons why you should consider recording your Wii U gameplay:
1. Share Your Gaming Achievements
Recording your gameplay allows you to capture and share your gaming achievements with others. Whether it’s completing a difficult level, beating a challenging boss, or achieving a high score, you can showcase your skills and accomplishments to fellow gamers. Sharing your successes can bring a sense of fulfillment and satisfaction, and it’s a great way to engage with the gaming community.
2. Create Gaming Tutorials and Guides
Are you a seasoned player with tips and strategies to share? Recording your Wii U gameplay enables you to create informative tutorials and guides for fellow gamers. Whether it’s teaching others how to master a specific level or providing insights into the game mechanics, your tutorials can help beginners improve their skills and enhance their gaming experiences. Sharing your knowledge and expertise can gain you recognition within the gaming community.
3. Build a Gaming Community
Recording your gameplay and sharing it on platforms like YouTube, Twitch, or social media can help you connect with like-minded gamers. By uploading your videos and engaging in conversations with viewers, you can build a community of followers who share your passion for gaming. This community can offer support, feedback, and opportunities for collaboration with other content creators.
4. Preserve Memorable Moments
Some gaming moments are too precious to be forgotten. Recording your Wii U gameplay allows you to capture those memorable moments, such as unexpected in-game events, funny glitches, or heart-pounding victories. These recordings serve as a visual diary of your gaming journey and can be revisited in the future to relive those exciting moments.
5. Improve Your Gameplay
Watching your recorded gameplay can be an invaluable tool for improving your skills. By analyzing your gameplay, you can identify areas for improvement, learn from your mistakes, and develop new strategies. It’s like having a personal coach that provides insights into your gaming performance.
Now that you understand the benefits of recording your Wii U gameplay, let’s dive into the various methods you can use to capture and preserve your gaming adventures without the need for a dedicated capture card.
Method 1: Using an HDMI Splitter
If you’re looking for a simple and cost-effective way to record your Wii U gameplay, using an HDMI splitter is a great option. This method allows you to split the HDMI output from your Wii U console, sending one signal to your TV for gameplay and the other signal to a capture device for recording. Here’s how you can set it up:
What You’ll Need:
- Wii U console
- HDMI splitter
- Capture device (can be a PC, laptop, or a dedicated video capture device)
- HDMI cables
- TV or monitor
Step-by-Step Process:
- Connect one end of the HDMI cable to the HDMI output port on your Wii U console.
- Connect the other end of the HDMI cable to the input port of the HDMI splitter.
- Connect one HDMI cable from one output port of the HDMI splitter to your TV or monitor for gameplay.
- Connect the second HDMI cable from the other output port of the HDMI splitter to the input port of your capture device.
- Power on your Wii U console, TV or monitor, and capture device.
- Set your capture device to record from the HDMI input source.
- Start playing your game on the Wii U, and your capture device will record the gameplay.
Benefits of Using an HDMI Splitter:
Using an HDMI splitter provides a convenient solution for recording your Wii U gameplay without the need for a dedicated capture card. It offers the following benefits:
- Simplicity: The setup process is straightforward and doesn’t require extensive technical knowledge.
- Affordability: HDMI splitters are relatively inexpensive compared to dedicated capture cards.
- No Lag: Recording directly from the HDMI output of your Wii U ensures minimal latency, providing a smooth gaming and recording experience.
Keep in mind that the quality of your recordings may depend on the capabilities of your capture device. It’s recommended to use a capture device that supports at least 1080p resolution and 60 frames per second (fps) for optimal results.
Now that you know how to record your Wii U gameplay using an HDMI splitter, let’s explore another method that utilizes a capture card built into your PC or laptop.
Method 2: Using a Capture Card Built-in to the PC
If you have a PC or laptop with a built-in capture card, you can utilize this feature to record your Wii U gameplay directly to your computer. This method allows for high-quality recordings and offers more customization options. Here’s how you can use a capture card built into your PC:
What You’ll Need:
- Wii U console
- PC or laptop with a built-in capture card
- HDMI cable
- TV or monitor
- Recording software (such as OBS Studio or XSplit)
Step-by-Step Process:
- Connect one end of the HDMI cable to the HDMI output port on your Wii U console.
- Connect the other end of the HDMI cable to the HDMI input port on your PC or laptop.
- Turn on your PC or laptop and ensure that the capture card software is installed and up-to-date.
- Launch the recording software on your PC or laptop.
- Set up the recording settings in the software, such as the desired resolution, frame rate, and audio input.
- Power on your Wii U console and launch the game you want to record.
- On your PC or laptop, select the capture card as the video source in the recording software.
- Start the recording in the software and begin playing your game on the Wii U.
- Once you’re done recording, stop the recording in the software.
- Save the recorded gameplay to your desired location on your PC or laptop.
Benefits of Using a Capture Card Built-in to the PC:
Utilizing a built-in capture card on your PC or laptop offers several advantages for recording your Wii U gameplay:
- High-Quality Recordings: Capture cards built into PCs typically support higher resolutions and frame rates, allowing for superior quality recordings.
- Customization Options: Recording software often provides extensive customization options, allowing you to tweak settings such as resolution, frame rate, and audio input to suit your preferences.
- Real-Time Monitoring: With the capture card connected directly to your PC or laptop, you can monitor your gameplay in real-time on the computer screen while recording.
Remember to check the specifications of your built-in capture card to ensure it supports the desired resolution and frame rate for your recordings. Additionally, make sure your PC or laptop meets the system requirements for the recording software to ensure smooth operation.
Now that you know how to use a capture card built into your PC or laptop to record your Wii U gameplay, let’s explore another method using a video capture device.
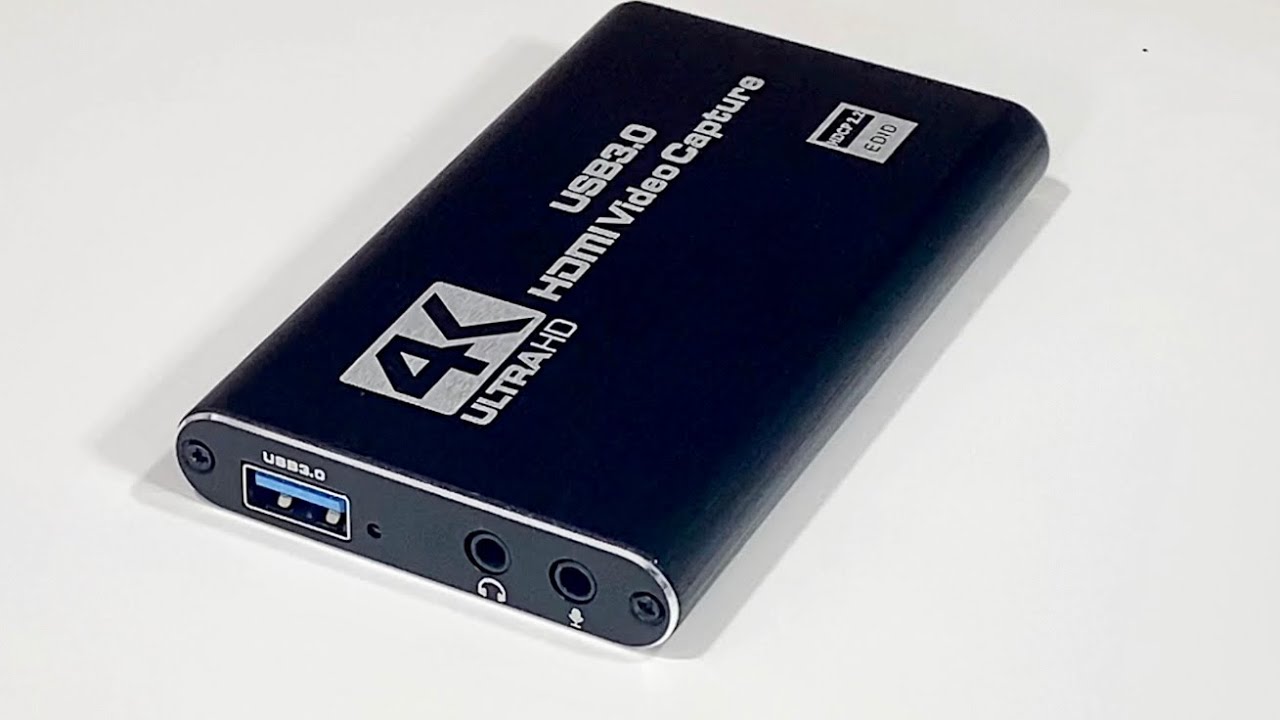
Method 3: Using a Video Capture Device
If you don’t have a built-in capture card or prefer a dedicated external option, you can use a video capture device to record your Wii U gameplay. A video capture device connects your Wii U console to your computer, allowing you to capture and save your gameplay directly onto your computer. Here’s how you can use a video capture device:
What You’ll Need:
- Wii U console
- Video capture device (such as Elgato Game Capture HD)
- HDMI cable
- USB cable
- TV or monitor
- Recording software (usually provided by the video capture device manufacturer)
Step-by-Step Process:
- Connect one end of the HDMI cable to the HDMI output port on your Wii U console.
- Connect the other end of the HDMI cable to the HDMI input port on the video capture device.
- Connect one end of the USB cable to the output port of the video capture device.
- Connect the other end of the USB cable to a USB port on your computer.
- Turn on your Wii U console and launch the game you want to record.
- Launch the recording software provided by the video capture device manufacturer on your computer.
- Set up the recording settings in the software, such as the desired resolution, frame rate, and audio input.
- Select the video capture device as the video source in the recording software.
- Start the recording in the software and begin playing your game on the Wii U.
- When you’re finished recording, stop the recording in the software.
- Save the recorded gameplay to your desired location on your computer.
Benefits of Using a Video Capture Device:
Using a video capture device offers several advantages for recording your Wii U gameplay:
- Flexibility: Video capture devices are portable and can be easily connected to different devices, allowing you to record gameplay on different consoles or even other video sources.
- High-Quality Recordings: Video capture devices offer high-quality recording options, supporting various resolutions and frame rates to capture your gameplay in the best possible quality.
- Direct Connection: With a video capture device, you can connect your Wii U directly to your computer, bypassing any potential latency or quality loss that may occur with other methods.
Ensure that you follow the instructions provided by the manufacturer of your video capture device for proper setup and usage. It’s also recommended to update the firmware and software of your video capture device regularly to ensure optimal functionality.
Now that you know how to use a video capture device to record your Wii U gameplay, let’s explore another method using a DVD recorder.
Method 4: Using a DVD Recorder
If you prefer a straightforward and standalone option for recording your Wii U gameplay, using a DVD recorder can be a viable method. DVD recorders allow you to capture your gameplay directly onto a DVD, which can then be played back on any DVD player or computer. Here’s how you can use a DVD recorder to record your Wii U gameplay:
What You’ll Need:
- Wii U console
- DVD recorder with HDMI input
- Blank DVDs
- HDMI cable
- TV or monitor
Step-by-Step Process:
- Connect one end of the HDMI cable to the HDMI output port on your Wii U console.
- Connect the other end of the HDMI cable to the HDMI input port on the DVD recorder.
- Insert a blank DVD into the DVD recorder.
- Power on the DVD recorder and set it to the HDMI input source.
- Turn on your Wii U console and launch the game you want to record.
- Start the gameplay on your Wii U, and the DVD recorder will capture the gameplay directly onto the DVD.
- Stop the recording on the DVD recorder when you’re finished capturing your gameplay.
- Eject the DVD from the DVD recorder.
Benefits of Using a DVD Recorder:
Using a DVD recorder provides some advantages for recording your Wii U gameplay:
- Simplicity: Recording your gameplay directly onto a DVD with a standalone recorder is a straightforward process that doesn’t require complex setups or additional devices.
- Portability and Accessibility: Once your gameplay is recorded onto a DVD, you can easily play it back on any DVD player or computer with a DVD drive, allowing you to share and view your recordings with ease.
However, it’s worth noting that DVD recorders may offer limited recording options compared to other methods, such as lower-resolution recordings or limited editing capabilities. Additionally, using DVDs as a recording medium may require additional storage space as DVDs have a finite capacity.
Ensure that your DVD recorder supports HDMI input and is compatible with your Wii U console. Follow the instructions provided by the manufacturer of your DVD recorder for proper setup and usage.
Now that you know how to use a DVD recorder to record your Wii U gameplay, let’s explore another method using a Smart TV.
Method 5: Using a Smart TV
If you own a Smart TV with built-in screen recording capabilities, you can conveniently record your Wii U gameplay directly on your TV without the need for any additional devices. This method allows for a seamless and hassle-free recording experience. Here’s how you can use a Smart TV to record your Wii U gameplay:
What You’ll Need:
- Wii U console
- Smart TV with built-in screen recording feature
- HDMI cable
Step-by-Step Process:
- Connect one end of the HDMI cable to the HDMI output port on your Wii U console.
- Connect the other end of the HDMI cable to one of the HDMI input ports on your Smart TV.
- On your Smart TV, navigate to the input source where you connected your Wii U.
- Launch the game you want to record on your Wii U.
- Locate the screen recording feature on your Smart TV. This can usually be found in the settings menu or as an option when you press the record button on the TV remote.
- Start the screen recording on your Smart TV and begin playing your game on the Wii U.
- Once you’re finished recording, stop the screen recording on your Smart TV.
Benefits of Using a Smart TV:
Utilizing a Smart TV with built-in screen recording capabilities for recording your Wii U gameplay offers several advantages:
- Convenience: Smart TVs with screen recording allow for a direct and hassle-free recording experience without the need for additional devices or software.
- Seamless Integration: Since the recording feature is built into the TV, the process is streamlined and optimized for smooth operation with your Smart TV and Wii U console.
- Easy Playback: After recording your gameplay, you can easily access and play back the recorded video directly on your Smart TV.
Note that the availability and functionality of the screen recording feature may vary depending on the manufacturer and model of your Smart TV. Refer to your TV’s user manual or manufacturer’s website for specific instructions on how to use the screen recording feature.
Now that you know how to use a Smart TV for recording your Wii U gameplay, let’s explore another method using a game capture device.
Method 6: Using a Game Capture Device
To achieve professional-level gameplay recording with advanced features and customization options, a game capture device is an ideal choice. These devices are designed specifically for capturing high-quality gameplay footage and offer extensive control over the recording process. Here’s how you can use a game capture device to record your Wii U gameplay:
What You’ll Need:
- Wii U console
- Game capture device (such as Elgato Game Capture HD60)
- HDMI cables
- Computer or laptop
- Recording software (usually provided by the game capture device manufacturer)
Step-by-Step Process:
- Connect one end of an HDMI cable to the HDMI output port on your Wii U console.
- Connect the other end of the HDMI cable to the input port on the game capture device.
- Connect a second HDMI cable from the output port on the game capture device to your TV or monitor.
- Connect the game capture device to your computer or laptop using a USB cable.
- Make sure your computer or laptop is powered on and launch the recording software provided by the game capture device manufacturer.
- Set up the recording settings in the software, such as the desired resolution, frame rate, and audio input.
- On your computer or laptop, select the game capture device as the video source in the recording software.
- Power on your Wii U console and launch the game you want to record.
- Start the recording in the software and begin playing your game on the Wii U.
- When you’re done recording, stop the recording in the software.
- Save the recorded gameplay to your desired location on your computer or laptop.
Benefits of Using a Game Capture Device:
Using a game capture device offers several advantages for recording your Wii U gameplay:
- High-Quality Recordings: Game capture devices are specifically designed to capture high-quality gameplay footage with minimal latency, ensuring that you can record your gameplay in the best possible quality.
- Advanced Features: Game capture devices offer a range of advanced features, including custom overlays, live streaming, and editing capabilities, allowing you to create professional-looking videos.
- Real-Time Monitoring: With a game capture device connected to your computer or laptop, you can monitor your gameplay in real-time while recording, ensuring everything is captured as intended.
Ensure that you check the specifications and system requirements of the game capture device to ensure it is compatible with your Wii U console and computer or laptop. Follow the instructions provided by the manufacturer for proper setup and usage.
Now that you know how to use a game capture device to record your Wii U gameplay, let’s explore some tips for achieving better recording quality.
Tips for Better Recording Quality
Recording high-quality gameplay footage not only enhances the viewing experience for your audience but also showcases your skills in the best possible way. Here are some tips to help you achieve better recording quality when capturing your Wii U gameplay:
1. Optimize Your Settings:
Before recording, make sure to adjust the settings on your recording device or software to capture the highest resolution and frame rate supported by your setup. Higher resolutions, such as 1080p, and higher frame rates, like 60 fps, can greatly enhance the visual quality of your recordings.
2. Ensure Proper Lighting:
Good lighting can significantly improve the clarity of your gameplay footage. Make sure that the playing area is well-lit, avoiding any unnecessary shadows or glares that may impact the visibility of the game. Experiment with different lighting setups to find the one that works best for your recording environment.
3. Minimize Background Noise:
Avoid recording in noisy environments that can introduce unwanted background noise to your gameplay footage. Choose a quiet location and consider using a microphone or headset to capture clear and professional audio. It’s essential to make sure that your voiceovers or in-game sounds are crisp and easily understandable.
4. Utilize a Stable Internet Connection:
If you plan to live stream your gameplay or download updates during recording, a stable internet connection is crucial. Unstable or slow internet connections can lead to dropped frames, lag, and a poor overall recording quality. Ensure that you have a reliable internet connection to avoid any interruptions during your recording sessions.
5. Keep Your Equipment Clean and Well-Maintained:
Regularly clean your recording equipment, including your console, capture device, and cables, to prevent dust and debris buildup. Keep your software and drivers up-to-date to ensure optimal performance. Well-maintained equipment can help minimize technical issues and ensure the best possible recording quality.
6. Experiment with Editing and Enhancements:
After recording your gameplay, take advantage of editing software to enhance your footage. Use features like color correction, transitions, and overlays to add a professional touch to your recordings. Editing can help improve the overall visual appeal of your gameplay videos and make them more engaging for your viewers.
Remember, achieving better recording quality often involves trial and error. Don’t be afraid to experiment with different settings, setups, and techniques to find what works best for you and your specific gaming setup. With practice and attention to detail, you can create stunning gameplay recordings that truly showcase your skills.
Now that you’re armed with these tips, go ahead and start recording your Wii U gameplay with confidence!
Conclusion
Recording your Wii U gameplay can open up a whole new world of opportunities for sharing, connecting, and showcasing your gaming skills. Whether you choose to use an HDMI splitter, a capture card, a video capture device, a DVD recorder, a Smart TV, or a game capture device, each method offers its unique advantages and allows you to capture and preserve your gaming adventures.
By sharing your gaming achievements, creating tutorials and guides, building a gaming community, preserving memorable moments, and improving your gameplay through recordings, you can immerse yourself in the vibrant gaming community and connect with fellow gamers who share your passion.
Remember to optimize your recording settings, ensure proper lighting and sound quality, and experiment with various techniques to achieve the best recording quality possible. With these tips and tricks, your Wii U gameplay recordings will shine.
So, whether you’re a casual gamer wanting to share your favorite moments or a dedicated content creator looking to build an audience, take advantage of the methods and tips discussed in this article to start recording your Wii U gameplay. Capture those epic moments, share your insights, and let your gaming journey unfold for others to enjoy.
Now, grab your Wii U console, pick a method, and embark on an exciting recording journey that will leave a lasting impact in the gaming community! Game on!