Introduction
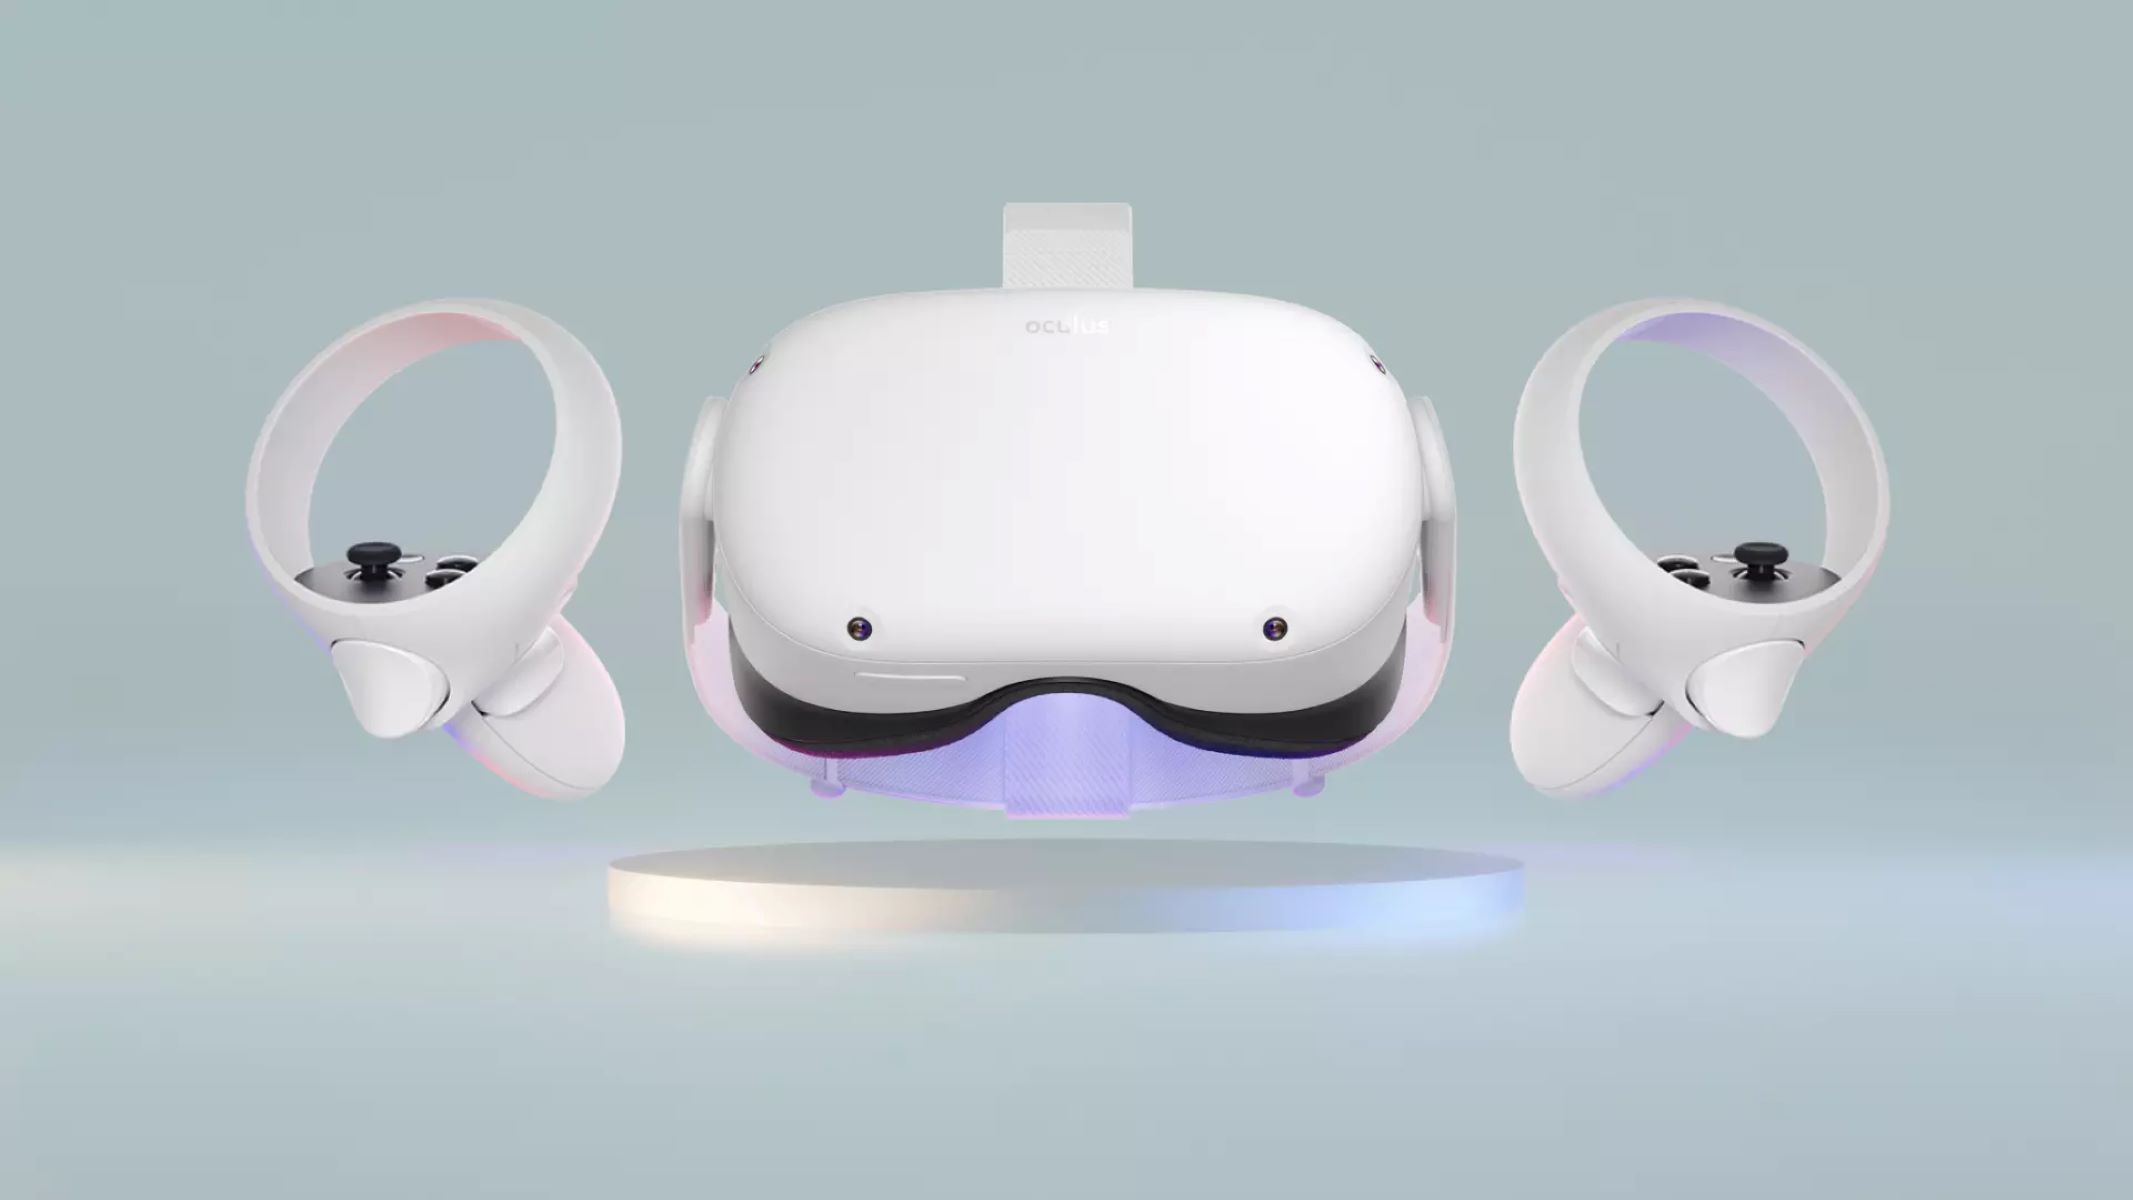
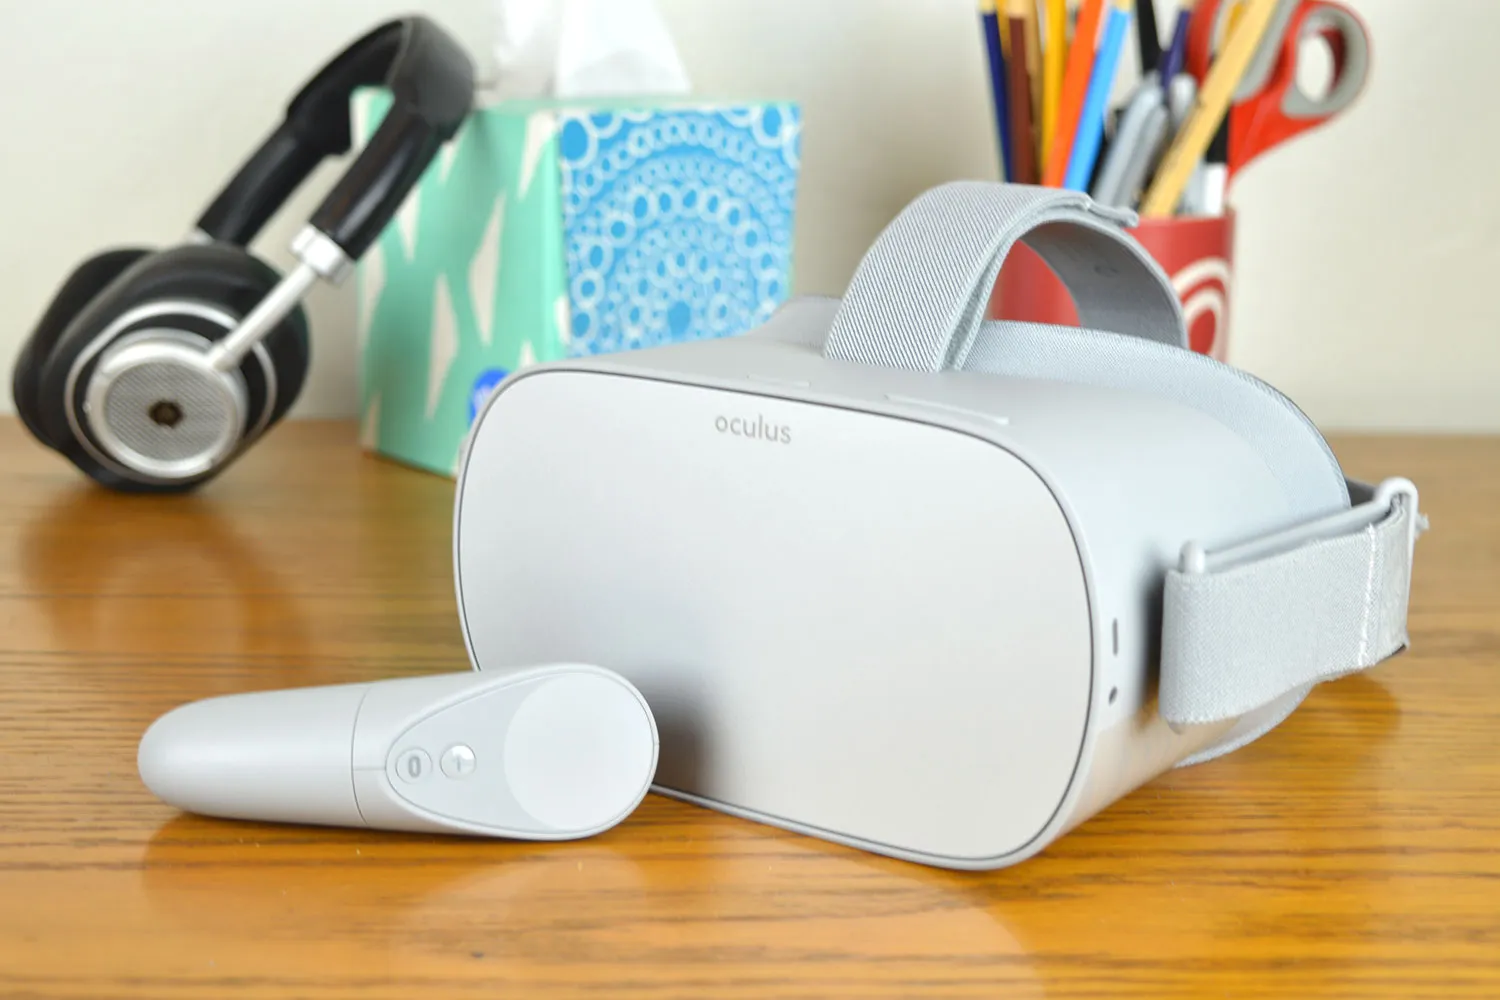
Welcome to the world of virtual reality! The Oculus Quest 2 is a game-changing device that offers an immersive and interactive VR experience right at your fingertips. With its advanced features and powerful performance, you can explore virtual worlds, engage in thrilling games, and connect with friends in a whole new way. While the Oculus Quest 2 provides a standalone VR experience, you may wonder if there’s a way to watch and share your virtual adventures on a larger screen.
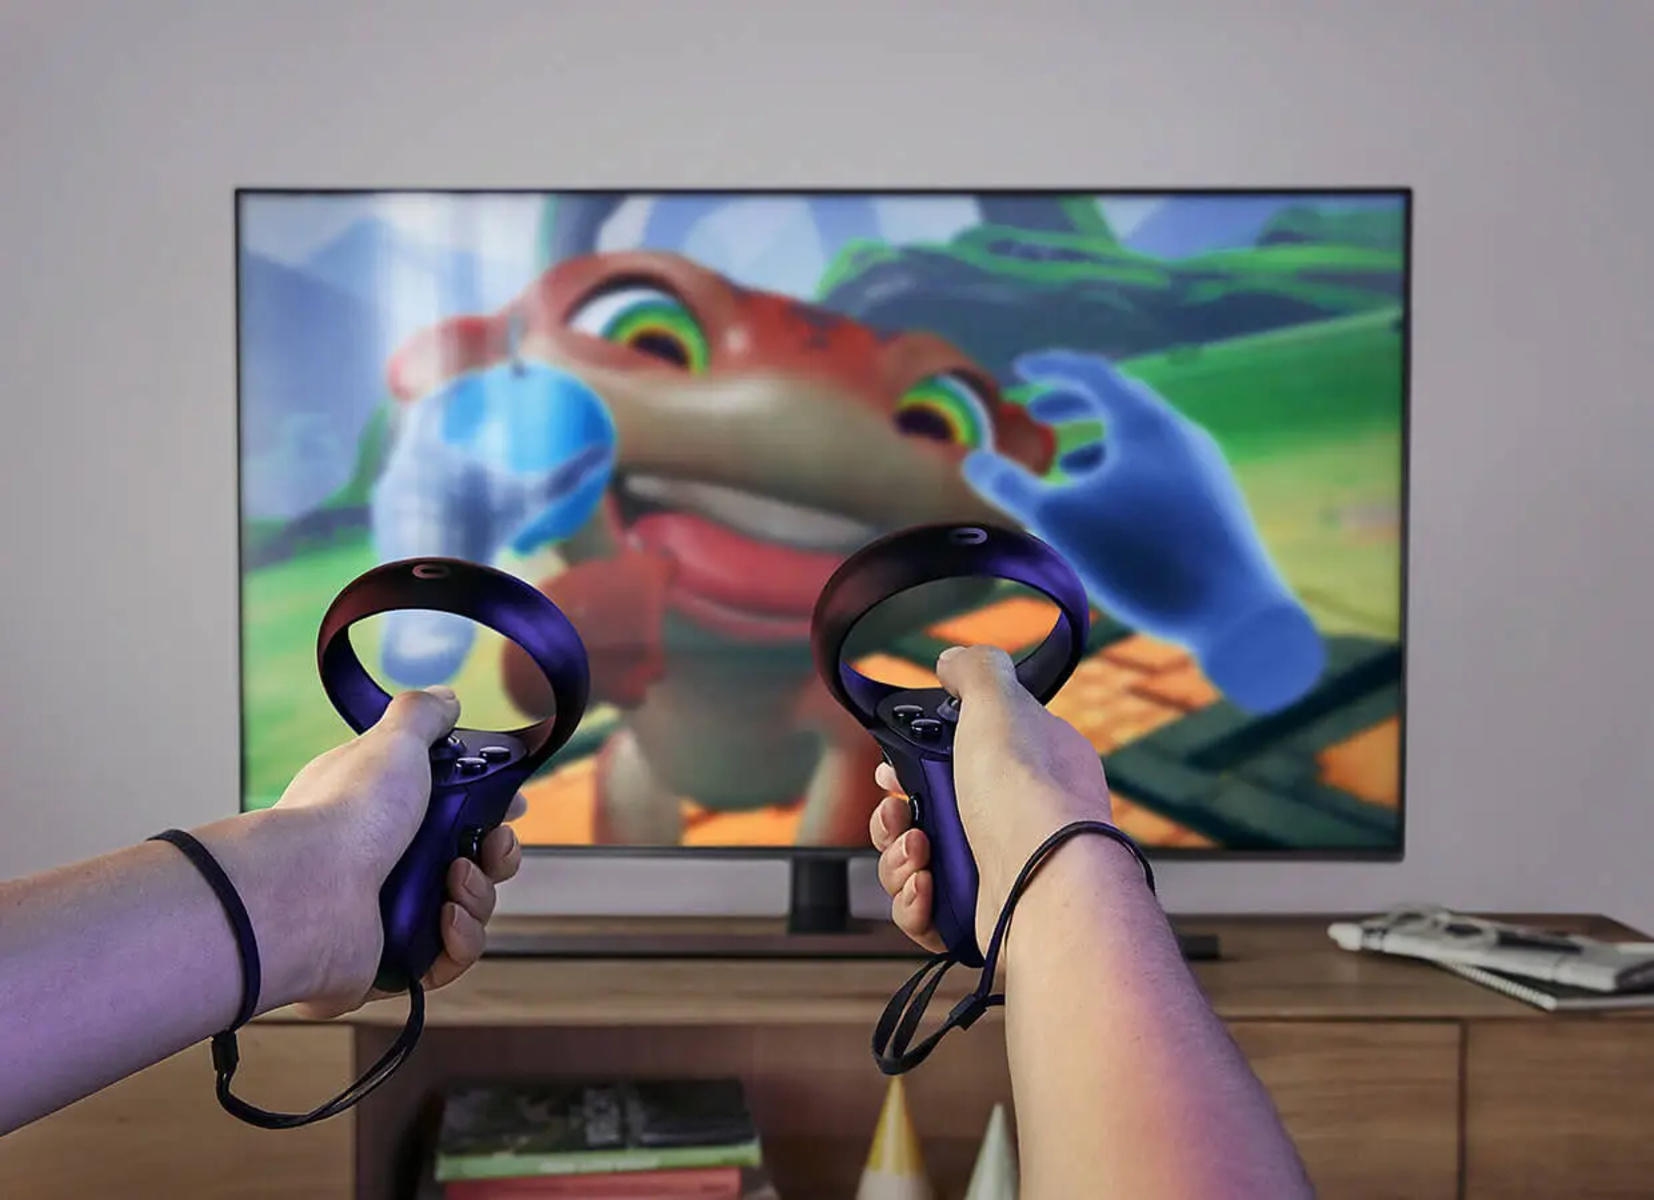
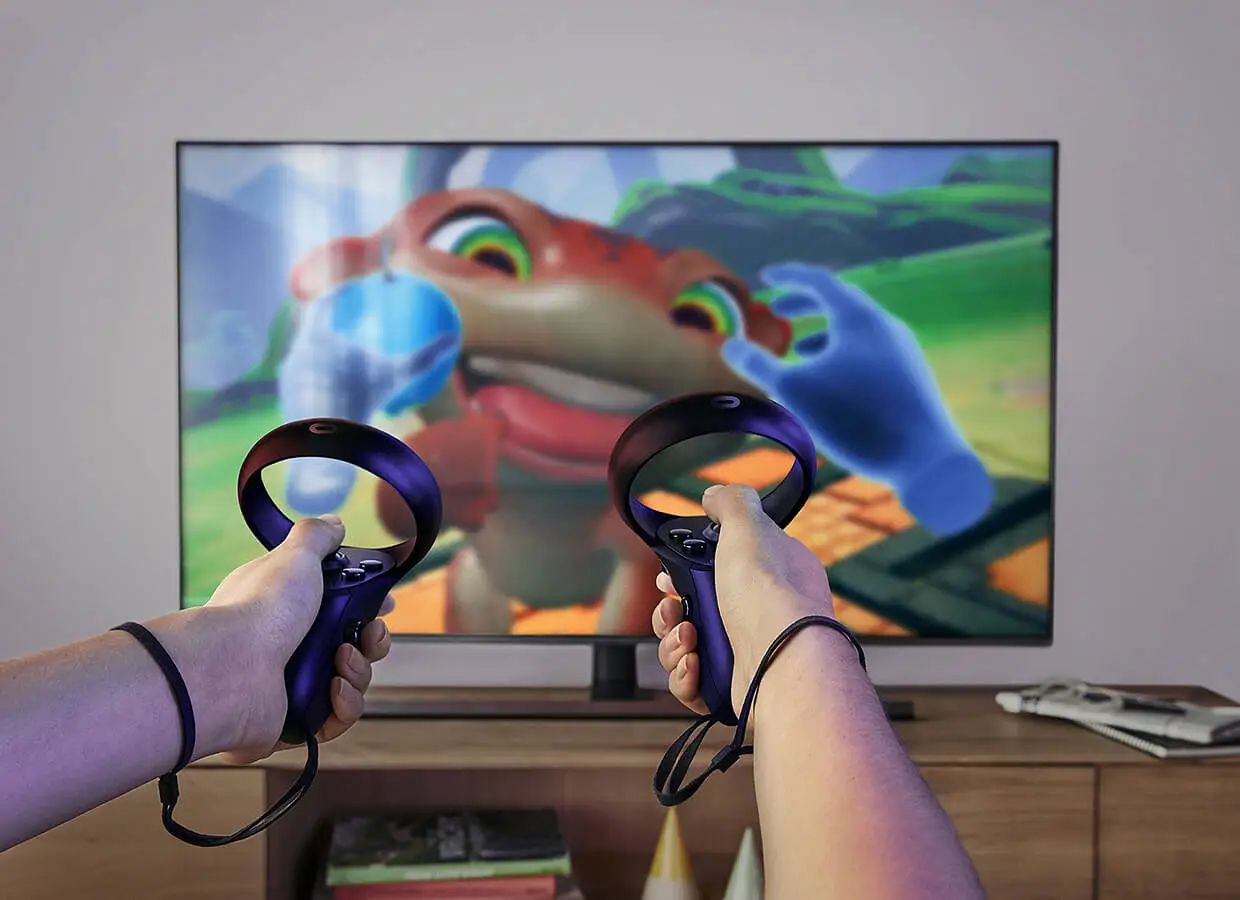
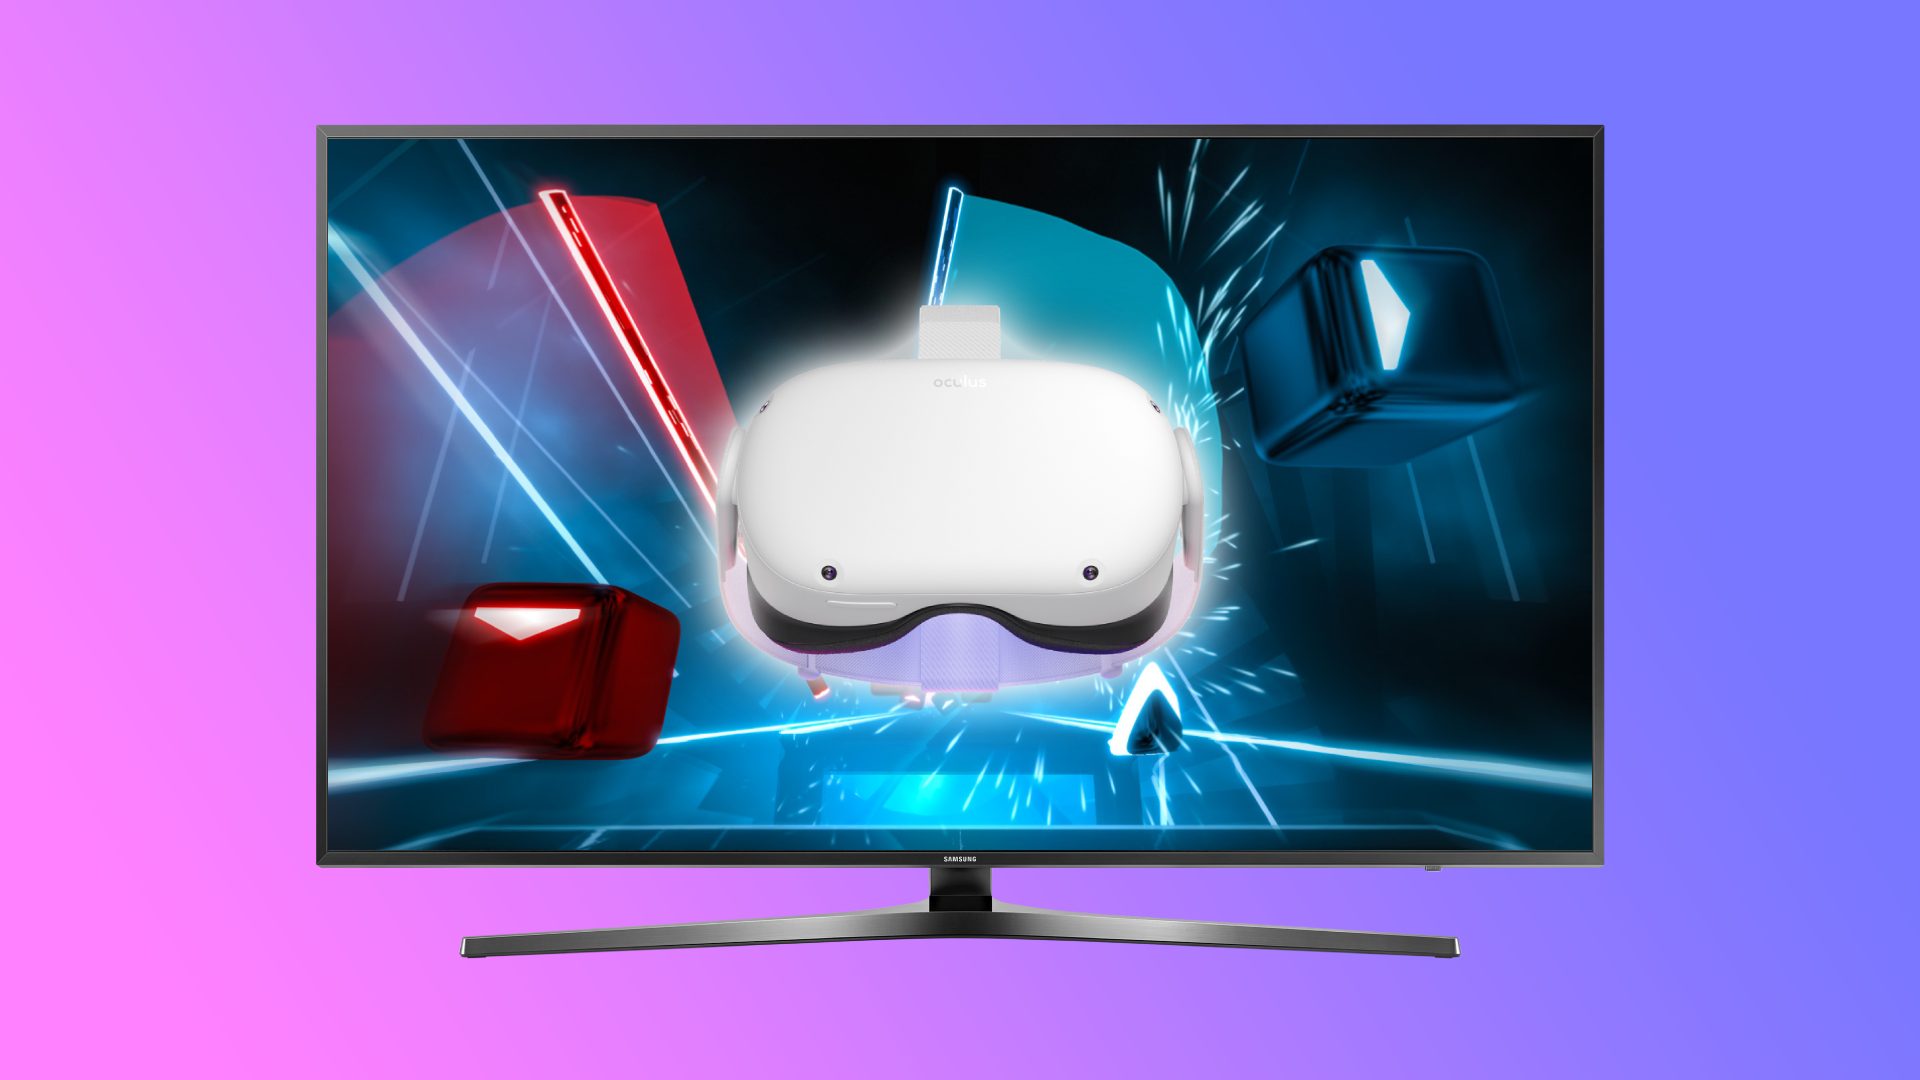
The good news is that you can indeed connect your Oculus Quest 2 to a TV, allowing you to enjoy the excitement of VR with friends and family. Whether you want to show off your gaming skills or simply have a more social experience, connecting your Oculus Quest 2 to a TV opens up a whole new dimension of entertainment. In this article, we will explore the different methods you can use to connect your Oculus Quest 2 to a TV and enjoy the virtual thrill on a bigger display.
Before we dive into the details, it’s important to note that the Oculus Quest 2 uses a wireless connection for VR experiences. However, when it comes to connecting to a TV, you will need to use additional peripherals or cables. Don’t worry, though, as we will guide you through each method step by step. Let’s explore how you can bring your Oculus Quest 2 experience to the big screen!
Connecting Oculus Quest 2 to TV
Connecting your Oculus Quest 2 to a TV can be accomplished through a few different methods. The choice of method will depend on your specific needs and the available equipment you have at your disposal. Let’s take a look at some of the most common ways to connect your Oculus Quest 2 to a TV.
Method 1: HDMI Cable
The simplest way to connect your Oculus Quest 2 to a TV is by using an HDMI cable. This method requires an HDMI cable with one end plugged into your Oculus Quest 2’s USB-C port and the other end connected to an available HDMI input on your TV. Once connected, your Oculus Quest 2’s display will be mirrored on the TV, allowing others to see what you’re experiencing in virtual reality.
Method 2: Casting to Chromecast
If you prefer a wireless solution, you can use a Chromecast device to cast your Oculus Quest 2’s display to your TV. To do this, you will need a compatible Chromecast device connected to your TV. From the Oculus Quest 2 menu, navigate to the “Sharing” section and select “Cast.” Choose the Chromecast device you want to cast to, and voila! You will now see your virtual reality experience on the big screen.
Method 3: Oculus Link
For those looking to take their virtual reality experience to the next level, Oculus Link provides a seamless way to connect your Oculus Quest 2 to a PC and display the VR content on your TV. Oculus Link requires a compatible USB cable (preferably a high-quality USB 3.0 cable) and a gaming PC that meets the system requirements. Once connected, you can navigate through the Oculus Quest 2 menu on your PC and mirror your VR experience to the TV.
These are three popular methods for connecting your Oculus Quest 2 to a TV. Depending on your preferences and equipment setup, you can choose the method that suits you best. Now that you know how to connect your Oculus Quest 2 to a TV, let’s explore the specific steps for using Chromecast and Oculus Link in more detail.
Using Chromecast with Oculus Quest 2
If you want a wireless option to connect your Oculus Quest 2 to a TV, using Chromecast is the way to go. Chromecast is a small and affordable device that plugs into your TV’s HDMI port and allows you to cast content from your Oculus Quest 2 directly to the TV. Here’s how to set it up:
Step 1: Set up Chromecast
First, you need to set up your Chromecast device. Plug the Chromecast into an available HDMI port on your TV and connect its power source. Follow the on-screen instructions to connect the Chromecast to your Wi-Fi network. Make sure both your Oculus Quest 2 and Chromecast are connected to the same Wi-Fi network.
Step 2: Enable Casting on Oculus Quest 2
On your Oculus Quest 2 headset, go to the main menu and select “Sharing.” Then, choose “Cast” and select your Chromecast device from the list. Your Oculus Quest 2’s display will now be mirrored on your TV.
Step 3: Enjoy the VR Experience on TV
Once the casting is enabled, put on your Oculus Quest 2 headset and start exploring virtual reality. Whatever you see in your headset will be mirrored on the TV, allowing others to join in on the fun and excitement.
It’s important to note that not all apps and games are compatible with casting. To check if a specific app supports casting, navigate to the “Sharing” menu, and under the “Cast” section, you will find a list of compatible apps. Keep in mind that the quality and performance of the casting may vary depending on your Wi-Fi connection and the specific app or game being casted.
Using Chromecast with your Oculus Quest 2 provides a convenient and wireless way to share your virtual reality experience on a bigger screen. Whether you want to showcase your gaming skills or enjoy a more social VR experience with friends and family, casting to a TV using Chromecast is a great option to consider.
Using Oculus Link to Connect to TV
If you want to experience virtual reality on a larger screen and take advantage of the processing power of your gaming PC, Oculus Link is the ideal solution. With Oculus Link, you can connect your Oculus Quest 2 to your PC and enjoy VR content on your TV. Here’s how to set it up:
Step 1: Check System Requirements
Before using Oculus Link, ensure that your gaming PC meets the system requirements. This includes having a compatible USB cable (preferably USB 3.0), a powerful graphics card, and sufficient RAM and storage space. Visit the official Oculus website to check the full system requirements for Oculus Link.
Step 2: Connect Oculus Quest 2 to PC
Connect your Oculus Quest 2 to your gaming PC using a high-quality USB cable. Plug one end of the USB cable into the USB-C port on your Oculus Quest 2 and the other end into an available USB port on your PC.
Step 3: Enable Oculus Link on the Oculus App
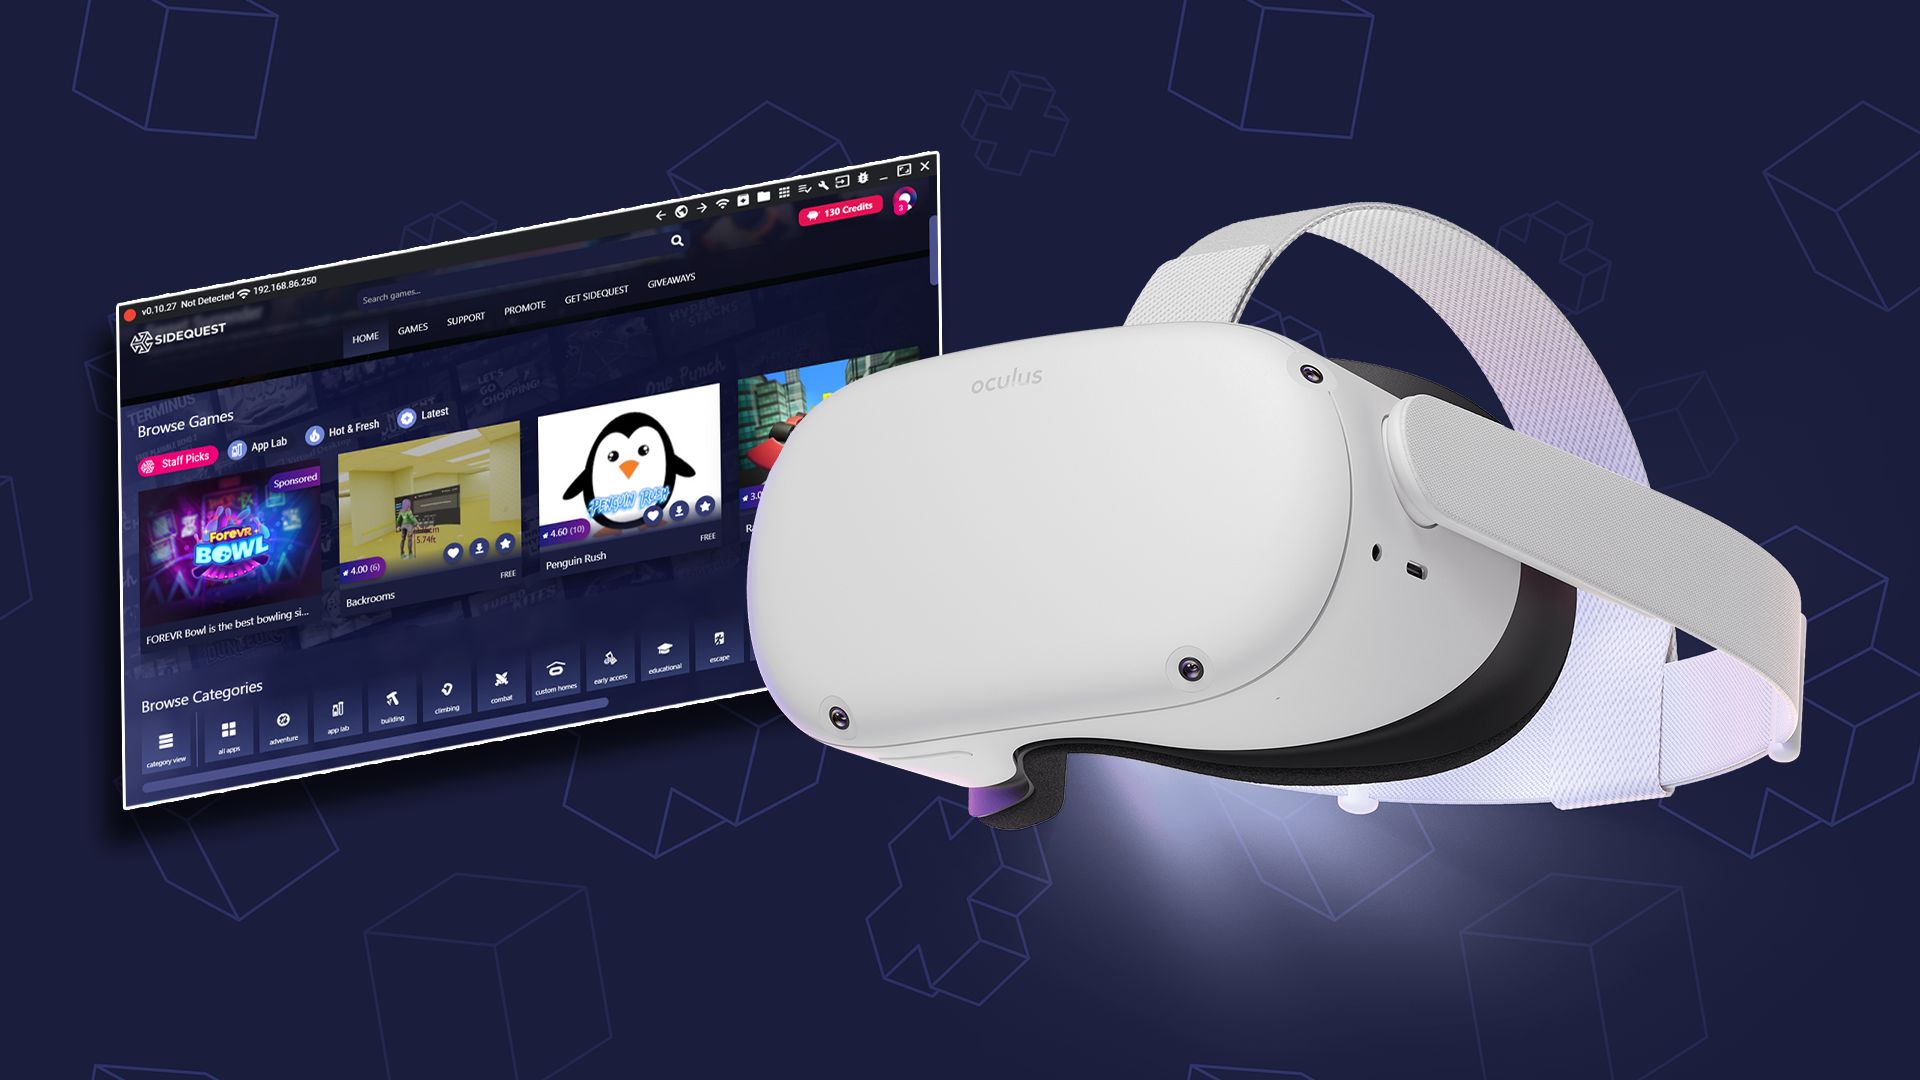
Launch the Oculus app on your PC. Within the app, navigate to the “Devices” tab and click on your Oculus Quest 2. From there, enable Oculus Link by toggling the switch. Once enabled, you should see the Oculus Quest 2’s interface appear on your PC screen.
Step 4: Mirror VR Experience on TV
To mirror the Oculus Quest 2’s VR experience on your TV, you can use the display options of your gaming PC. This usually involves right-clicking on your PC desktop, selecting “Display Settings,” and enabling the option to duplicate or extend your screen to the TV. Make sure your TV is connected to the PC via HDMI.
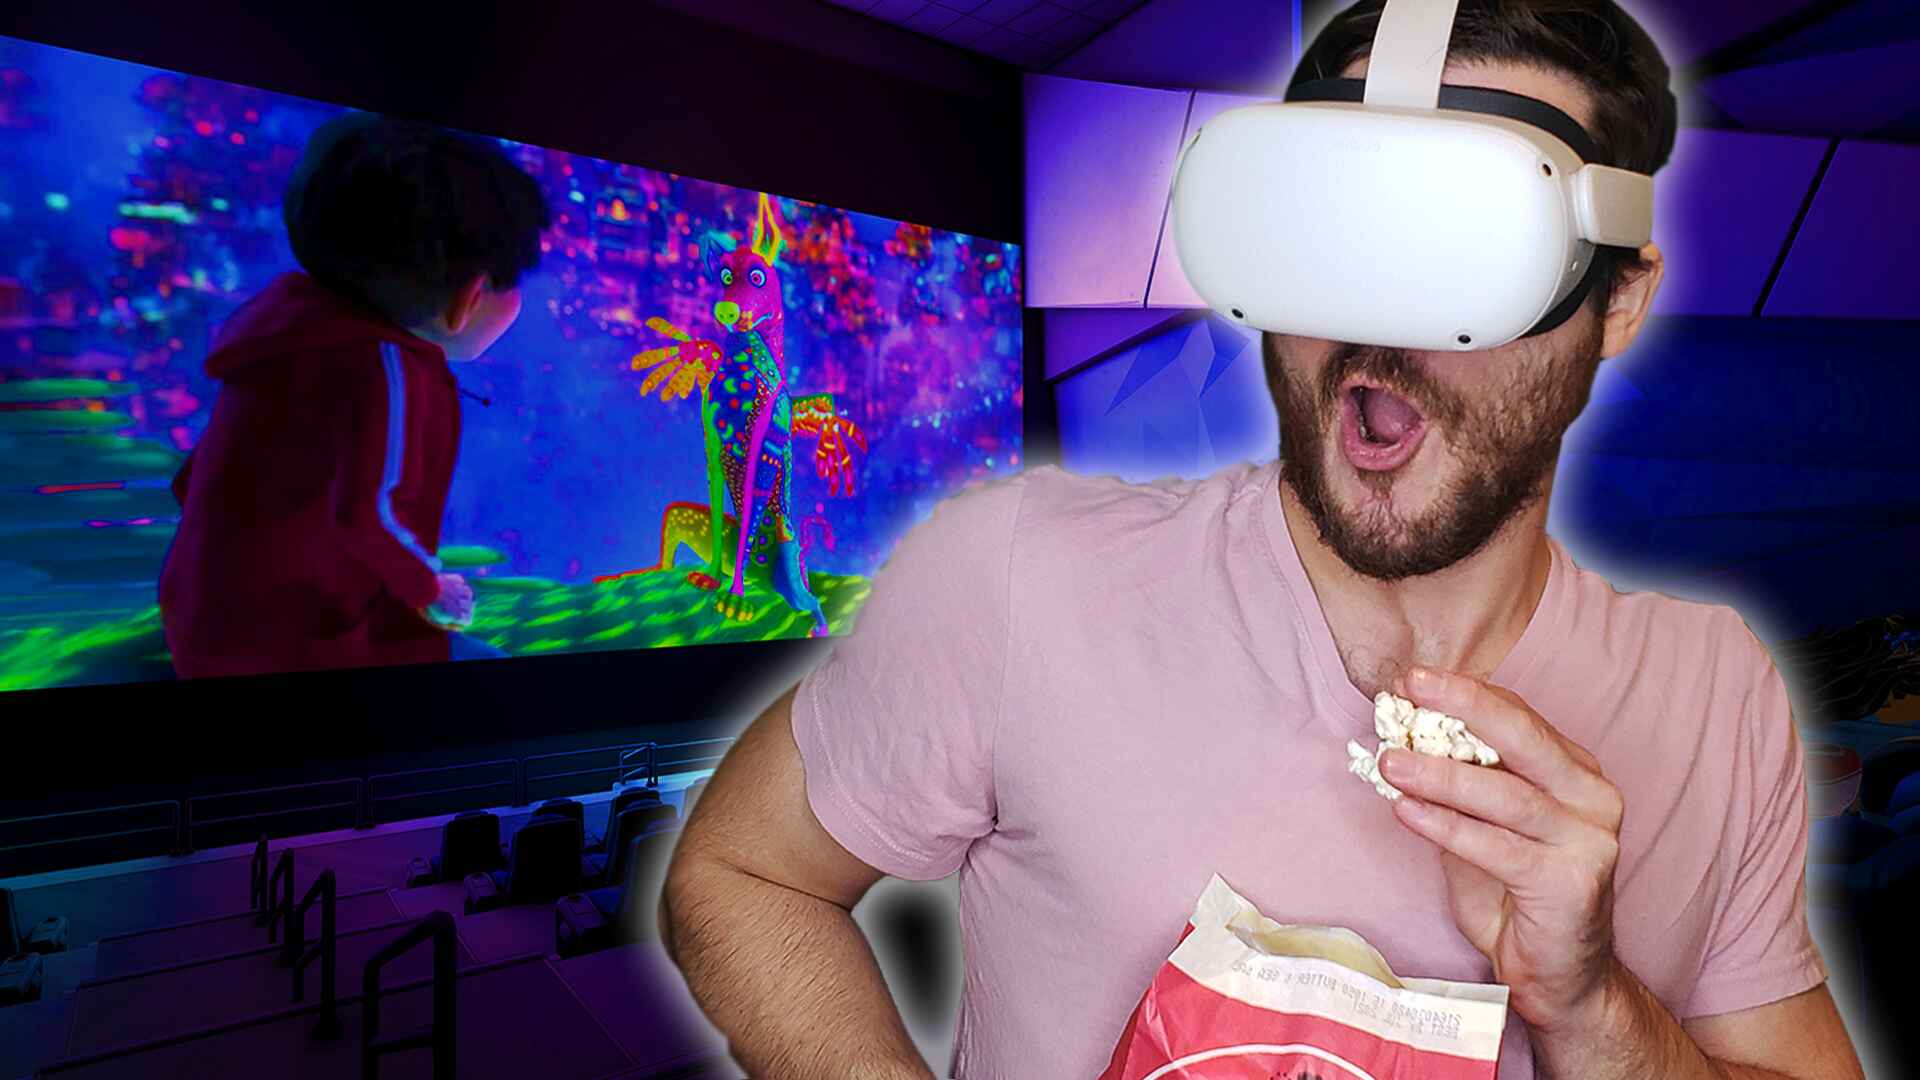
Once the screen is mirrored, put on your Oculus Quest 2 headset and start exploring the virtual reality world. You will see the VR content on your TV, providing a larger and more immersive experience for you and anyone watching.
It’s worth noting that Oculus Link requires a wired connection, which means you will be restricted by the length of your USB cable. Additionally, the quality and performance of Oculus Link may vary depending on the capabilities of your gaming PC and the complexity of the VR experience being displayed.
By using Oculus Link, you can harness the power of your gaming PC and enjoy a high-quality virtual reality experience on your TV. Whether you’re gaming, watching movies, or exploring VR worlds, connecting your Oculus Quest 2 to your TV via Oculus Link will take your immersive experience to new heights.
Troubleshooting Common Issues
While connecting your Oculus Quest 2 to a TV can provide an incredible VR experience, it’s possible to encounter some common issues along the way. Here are a few troubleshooting tips to help you overcome these challenges:
1. No Display on the TV:
If you’re not seeing any display on your TV after connecting your Oculus Quest 2, make sure that you’ve selected the correct HDMI input on your TV. Additionally, double-check the cable connections between your Oculus Quest 2 and the TV or PC. Try disconnecting and reconnecting the cables to ensure a secure connection.
2. Poor Image Quality or Lag:
If you’re experiencing poor image quality or lag while using Chromecast or Oculus Link, there are a few potential causes. Ensure that your Wi-Fi network is stable and that there are no other devices using excessive bandwidth. For Oculus Link, make sure that your gaming PC meets the recommended system requirements. If possible, try using a different USB cable or HDMI cable to rule out any potential issues with the cables themselves.
3. App Compatibility:
Not all apps or games may support casting or Oculus Link. Before attempting to connect to a TV, check if the specific app or game you want to display is compatible with casting or Oculus Link. This information can usually be found in the app’s settings or on the official Oculus website.
4. Audio Output:
When using Chromecast to cast your Oculus Quest 2’s display to a TV, the audio is typically transmitted through the TV speakers. However, if you’re using Oculus Link, you may need to configure the audio output settings on your gaming PC. Ensure that the correct audio output device is selected to hear the sound through the TV speakers.
5. Software Updates:
If you’re experiencing persistent issues, ensure that both your Oculus Quest 2 headset and any connected devices (such as Chromecast or PC) are running the latest software updates. Keeping your devices up to date helps resolve any compatibility issues and ensures optimal performance.
If you’re still encountering issues despite trying the above troubleshooting steps, it may be helpful to consult the Oculus support resources or reach out to their customer support for further assistance. They can provide specific guidance based on your setup and the nature of the problem.
Remember, troubleshooting is a normal part of the process when connecting your Oculus Quest 2 to a TV. With a little patience and experimentation, you’ll be able to overcome any issues and enjoy a seamless and immersive VR experience on the big screen.
Conclusion
Connecting your Oculus Quest 2 to a TV opens up a whole new realm of possibilities in the world of virtual reality. Whether you choose to use an HDMI cable, Chromecast, or Oculus Link, sharing your VR experiences on a larger screen enhances the immersion and allows you to enjoy the thrill with friends and family. It’s important to consider your specific needs, equipment availability, and desired level of convenience when deciding which method to use.
By following the steps outlined in this article, you can successfully connect your Oculus Quest 2 to a TV and begin enjoying the virtual reality world on a bigger display. However, it’s essential to keep in mind the potential challenges and troubleshooting tips mentioned in this guide. Maintaining a stable Wi-Fi connection, ensuring compatibility, and keeping all devices updated are crucial factors in optimizing the connection and achieving the best possible experience.
From gaming and entertainment to social experiences, sharing your Oculus Quest 2 VR adventures with others on a TV brings an added dimension of enjoyment. Whether you want to impress your friends with your gaming skills, watch a movie in VR, or explore virtual worlds as a group, connecting your Oculus Quest 2 to a TV allows you to take your virtual reality experience to new heights.
So, grab your Oculus Quest 2, follow the instructions, and immerse yourself in the incredible world of VR on a larger screen. Get ready for an exciting journey and create unforgettable memories as you explore new realities with the ones you love.


