Introduction
The Oculus Quest 2 is a virtual reality headset that offers a truly immersive gaming and entertainment experience. While it’s great to enjoy VR content on its own, sometimes you may want to share the excitement with others on a larger screen. If you have a Roku TV, you’re in luck! You can easily cast your Oculus Quest 2 to your Roku TV and enjoy the virtual reality experience with friends and family.
In this guide, we’ll walk you through the step-by-step process of casting your Oculus Quest 2 to your Roku TV. Whether you want to showcase your gaming skills, watch a movie, or explore virtual worlds, casting to your Roku TV allows you to enjoy the immersive content on a bigger display.
Before we dive into the steps, let’s take a quick look at the requirements for casting Oculus Quest 2 to Roku TV.
Requirements for Casting Oculus Quest 2 to Roku TV
To successfully cast your Oculus Quest 2 to your Roku TV, you’ll need the following:
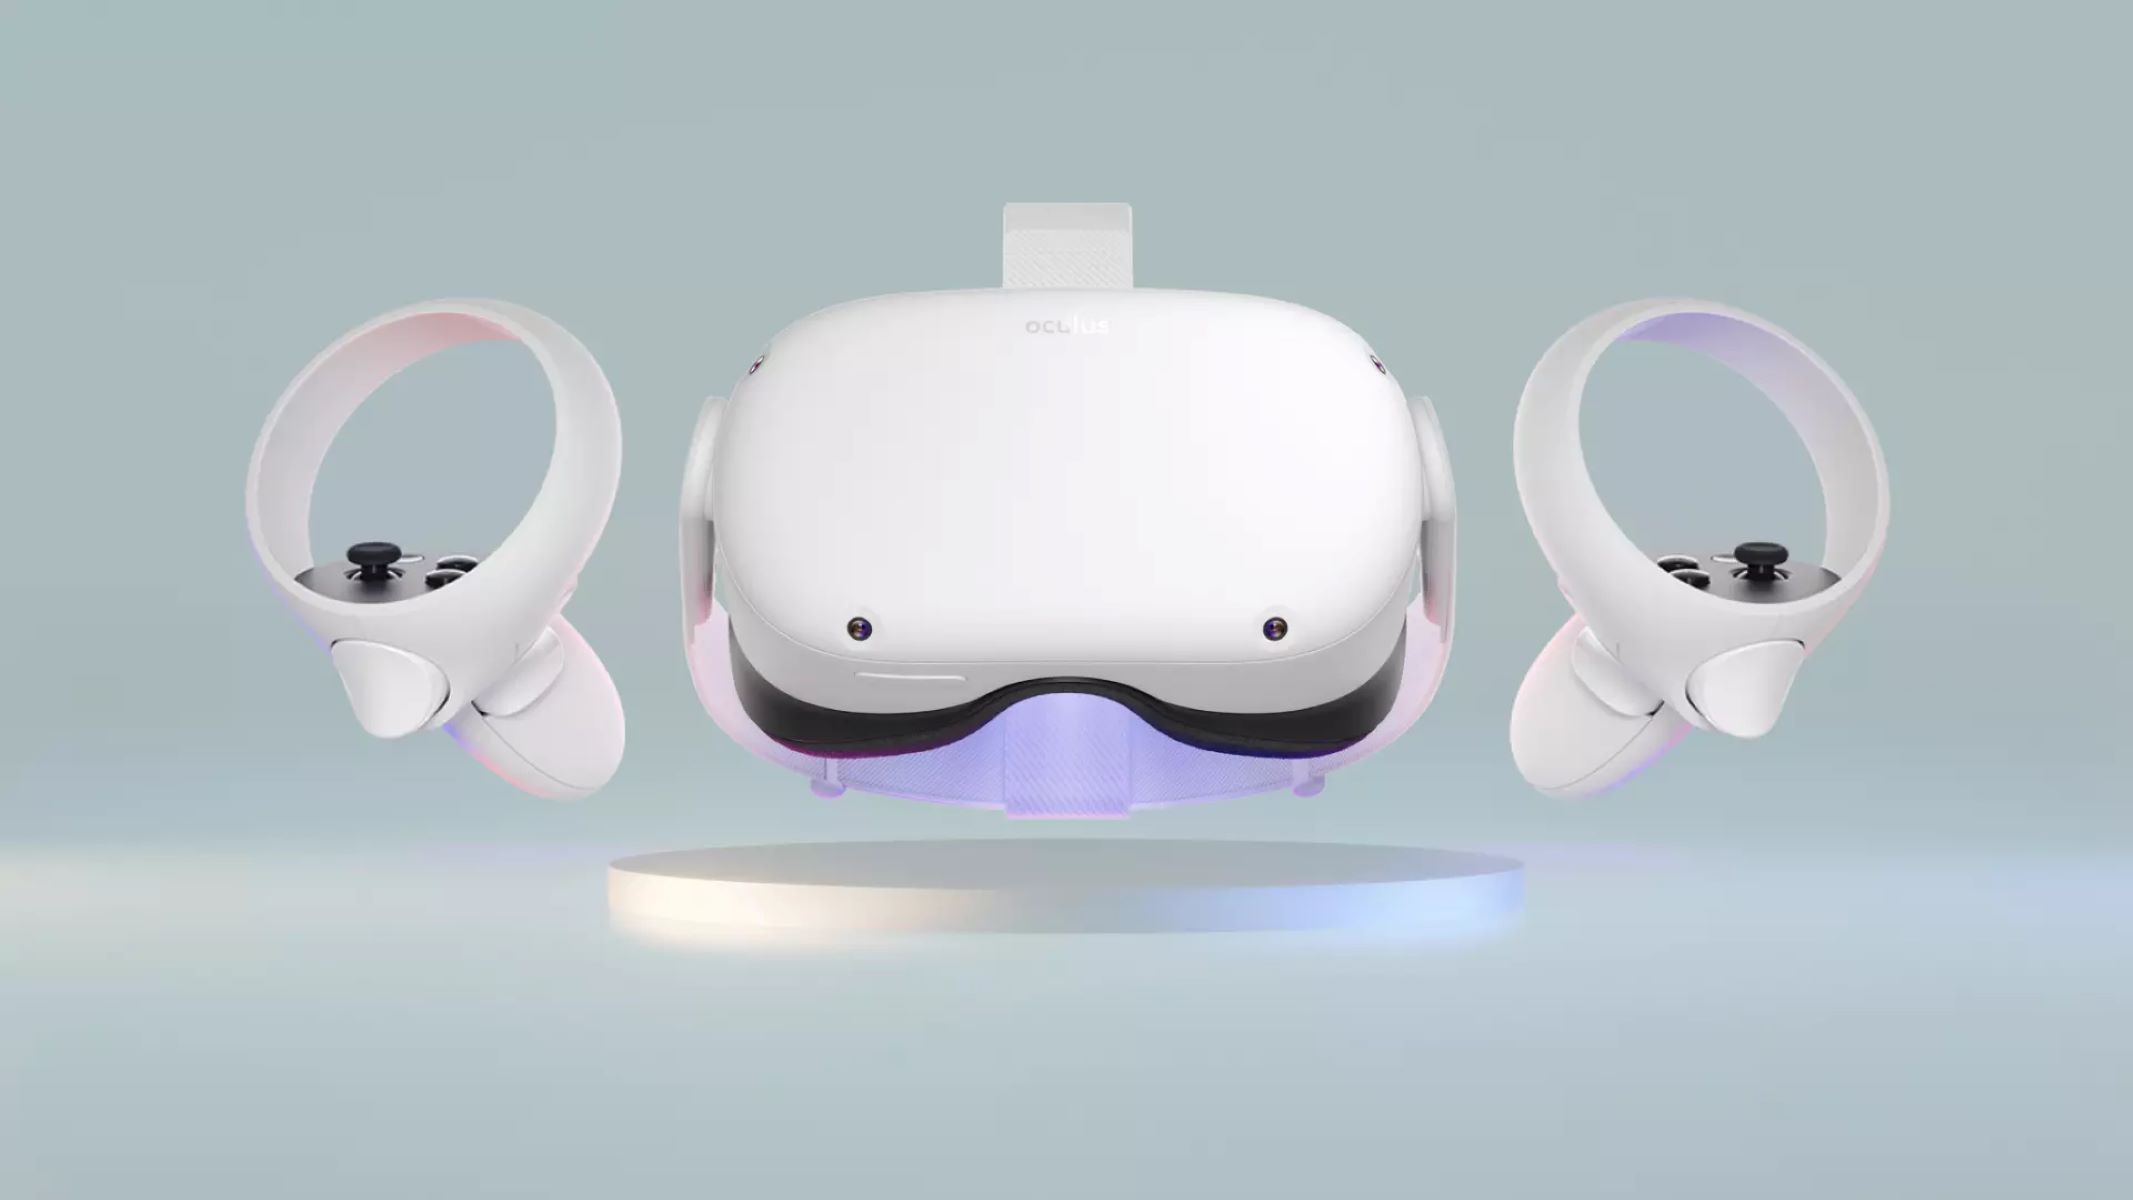
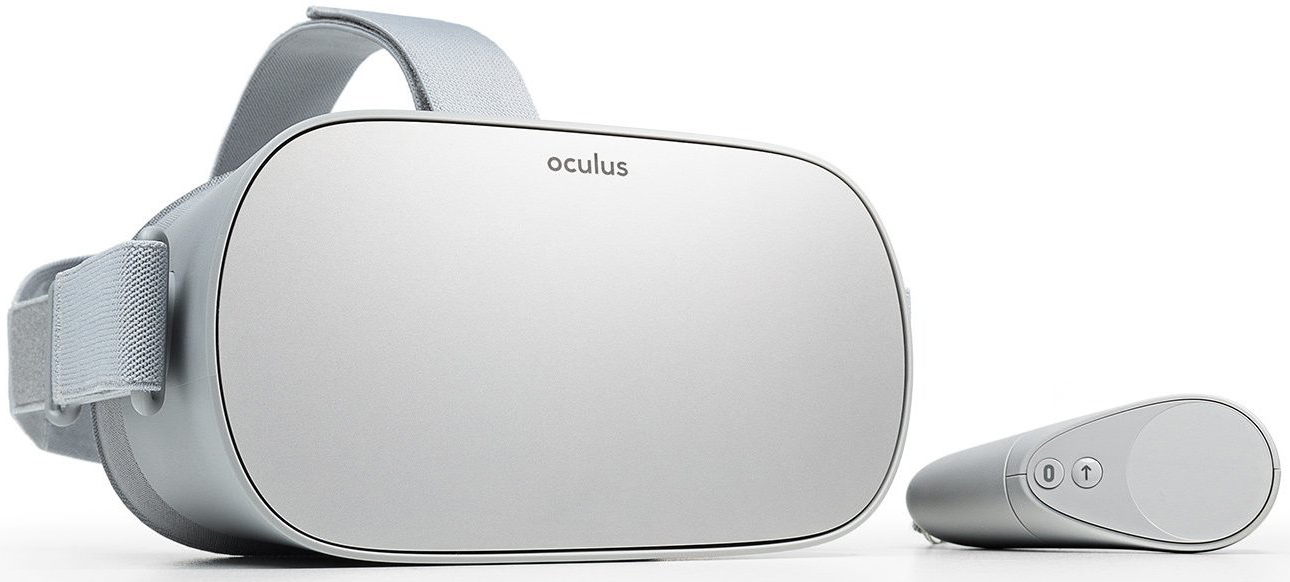
- An Oculus Quest 2 headset
- A Roku TV with screen mirroring capability
- A compatible mobile device (iOS or Android) with the Oculus app installed
- A stable internet connection
- Both the Oculus Quest 2 and Roku TV should be connected to the same Wi-Fi network
Once you have all the necessary requirements in place, you can proceed with the step-by-step instructions to cast your Oculus Quest 2 to your Roku TV. Let’s get started!
Requirements for Casting Oculus Quest 2 to Roku TV
Before you can cast your Oculus Quest 2 to your Roku TV, there are a few requirements that you need to meet. Here’s what you’ll need:
An Oculus Quest 2 headset: This is the virtual reality headset that you’ll be using to access and play content.
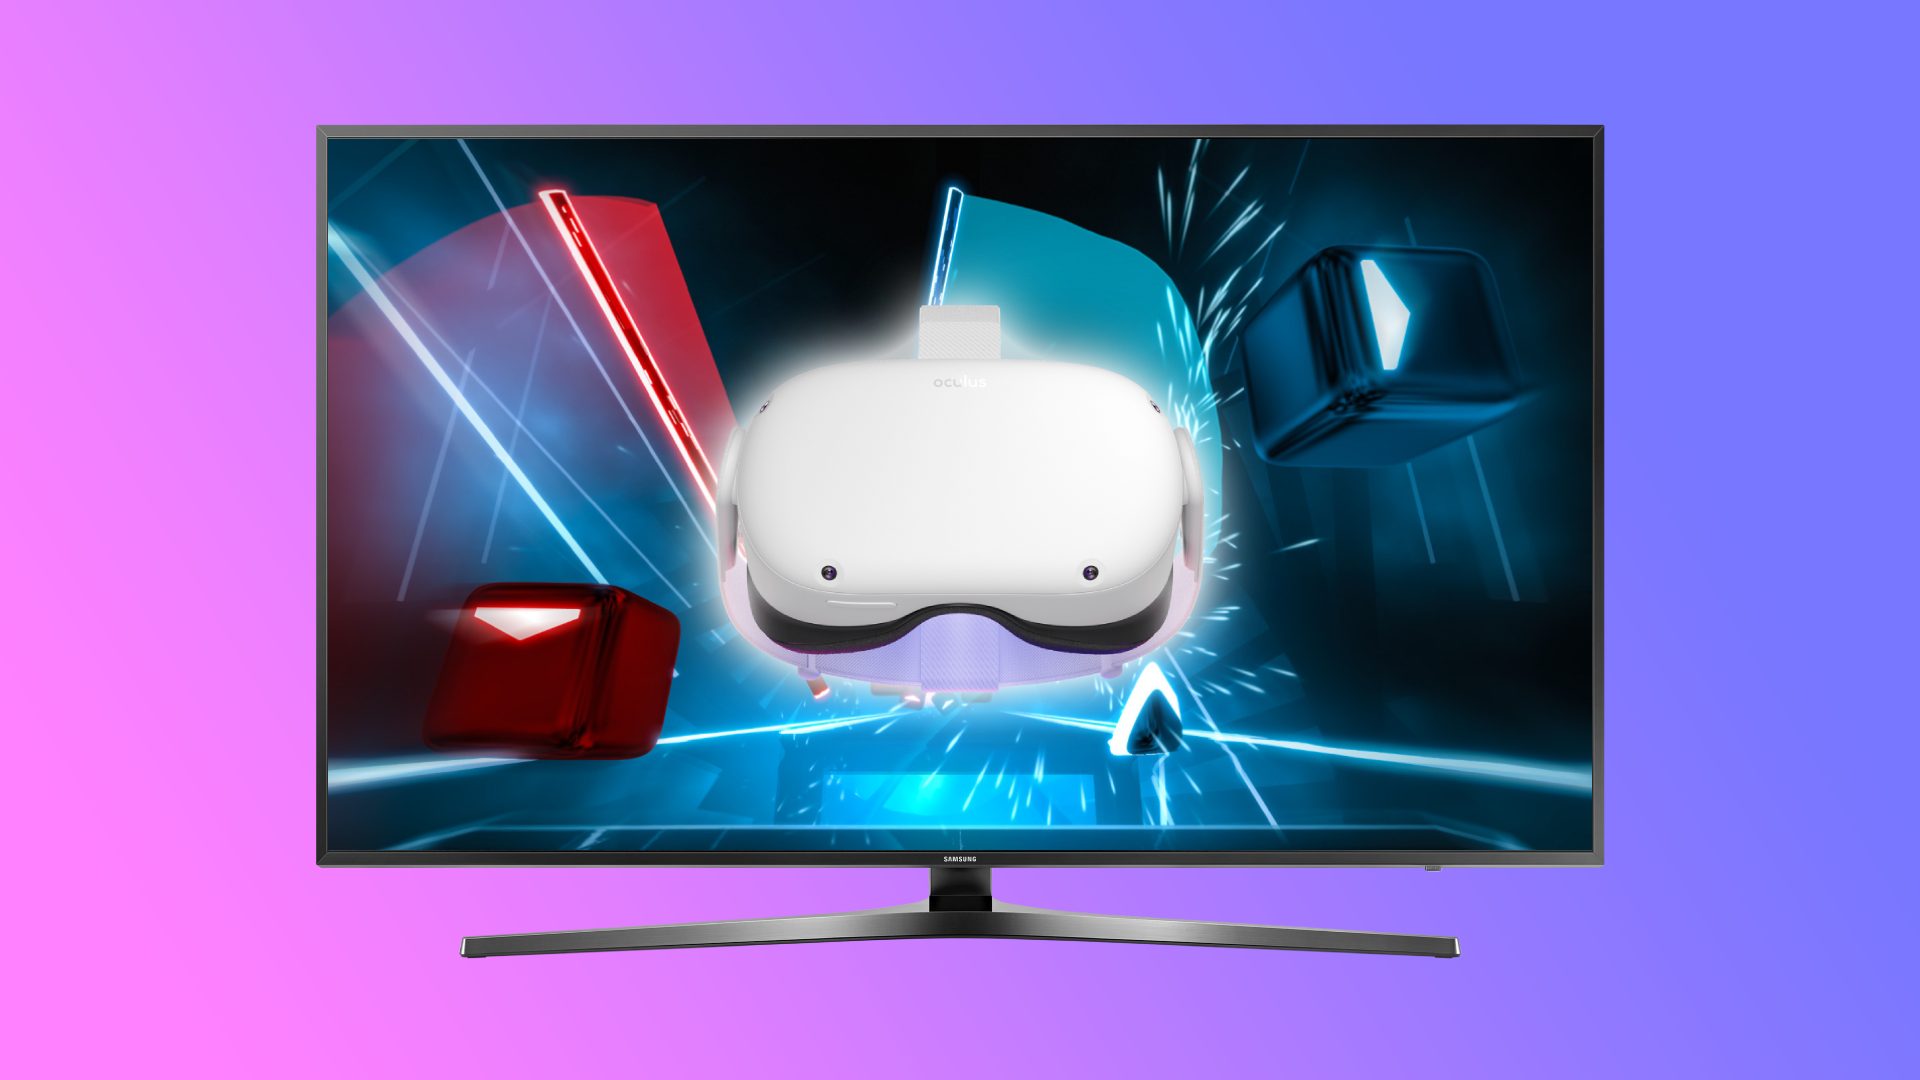
A Roku TV with screen mirroring capability: Roku TVs are equipped with screen mirroring functionality, which allows you to mirror the display of your Oculus Quest 2 onto the TV screen.
A compatible mobile device: You’ll need a mobile device, such as a smartphone or tablet, with the Oculus app installed. The Oculus app acts as a bridge between your Oculus Quest 2 and Roku TV.
A stable internet connection: Both your Oculus Quest 2 and your Roku TV need to be connected to the same Wi-Fi network. A stable internet connection is crucial for smooth casting and an uninterrupted viewing experience.
Oculus Quest 2 and Roku TV connected to the same Wi-Fi network: To establish a connection between your Oculus Quest 2 and your Roku TV, both devices need to be connected to the same Wi-Fi network. This ensures that they can communicate with each other seamlessly.
Make sure you have all of these requirements in place before proceeding with the casting process. Once you have everything set up, you’ll be ready to enjoy the immersive VR experience on your Roku TV.
Step 1: Prepare Your Oculus Quest 2
Before you can start casting your Oculus Quest 2 to your Roku TV, you need to ensure that your headset is properly prepared. Here are the steps to follow:
- Put on your Oculus Quest 2 headset: Ensure that your headset is charged and turned on. Put it on and adjust the straps for a comfortable fit.
- Check for updates: It’s always a good idea to make sure that your Oculus Quest 2 firmware and software are up to date. To check for updates, go to the “Settings” menu on your Oculus Quest 2 and navigate to “Device” > “About” > “System Software”. If any updates are available, follow the on-screen instructions to install them.
- Enable Developer Mode (optional): If you want to access additional features and settings, you can enable Developer Mode on your Oculus Quest 2. To do this, you’ll need to enable it through the Oculus app on your mobile device. Open the app, go to “Settings” > “Quest 2” > “More Settings” > “Developer Mode”. Follow the prompts to enable Developer Mode.
- Set up Guardian boundaries: Guardian is a safety feature that helps you define the play area and prevent you from bumping into objects. Make sure your Guardian boundaries are set up by following the on-screen instructions in the Oculus Quest 2 setup process.
- Charge your Oculus Quest 2: Casting can consume battery power, so it’s a good idea to ensure that your Oculus Quest 2 is fully charged or connected to a power source before starting the casting process.
Once you have properly prepared your Oculus Quest 2, you’re ready to move on to the next step: setting up your Roku TV.
Step 2: Set up Your Roku TV
In order to cast your Oculus Quest 2 to your Roku TV, you need to ensure that your Roku TV is properly set up. Follow these steps to get your Roku TV ready for casting:
- Connect your Roku TV to the internet: Make sure your Roku TV is connected to a stable Wi-Fi network. You can do this during the initial setup process or by going to the “Network” settings in the Roku TV menu. Follow the on-screen instructions to connect to your Wi-Fi network.
- Update your Roku TV software (if needed): To ensure that you have the latest features and functionality, check for any available software updates for your Roku TV. Go to the “Settings” menu on your Roku TV, select “System”, then “System update”, and choose “Check now”. If there are any updates, follow the prompts to install them.
- Enable screen mirroring: Before you can cast your Oculus Quest 2 to your Roku TV, you need to enable screen mirroring on your Roku TV. To do this, go to the “Settings” menu on your Roku TV, select “System”, then “Screen mirroring”, and choose either “Prompt” or “Always allow” to enable screen mirroring.
- Ensure HDMI input availability: Make sure you have an available HDMI input on your Roku TV that you can use to connect your Oculus Quest 2. Most Roku TVs have multiple HDMI ports, so choose an available one and remember which input you’re using.
- Place your Roku TV remote nearby: Keep your Roku TV remote within reach to control any settings or navigate through menus during the casting process.
Once you have successfully set up your Roku TV, you’re ready to move on to the next step: installing the Oculus app on your mobile device.
Step 3: Install the Oculus App on Your Mobile Device
In order to cast your Oculus Quest 2 to your Roku TV, you need to have the Oculus app installed on your mobile device. The Oculus app acts as a bridge between your Oculus Quest 2 headset and your Roku TV. Follow these steps to install the Oculus app:
- Open your app store: Open the app store on your iOS or Android device. The Oculus app is available for both operating systems.
- Search for the Oculus app: In the app store’s search bar, type in “Oculus” and look for the official Oculus app. It should be the one developed by “Facebook Technologies, LLC”.
- Download and install the Oculus app: Tap on the Oculus app from the search results and select “Install” or “Get” to begin downloading and installing the app on your mobile device.
- Open the Oculus app: Once the installation is complete, open the Oculus app on your mobile device.
- Create or log in to your Oculus account: If you already have an Oculus account, log in using your credentials. If you don’t have an account, you can create one within the app.
Once you have successfully installed and logged into the Oculus app on your mobile device, you’re ready to move on to the next step: connecting the Oculus app to your Oculus Quest 2 headset.
Step 4: Connect Oculus App to the Oculus Quest 2
In order to cast your Oculus Quest 2 to your Roku TV, you need to connect the Oculus app on your mobile device to your Oculus Quest 2 headset. This connection allows you to control and manage the casting process. Follow these steps to connect the Oculus app to your Oculus Quest 2:
- Open the Oculus app: Launch the Oculus app on your mobile device.
- Ensure your mobile device is connected to the same Wi-Fi network as your Oculus Quest 2: For the casting to work, both your mobile device and Oculus Quest 2 need to be connected to the same Wi-Fi network. Check your Wi-Fi settings on your mobile device and ensure it’s connected to the correct network.
- Tap on the “Devices” tab: In the bottom navigation menu of the Oculus app, tap on the “Devices” tab. This will show you a list of available Oculus devices.
- Select your Oculus Quest 2: From the list of devices, select your Oculus Quest 2 headset that you want to cast to your Roku TV. Make sure your headset is turned on and within range of your mobile device.
- Follow the on-screen instructions: The Oculus app will prompt you with on-screen instructions to establish a connection. Typically, you’ll need to confirm a pairing code or grant permissions for the app to connect to your Oculus Quest 2.
- Wait for the connection to be established: Once you’ve followed the instructions and successfully paired your Oculus app with your Oculus Quest 2, wait for the connection to be established. The Oculus app will indicate when the connection is established, and you’ll be ready to proceed with the casting process.
With the Oculus app successfully connected to your Oculus Quest 2, you’re now ready to move on to the next step: enabling screen mirroring on your Roku TV.
Step 5: Enable Roku TV Screen Mirroring
In order to cast your Oculus Quest 2 to your Roku TV, you need to enable screen mirroring on your Roku TV. Screen mirroring allows you to mirror the display of your Oculus Quest 2 on the TV screen. Follow these steps to enable screen mirroring on your Roku TV:
- Turn on your Roku TV: Ensure that your Roku TV is turned on and connected to the same Wi-Fi network as your mobile device and Oculus Quest 2.
- Go to the settings: Using your Roku TV remote, navigate to the home screen and scroll down to find the main menu. From there, navigate to “Settings” and select it.
- Select “System”: In the settings menu, select “System” to access the system settings of your Roku TV.
- Choose “Screen mirroring”: Within the system settings, choose “Screen mirroring”. This option allows you to enable and customize the screen mirroring functionality of your Roku TV.
- Select “Prompt” or “Always allow”: Depending on your preference, you can choose either “Prompt” or “Always allow” to enable screen mirroring. If you select “Prompt”, your Roku TV will display a notification whenever a device attempts to connect for screen mirroring. If you choose “Always allow”, your Roku TV will automatically accept screen mirroring connections from compatible devices without requiring confirmation.
- Wait for the connection: Once screen mirroring is enabled on your Roku TV, it will be ready to receive a connection from your Oculus Quest 2.
With screen mirroring enabled on your Roku TV, you’re now ready to move on to the next step: starting the casting process from your Oculus Quest 2.
Step 6: Start Casting from Oculus Quest 2 to Roku TV
Now that you have prepared your Oculus Quest 2, set up your Roku TV, and enabled screen mirroring, it’s time to start casting from your Oculus Quest 2 to your Roku TV. Here is how you can do it:
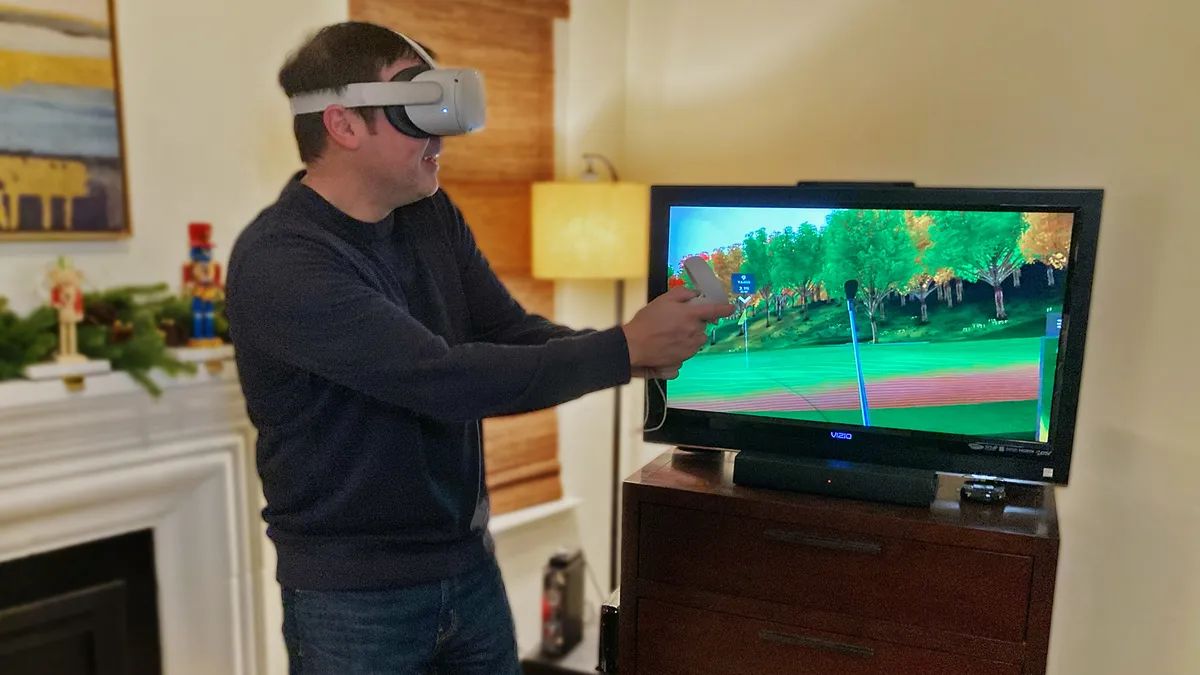
- Put on your Oculus Quest 2 headset: Make sure your Oculus Quest 2 is powered on, and put on the headset.
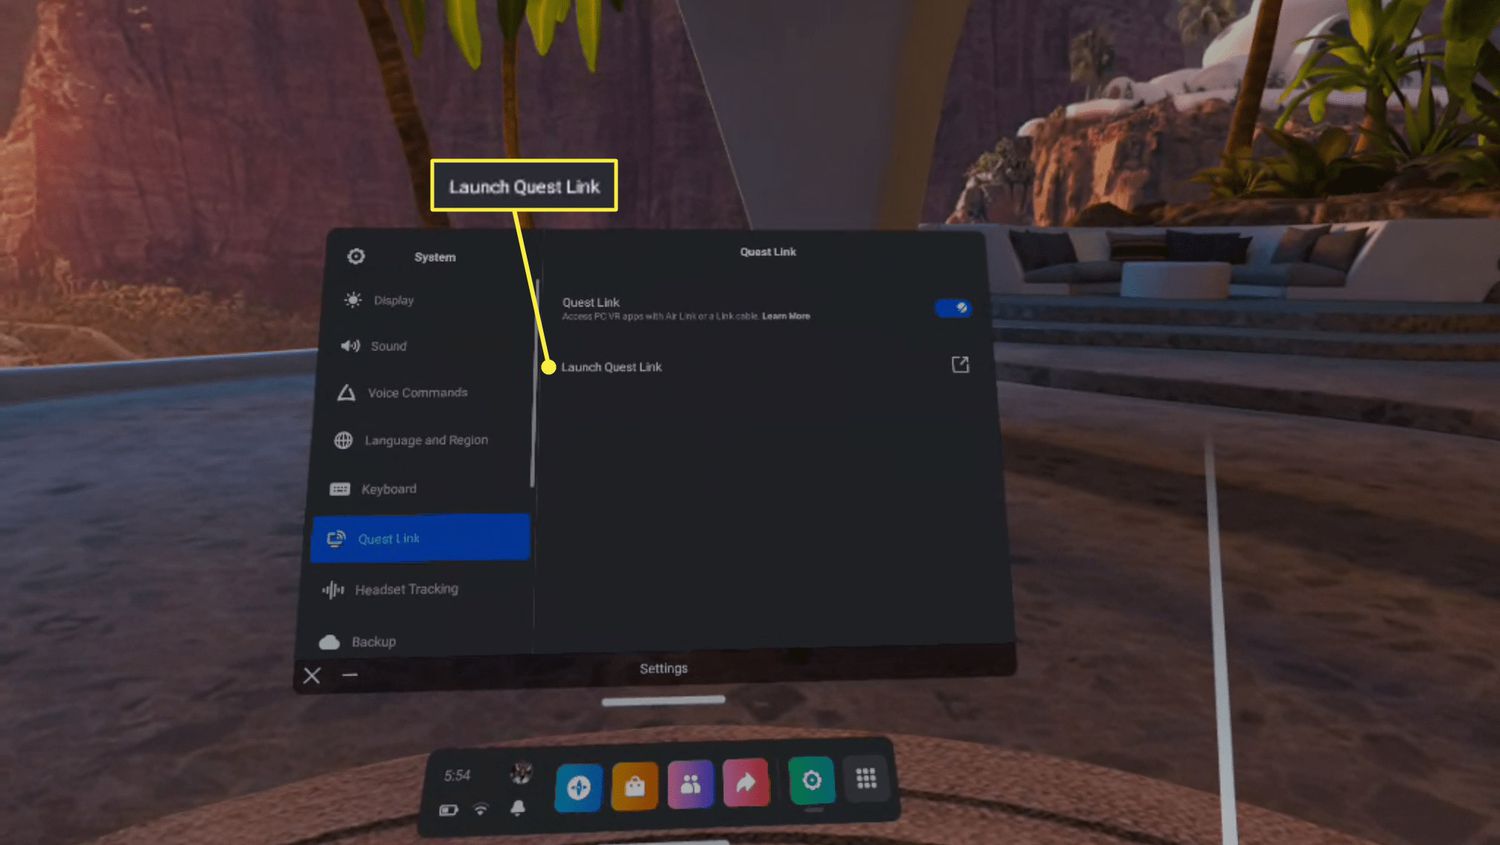
- Access your Oculus Quest 2 menu: From within the headset, press the Oculus button on your right controller. This will bring up the Oculus Quest 2 menu.
- Navigate to the sharing menu: Using the joystick or touchpad on your controller, navigate to the “Sharing” menu option. This menu contains various casting and sharing features.
- Select “Cast”: Within the sharing menu, select the “Cast” option. This will initiate the casting process from your Oculus Quest 2.
- Choose your Roku TV: Your Oculus Quest 2 will scan for available devices to cast to. Select your Roku TV from the list of available devices.
- Confirm the casting: Once you have selected your Roku TV, your Oculus Quest 2 will display a confirmation message on your headset. Confirm the casting by selecting the “Start” or “OK” button.
- Wait for the casting to start: Your Oculus Quest 2 will establish a connection with your Roku TV, and the casting will begin. The screen of your Oculus Quest 2 will be mirrored onto your Roku TV screen.
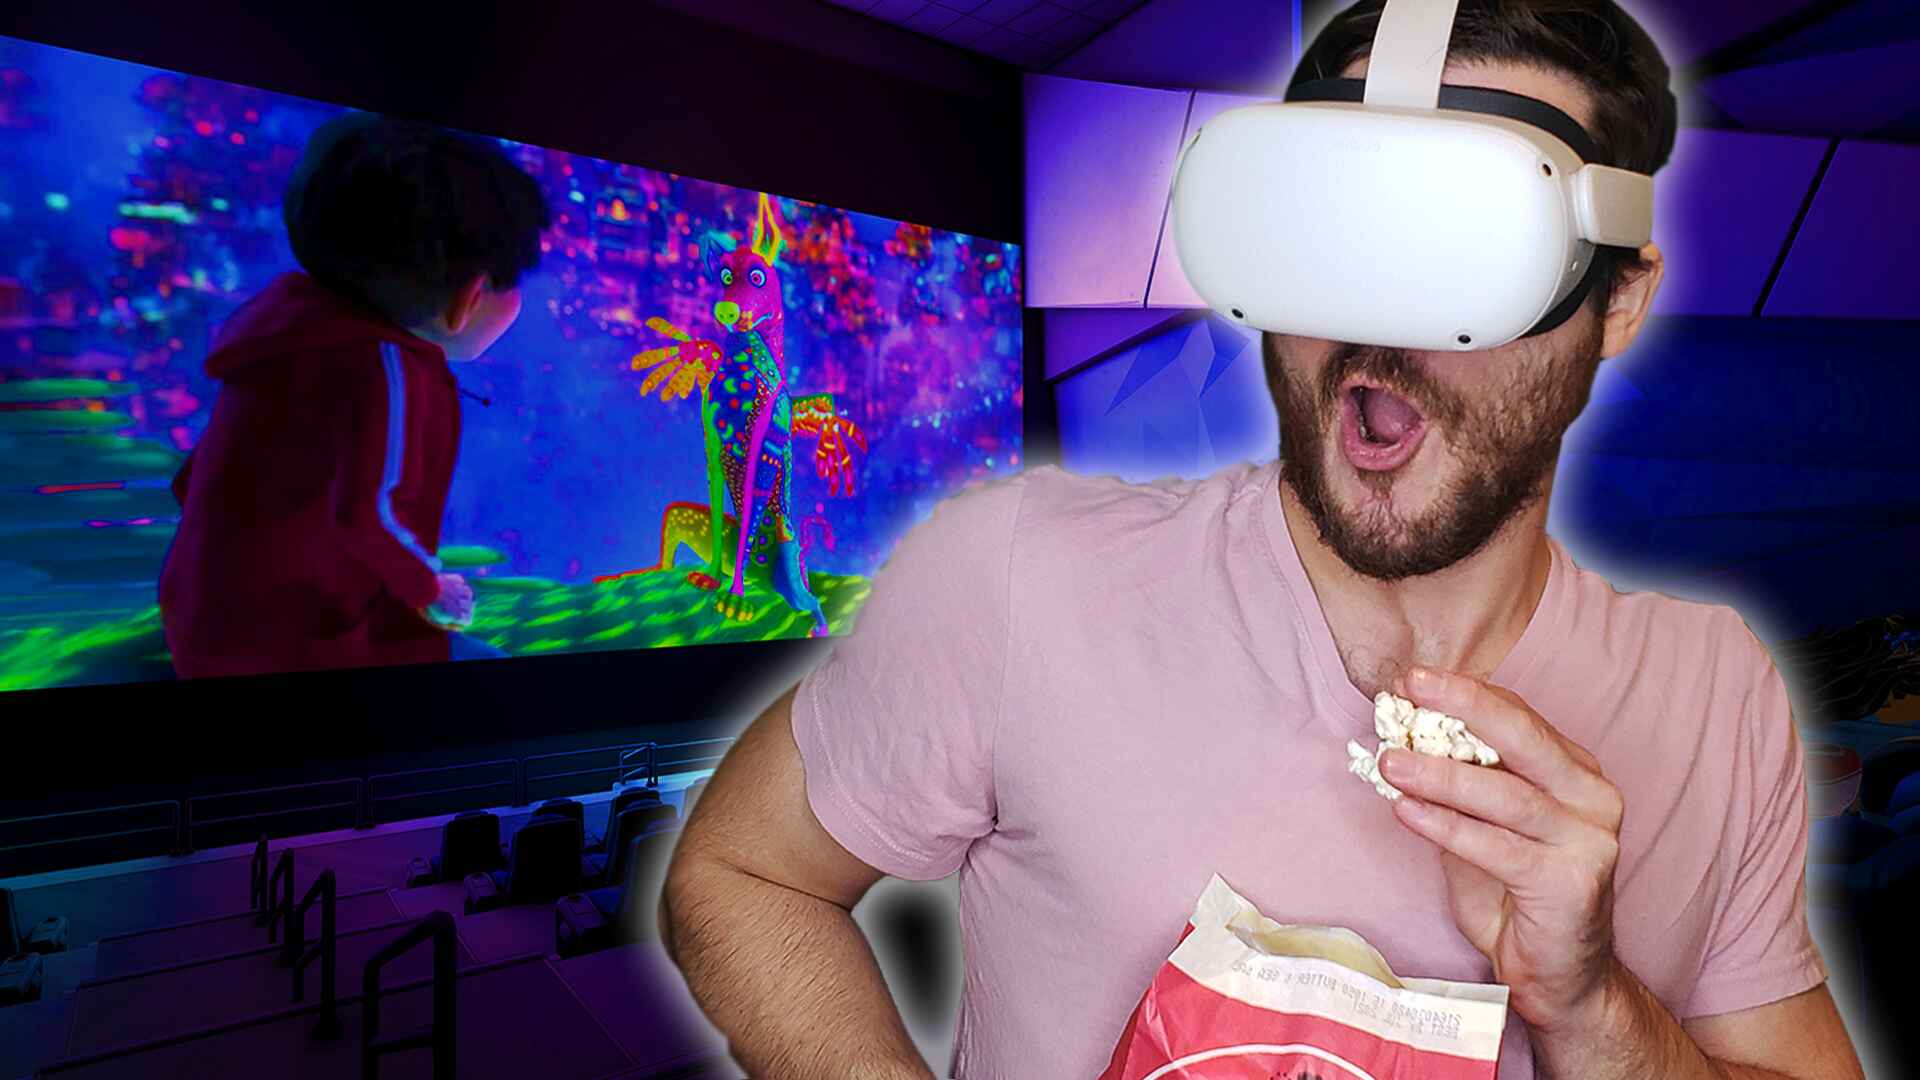
Once the casting has started, you can now enjoy your virtual reality experience on the larger display of your Roku TV. You can explore VR games, watch videos, or immerse yourself in virtual experiences, all on a bigger screen.
Note that the casting feature may vary depending on the specific app or content you are using. Some apps may offer additional casting options or settings within their own interface.
Now that you have successfully casted your Oculus Quest 2 to your Roku TV, it’s time to move on to the next step: controlling the casted experience.
Step 7: Control the Casted Experience
Now that you have successfully casted your Oculus Quest 2 to your Roku TV, you might be wondering how to control the casted experience. Here are a few ways you can control and enhance your VR experience on the Roku TV:
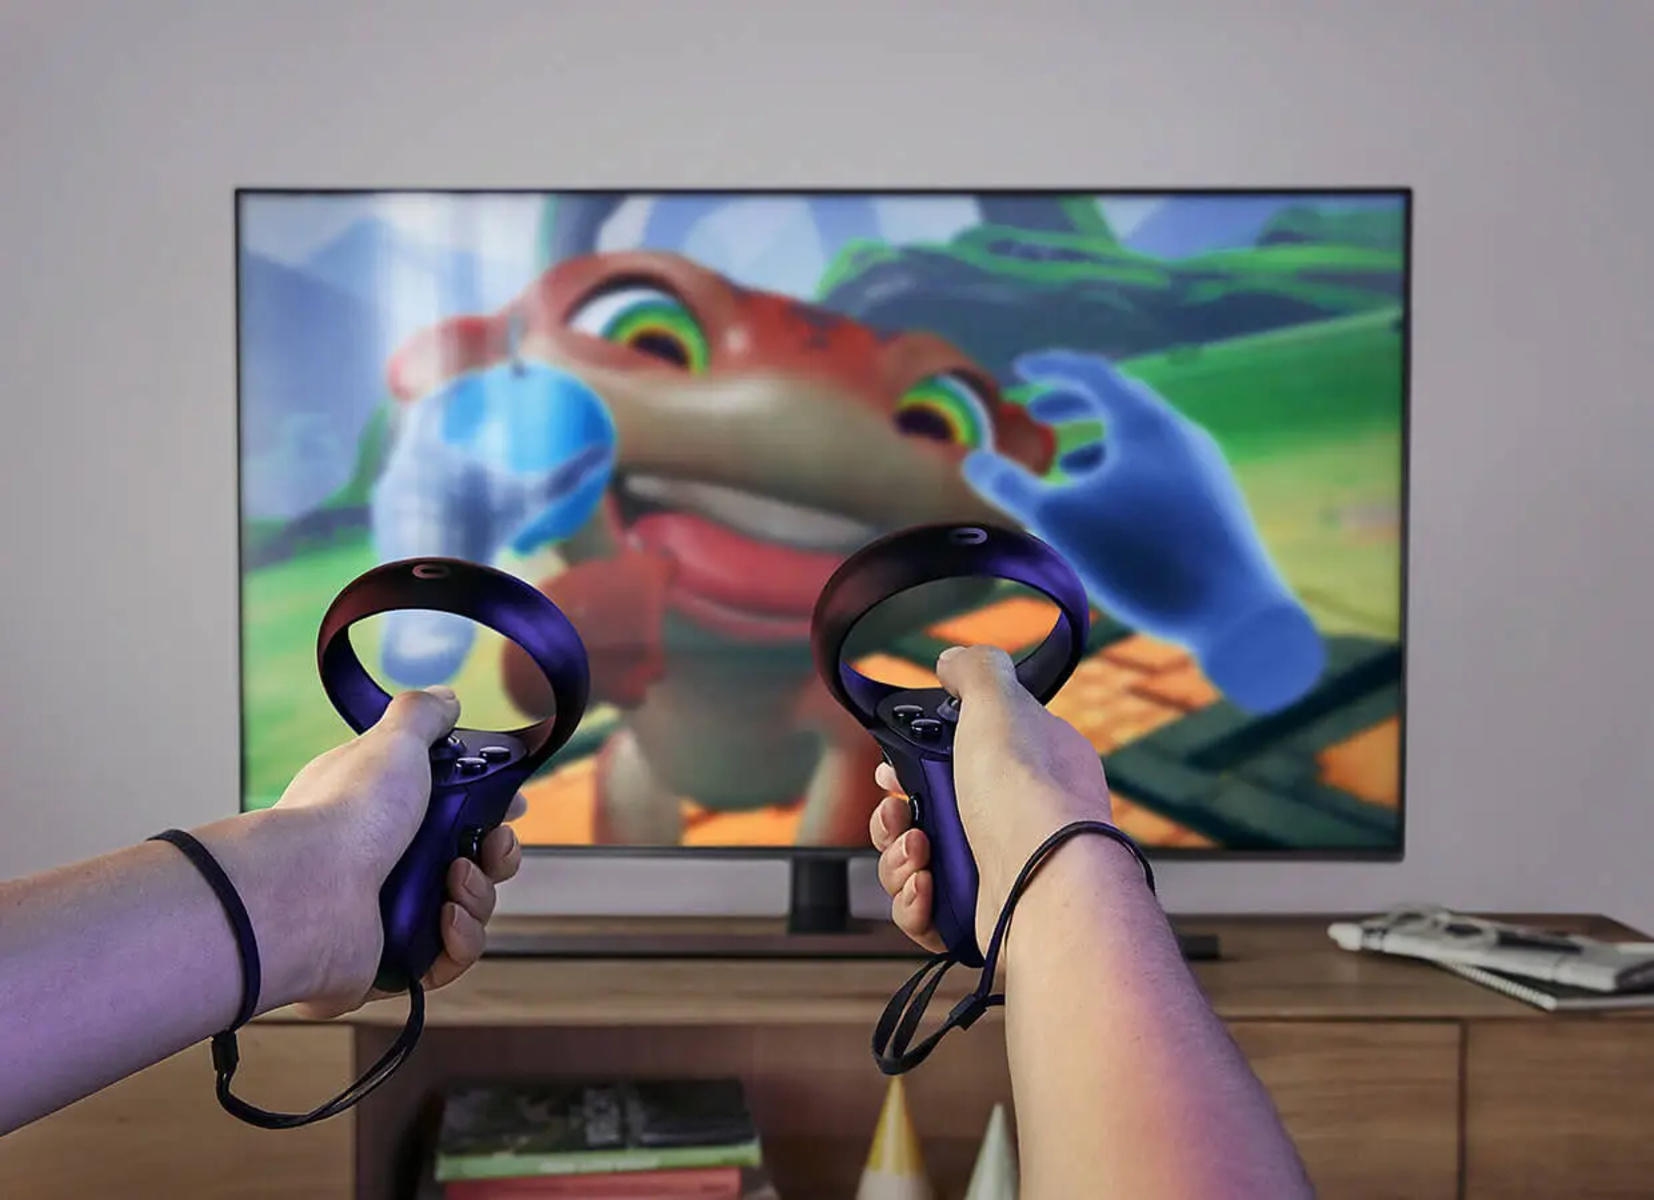
- Use the Oculus Quest 2 controllers: While casting, you can continue to use the Oculus Quest 2 controllers to interact with the VR content. Whether you’re playing a game or navigating through menus, the controllers allow you to fully engage in the virtual experience.
- Use the Roku TV remote: You can also use the Roku TV remote to control certain aspects of the casted experience. The remote allows you to adjust the volume, pause or play the content, navigate through menus, and perform other basic functions.
- Access the Roku TV menus: If you need to make changes to the display settings or adjust any other Roku TV-specific settings, you can do so by accessing the Roku TV menus using the remote. This allows you to customize your viewing experience to your liking.
- End the casting: When you’re done casting your Oculus Quest 2 to the Roku TV, you can end the casting by either going back to the Oculus Quest 2 menu and selecting “Stop Casting”, or by going to the Roku TV settings and disabling screen mirroring. This will return the Roku TV to its normal function.
Remember that the precise controls and options available during casting may vary depending on the specific app or content you are using. Additionally, not all VR experiences may be compatible with casting or offer the same level of interactivity on the Roku TV.
Experiment with different controls and settings to find what works best for you and enhances your overall VR experience on the big screen of the Roku TV.
With these control options, you can fully immerse yourself in the casted VR experience and enjoy everything it has to offer on your Roku TV.
Now that you know how to control the casted experience, you’re all set to enjoy the immersive world of virtual reality on your Roku TV.
Troubleshooting Tips
While casting your Oculus Quest 2 to your Roku TV is generally a straightforward process, you might encounter some issues along the way. Here are a few troubleshooting tips to help you resolve common problems:
- Ensure both devices are connected to the same Wi-Fi network: Double-check that your Oculus Quest 2 and your Roku TV are connected to the same Wi-Fi network. If they’re on different networks, the casting may not work.
- Update your software: Make sure that both your Oculus Quest 2 headset and your Roku TV are running the latest software versions. Check for any available updates and install them if needed. Outdated software can sometimes cause compatibility issues.
- Restart your devices: Sometimes, a simple restart can help resolve connectivity issues. Try restarting both your Oculus Quest 2 and your Roku TV, and then attempt the casting process again.
- Check your Wi-Fi signal strength: A weak Wi-Fi signal can result in poor casting performance or disconnections. Position your devices closer to your Wi-Fi router or consider using a Wi-Fi extender to improve the connection quality.
- Disable VPN or proxy settings: Virtual private networks (VPNs) and proxy settings can interfere with the casting process. If you have any VPN or proxy settings enabled, try disabling them temporarily to see if it resolves the issue.
- Try using a different casting method: If you’re experiencing problems with the built-in casting feature, you can try using alternative casting methods. For example, you can use third-party casting apps or devices that are compatible with both your Oculus Quest 2 and your Roku TV.
- Contact customer support: If you’ve tried the troubleshooting tips above and are still encountering issues, reach out to the customer support teams of Oculus or Roku for further assistance. They may be able to provide specific guidance based on your setup and situation.
Remember, casting issues can sometimes be specific to certain apps or content, so be sure to check if the problem persists across different experiences.
By following these troubleshooting tips, you should be able to overcome common challenges and enjoy a smooth casting experience from your Oculus Quest 2 to your Roku TV.
Conclusion
Casting your Oculus Quest 2 to your Roku TV opens up a whole new world of possibilities for experiencing virtual reality content on a larger screen. By following the step-by-step instructions in this guide, you can easily set up and enjoy the immersive VR experience on your Roku TV.
From preparing your Oculus Quest 2 and setting up your Roku TV to installing the Oculus app on your mobile device and enabling screen mirroring, each step plays a crucial role in ensuring a smooth casting process.
Once you’ve successfully casted your Oculus Quest 2 to your Roku TV, you can control the experience using the Oculus Quest 2 controllers or the Roku TV remote, allowing you to interact with the content and customize your viewing experience.
If you encounter any issues along the way, refer to the troubleshooting tips to overcome common problems and maximize your casting experience.
Now that you’re equipped with the knowledge to cast your Oculus Quest 2 to your Roku TV, it’s time to gather your friends and family and enjoy the immersive virtual reality experience together on the big screen.
So, what are you waiting for? Get ready to dive into a world of virtual reality entertainment and make the most of your Oculus Quest 2 and Roku TV!