Introduction
Welcome to the world of virtual reality with the Oculus Quest 2! Whether you’re a gaming enthusiast or simply want to explore new virtual experiences, the Oculus Quest 2 offers an immersive and interactive way to dive into a virtual world. But did you know that you can extend your VR experience by casting the Oculus Quest 2 to your PC?
The Oculus Quest 2 is a standalone virtual reality headset that allows you to play games, browse the internet, watch videos, and more, all in virtual reality. With its impressive graphics, intuitive controls, and wireless design, it provides an incredible VR experience without the need for any external devices or cables. However, by casting your Oculus Quest 2 to a PC, you can take advantage of the larger screen and more powerful hardware for an even more immersive and visually stunning experience.
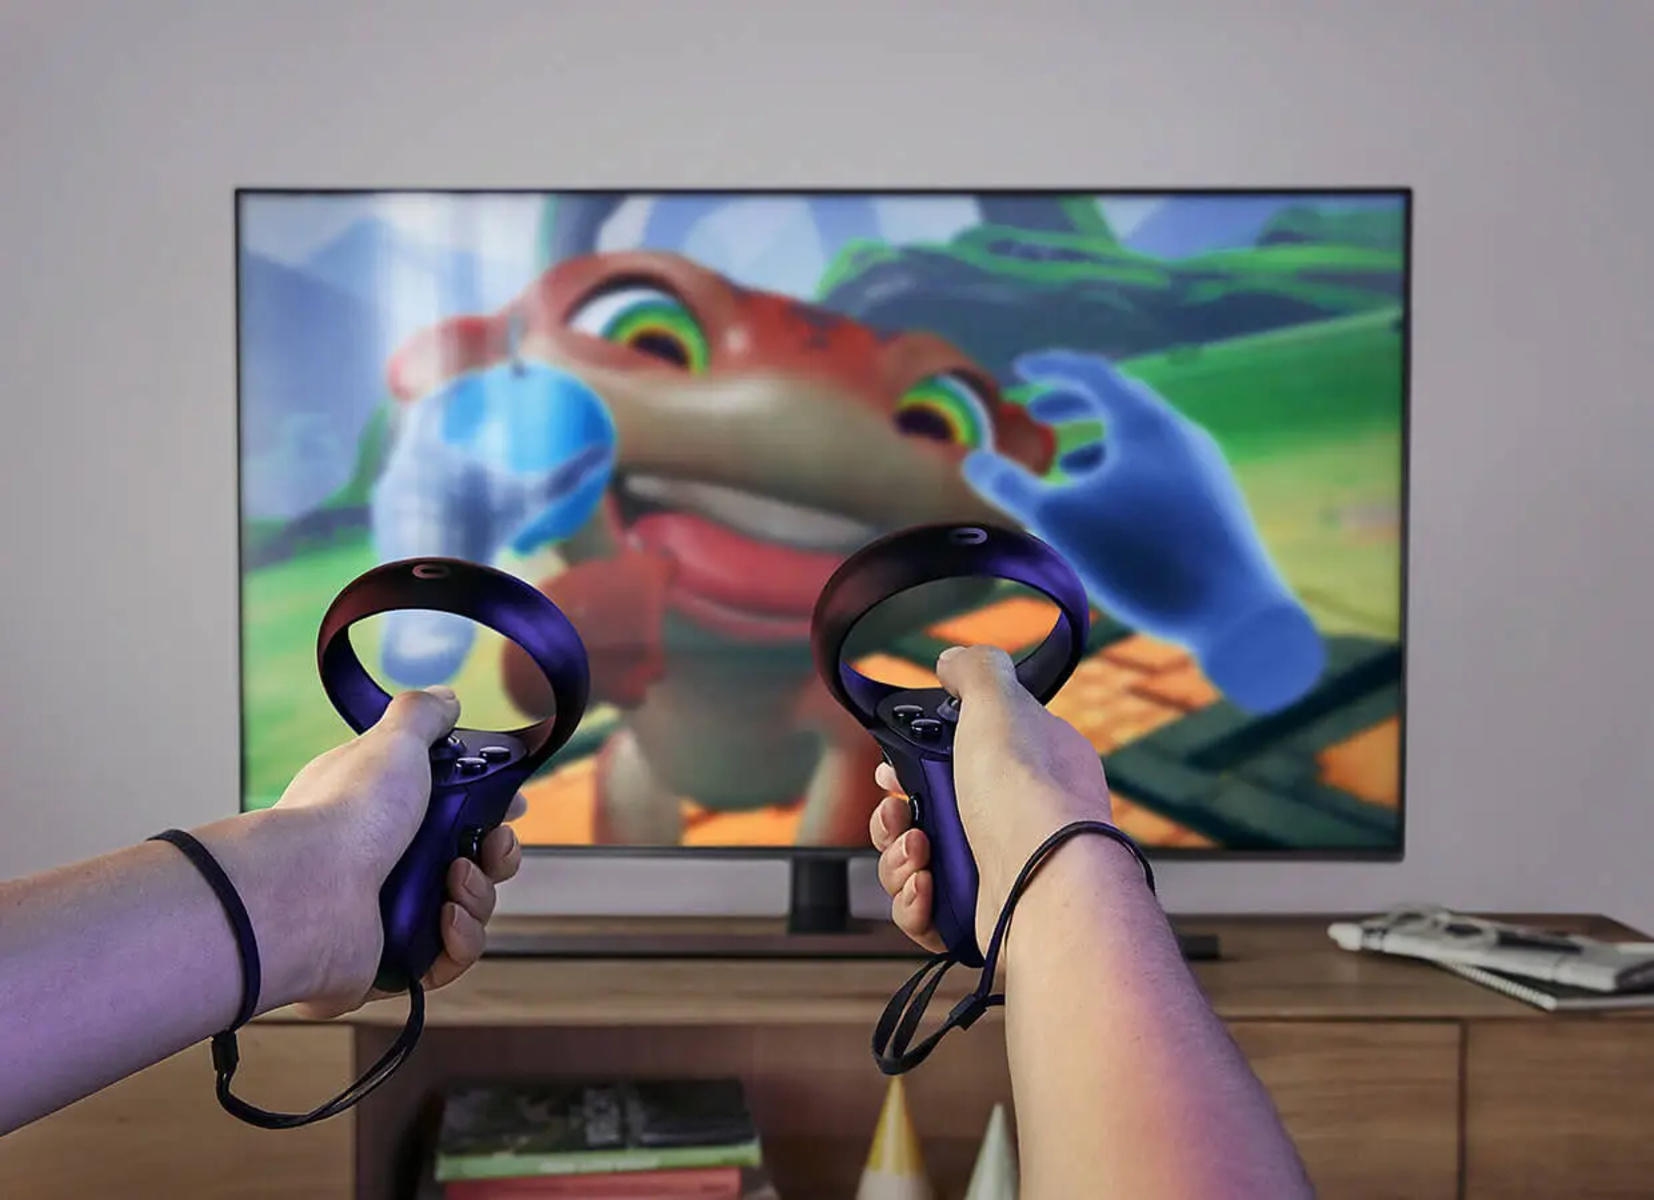
With the ability to cast your Oculus Quest 2 to a PC, you can enjoy your VR games and content on a bigger screen, making it easier to share the experience with others or simply immerse yourself in the virtual world. Whether you want to showcase your gaming skills to your friends, stream your VR gameplay to an online audience, or simply enjoy a more immersive experience in virtual reality, casting Oculus Quest 2 to a PC opens up a whole new world of possibilities.
Now that you’re excited about the prospect of casting your Oculus Quest 2 to a PC, let’s dive into the system requirements and the step-by-step process of setting it up. Whether you’re a tech-savvy enthusiast or new to the world of VR, we’ll guide you through the process with easy-to-follow instructions and troubleshooting tips to ensure a smooth and enjoyable casting experience.
What is Oculus Quest 2?
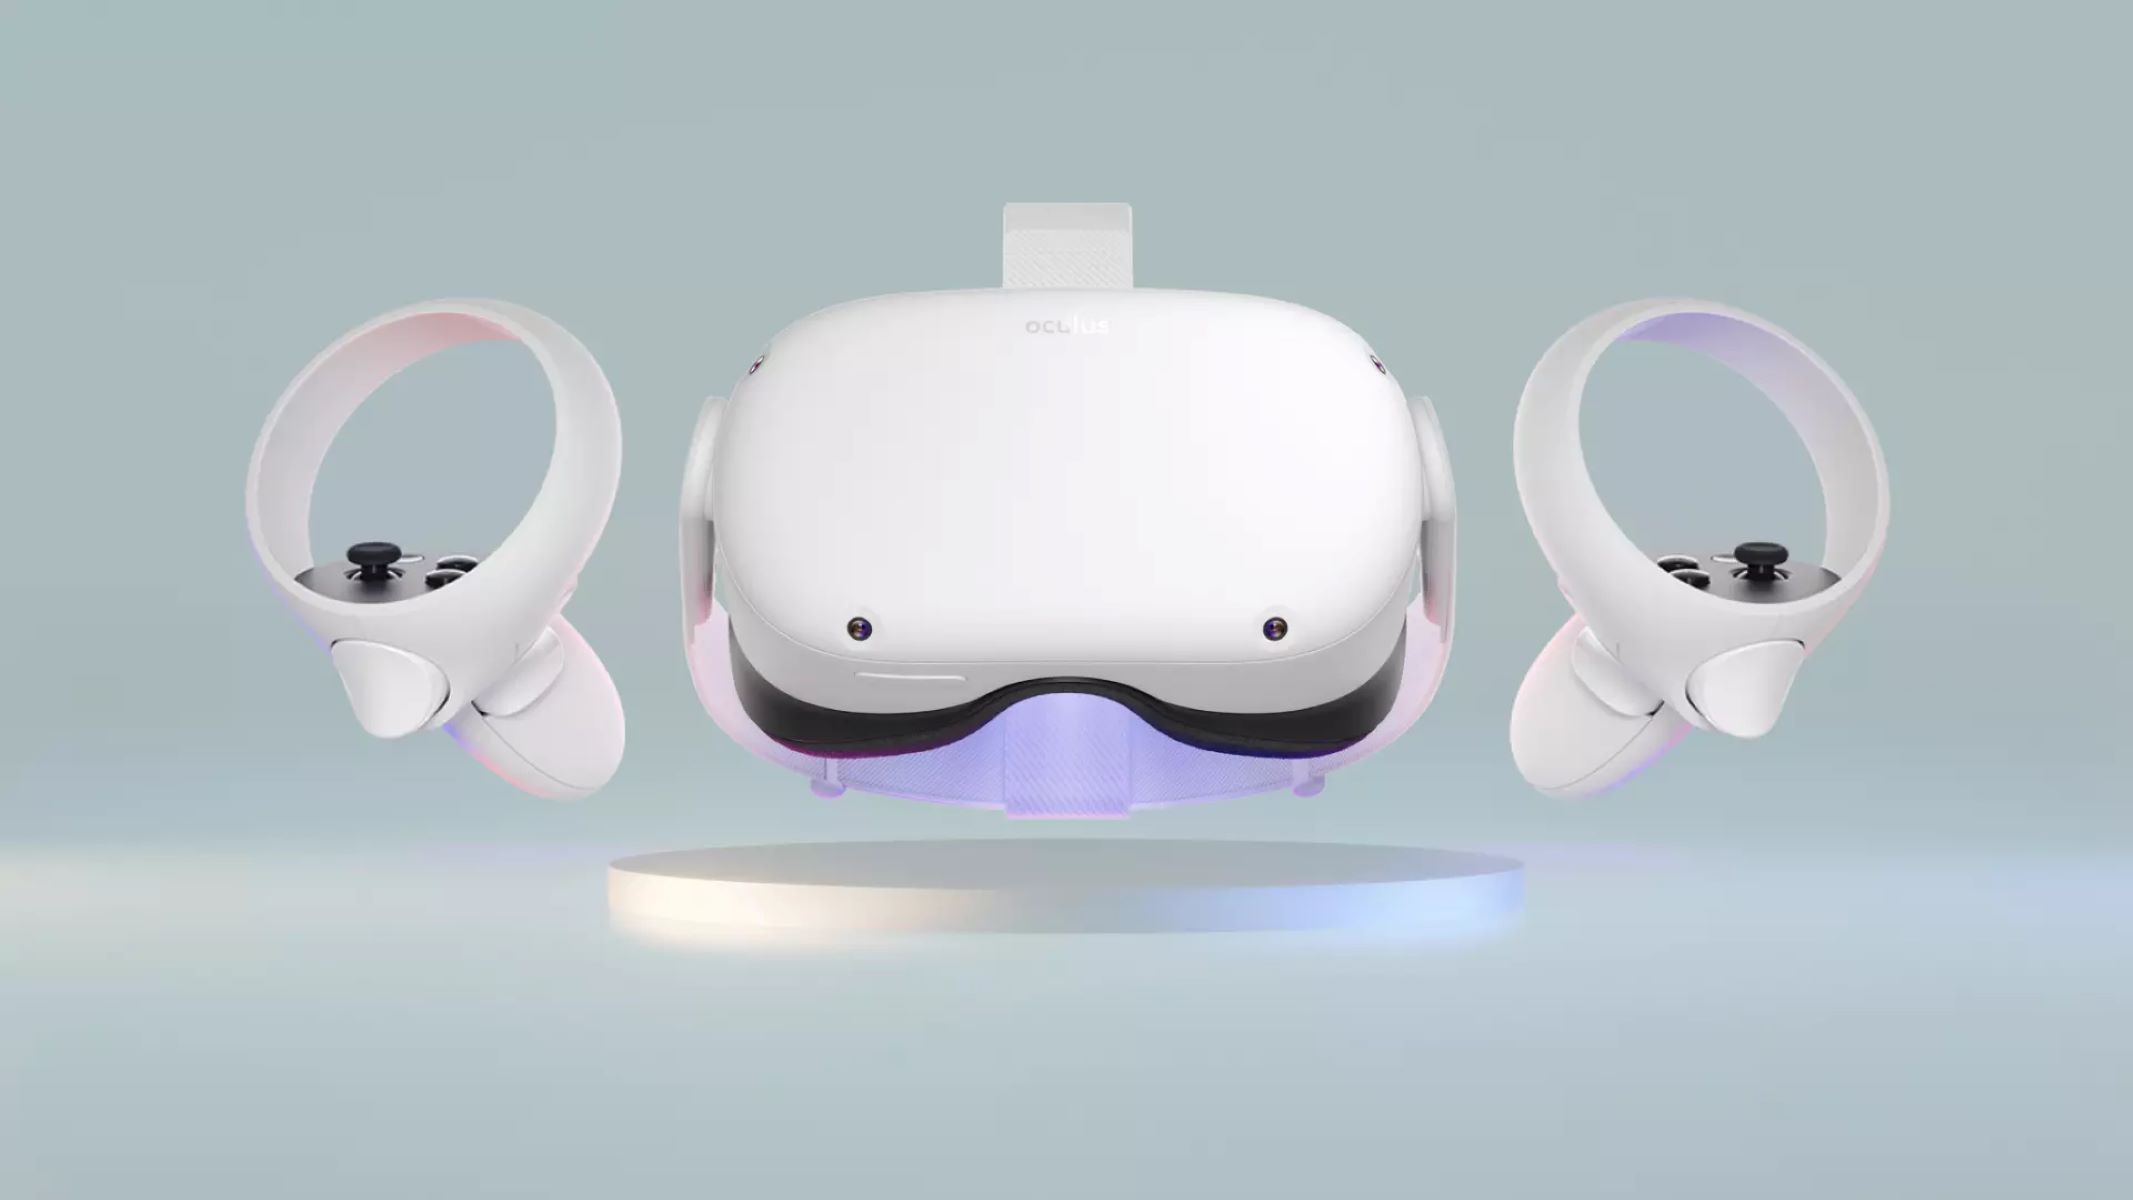
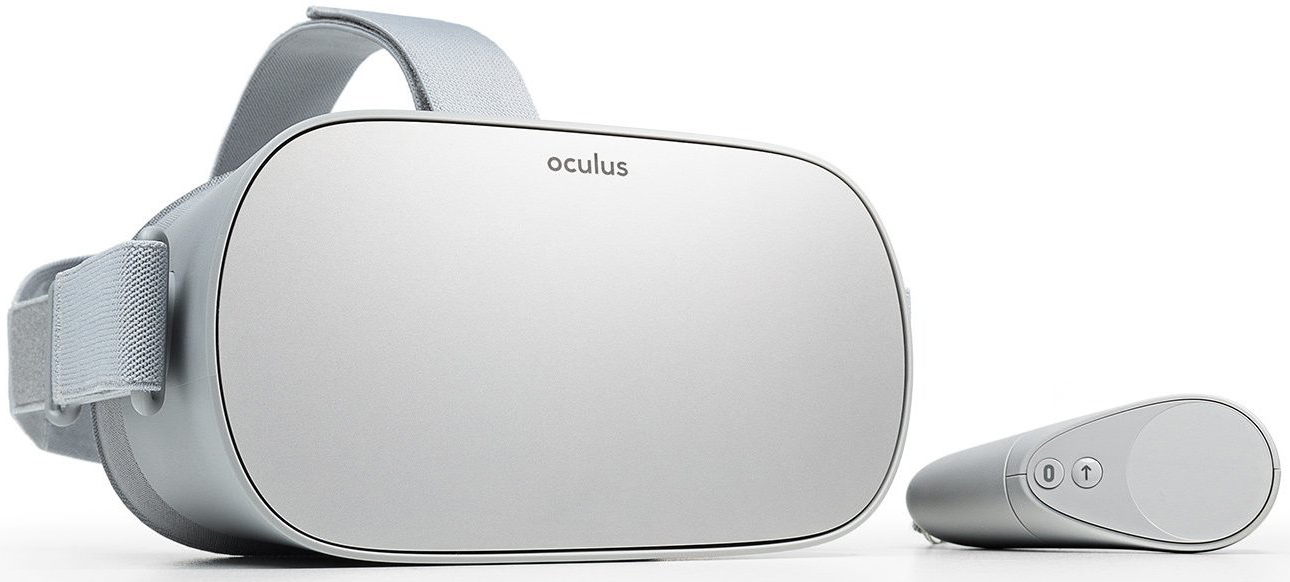
The Oculus Quest 2 is a virtual reality headset developed by Oculus, a subsidiary of Facebook. It is the successor to the original Oculus Quest and is designed to provide a seamless and immersive VR experience. The headset itself is standalone, meaning it does not require a computer or gaming console to function. This makes it highly accessible and allows users to enjoy virtual reality experiences without being tethered to any external devices.
One of the standout features of the Oculus Quest 2 is its impressive resolution and graphical capabilities. It boasts a 1832×1920 pixel resolution per eye, resulting in sharp and detailed visuals. The fast-switch LCD display provides a vibrant and immersive experience, bringing virtual worlds to life with stunning clarity.
In terms of hardware, the Oculus Quest 2 is powered by the Qualcomm Snapdragon XR2 processor, which delivers high-performance computing power for smooth and responsive gameplay. The headset also features 6GB of RAM and comes in storage options of 64GB or 256GB, allowing you to store a vast library of games and content.
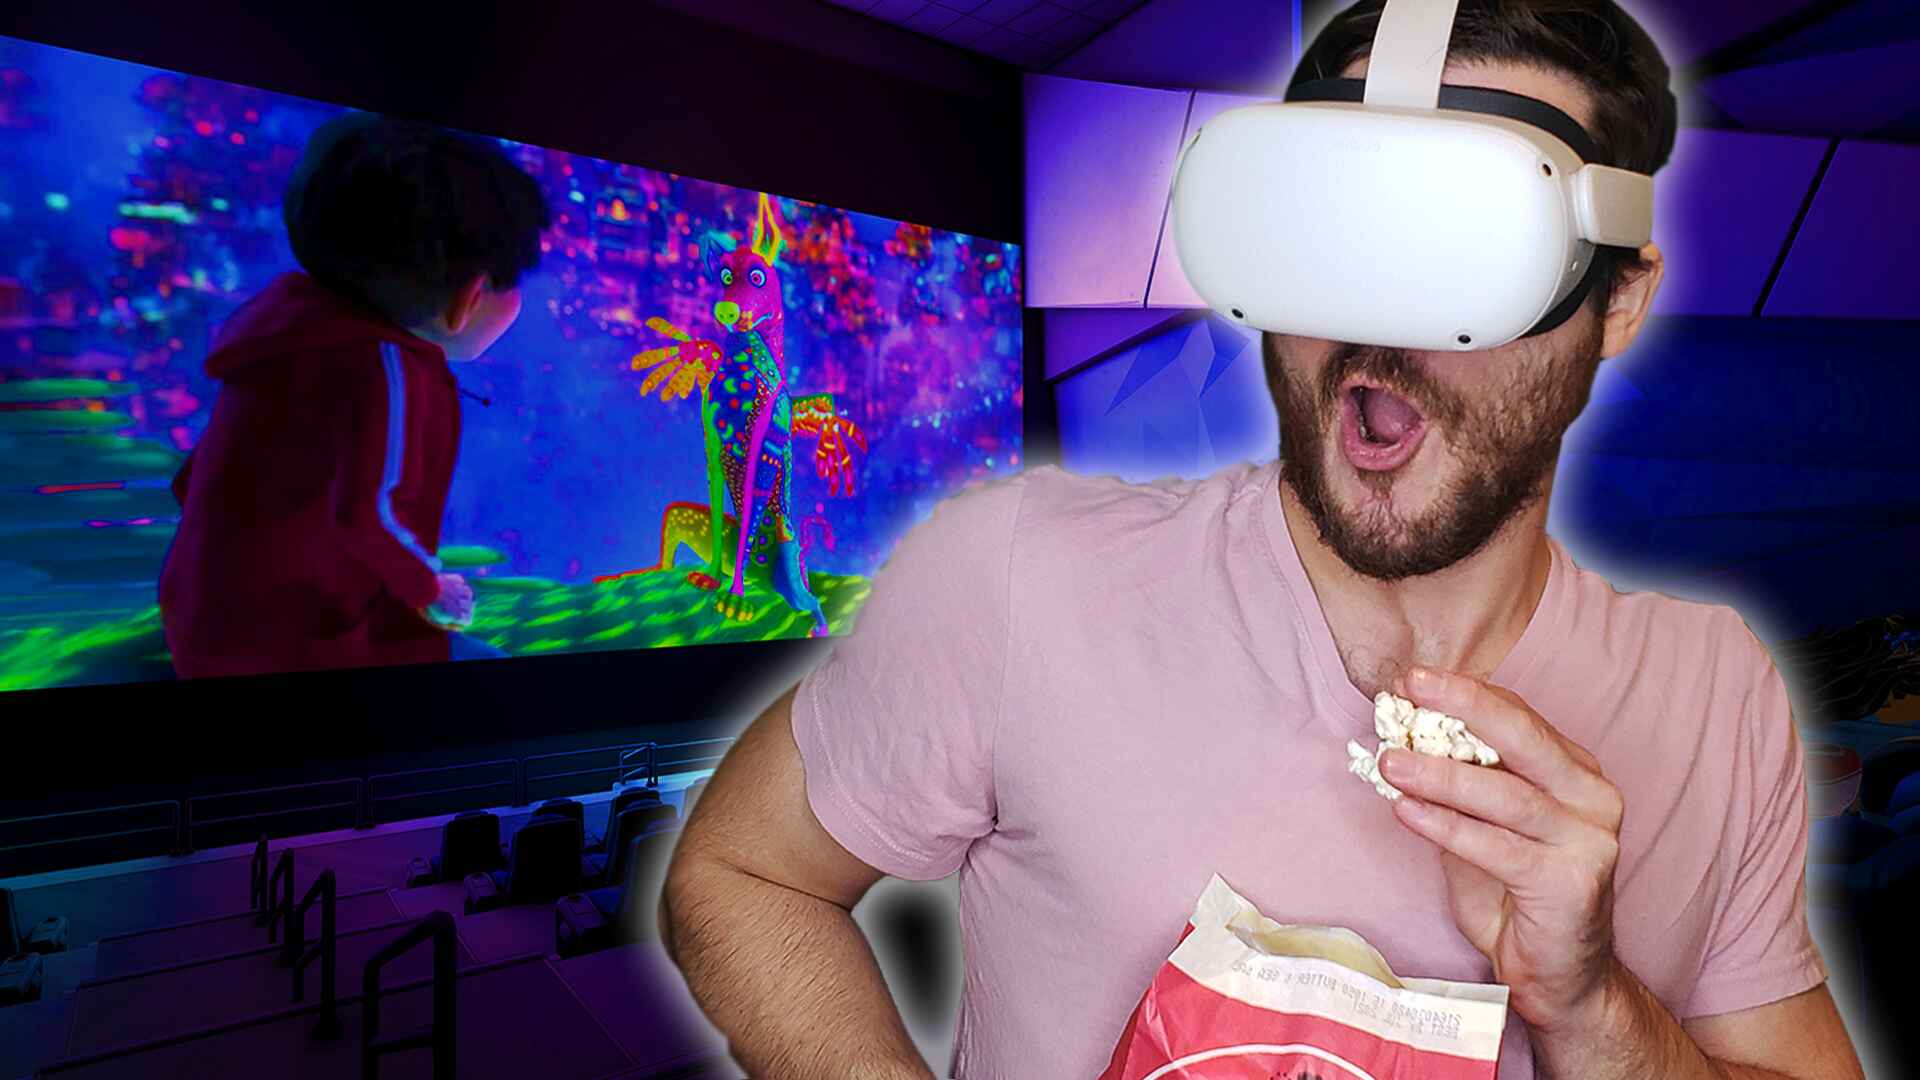
The Oculus Quest 2 offers a wide range of VR experiences, including gaming, social interactions, and multimedia entertainment. From action-packed games to immersive virtual environments, there is something for everyone. The Oculus Quest 2 has a growing library of games and applications available through the Oculus Store, offering a diverse range of experiences to suit different interests and preferences.
One of the unique aspects of the Oculus Quest 2 is its inside-out tracking system. This means that the headset uses built-in sensors to track the movement of the user, eliminating the need for external sensors or trackers. This makes the setup process much simpler and allows for a more flexible and portable VR experience.
Another key feature of the Oculus Quest 2 is its virtual reality controllers. The controllers are lightweight and ergonomic, providing precise and intuitive control over your virtual interactions. With the Oculus Touch controllers, you can easily navigate menus, interact with objects, and immerse yourself in the virtual world.
Overall, the Oculus Quest 2 offers a high-quality and accessible virtual reality experience. Whether you’re a casual gamer, a VR enthusiast, or simply curious about the possibilities of virtual reality, the Oculus Quest 2 delivers stunning visuals, immersive gameplay, and a wide range of experiences to explore.
Why cast Oculus Quest 2 to PC?
The Oculus Quest 2 is already a powerful standalone virtual reality headset, so why would you want to cast it to your PC? There are several compelling reasons to do so, which we’ll explore below.
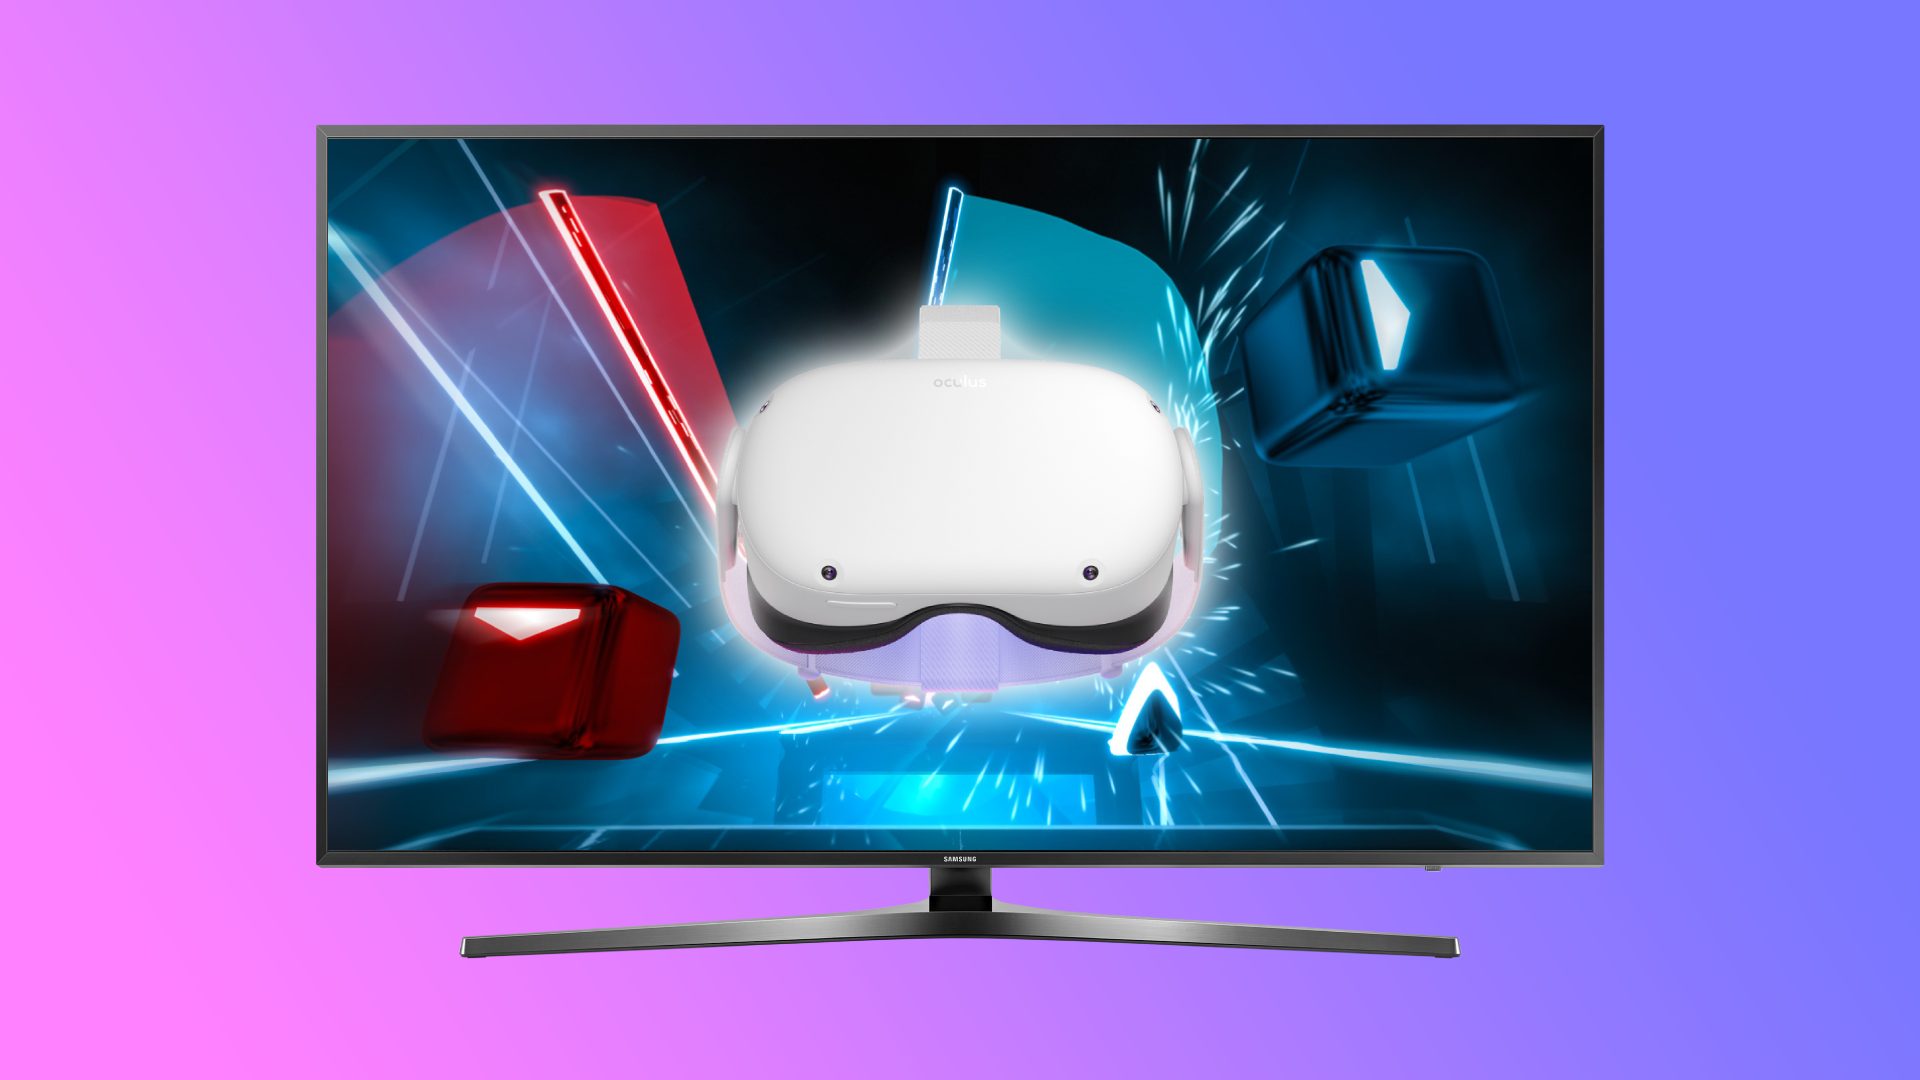
Enhanced Visuals: While the Oculus Quest 2 offers impressive graphics and visual quality on its own, casting it to a PC allows you to take advantage of your PC’s more powerful hardware. This means you can enjoy games and experiences with even better graphics, higher resolutions, and smoother performance. The larger screen of your PC also provides a more immersive and engaging visual experience.
Streaming and Recording: If you enjoy sharing your virtual reality experiences with others, casting your Oculus Quest 2 to a PC makes it easier to stream your gameplay or record your sessions. With the help of popular streaming software like OBS or XSplit, you can capture and share your VR adventures with friends, fans, or online communities.
Multiplayer Experiences: By casting your Oculus Quest 2 to a PC, you can enable multiplayer gameplay on a larger screen. This makes it easier to host VR gaming sessions with friends or participate in online multiplayer games. The increased visibility on a PC screen enhances communication and coordination with teammates, making for a more immersive and enjoyable multiplayer experience.
Screen Sharing: Casting your Oculus Quest 2 to a PC allows you to share your virtual reality experiences with others in a social setting. Whether you want to showcase a thrilling VR game to a group of friends or demonstrate a virtual experience at a gathering, casting to a PC screen makes it easier for everyone to follow along and engage with the content.
Development and Testing: If you are an aspiring VR developer, casting your Oculus Quest 2 to a PC can be extremely useful for testing and debugging purposes. By connecting your headset to your PC, you can easily preview and test your VR applications or games during the development process, making it more efficient and convenient to iterate and refine your creations.
Access to PC VR Libraries: By casting your Oculus Quest 2 to a PC, you gain access to the vast libraries of PC VR games and applications. While the Oculus Quest 2 has an impressive catalog of standalone VR games, there is a wider range of content available on PC platforms like SteamVR or Oculus Rift. Casting your headset to a PC allows you to experience these PC-exclusive titles while still enjoying the freedom and mobility of the Oculus Quest 2.
Overall, casting your Oculus Quest 2 to a PC expands its capabilities and opens up a world of possibilities. Whether you’re looking for enhanced visuals, multiplayer experiences, content sharing, or development opportunities, casting to a PC offers a new level of immersion and flexibility for your virtual reality adventures.
System Requirements
In order to successfully cast your Oculus Quest 2 to a PC, there are certain system requirements that you need to meet. Here are the key hardware and software requirements you should consider:
PC Hardware: You will need a PC with sufficient processing power and graphics capabilities to handle the VR content and casting process. The exact hardware requirements may vary depending on the specific VR applications or games you want to experience. However, as a general guideline, a PC with at least an Intel Core i5 or AMD Ryzen 5 processor, 8GB of RAM, and a compatible graphics card such as an NVIDIA GTX 1060 or AMD Radeon RX 480 should be sufficient for most VR experiences.
Operating System: Your PC should be running a compatible operating system. Most VR applications and games are designed to work with Windows 10, so it is recommended to have the latest version of Windows installed on your PC.
USB 3.0 Port: To connect your Oculus Quest 2 to your PC, you will need a USB 3.0 port. This port is used to establish a high-speed data connection between the headset and the PC. Ensure that you have an available USB 3.0 port on your PC for the best performance.
Oculus Software: You will need to install the Oculus software on your PC. This software allows you to set up and manage your Oculus Quest 2, as well as facilitate the casting process. You can download the Oculus software for free from the official Oculus website.
Network Connection: A stable and reliable network connection is necessary for casting your Oculus Quest 2 to a PC. Both your PC and your Oculus Quest 2 should be connected to the same Wi-Fi network. Make sure your network connection is strong and there is minimal interference to ensure smooth and uninterrupted casting.
Recommended Accessories: While not mandatory, there are some accessories that can enhance your casting experience. These include a long USB-C cable for connecting your Oculus Quest 2 to the PC, a comfortable and adjustable VR headset cable management system to keep cables organized, and a wireless gamepad or VR controller for easy navigation and control on the PC screen.
It’s important to note that while meeting the minimum system requirements is essential for a satisfactory casting experience, having a PC with higher specifications will result in better performance and visuals. It’s recommended to check the specific system requirements for the VR applications or games you intend to use and ensure that your PC meets or exceeds those requirements for optimal performance.
How to Set Up the Oculus Quest 2 for Casting
To cast your Oculus Quest 2 to a PC, you’ll need to follow a few simple steps to ensure a seamless and successful setup. Here’s a step-by-step guide to help you get started:
Step 1: Enable Developer Mode: Before you begin the casting process, you need to enable Developer Mode on your Oculus Quest 2. This allows your headset to connect to the Oculus software on your PC. To enable Developer Mode, navigate to the Oculus app on your smartphone, go to Settings, select your Oculus Quest 2, and toggle on the Developer Mode option.
Step 2: Install Oculus Software on your PC: Make sure you have the Oculus software installed on your PC. You can download it from the official Oculus website and follow the installation instructions. Once installed, launch the Oculus software and sign in to your Oculus account.
Step 3: Connect your Oculus Quest 2 to your PC: Connect your Oculus Quest 2 to your PC using a compatible USB-C cable. Ensure that your PC recognizes the headset and establishes a connection. If prompted on your Oculus Quest 2, authorize the connection to the PC.
Step 4: Enable Oculus Link: In the Oculus software on your PC, go to Settings and select the Devices tab. Look for the Oculus Link option and click on it to enable it. This allows your Oculus Quest 2 to be recognized as a PC VR headset and enables the casting feature.
Step 5: Allow Unknown Sources: In the Oculus software on your PC, go to Settings and select the General tab. Locate the Unknown Sources option and toggle it on. This allows you to run apps and games from third-party sources, which is necessary for certain casting methods.
Step 6: Start Casting: Once your Oculus Quest 2 is connected to your PC and Oculus Link is enabled, you’re ready to start casting. In the Oculus software on your PC, go to the Devices tab and select your Oculus Quest 2. From there, click on the Casting option and choose the casting destination, which will be your PC screen.
That’s it! You have successfully set up your Oculus Quest 2 for casting to your PC. Now you can enjoy your VR experiences on a larger screen and take advantage of the enhanced visuals and performance offered by your PC.
Note that the exact steps and options may vary depending on the software version and updates. It’s recommended to refer to the official Oculus support documentation for the most up-to-date instructions specific to your headset and software version.
Method 1: Using Oculus Link
Oculus Link is the official method provided by Oculus to connect your Oculus Quest 2 to a PC and enable PC VR gaming and casting. It allows you to harness the power of your PC to enhance the graphics and performance of your VR experiences. To use Oculus Link, follow these steps:
Step 1: Install Oculus Link Software: Ensure that you have the latest version of the Oculus PC software installed on your computer. This software enables the Oculus Quest 2 to connect to your PC and utilize its hardware. If you haven’t installed it yet, you can download it from the official Oculus website and follow the installation instructions.
Step 2: Connect Oculus Quest 2 to PC: Use a compatible USB-C cable to connect your Oculus Quest 2 to your PC. The Oculus Link cable provided by Oculus is recommended for the best performance, but you can also use third-party USB-C cables that meet the required specifications. Connect one end of the cable to your PC and the other end to the Oculus Quest 2’s USB-C port.
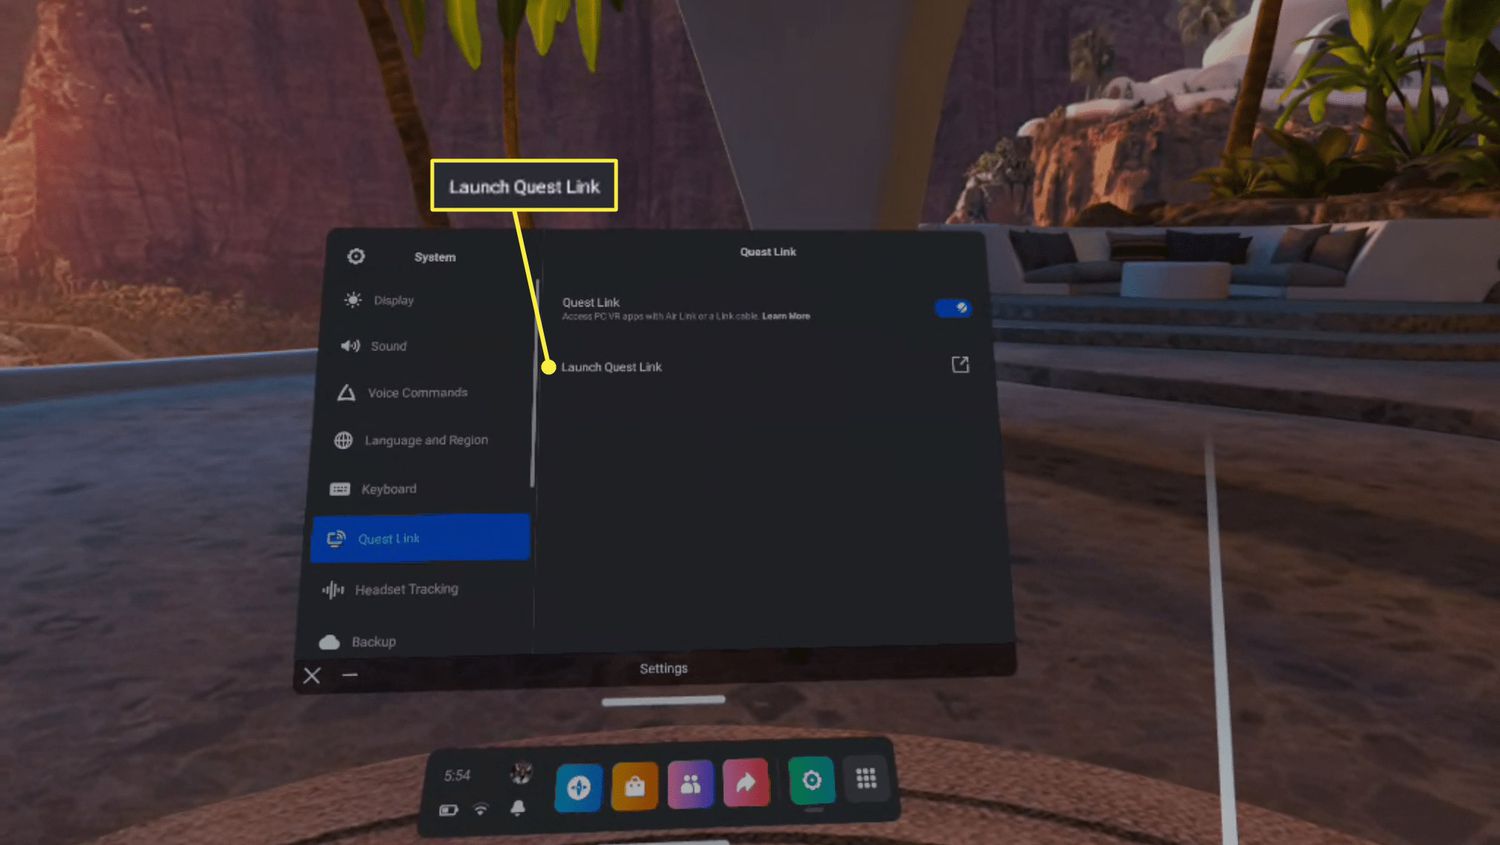
Step 3: Put on Your Oculus Quest 2 and Launch Oculus Link: Put on your Oculus Quest 2 headset and power it on. Navigate to the Oculus Quest 2 home screen. On your PC, launch the Oculus PC app if it’s not already open. The Oculus PC app should recognize your Oculus Quest 2 and prompt you to enable Oculus Link. Follow the on-screen instructions to enable Oculus Link.
Step 4: Start Casting: Once Oculus Link is enabled and your Oculus Quest 2 is connected to your PC, you can begin casting. In the Oculus PC app, go to the Devices tab and select your Oculus Quest 2. From there, click on the Casting option and choose your PC as the casting destination. Your Oculus Quest 2’s display will be mirrored on your PC screen.
Step 5: Adjust Settings if Desired: If needed, you can adjust the casting settings to optimize the viewing experience. In the Oculus PC app, go to the Devices tab, select your Oculus Quest 2, and click on the Casting option. From there, you can adjust settings such as resolution, frame rate, and microphone options to suit your preferences.
Using Oculus Link provides a seamless and high-quality casting experience, allowing you to enjoy your Oculus Quest 2 content on a larger screen with enhanced visuals and performance. Just make sure to have a compatible USB-C cable and meet the system requirements for both your PC and Oculus Quest 2 to ensure the best experience.
Method 2: Using Third-Party Apps
In addition to Oculus Link, there are several third-party apps available that allow you to cast your Oculus Quest 2 to a PC. These apps provide alternative methods for connecting your headset to your PC and offer additional features and customization options. Here’s how you can cast your Oculus Quest 2 to a PC using third-party apps:
Step 1: Select a Third-Party App: There are various third-party apps available for casting Oculus Quest 2 to a PC, including Airscreen, Virtual Desktop, and ALVR. Choose the app that best suits your needs and preferences.
Step 2: Install the App: Download and install the third-party app of your choice on both your Oculus Quest 2 and your PC. Follow the specific installation instructions provided by the app developer.
Step 3: Connect to the Same Wi-Fi Network: Ensure that both your Oculus Quest 2 and your PC are connected to the same Wi-Fi network. This is crucial for establishing a connection between the two devices and enabling casting.
Step 4: Launch the App on Oculus Quest 2: Put on your Oculus Quest 2 headset and navigate to the app you installed. Launch the app and follow any on-screen instructions or setup processes presented by the app.
Step 5: Launch the App on PC: On your PC, launch the corresponding app for the third-party software you installed. Follow any on-screen instructions or steps to set it up and establish a connection with your Oculus Quest 2.
Step 6: Start Casting: Once the connection between your Oculus Quest 2 and PC is established, you can begin casting. Open the casting feature within the third-party app on both your Oculus Quest 2 and your PC. Select your PC as the casting destination, and the display from your Oculus Quest 2 will be mirrored on your PC screen.
Step 7: Adjust Settings if Desired: Some third-party apps offer additional settings and customization options for casting. You can explore these settings within the app on both your Oculus Quest 2 and your PC to adjust resolution, quality, audio settings, and more.
Using third-party apps provides an alternative method for casting your Oculus Quest 2 to a PC, offering different features and functionality compared to Oculus Link. Be sure to research and choose a reliable and reputable third-party app that is compatible with your Oculus Quest 2 and meets your specific casting needs.
Casting Oculus Quest 2 to PC via Airscreen
Airscreen is a popular third-party app that enables you to cast your Oculus Quest 2 to a PC wirelessly. It provides an easy and convenient way to mirror your VR experience on a larger PC screen. Here’s how you can cast your Oculus Quest 2 to a PC using Airscreen:
Step 1: Install Airscreen: Install the Airscreen app on your Oculus Quest 2 by searching for it in the Oculus Store. Download and install the app following the provided instructions.
Step 2: Enable Airscreen on Oculus Quest 2: Once Airscreen is installed, launch the app on your Oculus Quest 2. Follow any on-screen instructions to set it up and configure the necessary settings.
Step 3: Install Airscreen Receiver on PC: On your PC, download and install the Airscreen Receiver software from the official Airscreen website. Follow the installation prompts to complete the setup process.
Step 4: Connect Oculus Quest 2 to PC: Ensure that both your Oculus Quest 2 and your PC are connected to the same Wi-Fi network. This is crucial for establishing a connection and enabling casting via Airscreen.
Step 5: Launch Airscreen Receiver on PC: Open the Airscreen Receiver software on your PC. It will automatically search for Airscreen-enabled devices on the same Wi-Fi network, including your Oculus Quest 2 headset.
Step 6: Start Casting: Once the Airscreen Receiver software detects your Oculus Quest 2, select it from the list of available devices. Click on the “Start” or “Connect” button to establish the connection between your Oculus Quest 2 and your PC.
Step 7: Adjust Settings if Desired: Airscreen provides various settings and options that you can customize to enhance your casting experience. These include resolution settings, audio settings, and more. Explore the settings within the Airscreen Receiver software on your PC to adjust these preferences, if needed.
With Airscreen, you can seamlessly cast your Oculus Quest 2 to your PC without the need for wires or additional hardware. The wireless aspect of Airscreen offers convenience and freedom of movement, allowing you to enjoy your VR content on a larger screen while staying untethered.
Note that the performance and quality of the casting experience via Airscreen may depend on your Wi-Fi network stability and the capabilities of your PC. For optimal performance, ensure that you have a strong and stable Wi-Fi connection and meet the system requirements for both Airscreen and your Oculus Quest 2.
Casting Oculus Quest 2 to PC via Virtual Desktop
Virtual Desktop is a popular third-party app that allows you to cast your Oculus Quest 2 to a PC wirelessly, providing a seamless and immersive VR experience. Here’s how you can cast your Oculus Quest 2 to a PC using Virtual Desktop:
Step 1: Purchase and Install Virtual Desktop: Purchase and download the Virtual Desktop app from the Oculus Store on your Oculus Quest 2. Install the app following the provided instructions.
Step 2: Enable Developer Mode: Before proceeding, enable Developer Mode on your Oculus Quest 2. To enable Developer Mode, navigate to the Oculus app on your smartphone, go to Settings, select your Oculus Quest 2, and toggle on the Developer Mode option.
Step 3: Sideload Virtual Desktop Streamer: To connect Virtual Desktop on your Oculus Quest 2 to your PC, you need to sideload the Virtual Desktop Streamer software onto your PC. Follow the instructions provided on the official Virtual Desktop website to download and install the necessary software.
Step 4: Connect Oculus Quest 2 to PC: Ensure that both your Oculus Quest 2 and your PC are connected to the same Wi-Fi network. This is crucial for establishing a connection between your headset and your PC.
Step 5: Launch Virtual Desktop: Put on your Oculus Quest 2 headset and launch the Virtual Desktop app. Follow any initial setup instructions prompted by the app, such as granting necessary permissions and connecting to your PC.
Step 6: Start Casting: Once Virtual Desktop is successfully connected to your PC, you can begin casting. Within the Virtual Desktop app on your Oculus Quest 2, navigate to the “Games” or “Desktop” tab and select the PC you want to cast to. The display from your Oculus Quest 2 will be mirrored on your PC screen.
Step 7: Adjust Settings if Desired: Virtual Desktop provides various settings and options that you can customize to enhance your casting experience. These include resolution settings, audio settings, performance options, and more. Explore the settings within the Virtual Desktop app on your Oculus Quest 2 to adjust these preferences, if needed.
With Virtual Desktop, you can enjoy the freedom of wirelessly casting your Oculus Quest 2 to your PC, allowing you to experience your VR content on a larger screen with enhanced visuals and performance.
It is worth noting that Virtual Desktop relies heavily on your Wi-Fi network stability and the capabilities of your PC. To ensure optimal performance, make sure you have a strong and stable Wi-Fi connection, use a router compatible with the Virtual Desktop requirements, and meet the recommended system specifications for your PC.
Troubleshooting Tips for Casting Issues
While casting your Oculus Quest 2 to a PC can be a fantastic way to enhance your VR experience, you may encounter occasional issues or challenges. Here are some troubleshooting tips to help resolve common casting issues:
1. Check Wi-Fi Connection: Ensure that both your Oculus Quest 2 and your PC are connected to a stable and reliable Wi-Fi network. Weak or unstable Wi-Fi signals can cause interruptions or poor streaming quality. Consider moving closer to your Wi-Fi router or optimizing your network settings for better performance.
2. Restart Devices: If you experience any issues with casting, try restarting both your Oculus Quest 2 and your PC. Powering off and on the devices can help reset any temporary glitches or conflicts.
3. Update Software: Make sure that you have the latest firmware and software updates installed on both your Oculus Quest 2 and your PC. Keeping the software up to date can address compatibility issues and introduce bug fixes and improvements.
4. Check Firewall and Security Settings: Sometimes, firewall or security settings on your PC can interfere with the casting process. Disable any overzealous firewalls or security software temporarily to see if it resolves the issue. Remember to re-enable the security measures after testing.
5. Try Different USB-C Cable: If you’re using Oculus Link to cast your Oculus Quest 2 to a PC and experience connectivity issues, try using a different USB-C cable. Some cables may not provide sufficient data transfer speeds or may be faulty. Ensure that the cable meets the required specifications for Oculus Link.
6. Adjust Graphics Settings: If you encounter lag or performance issues during casting, try adjusting the graphics settings on the VR application or game you’re using. Lowering the graphics quality or reducing the resolution can help improve performance, especially if your PC does not meet the recommended system requirements.
7. Close Unnecessary Applications: Close any unnecessary applications or background processes on your PC while casting. Running multiple resource-intensive applications simultaneously can strain your PC’s performance and result in lag or stuttering during casting.
8. Clear App Cache or Data: If you’re encountering issues with a specific casting app or software, try clearing the app’s cache or data. This can help resolve any temporary issues or conflicts that may be affecting the casting functionality.
9. Contact Support: If you’ve tried the above troubleshooting steps and still experience casting issues, consider reaching out to the official support channels for your Oculus Quest 2 headset or the specific casting app you’re using. They can provide further assistance and guide you through specific troubleshooting steps based on your situation.
Remember, troubleshooting steps may vary depending on the specific issue and casting method you’re using. It’s always a good idea to consult official documentation or seek assistance from the respective app or device support channels for more detailed troubleshooting guidance.
Conclusion
Casting your Oculus Quest 2 to a PC opens up a world of possibilities, allowing you to enjoy your virtual reality experiences on a larger screen with enhanced visuals and performance. Whether you choose the official Oculus Link method or opt for third-party apps like Airscreen or Virtual Desktop, casting provides a convenient way to share your VR adventures, stream gameplay, and explore a wide range of VR content.
By following the step-by-step instructions and troubleshooting tips provided in this guide, you can successfully set up and cast your Oculus Quest 2 to a PC. Remember to ensure that your PC meets the system requirements, have a stable Wi-Fi connection, and use compatible cables or apps for the best casting experience.
Casting Oculus Quest 2 to a PC is not only beneficial for personal enjoyment but also for hosting multiplayer gaming sessions, streaming to an online audience, and showcasing virtual experiences to others. It enables you to share the immersive and captivating world of virtual reality with friends, family, and fellow enthusiasts.
Whether you choose to use Oculus Link for a wired connection or explore the wireless alternatives offered by third-party apps, casting your Oculus Quest 2 to a PC extends the potential of your VR headset and allows you to fully immerse yourself in the vibrant and exciting world of virtual reality.