Introduction
Welcome to the exciting world of virtual reality gaming! If you own an Oculus Quest 2 and a powerful gaming PC, you have the opportunity to experience the best of both worlds by connecting your Oculus Quest 2 to your PC. This will unlock a vast library of PC VR games and take your immersive gaming experience to new heights.
In this guide, we will walk you through the step-by-step process of connecting your Oculus Quest 2 to your PC using Oculus Link. This feature allows you to harness the power of your PC to run high-end VR games on your Quest 2 headset.
Before we proceed, there are a few requirements to keep in mind. Firstly, you’ll need a compatible Oculus Quest 2 headset and a gaming PC that meets the minimum specifications for VR gaming. Additionally, you’ll need a high-quality USB-C cable to connect your Quest 2 to your PC.
Once you have gathered all the necessary equipment, you’ll need to enable Developer Mode on your Quest 2 and download the Oculus App on your PC. Then, we’ll guide you through the process of connecting your headset to your PC using Oculus Link and configuring the necessary settings.
By the end of this guide, you’ll be ready to dive into the exciting world of PC VR gaming on your Oculus Quest 2. So, let’s get started and unlock a new level of immersive gaming!
Requirements
Before you can connect your Oculus Quest 2 to your PC, make sure you have the following requirements:
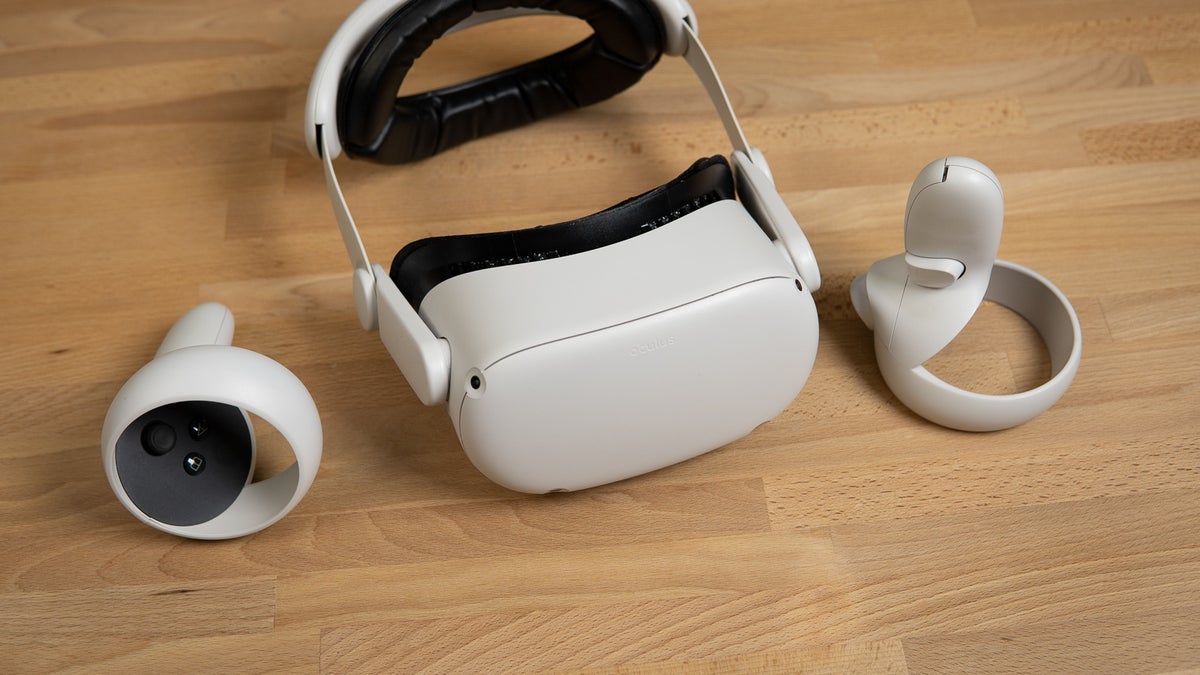
- Oculus Quest 2 headset: Ensure that you have a compatible Oculus Quest 2 headset. The Oculus Quest 2 is specifically designed for VR gaming and provides a wireless, all-in-one VR experience.
- Gaming PC: You’ll need a gaming PC that meets the minimum specifications for running VR games. Check the Oculus website or the game developer’s requirements to ensure your PC has the necessary hardware and software.
- USB-C cable: To connect your Quest 2 to your PC, you’ll need a high-quality USB-C cable. Oculus recommends using the official Oculus Link cable for optimal performance, but there are also third-party cables available that can work well. Ensure that the USB-C cable you choose is capable of transmitting data efficiently.
- Oculus App: Download and install the Oculus App on your PC. This app acts as a bridge between your Quest 2 headset and PC, allowing you to access and play PC VR games.
- PC specifications: Check the minimum system requirements for the games you want to play. Ensure that your PC meets or exceeds these specifications to ensure smooth gameplay.
Once you have gathered all the necessary requirements, you’ll be ready to proceed with the steps outlined in this guide. Connecting your Oculus Quest 2 to your PC opens up a world of possibilities, allowing you to enjoy high-end VR gaming experiences and access a wide range of games and applications not available on the standalone Quest 2 headset.
Now that you have everything you need, let’s move on to the next step: enabling Developer Mode on your Oculus Quest 2.
Step 1: Enable Developer Mode
To begin the process of connecting your Oculus Quest 2 to your PC, you’ll first need to enable Developer Mode on your headset. Enabling Developer Mode allows you to access certain advanced features and settings that are necessary for connecting your Quest 2 to your PC using Oculus Link.
Follow these steps to enable Developer Mode:
- Open the Oculus App on your smartphone or tablet that is already connected to your Oculus Quest 2.
- Go to “Settings” in the app by selecting the Gear icon at the bottom right corner of the screen.
- Select your Oculus Quest 2 headset from the list of available devices.
- Scroll down and find the “Developer” section.
- Toggle the switch next to “Developer Mode” to enable it.
- You will be prompted to confirm enabling Developer Mode. Select “Enable” to proceed.
- Once Developer Mode is enabled, you can close the Oculus App on your phone or tablet.
Enabling Developer Mode is a crucial step in the process as it allows your Oculus Quest 2 to interface with your PC for VR gaming. This mode gives you the ability to sideload applications and access advanced settings within the Oculus OS.
With Developer Mode successfully enabled, you can now move on to the next step: downloading and installing the Oculus App on your PC.
Step 2: Download and Install Oculus App
In order to connect your Oculus Quest 2 to your PC, you’ll need to download and install the Oculus App on your PC. The Oculus App acts as a bridge between your Quest 2 headset and your PC, allowing you to access and play PC VR games.
Follow these steps to download and install the Oculus App:
- Open a web browser on your PC and visit the official Oculus website.
- Navigate to the “Downloads” section of the Oculus website.
- Click on the “Download Oculus App” button to start the download.
- Once the download is complete, locate the installer file and double-click on it to launch the installation process.
- Follow the on-screen instructions to complete the installation.
- Once the installation is finished, launch the Oculus App on your PC.
- Sign in to your Oculus account or create a new account if you don’t have one already.
- When prompted, follow the setup wizard to pair your Oculus Quest 2 with the Oculus App on your PC.
After successfully downloading and installing the Oculus App on your PC, you’ll have access to a wide range of PC VR games and applications. The Oculus App provides a hub for managing your VR library, settings, and updates.
Now that you have the Oculus App installed and set up, you’re one step closer to connecting your Oculus Quest 2 to your PC. The next step involves physically connecting your headset to your PC using Oculus Link, which we’ll cover in the next section.
Step 3: Connect Oculus Quest 2 to PC
Now that you have enabled Developer Mode and installed the Oculus App on your PC, it’s time to physically connect your Oculus Quest 2 headset to your PC using a compatible USB-C cable. This connection is made possible through a feature called Oculus Link, which allows you to harness the power of your PC for high-end VR gaming.
Follow these steps to connect your Oculus Quest 2 to your PC:
- Ensure that your Oculus Quest 2 is turned on and awake.
- Take the USB-C cable and connect one end to your Quest 2 headset, which is located on the left side of the VR headset.
- Connect the other end of the cable to a USB port on your PC. It is recommended to use a USB 3.0 port for optimal performance, but USB 2.0 ports can also work.
- Once the cable is connected, your Oculus Quest 2 will prompt you to “Allow access to data”. Put on your Quest 2 headset and use the Oculus Touch controllers to select “Allow” to grant access.
- If the connection is successful, your Oculus Quest 2 will display a loading screen and Oculus Link will be activated.
It is important to use a high-quality USB-C cable for the connection to ensure a stable and reliable link between your Quest 2 and PC. Oculus recommends using the official Oculus Link cable, but there are also third-party cables available that meet the necessary data transmission requirements.
Once your Oculus Quest 2 is successfully connected to your PC via Oculus Link, you’re ready to move on to the next step: enabling Oculus Link and configuring the necessary settings.
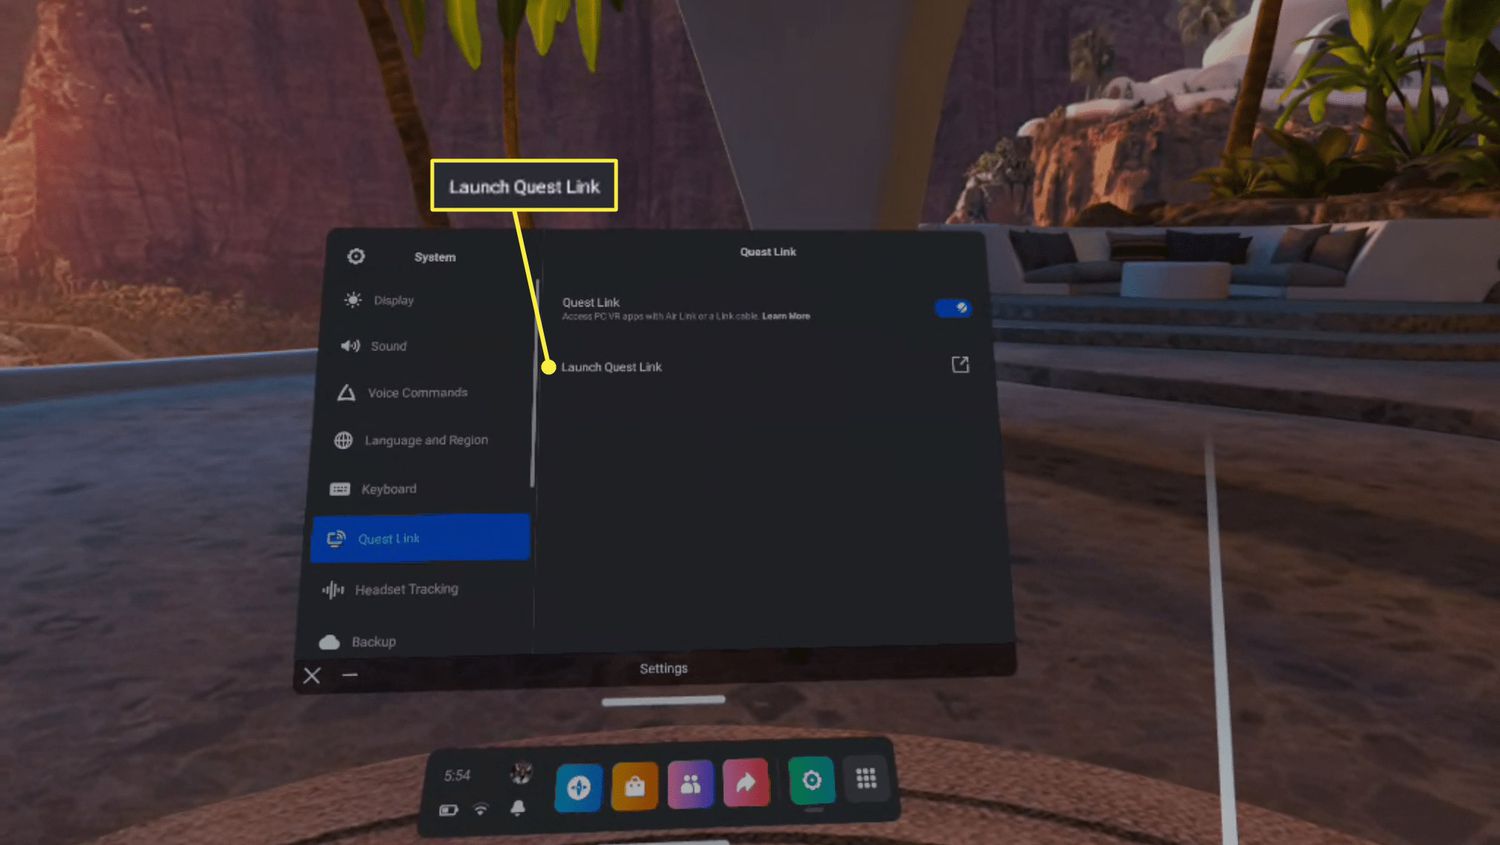
Step 4: Enable Oculus Link
With your Oculus Quest 2 connected to your PC via Oculus Link, the next step is to enable Oculus Link on your Quest 2 headset. Enabling Oculus Link allows your PC to recognize your Quest 2 as a VR headset and enables the streaming of PC VR content to your headset.
Follow these steps to enable Oculus Link:
- Put on your Oculus Quest 2 headset.
- From the Oculus home screen, navigate to the “Devices” menu by selecting the headset icon in the bottom toolbar.
- In the “Devices” menu, select your connected PC from the list of available devices.
- If you have successfully connected your Quest 2 to your PC via Oculus Link, you will see a blue “Enable Oculus Link” button. Select it.
- Your Quest 2 will display a loading screen, and after a few moments, the Oculus Link interface will appear in your headset.
Enabling Oculus Link establishes a direct connection between your PC and your Oculus Quest 2 headset, allowing you to access and play PC VR games using the power of your computer.
If you encounter any issues during this step, ensure that your Oculus Quest 2 is properly connected to your PC and that you have enabled Developer Mode and installed the Oculus App. You may also need to update your graphics card drivers or restart your PC to troubleshoot any connectivity problems.
Once Oculus Link is successfully enabled on your Quest 2, you’re ready to move on to the next step: configuring Oculus Link settings to optimize your PC VR gaming experience.
Step 5: Configure Oculus Link settings
After enabling Oculus Link and establishing a connection between your Oculus Quest 2 headset and PC, it’s important to configure the Oculus Link settings to ensure the best possible VR gaming experience. These settings allow you to adjust graphics, performance, and other options based on your PC’s capabilities and your personal preferences.
Follow these steps to configure the Oculus Link settings:
- Put on your Oculus Quest 2 headset.
- From the Oculus home screen, navigate to the “Settings” menu by selecting the Gear icon in the bottom toolbar.
- In the “Settings” menu, select “Device” and then “Oculus Link” from the options.
- Here, you will find various settings to customize your Oculus Link experience. Some of the key settings include:
- Graphics preference: Choose between “Quality” and “Performance” to prioritize visuals or smooth gameplay.
- Encode resolution width: Adjust the resolution of the streamed VR content based on your PC’s capabilities and performance requirements.
- Bitrate: Control the video bitrate to optimize the balance between image quality and network performance.
- Adjust these settings according to your preferences and PC capabilities. Experimenting with different settings can help you find the optimal balance between visual quality and smooth gameplay.
- Once you have adjusted the settings, navigate back to the Oculus home screen by pressing the Oculus button on your Touch controller.
Configuring the Oculus Link settings ensures that your PC VR games run smoothly and look visually appealing on your Oculus Quest 2 headset. Depending on the specifications of your PC, you may need to make adjustments to find the settings that work best for you.
Now that you have configured the Oculus Link settings, you’re ready to enjoy PC VR gaming on your Oculus Quest 2! Put on your headset, launch your favorite PC VR games, and immerse yourself in the virtual worlds of your choosing.
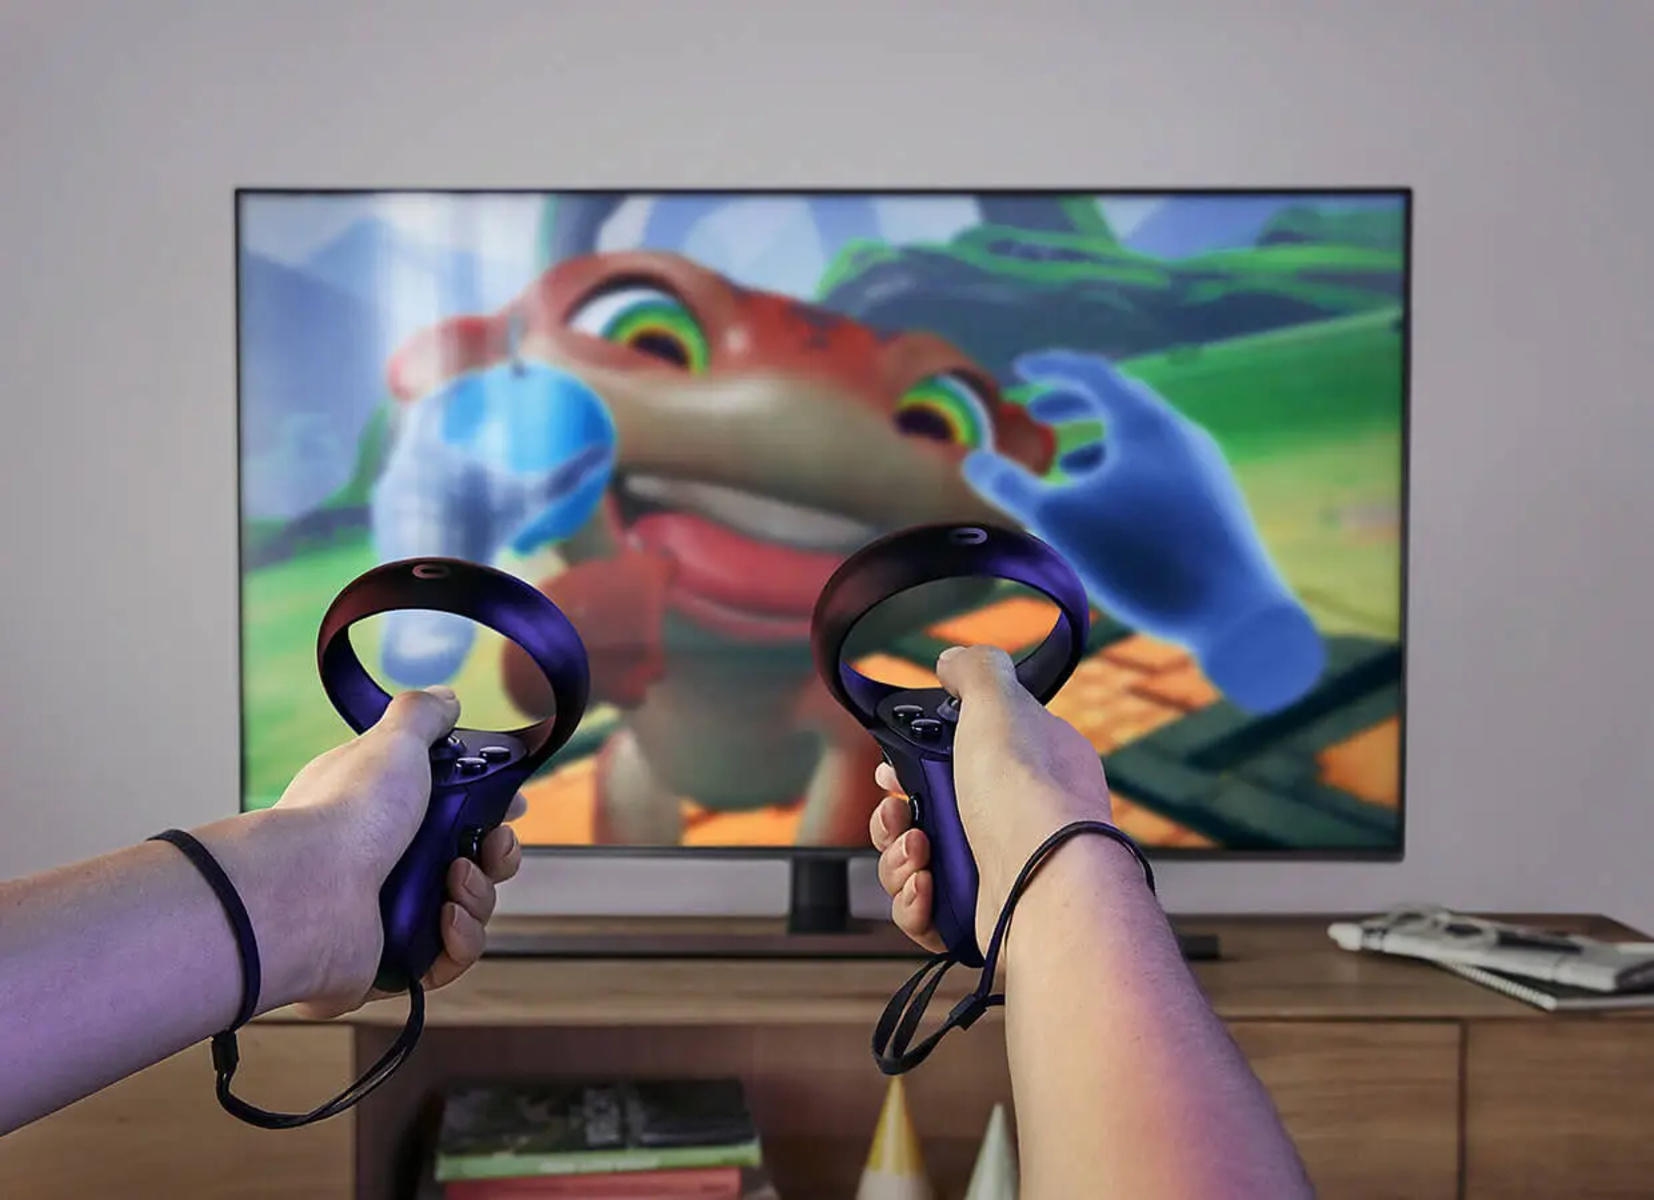
Step 6: Enjoy PC VR Gaming on Oculus Quest 2
Now that you have successfully connected your Oculus Quest 2 to your PC and configured the Oculus Link settings, it’s time to dive into the exciting world of PC VR gaming. With the power of your PC at your disposal, you can access a vast library of high-quality VR games and experiences.
Follow these steps to enjoy PC VR gaming on your Oculus Quest 2:
- Put on your Oculus Quest 2 headset.
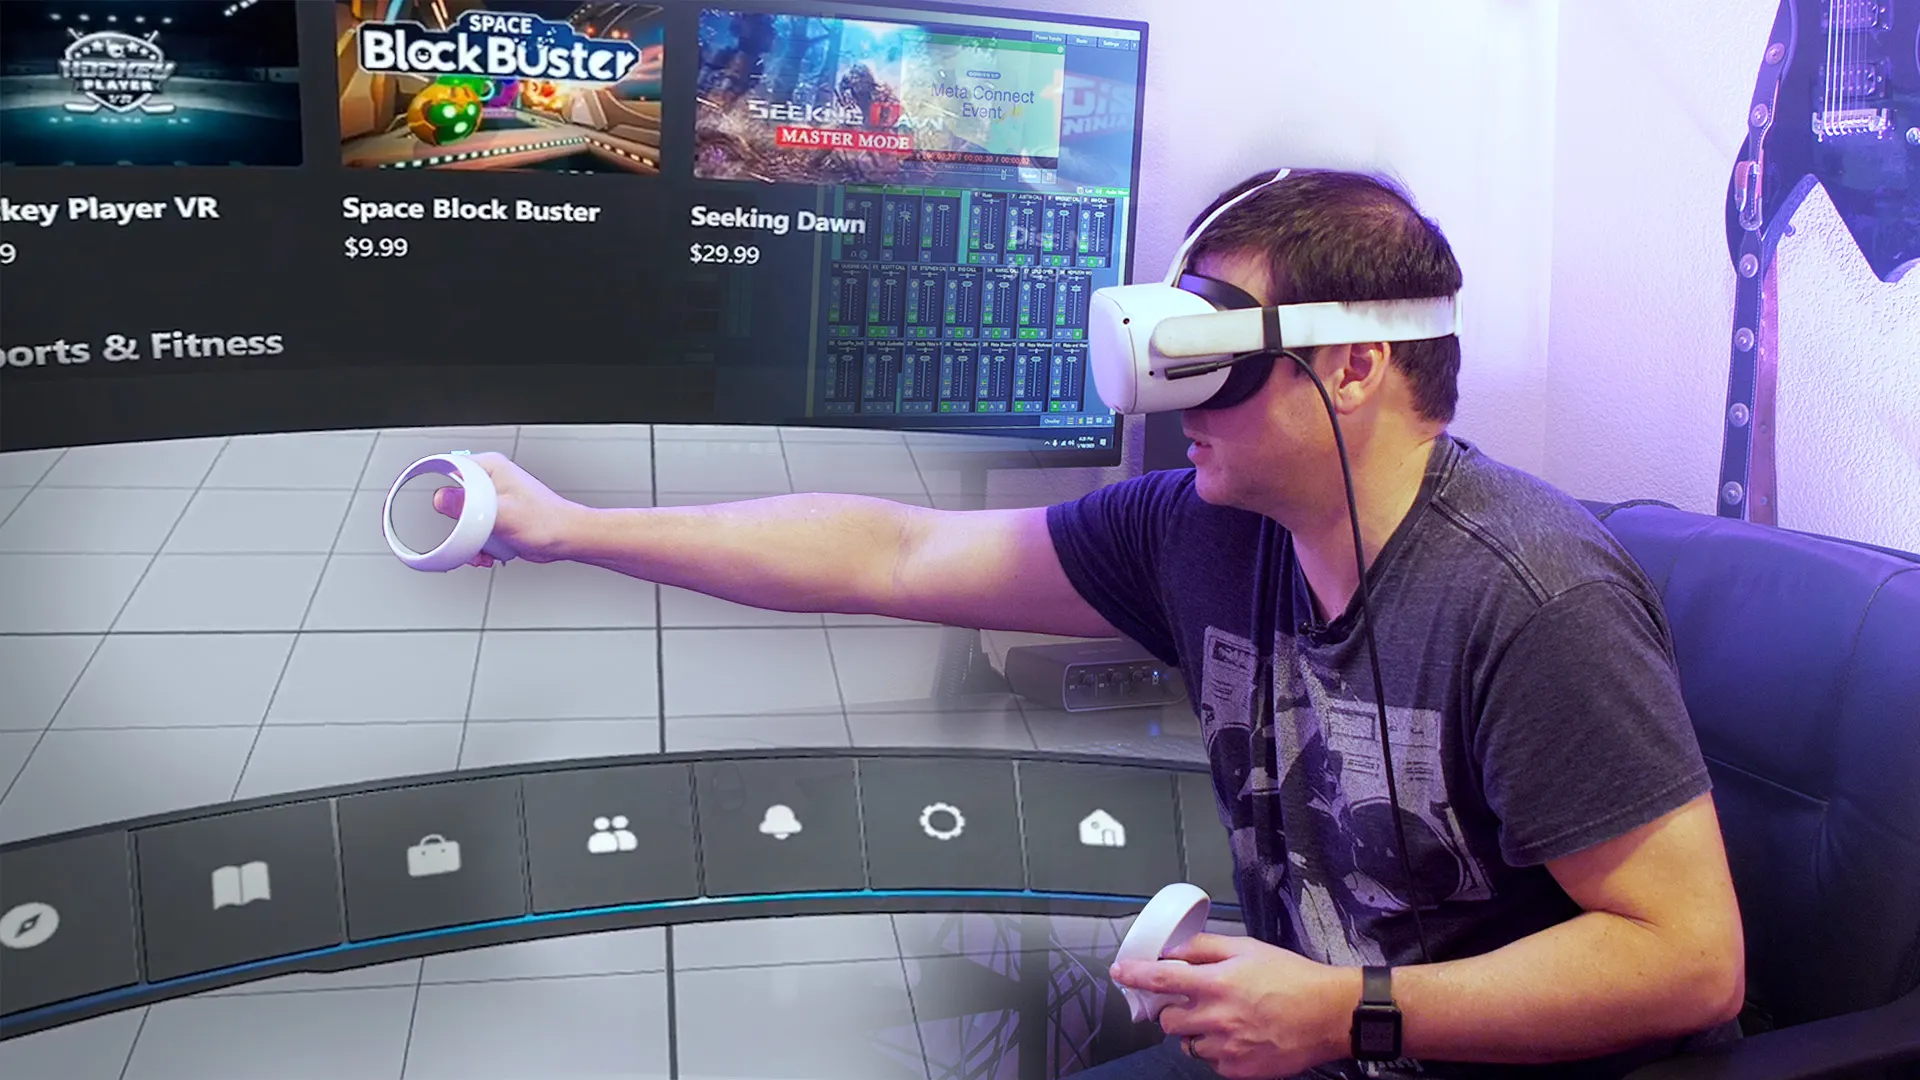
- In the Oculus home screen, navigate to the “Library” section by selecting the Library icon in the bottom toolbar.
- Here, you will find all the VR games and applications available on your Oculus Link-connected PC.
- Choose a game or application that you want to play and select it.
- Follow any additional prompts or instructions to start the game or application.
- Once the game launches, you will be immersed in a virtual world through your Oculus Quest 2 headset.
- Enjoy the immersive gameplay experience, using the Oculus Touch controllers to interact with the virtual environment.
With your Quest 2 connected to your PC and running PC VR games, you can experience high-quality visuals, realistic environments, and interactive gameplay. Explore fantasy worlds, fight off virtual enemies, or embark on thrilling adventures, all while completely immersed in the virtual reality experience.
Keep in mind that you may need to refer to the game’s controls or tutorials to familiarize yourself with the specific controls and gameplay mechanics for each game.
So, put on your Oculus Quest 2 headset, choose a game that sparks your interest, and let the world of PC VR gaming come to life right before your eyes.
Conclusion
Congratulations! You have successfully connected your Oculus Quest 2 to your PC and unlocked the incredible world of PC VR gaming. By following the steps outlined in this guide, you have taken full advantage of the Oculus Link feature, allowing you to utilize the power of your PC to play high-quality VR games on your Quest 2 headset.
From enabling Developer Mode and downloading the Oculus App to physically connecting your headset to your PC and configuring the necessary settings, you have overcome the technical hurdles and set the stage for an immersive gaming experience.
With your Quest 2 connected to your PC, you can now explore a vast catalog of PC VR games, with stunning graphics and immersive gameplay. Take on thrilling adventures, immerse yourself in realistic worlds, and engage in multiplayer battles with players from around the globe.
Remember to experiment with different Oculus Link settings to find the optimal balance between visual quality and performance, based on your PC specifications and personal preferences.
Whether you’re a hardcore gamer or a casual player, the combination of your Oculus Quest 2 and PC opens up a whole new dimension of gaming possibilities. Embrace the freedom of wireless VR and the power of your PC, and embark on an adventure like never before.
So grab your Oculus Quest 2, put on your headset, and get ready to dive into the immersive world of PC VR gaming. The possibilities are endless, and the experiences are truly breathtaking. Enjoy your journey!