Introduction
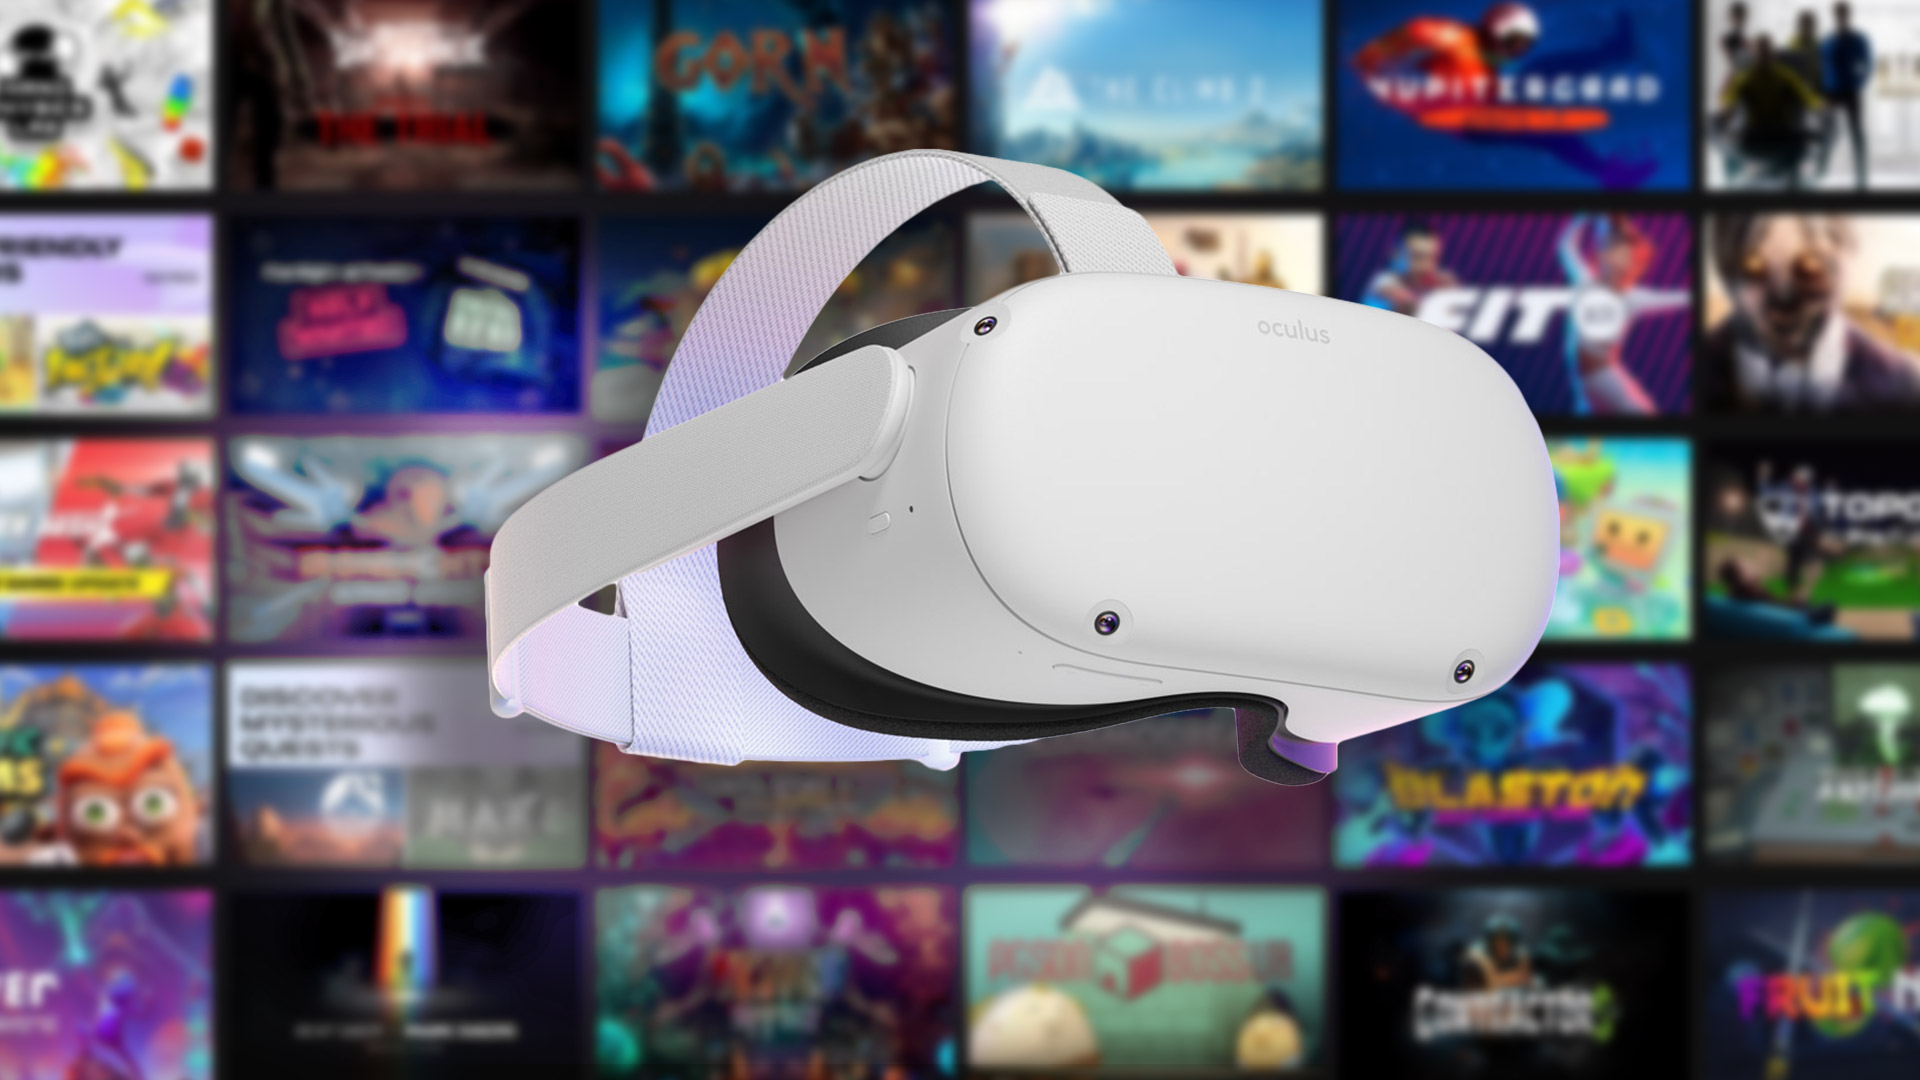
Virtual reality gaming has taken the world by storm, offering users an immersive and lifelike gaming experience. The Oculus Quest 2 is a popular VR headset that provides wireless freedom and exceptional performance. While the Oculus Quest 2 has its own library of games and applications, many users are eager to explore the vast and diverse collection of games available on the Steam platform.
Steam is a leading digital distribution platform for video games, offering a wide range of titles from various genres. By connecting your Oculus Quest 2 to Steam, you can access and download Steam games directly onto your headset, expanding your gaming options and diving into even more captivating virtual worlds.
In this guide, we will walk you through the steps to download Steam games on your Oculus Quest 2. Whether you’re a seasoned gamer or a VR enthusiast looking to explore new horizons, this guide will help you enjoy the best of both the Oculus Quest 2 and Steam platforms.
Before diving into the process, it’s important to note that to download and play Steam games on your Oculus Quest 2, you’ll need a compatible PC. The PC will handle the processing and rendering of the games, while the Oculus Quest 2 will act as the display and input device. Make sure your PC meets the system requirements for VR gaming and that you have a reliable internet connection.
Now, let’s get started with connecting your Oculus Quest 2 to Steam and experiencing the thrill of playing Steam games in virtual reality!
Connecting Oculus Quest 2 to Steam
Before you can begin downloading Steam games on your Oculus Quest 2, you’ll need to establish a connection between the headset and your PC. There are a few essential steps to follow to ensure a seamless connection and a smooth gaming experience.
The first step is to set up Oculus Link. Oculus Link is a feature that allows you to connect your Oculus Quest 2 to your PC using a high-quality USB 3.0 cable. This enables the Oculus Quest 2 to function as a PC VR headset, providing access to the Steam platform and its extensive collection of games.
To set up Oculus Link, you’ll need to follow these steps:
- Make sure your Oculus Quest 2 is fully charged.
- Connect your Oculus Quest 2 to your PC using a compatible USB 3.0 cable. Oculus recommends using the official Oculus Link cable for optimal performance, but you can also use third-party cables that meet the USB 3.0 specifications.
- A pop-up will appear on your Oculus Quest 2, prompting you to enable Oculus Link. Put on your headset and follow the on-screen instructions to enable Oculus Link.
- Once Oculus Link is enabled, your Oculus Quest 2 will be recognized as a VR headset by your PC.
With Oculus Link set up, you’re now ready to proceed with the next step: enabling Developer Mode on your Oculus Quest 2. Enabling Developer Mode grants you access to additional features and settings, including the ability to sideload applications onto your Oculus Quest 2.
To enable Developer Mode on your Oculus Quest 2, follow these steps:
- Go to the Oculus Developer Dashboard website (developer.oculus.com) and log in using your Oculus account credentials.
- Click on the ‘Create a new organization’ button and follow the instructions to create a new organization. This step is required to enable Developer Mode.
- Once you’ve created a new organization, navigate to the ‘Account’ tab on the Oculus Developer Dashboard.
- Scroll down to find the ‘Developer Mode’ section and toggle the switch to enable Developer Mode.
- Put on your Oculus Quest 2 and a dialog box will appear, asking you to confirm the enabling of Developer Mode. Accept the prompt.
- Your Oculus Quest 2 is now in Developer Mode, allowing you to install and use sideloaded applications.
Now that you have successfully connected your Oculus Quest 2 to your PC and enabled Developer Mode, you’re one step closer to downloading and playing Steam games. In the next section, we will guide you through the process of downloading Steam VR, the platform’s virtual reality interface, onto your PC.
Setting up Oculus Link
Oculus Link is a feature that allows you to connect your Oculus Quest 2 to your PC and play PC VR games. Before you can start downloading and playing Steam games on your Oculus Quest 2, you need to set up Oculus Link.
Here’s how you can set up Oculus Link:
- Ensure that your PC meets the minimum system requirements for Oculus Link. This includes having a compatible USB 3.0 port and a graphics card capable of handling VR experiences.
- Connect your Oculus Quest 2 to your PC using a USB 3.0 cable. Oculus recommends using the official Oculus Link cable for the best performance, but third-party USB 3.0 cables that meet the specifications should work as well.
- Put on your Oculus Quest 2 headset and a prompt will appear asking if you want to enable Oculus Link. Use the Oculus controller to navigate and select “Enable” to activate Oculus Link.
- Your PC will then recognize your Oculus Quest 2 as a VR headset. Follow the on-screen instructions to complete the setup process.
Once Oculus Link is set up, you can now access your PC’s VR games and applications through your Oculus Quest 2. This includes being able to download and play Steam games using the Steam VR platform.
It’s worth noting that Oculus Link allows you to play PC VR games on your Oculus Quest 2, but you will still need to use the Oculus Quest 2 controllers for input. The headset itself will act as a display for the games running on your PC.
With Oculus Link successfully set up, you’re now ready to move on to the next steps, which involve installing Steam VR on your PC and launching it on your Oculus Quest 2. This will give you access to the vast library of VR games available on the Steam platform. Let’s continue with the next section of the guide.
Enabling Developer Mode on Oculus Quest 2
Enabling Developer Mode on your Oculus Quest 2 is an important step in the process of downloading and playing Steam games. Developer Mode allows you to access additional features and settings on your Oculus Quest 2, including the ability to sideload applications.
Follow these steps to enable Developer Mode on your Oculus Quest 2:
- First, navigate to the Oculus Developer Dashboard website (developer.oculus.com) using a web browser on your PC.
- Log in using your Oculus account credentials. If you don’t have an account, you’ll need to create one before proceeding.
- Once logged in, click on the “Create a new organization” button on the developer dashboard. This step is necessary to enable Developer Mode.
- Follow the instructions to create a new organization. This process will require you to provide some basic information.
- After creating the organization, go back to the Oculus Developer Dashboard and click on the “Account” tab.
- Scroll down until you find the “Developer Mode” section and toggle the switch to enable Developer Mode.
- Put on your Oculus Quest 2 and a dialog box will appear, asking you to confirm the enabling of Developer Mode. Select “Enable” to proceed.
Once you’ve completed these steps, Developer Mode will be enabled on your Oculus Quest 2. This mode grants you the ability to install and use sideloaded applications on your headset, including those that are not available through the official Oculus Quest store.
Enabling Developer Mode is essential for downloading and installing Steam VR, as well as sideloading certain applications or games that may enhance your VR experience.
Now that you have successfully enabled Developer Mode on your Oculus Quest 2, it’s time to move on to the next steps, which involve downloading Steam VR and launching it on your headset. Let’s proceed to the next section of the guide to learn more.
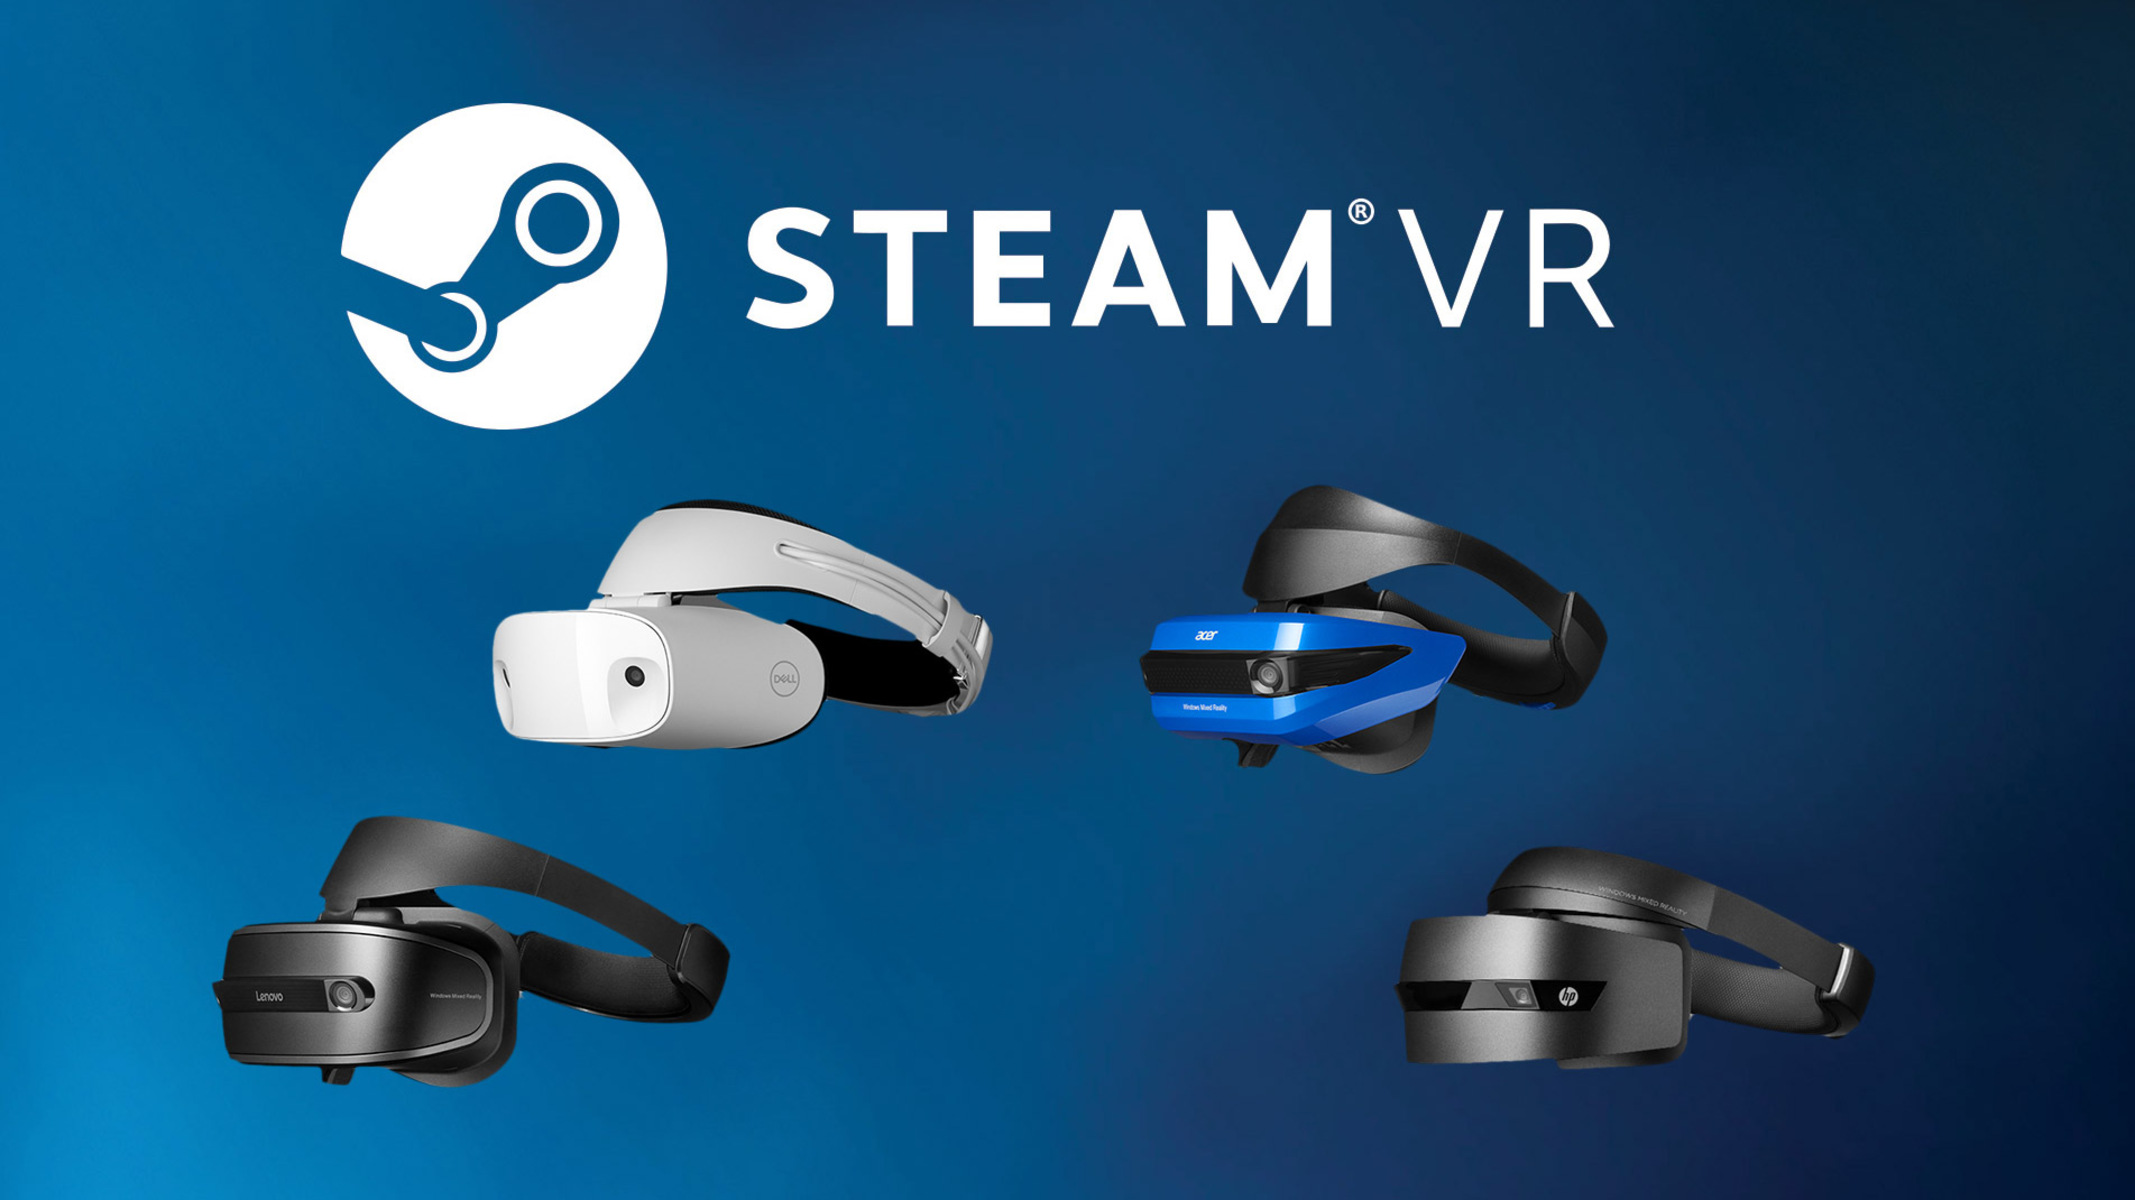
Downloading Steam VR
To download and use Steam games on your Oculus Quest 2, you’ll need to install Steam VR on your PC. Steam VR is the virtual reality interface provided by Steam, which allows you to access and play VR games from the Steam platform.
Follow these steps to download Steam VR:
- Open a web browser on your PC and visit the Steam website (store.steampowered.com).
- If you don’t already have a Steam account, click on the “Join Steam” button to create a new account. Provide the necessary information and follow the instructions to complete the registration process.
- Once you have a Steam account, log in to the Steam website.
- In the top right corner of the Steam website, click on “INSTALL STEAM” to download and install the Steam client on your PC.
- Once the Steam client is installed, launch it and log in using your Steam account credentials.
- In the Steam client, navigate to the “VR” section, located in the top navigation bar.
- Look for the “Steam VR” application and click on it to access its store page.
- On the Steam VR store page, click on the green “Install” button to initiate the download and installation process.
- Follow the on-screen prompts and instructions to complete the installation of Steam VR on your PC.
Once the installation is complete, Steam VR will be ready to use on your PC. This will allow you to access and play the vast collection of VR games available on the Steam platform.
Now that you have successfully downloaded and installed Steam VR, it’s time to move on to the next steps, where we will guide you through launching Steam VR on your Oculus Quest 2 and downloading Steam games. Let’s continue to the next section of the guide.
Launching Steam VR on Oculus Quest 2
Once you have set up Oculus Link, enabled Developer Mode, and downloaded Steam VR on your PC, it’s time to launch Steam VR on your Oculus Quest 2. This will allow you to access and play Steam VR games directly from your headset.
Follow these steps to launch Steam VR on your Oculus Quest 2:
- Make sure your Oculus Quest 2 is connected to your PC via Oculus Link and that your PC is powered on.
- Put on your Oculus Quest 2 headset.
- Using the Oculus controller, navigate to the “Library” section in the Oculus Quest 2 menu.
- Scroll through your library until you find the “Unknown Sources” category. This is where sideloaded applications will appear.
- Select “Steam VR” from the “Unknown Sources” category to launch it.
- The Steam VR interface will now appear in your Oculus Quest 2 headset, allowing you to browse and access Steam VR games.
Once you have launched Steam VR on your Oculus Quest 2, you can explore the Steam VR interface using your Oculus Quest 2 controllers. Use the menu options and navigation buttons to browse through the available games, access settings, and configure your VR experience to your liking.
Keep in mind that Steam VR will require a stable and reliable internet connection to download and update games. Make sure you have a strong Wi-Fi connection or a wired Ethernet connection to ensure smooth downloading and gameplay.
With Steam VR successfully launched on your Oculus Quest 2, you’re now ready to move on to the next steps of downloading and playing Steam games on your headset. In the next section, we will guide you through the process of downloading Steam games onto your Oculus Quest 2. Let’s proceed to the next section of the guide.
Navigating the Steam VR Menu
Once you have launched Steam VR on your Oculus Quest 2, you will be presented with the Steam VR interface. Navigating this interface is essential for browsing and accessing the wide range of VR games available on the Steam platform.
Here are some tips for navigating the Steam VR menu:
- Using your Oculus Quest 2 controllers, you can maneuver the virtual pointer to interact with the Steam VR menu. Point and click to select different options and navigate through the menu.
- At the top of the menu, you will find a search bar that allows you to search for specific games or browse by category. Use the on-screen keyboard to enter keywords and find games that catch your interest.
- Beneath the search bar, you will find various categories to explore, such as “Top Selling,” “New Releases,” and “VR Exclusives.” Select a category to view the games included in that category.
- Scroll through the list of games by swiping the trackpad or using the thumbstick on your Oculus Quest 2 controller. You can also use the shoulder buttons to jump between pages.
- Click on a game’s title or image to view its store page. Here, you can find more information about the game, watch trailers, read reviews, and see system requirements.
- To download a game, click on the green “Add to Cart” button or the price button. Follow the prompts to complete your purchase and initiate the download process.
- Once a game is downloaded, it will appear in your Steam VR library. You can access your library by selecting the “Library” option from the Steam VR menu.
- To start playing a downloaded game, simply select it from your library. The game will load, and you can then enjoy the VR experience on your Oculus Quest 2.
Exploring the Steam VR menu allows you to discover new games, read reviews, and make informed decisions about which titles to download and play. Take your time to browse through the selection and find games that suit your preferences and interests.
With this knowledge of navigating the Steam VR menu, you’re now ready to proceed with downloading Steam games onto your Oculus Quest 2. In the next section, we will guide you through the process of downloading and installing Steam games on your headset. Let’s continue to the next section of the guide.
Downloading Steam Games on Oculus Quest 2
Now that you have successfully navigated the Steam VR menu on your Oculus Quest 2, it’s time to download and install Steam games onto your headset. With a growing library of VR titles to choose from, you can explore a wide range of immersive experiences and virtual worlds.
Follow these steps to download Steam games on your Oculus Quest 2:
- From the Steam VR menu, browse through the available games or use the search bar to find specific titles.
- Select the game you want to download and click on its store page.
- On the store page, you can find more information about the game, including screenshots, videos, and user reviews. Take your time to review the details to ensure the game aligns with your preferences.
- If you decide to purchase the game, click on the “Add to Cart” button or the price button. Follow the instructions to complete the purchase.
- After purchasing the game, it will be added to your Steam library.
- To download the game onto your Oculus Quest 2, put on the headset and navigate to the “Library” section in the Steam VR menu.
- Locate the game in your library and click on it to start the download process.
- The game will begin downloading onto your Oculus Quest 2. The download time will depend on the size of the game and your internet connection speed.
- Once the download is complete, you can launch the game from your library and start playing it on your Oculus Quest 2.
Remember that your PC will handle the processing and rendering of the game, while the Oculus Quest 2 will serve as the display and input device. Connect your Oculus Quest 2 to your PC via Oculus Link before playing the downloaded game.
Enjoy exploring the vast selection of VR games available on the Steam platform and immerse yourself in captivating virtual experiences.
If you encounter any issues during the download process or while playing a Steam game on your Oculus Quest 2, refer to the troubleshooting guide in the next section for potential solutions.
Troubleshooting Guide
While downloading and playing Steam games on your Oculus Quest 2 can be an exciting experience, you may encounter some issues along the way. This troubleshooting guide aims to help you identify and resolve common problems that may arise during the process.
Here are some troubleshooting steps you can take:
1. Ensure Proper Oculus Link Setup:
Make sure that your Oculus Quest 2 is properly connected to your PC via Oculus Link. Check the USB connection between your headset and PC, ensuring that the cable is securely plugged in. If you’re experiencing connection issues, try using a different USB 3.0 port.
2. Update Oculus Software:
Ensure that both your Oculus Quest 2 headset and the Oculus software on your PC are up to date. Check for any available updates and install them if necessary. Keeping your software up to date can address compatibility issues and improve performance.
Verify that your PC meets the system requirements for playing VR games. Ensure that your graphics card drivers and other essential drivers are up to date. Insufficient system resources or outdated drivers may cause performance issues or compatibility problems.
4. Restart Oculus Quest 2 and PC:
Sometimes, a simple restart can help resolve minor software glitches or connectivity issues. Try restarting both your Oculus Quest 2 headset and your PC, then attempt to launch Steam VR again.
5. Check Steam VR Settings:
Open the Steam VR settings menu on your PC and verify that the settings are properly configured. Pay attention to options related to your Oculus Quest 2, such as audio output and tracking settings. Adjust these settings if needed to ensure optimal performance.
6. Verify VR Game Compatibility:
Before purchasing a VR game from Steam, check its compatibility with the Oculus Quest 2. Some games may be specifically designed for different VR platforms, so ensure that the game supports the Oculus Quest 2 and Oculus Link.
7. Clear VR Cache:
If you’re encountering performance issues or graphical glitches, clearing the VR cache can sometimes help. Navigate to the Steam VR settings menu on your PC and find the option to clear the VR cache. Follow the on-screen instructions to complete the process.
If the above steps don’t resolve your issue, it’s recommended to visit the official Oculus support website or seek assistance from the Steam community forums. These platforms often have helpful resources and experienced users who can provide further guidance.
By following these troubleshooting steps, you can overcome common obstacles and enjoy a smooth experience while downloading and playing Steam games on your Oculus Quest 2.
Now that you’re equipped with troubleshooting knowledge, you can confidently proceed with your VR gaming journey. Happy gaming!