Introduction
Welcome to the exciting world of mobile gaming! With a plethora of games available on the Google Play Store, it’s easy to get lost in the vast collection of entertainment options. However, if you find yourself running out of storage space on your device, don’t worry – you can now download games directly onto an SD card.
Downloading games onto an SD card from the Play Store not only frees up precious internal storage but also allows you to install a larger number of games without worrying about running out of space. This is especially useful for devices with limited internal storage capacity.
In this guide, we will take you through a step-by-step process of how to download games on an SD card from the Play Store. We’ll cover various important aspects, including compatibility, choosing the right SD card, formatting, setting the SD card as the default storage location, and installing games using a file manager app.
By the end of this guide, you’ll have all the necessary information to seamlessly install and play your favorite games without the fear of storage limitations. So, without further ado, let’s dive into the process of downloading games on an SD card!
Step 1: Check Compatibility
The first step in downloading games on an SD card from the Play Store is to ensure that your device is compatible with this functionality. Not all devices support the ability to install and run apps directly on an external SD card, so it’s essential to check your device’s specifications and capabilities.
The easiest way to confirm compatibility is by referring to your device’s user manual or by visiting the manufacturer’s website. Look for information regarding external storage options and whether your device supports “Adoptable Storage” or “Apps on SD.” These features allow you to use the SD card as an extension of your internal storage, effectively allowing you to install and run apps directly from the card.
If your device supports this feature, you’re one step closer to downloading games on an SD card. However, if it doesn’t, don’t despair just yet. Some devices may not have the feature enabled by default but can be enabled through certain settings or third-party applications. It’s worth exploring alternative methods to see if you can still make use of an SD card for expanding your storage capacity.
Additionally, it’s worth noting that even if your device supports storing apps on an SD card, there may be limitations and restrictions. Certain apps, especially those that require high performance or have specific security measures, may not be compatible with external storage. It’s always a good idea to check the requirements and recommendations of the games you intend to download to ensure compatibility with an SD card.
By verifying compatibility with your device and understanding any potential constraints, you can proceed confidently with the next steps in the process of downloading games on an SD card. So, let’s move on to the next step – selecting a compatible SD card to suit your needs.
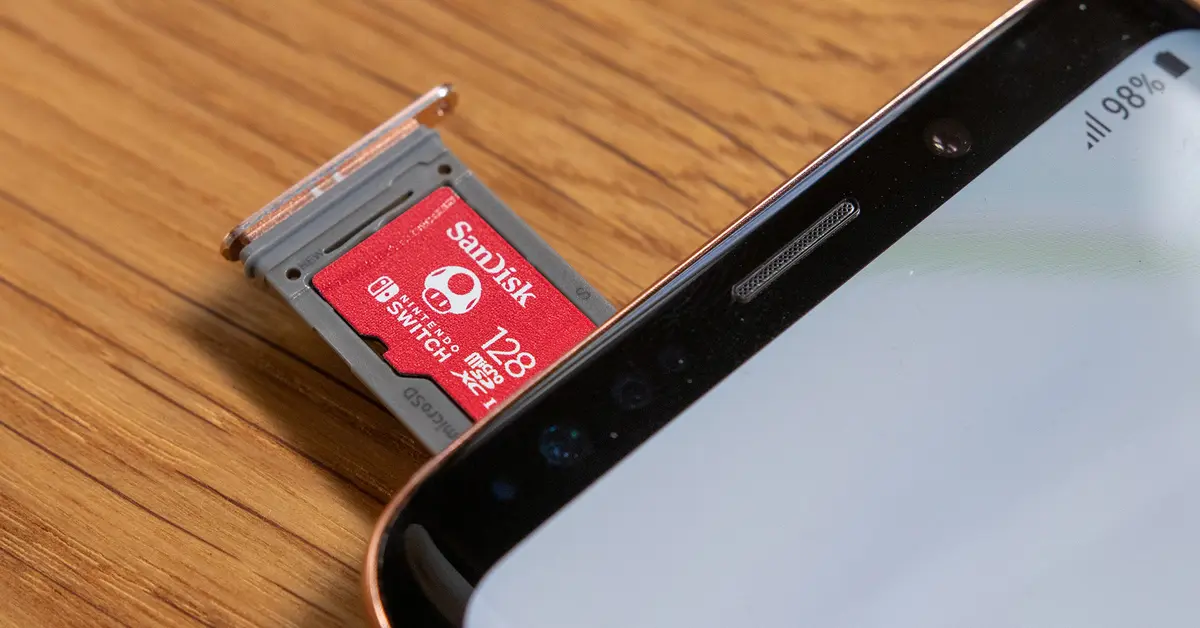
Step 2: Choose a Compatible SD Card
Now that you’ve confirmed your device’s compatibility with storing apps on an SD card, it’s time to choose the right SD card that meets your needs. Selecting a compatible SD card is crucial to ensure smooth performance and optimal storage capacity for your downloaded games.
When choosing an SD card, there are a few factors to consider:
- Storage Capacity: Determine how much storage space you need for your games. SD cards come in various sizes, ranging from a few gigabytes to terabytes of storage. Assess your requirements based on the number and size of games you plan to download, and choose an SD card with adequate capacity.
- Speed Rating: Look for an SD card with a higher speed rating to ensure faster read and write speeds. Higher speed cards not only enhance the performance of your games but also reduce loading times and minimize lag during gameplay. Look for cards labeled with Class 10 or UHS-I/UHS-II/ UHS-III speed ratings for optimal performance.
- Brand and Quality: Choose SD cards from reputable brands known for their reliability and durability. Opting for a trusted brand reduces the risk of data loss or card failure, ensuring a seamless gaming experience.
- Compatibility: Ensure that the SD card you choose is compatible with your device. Check if your device supports the SD card’s format (SDHC or SDXC) and size (microSD or standard SD). Verify the maximum capacity supported by your device as well.
Keep in mind that while bigger storage capacity may seem advantageous, it’s important to balance it with your budget and device specifications. It’s always a good idea to choose a card slightly larger than your current needs to accommodate any future game downloads or app updates.
Once you’ve considered these factors, you can confidently choose a compatible SD card that meets your storage requirements and performance expectations. With the right SD card in hand, you’re ready to move on to the next step – formatting the SD card for optimal usage.
Step 3: Format the SD Card
In order to prepare your SD card for storage and usage with your device, it’s important to format it correctly. Formatting erases any existing data on the SD card and sets it up with a file system that your device can recognize and utilize.
Before formatting the SD card, it’s crucial to take precautions:
- Backup: Make sure to backup any important files or data stored on the SD card before formatting. Formatting will erase all data, so it’s important to have a copy of any necessary files elsewhere.
- Remove from other devices: If you’ve used the SD card in other devices before, ensure that it’s removed from those devices before formatting it. Some devices lock the SD card to a specific format, which might not be compatible with your current device.
Once you’ve taken the necessary precautions, you can proceed with formatting the SD card. Here’s a step-by-step guide to formatting:
- Insert the SD card into your device’s SD card slot.
- Go to the Settings app on your device.
- Scroll down and locate the “Storage” or “Device Storage” option.
- Tap on the SD card storage option.
- Within the SD card settings, you should find an option to format the SD card. It may be labeled as “Format” or “Format as internal” or “Format as portable.”
- Tap on the format option and follow the on-screen instructions to complete the formatting process.
The formatting process may take a few minutes, depending on the size of the SD card. Once the formatting is complete, your SD card will be ready for use as external storage for your device. It will now have a compatible file system that allows you to install and run games directly from the SD card.
Remember that formatting will erase all data on the SD card, so make sure you’ve backed up any important files beforehand. With the SD card formatted and ready, you’re now prepared to set it as the default storage location to ensure that all future downloads go directly to the SD card.
Step 4: Set the SD Card as the Default Storage Location
In order to ensure that your downloaded games are automatically saved to the SD card, you need to set it as the default storage location on your device. By doing so, any new app installations or game downloads will be directed to the SD card instead of the device’s internal storage.
The steps to set the SD card as the default storage location may vary slightly depending on your device model and operating system. Here’s a general guide on how to do it:
- Go to the Settings app on your device.
- Scroll down and locate the “Storage” or “Device Storage” option.
- Tap on the storage settings to access storage preferences.
- Look for an option related to storage management or storage location.
- Within the storage management settings, you should find an option to change the default storage location.
- Tap on the default storage location option and select the SD card as the preferred storage location.
- Follow any on-screen instructions or prompts to confirm your selection and make the necessary changes.
Once you’ve successfully set the SD card as the default storage location, any new app installations or game downloads from the Play Store will be automatically saved to the SD card. This ensures that your device’s internal storage remains free for essential system files and apps, while your downloaded games and other large files are stored on the SD card.
Keep in mind that some apps may still store a portion of their data on the device’s internal storage, even if the app itself is installed on the SD card. This is because certain elements of an app need to be stored on the device for optimal performance. However, the majority of the app’s data, including game progress and downloaded assets, will be saved on the SD card.
With the SD card set as the default storage location, you’re now ready to proceed with the next steps – installing a file manager app and configuring its settings to manage your downloaded games effectively.
Step 5: Install a File Manager App
To effectively manage and organize your downloaded games on the SD card, it is recommended to install a file manager app on your device. A file manager app provides a user-friendly interface to navigate through files and folders, allowing you to easily locate and manage your game files on the SD card.
Here’s how you can install a file manager app:
- Open the Google Play Store on your device.
- Tap on the search bar and type in “file manager.”
- Choose a file manager app from the search results that has good ratings and positive reviews.
- Tap on the install button to begin the installation process.
- Wait for the app to download and install on your device.
- Once the installation is complete, you can open the file manager app from your device’s app drawer.
Popular file manager apps for Android devices include ES File Explorer, File Commander, and Solid Explorer. These apps provide a range of features, such as file browsing, file transfer, and file organization, which will be helpful in managing your downloaded games.
Once you have installed a file manager app, you can move on to the next step – configuring its settings to ensure seamless management of downloaded games on the SD card.
Step 6: Configure the File Manager App Settings
After installing a file manager app on your device, it’s important to configure its settings to optimize the management of your downloaded games on the SD card. By customizing the settings according to your preferences, you can easily locate, organize, and transfer game files as needed.
Here are some key settings you should consider adjusting:
- Default Save Location: In the file manager app settings, locate the option to set the default save location. Ensure that it is set to the SD card to ensure that any new files or downloads are automatically saved to the external storage.
- Display and Sorting: Customize the display and sorting options to your liking. You can choose to view files in list or grid view, sort them by name or date, and customize the appearance to suit your preferences.
- File Associations: Check if the file manager app allows you to assign specific file extensions to specific apps. This can be useful when opening game files with the appropriate game launcher or emulator.
- Cloud Storage Integration: If your file manager app supports cloud storage services like Google Drive or Dropbox, consider integrating them into the app. This allows you to easily transfer game files between your device’s storage and cloud storage, providing an additional backup option.
- File Transfer and Sharing: Explore the file manager app’s file transfer and sharing features. You should be able to move, copy, and share game files with ease using built-in sharing options or by connecting your device to a computer via USB.
Take some time to familiarize yourself with the various settings and options available in the file manager app. Adjust them according to your preferences to streamline the management of your downloaded games on the SD card.
With the file manager app settings configured, you’re ready for the final step – downloading and installing games from the Play Store directly onto your SD card.
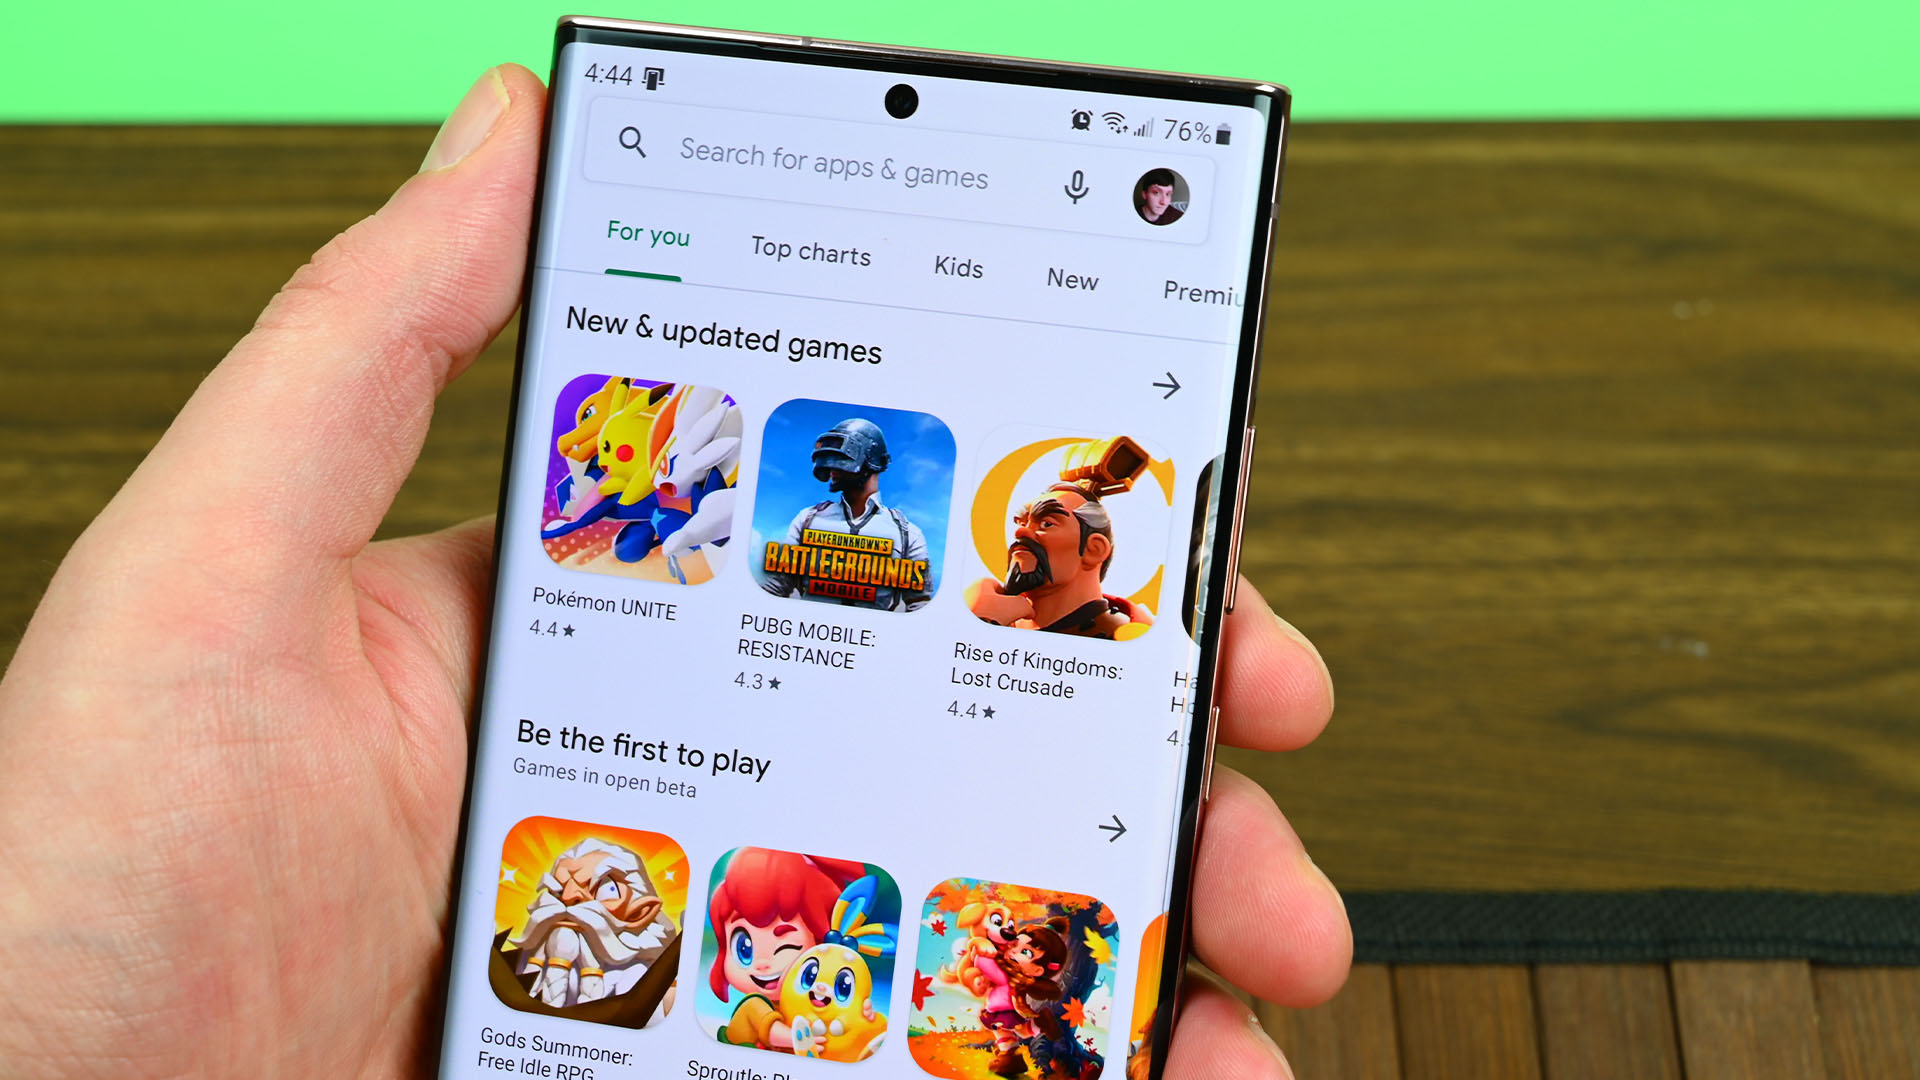
Step 7: Download and Install Games from the Play Store
With your SD card formatted, set as the default storage location, and the file manager app configured, you are now ready to download and install games directly onto your SD card from the Play Store. Follow these steps:
- Open the Google Play Store app on your device.
- Search for the game you want to download and install.
- Tap on the game from the search results to open its Play Store page.
- On the game’s page, tap on the “Install” button to begin the download and installation process.
- During the installation process, you may be prompted to select the storage location. Choose the SD card as the storage location for the game.
- Wait for the game to be downloaded and installed onto your SD card. The time it takes will depend on the size of the game and your internet connection speed.
- Once the game is installed, you can find it in your app drawer or in the file manager app’s storage location.
Repeat these steps for each game you want to download and install onto your SD card. By default, the Play Store will now save the games to the SD card, ensuring that your device’s internal storage remains free for other essential apps and files.
Remember, after downloading and installing a game, you can manage it using the file manager app. You can move, copy, or delete game files as needed to free up space or organize your SD card storage.
Enjoy the freedom of downloading and playing your favorite games directly from your SD card! This method allows you to take advantage of the additional storage capacity provided by the card, giving you more room for your gaming adventures.
Congratulations! You have successfully completed all the steps to download and install games from the Play Store directly onto your SD card. Now, you can enjoy your favorite games without worrying about limited storage space on your device.
Conclusion
In this guide, we have explored the step-by-step process of downloading games onto an SD card from the Play Store. By following these steps, you can efficiently manage your storage space and enjoy a larger collection of games without worrying about running out of internal storage on your device.
We began by checking the compatibility of your device to ensure that it supports storing apps on an external SD card. Then, we discussed how to choose a compatible SD card based on storage capacity, speed rating, brand, and compatibility with your device.
Next, we covered the essential step of formatting the SD card, ensuring it is ready for use as external storage. We emphasized the importance of backing up any crucial data on the card before proceeding with formatting.
After formatting, we moved on to setting the SD card as the default storage location on your device. By doing this, any new game downloads or app installations will go directly to the SD card, freeing up internal storage.
To facilitate effective management of downloaded games, we recommended installing a file manager app. This app allows you to navigate through files and folders on your SD card, making it easier to find, organize, and transfer game files.
We then covered the process of configuring the file manager app’s settings to your preferences. Customizing these settings ensures a seamless experience in managing your downloaded games on the SD card.
Finally, we concluded with the final step of downloading and installing games from the Play Store directly onto your SD card. By following the steps outlined, you can enjoy your favorite games without worrying about limited storage space on your device.
With the information and steps provided in this guide, you are now equipped to expand your gaming library and make the most of your device’s external storage capabilities. Say goodbye to storage limitations and elevate your gaming experience by downloading games on an SD card from the Play Store!