Introduction
Welcome to the world of Wii gaming! If you’re an avid Wii enthusiast, you may be looking to expand your game library without having to purchase physical discs. Luckily, you can easily download Wii games and store them on your SD card for convenient access.
The Wii console, known for its motion-controlled gameplay and family-friendly titles, has a vast library of games to choose from. However, constantly swapping out discs can be a hassle, and the risk of damaging them can be a concern. By downloading games directly to your SD card, you can ensure hassle-free gaming and protect your discs from wear and tear.
In this guide, we will walk you through the step-by-step process of downloading Wii games to your SD card, so you can enjoy your favorite titles without the need for physical media. By following these easy steps, you’ll be able to expand your gaming library and have a variety of games ready to play at your fingertips.
Whether you’re a casual gamer looking for a fun way to relax or a die-hard Nintendo fan, downloading Wii games to your SD card is a great way to enhance your gaming experience. Let’s dive in and get started!
Step 1: Prepare your Wii console
Before you can start downloading and playing Wii games on your console, you need to make sure your Wii is set up and ready to go. Follow these steps to prepare your Wii console:
- Connect your Wii console: Ensure that your Wii console is properly connected to your television or monitor. Use the provided AV cables or HDMI cables to establish a connection and ensure that the video and audio outputs are working correctly.
- Power on your Wii console: Plug in the power adapter for your Wii console and turn it on. You should see the Wii logo appear on your screen.
- Set up your Wii console: If this is your first time using your Wii console, you’ll need to go through the initial setup process. Follow the on-screen instructions to select your language, set up your internet connection, and configure any other settings.
- Ensure you have enough storage space: Wii games can take up a significant amount of storage space, so make sure your console has enough room to accommodate them. If necessary, you can expand your storage by using an external USB hard drive or by deleting unnecessary data from your console.
- Update your Wii software: It’s important to keep your Wii console up-to-date with the latest software version. To do this, go to the Wii System Settings menu and select “Wii System Update.” Follow the on-screen instructions to download and install any available updates.
Once you’ve completed these steps, your Wii console will be ready to download and play Wii games. It’s important to ensure that your console is in good working condition and properly set up before proceeding to the next steps.
Step 2: Format the SD card
In order to download Wii games and transfer them to your SD card, you need to ensure that the card is properly formatted. Formatting the SD card will prepare it for use with your Wii console. Follow these steps to format your SD card:
- Insert the SD card: Locate the SD card slot on your Wii console. It is usually found on the front or side of the console. Gently insert your SD card into the slot until it clicks into place.
- Access the Wii System Menu: Turn on your Wii console and navigate to the main menu. From there, select the “Wii Options” button located in the bottom left corner of the screen.
- Choose Data Management: In the Wii Options menu, you will find the Data Management option. Use the arrow buttons on your Wii remote to highlight and select it.
- Select the SD card: Under Data Management, you will see different storage options. Choose the one that represents your SD card, usually labeled as “SD Card” or similar. Select it to proceed.
- Format the SD card: In the SD card menu, look for the option to format the card. It may be labeled as “Format” or “Delete All Data.” Confirm your selection to initiate the formatting process. Note that formatting the SD card will erase all existing data, so make sure to backup any important files before proceeding.
Once the formatting process is complete, your SD card is now ready to receive downloaded Wii games. Remember to keep the SD card inserted in your Wii console for the remaining steps, as you will need it to transfer and play the games.
Step 3: Download Wii games
Now that your SD card is formatted and ready to go, it’s time to start downloading Wii games. There are a few different methods you can use to download games, so choose the one that works best for you:
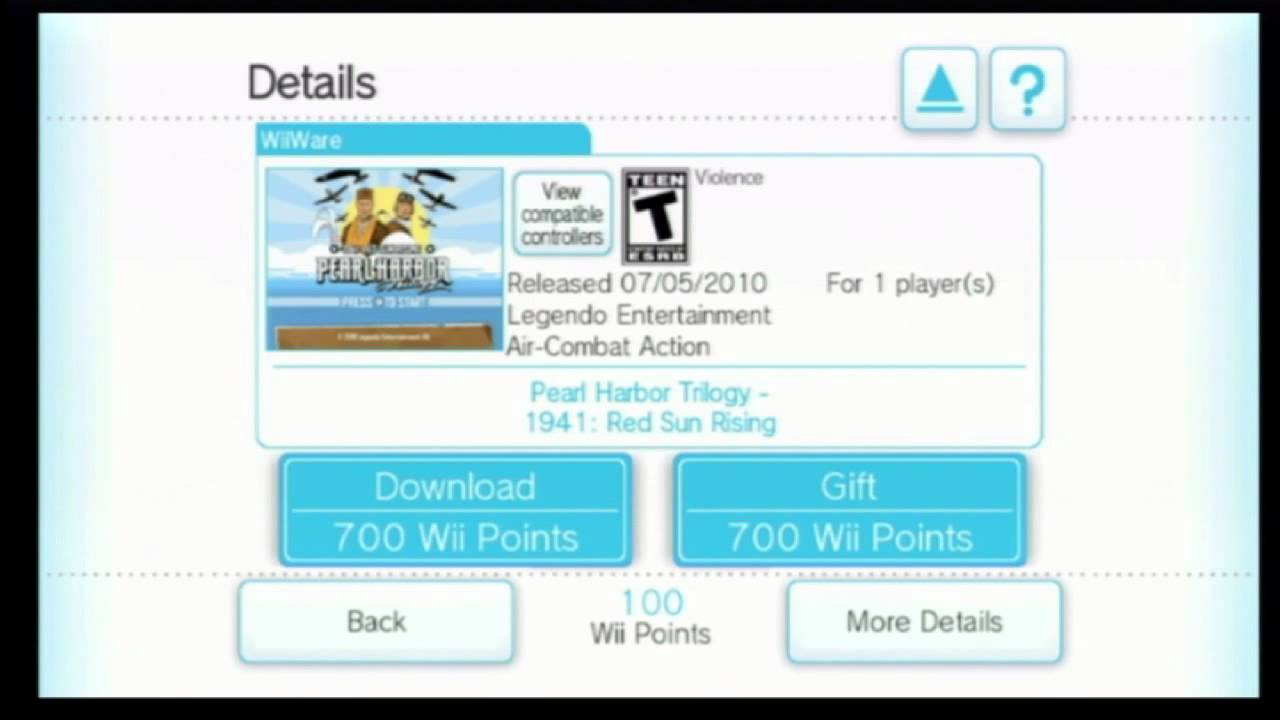
- Official Wii Shop Channel: The Wii Shop Channel was Nintendo’s official digital storefront for downloading games and other content. However, as of January 2019, the Wii Shop Channel has been discontinued, and no more new purchases or downloads are available. If you have previously purchased and downloaded games from the Wii Shop Channel, you can still re-download them by accessing your account history.
- Virtual Console: The Virtual Console feature allows you to download and play classic games from older Nintendo consoles. Some Wii consoles may still have access to the Virtual Console, but availability and selection may vary. Navigate to the Wii Shop Channel and search for Virtual Console games to download onto your SD card.
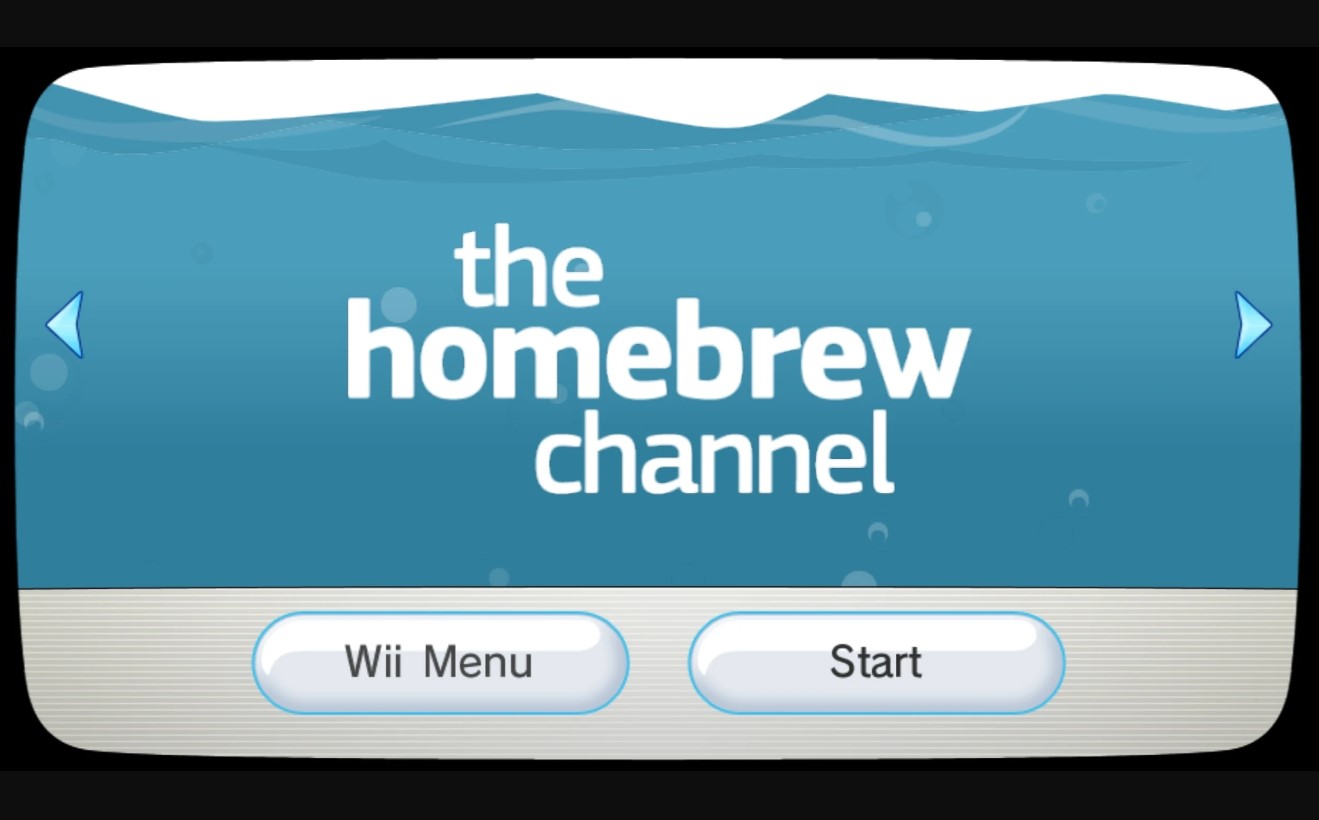
- Homebrew Channel: The Homebrew Channel is a user-developed application that allows for custom software and unofficial games to be installed on the Wii console. To use the Homebrew Channel, you will need to install it on your Wii console using the appropriate methods and follow the instructions provided by reliable sources. Once installed, you can use the Homebrew Channel to download and play homebrew games.
- Online ROM repositories: It’s worth mentioning that there are various websites and online repositories that offer downloadable ROM files for Wii games. However, it’s important to note that downloading ROMs from unofficial sources may be considered piracy and is against copyright laws in many countries. Proceed with caution and ensure you have the legal right to download and play the games you choose.
Choose the method that aligns with your preferences and gaming needs. Remember to always perform thorough research and exercise caution when downloading games from unknown sources. Additionally, be aware of and respect the intellectual property rights of game developers and publishers.
Step 4: Transfer games to SD card
After you have downloaded the Wii games onto your computer or Wii console, it’s time to transfer them to your SD card. Follow these steps to transfer the games:
- Insert the SD card into your computer: If your computer has an SD card slot, insert the SD card directly into it. If not, you can use an SD card reader to connect the SD card to your computer.
- Access the SD card: Once the SD card is connected to your computer, navigate to it using your file explorer. It should appear as a removable disk.
- Create a new folder: Within the SD card, create a new folder to store the Wii games. You can name it something like “Wii Games” or “Games”. This will help keep everything organized.
- Copy the downloaded game files: Locate the downloaded Wii game files on your computer or Wii console. Copy the game files and paste them into the newly created folder on the SD card.
- Wait for the transfer to complete: The time it takes to transfer the games to the SD card will depend on the size of the files and the speed of your computer or SD card reader. Be patient and allow the transfer to finish.
- Eject the SD card: Once the transfer is complete, safely eject the SD card from your computer or SD card reader. This ensures that all the data is properly saved and prevents any potential corruption.
Now that the games are successfully transferred to the SD card, you can proceed to the next step of inserting the SD card into your Wii console and installing the games on your console.
Step 5: Insert SD card into Wii console
With the games transferred to the SD card, it’s time to insert the SD card into your Wii console. Follow these steps to properly insert the SD card:
- Prior to inserting the SD card, ensure that your Wii console is powered off: This will prevent any potential damage to the console or the SD card.
- Locate the SD card slot on your Wii console: The SD card slot is typically located on the front or side of the console. It is a small rectangular slot that is labeled “SD Card”.
- Gently insert the SD card into the slot: Hold the SD card with the label facing towards you and the metal connectors facing down. Carefully slide the SD card into the slot until it clicks into place. Be cautious not to force it in, as this may cause damage to the SD card or the console.
- Power on your Wii console: Once the SD card is properly inserted, you can power on your Wii console by pressing the power button on the front or top of the console.
- Navigate to the Wii Menu: After the console has powered on, you will be taken to the Wii Menu. Use your Wii remote to navigate through the options and select the desired game to play.
Now that the SD card is securely inserted, your Wii console will recognize the games stored on the card. You can easily access and play the downloaded games directly from the Wii Menu.
It’s important to note that you should not remove or insert the SD card while your Wii console is powered on or in use. Doing so may cause errors or corrupt the data on the SD card. If you need to remove the SD card, make sure to power off your Wii console before doing so.
Step 6: Install games on your Wii console
Now that you have inserted the SD card into your Wii console, it’s time to install the downloaded games onto your console’s internal storage. Follow these steps to install the games:
- Access the Wii Menu: Power on your Wii console and navigate to the Wii Menu. This is the main screen where you can select various channels and games.
- Locate the SD card menu: In the Wii Menu, look for an icon that represents the SD card. It is usually labeled as “SD Card” or something similar. Click on this icon to access the contents of your SD card.
- Select the game you want to install: Browse through the list of games on your SD card and choose the one you want to install. Use the Wii remote to highlight and click on the game to proceed.
- Follow the on-screen instructions: Once you have selected the game, follow the on-screen prompts to begin the installation process. This may involve confirming your choice, accepting any terms or conditions, and waiting for the installation to complete.
- Repeat for each game: If you have multiple games on your SD card, repeat the previous steps to install each game individually. Take note that the time it takes to install a game may vary depending on the size of the game and the speed of your console.
Once the installation process is complete, the game will be available to play directly from your Wii Menu. You can navigate to the desired game and select it to start playing.
It’s important to remember that the game will be installed on your console’s internal storage, not on the SD card. The SD card serves as a storage medium for transferring and installing games, but they are not played directly from the SD card itself.
If you no longer wish to have a game installed on your console, you can uninstall it through the Wii Menu. Simply navigate to the game on the Wii Menu, press the “+” button on your Wii remote, and choose the option to uninstall or delete the game.
Step 7: Play downloaded games on your Wii!
Congratulations, you’re almost ready to dive into the world of downloaded Wii games! With the games installed on your Wii console, it’s time to start playing. Follow these steps to play the downloaded games:
- Access the Wii Menu: Power on your Wii console and navigate to the Wii Menu. This is where you can find all your installed games and channels.
- Locate the game you want to play: Scroll through the Wii Menu to find the game you want to play. The games will be displayed as icons, usually with the game’s cover art or logo.
- Select the game: Use the Wii remote to highlight and click on the game you want to play. This will launch the game and take you to the game’s main menu or start screen.
- Follow the game’s instructions: Once the game has started, follow the on-screen prompts and instructions to navigate the menus, select options, and start playing the game.
- Enjoy your downloaded game: Have fun playing your downloaded Wii game! Immerse yourself in the exciting gameplay, explore new worlds, and challenge yourself with the game’s objectives and missions.
Remember that the controls for each game may vary, so pay attention to the instructions provided within the game. Most Wii games utilize the motion-sensing capabilities of the Wii remote, allowing for an immersive and interactive gaming experience.
Keep in mind that downloading and playing games from unofficial sources may have certain risks and legal implications. Be sure to only download and play games that you have the legal right to access, and respect the intellectual property rights of game developers and publishers.
Now that you’ve successfully downloaded, installed, and started playing your Wii games, it’s time to have an unforgettable gaming experience. Grab your Wii remote, get comfortable, and enjoy hours of gaming fun right from your Wii console!