Introduction
Welcome to the world of Wii gaming! The Nintendo Wii is a beloved console that offers a wide range of exciting games to keep you entertained for hours on end. While you can purchase Wii games from retail stores, did you know that there are ways to download games directly to your Wii? This opens up a whole new world of possibilities, allowing you to access a vast library of games without leaving the comfort of your own home.
In this article, we will guide you through the process of downloading games to your Wii. With a few simple steps, you’ll be able to enjoy an extensive collection of games at your fingertips. Whether you want to revisit classic titles or discover new adventures, downloading games to your Wii is a convenient and cost-effective option.
Before we dive into the steps, it’s important to note that downloading games for your Wii requires a few prerequisites. Firstly, you’ll need to have a Wii console, a USB storage device, and an internet connection. Additionally, you’ll need to install the Homebrew Channel and USB Loader, which are homebrew software programs that allow you to unlock the full potential of your Wii.
Downloading games for your Wii not only provides access to a wider range of titles but also allows for easier storage and portability. Instead of cluttering your physical space with game discs, you can have all your games conveniently stored on a single USB device. Plus, you can easily switch between games without having to manually change discs.
Now that you understand the benefits and prerequisites, let’s dive into the step-by-step process of downloading games to your Wii. We’ll walk you through the installation of the Homebrew Channel and USB Loader, preparing your USB storage device, downloading Wii games, and finally, loading the games onto your Wii. So, grab your Wii controller and get ready to embark on an exciting gaming journey!
Step 1: Prepare Your Wii
Before you can start downloading games to your Wii, you need to ensure that your console is ready for the process. Follow these steps to prepare your Wii:
- Ensure Your Wii is Updated: Check if your Wii console has the latest system software update. To do this, go to the Wii Menu, select the Wii System Settings, and navigate to the Wii System Update option. If an update is available, follow the on-screen instructions to install it.
- Create a Wii System Backup: It’s always a good idea to create a backup of your Wii system before proceeding with any modifications. This backup will serve as a safety net in case anything goes wrong during the process. You can use the built-in “Data Management” feature on your Wii to create a system backup to an SD card or USB device.
- Free Up Storage Space: Ensure that you have sufficient storage space on your Wii console. If your internal storage is running low, consider transferring some of your existing games or data to an external storage device. This will make room for the new games you’ll be downloading.
- Disable WiiConnect24: WiiConnect24 is a feature that allows your Wii console to receive updates and messages while it’s in standby mode. To prevent any possible interference during the downloading process, it’s recommended to disable this feature. You can do this by accessing the Wii System Settings and navigating to the WiiConnect24 option.
- Clear the Wii Shop Channel Account: If you have any previous purchases or records of the Wii Shop Channel, it’s a good idea to clear them before proceeding. This will ensure a clean slate for the game downloads. On the Wii Shop Channel Menu, go to “Settings” and select “Account Activity.” From there, select “Clear Wii Shop Channel Account Activity.”
By following these steps, you’ll prepare your Wii console for the game download process. Ensuring that your console is updated, creating a system backup, freeing up storage space, disabling WiiConnect24, and clearing the Wii Shop Channel account will help ensure a smooth and hassle-free experience as you move forward with downloading games to your Wii.
Step 2: Install Homebrew Channel
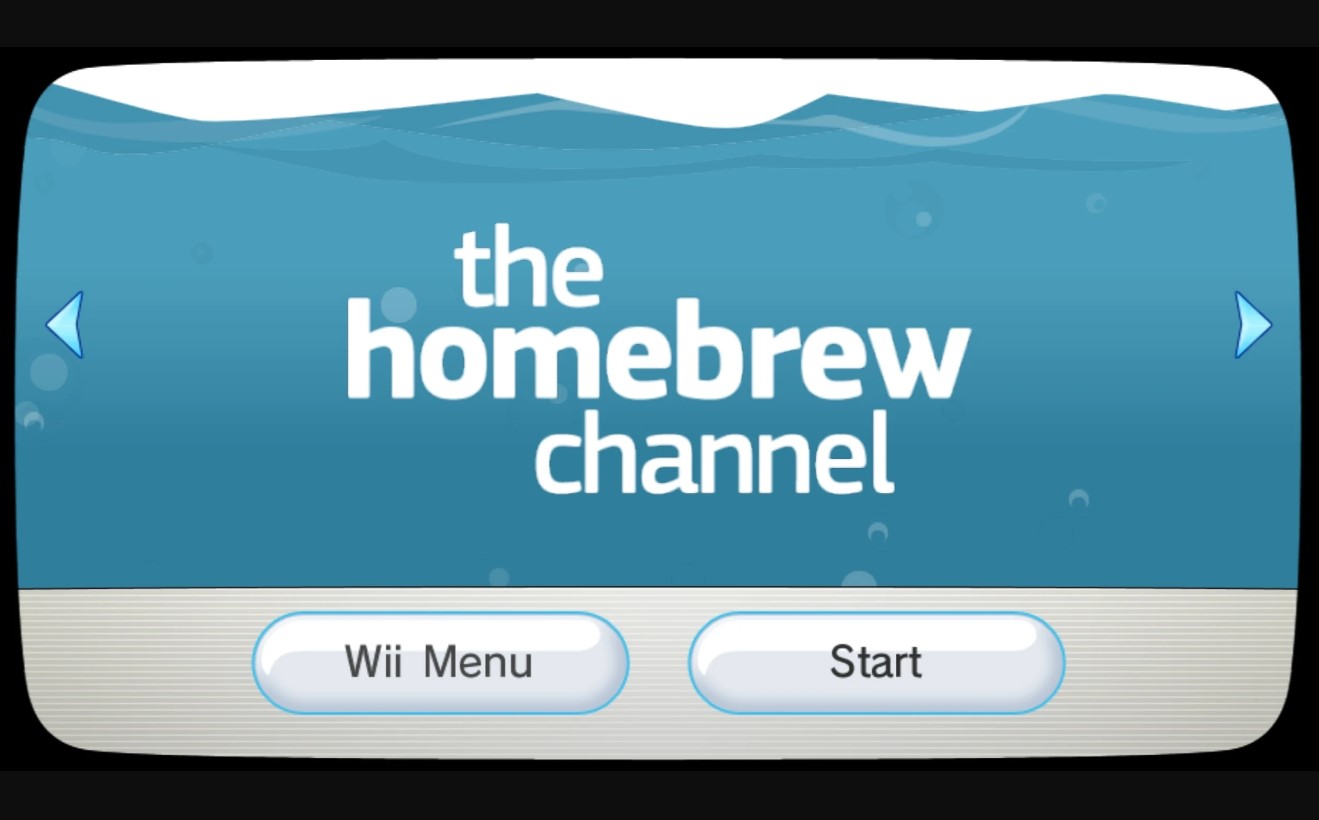
The Homebrew Channel is a software program that allows you to run unofficial applications and games on your Wii. By installing the Homebrew Channel, you’ll gain access to a wide range of user-created content, including emulators, game mods, and homebrew games.
Follow these steps to install the Homebrew Channel on your Wii:
- Prepare an SD Card: You’ll need an SD card with at least 2 gigabytes of storage to install the Homebrew Channel. Format the SD card to FAT32 if it’s not already formatted in that file system.
- Download the Homebrew Channel Installer: Visit the official Homebrew Channel website and download the latest version of the Homebrew Channel installer. Save the installer file to your computer.
- Extract the Installer Files: Extract the contents of the installer file you downloaded to a folder on your computer.
- Copy the Installer to the SD Card: Copy the extracted files to the root directory of your SD card. Make sure that there are no other files or folders on the SD card.
- Insert the SD Card into Your Wii: Turn off your Wii console and insert the SD card into the SD card slot located on the front or side of the Wii.
- Boot into the Homebrew Channel Installer: Turn on your Wii console and navigate to the Wii Menu. Select the “Wii” button in the bottom-left corner of the screen. On the next screen, select the “Data Management” option, followed by “Channels.” From there, select “SD Card” and then choose the option to load the Homebrew Channel installer.
- Install the Homebrew Channel: Follow the on-screen prompts to install the Homebrew Channel. Once the installation is complete, you’ll see the Homebrew Channel icon on your Wii Menu.
With the Homebrew Channel installed on your Wii, you’ll have the freedom to explore a vast array of homebrew applications and games. It’s important to note that while the Homebrew Channel offers many exciting possibilities, it’s crucial to only download and install content from trusted sources to ensure the safety and security of your Wii.
Step 3: Download and Install USB Loader
The USB Loader is a homebrew application that allows you to load and play Wii games from a USB storage device. With USB Loader, you can conveniently store and access your game collection without the need for physical discs.
Follow these steps to download and install USB Loader onto your Wii:
- Ensure the Homebrew Channel is Installed: Before proceeding, make sure you have successfully installed the Homebrew Channel on your Wii. USB Loader requires the Homebrew Channel to run.
- Prepare an SD Card: You’ll need an SD card with sufficient storage space to download and install USB Loader. Format the SD card to FAT32 format if it’s not already formatted that way.
- Download USB Loader: Visit a reliable source for homebrew applications and download the latest version of USB Loader. Save the USB Loader files to a folder on your computer.
- Extract the USB Loader Files: Extract the contents of the USB Loader file you downloaded to a folder on your computer.
- Copy the USB Loader Files to the SD Card: Copy the extracted files to the root directory of your SD card. Ensure that there are no other files or folders on the SD card. Make sure to preserve the folder structure of the USB Loader files.
- Insert the SD Card into Your Wii: Turn off your Wii console and insert the SD card into the SD card slot on the front or side of the Wii.
- Access the Homebrew Channel: Turn on your Wii console and navigate to the Wii Menu. Select the Homebrew Channel icon to launch it.
- Launch USB Loader: Within the Homebrew Channel, locate the USB Loader application and select it to launch the USB Loader interface.
- Initialize USB Loader: When prompted, follow the on-screen instructions to initialize USB Loader. This may involve choosing your preferred settings and configuring your USB storage device.
Once you’ve successfully downloaded and installed USB Loader, you can start enjoying the convenience of playing your Wii games directly from a USB storage device. USB Loader offers features such as game cover art, customizable settings, and the ability to download and apply game patches.
Remember to only download Wii game files from legitimate sources, ensuring that you have proper ownership of the games you download. Respect copyright laws and support game developers by purchasing original copies whenever possible.
Step 4: Prepare a USB Storage Device
Before you can start downloading and playing Wii games from a USB storage device, you’ll need to prepare the device for use with your Wii console. Follow these steps to ensure compatibility and optimize your USB storage device:
- Choose a Compatible USB Storage Device: Not all USB storage devices are compatible with the Wii console. It’s important to choose a device that is compatible and meets the necessary specifications. USB hard drives or flash drives with a capacity of up to 2TB are commonly used for Wii game storage.
- Format the USB Storage Device: Connect your USB storage device to your computer and ensure that it is empty or that you have backed up any important data. Format the device to FAT32 format using your computer’s formatting tools. This ensures compatibility with the Wii console.
- Create a Folder Structure: On the USB storage device, create a main folder named “wbfs” and within that folder, create subfolders for each game you plan to download. The subfolder names should match the names of the game files (ISO or WBFS format).
- Add Game Files: Obtain the game files in ISO or WBFS format. These files can be acquired through legal means, such as ripping your own games or obtaining them from legitimate sources. Copy the game files into the corresponding subfolders created on the USB storage device.
- Eject the USB Storage Device: Safely eject the USB storage device from your computer once the game files have been successfully copied. This ensures that the files are properly saved and ready for use on the Wii console.
By preparing a USB storage device specifically for Wii game storage, you’ll have a dedicated space to store and access your game collection. This eliminates the need for physical discs and allows for easy switching between games without the hassle of swapping discs.
Remember to always acquire Wii game files through legal means and respect copyright laws. Obtaining or distributing unauthorized copies of copyrighted material is illegal and unethical. Support game developers and publishers by purchasing original copies whenever possible.
Step 5: Download Wii Games
Now that you have the necessary setup with the Homebrew Channel, USB Loader, and a prepared USB storage device, you’re ready to download Wii games and expand your gaming library. Follow these steps to download Wii games:
- Find a Trusted Source: Look for reputable websites or online communities that offer Wii game downloads. Ensure that the sources you choose are reliable and provide legitimate copies of games.
- Search for Desired Games: Browse through the available game titles or use the search function to find the specific games you want to download. Pay attention to user reviews and ratings to gauge the quality of a particular game.
- Check Compatibility and Format: Before downloading a game, ensure that it is compatible with the USB Loader and your Wii system. Look for games in either ISO or WBFS format, as these are the formats supported by USB Loader.
- Download the Game Files: Click on the appropriate download link for the game you want. Depending on the source, you may need to complete a verification process or follow specific instructions to initiate the download.
- Save the Game Files: Once the download is complete, save the game files to your computer’s designated download folder or a location of your choice. Remember to keep track of the file names and their respective game titles.
It is essential to always download Wii games from trusted sources and ensure that you have the legal right to possess and play these games. Support game developers and publishers by purchasing original copies whenever possible.
Remember that downloading and distributing unauthorized copies of copyrighted material is illegal and can result in severe consequences. Respect intellectual property rights and be a responsible gamer.
Step 6: Transfer Games to USB Storage Device
With the Wii games downloaded to your computer, it’s time to transfer them to your USB storage device using the USB Loader. Follow these steps to transfer the games:
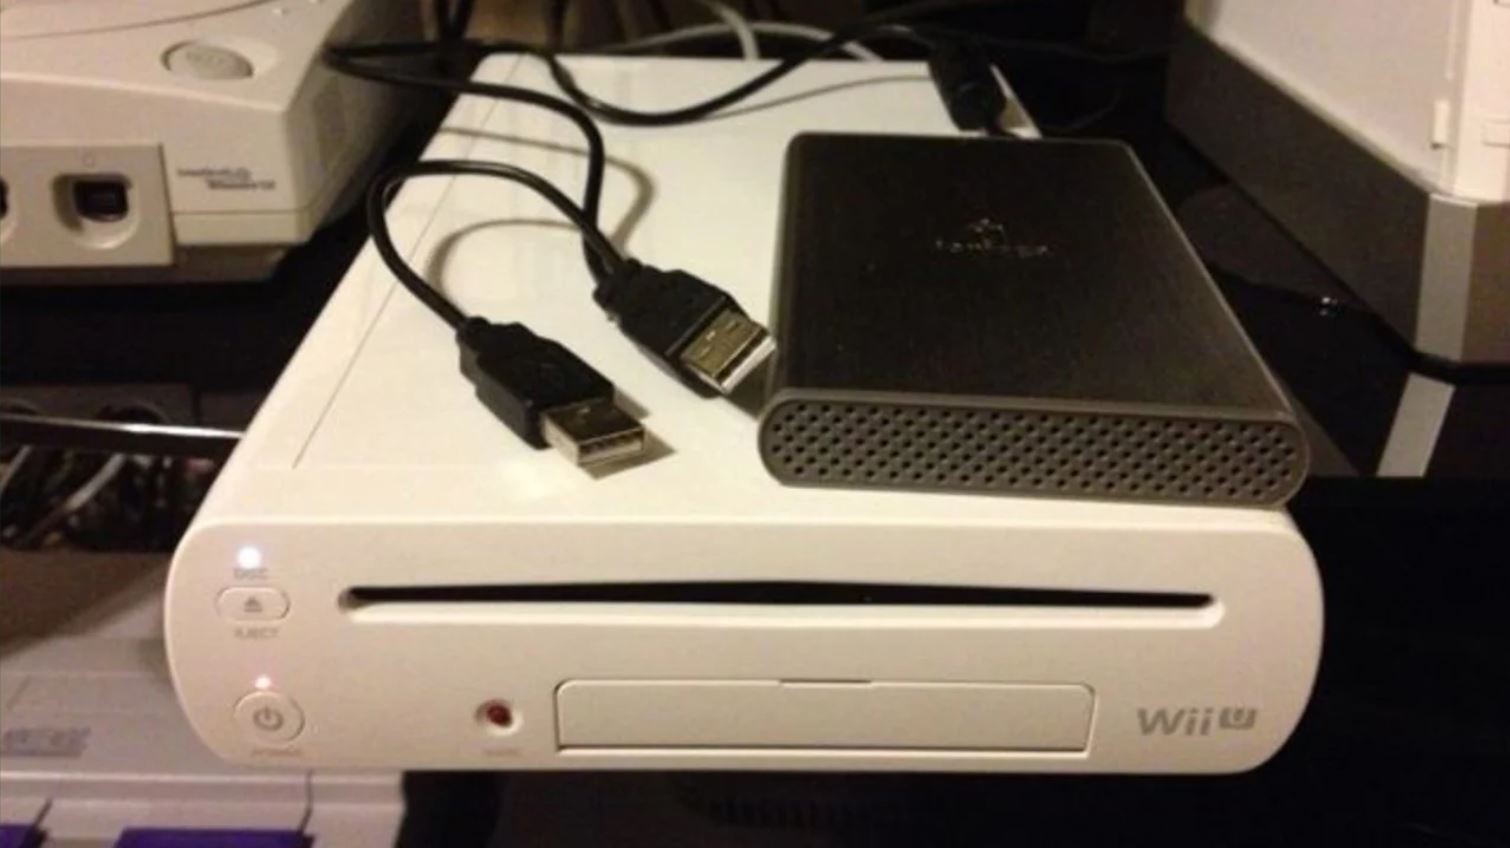
- Connect the USB Storage Device: Plug the USB storage device into one of the USB ports on your Wii console.
- Launch USB Loader: Access the Homebrew Channel on your Wii console and launch the USB Loader application.
- Initialize the USB Loader: If this is your first time using USB Loader, you may need to initialize it by following the on-screen instructions. This process involves setting up your preferences, such as language and display options.
- Access the Game Manager: Within USB Loader, navigate to the “Game Manager” or “Games” section. This is where you will manage and transfer your downloaded games.
- Select the Game: Locate the game you want to transfer from your computer to the USB storage device. Highlight the game and select it using the Wii remote or controller.
- Choose the Transfer Option: In the Game Manager, select the option to transfer or install the game to the USB storage device. Confirm the transfer when prompted.
- Wait for Transfer Completion: The transfer process may take a few minutes, depending on the size of the game and the speed of your USB storage device. Be patient and avoid interrupting the process.
- Repeat for Other Games: If you have multiple games to transfer, repeat the previous steps for each game.
- Verify Game Transfers: After the transfer process is complete, you can verify that the games have been successfully transferred by checking the game list in the USB Loader.
By transferring games from your computer to a USB storage device using the USB Loader, you’ll have all your downloaded games in one place and ready to play on your Wii console.
Remember to always transfer and play games that you have the legal right to possess and play. Respect copyright laws and support game developers and publishers by purchasing original copies of games whenever possible.
Step 7: Load Games on Wii from USB Loader
After successfully transferring the Wii games to your USB storage device, you’re now ready to load and play the games on your Wii console. Follow these steps to load games from the USB Loader:
- Connect the USB Storage Device: Ensure that the USB storage device containing the games is connected to one of the USB ports on your Wii console.
- Access the Homebrew Channel: Turn on your Wii console and navigate to the Wii Menu. Launch the Homebrew Channel by selecting its icon.
- Launch the USB Loader: Within the Homebrew Channel, locate the USB Loader application and select it to launch the USB Loader interface.
- View the Game List: Once the USB Loader launches, you will see a list of the games available on the USB storage device. Use the Wii remote or controller to navigate and highlight the game you want to play.
- Select and Load the Game: With the game highlighted, select it to initiate the loading process. The USB Loader will verify the game and prepare it for play.
- Enjoy Playing the Game: Once the game has finished loading, you can enjoy playing it on your Wii console. Use the Wii remote or controller to navigate menus, control your character, and interact with the game as you would with any other Wii game.
With the USB Loader and your USB storage device, you can conveniently access and play your downloaded Wii games without the need for physical discs. The USB Loader provides a user-friendly interface that allows for easy game selection and loading.
Remember to only play games that you have the legal right to possess and play. Downloading and playing unauthorized copies of copyrighted material is illegal and unethical. Support game developers and publishers by purchasing original copies whenever possible.
Conclusion
Congratulations! You have successfully learned how to download and play Wii games directly to your console using the Homebrew Channel and USB Loader. By following the steps outlined in this guide, you’ve unlocked the full potential of your Wii and gained access to a vast library of games.
Downloading games to your Wii not only offers convenience but also allows for easier storage and portability. Instead of dealing with physical discs, you can have all your games stored on a USB storage device, ready to be loaded and played with just a few clicks.
Remember to always download games from trusted sources and ensure that you have the legal right to possess and play them. Respect copyright laws and support game developers by purchasing original copies whenever possible.
Enjoy the countless hours of gaming and adventures that await you on your Wii. Whether you’re revisiting childhood favorites or exploring new titles, downloading games to your Wii opens up a whole new world of entertainment possibilities.
We hope this guide has been helpful in providing you with the knowledge and steps needed to download and enjoy Wii games. Embrace the world of homebrew gaming and make the most of your Wii console!