Introduction
Welcome to our guide on how to set up the Wii on a smart TV. The Nintendo Wii was a revolutionary gaming console that introduced motion-controlled gameplay and a whole new level of interactive entertainment. If you’ve recently purchased a smart TV and want to enjoy the classic Wii games on a bigger and better screen, you’re in the right place.
Setting up the Wii on a smart TV may seem a bit confusing, especially if you’re new to the world of gaming consoles and HDMI connections. But worry not! We’ve got you covered with this step-by-step guide that will walk you through the entire process, from checking TV compatibility to exploring and enjoying the Wii features.
Before we begin, it’s important to note that the steps may vary slightly depending on your specific smart TV model and Wii console version. However, the general principles remain the same, and we will provide clear instructions to help you navigate through the setup process smoothly.
So, grab your Wii console, dust off those old motion controllers, and let’s dive in!
Step 1: Check TV Compatibility
Before connecting your Wii to the smart TV, it’s essential to ensure that your TV is compatible with the console. Most modern smart TVs have a variety of input ports, but it’s important to confirm that they have the necessary connections for the Wii.
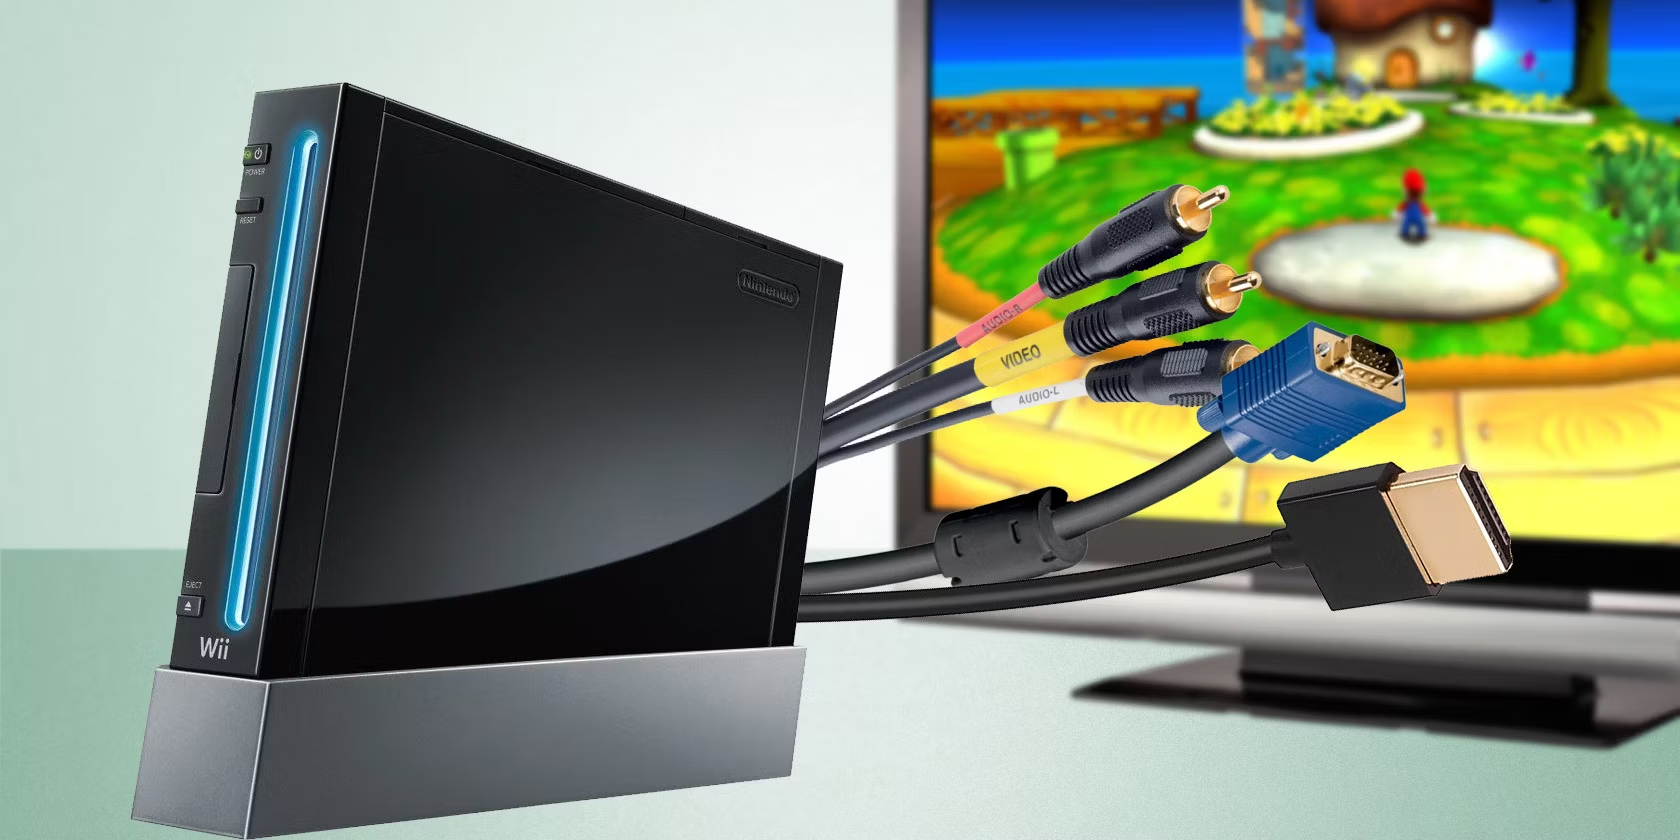
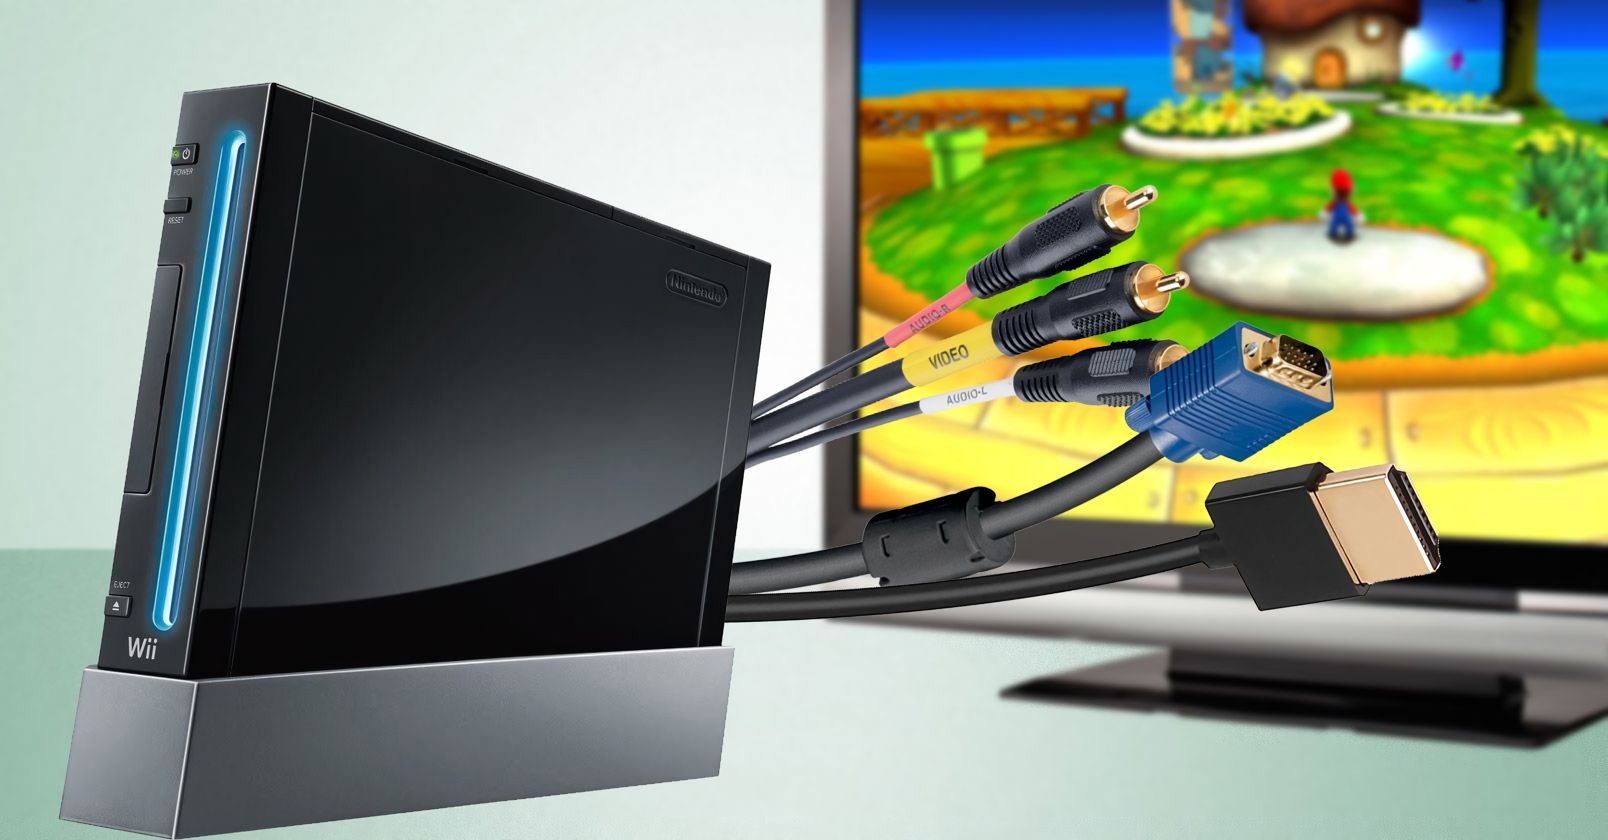
The Wii console uses either composite (AV) cables or component cables for video output. These cables come with red, white, and yellow RCA connectors for composite, and red, green, blue, and red/white for component. Check if your TV has these input ports labeled “AV,” “Composite,” or “Component.”
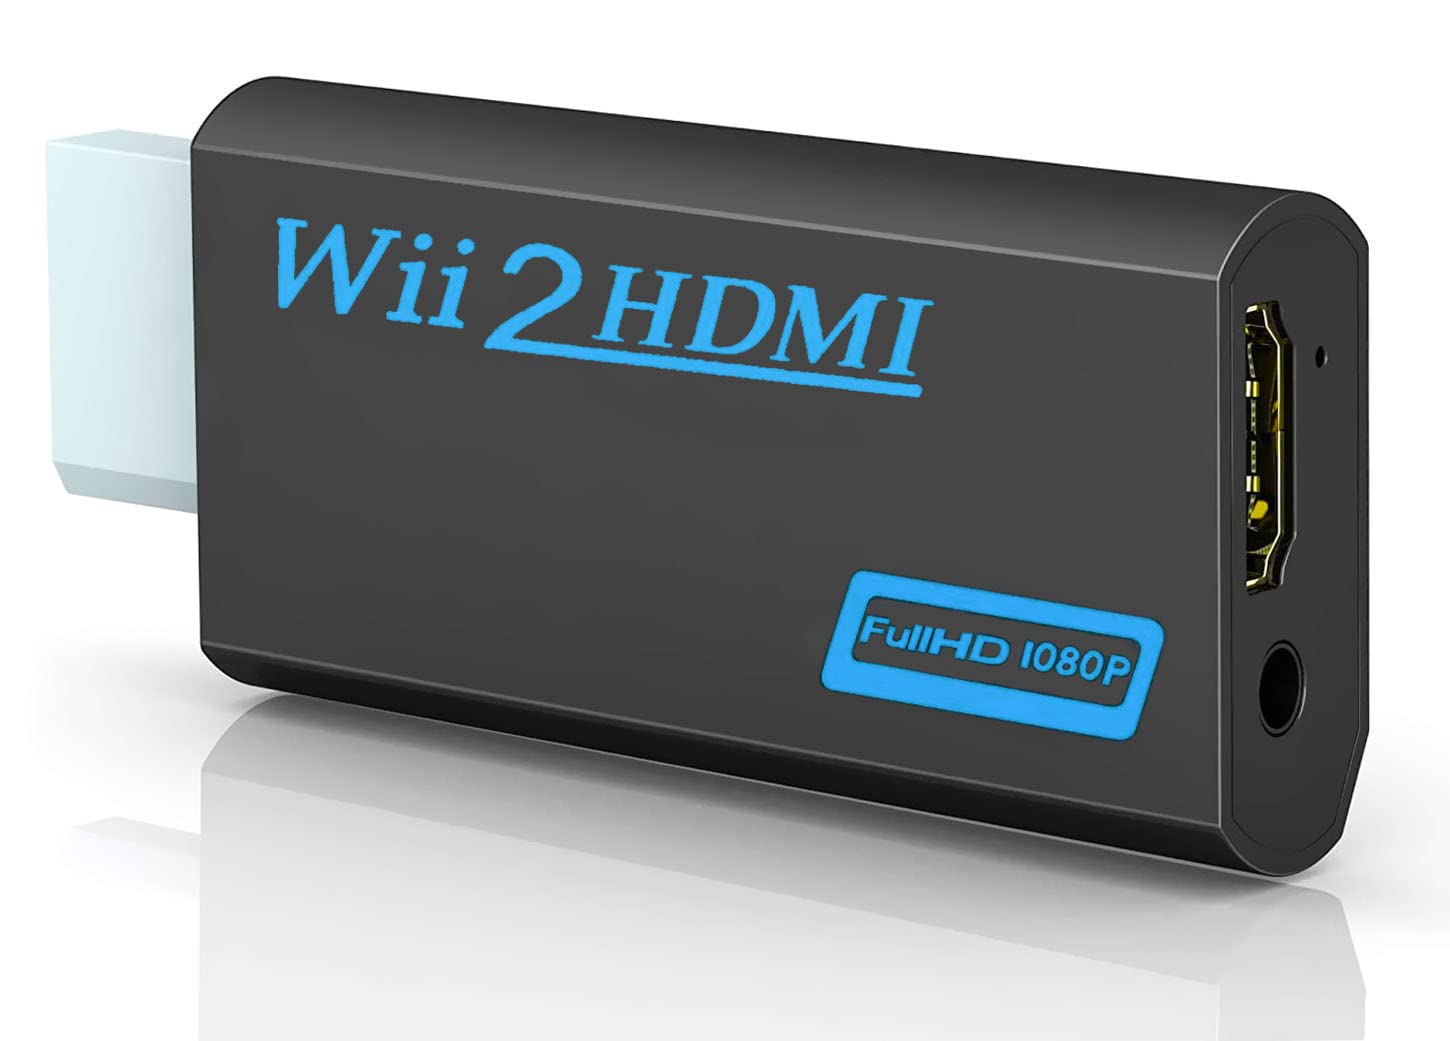
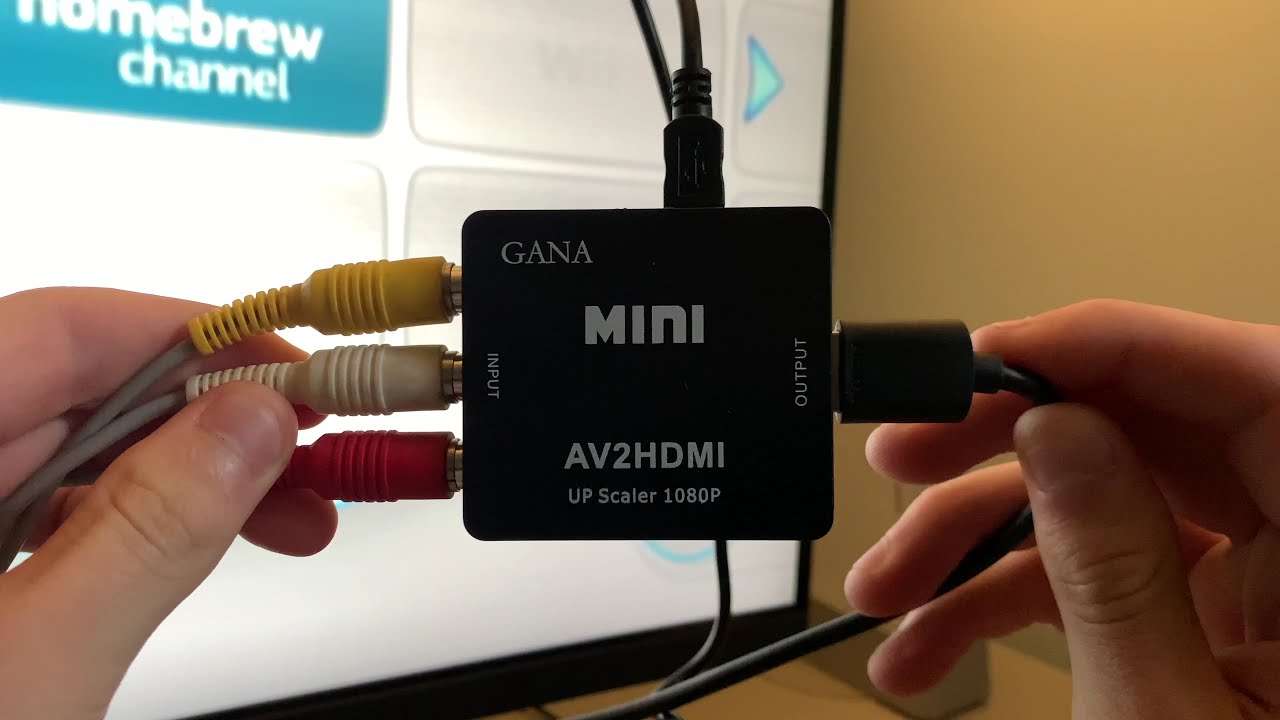
If your TV has HDMI ports but lacks composite or component inputs, don’t worry. You can purchase an HDMI converter specifically designed for the Wii to connect it to your TV via HDMI.
It’s also important to check if your TV supports the resolution output by the Wii. The Wii typically supports a maximum resolution of 480p, so ensure that your TV can display this resolution.
Additionally, double-check if your TV has a USB port. This will come in handy later in the setup process when connecting the sensor bar.
If your TV meets all the requirements, congratulations! You are ready to move on to the next step. If not, consider getting the necessary adapters or cables to ensure compatibility between the Wii and your smart TV.
Step 2: Gather Necessary Equipment
Now that you’ve confirmed your TV’s compatibility with the Wii console, it’s time to gather the necessary equipment for the setup process.
Here’s a list of the equipment you’ll need:
- Wii console: This is the heart of the system. Make sure you have the console itself, as well as the power cord.
- Wii Remote and Nunchuk: These are the motion controllers that allow you to interact with the games. Ensure that your Wii Remote is synced and has working batteries.
- Sensor bar: The sensor bar detects the Wii Remote’s movement and is essential for motion-controlled gameplay. If you don’t have a sensor bar, don’t worry. You can make a DIY sensor bar using two candles or purchase a wireless sensor bar.
- Composite or component cables: Depending on your TV’s input ports, gather the necessary cables to connect the Wii to the TV. Make sure they are in good condition.
- HDMI converter (if required): If your TV only has HDMI ports, you’ll need an HDMI converter specifically designed for the Wii.
- TV remote or navigation buttons: You’ll need your smart TV’s remote or navigation buttons to access the TV’s settings and input selection.
Once you have all the required equipment, ensure that each component is in good working condition and that you have all the necessary cables and accessories. This will ensure a smooth setup process without any last-minute hiccups.
With everything gathered and ready, you’re one step closer to setting up your Wii on your smart TV. Now, let’s move on to the next step.
Step 3: Connect the Wii to the TV
With all the necessary equipment gathered, it’s time to connect the Wii to your smart TV. Follow these simple steps:
- Locate the AV or HDMI ports on your TV. These are usually located on the back or side of the TV.
- If you’re using composite cables:
- Plug the yellow, white, and red cables into the corresponding AV input ports on your TV.
- Ensure that the colors match the jacks on the TV (yellow cable to the yellow port, white cable to the white port, and red cable to the red port).
- If you’re using component cables:
- Connect the red, green, and blue cables to the matching component input ports on your TV.
- Plug the red and white audio cables into the corresponding audio input ports.
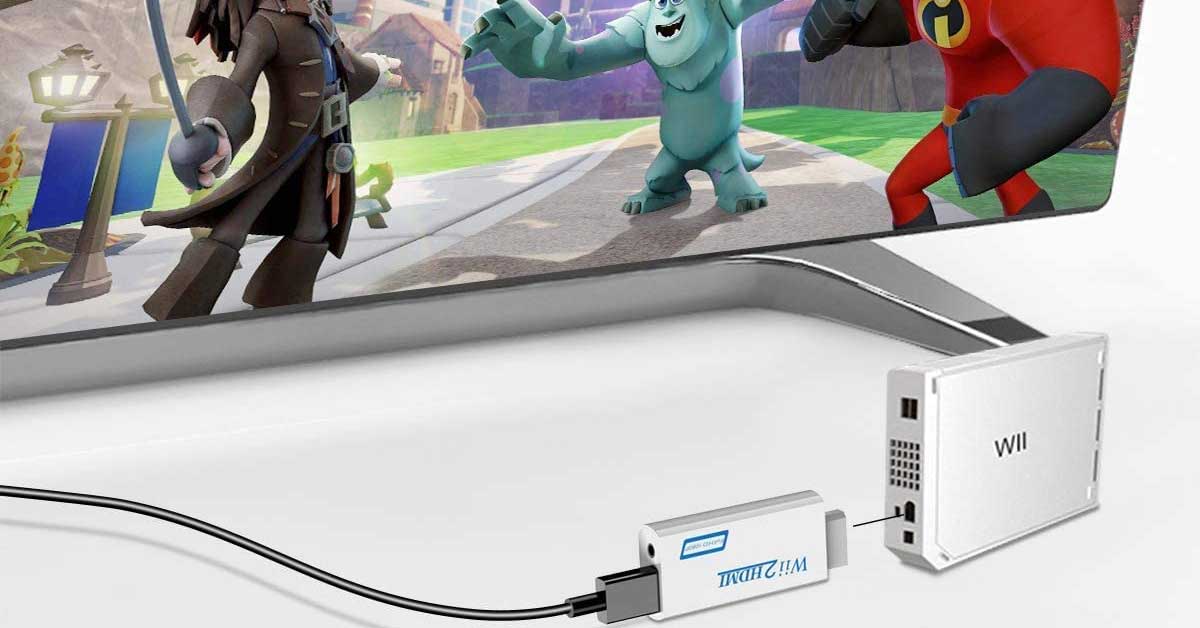
- If you’re using an HDMI converter:
- Connect one end of the HDMI cable to the HDMI port on the converter.
- Plug the other end of the HDMI cable into an available HDMI port on your TV.
- Connect the composite or component cables to the corresponding ports on the converter.
- Ensure that all connections are secure and tight.
Once you’ve connected the Wii to your TV, power on both the Wii console and the TV. With the correct input source selected on the TV, you should see the Wii’s main menu on the screen.
If you don’t see anything or the TV displays a “No Signal” message, double-check the connections and ensure that you selected the correct input source on the TV.
Now that the Wii is connected to the TV, let’s proceed to the next step and set up the sensor bar.
Step 4: Set Up the Sensor Bar
Now that the Wii is connected to your smart TV, it’s time to set up the sensor bar. The sensor bar is an essential component for motion-controlled gameplay on the Wii, as it detects the motion of the Wii Remote.
Follow these steps to set up the sensor bar:
- Place the sensor bar on top or below your TV. Ideally, it should be centered.
- Ensure that the sensor bar cable is long enough to reach the back of the Wii console.
- If your TV has a USB port, you can connect the sensor bar directly to it. If not, you can use the included sensor bar stand and place it on a flat surface near the TV. In this case, you’ll need to connect the sensor bar cable to the back of the Wii console.
- Make sure the Wii Remote is synced with the console. Press the sync button on the back of the Wii Remote and then press the sync button on the front of the Wii console. The Wii Remote LEDs should start flashing, indicating that they are syncing.
- Point the Wii Remote at the TV screen and ensure there are no obstructions between the Wii Remote and the sensor bar.
Once you have set up the sensor bar, you’re ready to move on to the next step and configure the TV input for the Wii.
Step 5: Configure the TV Input
After setting up the sensor bar, the next step is to configure the TV input for the Wii. This step may vary depending on your TV model, but here are the general steps to follow:
- Grab your TV remote or locate the navigation buttons on the TV itself.
- Access the TV settings or menu by pressing the “Menu” button or a similar button on the remote.
- Navigate to the “Input” or “Source” section in the menu. This section allows you to select the input source for your TV.
- Select the input source that corresponds to the port where you connected the Wii. If you used the composite cables, select “AV” or “Composite.” If you used component cables, select “Component.” If you used an HDMI converter, select the HDMI input port you connected the Wii to.
- Once you’ve selected the correct input source, exit the menu or press the “OK” button on the remote to confirm the changes.
After configuring the TV input, your smart TV should now be set up to display the video output from the Wii. Ensure that you see the Wii’s main menu or a prompt to press the A and B buttons on the Wii Remote to continue.
If you’re not seeing any video on the screen, make sure the Wii console is powered on and that the TV input is correctly selected. You can also try reconnecting the cables or checking the HDMI converter connections if applicable.
Once you have successfully configured the TV input, you’re ready to power on the Wii console and complete the initial setup process, which is the next step of the guide.
Step 6: Power On the Wii and TV
Now that you have set up the sensor bar and configured the TV input, it’s time to power on both the Wii console and the TV. Follow these steps:
- Locate the power button on your Wii console.
- Press the power button to turn on the Wii console. You should see a light indicator on the console indicating that it is powered on.
- Next, locate the power button on your smart TV or use the TV remote to turn it on.
- Ensure that the TV is set to the correct input source, which you configured in the previous step. If necessary, use the TV remote or the navigation buttons on the TV itself to switch to the correct input source.
As the Wii console and the TV power on, you should see the Wii’s main menu or a prompt guiding you to press the A and B buttons on the Wii Remote to continue. If you don’t see anything on the screen, double-check that the TV is set to the correct input source and that the cables are securely connected.
Congratulations! You have successfully powered on the Wii console and the TV. Now, let’s proceed to the next step and complete the initial setup process.
Step 7: Complete the Initial Setup Process
With the Wii console and TV powered on, it’s time to complete the initial setup process for your Wii. Follow these steps:
- On the TV screen, you should see the Wii’s main menu or a prompt instructing you to press the A and B buttons on the Wii Remote to continue. Follow the on-screen instructions accordingly.
- Choose your preferred language for the system menu and navigation.
- Agree to the terms and conditions presented on the screen.
- Set the date and time. Use the arrow buttons on the Wii Remote to navigate and the A button to confirm your selections.
- Customize your Mii character. You can choose from existing Mii characters or create a new one.
- Complete any additional setup steps that may be prompted. This may include setting up WiiConnect24 (optional) or configuring internet settings.
- Once you’ve completed all the necessary steps, you will be taken to the Wii’s main menu, indicating that the initial setup is complete.
It’s important to note that the initial setup process may vary slightly depending on your region and the specific Wii console version you have. However, the basic steps are generally the same.
Now that the initial setup process is complete, you’re ready to move on to the next steps and adjust the display settings to optimize your gaming experience on the Wii.
Step 8: Adjust the Display Settings
After completing the initial setup process, it’s time to fine-tune the display settings to ensure optimal visual quality and gameplay experience on your smart TV. Follow these steps:
- Navigate to the Wii’s main menu by pressing the Home button on the Wii Remote.
- Using the arrow buttons on the Wii Remote, select the “Wii Settings” option and press the A button to enter the settings menu.
- In the settings menu, select “Screen” or “Display Settings.”
- Adjust the screen resolution to match your TV’s capabilities. The Wii typically supports a maximum resolution of 480p, but your TV may have different settings available.
- Check the aspect ratio setting and choose the one that best fits your TV’s screen. Common options include 4:3 (standard) and 16:9 (widescreen).
- Experiment with the screen position setting to ensure the Wii’s display is centered on your TV screen and not cut off.
- Make any additional display-related adjustments or settings as desired, such as brightness or color settings.
As you adjust these settings, refer to your TV’s user manual for specific instructions or consult the on-screen prompts and options for guidance.
Once you’ve adjusted the display settings to your preference, exit the settings menu and return to the Wii’s main menu. From here, you’re ready to explore the various features and games available on the Wii!
Remember that you can always revisit the display settings in the future if you want to make further adjustments or if you connect your Wii to a different TV. Enjoy your gaming experience on the big screen!
Step 9: Connect to the Internet
Connecting your Wii to the internet opens up a world of online features, including game updates, virtual console games, and access to the Wii Shop Channel. To connect your Wii to the internet, follow these steps:
- From the Wii’s main menu, select the “Wii Settings” option by pressing the Home button on the Wii Remote.
- In the settings menu, navigate to and select “Internet” or “Internet Settings.”
- Select “Connection Settings” and choose an available connection slot to set up a new internet connection or modify an existing one.
- Choose the type of connection you want to use. The most common options are “Wireless” or “Wired.”
- If you’re using a wireless connection, select your Wi-Fi network from the available list of networks. Enter the network password if prompted.
- If you’re using a wired connection, ensure that the Ethernet cable is securely connected between the Wii and your internet modem or router.
- Test the connection to ensure that the Wii can successfully connect to the internet. If the test is successful, save the connection settings.
Keep in mind that connecting the Wii to the internet requires a stable internet connection in your home or the location where you’re setting up the console.
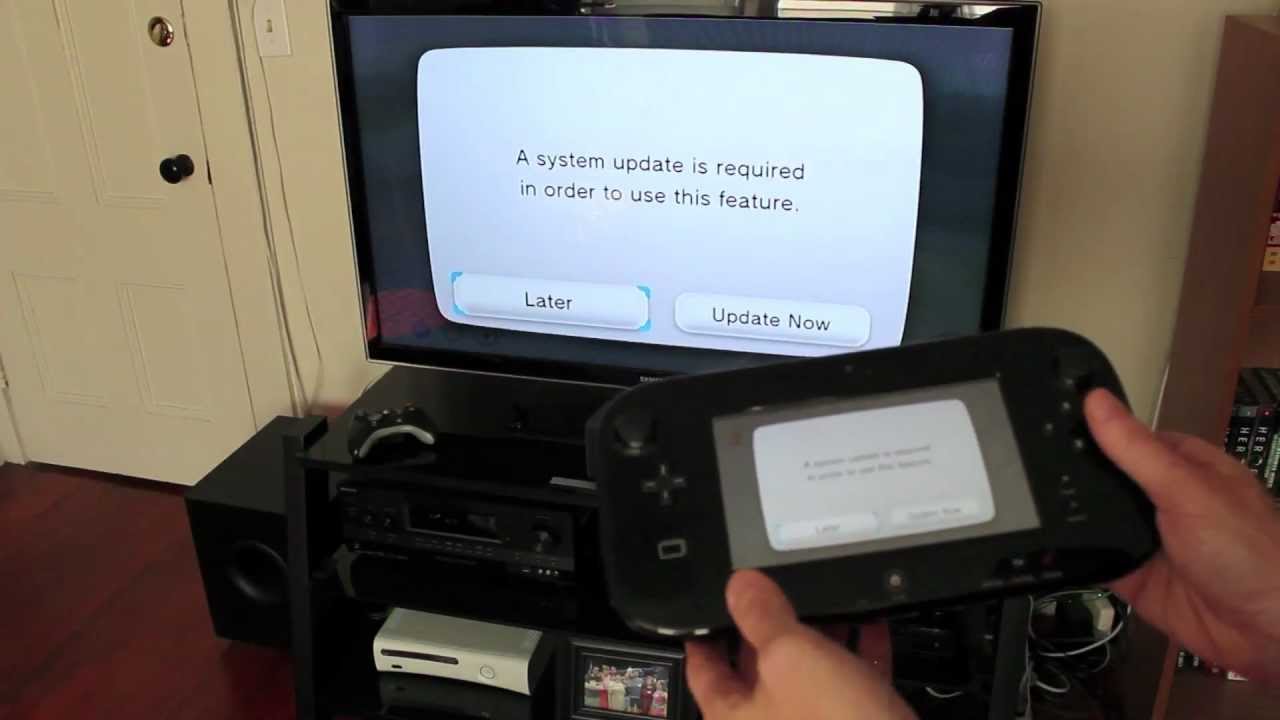
Before connecting, it’s a good idea to check for any system updates. While in the internet settings menu, you can select “Wii System Update” to download and install any available updates for the Wii console.
Once your Wii console is successfully connected to the internet, you’ll have access to various online features and services. Now, let’s move on to the next step and download any system updates.
Step 10: Download System Updates
Downloading system updates for your Wii console is essential to ensure optimal performance, security, and access to the latest features. Here’s how you can download system updates:
- From the Wii’s main menu, select the “Wii Settings” option by pressing the Home button on the Wii Remote.
- In the settings menu, navigate to and select “Internet” or “Internet Settings.”
- Select “Wii System Update” or a similar option to check for and download any available updates.
- If prompted, confirm that you want to download and install the update. The Wii console will connect to the internet and begin downloading the update files.
- Be patient as the update downloads and installs. The time it takes may vary depending on the size of the update and your internet connection speed.
- Once the system update is successfully installed, the Wii console will restart. You may need to go back to the Wii’s main menu to continue.
Regularly updating your Wii console ensures that you have access to the latest features, bug fixes, and security patches. It’s a good practice to periodically check for updates, especially if you haven’t used the Wii in a while.
Keep in mind that larger updates may require more free space on your Wii console’s internal storage or an external SD card. If necessary, you may need to free up space by deleting unnecessary data or transferring files to an SD card.
Now that you’ve downloaded any available system updates for your Wii console, you’re one step closer to enjoying a seamless gaming experience. Let’s move on to the next step and create or log in to a Nintendo account.
Step 11: Create or Log in to a Nintendo Account
A Nintendo account is essential for accessing various online features, digital purchases, and multiplayer functionality on the Wii console. To create or log in to a Nintendo account, follow these steps:
- From the Wii’s main menu, select the “Wii Shop Channel” or a similar option.
- If you already have a Nintendo account, select the option to log in. Enter your Nintendo account login credentials when prompted.
- If you don’t have a Nintendo account, select the option to create a new account. Follow the on-screen instructions to set up your account. You may be required to provide personal information and agree to the terms and conditions.
- Once you’ve logged in or created a new Nintendo account, you’ll have access to the Wii Shop Channel and other online features.
- Explore the Wii Shop Channel to browse and purchase digital games, download additional content, or access virtual console games.
- When making purchases, you’ll be prompted to enter your payment information, such as credit card details or redeemable codes, and confirm the transactions.
A Nintendo account allows you to keep track of your digital purchases, access exclusive content, and participate in the online community of Wii users.
Keep in mind that while the Wii Shop Channel is still available as of this writing, Nintendo has announced its discontinuation. Therefore, some features and services may no longer be accessible.
With your Nintendo account set up and ready, it’s time to dive into the world of Wii gaming and explore the various features and games available to you.
Step 12: Explore and Enjoy the Wii Features
Now that you have completed the setup process and have access to all the necessary features, it’s time to explore and enjoy the world of Wii gaming. The Wii offers a unique and interactive gaming experience with a wide range of features and games to enjoy.
Here are some key features of the Wii console that you can explore:
- Motion-controlled gameplay: Use the Wii Remote and Nunchuk to interact with games using intuitive motion controls. Swing, point, and twist your way through various games that utilize motion-based gameplay.
- Virtual Console: Access the Virtual Console and enjoy a library of classic games from older gaming systems, such as the Nintendo Entertainment System (NES), Super Nintendo Entertainment System (SNES), and Nintendo 64.
- Mii Channel: Create personalized avatars called Miis that represent you and your friends or family. Customize their appearance and use them in various games and features on the Wii.
- WiiWare: Explore the world of downloadable games through the WiiWare service. Discover and play a wide range of unique and independent titles created specifically for the Wii.
- Multiplayer gaming: Connect with friends and family for multiplayer gaming sessions. Many Wii games support local multiplayer modes that allow you to compete or cooperate with others.
- Wii Channels: Navigate through various Wii Channels to access additional features and services. Explore the Internet Channel for web browsing, check out news and weather updates, or access photo viewing and music playback.
With a diverse library of games and unique features, the Wii offers something for everyone. Whether you’re a fan of sports, adventure, racing, or party games, the Wii has an extensive collection of titles to keep you entertained for hours.
Take some time to explore the Wii menu, access different channels, and browse through the available games and services. Experiment with different games and features to discover what appeals to you the most.
Remember to keep your Wii console updated with the latest system updates to ensure compatibility and access to new features and content that may become available.
Now it’s time to immerse yourself in the world of Wii gaming and have a great time discovering the fantastic experiences it has to offer!
Conclusion
Congratulations! You have successfully set up your Wii console on your smart TV and unlocked a world of interactive gaming experiences. By following the steps outlined in this guide, you have ensured compatibility, connected to the internet, and configured the necessary settings to optimize your Wii experience.
From checking TV compatibility to exploring the various features and games available, you’ve covered all the essential steps to get the most out of your Wii console. Whether you’re reliving the nostalgia of classic games on the Virtual Console or enjoying the motion-controlled gameplay with friends and family, the Wii offers a unique and enjoyable gaming experience.
Remember to keep your Wii console updated with system updates and explore the Wii Shop Channel for new games and content. Additionally, don’t forget to create or log in to a Nintendo account to access online features and multiplayer functionality.
Now that you’re equipped with the knowledge to set up and enjoy your Wii on a smart TV, it’s time to start exploring and immersing yourself in the amazing world of Wii gaming. Have fun and enjoy the remarkable gaming experience the Wii has to offer!