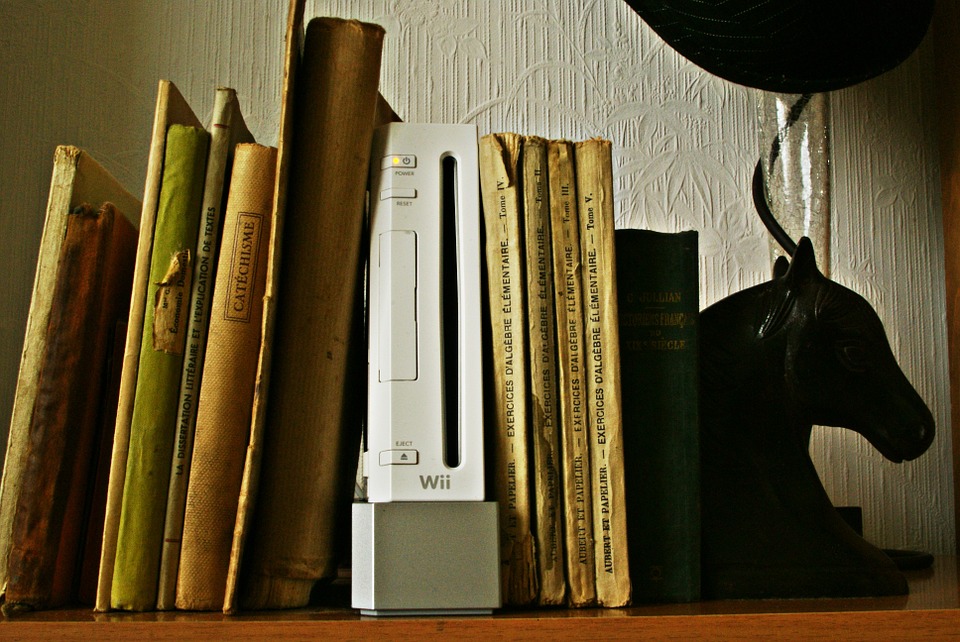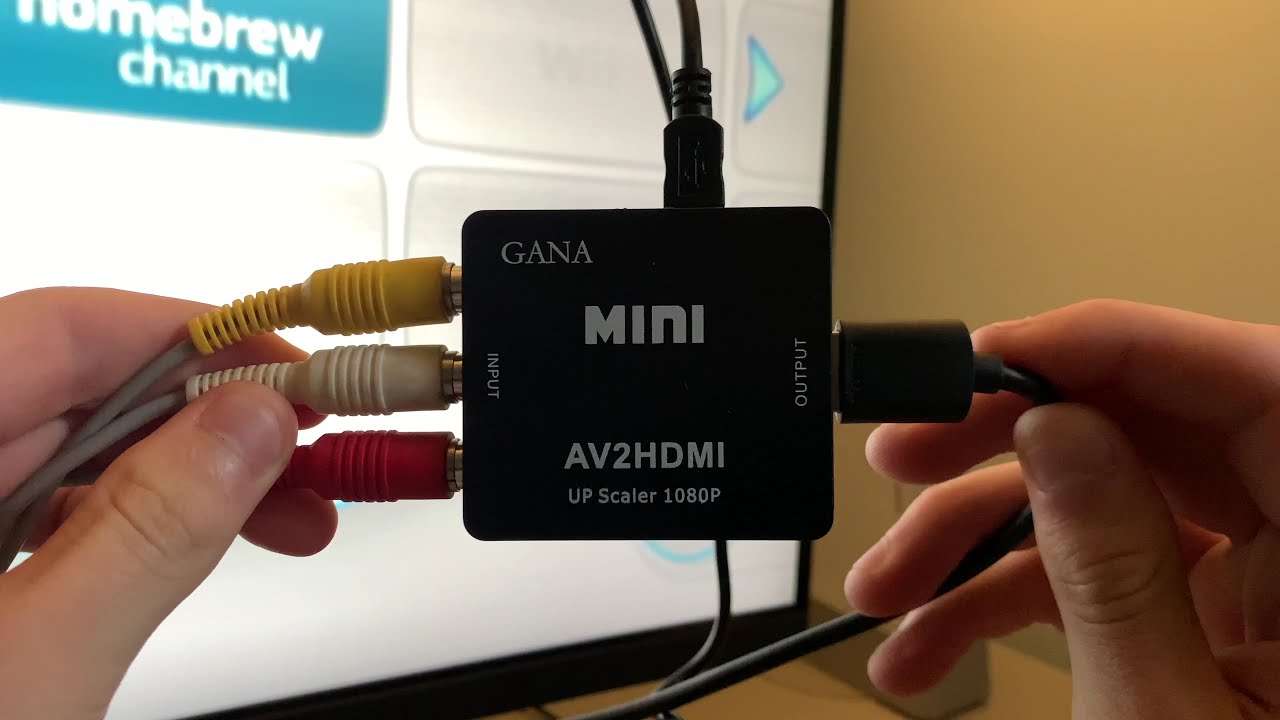
The easiest way to connect a Wii to a smart TV is by using a Wii to HDMI adapter, which plugs directly into the console's AV Multi Out port and converts the signal for your TV's HDMI input. This method bypasses the missing RCA ports on modern smart TVs and gives you the best possible picture quality from the console (480p).
Why you need an adapter to connect Wii to smart TV
The original Nintendo Wii was designed for older televisions and primarily uses analog AV connections. Its default cables are composite AV cables with red, white, and yellow RCA connectors. Most modern smart TVs, however, have dropped these older composite ports in favor of HDMI inputs. If your TV lacks the red, white, and yellow inputs, you cannot connect the Wii directly with its stock cables, but you can still use its controllers by learning how to connect a Wii remote to a PC for emulation. Alternatively, you can set up a Wii to a smart TV using a simple HDMI adapter to enjoy your original console on the big screen.
The most recommended and easiest solution is a Wii to HDMI adapter. This small dongle plugs directly into the Wii's AV Multi Out port on the back of the console and converts the analog video and audio signals into a digital HDMI signal. This lets you use a standard HDMI cable to connect to your smart TV, giving you a clean, single-cable setup and the maximum resolution the Wii can output (480p).
What you need to connect your Wii via HDMI
Before you start, gather the following items:
- Your Wii console (original model or Family Edition)
- The Wii's power cord
- A Wii-specific HDMI adapter (not a generic composite-to-HDMI converter)
- A standard HDMI cable
- Your smart TV remote
Make sure the HDMI adapter is specifically designed for the Wii. It will have a large, flat connector that matches the Wii's AV Multi Out socket. Generic converters that accept composite cables will work but produce lower quality (480i) and require extra cables and power.
Connect the Wii to HDMI adapter and your TV
Follow these steps in order to make the physical connections safely:
- Power down both devices. Turn off the Wii console and your smart TV, and unplug them from the wall. This prevents any electrical damage while connecting cables.
- Plug the adapter into the Wii. Locate the AV Multi Out port on the back of the Wii console (it is a large, flat socket). Insert the Wii to HDMI adapter firmly into this port. It should fit snugly and sit flush against the console.
- Connect the HDMI cable. Plug one end of your standard HDMI cable into the HDMI port on the adapter.
- Connect to your TV. Plug the other end of the HDMI cable into any available HDMI port on your smart TV. Make a note of which port you used (e.g., HDMI 1, HDMI 2, HDMI 3).
- Power on both devices. Plug the Wii's power cord back in and turn on the console. Turn on your smart TV as well.
Double-check that the adapter is fully seated in the Wii's AV Multi Out port. A loose connection can cause a "No Signal" message on your TV.
Select the right HDMI input and see the picture
Once both devices are powered on, you need to tell your TV to look at the correct HDMI port:
- Pick up your smart TV remote.
- Press the "Input" or "Source" button. This button may also be labeled "Input Select," "TV/Video," "AUX," or "EXT" depending on your TV brand.
- Use the on-screen menu to select the HDMI input that matches the port you connected the cable to (e.g., HDMI 1).
- Press OK or Enter to confirm.
You should now see the Wii's main menu on your TV screen. If the screen is blank, verify that the HDMI cable is securely connected at both ends and that you selected the correct input. Also, confirm the Wii console is powered on (you should see a green light on the console).
Set up the sensor bar and Wii remote
With the picture appearing, you need to set up the sensor bar and sync your Wii Remote for motion controls:
- Place the sensor bar. Position it centered either above or below your TV screen. The sensor bar should be level and facing toward where you will sit while playing.
- Connect the sensor bar. Plug the sensor bar's cable into the small round port on the back of the Wii console (labeled "Sensor Bar"). Do not connect it to your TV's USB port unless your specific sensor bar model supports that, the original Wii sensor bar is powered by the console.
- Sync the Wii Remote. Press the red SYNC button located inside the battery compartment of the Wii Remote. Then press the red SYNC button on the front of the Wii console (under the SD card slot cover). The LEDs on the Wii Remote will blink and then stay solid, indicating a successful sync.
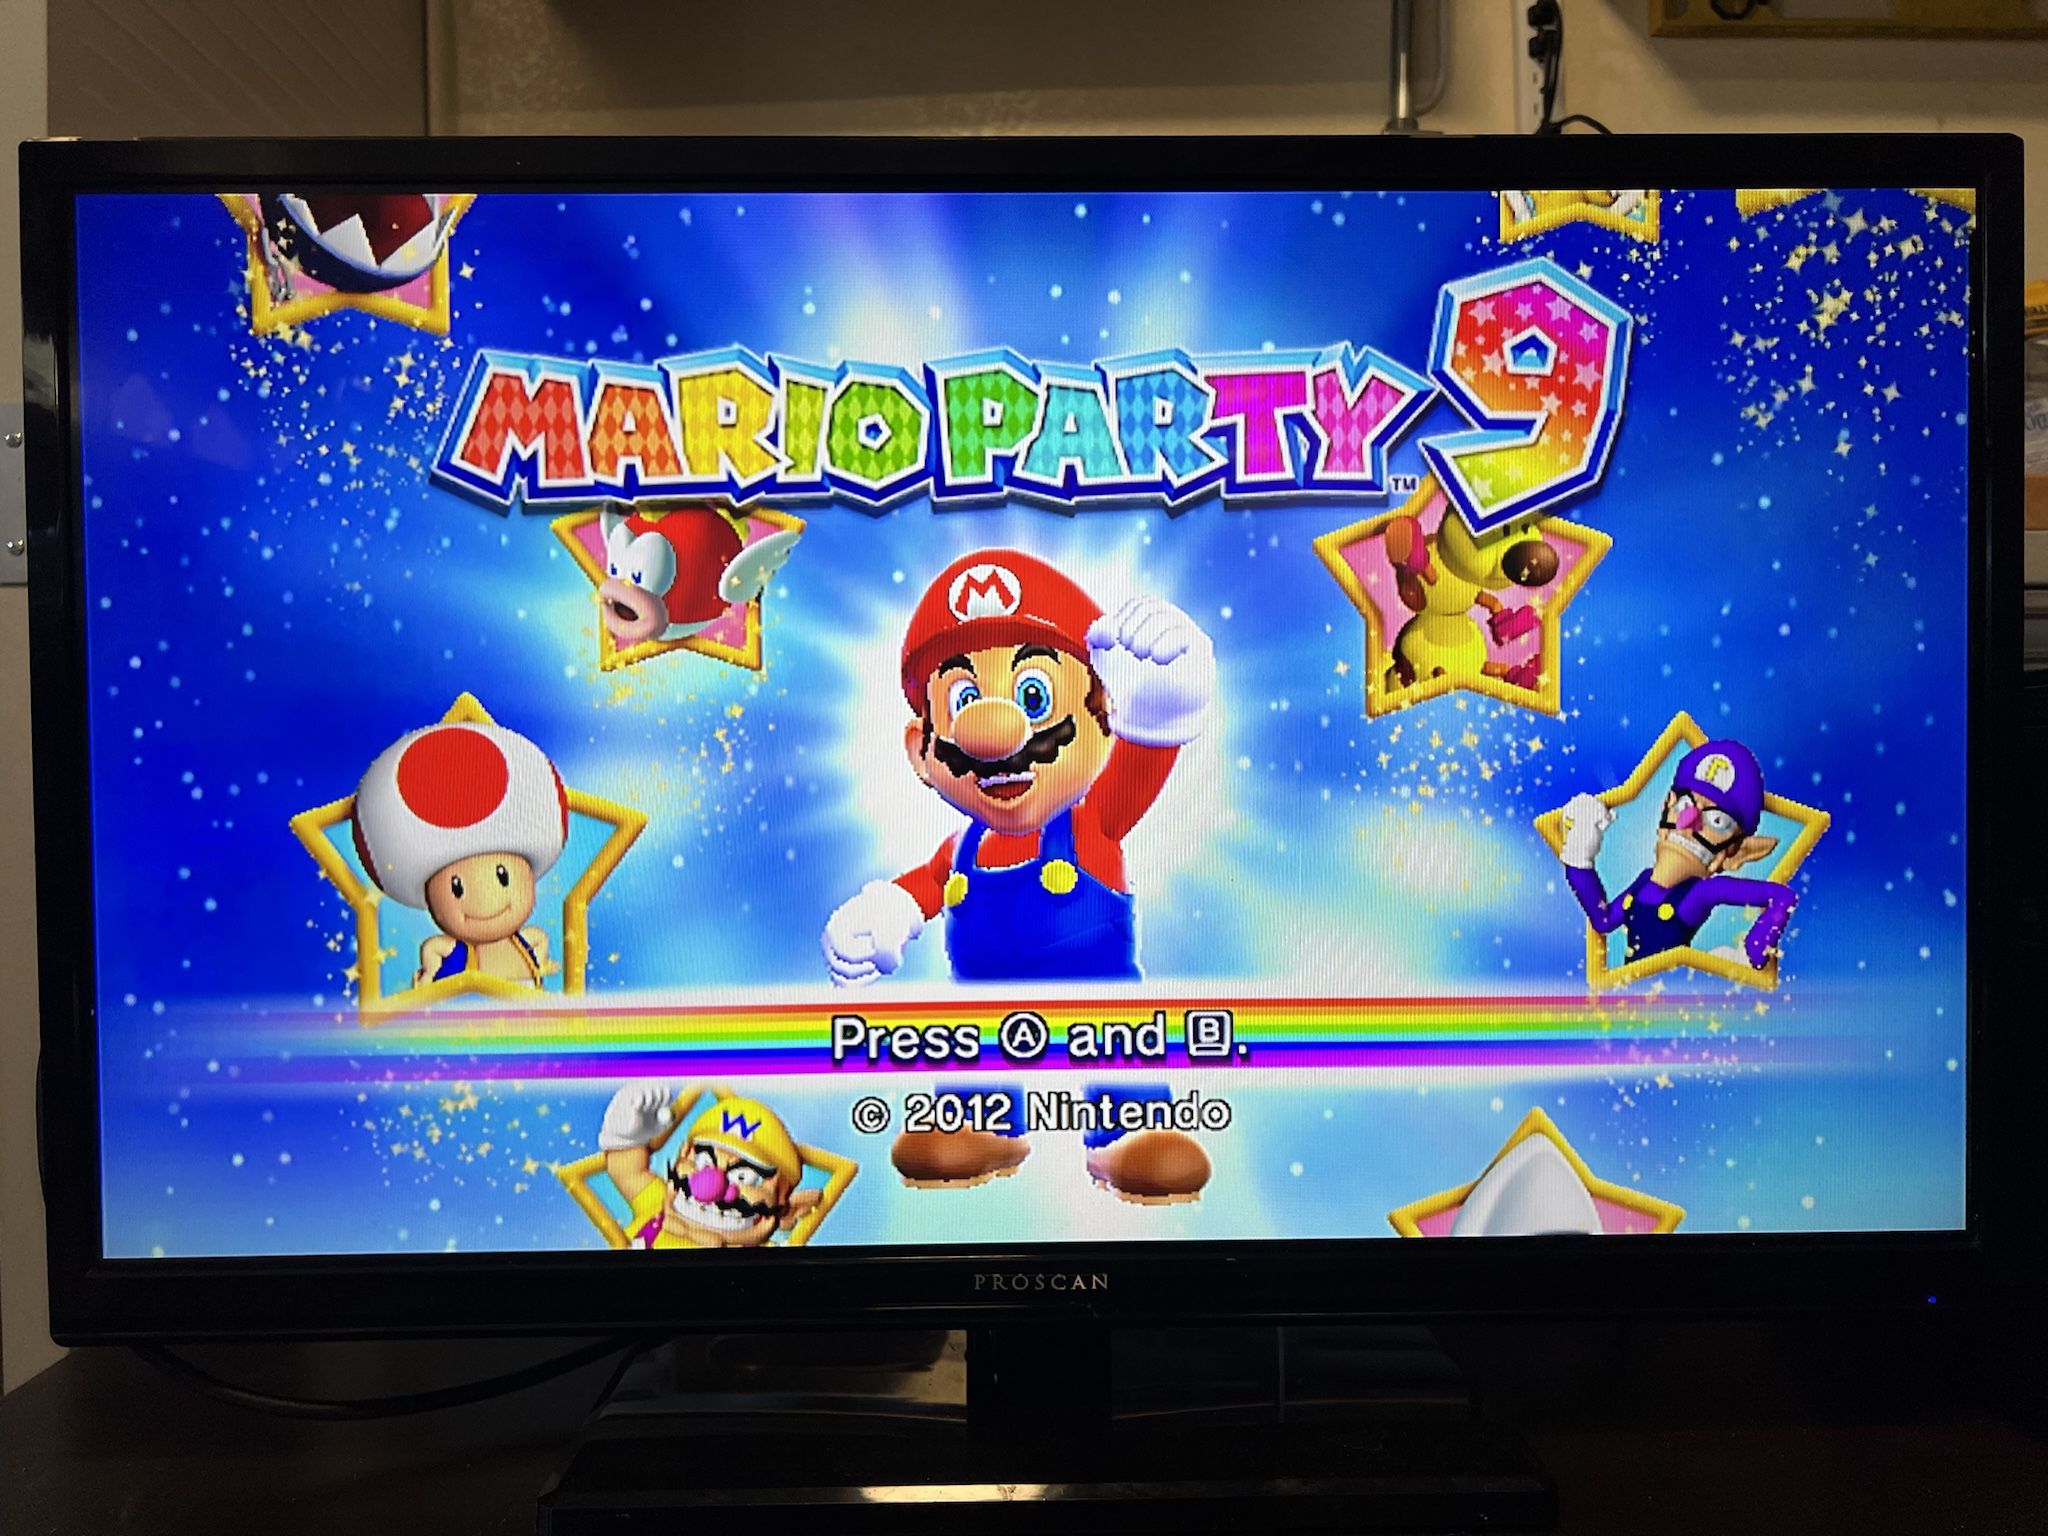
- Press A and B. On the Wii menu, you will see a prompt to press the A and B buttons on the Wii Remote simultaneously. Do this to enter the main menu.
If the Wii Remote does not respond, repeat the sync process. Make sure the sensor bar is not blocked by objects and is within 5-10 feet of the remote.
Adjust the Wii display to 480p for best quality
By default, the Wii outputs 480i (interlaced) over composite cables. When using a Wii to HDMI adapter, you should change the console's output to 480p (progressive scan) for a noticeably sharper and smoother picture. Here's how:
- From the Wii main menu, press the Home button on the Wii Remote.
- Select "Wii Settings" and press the A button.
- Navigate to "Screen" and press A.
- Select "TV Resolution" and press A.
- Choose "EDTV/HDTV (480p)" and press A.
- Confirm the change. The screen may go black for a few seconds as the Wii switches to 480p output.
Note: The Wii to HDMI adapter does not upscale the image. It simply converts the analog signal to digital HDMI. The maximum resolution you will get is 480p, which is the Wii's native limit. This setting provides the best possible quality for your games.
For the wider topic, see watching live TV on a smart TV.