Introduction
Connecting your Nintendo console to a smart TV is a great way to take your gaming experience to the next level. By connecting these devices, you can enjoy your favorite Nintendo games on a larger screen with better picture quality and sound. However, if you are new to this process, it can be a bit confusing and overwhelming. Don’t worry, though! In this guide, we will walk you through the step-by-step process of connecting your Nintendo console to a smart TV.
Whether you have a Nintendo Switch, Wii U, or even an older Nintendo console, the process of connecting it to a smart TV is quite similar. All you need is an HDMI cable and a few minutes of your time. But before we dive into the steps, it’s important to determine the type of Nintendo console you have and ensure that your smart TV is compatible with it.
In this guide, we will provide you with detailed instructions for each step, including how to check the smart TV compatibility, connect via an HDMI cable, adjust TV input settings, and pair your controllers. We will also give you some troubleshooting tips in case you encounter any issues during the process. So, let’s get started and transform your gaming experience by connecting your Nintendo console to your smart TV!
Step 1: Determine the Nintendo Console Type
Before you can connect your Nintendo console to your smart TV, it’s important to determine the type of console you have. This step is crucial because different Nintendo consoles require different connection methods.
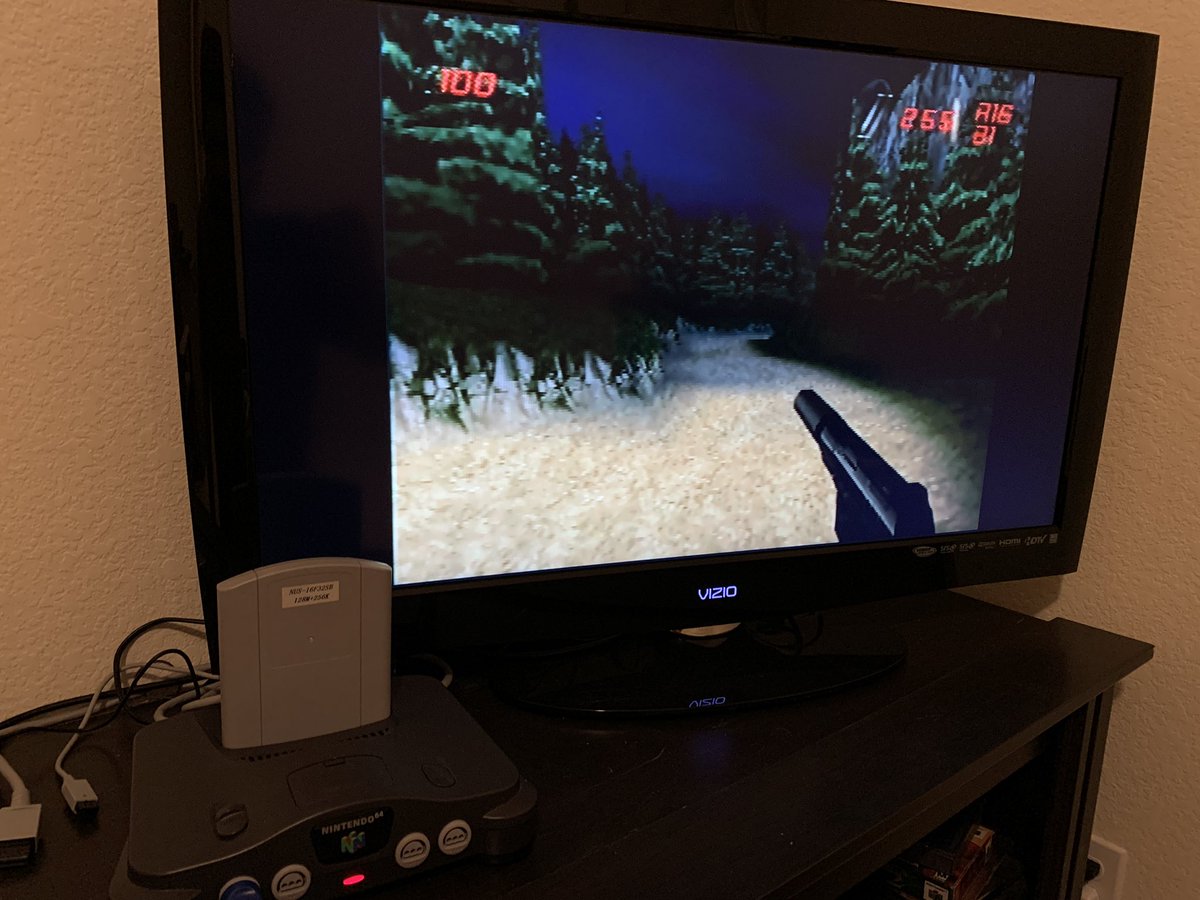
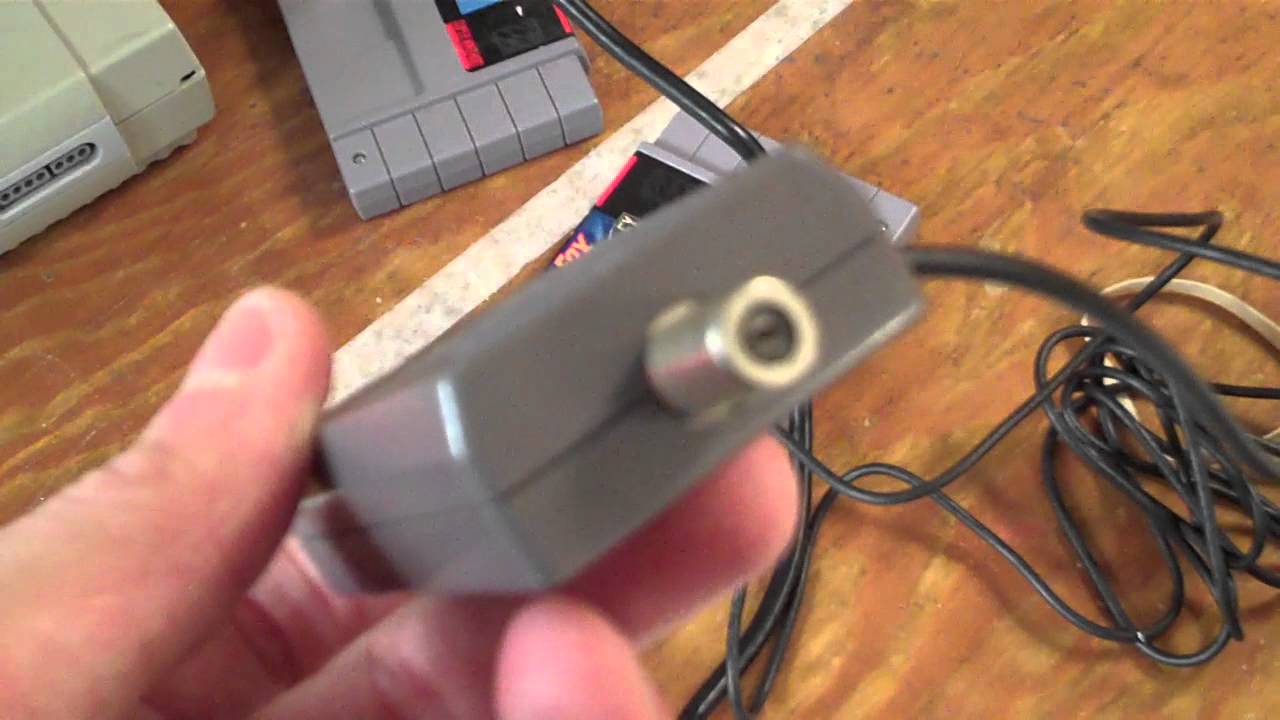
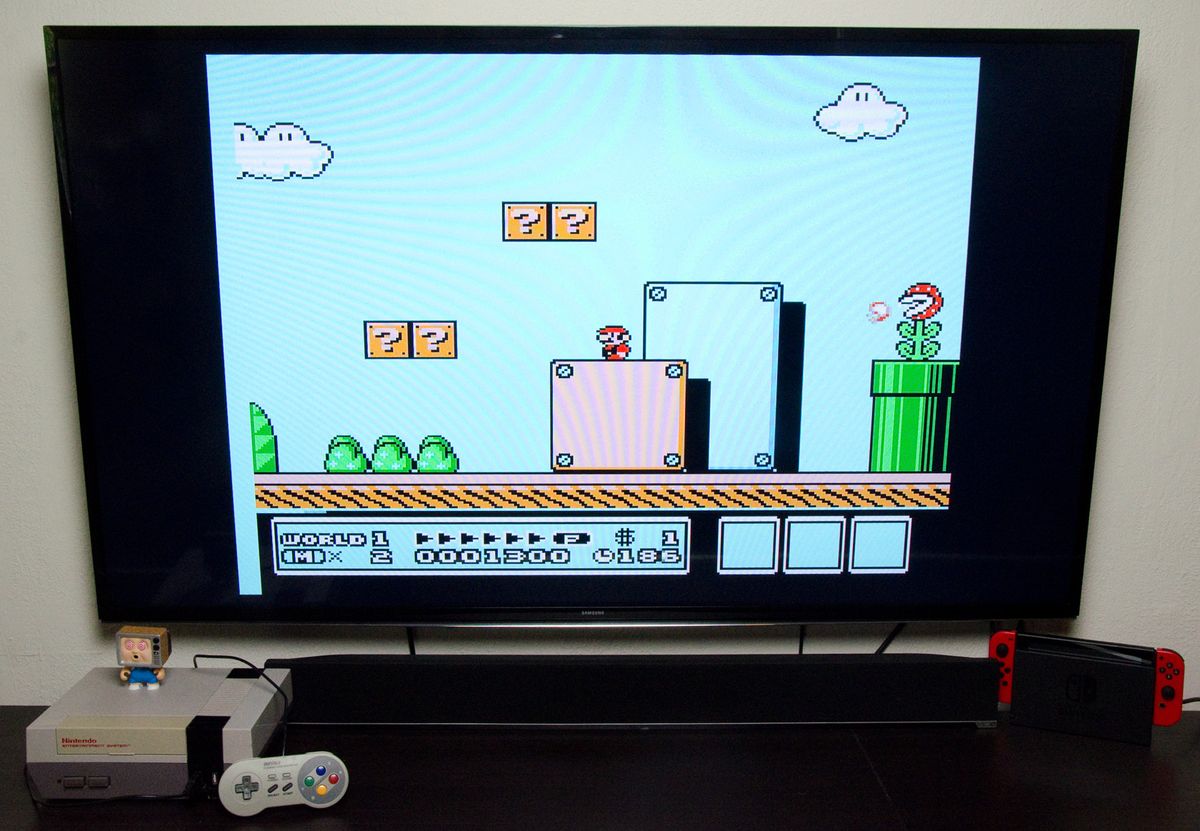
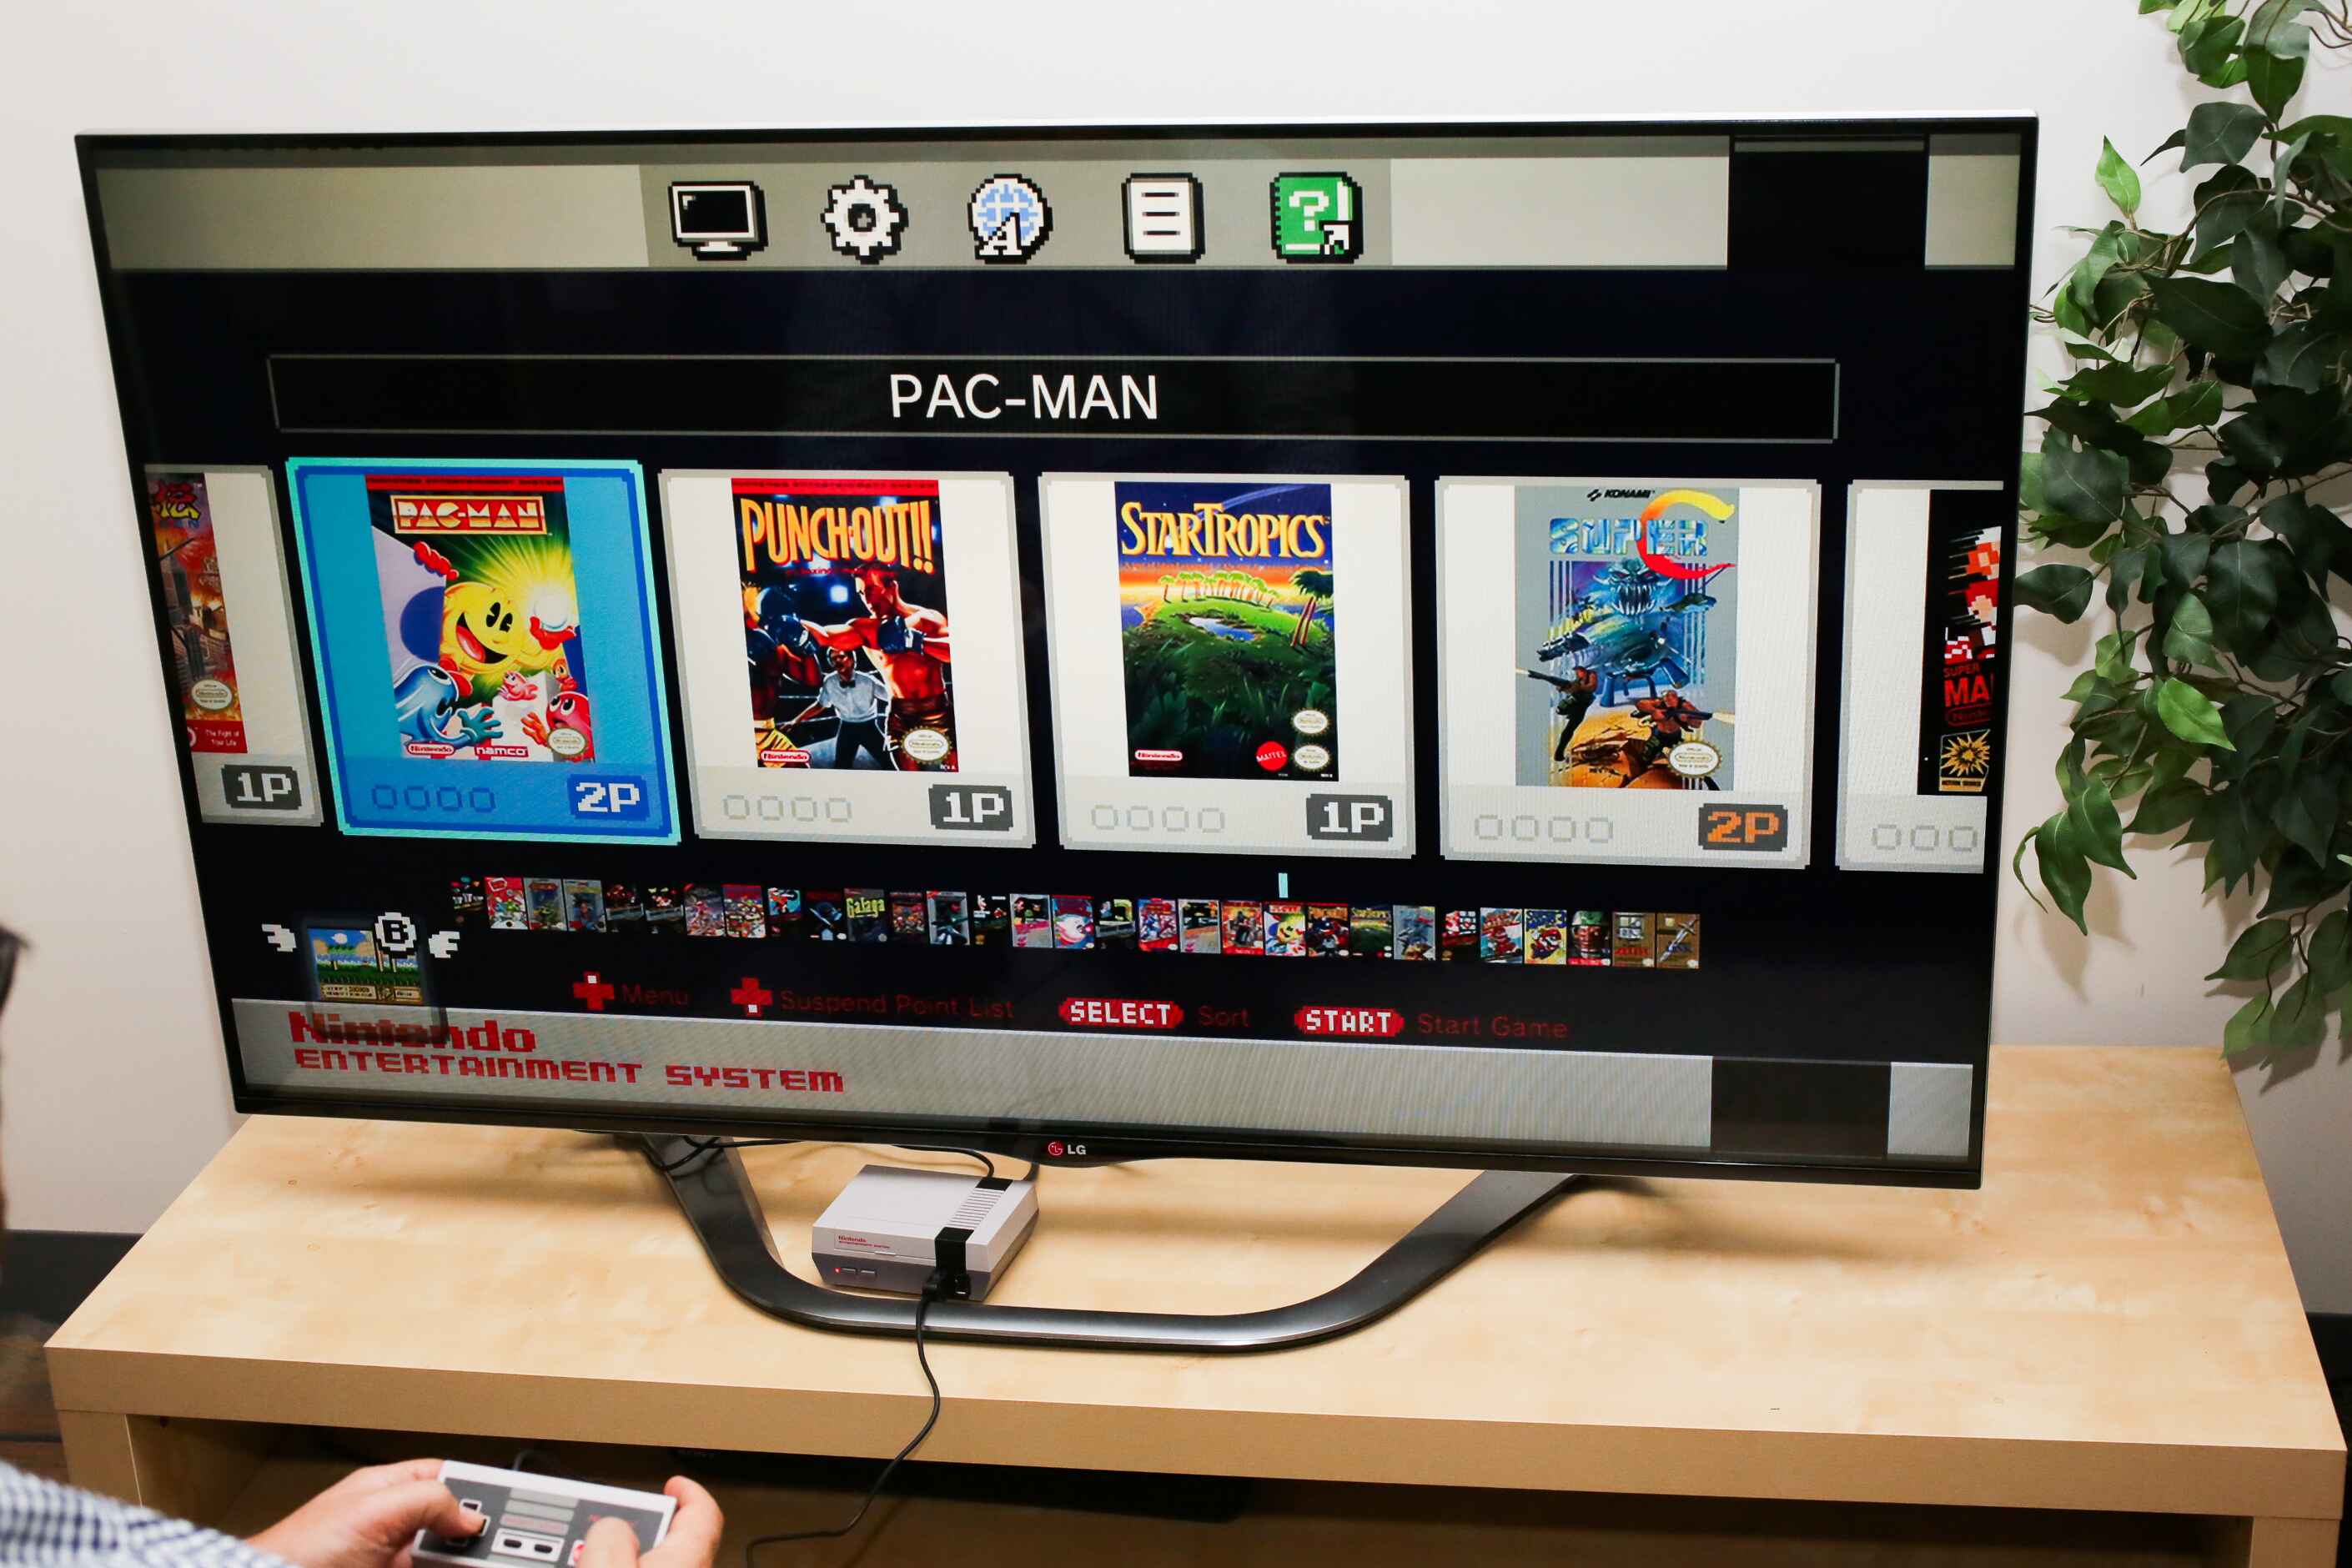
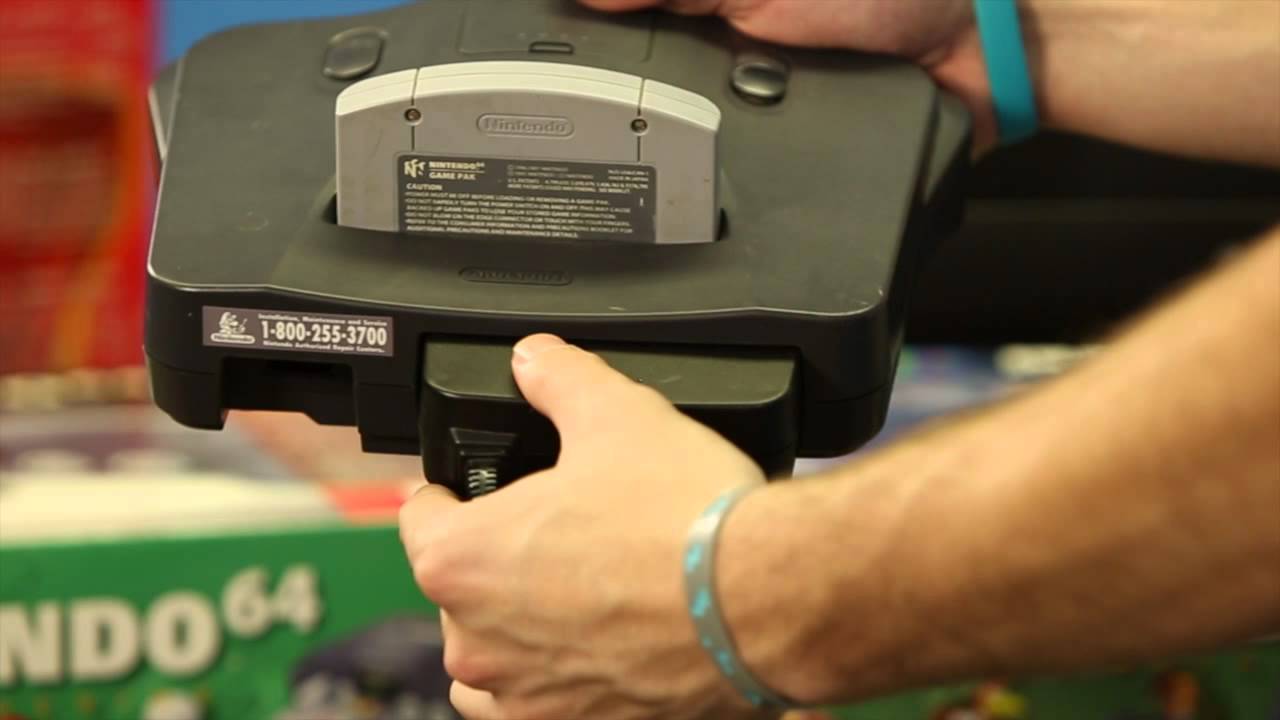
If you have a Nintendo Switch, you’re in luck! The Switch comes with a built-in HDMI port, making it easy to connect to a smart TV. If you have a Wii U, you’ll also be able to connect it using an HDMI cable. However, if you have an older Nintendo console like the Wii or GameCube, you may need additional adapters or cables to establish a connection with your smart TV.
To determine the type of Nintendo console you have, take a look at the device itself. Nintendo consoles are usually labeled with their respective names, such as “Nintendo Switch” or “Wii U.” If you’re unsure, consult the user manual or visit the Nintendo website for more information.
Once you have identified your Nintendo console, you can proceed to the next step of checking the compatibility with your smart TV. Ensuring compatibility is essential to ensure a seamless and optimized gaming experience.
Step 2: Check the Smart TV Compatibility
After determining the type of Nintendo console you have, it’s crucial to check if your smart TV is compatible with the console. Most modern smart TVs support HDMI connections, which is the standard connection method for Nintendo consoles.
To check the compatibility, start by examining the ports on the back of your smart TV. Look for an HDMI port labeled “HDMI” or numbered (e.g., “HDMI 1,” “HDMI 2,” etc.). If you have multiple HDMI ports, note the number of the port you will be using for the Nintendo console.
Next, make sure to consult your smart TV’s user manual or manufacturer’s website to verify that it supports the specific Nintendo console you have. You can also do a quick internet search using the make and model of your smart TV along with the Nintendo console name to find any compatibility information or user experiences from others who have successfully connected their Nintendo consoles to a similar smart TV model.
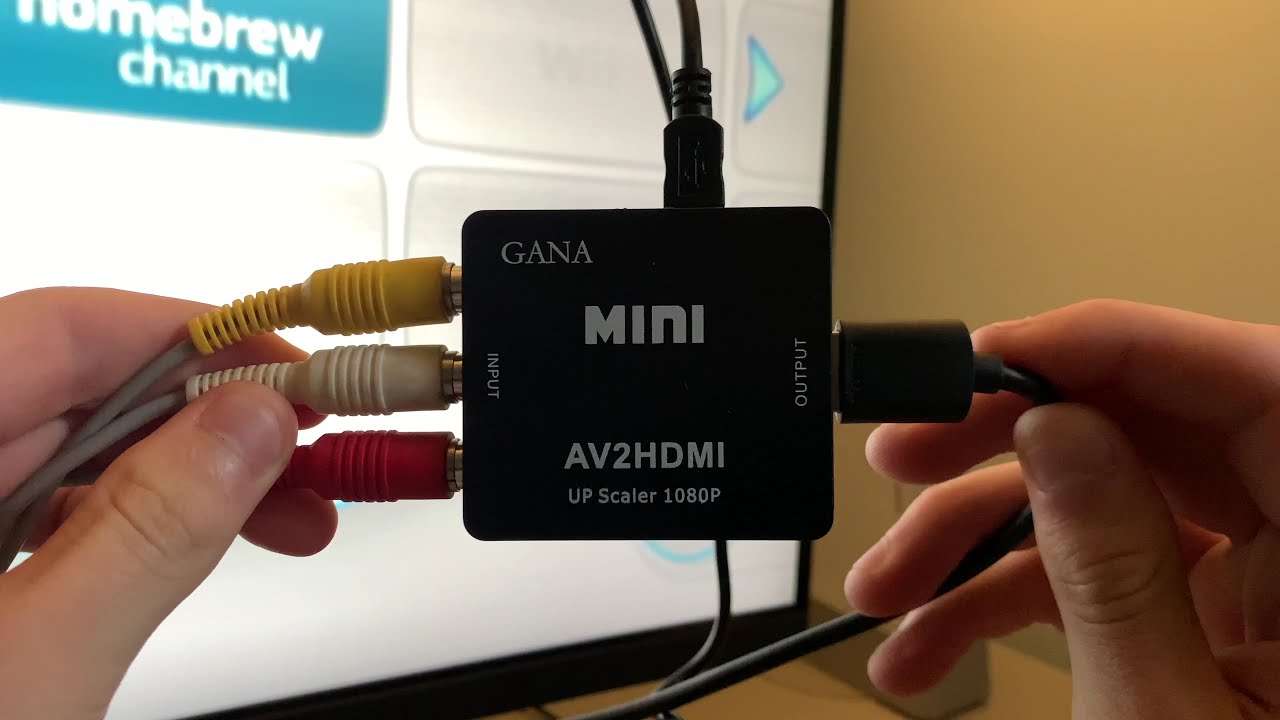
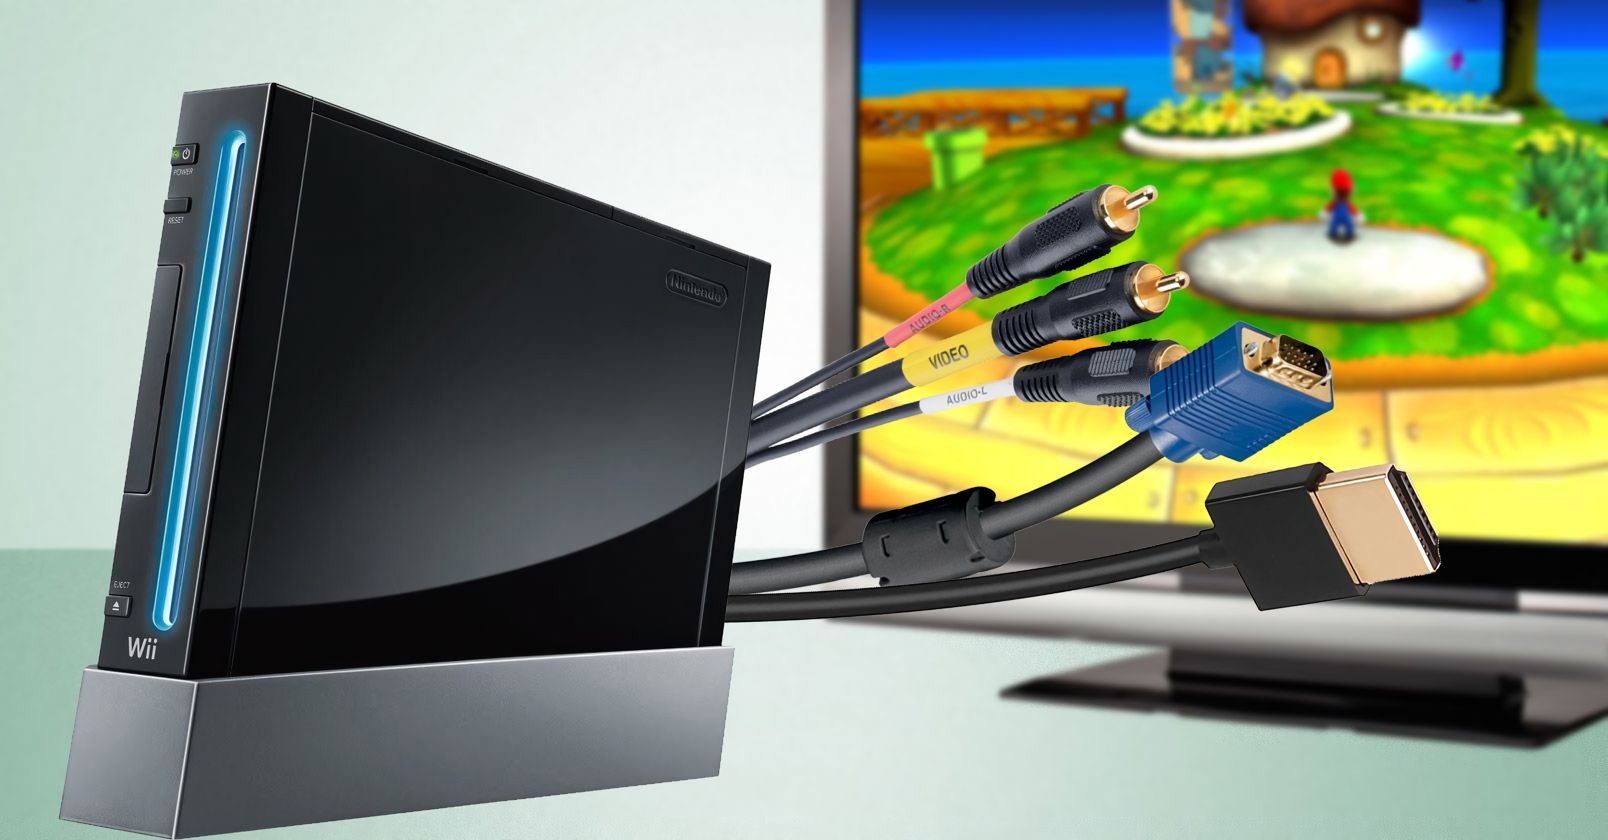
It’s worth mentioning that some older smart TVs may not have built-in HDMI ports or may not support the specific Nintendo console you have. If this is the case, don’t worry! There are alternative solutions available, such as using HDMI adapters or converters. These adapters allow you to connect your Nintendo console to the TV using other video and audio ports. However, keep in mind that using adapters may result in a loss of picture or sound quality.
Once you have confirmed the compatibility of your smart TV with your Nintendo console, you’re ready to move on to the next step of connecting the devices using an HDMI cable.
Step 3: Connect via HDMI Cable
Connecting your Nintendo console to your smart TV is a straightforward process, thanks to the convenience of HDMI cables. HDMI (High-Definition Multimedia Interface) is a standard audio/video interface that allows for high-quality transmission of both audio and video signals.
To connect your Nintendo console to your smart TV via HDMI, follow these steps:
- Locate the HDMI port on your Nintendo console. It is usually located on the back or side of the console and labeled “HDMI.”
- Take one end of the HDMI cable and insert it into the HDMI port on your Nintendo console.
- Now, locate the HDMI port on your smart TV. It is typically located on the back or side of the TV and labeled “HDMI” with a corresponding number (e.g., HDMI 1, HDMI 2, etc.).
- Take the other end of the HDMI cable and insert it into the HDMI port on your smart TV that you identified in the previous step.
- Once both ends of the HDMI cable are securely connected, ensure that they are tightly plugged in to avoid any loose connections.
That’s it! Your Nintendo console is now physically connected to your smart TV using the HDMI cable. The HDMI cable allows for both audio and video signals to pass through, ensuring an immersive gaming experience on your TV screen.
Please note that if you are using an older Nintendo console like the Wii or GameCube, you may need additional adapters or cables to establish a connection with your smart TV. In such cases, follow the instructions provided with the particular adapter or cable to make the required connections.
Now that the physical connection is in place, it’s time to proceed to the next step and adjust the input settings on your smart TV to display the Nintendo console’s output.
Step 4: Adjust TV Input Settings
To ensure that your smart TV recognizes and displays the output from your Nintendo console, you need to adjust the input settings on your TV. Here’s how to do it:
- Using your TV remote, navigate to the “Input” or “Source” button. This button may have different names depending on the TV brand and model.
- Press the “Input” or “Source” button to access the input options.
- Scroll through the available input options until you find the input source corresponding to the HDMI port to which your Nintendo console is connected. It is usually labeled as “HDMI 1,” “HDMI 2,” or a similar designation.
- Select the HDMI input source and press “Enter” or “OK” on your remote to confirm your selection.
Once you have selected the correct HDMI input source, your smart TV should switch to display the output from your Nintendo console. You should see your Nintendo console’s home screen or any currently running game or app on your TV screen.
If you’re unable to see the Nintendo console’s output on the TV screen, ensure that you have correctly selected the appropriate HDMI input source and that the HDMI cable is securely connected at both ends. In some cases, you may need to power off the TV and console and then power them back on to establish a proper connection.
Remember, the exact steps to adjust the input settings may vary depending on the brand and model of your smart TV. If you’re having trouble finding the input options or aren’t able to see the Nintendo console’s output, consult your TV’s user manual or the manufacturer’s website for specific instructions.
Now that your smart TV is configured to display the Nintendo console’s output, it’s time to power on the console and start enjoying your favorite games on the big screen!
Step 5: Power on the Nintendo Console
Now that you have successfully connected your Nintendo console to your smart TV and adjusted the input settings, it’s time to power on the console and start gaming!
To power on your Nintendo console, follow these steps:
- Locate the power button on your Nintendo console. It is typically located on the front or top of the console.
- Press and hold down the power button until you see the console’s power indicator light up. This may take a few seconds.
- Release the power button once the console’s power indicator is lit, indicating that the console is powered on.
Once the Nintendo console is powered on, you should see its home screen or any currently running game or app displayed on your smart TV screen. You can now navigate through the console’s menus and start playing your favorite games with the added benefit of a larger screen and enhanced visuals.
If you don’t see any output on the TV screen after powering on the console, make sure that the HDMI cable is securely connected at both ends and that the TV is set to the correct input source (as discussed in the previous step). You may also want to check if the console’s power adapter is plugged in properly and that the console is receiving power.
Congratulations! You have successfully powered on your Nintendo console and it is now ready to provide you with hours of gaming fun on your smart TV. Now you can grab your controller and immerse yourself in the exciting world of Nintendo gaming right from the comfort of your living room.
Step 6: Pairing Controllers
Now that your Nintendo console is powered on and connected to your smart TV, it’s time to pair your controllers so you can start playing your favorite games. Depending on the type of Nintendo console you have, the pairing process may vary slightly. Here’s a general guide to help you get started:
- Ensure that your controllers are charged and turned on. Most Nintendo controllers have a power button, so make sure to power them on.
- On the Nintendo console, look for the controller sync button. This button is usually located on the front or back of the console.
- Press and hold the sync button on the console until the controller pairing process begins. The specific method may differ depending on your console model.
- On the controller, locate the sync button, which is typically located on the back or underside of the controller.
- Press and hold the sync button on the controller until the console detects and pairs with it. The controller’s lights may blink or change colors during the pairing process.
- Repeat the process for any additional controllers you want to pair with your Nintendo console.
Once the pairing process is complete, your Nintendo console should recognize and connect with the controllers. You can now navigate the console menus and play games using the paired controllers. Some games may require additional configuration or syncing within the game itself, so make sure to follow any in-game prompts if needed.
If you’re having trouble pairing the controllers, make sure that both the console and controllers are within range and that there are no obstructions blocking the signals. Also, double-check the battery levels of the controllers and replace the batteries if necessary. If problems persist, consult the user manual or visit the Nintendo support website for troubleshooting tips specific to your controller and console model.
Congratulations! You have successfully paired your controllers with your Nintendo console, opening up a world of gaming possibilities on your smart TV. Get ready to enjoy the immersive gameplay experience and have fun exploring the vast library of Nintendo games.
Step 7: Troubleshooting Tips
While connecting your Nintendo console to a smart TV is usually a straightforward process, there may be instances where you encounter issues or face challenges. Here are some troubleshooting tips to help you overcome common problems:
- No output on the TV screen: Ensure that the HDMI cable is securely connected at both ends and that the TV is set to the correct input source. Try powering off both the console and the TV, then powering them back on.
- Poor picture or sound quality: Check if the HDMI cable is in good condition and replace it if necessary. Adjust the TV settings for picture and sound optimization. If using adapters or converters, they may affect the quality, so ensure you’re using high-quality ones.
- Controller sync issues: Make sure the controllers are fully charged and turned on. Follow the proper controller syncing process for your specific console. Ensure that the console and controllers are within range and free from obstructions.
- Smart TV compatibility issues: Verify that your smart TV supports HDMI connections and the specific Nintendo console you have. Check the TV’s user manual or manufacturer’s website for compatibility information. If needed, consider using HDMI adapters or converters.
- Audio/video lag: Some smart TVs may introduce a slight delay between the console’s output and the displayed image or sound. Check the TV’s settings for options like “Game Mode,” which can reduce lag and improve responsiveness.
If the troubleshooting tips mentioned above do not resolve your issue, it’s recommended to consult the user manuals for your Nintendo console and smart TV. Additionally, visiting the official Nintendo support website or reaching out to their customer support team can provide you with further assistance and guidance specific to your situation.
Remember, troubleshooting may vary depending on your specific console model, smart TV brand, and any additional accessories you may be using. Patience and persistence are key when encountering technical hiccups, but with some troubleshooting efforts, you’ll likely be able to resolve most issues and enjoy a seamless gaming experience on your smart TV.
Conclusion
Connecting your Nintendo console to a smart TV opens up a world of possibilities for an enhanced gaming experience. By following the step-by-step process outlined in this guide, you can easily connect your Nintendo console to your smart TV using an HDMI cable. The process involves determining your console type, checking smart TV compatibility, connecting via HDMI, adjusting TV input settings, powering on the console, pairing controllers, and troubleshooting common issues.
With your Nintendo console connected to your smart TV, you can enjoy your favorite games on a larger screen with improved audio and visual quality. Whether you’re playing solo or engaging in multiplayer battles, the immersive experience provided by a smart TV brings your gaming adventures to life.
Remember to consult the user manuals for your specific Nintendo console and smart TV if you encounter any challenges or have unique requirements. Additionally, reaching out to the official Nintendo support team or exploring online communities can provide you with additional assistance and tips.
Now that you have successfully connected your Nintendo console to your smart TV, it’s time to grab your favorite games, gather your friends or family, and indulge in endless hours of gaming enjoyment. So, power up your console, grab your controller, and embark on unforgettable gaming adventures on your smart TV!