Introduction
Do you miss the nostalgic games of the Nintendo NES and want to play them on your modern smart TV? With the right equipment and a few simple steps, you can connect your Nintendo NES to your smart TV and enjoy the classic gaming experience in all its retro glory.
The Nintendo Entertainment System (NES) was a groundbreaking video game console released in the 1980s, and it still holds a special place in the hearts of many gamers. While modern smart TVs offer advanced graphics and online capabilities, there is something charming and nostalgic about playing the original NES games on the big screen.
But how can you connect your Nintendo NES to your smart TV? In this guide, we will walk you through the necessary steps so that you can relive your favorite NES games on your modern TV.
Note: Before attempting to connect your Nintendo NES to your smart TV, make sure you have the necessary connectors and cables. You can purchase these from electronics stores or online retailers.
Now, let’s dive into the step-by-step process of connecting your Nintendo NES to your smart TV and get ready to embark on a trip down memory lane!
Step 1: Check your smart TV’s inputs
The first step in connecting your Nintendo NES to your smart TV is to check the available inputs on your TV. Smart TVs come with a variety of input options such as HDMI, component, composite, and RF. You need to determine which input ports your TV has and which one is suitable for connecting the NES.
To check the inputs on your smart TV, refer to the user manual that came with your television or search for the model number online to find the specifications. Alternatively, you can also look for the input ports on the back or side of your TV.
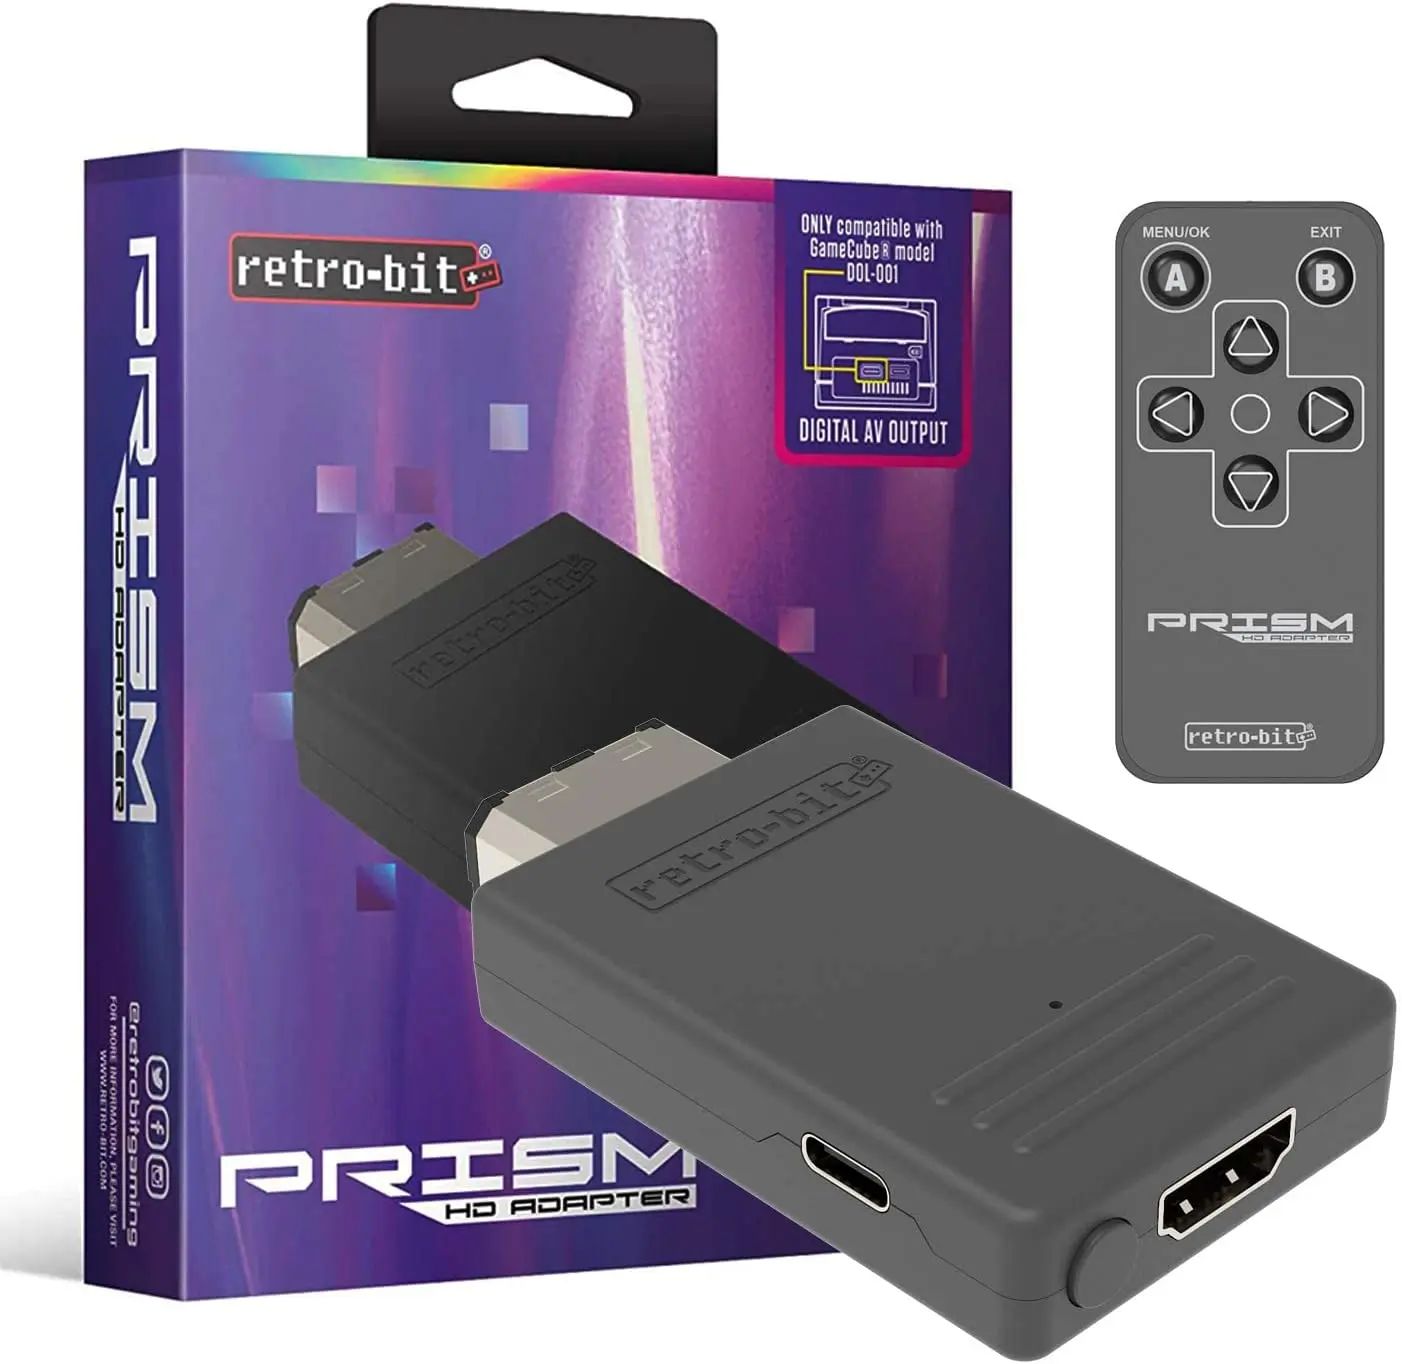
The preferred method for connecting the Nintendo NES to a smart TV is using the HDMI port. HDMI offers high-quality audio and video transmission and is widely supported on modern TVs. If your smart TV has an HDMI input, you’re in luck, as it makes the connection process much easier.
If your smart TV does not have an HDMI port, don’t worry. You can still connect the NES using other available inputs. Composite and component inputs are commonly found on older TVs, while RF inputs are usually found on CRT televisions.
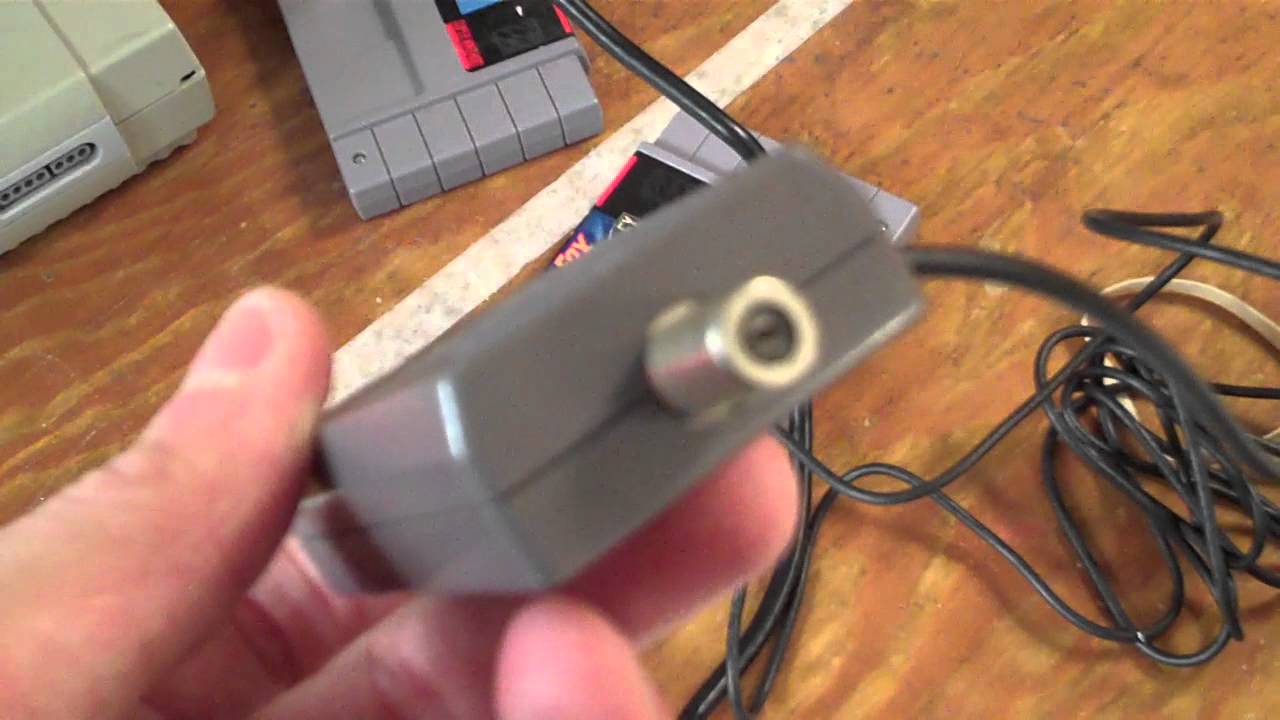
If your TV only has RF input, you will need an RF modulator to connect the NES. This device converts the NES’s output into a format that can be transmitted through the RF input. Make sure to purchase the appropriate RF modulator for your NES model.
Once you have identified the available inputs on your smart TV, you can proceed to the next step of purchasing the necessary connectors to connect the Nintendo NES to your smart TV.
Step 2: Purchase the necessary connectors
Now that you have determined the input options on your smart TV, it’s time to purchase the necessary connectors to connect your Nintendo NES. The connectors you will need depend on the available inputs on your smart TV.
If your smart TV has an HDMI input, the easiest and most convenient option is to use an HDMI cable to connect the NES. You can find HDMI cables in various lengths at electronics stores or online retailers. Make sure to choose a high-quality cable for optimal performance.
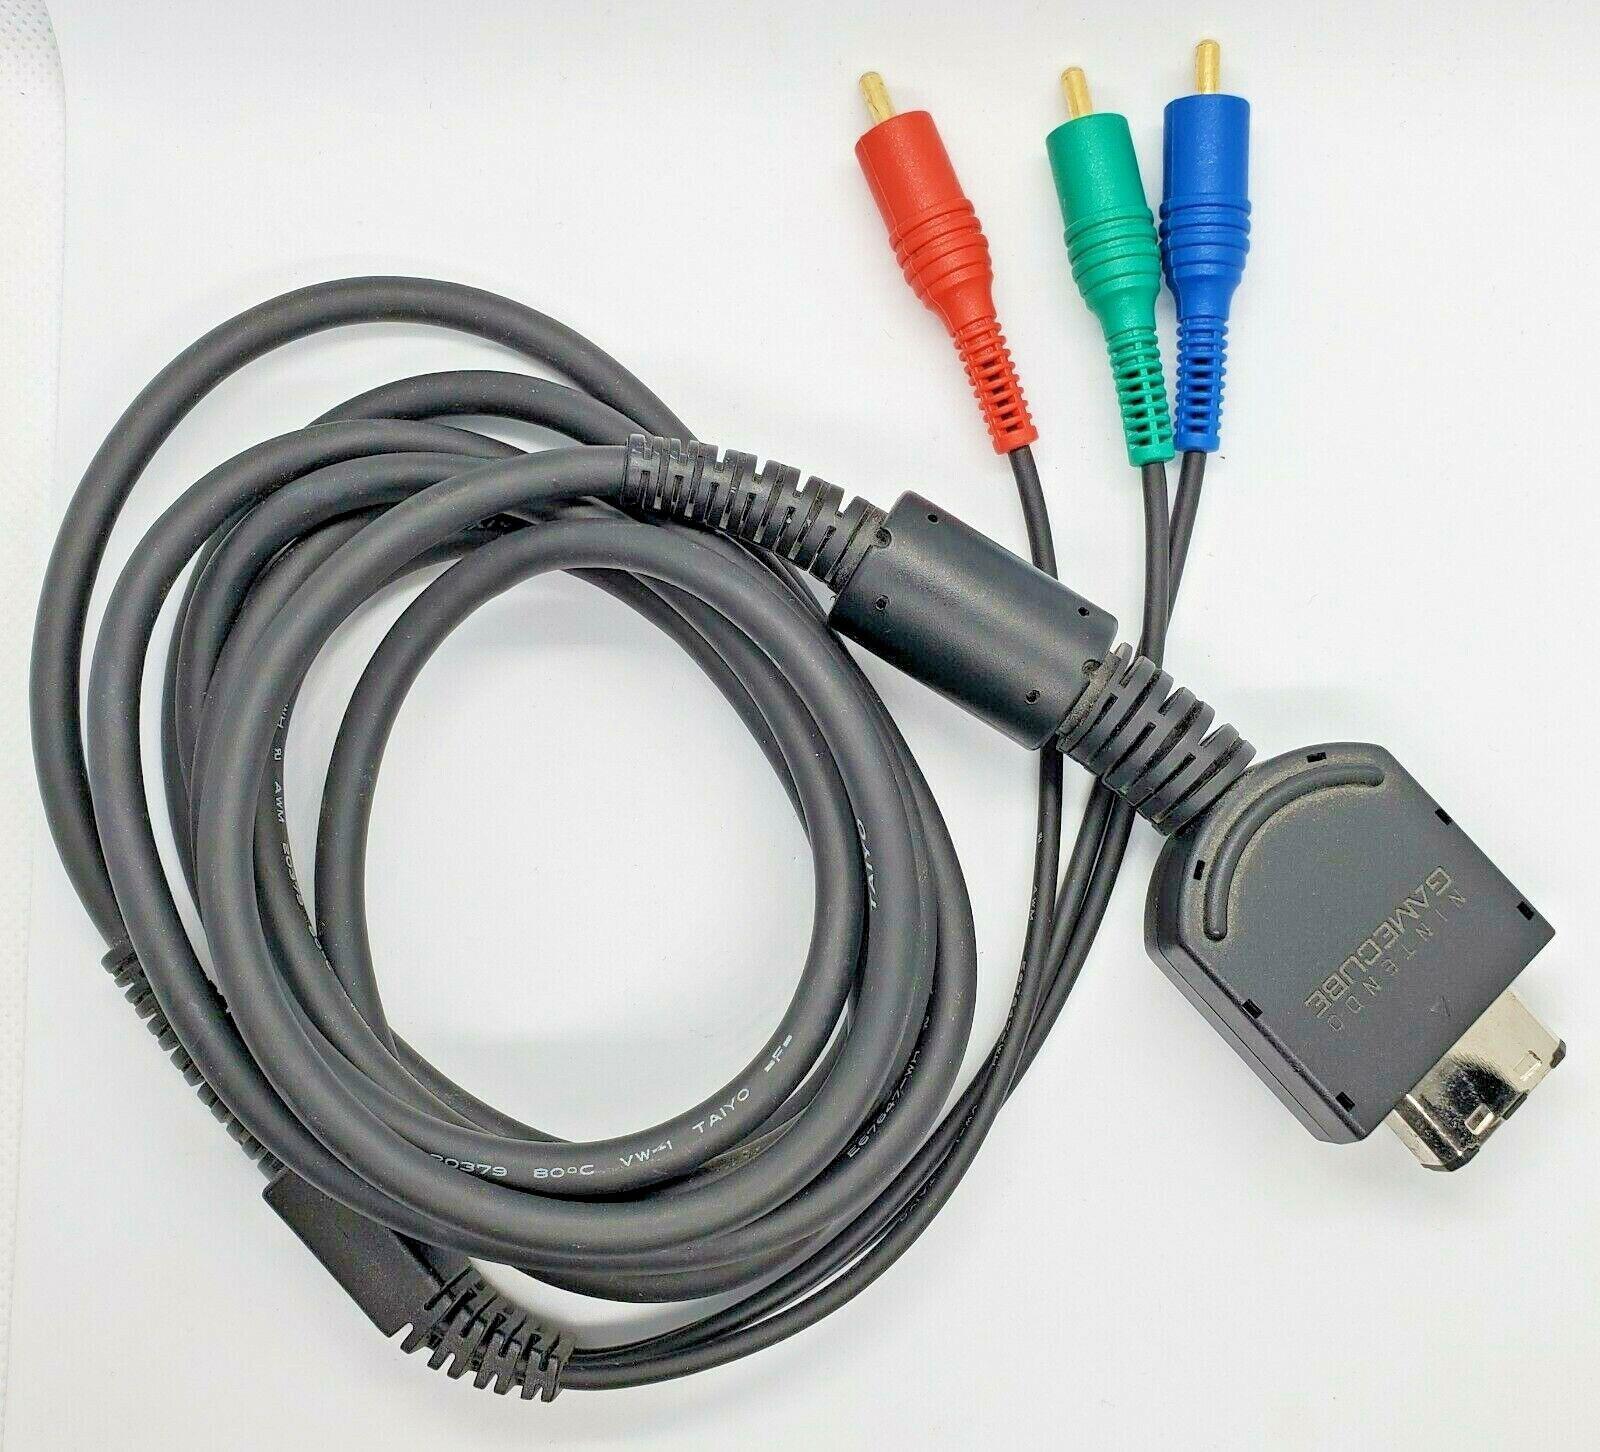
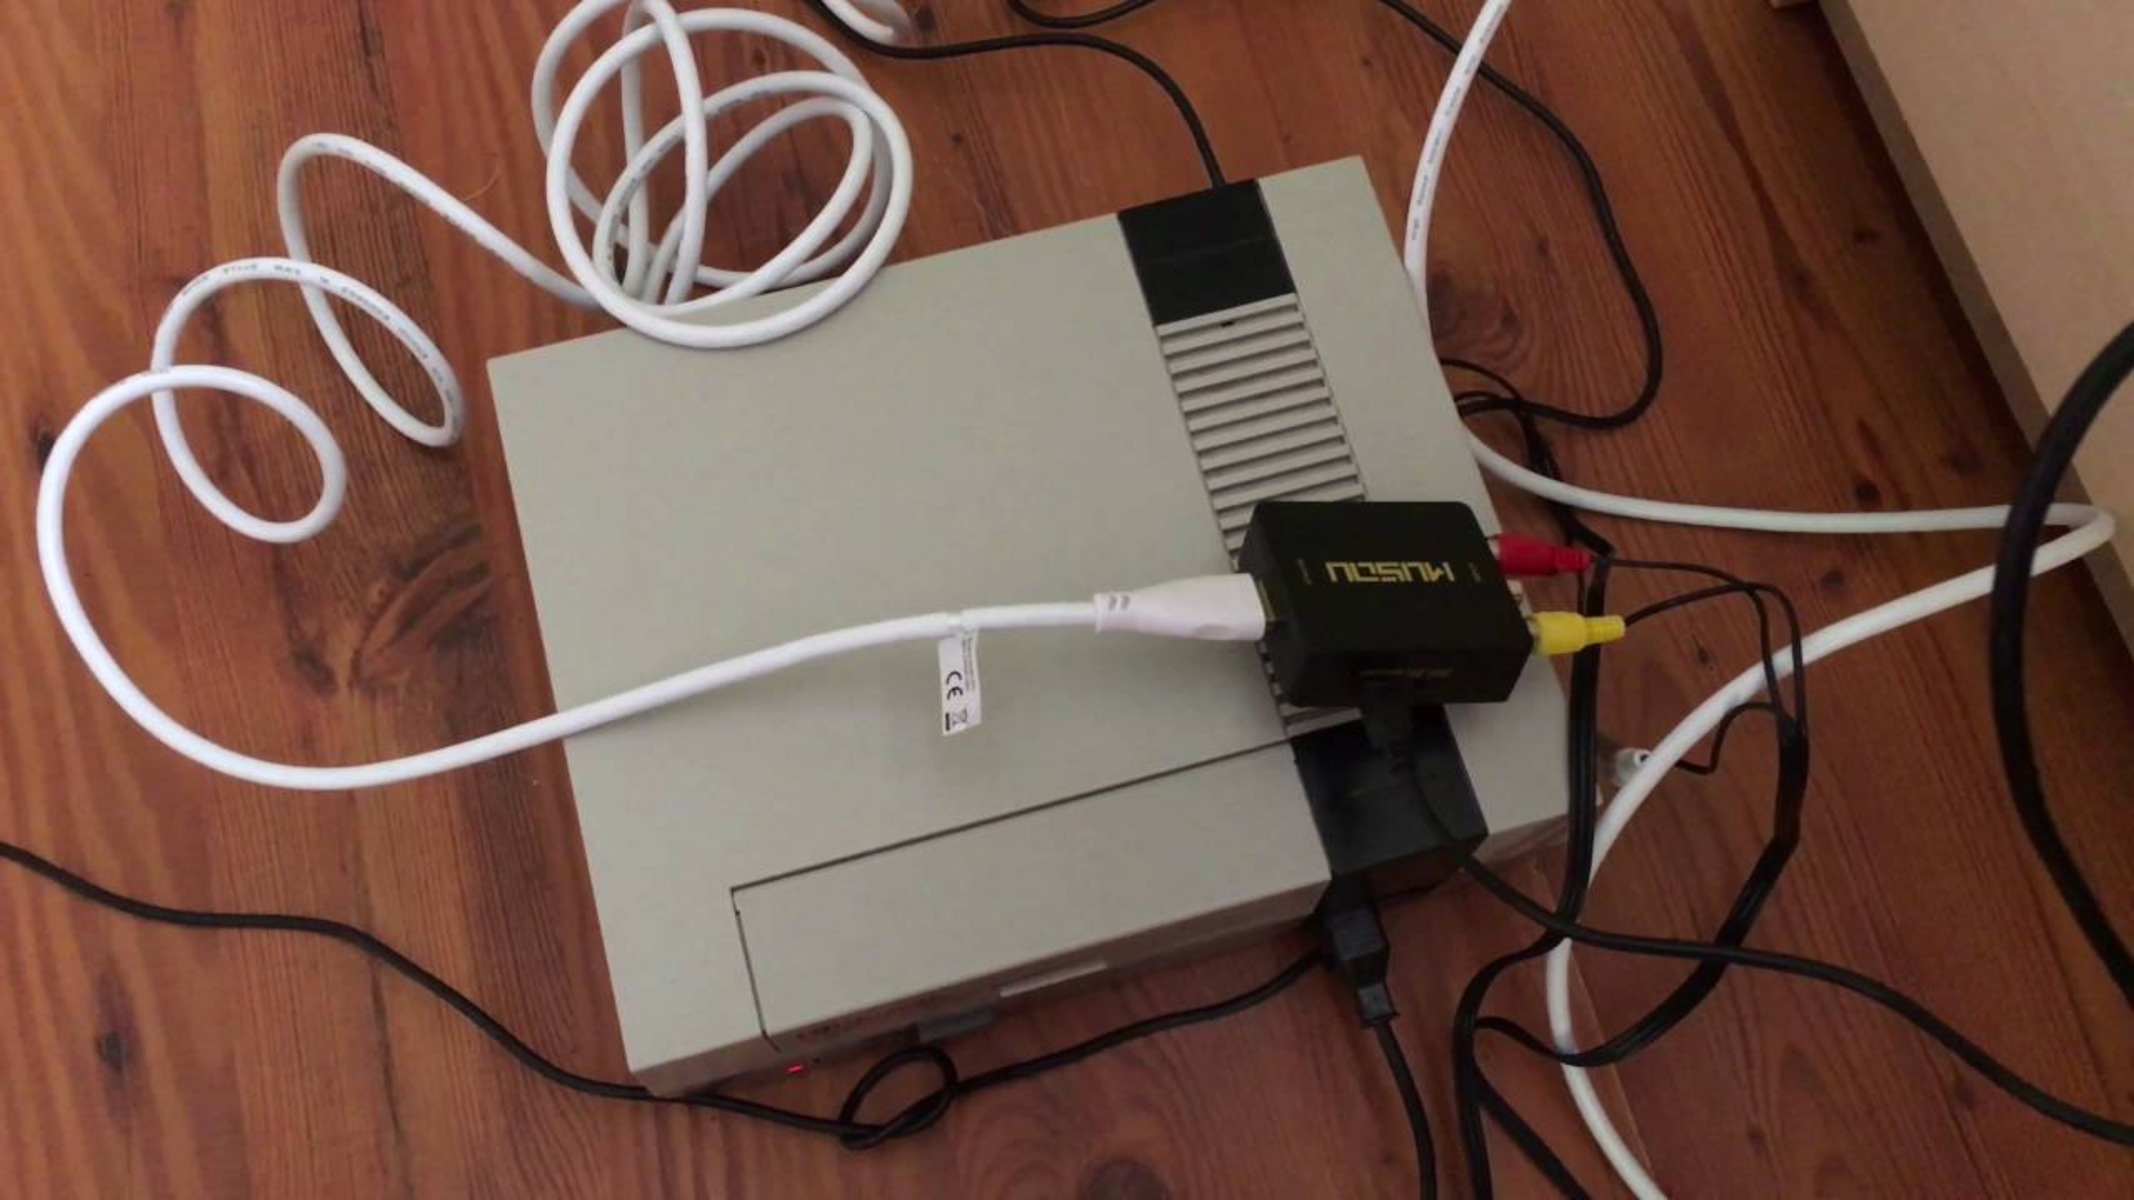
If your smart TV does not have an HDMI port but has composite or component inputs, you will need an RCA AV cable. These cables have red, white, and yellow connectors on one end, which will connect to the corresponding ports on the NES. The other end of the cable may have either RCA connectors or a 3.5mm headphone jack, depending on the input options on your TV.
If your smart TV only has an RF input, you will need an RF modulator, as mentioned in the previous step. The RF modulator will convert the NES’s audio and video signals into a format that can be transmitted through the RF input. Ensure that you purchase a compatible RF modulator for your NES model.
When purchasing the connectors, it’s essential to check the compatibility and quality of the cables or converters. Poor quality cables or incompatible connectors can result in degraded audio, video quality, or connectivity issues. It’s worth investing in reliable and certified connectors to ensure the best possible gaming experience.
Once you have acquired the necessary connectors, you can move on to the next step, which involves physically connecting the NES to your smart TV.
Step 3: Connect the NES to the smart TV
With the necessary connectors in hand, you are now ready to connect your Nintendo NES to your smart TV. The process will vary depending on the type of connectors you have, so follow the instructions below based on your setup:
If using an HDMI cable:
- Locate the HDMI port on your smart TV and plug one end of the HDMI cable into it.
- Connect the other end of the HDMI cable to the HDMI output port on the NES.
That’s it! Your Nintendo NES is now physically connected to your smart TV using the HDMI cable. Proceed to the next step to set up the NES on your smart TV.
If using an RCA AV cable:
- Identify the composite or component inputs on your smart TV.
- Connect the red, white, and yellow connectors of the RCA AV cable to the corresponding ports on your TV.
- Connect the other end of the RCA AV cable to the RCA output ports on the NES.
With the RCA AV cable connected, you have successfully linked your Nintendo NES to your smart TV. Move on to the next step to complete the setup.
If using an RF modulator:
- Locate the RF input on your smart TV.
- Connect the RF modulator to the NES, following the instructions provided with the modulator.
- Plug the RF modulator into the RF input on your smart TV.
Once the RF modulator is connected, your Nintendo NES is now physically linked to your smart TV. Proceed to the next step to finalize the setup process.
Now that you have successfully connected your Nintendo NES to your smart TV, it’s time to set up the NES on your TV’s input menu, which will be covered in the next step.
Step 4: Set up the NES on the smart TV
After physically connecting your Nintendo NES to your smart TV, you need to set up the NES on your TV’s input menu. This step may vary depending on the brand and model of your smart TV, but the general process is as follows:
- Turn on your smart TV and switch it to the input source you connected the NES to. Use your TV’s remote control to navigate to the input selection menu.
- Look for the specific input label that corresponds to the NES connection. It may be labeled as HDMI, AV, or RF.
- Select the NES input source and confirm your selection by pressing the enter or OK button on your remote control.
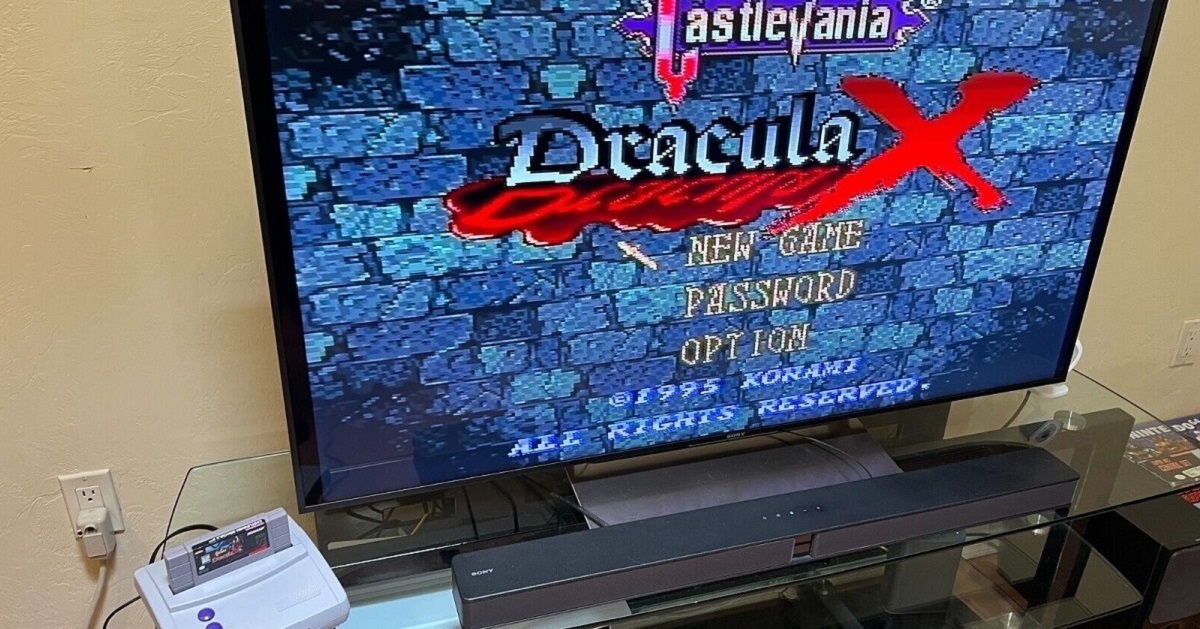
Once you have set up the NES on your smart TV’s input menu, you should see the NES output displayed on the screen. If you connected the NES correctly and selected the appropriate input source, you are now ready to enjoy retro gaming on your smart TV.
Keep in mind that some smart TVs may have additional settings that you can adjust to optimize the display and audio quality of the NES. You can explore the TV’s settings menu to make any necessary adjustments, such as aspect ratio, display mode, or audio output.
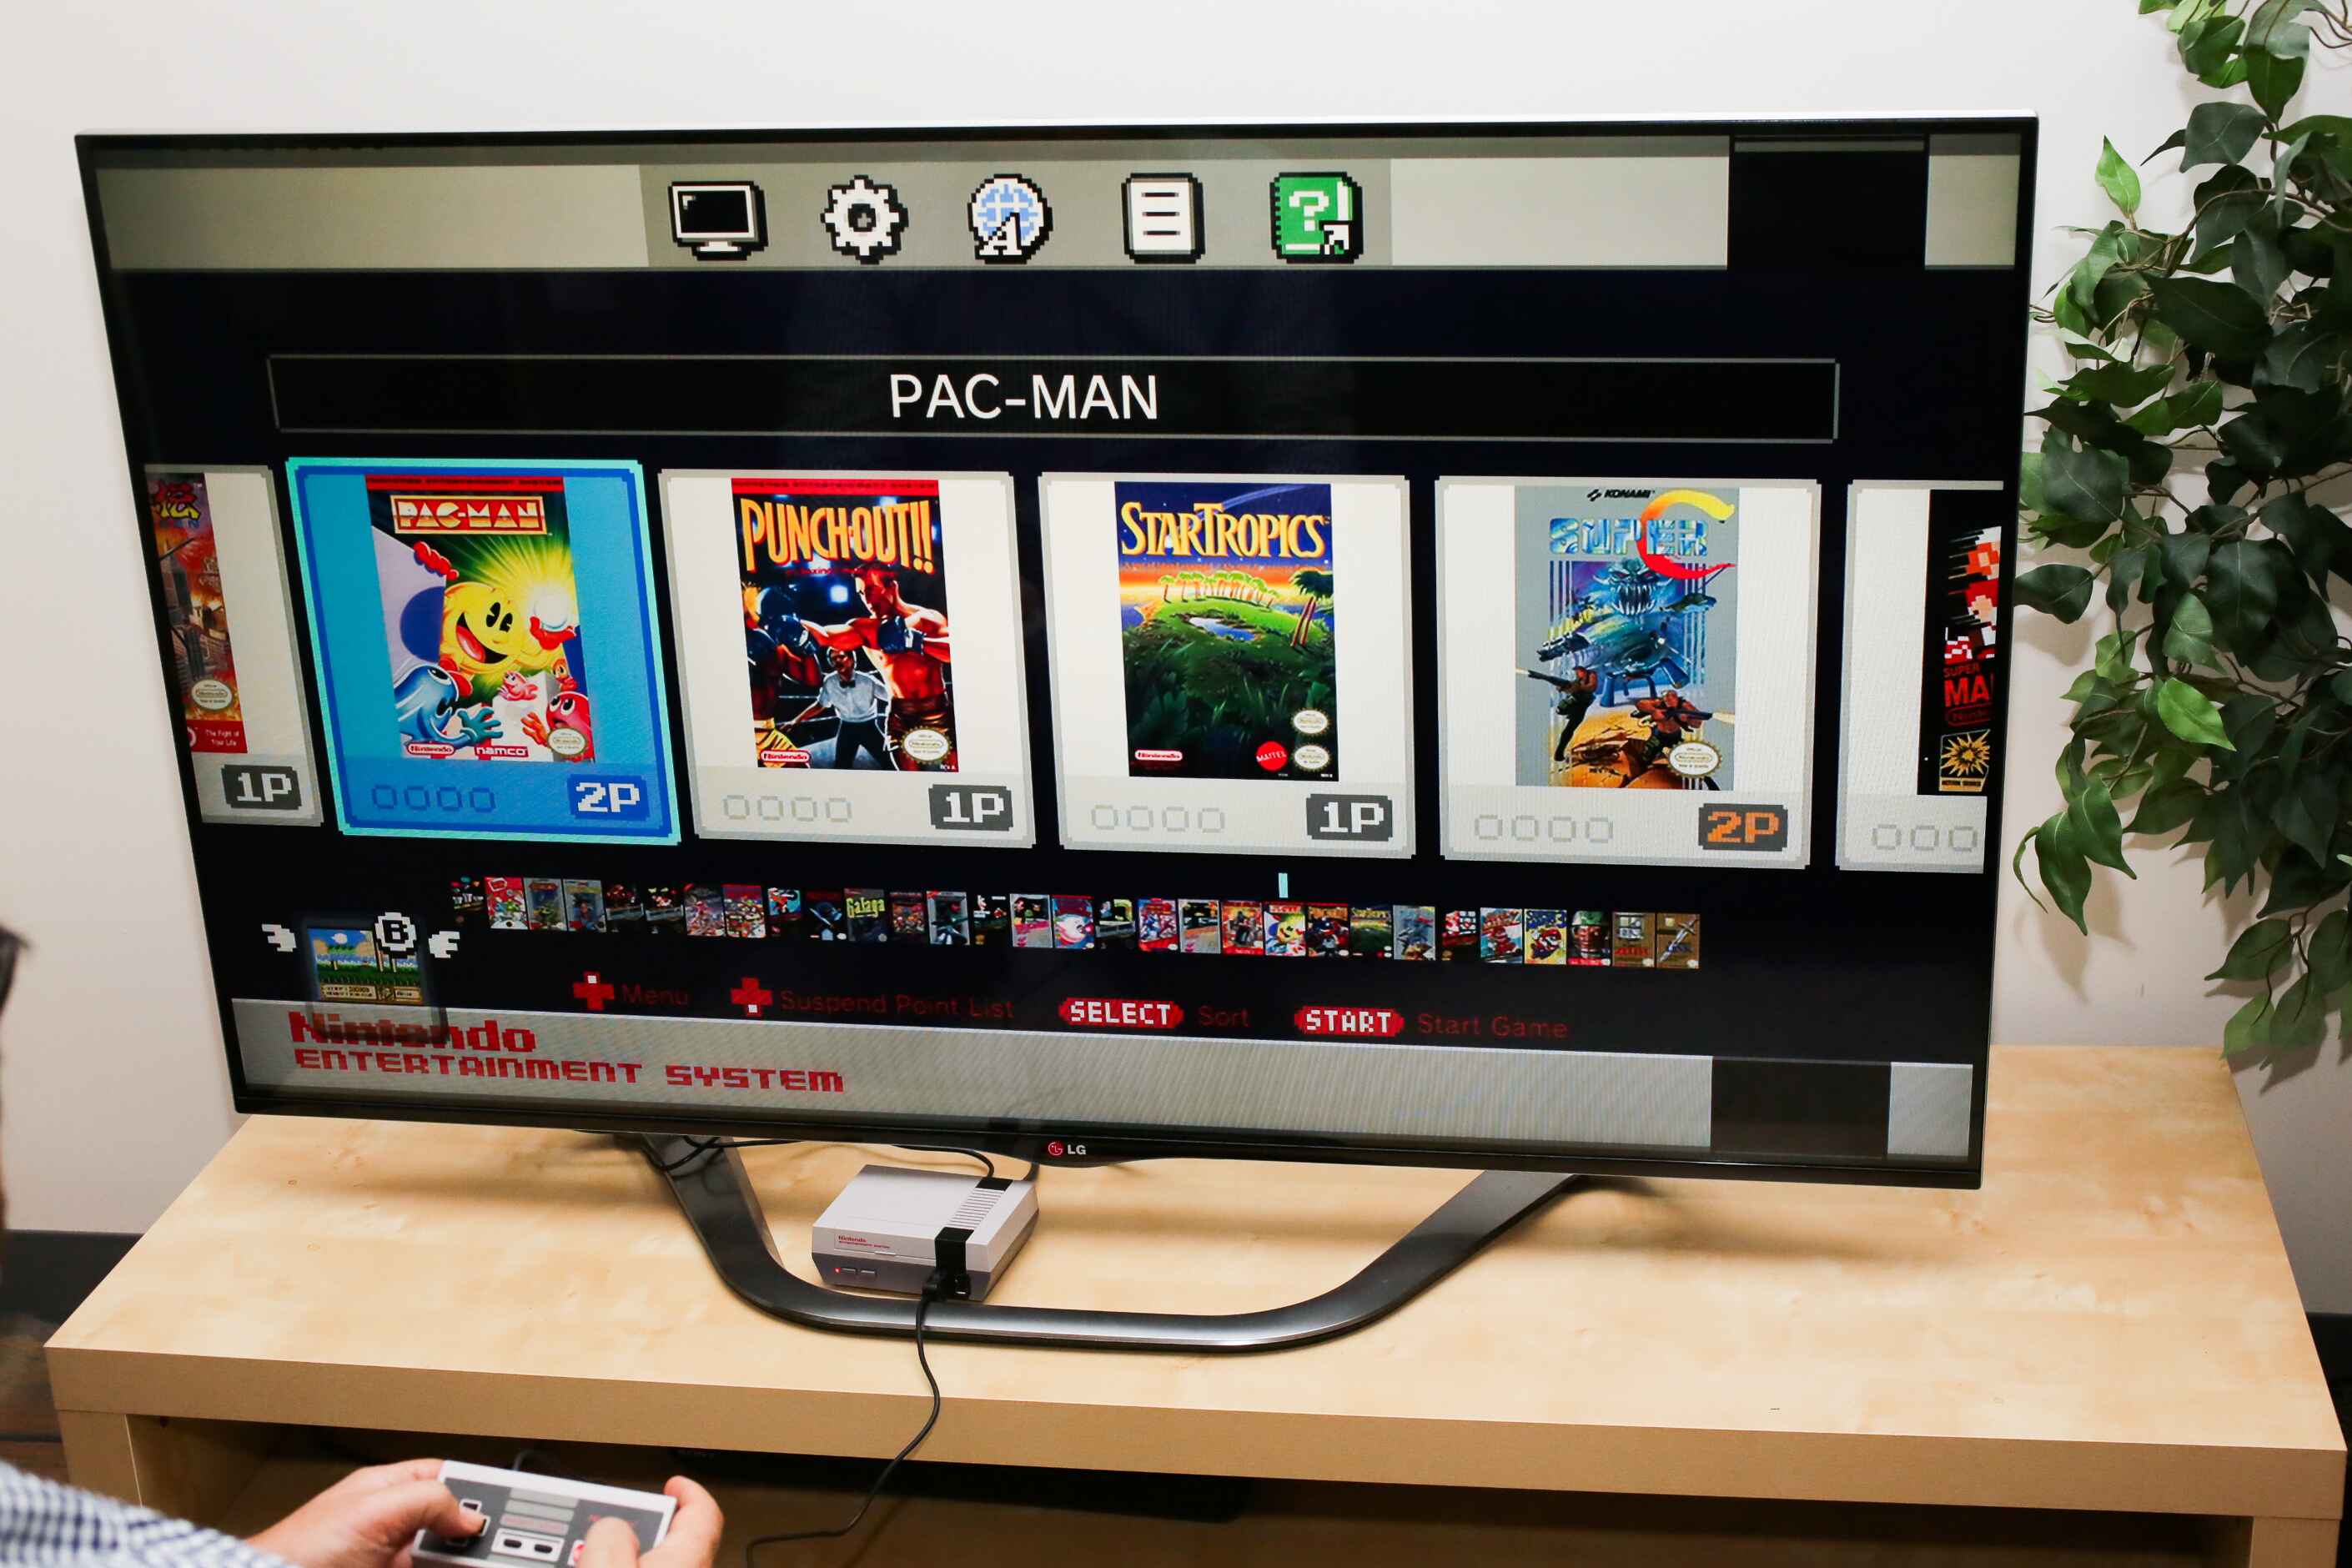
With the NES set up on your smart TV, you can now insert a game cartridge into the NES and start playing your favorite classics. Grab your controller, sit back, and dive into the nostalgia of iconic games like Super Mario Bros., The Legend of Zelda, or Metroid.
Remember to save your progress in games that support saving and take breaks to prevent eyestrain or fatigue. Enjoy the magic of retro gaming on your modern smart TV!
Step 5: Enjoy retro gaming on your smart TV
Now that you have successfully connected and set up your Nintendo NES on your smart TV, it’s time to sit back, relax, and enjoy the thrill of retro gaming. Here are a few tips to enhance your gaming experience:
1. Explore the game library:
The Nintendo NES had a vast library of games, ranging from platformers to puzzle games and everything in between. Take the time to explore the games available for the NES and try out different titles. Rediscover timeless classics or venture into lesser-known gems. With the NES connected to your smart TV, the possibilities are endless.
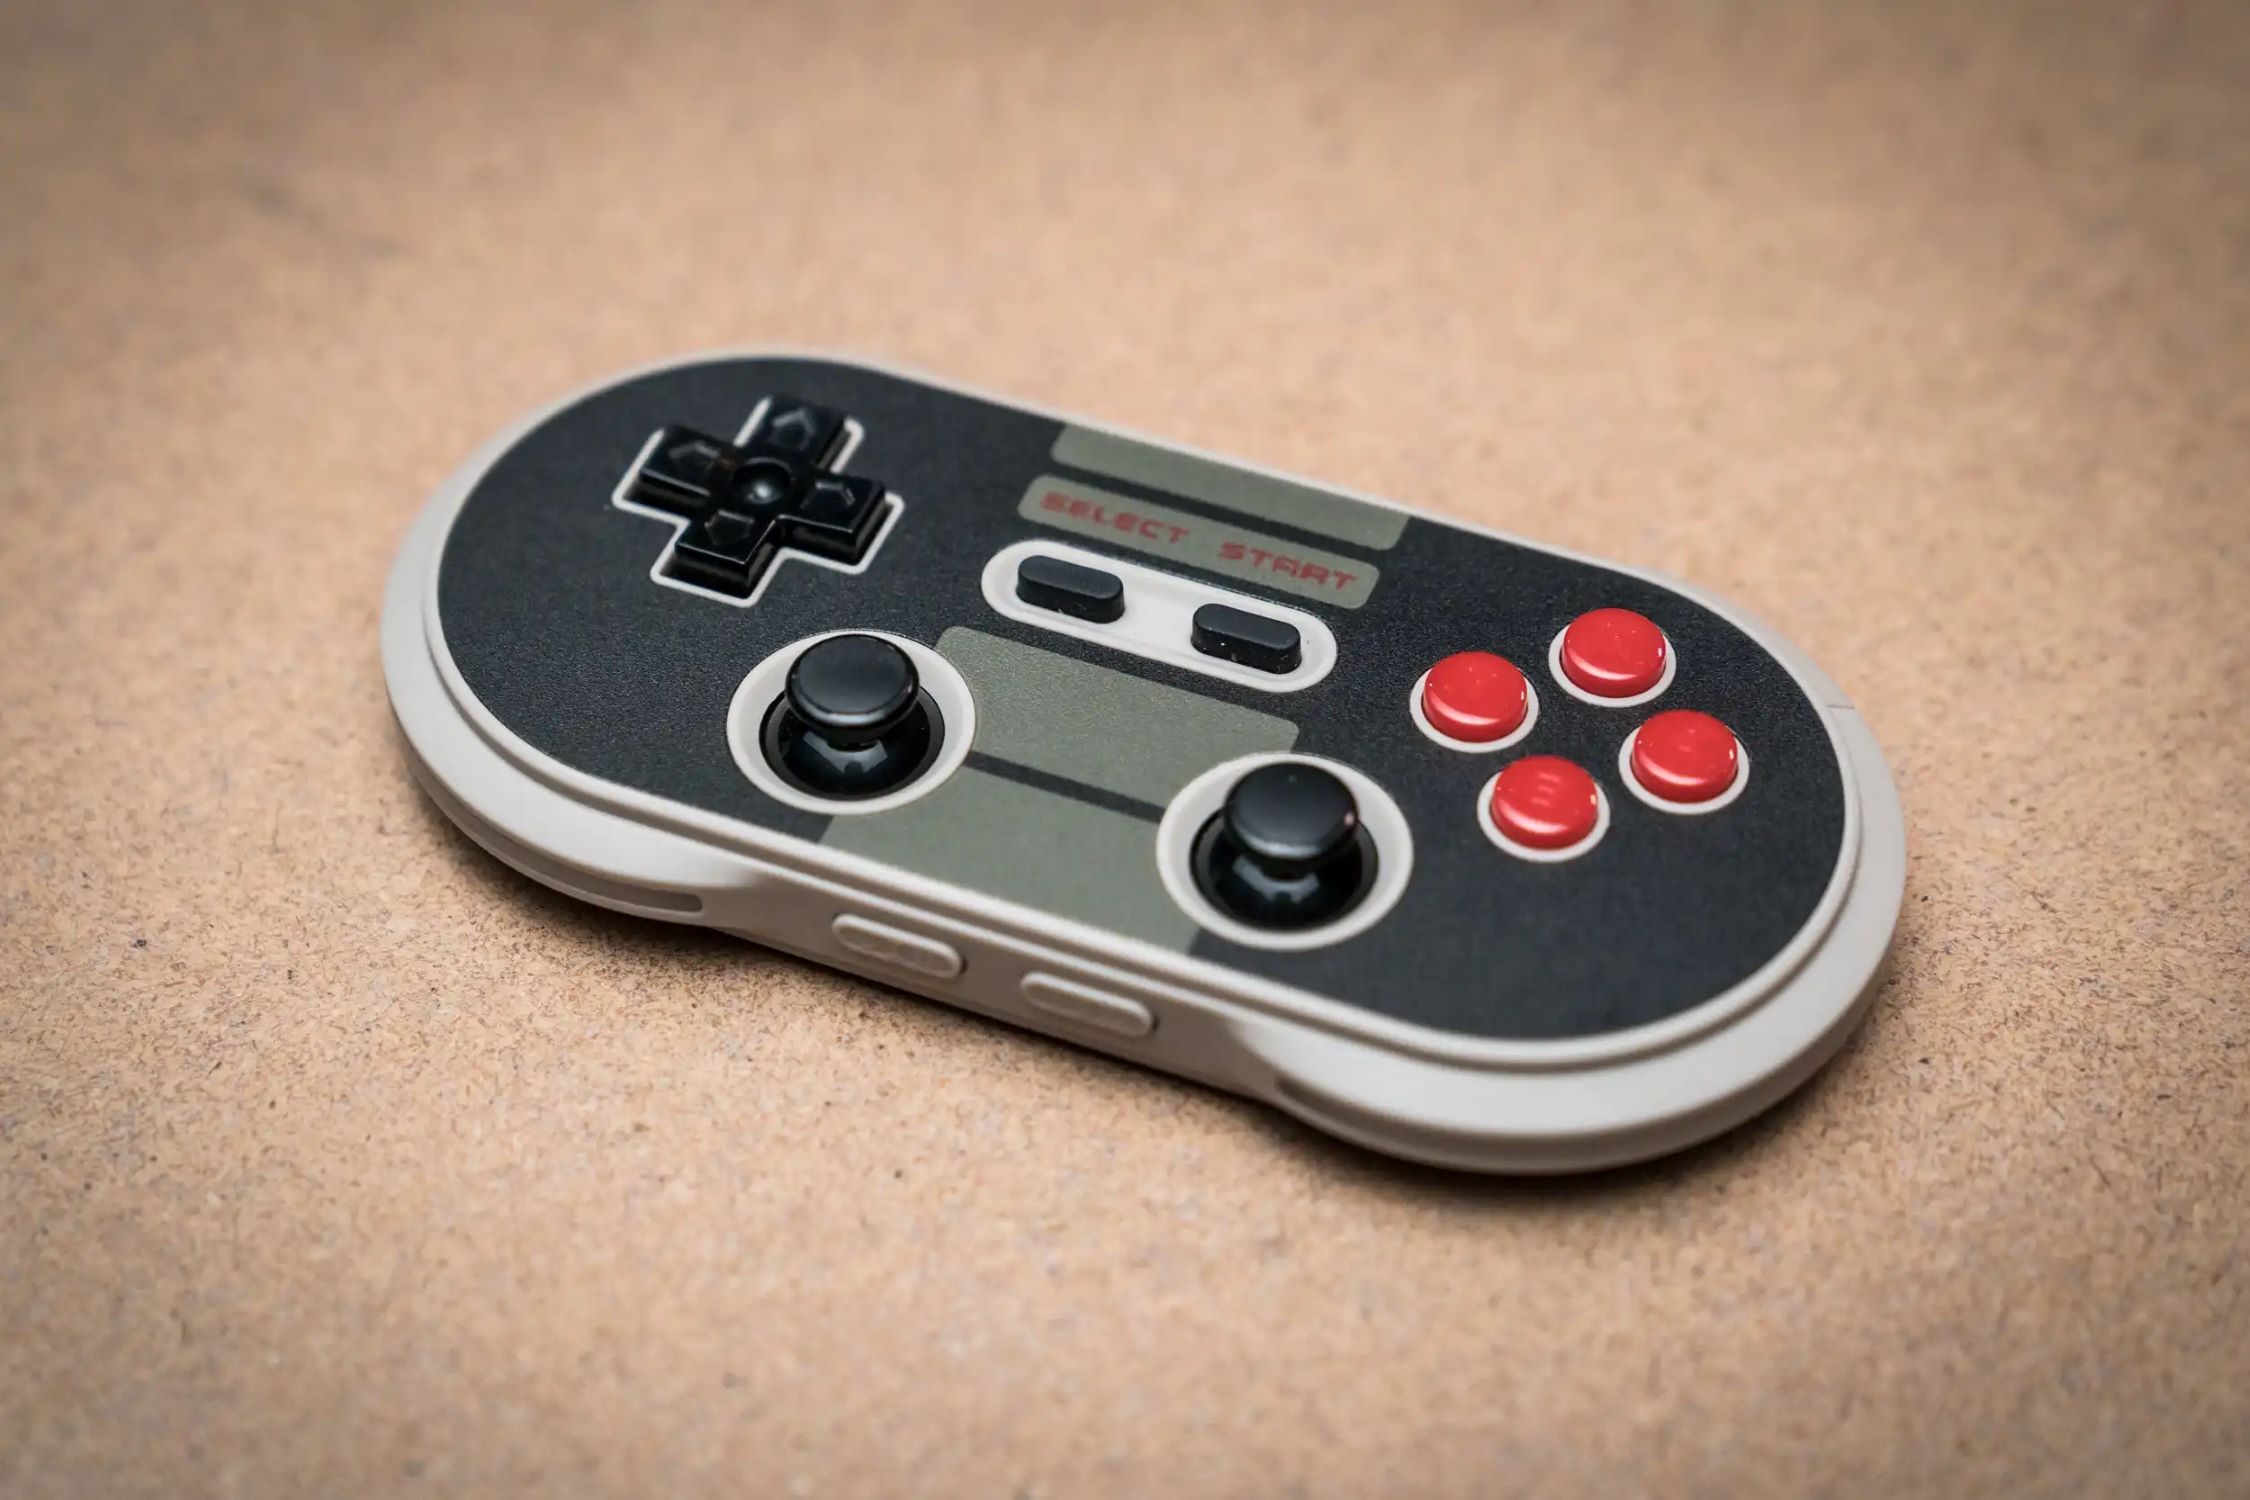
2. Customize the controls:
While playing NES games, you may find that the default button configuration doesn’t suit your preferences. Many emulators and smart TVs offer the option to customize the controls. Take advantage of this feature to map the buttons to your liking. Creating a comfortable and familiar control setup can greatly enhance your gameplay experience.
3. Emulate the vintage experience:
If you want to fully immerse yourself in the nostalgia of playing NES games, explore options to emulate the vintage experience. Some emulators allow you to simulate the look and feel of playing on an old CRT TV, complete with scan lines and simulated phosphor decay. Adjustable aspect ratios and pixel filters can also replicate the retro aesthetic.
4. Connect external speakers:
While modern smart TVs have built-in speakers, connecting external speakers or a sound system can significantly enhance the audio quality of your NES gaming sessions. The NES has memorable soundtracks and iconic sound effects, so immersing yourself in the rich audio can take your gaming experience to the next level.
5. Invite friends for multiplayer fun:
Many NES games offer multiplayer options, allowing you to challenge and play with friends. Gather your friends or family members for some multiplayer showdowns. Whether you’re competing in Mario Kart or teaming up in Contra, the NES multiplayer experience is a fantastic way to create lasting memories.
With these tips in mind, you’re now ready to embrace the magic of retro gaming on your smart TV. Relive the excitement, adventure, and challenge of classic NES games while enjoying the modern convenience of your smart TV.
So dust off your favorite NES games, grab your controller, and embark on a journey back to the golden age of gaming. It’s time to create new memories while cherishing the nostalgia of the past.
Conclusion
Congratulations! You have successfully connected your Nintendo NES to your smart TV and unlocked a world of retro gaming possibilities. The steps outlined in this guide have allowed you to bridge the gap between the nostalgic charm of the NES and the modern technology of your smart TV.
By checking your smart TV’s inputs, purchasing the necessary connectors, connecting the NES to the smart TV, and setting it up correctly, you now have access to a wide range of classic NES games right on your big screen.
Remember to explore the extensive library of NES games, customize your controls for optimal gameplay, and enhance your experience with external speakers or multiplayer sessions. Immerse yourself in the captivating worlds and iconic soundtracks that defined the golden age of gaming.
Whether you’re reliving your favorite childhood memories or experiencing these games for the first time, the Nintendo NES holds an enduring appeal that transcends generations. It’s an opportunity to appreciate the simplicity, challenge, and timeless fun of retro gaming.
Now that you have successfully connected your Nintendo NES to your smart TV, all that’s left to do is pick up your controller, select a game, and embark on an adventure filled with nostalgia and excitement. Enjoy your retro gaming experience on your modern smart TV to the fullest!