Introduction
Welcome to the world of classic gaming! The Nintendo NES, or Nintendo Entertainment System, is a beloved gaming console that revolutionized the industry and provided countless hours of entertainment for gamers around the world. With its iconic design and memorable games, it holds a special place in the hearts of many gaming enthusiasts.
However, if you’ve recently acquired a smart TV and are wondering how to connect your Nintendo NES to it, you’ve come to the right place. In this guide, we will walk you through the step-by-step process of hooking up your Nintendo NES to your smart TV, allowing you to relive those nostalgic gaming moments on the big screen.
Connecting your Nintendo NES to a smart TV may seem daunting, especially if you are not familiar with the cables and connections involved. But fear not! We will break down the process into simple, easy-to-follow steps, ensuring that you can enjoy your favorite NES games with minimal hassle.
Before we dive into the specifics, it’s important to note that the process may vary slightly depending on your specific smart TV model and the connections it supports. However, the general principles remain the same, and we’ll provide guidance that should be applicable to most setups.
So, whether you’re an experienced NES player looking to relive your childhood or a newcomer to the world of classic gaming, grab your controller, power up your NES, and let’s get started on connecting it to your smart TV. Prepare to embark on a nostalgic journey filled with pixelated adventures and timeless memories!
What You Will Need
Before you begin the process of connecting your Nintendo NES to your smart TV, gather the following items:
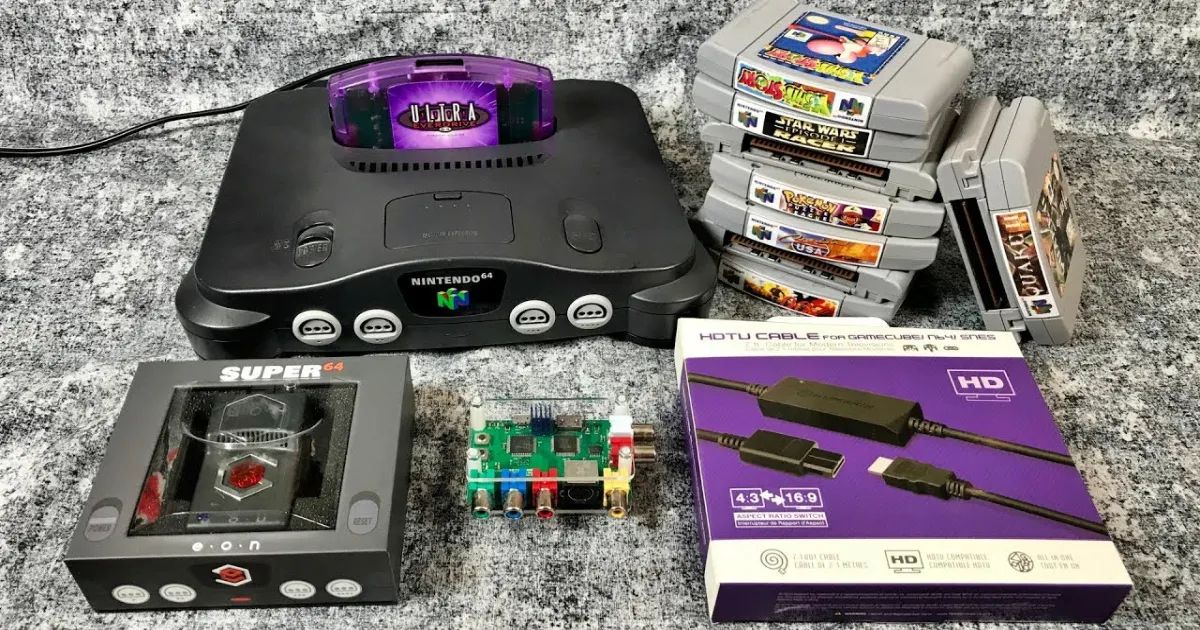
- A Nintendo NES console: This is the heart of your gaming setup. Make sure you have a functioning NES console ready to go. If you don’t have one already, you may be able to find a used console online or in retro gaming stores.
- A Smart TV: Ensure that you have a smart TV with available input ports. Most modern smart TVs have HDMI ports, which will be the primary method of connecting your NES console.
- A compatible HDMI cable: Look for an HDMI cable that is compatible with your NES console. The cable should have an HDMI output on one end (to connect to your smart TV) and an analog video output on the other end (to connect to your NES console).
- A power adapter for the NES console: Make sure you have a power adapter that is compatible with your NES console. This will provide the necessary power to run the console.
- Game cartridges: Don’t forget to have your favorite NES game cartridges ready! Whether it’s Super Mario Bros., The Legend of Zelda, or any other classic game, having a collection of game cartridges will ensure you have a variety of games to play.
Once you have gathered these items, you’re ready to move on to the next step: connecting your Nintendo NES console to your smart TV. Don’t worry if you don’t have all the items yet—you can easily find them online or in gaming stores. Now, let’s get started on the connection process and bring back the magic of retro gaming on your smart TV!
Step 1: Gather the Necessary Cables
Before you can connect your Nintendo NES console to your smart TV, you’ll need to gather the necessary cables. Here’s what you’ll need:
- HDMI cable: Look for an HDMI cable that is compatible with your smart TV and NES console. This cable will transmit both audio and video signals.
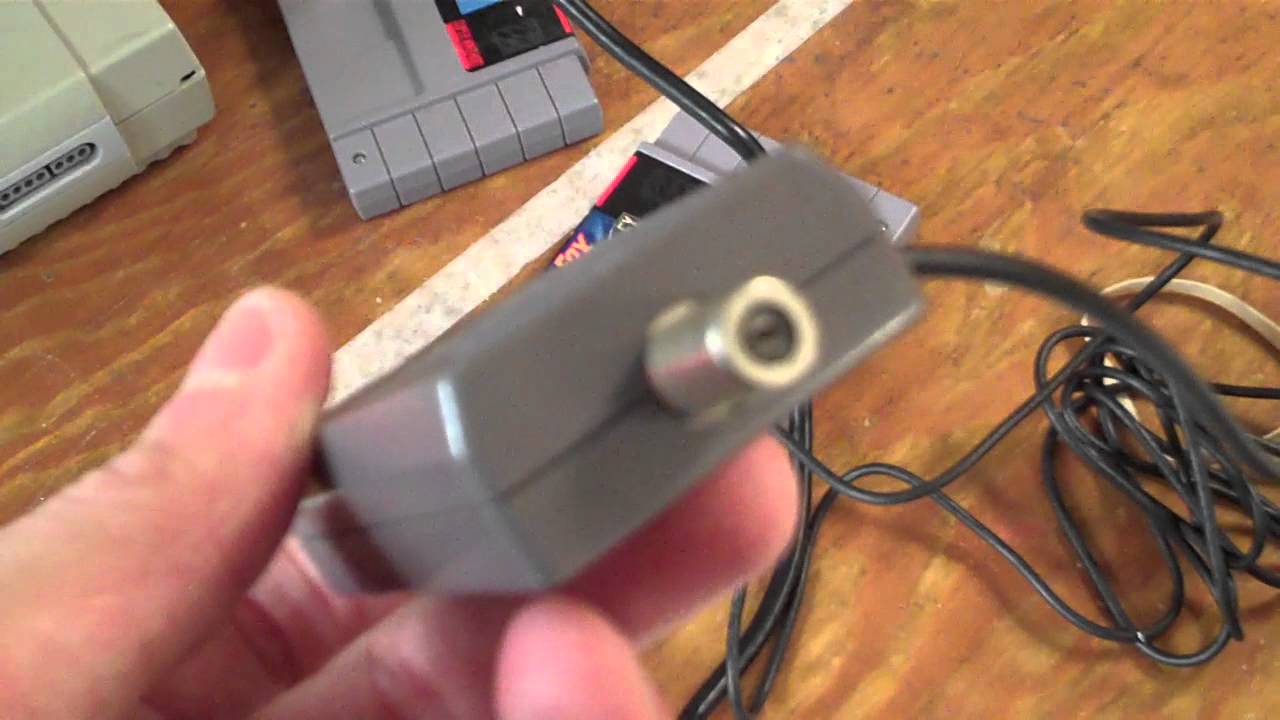
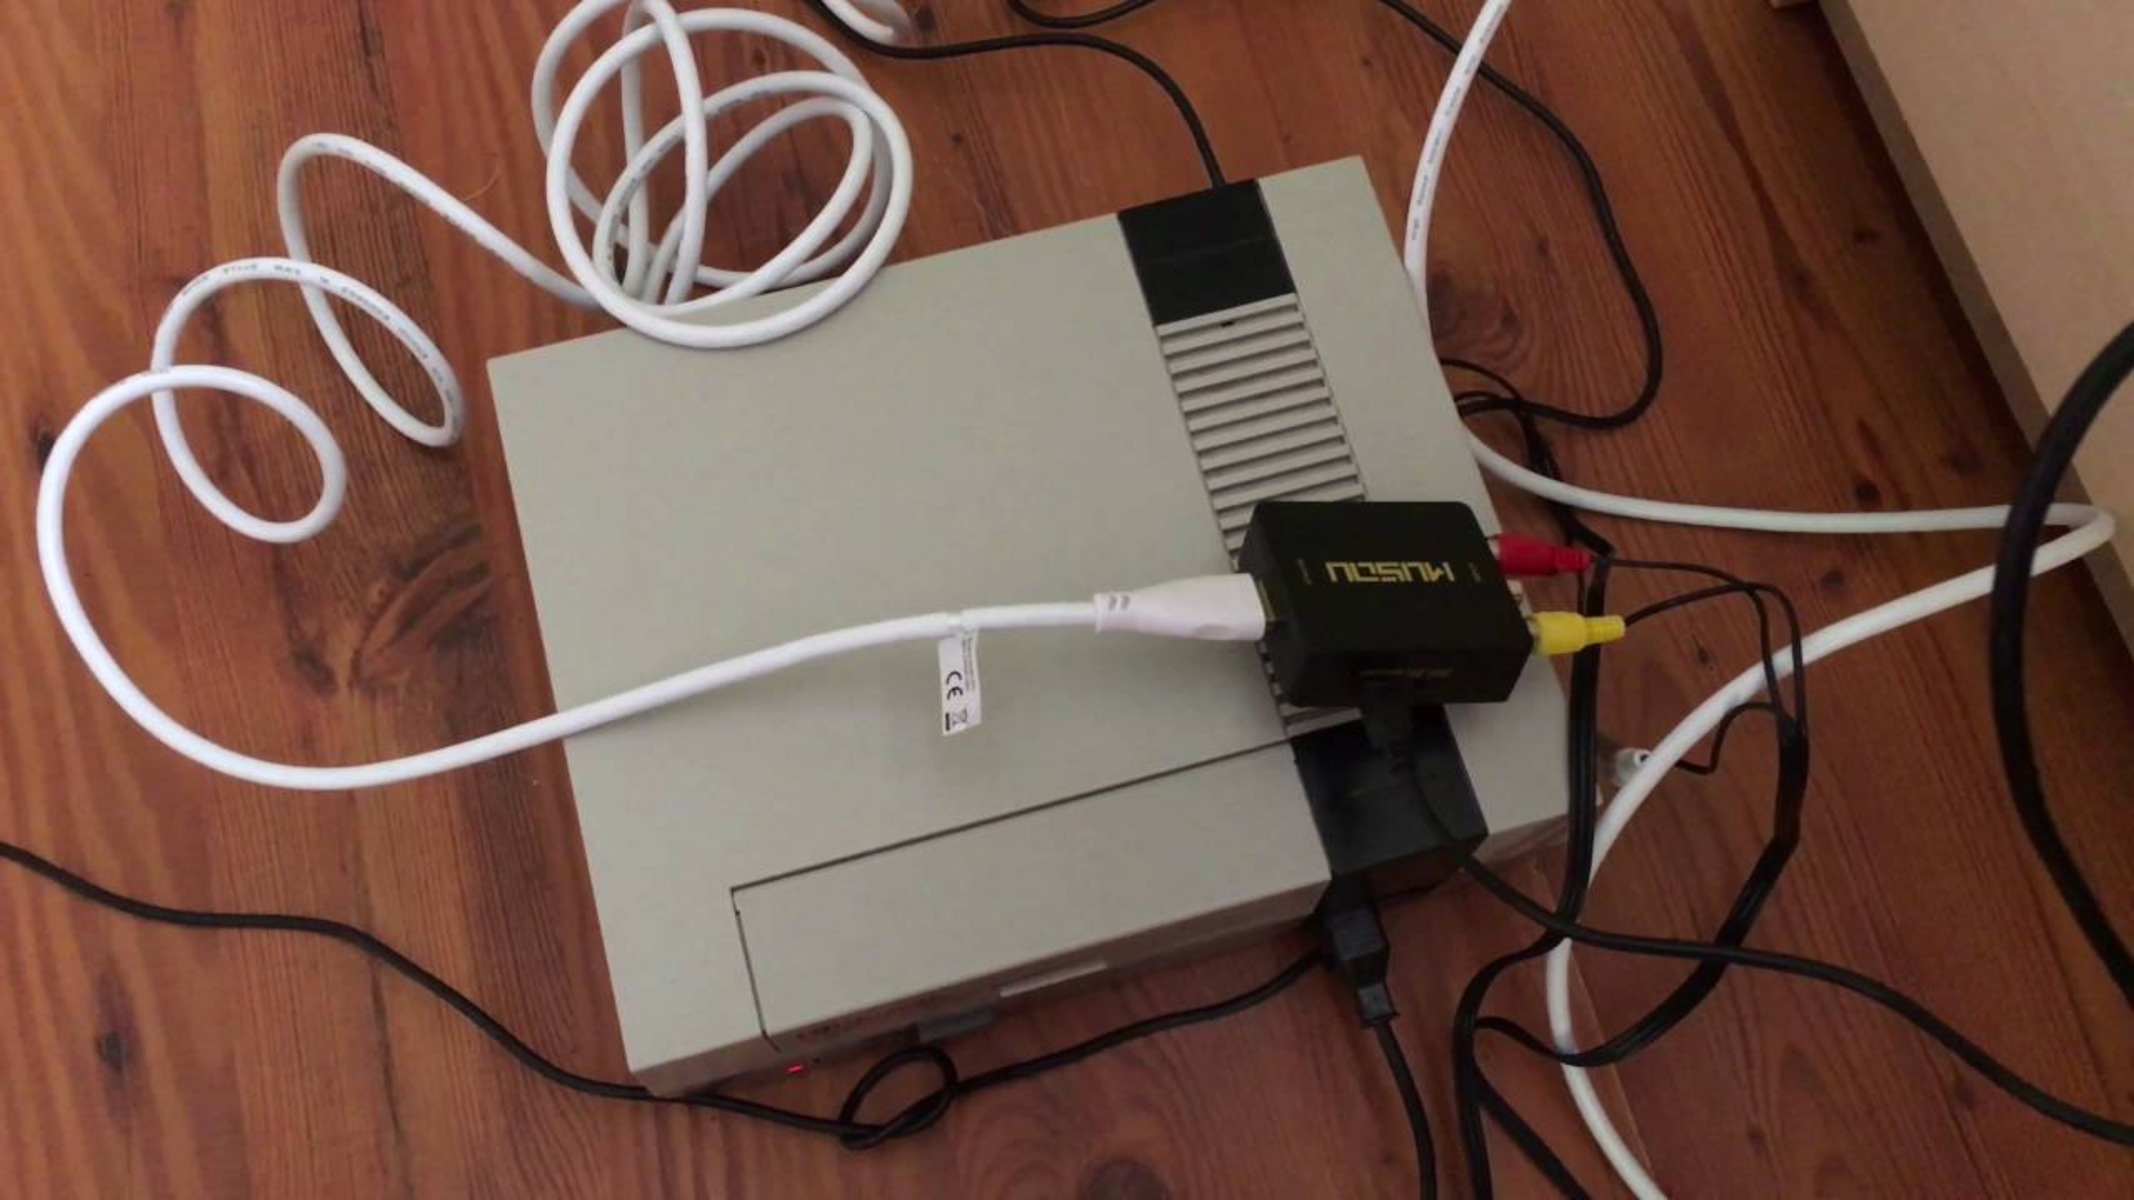
- Analog video cable: This cable will connect your NES console to the HDMI cable. Depending on your specific NES model, you may need an RCA cable (yellow, red, white) or a coaxial cable.
- Power adapter: Ensure you have a power adapter that is compatible with your NES console and plug it into a power outlet.
Double-check that you have all the required cables to proceed to the next step.
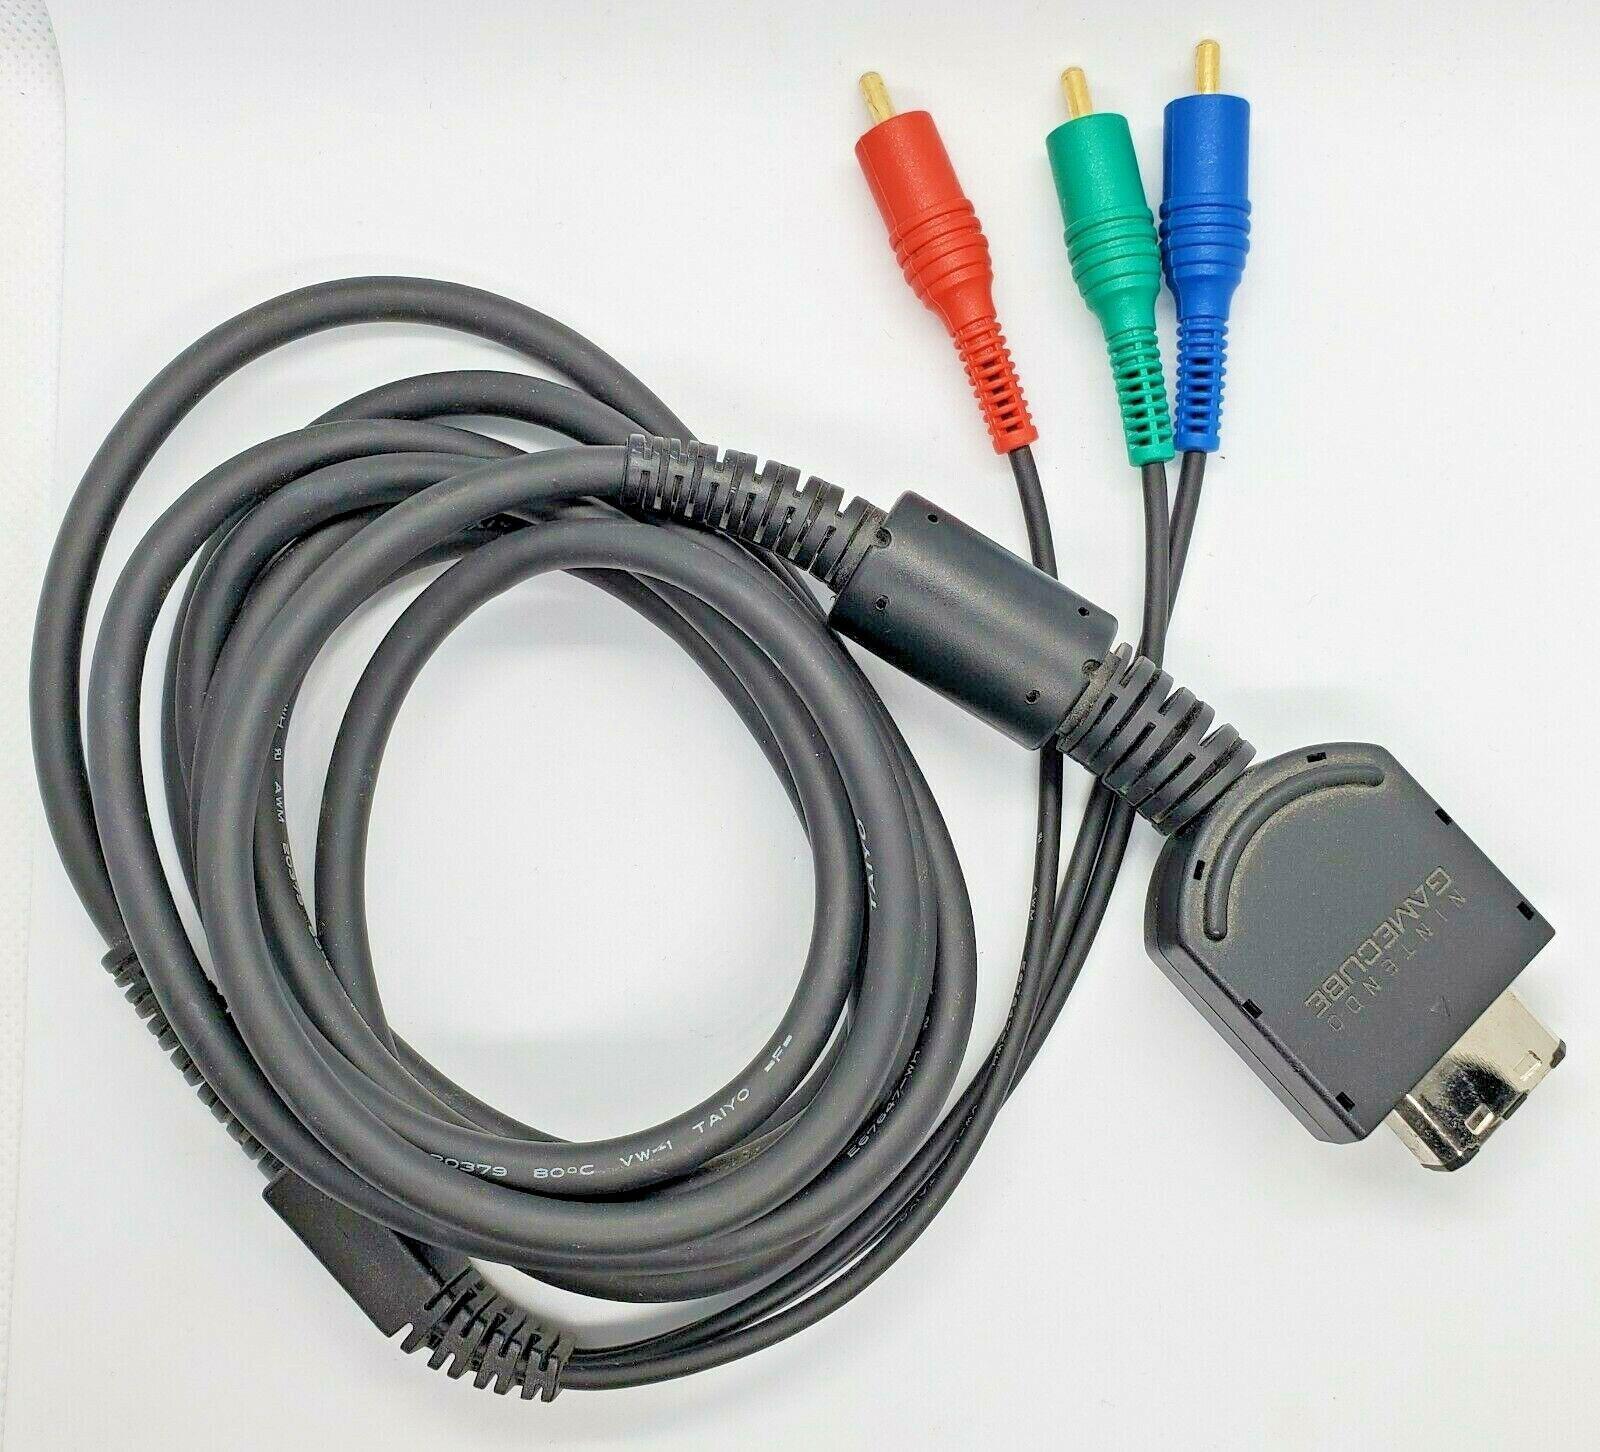
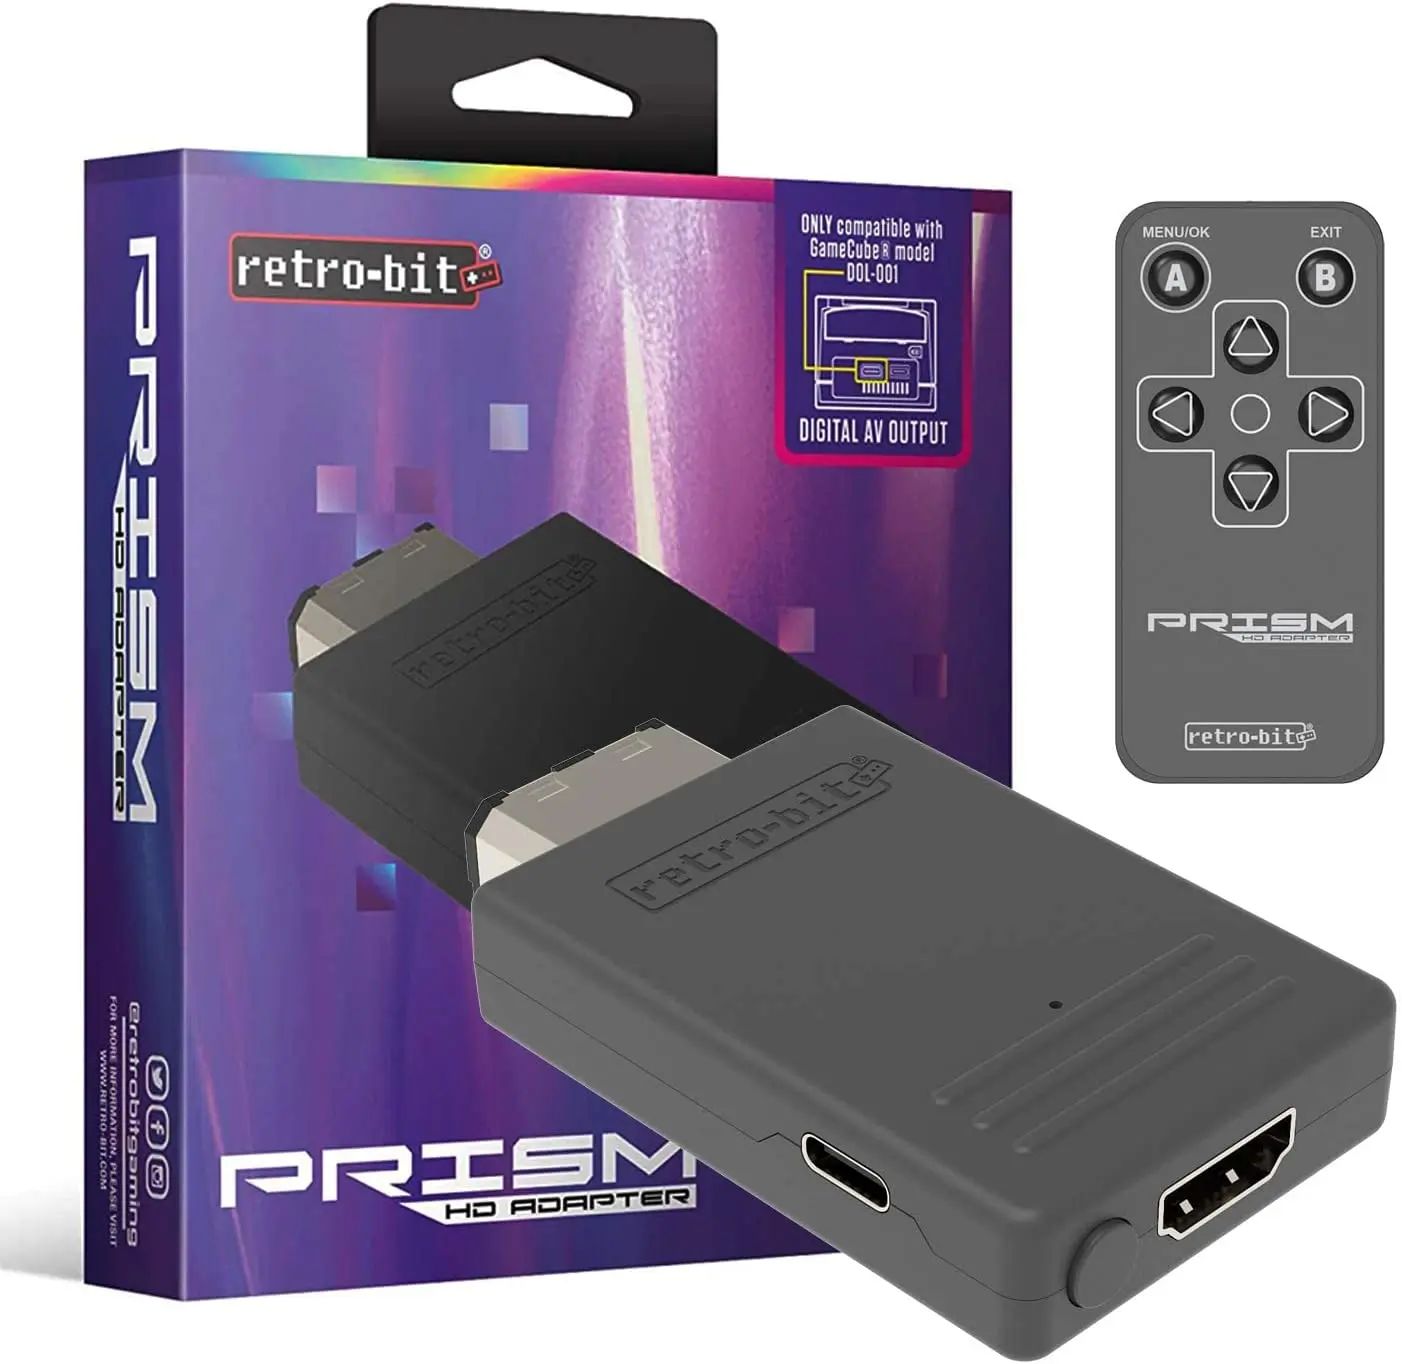
It’s worth noting that some NES consoles may require additional adapters to connect to modern smart TVs. If your console has a different video output port, such as S-video or component video, you may need an adapter to convert it to an HDMI signal. Make sure to check the specific requirements for your NES console model.
Once you have all the necessary cables and adapters, you’re ready to move on to the next step: connecting your Nintendo NES console to your smart TV. With everything in place, you’re just a few steps away from reliving the iconic NES gaming experience on your modern television.
Step 2: Connect your Nintendo NES console to the TV
Now that you have gathered the necessary cables, it’s time to connect your Nintendo NES console to your smart TV. Follow these steps:
- Locate the HDMI port on your smart TV. It’s usually located on the back or side of the TV. Plug one end of the HDMI cable into this port.
- Next, locate the analog video port on your NES console. Depending on your NES model, this could be an RCA port (yellow, red, white) or a coaxial port. Plug the other end of the analog video cable into this port.
- If you’re using an RCA cable, match the color-coded connectors to the corresponding ports on your NES console (yellow to video, white to left audio, red to right audio).
- Once the cables are properly connected, power on your NES console and your smart TV.
- Using the remote control of your smart TV, navigate to the input/source menu and select the HDMI input that corresponds to the port you connected the NES console to. This will allow your TV to receive the signal from the NES.
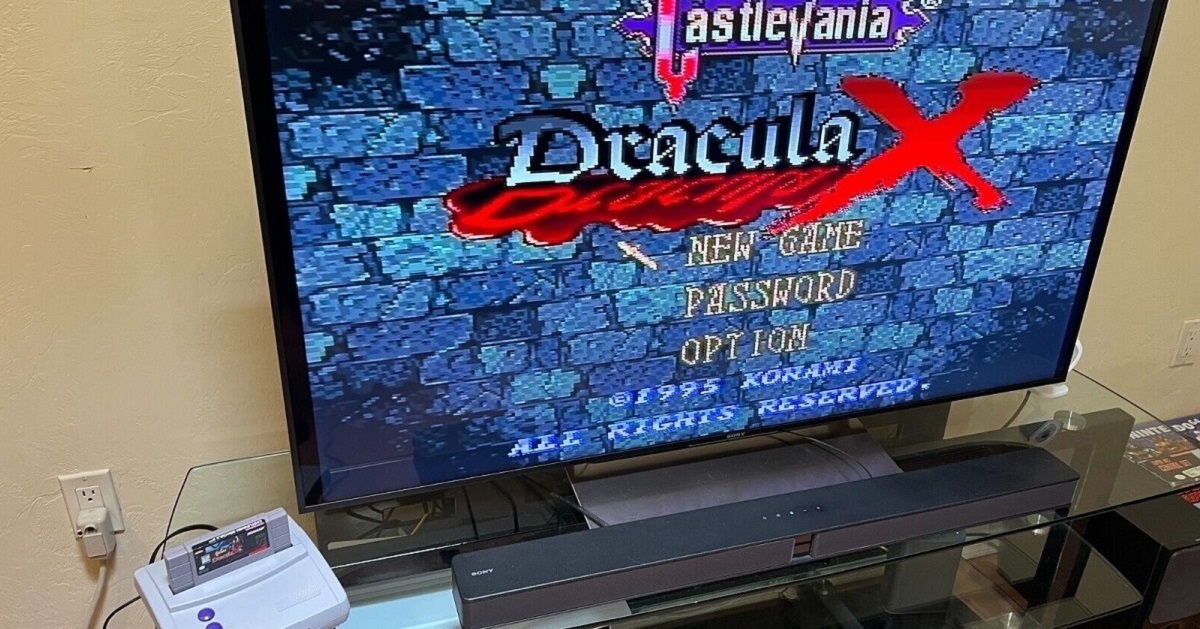
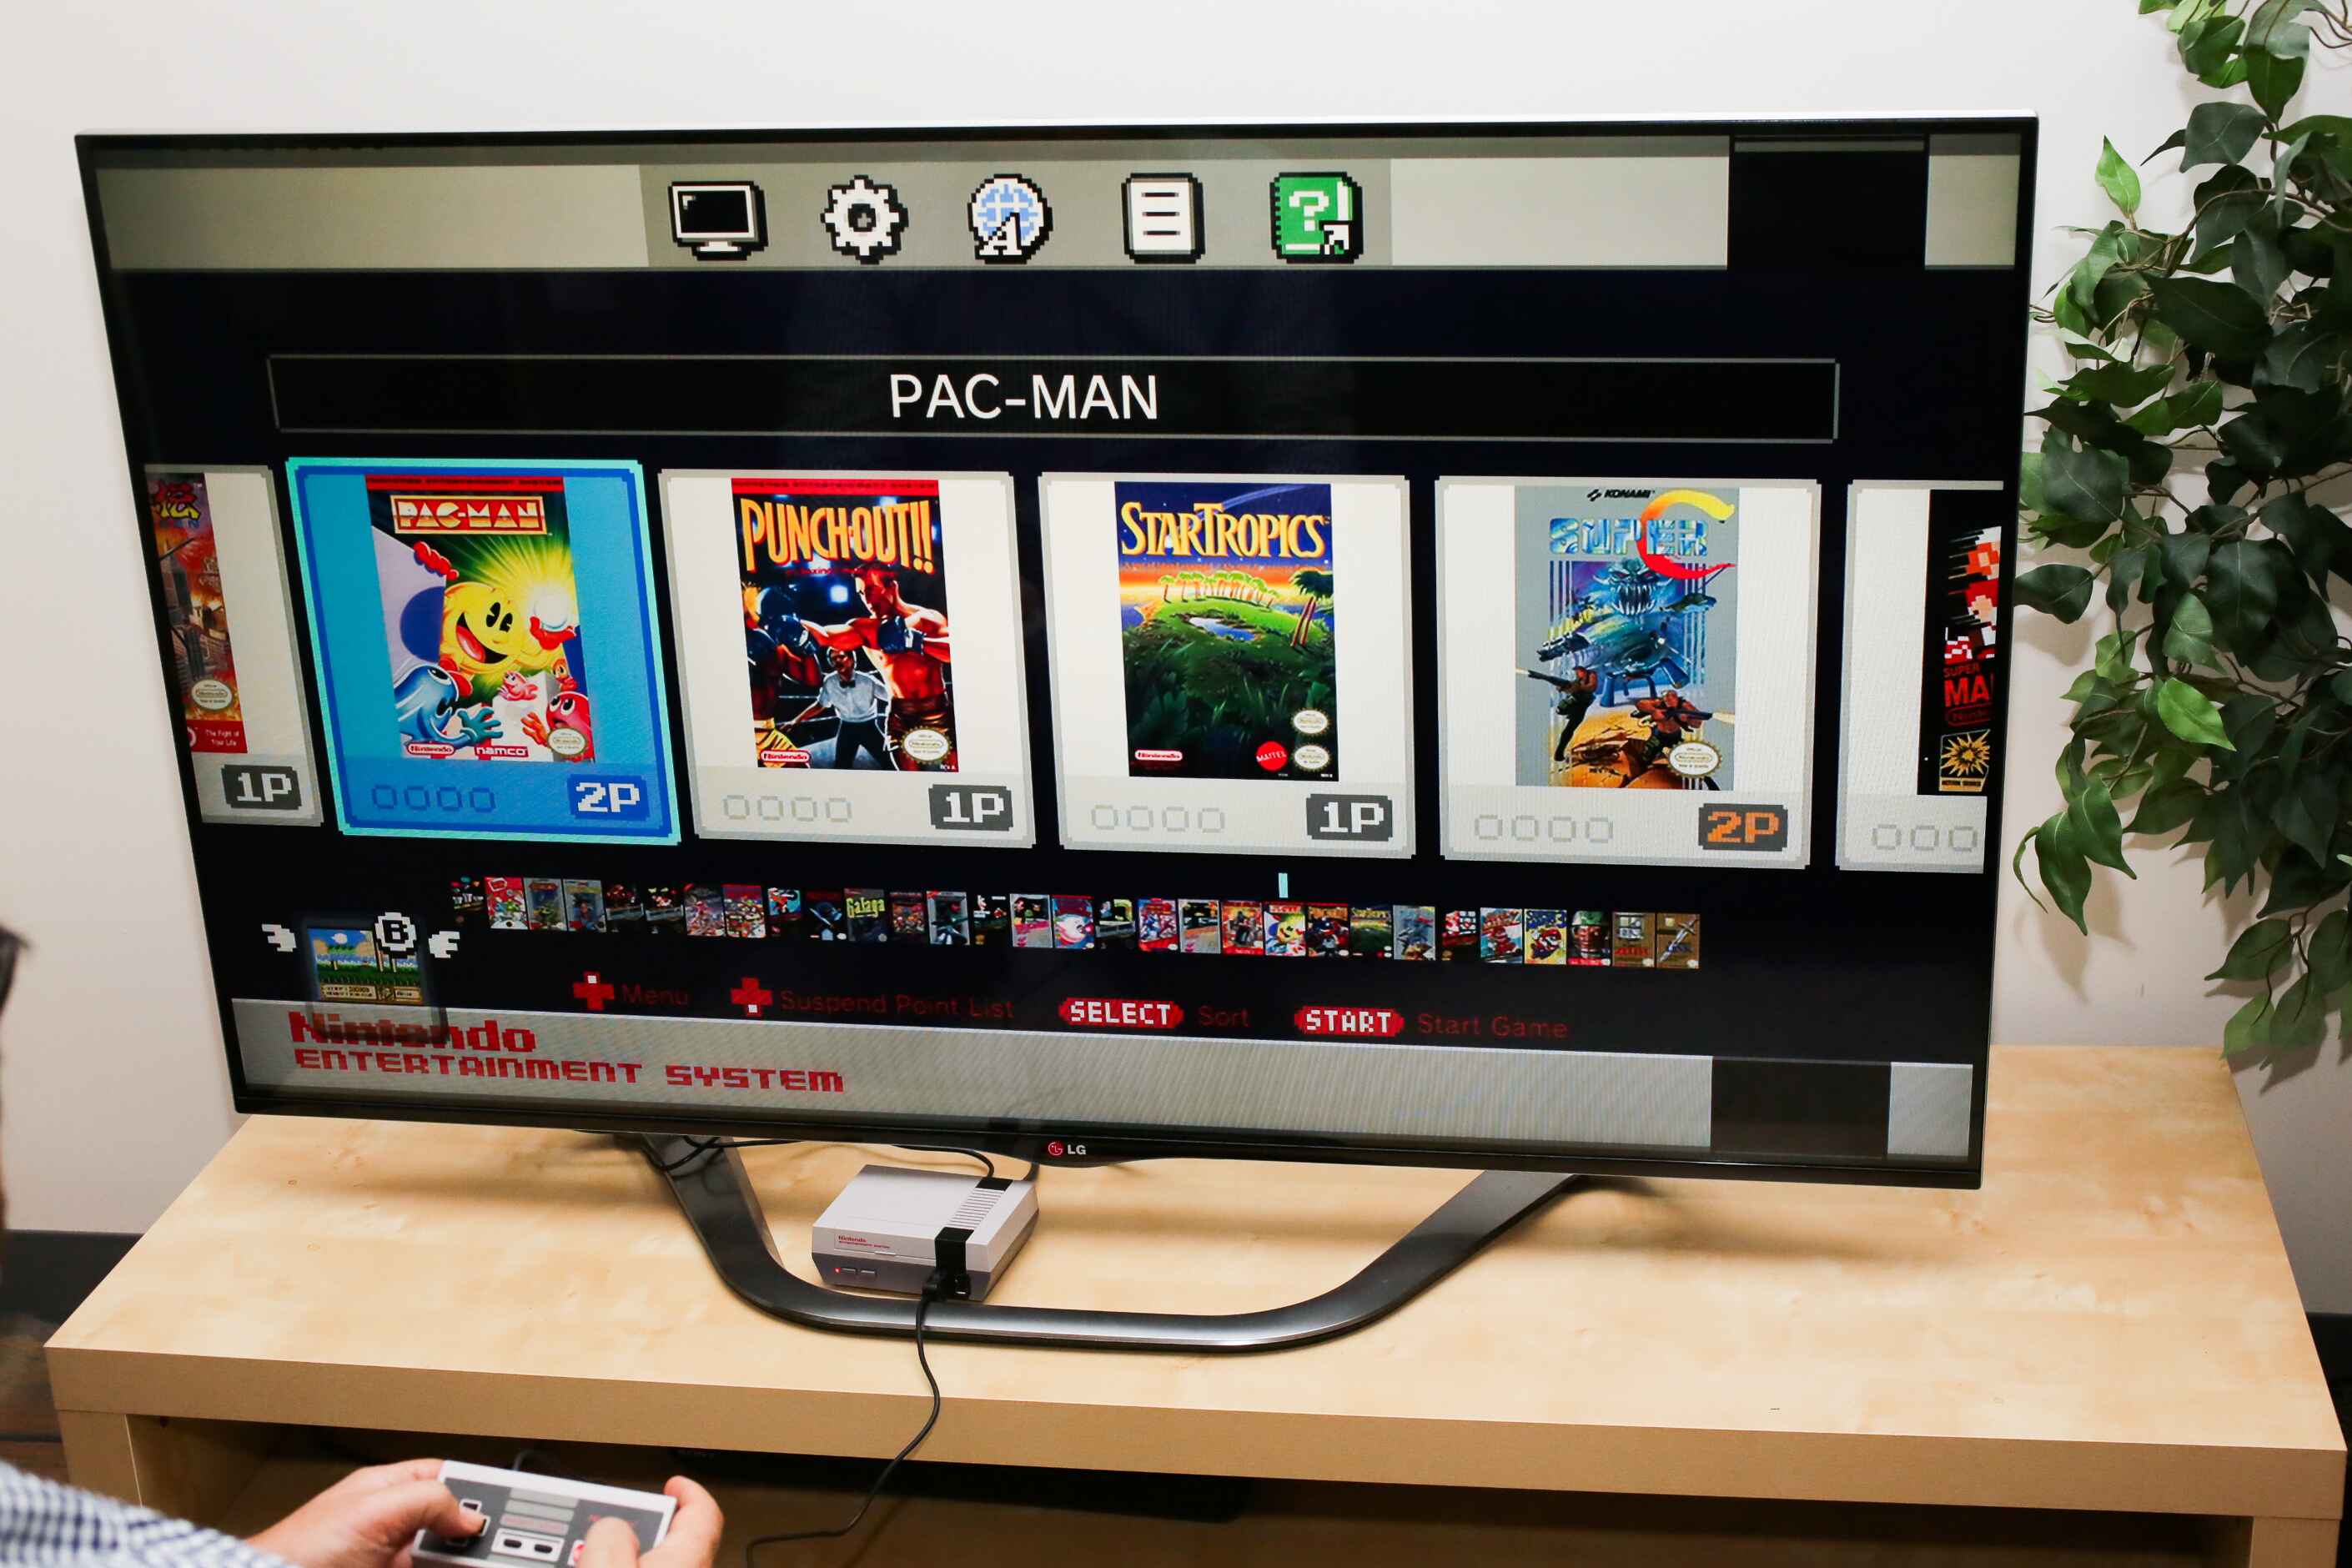
After following these steps, you should see the Nintendo NES startup screen or game menu on your smart TV. Congratulations! You’ve successfully connected your NES console to your smart TV.
If you’re not seeing the NES screen, double-check that all the cables are securely connected. Ensure that your TV is set to the correct input/source and that both the NES console and TV are powered on.
Remember that the process may vary slightly depending on your specific NES model and smart TV. If you encounter any difficulties, consult the instruction manuals for your NES console and smart TV for detailed guidance.
Now that your NES console is connected to your smart TV, it’s time to move on to the next step: adjusting the display settings to optimize your gaming experience.
Step 3: Adjust the Display Settings on Your Smart TV
Now that your Nintendo NES console is connected to your smart TV, it’s important to ensure that the display settings are optimized for the best gaming experience. Follow these steps to adjust the display settings:
- Access the settings menu on your smart TV using the remote control.
- Navigate to the display or picture settings. The exact location and naming of this option may vary depending on your TV brand and model.
- Look for options related to aspect ratio or screen resolution. For the NES, it’s recommended to set the aspect ratio to 4:3, as this matches the native resolution of NES games.
- Adjust the brightness, contrast, and color settings to your preference, taking into account the limitations and characteristics of NES graphics.
- Enable any game mode or low latency options that your TV may offer. This can help reduce input lag, providing a more responsive gaming experience.
It’s important to note that modern smart TVs are designed for high-definition content, which can sometimes result in stretching or distortion when displaying retro games. By adjusting the display settings, you can ensure that the NES games maintain their original aspect ratio and appearance, preserving the intended visual experience.
Experiment with different settings to find the one that suits your preference and provides the most authentic retro gaming experience.
If you’re unsure about specific options in your TV’s display settings, consult the user manual or online support resources provided by the manufacturer. They can provide detailed instructions and explanations of each setting, helping you make the best adjustments for your gaming setup.
Now that you’ve optimized the display settings on your smart TV, it’s time to move on to the final step: testing and troubleshooting to ensure everything is working correctly.
Step 4: Test and Troubleshoot
After connecting your Nintendo NES console to your smart TV and adjusting the display settings, it’s important to test the setup to ensure everything is working correctly. Follow these steps to test and troubleshoot:
- Select a NES game from your collection and insert it into the console.
- Power on the NES and wait for the game to load. You should see the game displayed on your smart TV.
- Test the controls to ensure they are responsive. Make sure the buttons and directional pad on your NES controller are functioning properly.
- Play the game for a few minutes to check for any issues with the audio or video. Look out for any distortion, flickering, or lag that may affect the gameplay experience.
- If you encounter any issues, start by double-checking the connections and cables. Ensure that all cables are firmly plugged in and that the NES console and smart TV are powered on.
- If you’re experiencing audio issues, make sure the audio cables are connected correctly and that the volume settings on both the TV and NES console are adjusted appropriately.
- If you notice any visual issues, such as distorted or stretched images, refer back to the display settings on your smart TV and adjust them accordingly to achieve the desired visuals.
- If troubleshooting steps do not resolve the issue, consult the user manuals for your NES console and smart TV or reach out to customer support for further assistance.
Remember, some NES games may have unique features or compatibility issues with certain TV models. If you encounter any game-specific issues, consult online forums or communities dedicated to retro gaming for possible solutions or workarounds.
Once you have tested and resolved any issues, you’re ready to fully enjoy the world of retro gaming on your smart TV. Dive into your favorite NES games, relive nostalgic moments, and embark on new gaming adventures.
Congratulations! You have successfully connected, adjusted, and tested your Nintendo NES console on your smart TV, rekindling the magic of classic gaming right in your living room.
Conclusion
Congratulations on successfully connecting your Nintendo NES console to your smart TV! By following the step-by-step guide in this article, you have unlocked the nostalgia of classic gaming and can now enjoy your favorite NES games on the big screen.
From gathering the necessary cables to adjusting the display settings to troubleshooting any issues, you have learned how to bring the magic of retro gaming into the modern era. Whether you’re reliving childhood memories or discovering the joy of NES games for the first time, the experience is sure to be exciting and memorable.
Remember, each NES console and smart TV setup may have slight variations, so it’s important to consult your specific device’s manuals or reach out to customer support if you encounter any challenges along the way.
Now that your NES console is connected to your smart TV, grab your controller and immerse yourself in the pixelated adventures of Super Mario Bros., The Legend of Zelda, or any other classic game that holds a special place in your heart.
We hope this guide has been helpful in assisting you with connecting your Nintendo NES console to your smart TV. Enjoy the journey down memory lane, and happy gaming!