Introduction
Welcome to the world of retro gaming! If you’re a fan of classic video games, then you’re in for a treat. In this article, we’ll show you how to use your Super Nintendo console on a smart TV, allowing you to relive the nostalgic gaming experiences of the past.
The Super Nintendo, also known as the SNES, was a revolutionary gaming console that brought joy to millions in the 90s. With its iconic design, memorable games, and innovative graphics, the SNES holds a special place in the hearts of gamers worldwide. And now, with the abundance of smart TVs available, you can easily connect your Super Nintendo to enjoy your favorite retro games on a modern screen.
In this guide, we’ll explore different options for connecting your Super Nintendo to a smart TV and provide step-by-step instructions to help you set up the console. We’ll also discuss key settings on your smart TV that can optimize your gaming experience, and troubleshoot common issues that you might encounter along the way.
Whether you’re a seasoned retro gamer or new to the world of Super Nintendo, this guide will ensure that you can seamlessly enjoy your beloved classic games on the big screen. So grab your controllers, find a comfy spot, and get ready to embark on a journey filled with nostalgia and excitement.
But before we dive into the details, let’s take a moment to appreciate the timeless charm and enduring appeal of Super Nintendo games. From the iconic Super Mario World to the action-packed Street Fighter II, the library of games on the SNES is brimming with unforgettable characters, immersive storylines, and gameplay mechanics that have stood the test of time.
What is Super Nintendo?
The Super Nintendo, also known as SNES, is a gaming console that was released by Nintendo in 1990. It is a 16-bit home video game system and the successor to the original Nintendo Entertainment System (NES). The SNES introduced advanced graphics and sound capabilities compared to its predecessor, allowing for more immersive gameplay experiences.
One of the standout features of the Super Nintendo is its extensive library of games. It boasts a vast array of titles across various genres, including platformers, role-playing games, action-adventures, and sports games. Some of the most iconic games on the SNES include Super Mario World, The Legend of Zelda: A Link to the Past, Super Metroid, and Final Fantasy VI.
The Super Nintendo also introduced the concept of Mode 7, a graphical effect that allowed for rotational scaling and perspective transformations. This technology added a new dimension to gameplay, providing players with dynamic and visually impressive experiences. It also featured a variety of peripherals, such as the Super Game Boy, which allowed players to play Game Boy games on the SNES, and the Super Scope, a light gun for shooting games.
The SNES achieved immense success during its lifespan, selling over 50 million units worldwide and cementing its place as one of the most popular gaming consoles of all time. Its impact on the gaming industry is still felt today, with many developers and players fondly remembering the memorable experiences and innovative gameplay the console provided.
Despite the advancements in technology over the past few decades, the Super Nintendo continues to captivate both longtime fans and new gamers alike. Its timeless classics and unique gameplay mechanics have stood the test of time, making it a beloved console for retro gaming enthusiasts.
In the next sections, we will explore different options to connect your Super Nintendo console to a smart TV, and guide you through the setup process to ensure you can enjoy these classic games on a modern screen.
Connecting Super Nintendo to Smart TV
If you’re eager to play your Super Nintendo games on a modern smart TV, you’ll need to connect your console to the television using the appropriate cables or adapters. Luckily, there are several options available, depending on the inputs and outputs supported by your smart TV.
Option 1: Using RCA Cables
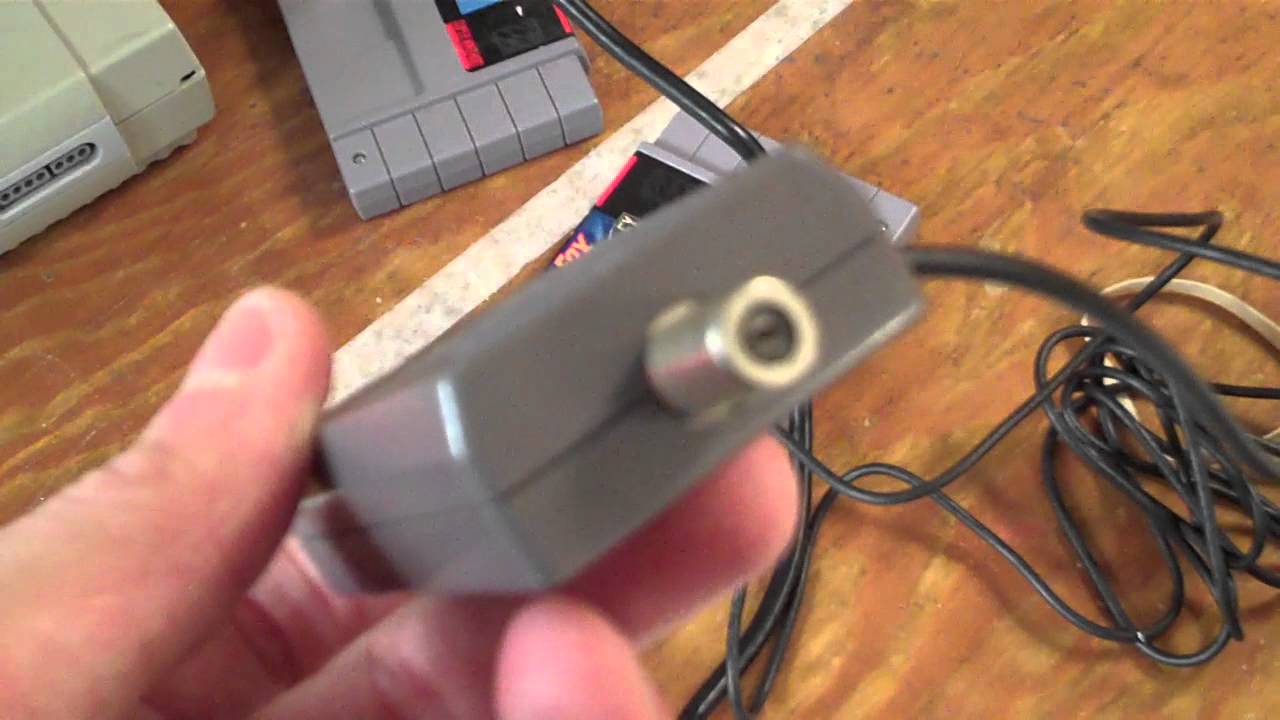
One common method is to use RCA cables, also known as composite or AV cables. These cables have three color-coded plugs: yellow for video and red and white for audio. Most Super Nintendo consoles come with these cables included. To connect your Super Nintendo to your smart TV using RCA cables, follow these steps:
- Locate the RCA ports on the back of your smart TV. They are usually color-coded, matching the colors of the RCA cables.
- Plug the corresponding color-coded plugs of the RCA cables into the RCA ports on your smart TV.
- Connect the other end of the RCA cables to the RCA ports on your Super Nintendo console. The ports are located on the back of the console.
- Ensure that the TV input is set to the correct source (e.g., AV or Composite) to display the Super Nintendo’s video and audio output.
Option 2: Using an HDMI Adapter
If your smart TV has an HDMI input, you can use an HDMI adapter to connect your Super Nintendo. This method provides a higher-quality video and audio signal compared to RCA cables. Here’s how to connect your Super Nintendo using an HDMI adapter:
- Purchase an HDMI adapter that is compatible with the Super Nintendo console.
- Connect the HDMI adapter to the video output port on your Super Nintendo. This port is located on the back of the console.
- Insert the other end of the HDMI adapter into an available HDMI input on your smart TV.
- Set the TV input to the corresponding HDMI input to display the Super Nintendo’s output.
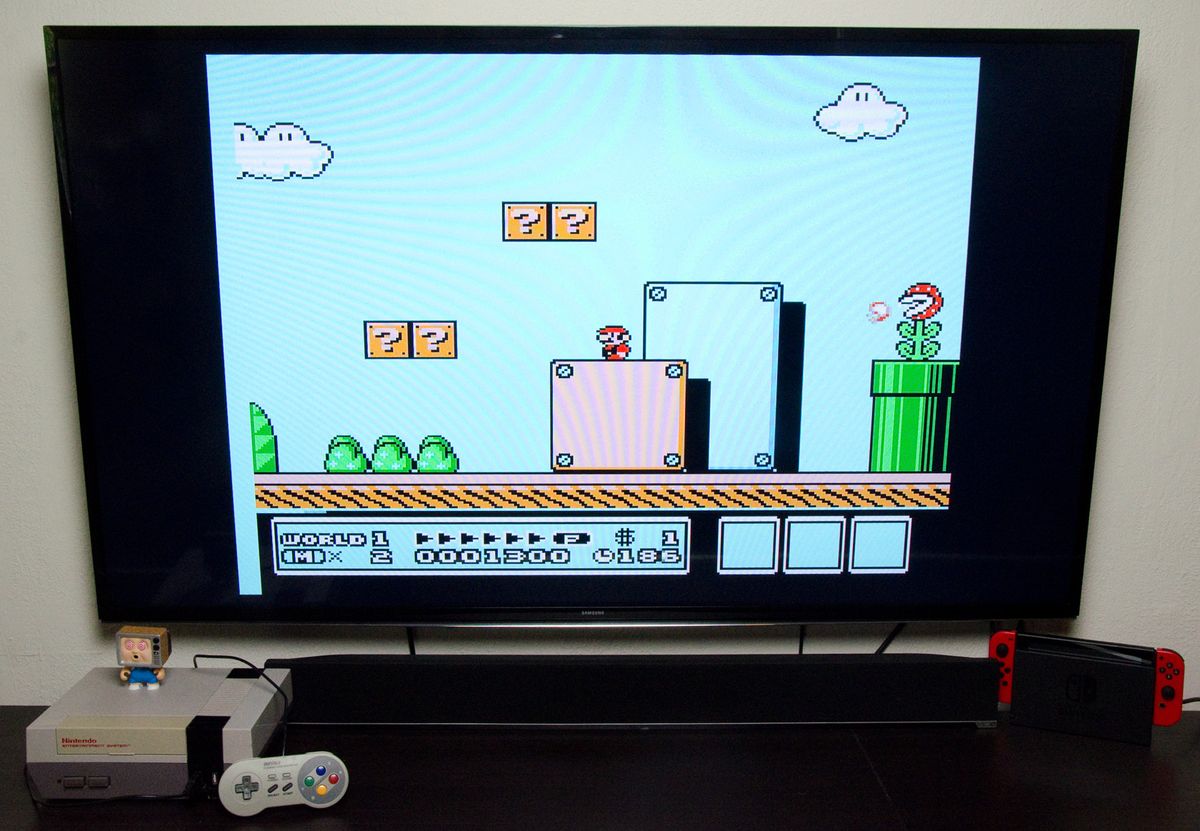
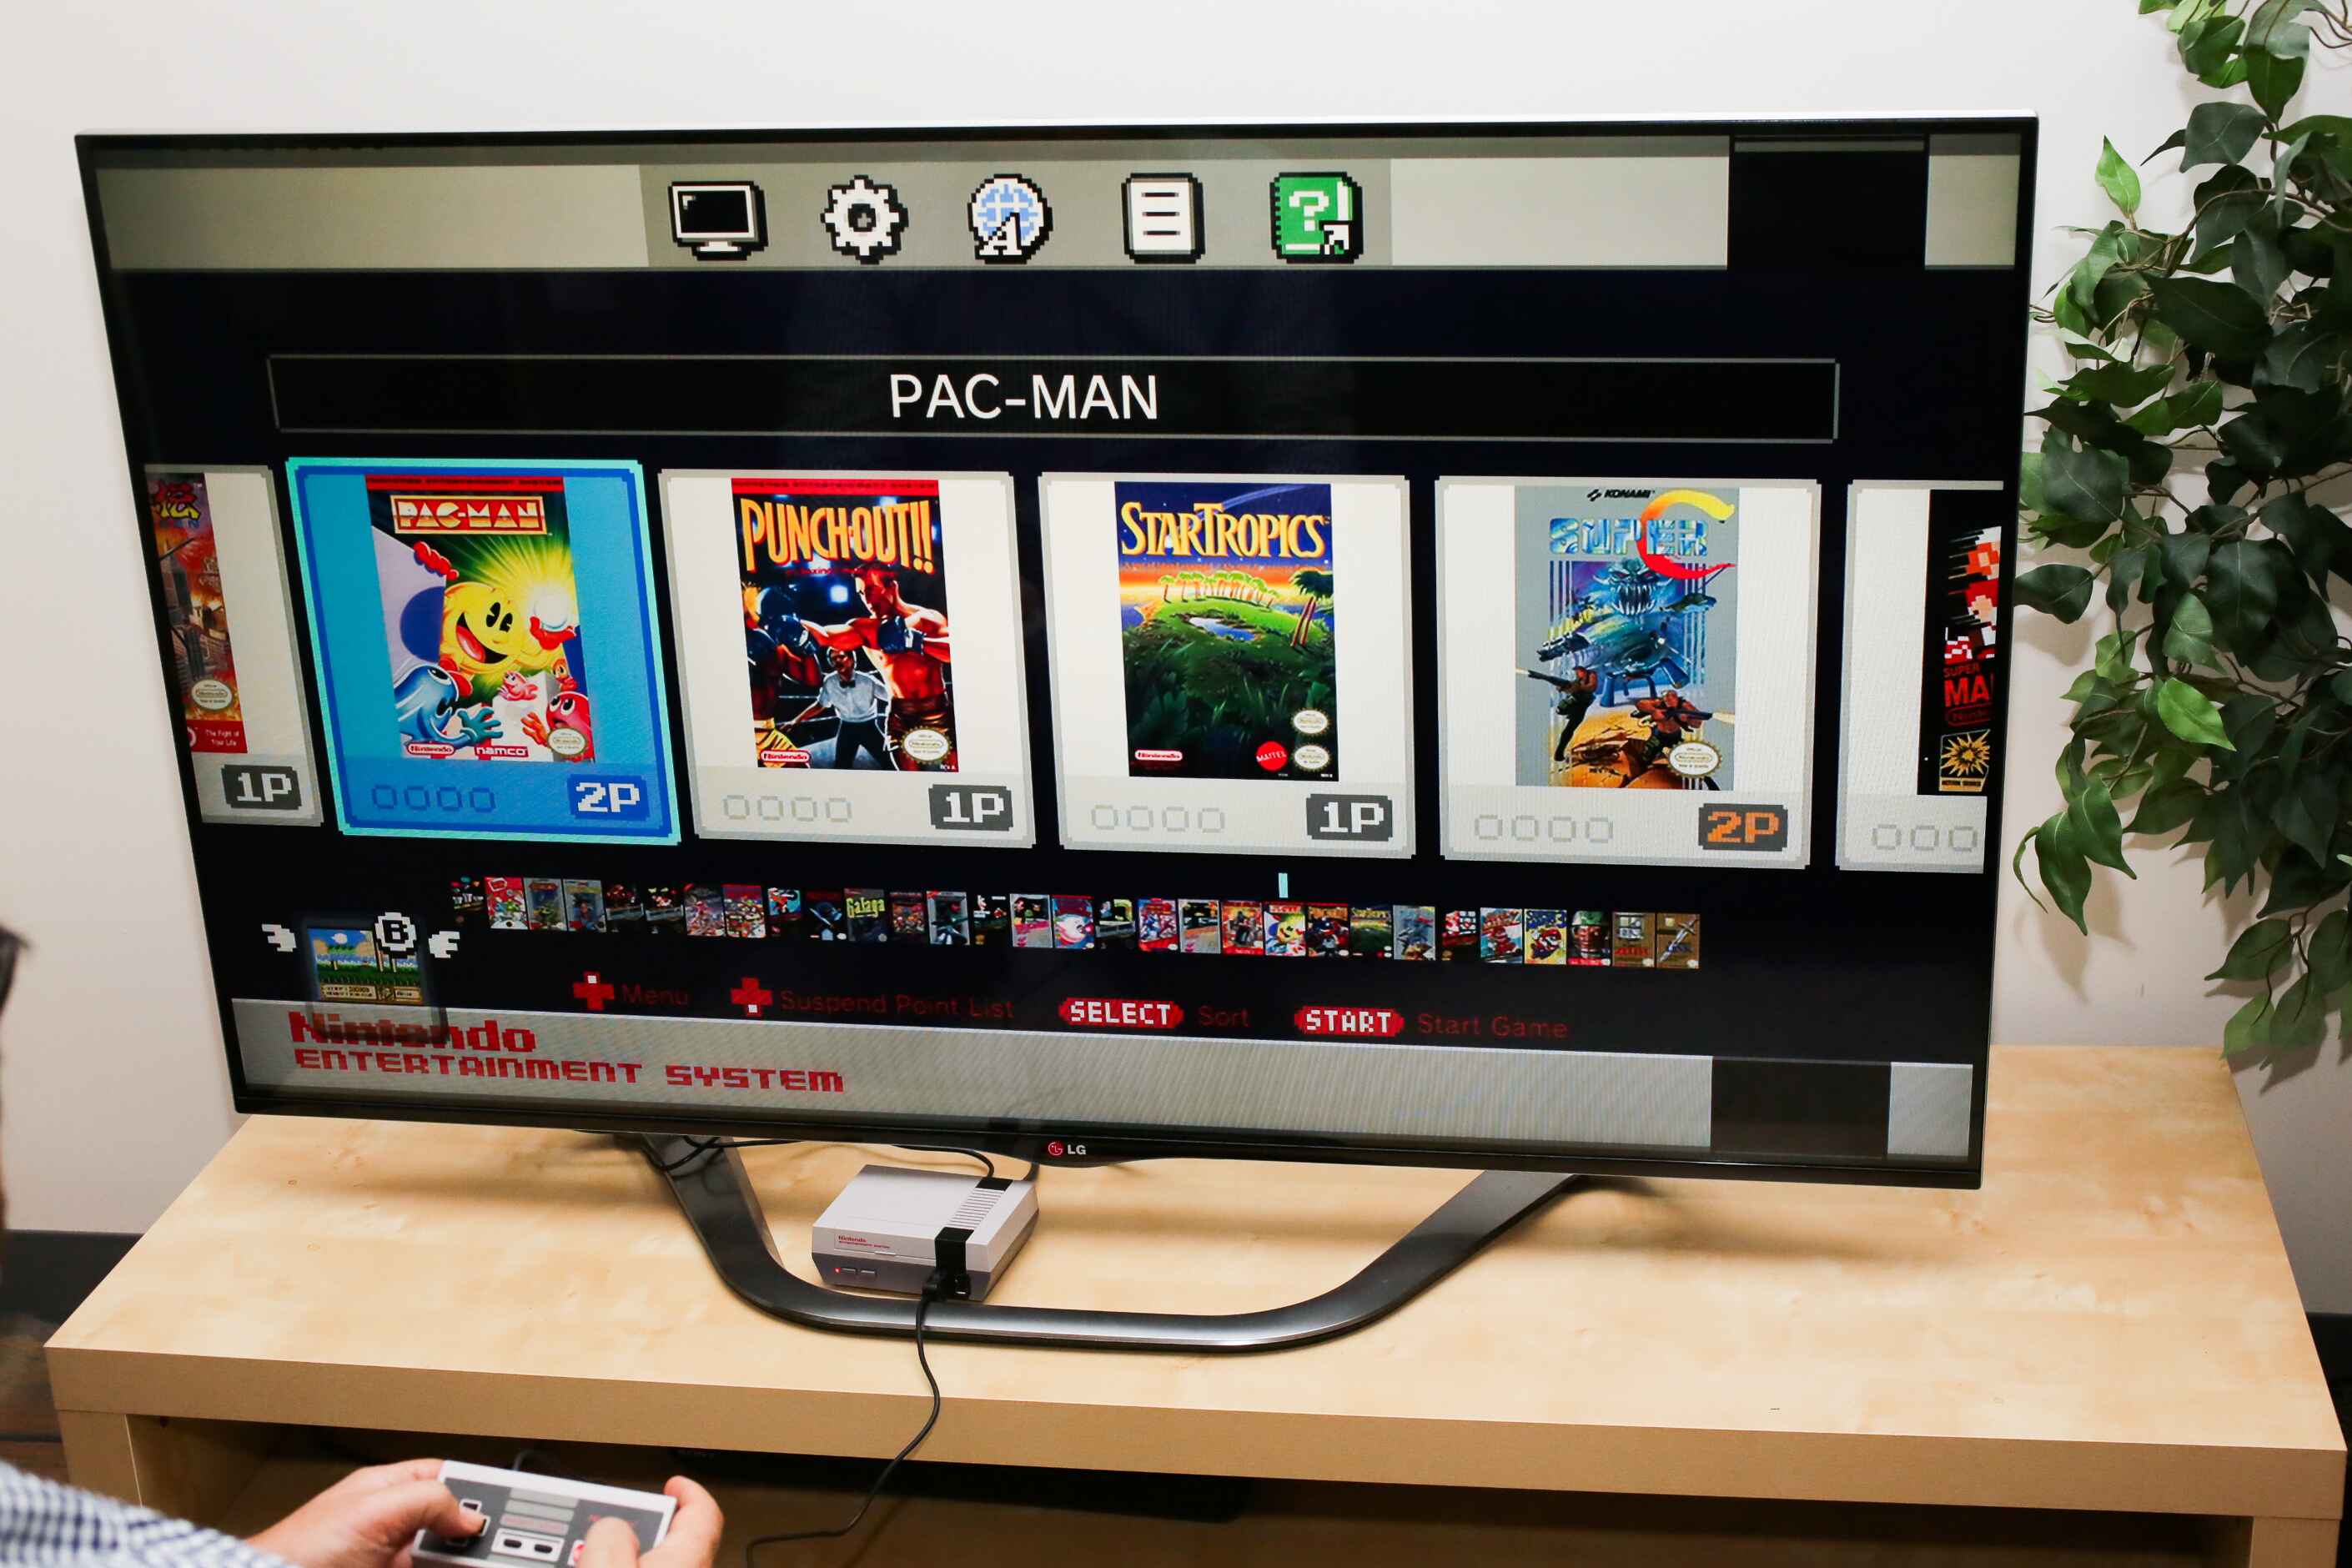
Option 3: Using a Retro Console
If you prefer a plug-and-play solution, you can consider investing in a retro console that supports Super Nintendo games. These consoles often come with built-in HDMI outputs, allowing for easy connection to your smart TV. Examples include the Super NES Classic Edition or the RetroPie system.
By choosing one of these connection methods, you can now enjoy your favorite Super Nintendo games on a larger screen with enhanced audiovisual quality. In the next section, we will guide you through the process of setting up your Super Nintendo console for optimal gaming on a smart TV.
Option 1: Using RCA Cables
If your smart TV has RCA input ports, using RCA cables to connect your Super Nintendo console is a straightforward and cost-effective method. Follow these steps to set up your Super Nintendo using RCA cables:
- Locate the RCA input ports on the back or side of your smart TV. These ports are usually color-coded to match yellow (video) and red/white (audio) RCA cables.
- Connect the yellow end of the RCA cable to the yellow video input port on your smart TV. Insert the red and white audio cables into their corresponding audio input ports.
- On the back of your Super Nintendo console, you’ll find the RCA output ports. Plug the yellow RCA cable into the yellow video output port, and the red and white cables into their respective audio output ports.
- Switch on your TV and set it to the correct input source that corresponds to the RCA connection. This can be labeled as “AV,” “Composite,” or similar.
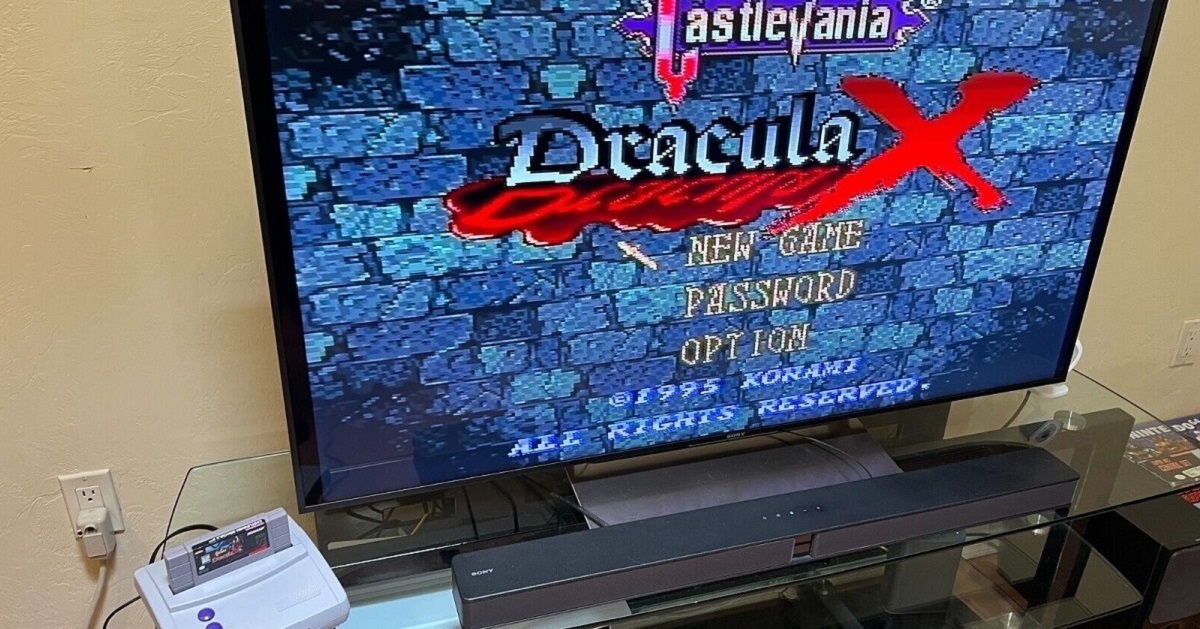
- Now, power on your Super Nintendo console. You should see the familiar startup screen or game menu displayed on your smart TV.
- Adjust the settings on your TV, such as brightness, contrast, and color, as desired for the best gaming experience.
It’s important to note that while RCA cables are a simple and accessible option, they may not provide the highest video and audio quality compared to digital connections like HDMI. However, if your smart TV lacks HDMI inputs or you prefer a more straightforward setup, RCA cables are a reliable choice for connecting your Super Nintendo.
With your Super Nintendo now connected to your smart TV using RCA cables, you’re ready to dive into the world of retro gaming. In the next section, we’ll explore another option for connecting your Super Nintendo to a smart TV using an HDMI adapter, which provides improved video and audio performance.
Option 2: Using an HDMI Adapter
If your smart TV has an HDMI input, using an HDMI adapter is a great way to connect your Super Nintendo console and enjoy high-quality video and audio. Follow these steps to set up your Super Nintendo using an HDMI adapter:
- Purchase an HDMI adapter that is compatible with the Super Nintendo console. There are various options available, including adapters specifically designed for Super Nintendo or generic HDMI converters.
- Locate the video output port on your Super Nintendo console. This port is usually found on the back of the console and might be labeled “AV OUT” or “VIDEO OUT.”
- Connect one end of the HDMI adapter to the video output port on your Super Nintendo.
- Connect the other end of the HDMI adapter to an available HDMI input port on your smart TV.
- Turn on your Super Nintendo console and switch on your smart TV.
- Using your TV’s remote or menu options, navigate to the input/source selection and choose the HDMI input that corresponds to the Super Nintendo connection.
- You should now see the Super Nintendo game screen displayed on your smart TV. If not, try restarting the console and TV.
- Adjust the TV settings, such as picture mode, aspect ratio, and sound, to optimize the gaming experience.
Using an HDMI adapter provides a significant upgrade in video and audio quality compared to RCA cables. It allows for higher resolution and sharper visuals, as well as digital audio transmission. This setup will help you fully immerse yourself in the retro gaming nostalgia of the Super Nintendo console.
Note that the availability and compatibility of HDMI adapters for Super Nintendo may vary, so be sure to research and choose an adapter that is suitable for your specific console model and smart TV.
With your Super Nintendo now connected to your smart TV via HDMI, you’re ready to rediscover the joy of classic gaming. In the next section, we’ll explore an alternative option using a retro console that simplifies the connection process even further.
Option 3: Using a Retro Console
If you prefer a plug-and-play solution for connecting your Super Nintendo to a smart TV, using a retro console is a convenient and user-friendly option. Retro consoles are specially designed systems that come preloaded with multiple classic games, including Super Nintendo titles. Many of these consoles also feature built-in HDMI outputs for easy connection to your smart TV.
Here’s how you can set up your Super Nintendo using a retro console:
- Research and choose a retro console that supports Super Nintendo games. Popular options include the Super NES Classic Edition and the RetroPie system, among others.
- Purchase the retro console and make sure it includes the necessary cables and accessories.
- Connect the retro console to your smart TV using the included HDMI cable. Insert one end of the HDMI cable into the HDMI output port on the retro console, and the other end into an available HDMI input port on your smart TV.
- Turn on your smart TV and switch it to the corresponding HDMI input source.
- Power on the retro console and follow the on-screen instructions to set it up.
- Once the retro console is set up, you can browse and select Super Nintendo games from the console’s menu. These games will be displayed on your smart TV screen.
- Use the controller provided with the retro console to play your favorite Super Nintendo games.
- Adjust the display and audio settings on your smart TV as desired for the best gaming experience.
Using a retro console offers the advantage of a simplified setup process and a curated collection of games, saving you the hassle of finding and connecting individual cartridges. Additionally, retro consoles often come with features such as save states and filters that enhance the gaming experience.
Before purchasing a retro console, make sure to research the available options and read reviews to ensure compatibility and quality. Each retro console may have its own unique features and game library, so choose one that aligns with your preferences and gaming nostalgia.
With your Super Nintendo connected through a retro console, you can effortlessly dive into the world of classic gaming on your smart TV. In the next sections, we’ll explore how to set up the Super Nintendo console and configure your smart TV for optimal gaming.
Setting up the Super Nintendo console
Now that you have connected your Super Nintendo console to your smart TV, it’s time to set up the console itself to ensure smooth and enjoyable gameplay. Follow these steps to get your Super Nintendo up and running:
- Place your Super Nintendo console in a well-ventilated area near your smart TV. Make sure there is sufficient space around the console for ventilation and easy access to the cartridge slot and controller ports.
- Inspect the power adapter and ensure that it is compatible with your region’s voltage requirements. Connect the power adapter to both the console and a power outlet.
- Grab your Super Nintendo controllers and connect them to the controller ports located on the front of the console. The Super Nintendo typically supports up to two controllers for multiplayer gaming.
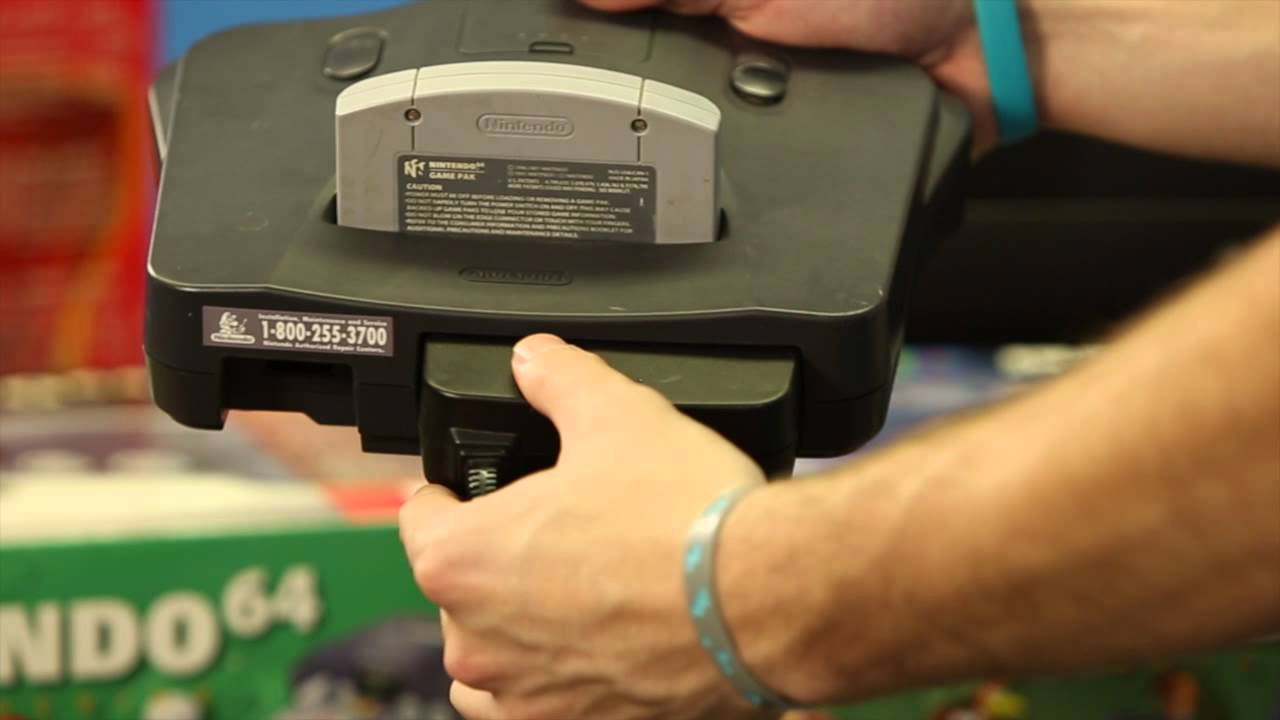
- Locate your Super Nintendo game cartridges and insert them into the cartridge slot on the console. Press firmly but gently until the cartridge clicks into place.
- Power on your Super Nintendo console by pressing the power button. The console should now display the game menu or the startup screen.
- If you see a blank screen or encounter any issues, ensure that the game cartridge is inserted properly and that the TV input is set to the correct source for your Super Nintendo connection.
- With the console powered on, use the controllers to navigate through the game menu and select the desired game to start playing.
- Adjust the in-game settings, such as sound volume and controller configuration, according to your preferences.
It’s important to note that some Super Nintendo consoles may require cleaning or maintenance, especially if they have been stored for an extended period. If you encounter any technical difficulties, consult the console’s manual or seek assistance from reliable sources to troubleshoot and resolve the issues.
Now that your Super Nintendo console is set up and ready to go, let’s move on to configuring your smart TV to optimize the gaming experience. In the next section, we’ll explore various settings on your smart TV that can enhance your Super Nintendo gameplay.
Configuring the Smart TV for Super Nintendo
To ensure the best possible gaming experience with your Super Nintendo console on your smart TV, it’s essential to configure your TV settings accordingly. By adjusting these settings, you can enhance the graphics, reduce input lag, and optimize the aspect ratio for a more immersive gaming experience. Here are a few options to consider:
Option 1: Adjusting Display Settings
Access your smart TV’s display settings menu and make the following adjustments:
- Brightness and Contrast: Find the optimal balance between brightness and contrast that provides clear visuals without losing detail.
- Sharpness: Adjust the sharpness setting to your preference, ensuring that the image is crisp and well-defined.
- Color Temperature: Experiment with different color temperature presets (e.g., Warm, Cool) to achieve the desired color balance.
Option 2: Using Game Mode
Many modern smart TVs come with a “Game Mode” option specifically designed for gaming. Enabling this mode reduces input lag by disabling various image processing features. Access the TV’s menu and look for the Game Mode option. Activate it whenever you’re playing Super Nintendo games, and you’ll notice a more responsive gaming experience.
Option 3: Enabling Aspect Ratio Control
The Super Nintendo games were designed for a 4:3 aspect ratio. However, modern TVs typically have widescreen 16:9 displays. To avoid stretching or distorting the gameplay image, locate your TV’s aspect ratio or zoom settings and choose the appropriate option. Selecting a 4:3 or “Original” aspect ratio will preserve the intended proportions of the Super Nintendo games.
Experiment with these settings and find the configuration that suits your preferences and provides a visually pleasing gaming experience. Remember, the optimal settings may vary depending on your specific smart TV model.
If you encounter any issues or have difficulty locating specific settings on your smart TV, consult the TV’s user manual or refer to the manufacturer’s website for guidance.
With your Super Nintendo console properly set up and your smart TV configured for optimal gaming, you’re now ready to immerse yourself in the world of retro gaming. In the next section, we’ll address common troubleshooting tips to help you overcome any potential issues you might encounter during your gaming sessions.
Option 1: Adjusting Display Settings
When connecting your Super Nintendo console to a smart TV, it’s important to fine-tune the display settings to optimize the visual quality and enhance your gaming experience. By making adjustments to brightness, contrast, sharpness, and color temperature, you can achieve a more vibrant and immersive gameplay environment. Here are some tips for adjusting the display settings on your smart TV:
- Brightness and Contrast: These settings control the overall luminosity and distinction between light and dark areas of the screen. Experiment with different levels to find a balance that ensures clear visuals without losing important details. Increase the brightness if the image appears too dim, and adjust the contrast to achieve a suitable level of depth and clarity.
- Sharpness: The sharpness setting determines the crispness and clarity of the image. Be cautious not to set it too high, as it may introduce artificial enhancements and create unwanted artifacts. Find the optimal sharpness level that enhances image details without causing any distortion or noise.
- Color Temperature: Color temperature affects the overall warmth or coolness of the image. Adjusting this setting enables you to fine-tune the color balance to your preference. Experiment with different presets, such as Warm, Cool, or Neutral, to find the color temperature that produces a visually pleasing and natural-looking display.
Keep in mind that the ideal settings may vary depending on your specific smart TV model and personal preferences. It may be worthwhile to consult the user manual or the TV manufacturer’s website for specific guidance on adjusting the display settings for optimal gaming performance.
Once you have adjusted the display settings to your liking, be sure to test them while playing Super Nintendo games. Assess whether the visuals appear vibrant, detailed, and well-balanced. If necessary, you can always fine-tune the settings further until you achieve an optimal display that enhances your gaming enjoyment.
In the next sections, we will explore additional options for optimizing your Super Nintendo gaming experience on a smart TV, including using Game Mode and enabling the appropriate aspect ratio control.
Option 2: Using Game Mode
When playing Super Nintendo games on your smart TV, one effective way to enhance your gaming experience is by utilizing the “Game Mode” feature. Game Mode is a TV setting specifically designed for gaming that reduces input lag and optimizes the display for smoother and more responsive gameplay. Here’s how to enable Game Mode on your smart TV:
- Access the settings menu on your smart TV. The exact location and appearance of the settings menu may vary depending on your TV’s manufacturer and model.
- Navigate to the picture or display settings section.
- Look for the option labeled “Game Mode” or something similar. It may be located within an advanced picture settings submenu.
- Enable Game Mode by switching the toggle or selecting the “On” option.
Once Game Mode is activated, your TV will disable certain image processing features that can introduce additional input lag. This optimization results in a more responsive gameplay experience, especially for games that require precise timing or quick reflexes, like Super Nintendo games.
It’s important to note that enabling Game Mode may slightly affect the visual quality or alter the picture settings. This is because Game Mode prioritizes faster response times over image enhancements. However, the impact on visuals is usually minimal, and the improved responsiveness greatly enhances the overall gaming experience.
When playing Super Nintendo games with Game Mode on, you should notice a reduction in input lag, making your controls feel more immediate and accurate. The decreased latency helps to maintain the synchronization between your controller and the on-screen action, resulting in a smoother and more immersive gaming session.
If you find that Game Mode adversely affects the visual quality or introduces undesired artifacts, you can experiment with adjusting other picture settings, such as brightness, contrast, or sharpness, to achieve a balance between reduced input lag and acceptable visual performance.
In the next section, we’ll explore another option for optimizing the display of Super Nintendo games on your smart TV by enabling the appropriate aspect ratio control.
Option 3: Enabling Aspect Ratio Control
To ensure that Super Nintendo games display correctly on your smart TV, it’s important to enable the appropriate aspect ratio control. Super Nintendo games were designed for a 4:3 aspect ratio, while modern TVs typically have wider 16:9 displays. Without adjusting the aspect ratio, the games may appear stretched or distorted. Here’s how you can enable aspect ratio control on your smart TV:
- Access the TV’s settings menu. The exact location and appearance may vary depending on your TV’s manufacturer and model.
- Navigate to the picture or display settings section.
- Look for an option related to aspect ratio or screen format. This may be labeled as “Screen Mode,” “Picture Size,” or “Aspect Ratio.”
- Select the aspect ratio that preserves the original 4:3 dimensions. This option is typically labeled as “4:3,” “Original,” or “Standard.”
Enabling the correct aspect ratio ensures that Super Nintendo games are displayed without any stretching or distortion, maintaining their intended proportions. This allows you to experience the games as they were originally designed, enhancing the overall retro gaming atmosphere.
While displaying games in their original aspect ratio is ideal, you may encounter black bars on the sides of the screen. These are normal and necessary to maintain the correct proportions. Alternatively, some smart TVs offer options to stretch or zoom the image to fill the entire screen. However, be aware that these settings may result in a loss of visual fidelity and a deviation from the original game experience.
It’s worth noting that some Super Nintendo games support different aspect ratios, such as widescreen modes for certain titles. In such cases, you may have the option to choose between different aspect ratios within the game settings, allowing you to customize the display to your preference.
By enabling the appropriate aspect ratio control on your smart TV, you can ensure that Super Nintendo games are displayed as intended, preserving their nostalgic charm and authenticity. In the next section, we will discuss common troubleshooting steps to help resolve any potential issues you may encounter while setting up or playing Super Nintendo games on your smart TV.
Troubleshooting Common Issues
While setting up and playing Super Nintendo games on a smart TV, you may encounter some common issues. Here are a few troubleshooting steps to help you resolve these problems:
Issue 1: No video or audio signal:
- Check that the cables are securely connected to both the Super Nintendo console and the smart TV.
- Ensure that the TV input is set to the correct source (AV, Composite, HDMI) for your Super Nintendo connection.
- If using an HDMI adapter, verify that it is compatible with your Super Nintendo model and that it is properly connected.
- Try using different cables or adapters to rule out any potential connectivity issues.
Issue 2: Distorted or stretched display:
- Make sure that your smart TV is set to the correct aspect ratio (4:3) or the original aspect ratio of the Super Nintendo games you’re playing.
- Disable any stretch or zoom features on your TV that may be distorting the display.
- Consult the game’s settings menu to see if there are in-game options for adjusting the display or aspect ratio.
Issue 3: Input lag or controller responsiveness:
- Ensure that your TV is in Game Mode or a similar mode specifically designed for gaming. This can help reduce input lag and improve controller responsiveness.
- Adjust the TV’s picture settings, especially brightness, contrast, and sharpness, to avoid any processing delays that may impact controller input.
- Check your controller’s connection to the Super Nintendo console and ensure that it is functioning correctly.
Issue 4: Audio problems:
- Ensure that the audio cables are securely connected and that they are inserted into the correct audio input/output ports on both the Super Nintendo console and the smart TV.
- Check your TV’s audio settings and make sure they are correctly configured for your Super Nintendo connection.
- If using RCA cables, ensure that the red and white audio cables are plugged into the corresponding audio input/output ports.
If you have tried these troubleshooting steps and are still experiencing issues, consult the user manual for your Super Nintendo console, seek assistance from your TV manufacturer’s customer support, or reach out to online forums and communities dedicated to retro gaming. These resources can provide further insight and specific solutions to address the problems you may be facing.
Remember, troubleshooting can involve trial and error, so don’t get discouraged. With patience and persistence, you will be able to resolve most issues and enjoy your Super Nintendo games on your smart TV with ease.
Conclusion
Connecting your Super Nintendo console to a smart TV allows you to relive the magic of classic gaming on a modern screen. Whether you choose to use RCA cables, an HDMI adapter, or a retro console, the process of setting up and configuring your Super Nintendo for optimal gameplay is relatively straightforward.
By adjusting the display settings, enabling Game Mode, and ensuring the correct aspect ratio control, you can enhance the visuals, reduce input lag, and maintain the authenticity of Super Nintendo games. Troubleshooting common issues, such as video or audio signal problems, distorted displays, input lag, or audio glitches, can be addressed by following the recommended troubleshooting steps and seeking help from online resources or support channels when needed.
Remember, the Super Nintendo console and its library of games hold a special place in gaming history, and playing them on a smart TV allows for a nostalgic and enjoyable experience. Take the time to explore the vast array of classic games and immerse yourself in the captivating worlds they offer.
Whether you’re a long-time fan of the Super Nintendo or discovering the joy of retro gaming for the first time, connecting your console to a smart TV opens up a world of endless nostalgia and fun. So get ready to grab your controllers, power on your Super Nintendo, and embark on an unforgettable journey back to the golden age of gaming.