Introduction
Welcome to the world of retro gaming! If you’re a fan of classic video games, you may be excited to connect your Nintendo 64 (N64) console to your smart TV. The Nintendo 64 was a groundbreaking gaming system that provided joy and hours of entertainment to countless gamers. Whether you’re a nostalgic gamer or a new fan discovering the joys of retro gaming, connecting your N64 to a smart TV will allow you to relive those cherished gaming memories.
With the advancements in technology, smart TVs have become the norm, offering a range of features and high-quality displays. However, since the Nintendo 64 was released in the late 1990s, it uses older analog AV connections, which may not be compatible with modern smart TVs right out of the box. But don’t fret! In this guide, we’ll walk you through the steps to connecting your Nintendo 64 to a smart TV, so you can jump back into the world of classic gaming.
Before we dive into the process, there are a few things you need to keep in mind. Firstly, make sure you have all the necessary equipment. You’ll need a Nintendo 64 console, a smart TV, AV cables, and a power adapter. If you don’t have these items, you can easily find them online or at gaming stores. Secondly, it’s important to check the compatibility of your smart TV. While most modern smart TVs will have AV inputs, some newer models may not. It’s vital to ensure your TV has the necessary connections to hook up your Nintendo 64.
Once you have everything you need, you’re ready to start connecting your Nintendo 64 to a smart TV. In the following steps, we’ll guide you through the process, from connecting the console to adjusting the TV settings. So, grab your controller, dust off those game cartridges, and let’s get started!
Step 1: Gather the necessary equipment
Before you can connect your Nintendo 64 to your smart TV, you’ll need to gather a few essential pieces of equipment. Here’s a list of items you’ll need:
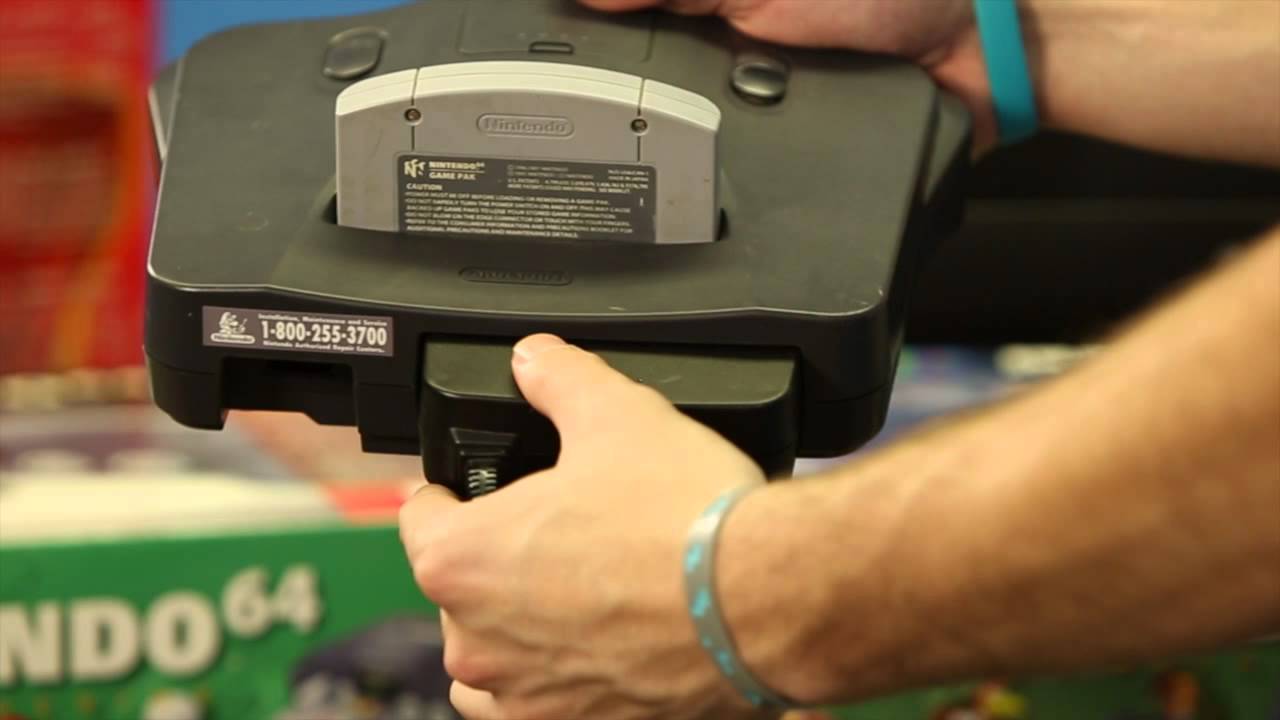
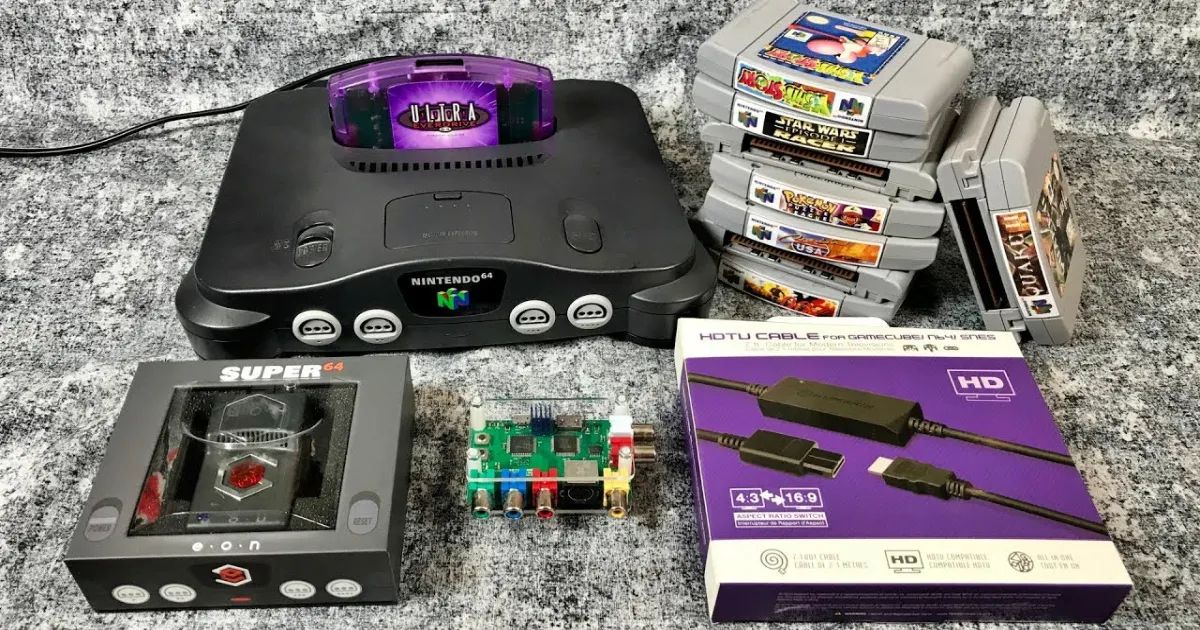
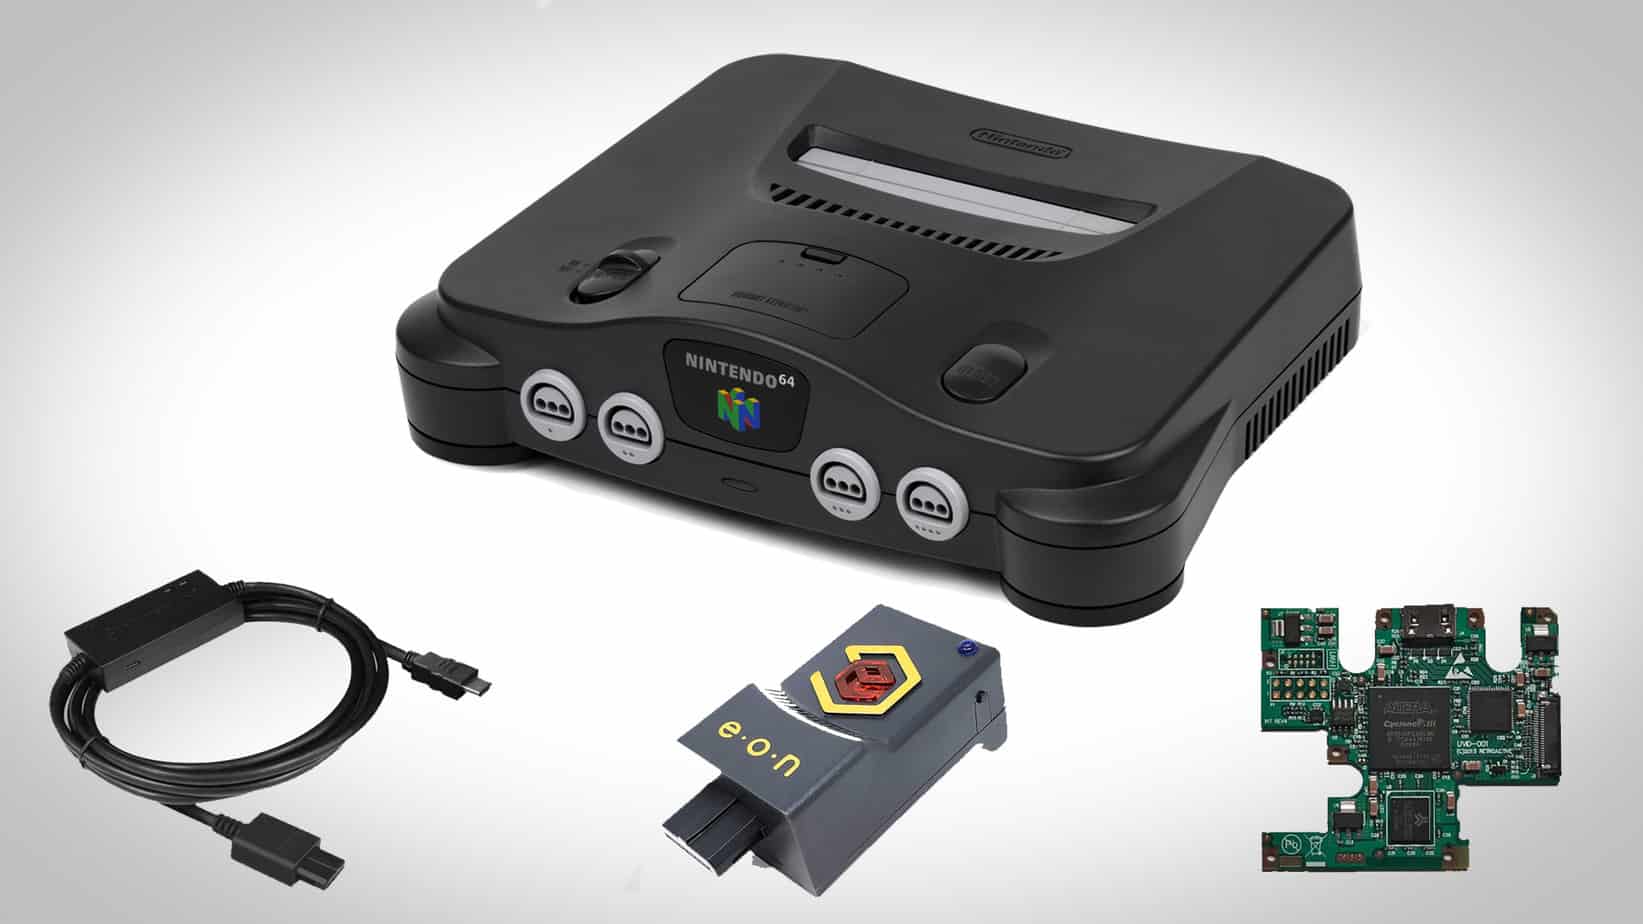
- Nintendo 64 console: This is the heart of your gaming experience. Make sure you have a working Nintendo 64 console.
- Smart TV: You’ll need a smart TV with AV inputs available. Most smart TVs will have these inputs, but it’s crucial to check your TV’s specifications beforehand.
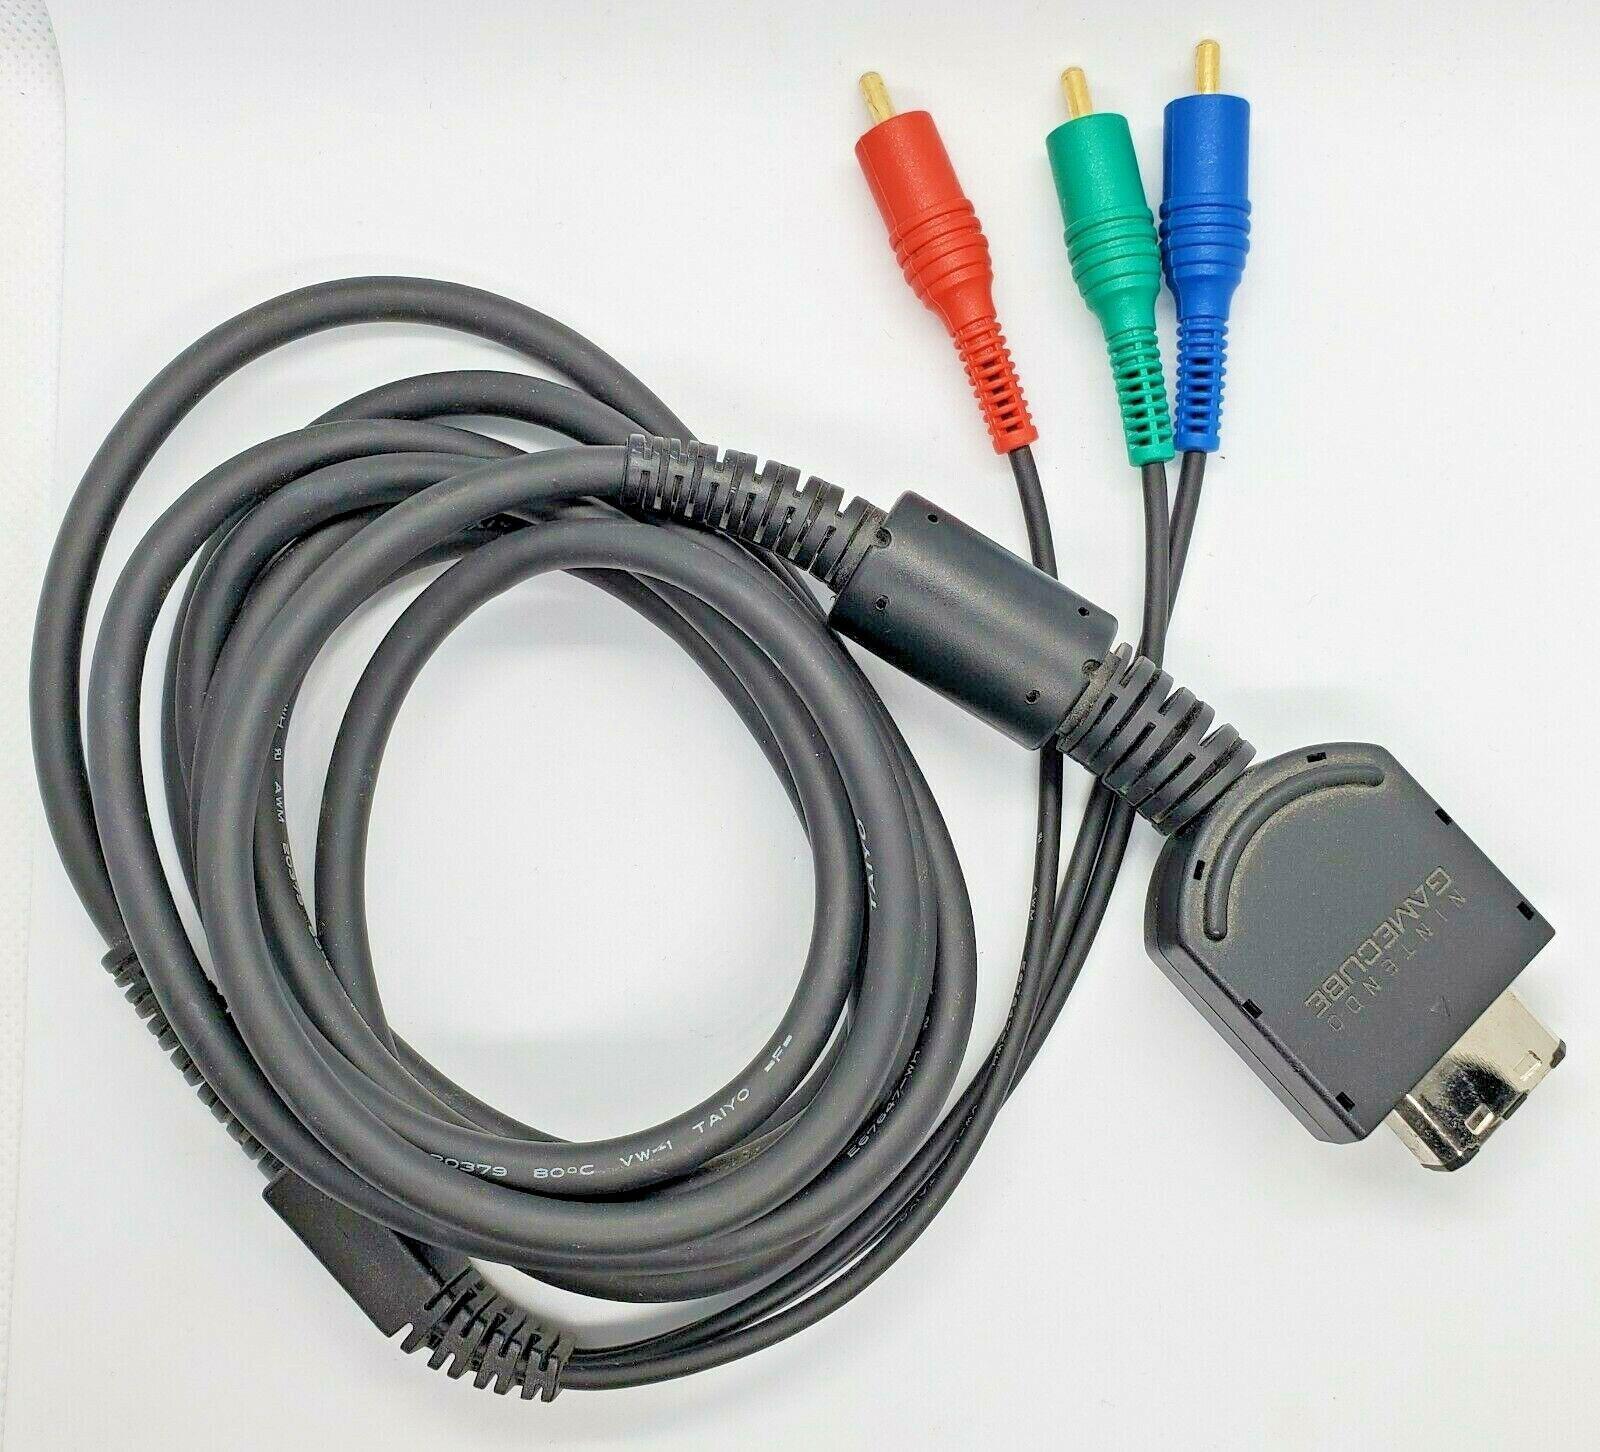
- AV cables: The Nintendo 64 uses analog AV connections, so you’ll need AV cables to connect it to your smart TV. These cables typically have three color-coded plugs: yellow, red, and white.
- Power adapter: Ensure you have a compatible power adapter to power your Nintendo 64 console.
You can find these items online or at gaming stores, and it’s worth checking if you have any of these items lying around from previous gaming setups. Once you have all the necessary equipment, you’re ready to move on to the next step.
Step 2: Check the compatibility of your TV
Before connecting your Nintendo 64 to your smart TV, it’s vital to check the compatibility of your TV. While most smart TVs have AV inputs, some newer models may not include them. Here’s how you can determine if your TV is compatible:
- Check the TV’s specifications: Look for the specifications of your smart TV in the user manual or check the manufacturer’s website. Look for AV inputs or composite video inputs in the list of available ports.
- Inspect the TV’s connectors: Physically examine the back or side of your TV to locate the input ports. The AV inputs are usually color-coded, with yellow, red, and white RCA jacks.
- Utilize the TV’s input/source selection: Turn on your TV, navigate to the input/source selection menu, and cycle through the available input options. Look for options like AV, composite, or component input. If you find these options, your TV is likely compatible.
If you still have doubts about the compatibility of your TV, you can consult the TV manufacturer’s customer support or check online forums or communities dedicated to gaming and TV setups. Remember, having the correct AV inputs is crucial for connecting your Nintendo 64 to your smart TV.
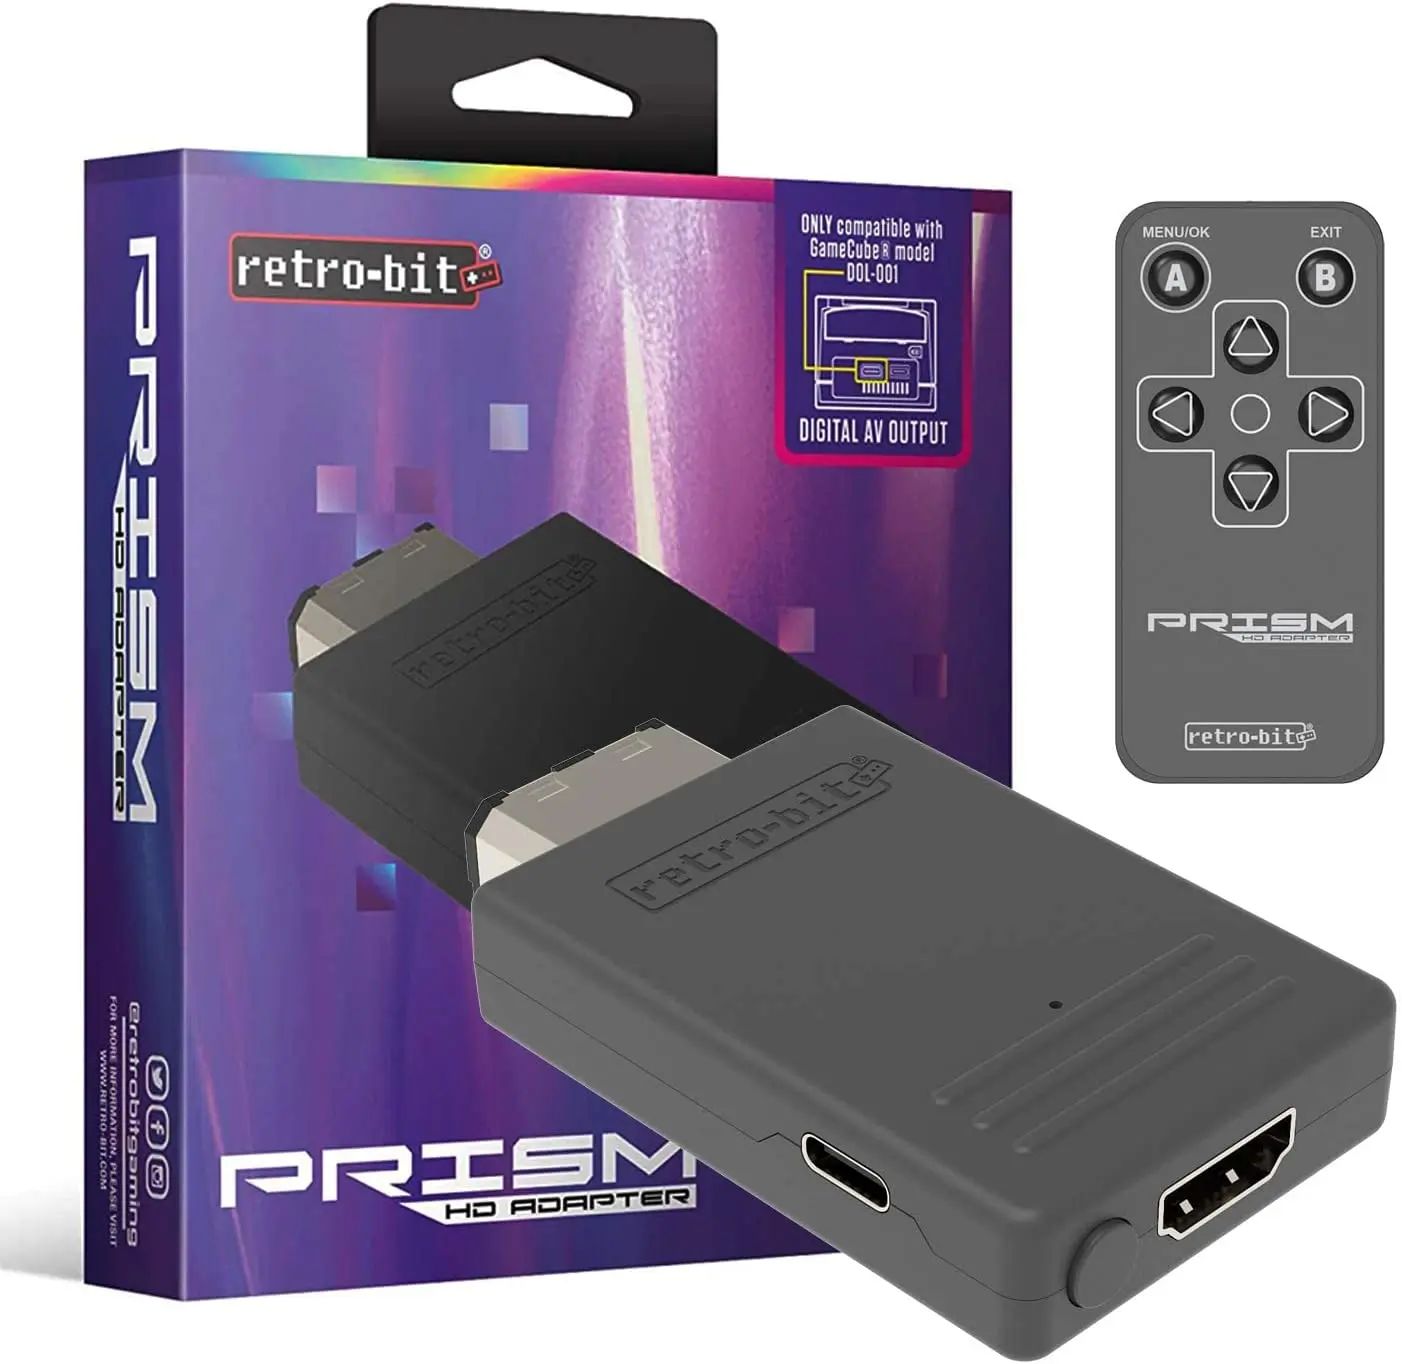
If your TV does not have the necessary AV inputs, don’t worry! There are alternative solutions available, such as using an AV to HDMI converter. These converters allow you to connect the Nintendo 64’s AV cables to the converter, which then connects to your smart TV using an HDMI cable. This way, you can still enjoy your favorite Nintendo 64 games on your modern smart TV.
Once you have confirmed the compatibility of your TV or found an alternative solution, you’re ready to move on to the next step and connect your Nintendo 64 to your smart TV!
Step 3: Connect the Nintendo 64 to the TV
Now that you have gathered the necessary equipment and checked the compatibility of your TV, it’s time to connect your Nintendo 64 to your smart TV. Follow these steps to ensure a successful connection:
- Locate the AV ports: On the back or side of your smart TV, identify the AV input ports. These ports are usually color-coded and labeled as “Video In” or “AV In”. The yellow port is for video, and the red and white ports are for audio.
- Connect the AV cables: Plug one end of the AV cables into the corresponding ports on the back of your Nintendo 64 console. The yellow cable goes into the video port, while the red and white cables go into the audio ports.
- Connect the other end of the AV cables: Take the other end of the AV cables and plug them into the AV input ports on your smart TV. Make sure to match the colors of the cables with the corresponding ports on the TV.
- Power on the Nintendo 64: Plug the power adapter into the Nintendo 64 console and connect it to a power source. Turn on the console using the power button.
Once you have completed these steps, your Nintendo 64 should be connected to your smart TV. However, it’s important to note that the AV connections on the Nintendo 64 provide standard-definition video and audio quality. If you prefer a higher-quality or more modern gaming experience, consider investing in an HDMI upgrade or using an AV to HDMI converter.
With the Nintendo 64 connected to your smart TV, you’re one step closer to enjoying your favorite classic games in all their retro glory. But before you jump into gaming, there is one more crucial step to optimize the display quality and gameplay experience—configuring the TV settings.
Step 4: Configure the TV settings
After connecting your Nintendo 64 to your smart TV, it’s important to configure the TV settings to ensure the best possible gaming experience. Follow these steps to optimize the display quality and gameplay:
- Access the TV settings: Using your smart TV remote, navigate to the settings menu. The location and layout of the settings may vary depending on your TV model.
- Adjust the display settings: In the settings menu, look for options related to display or picture settings. Here, you can fine-tune parameters such as brightness, contrast, and color saturation. Experiment with these settings to find the optimal balance for your gaming experience.
- Enable game mode: Some smart TVs have a dedicated game mode option, designed to reduce input lag and enhance responsiveness for gaming. Check the settings menu for a game mode option and enable it to enjoy a smoother and more immersive gaming experience.
- Verify aspect ratio: The Nintendo 64 games were designed with a 4:3 aspect ratio. Check the TV settings to ensure that the aspect ratio is set to 4:3 or “original” to avoid stretching or distorting the image.
- Audio settings: If you’re not satisfied with the audio quality, check the TV settings for equalizer options or audio enhancements. Adjust the settings to your preference and enjoy crisp and immersive sound during your gaming sessions.
Keep in mind that the optimal TV settings may vary depending on your personal preferences and the specific capabilities of your smart TV. Take some time to explore the settings and find the configuration that suits your gaming style the best.
Once you have completed the configuration of the TV settings, you’re ready to test the connection and dive into the world of retro gaming!
Step 5: Test the connection and enjoy gaming!
Congratulations! You’ve successfully connected your Nintendo 64 to your smart TV and configured the necessary settings. Now it’s time to test the connection and indulge in the joy of classic gaming. Follow these final steps:
- Power on your smart TV and Nintendo 64: Turn on your smart TV and ensure that your Nintendo 64 console is powered on as well.
- Select the correct input source: Use your smart TV remote to navigate to the input/source selection menu. Choose the input source that corresponds to the AV input where your Nintendo 64 is connected. For example, if you plugged the AV cables into the “AV In” port, select the “AV” input source.
- Check for a stable video and audio connection: After selecting the correct input source, you should see the Nintendo 64 screen displayed on your smart TV. Ensure that the video and audio are working correctly. If you don’t see any image or hear any sound, double-check the connections and TV settings.
- Grab your controller and start gaming: Now it’s time to dive into your favorite Nintendo 64 games! Grab your controller, load up a game cartridge, and start playing. Immerse yourself in the nostalgia and excitement of classic titles like Super Mario 64, The Legend of Zelda: Ocarina of Time, and Mario Kart 64.
Remember to take breaks, hydrate, and enjoy the gaming experience. Relive childhood memories or discover the magic of Nintendo 64 games for the first time. The possibilities for fun and adventure are endless!
If you encounter any issues, such as distorted graphics or audio problems, double-check your connections, TV settings, and the condition of your Nintendo 64 console. Don’t hesitate to consult online forums or reach out to fellow gamers for troubleshooting advice or recommendations.
Now, sit back, relax, and let the nostalgia flow through you as you embark on a journey back in time with your Nintendo 64 and smart TV setup. Enjoy the magic of retro gaming and create new memories as you relish in the classics.