Introduction
So you dusted off your old Nintendo 64 and can’t wait to relive your favorite childhood games. But there’s one problem – you now have a modern Smart TV that doesn’t have the traditional RCA or AV inputs that the Nintendo 64 requires. Don’t worry, though, because in this article, we will show you the step-by-step process of how to hook up your Nintendo 64 to a Smart TV.
The Nintendo 64, released in the mid-90s, was a groundbreaking console that introduced 3D gaming to a whole generation. With its iconic controllers and memorable games like Super Mario 64 and The Legend of Zelda: Ocarina of Time, the Nintendo 64 holds a special place in the hearts of gamers. However, the advent of Smart TVs with HDMI ports has made connecting older consoles a bit more challenging.
Fortunately, with the right equipment and a few simple steps, you can still enjoy your beloved Nintendo 64 on your modern Smart TV. In the following sections, we will guide you through the process, from gathering the necessary equipment to configuring the TV settings and finally testing the connection and gameplay.
Keep in mind that this guide assumes you already have the basic knowledge of connecting audio/video components and navigating the settings on your Smart TV. If you’re ready to dive in, let’s get started on bringing back the nostalgia of Nintendo 64 gaming on your Smart TV!
Step 1: Gather the necessary equipment
Before you can connect your Nintendo 64 to your Smart TV, you’ll need to make sure you have the right equipment. Here’s a list of what you’ll need:
- Nintendo 64 console: This is the main component of the setup. Ensure that your Nintendo 64 is in good working condition and has all the necessary cables.
- HDMI to AV converter: Since most Smart TVs only have HDMI ports, you’ll need a converter to connect the RCA/AV cables from the Nintendo 64 to the HDMI port of your TV. Make sure to choose a reliable converter that supports both audio and video signals.
- RCA/AV cables: These are the yellow, white, and red cables that came with your Nintendo 64. They carry both the audio and video signals from the console to the converter.
- HDMI cable: You’ll need an HDMI cable to connect the HDMI port on the converter to the HDMI port on your Smart TV. Ensure that you have a high-quality HDMI cable that can transmit both audio and video signals.
- Power adapters: You’ll need the power adapters for both the Nintendo 64 console and the HDMI to AV converter.
- Remote control: Make sure you have the remote control for your Smart TV. You’ll need it to navigate the TV settings.
Once you have gathered all the necessary equipment, you’re ready to move on to the next step of connecting your Nintendo 64 to your Smart TV. Remember to double-check that you have all the required cables and adapters to ensure a smooth setup process.
Step 2: Connect the Nintendo 64 to the Smart TV
Now that you have all the necessary equipment, it’s time to connect your Nintendo 64 to your Smart TV. Follow these steps:
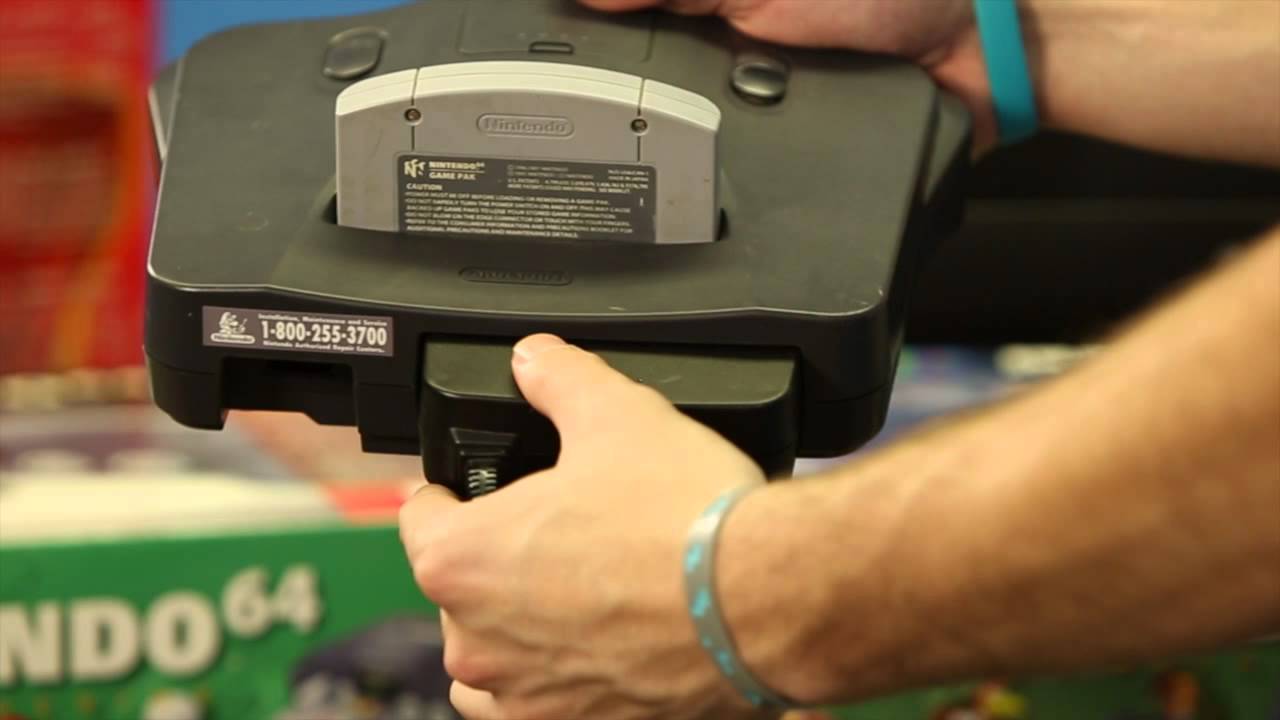
- Locate the RCA/AV ports on the back of your Nintendo 64 console. These are usually color-coded – yellow for video, white for left audio, and red for right audio.
- Take the yellow RCA/AV cable and plug it into the corresponding yellow video port on the Nintendo 64 console. The other end of the cable will have an RCA/AV connector.
- Connect the white and red RCA/AV cables to the left and right audio ports on the Nintendo 64 console. These cables should also have RCA/AV connectors at the other end.
- Take the HDMI cable and connect one end to the HDMI port on the HDMI to AV converter.
- Plug the RCA/AV connectors from the Nintendo 64 into the respective ports on the HDMI to AV converter. Connect the yellow cable to the video port and the white and red cables to the audio ports.
- Connect the other end of the HDMI cable to an available HDMI port on your Smart TV.
- Make sure the power adapter for the HDMI to AV converter is plugged in and connect it to a power source.
- Plug in the power adapter for your Nintendo 64 console and turn it on.
By following these steps, you have successfully connected your Nintendo 64 to your Smart TV. Now, let’s move on to the next step and configure the TV settings to ensure optimal gameplay.
Step 3: Configure the TV settings
After connecting the Nintendo 64 to your Smart TV, you’ll need to configure the TV settings to ensure a smooth gaming experience. Here’s what you need to do:
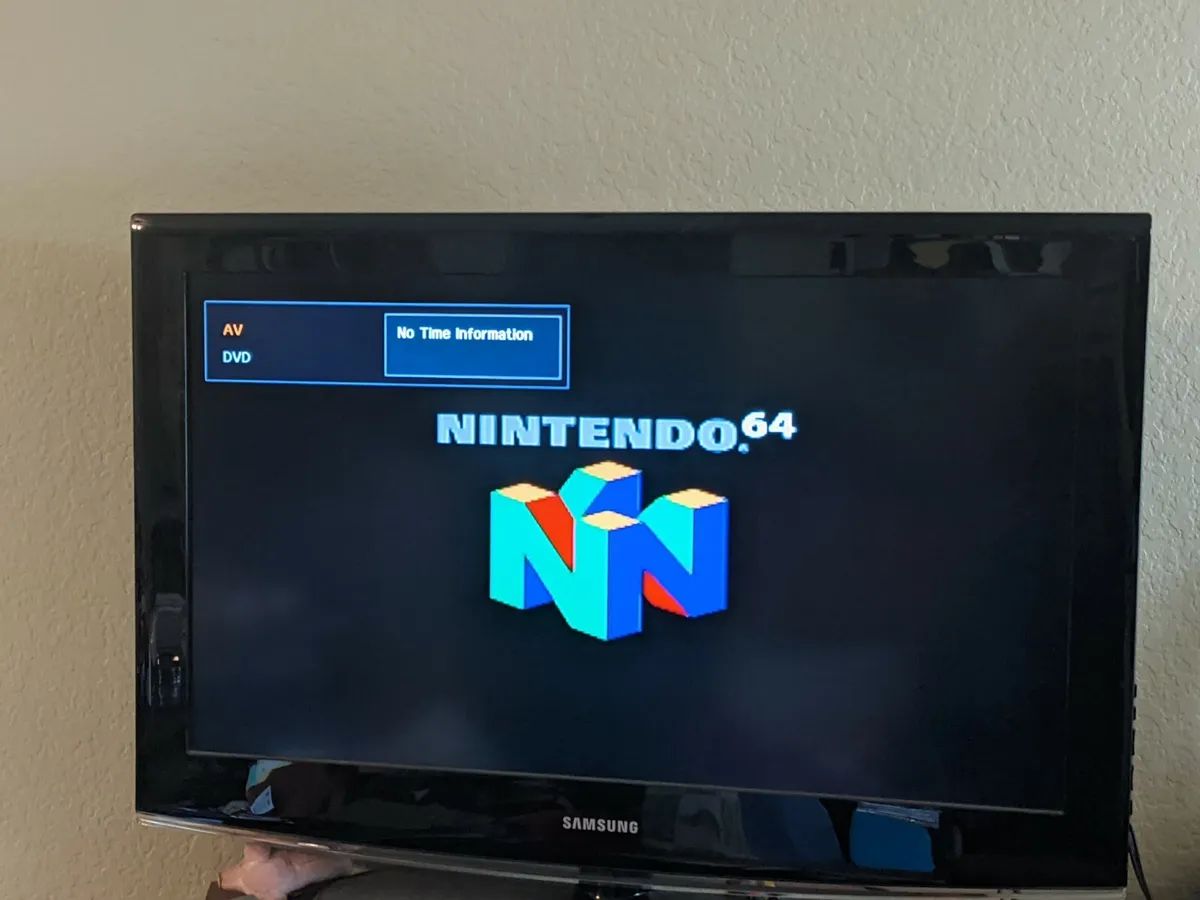
- Use the remote control for your Smart TV to navigate to the input/source selection screen. This screen allows you to choose the input source for your TV.
- Select the HDMI input where you connected the Nintendo 64. It might be labeled as “HDMI 1,” “HDMI 2,” or something similar, depending on the TV model.
- Once you have selected the HDMI input, you should see the Nintendo 64 output on your Smart TV screen. However, the aspect ratio might not be correct initially.
- Access the TV settings menu and look for an option called “Aspect Ratio” or “Screen Size.” Adjust the aspect ratio to fit the Nintendo 64 output properly on your TV screen.
- Check for any other video-related options in the TV settings menu, such as “Image Enhancement” or “Game Mode.” These options can enhance the visuals and reduce input lag while gaming.
- Take some time to customize the sound settings on your Smart TV. You can adjust the volume, equalizer settings, or even enable any virtual surround sound features for a more immersive gaming experience.
- It’s also a good idea to disable any unnecessary video processing features, such as motion smoothing or noise reduction. These features can introduce input lag or distort the graphics of your Nintendo 64 games.
- Save the changes and exit the TV settings menu. You are now ready to test the connection and enjoy your Nintendo 64 games on your Smart TV!
Once you have configured the TV settings, it’s time to move on to the final step of testing the connection and ensuring that everything is working correctly. Let’s dive into the last step!
Step 4: Test the connection and gameplay
Now that you’ve connected your Nintendo 64 to your Smart TV and configured the TV settings, it’s time to test the connection and start enjoying your favorite games. Follow these steps:
- Ensure that both your Nintendo 64 console and the Smart TV are powered on.
- Grab your Nintendo 64 controller and select a game you want to play.
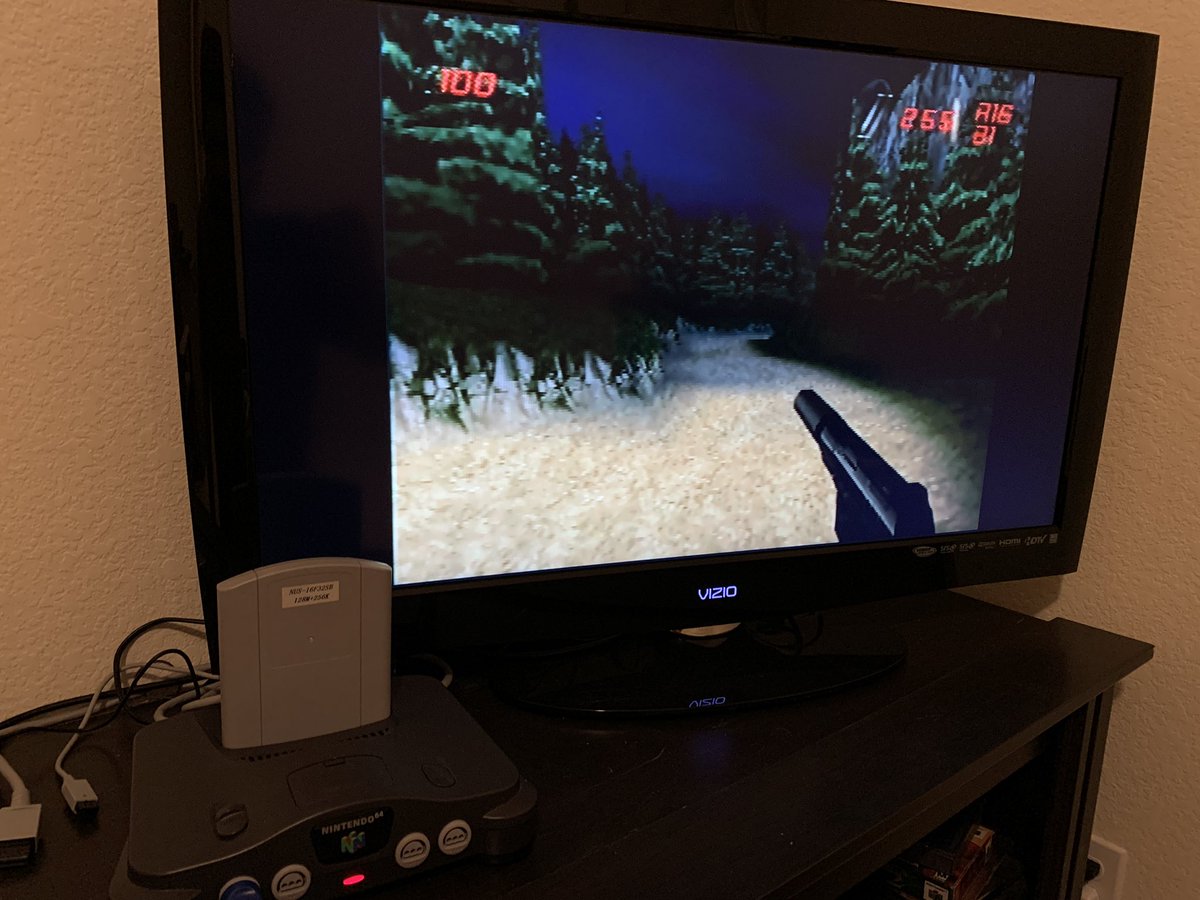
- If everything is connected correctly, you should see the game running on your Smart TV screen.
- Take a moment to check if the video and audio are in sync. If there are any issues, double-check the connections and TV settings.
- Test the game controls on your Nintendo 64 controller to ensure that all buttons are responsive. If you encounter any issues, try reconnecting the controller or cleaning the controller ports on the Nintendo 64 console.
- Play the game for a while and make sure there are no noticeable lags or visual artifacts.
- If you’re satisfied with the connection and gameplay, congratulations! You’ve successfully hooked up your Nintendo 64 to your Smart TV.
- Remember, different games may have different graphics settings and aspect ratios, so you may need to make slight adjustments in the TV settings accordingly.
- Enjoy hours of nostalgic gaming on your modern Smart TV with your beloved Nintendo 64!
By following these steps and testing the connection and gameplay, you can ensure that everything is working smoothly, allowing you to fully relish the nostalgic experience of playing classic Nintendo 64 games on your Smart TV.
Conclusion
Bringing back the nostalgia of Nintendo 64 gaming on your Smart TV is a rewarding experience. By following the step-by-step process outlined in this article, you can successfully connect your Nintendo 64 to your modern TV and enjoy your favorite games once again.
We began by gathering the necessary equipment, including the Nintendo 64 console, HDMI to AV converter, RCA/AV cables, HDMI cable, power adapters, and the remote control for your Smart TV. With these components in hand, we proceeded to the next step of connecting the Nintendo 64 to the Smart TV, ensuring that all cables were properly plugged into their respective ports.
After connecting the hardware, we moved on to configuring the TV settings. Adjusting the aspect ratio, checking video-related options, customizing the sound settings, and disabling unnecessary video processing features were essential steps to enhance the gaming visuals and audio performance on your Smart TV.
Finally, we tested the connection and gameplay. Ensuring that the video and audio were in sync, the controller was responsive, and there were no noticeable lags or visual artifacts was crucial for a smooth gaming experience. By following these steps, you can rest assured that your Nintendo 64 is effectively connected and ready for hours of immersive gaming pleasure.
Now, armed with your newfound knowledge, you can relive the magic of playing iconic games like Super Mario 64, The Legend of Zelda: Ocarina of Time, and many more on your Smart TV. So gather your friends or enjoy some solitary gaming sessions as you dive into the world of nostalgia brought to life on a modern screen.
Remember, if you ever want to disconnect the Nintendo 64 from your Smart TV, simply reverse the steps we outlined earlier and store your equipment safely for future gaming adventures. Happy gaming!