Introduction
Are you a nostalgic gamer with an old Nintendo console collecting dust in the attic? Do you want to relive the thrilling adventures of Super Mario or the challenging quests of The Legend of Zelda on your sleek, modern smart TV? Well, you’re in luck! In this guide, we will show you how to connect your old Nintendo console to your smart TV, so you can enjoy the classics like never before.
Gone are the days of bulky CRT televisions with built-in AV inputs specifically designed for gaming consoles. The latest smart TVs come with HDMI inputs, making it seem impossible to connect older consoles that use component or composite cables. However, with the right adapters and cables, you can bridge the gap between the past and the present, and play your favorite vintage Nintendo games on a big, vibrant screen.
Before we dive into the step-by-step process, it’s important to note that the method of connecting your Nintendo console to a smart TV may vary depending on the specific models and brands involved. Therefore, it’s crucial to consult the user manuals for both your console and TV to ensure compatibility and to understand the supported connection options.
So, grab your old Nintendo console, dust off your favorite games, and get ready to embark on a nostalgic journey. With a little bit of patience and the right tools, you’ll be enjoying the pixelated adventures of your youth on the modern marvel of your smart TV in no time!
Step 1: Understand the Requirements
Before you begin connecting your old Nintendo console to your smart TV, it’s important to familiarize yourself with the requirements. This will ensure a smooth setup process and avoid any compatibility issues. Here are a few things you need to consider:
- Smart TV capabilities: Check if your smart TV supports component or composite inputs. Most modern smart TVs have HDMI inputs but may lack the traditional AV component or composite inputs needed for older consoles. Consult your TV’s user manual or website to find out which input options are available.
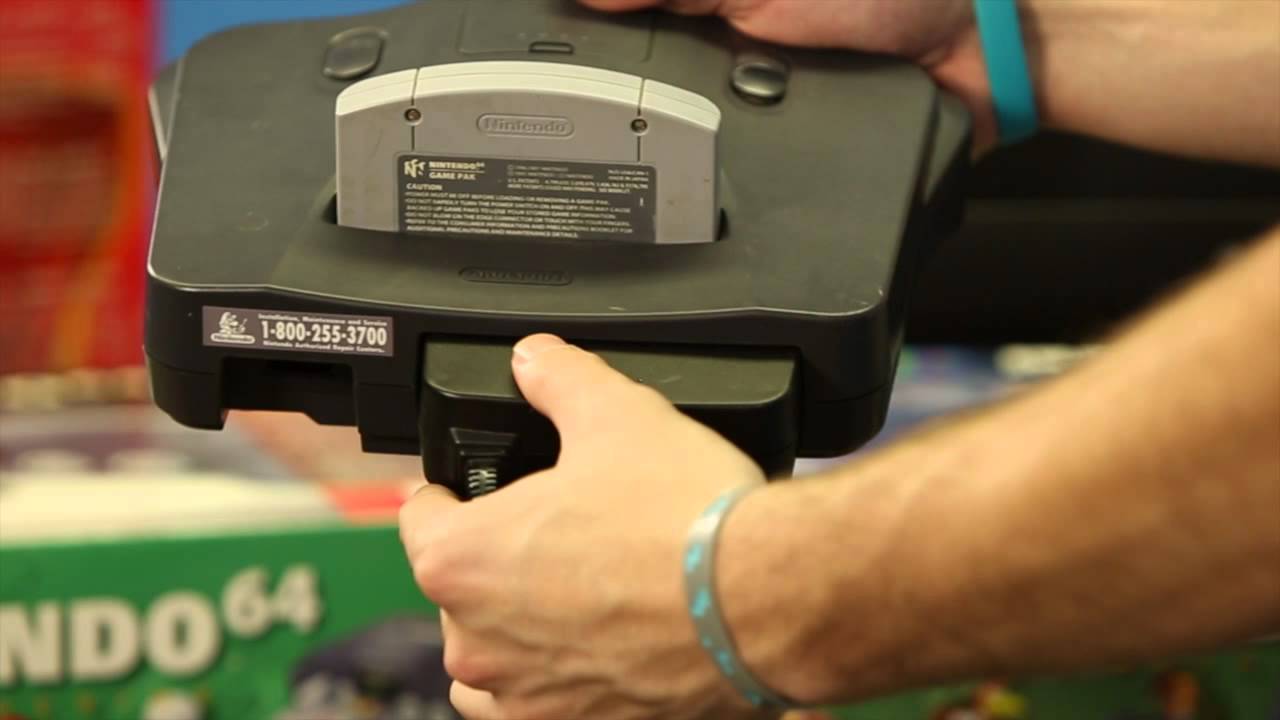
- Nintendo console model: Identify the model of your Nintendo console. Different models may require different cables or adapters for connection. Some popular Nintendo consoles include the NES (Nintendo Entertainment System), SNES (Super Nintendo Entertainment System), and Nintendo 64.
- Cables and adapters: Determine which cables and adapters you will need to connect your Nintendo console to the smart TV. Common options include component cables, composite cables, HDMI converters, and AV to HDMI adapters. Make sure to choose high-quality cables and adapters to ensure optimal video and audio quality.
- Power supply: Ensure that your Nintendo console is powered on and functional. It’s important to have a stable power supply to avoid any disruptions while setting up the connection.
By understanding these requirements, you can gather the necessary components and ensure a successful connection between your old Nintendo console and your smart TV. Now that you have a clear grasp of what you need, let’s move on to the next step and check if your smart TV has the necessary input options to connect your console.
Step 2: Check if the TV Supports Component or Composite Inputs
Once you have familiarized yourself with the requirements, the next step is to determine if your smart TV has the necessary component or composite inputs to connect your old Nintendo console. While most modern TVs prioritize HDMI inputs, some models still include these traditional AV inputs.
To check if your TV supports component or composite inputs, follow these steps:
- Refer to the TV’s user manual: Start by consulting the user manual or documentation that came with your smart TV. Look for information regarding the available input options. It may be listed as “AV inputs,” “component inputs,” or “composite inputs.”
- Inspect the TV’s physical ports: Examine the back or side of your TV for any labeled or colored ports. Component inputs typically consist of three separate ports colored red, green, and blue, while composite inputs usually have a single yellow port.
- Use the TV’s on-screen menu: If you can’t find any physical labels, navigate through your TV’s on-screen menu and look for input options or settings. You may need to access the TV’s settings or input selection menu to find more information about the available inputs.
- Research online: If you’re still unsure, utilize the power of the internet. Search for your specific TV model to find forums, discussions, or online resources where users share their experiences and provide information about the input options of your TV.
By checking if your TV supports component or composite inputs, you will know if you can directly connect your old Nintendo console using these traditional cables. If your TV lacks these inputs, don’t worry. There are alternative methods and adapters available that we will explore in the following steps. Now, let’s move on to gathering the necessary cables and adapters for the connection process.
Step 3: Gather the Necessary Cables and Adapters
Now that you’ve determined whether your smart TV supports component or composite inputs, it’s time to gather the necessary cables and adapters to connect your old Nintendo console. The specific cables and adapters required will depend on the model of your Nintendo console and the available input options on your TV. Here are a few options to consider:
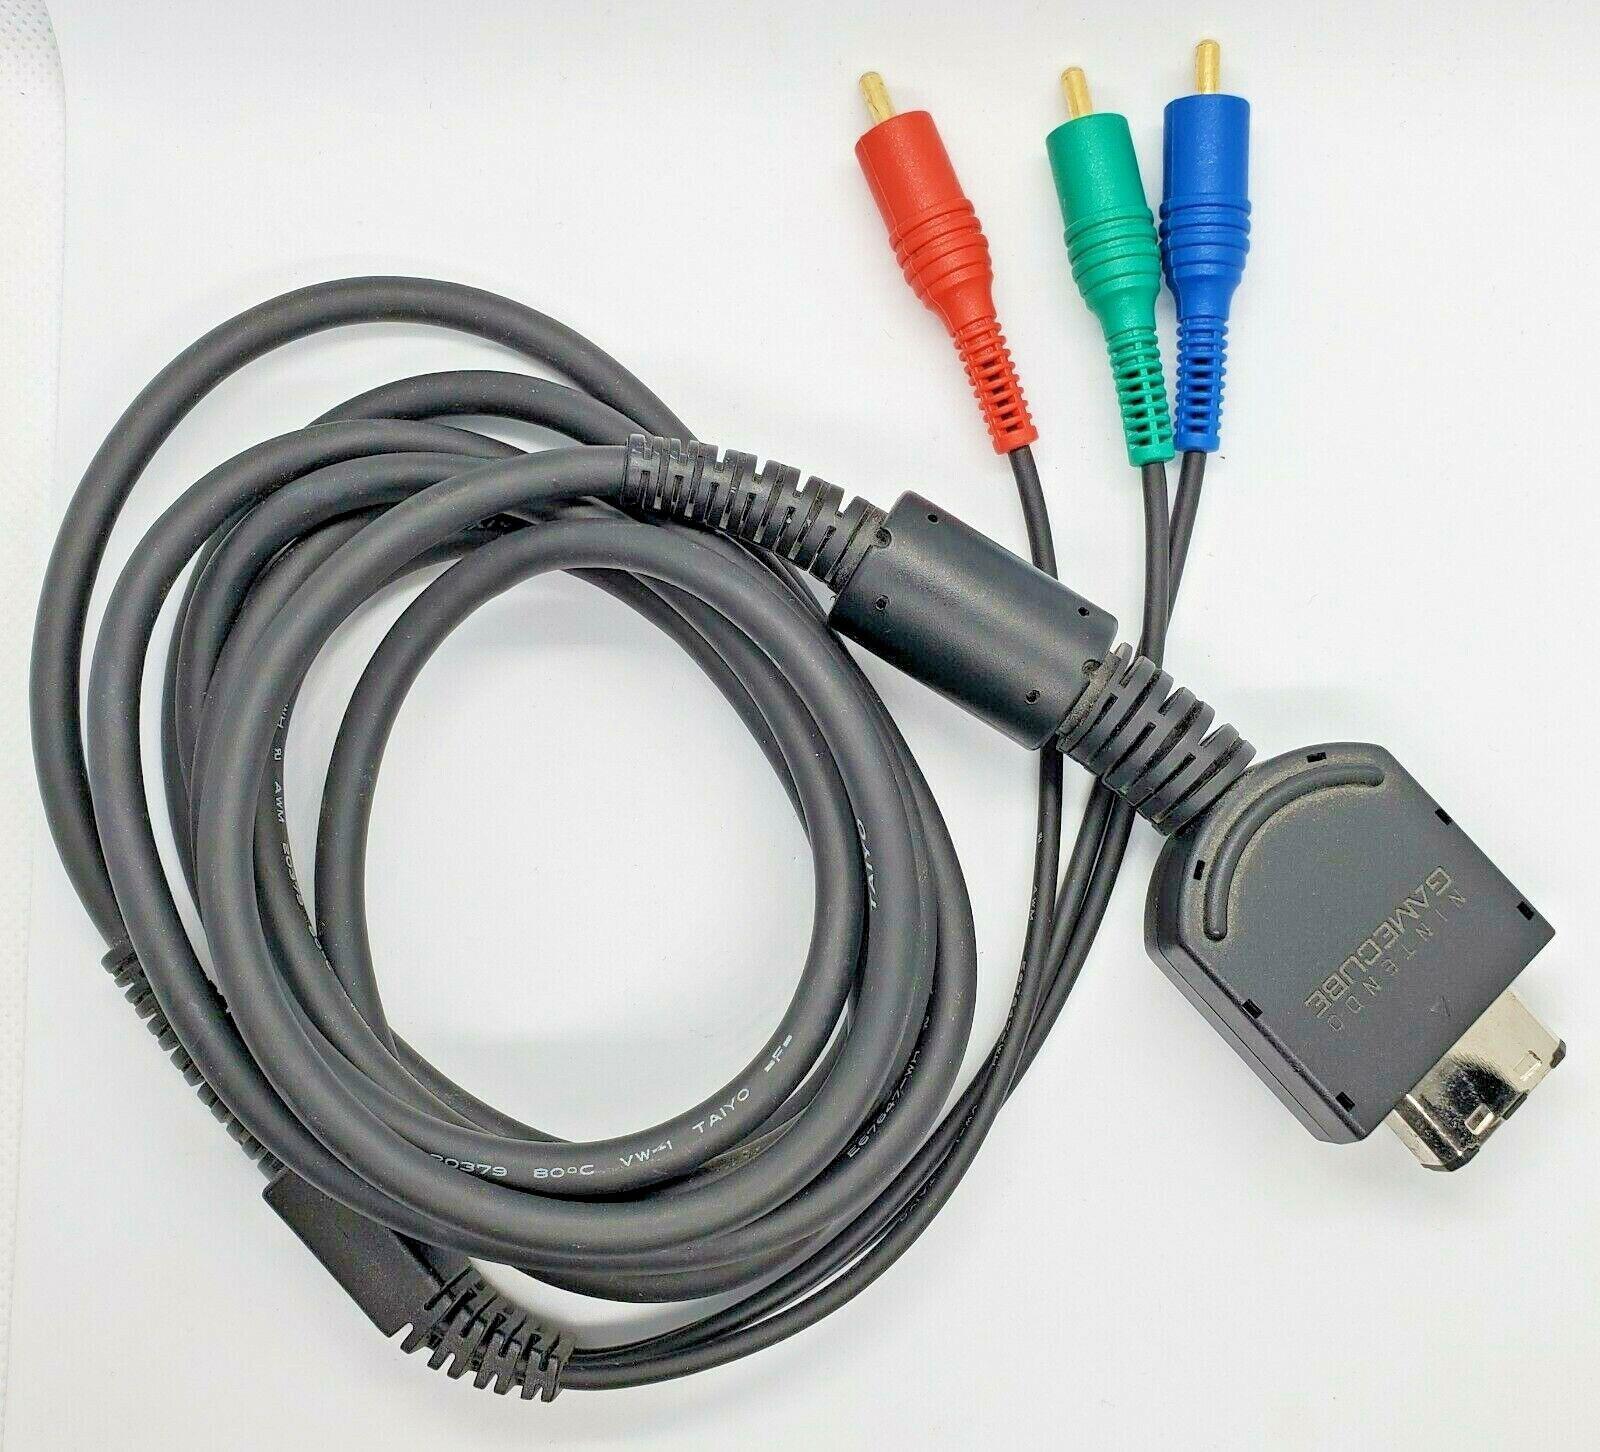
- Component Video Cables: If your TV supports component inputs, you will need a set of component video cables. These cables typically consist of three separate cables, each with red, green, and blue connectors. They are used to transmit high-quality video signals.
- Composite Video Cables: If your TV only has composite inputs, you will need a set of composite video cables. These cables have a yellow connector for video transmission and typically come bundled with white and red connectors for audio transmission.
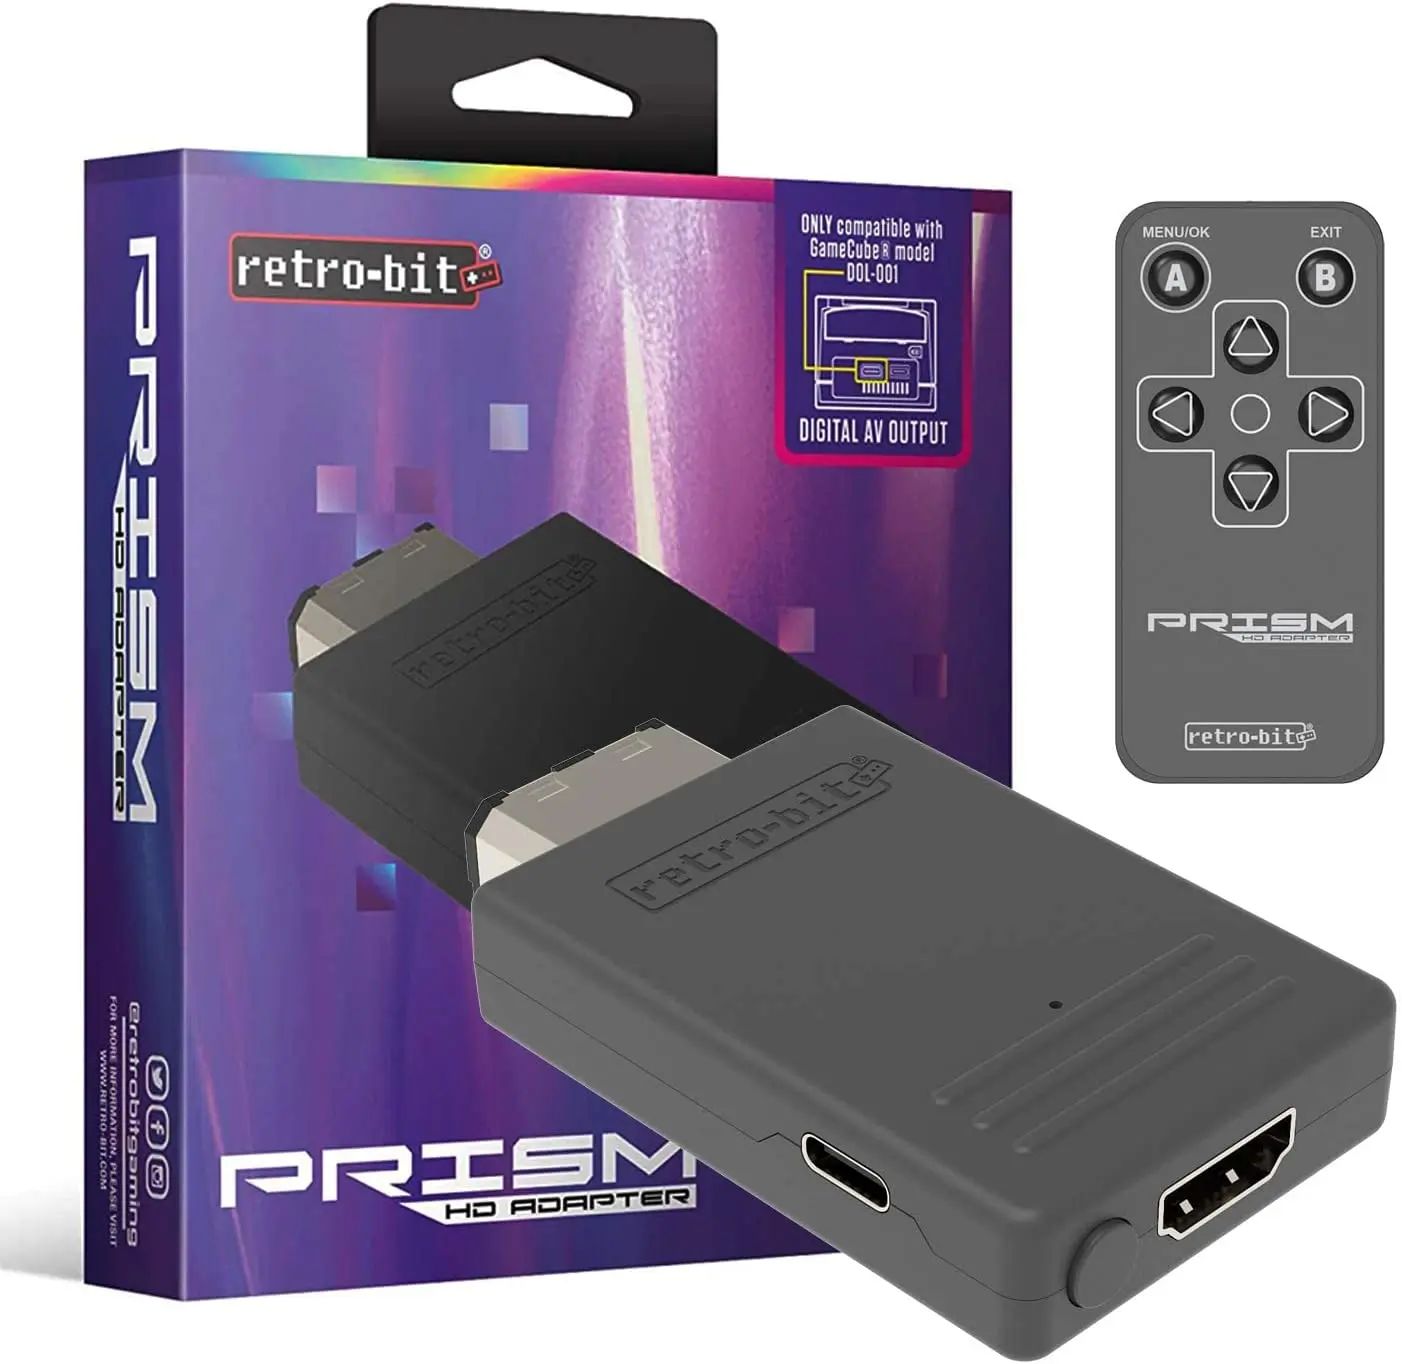
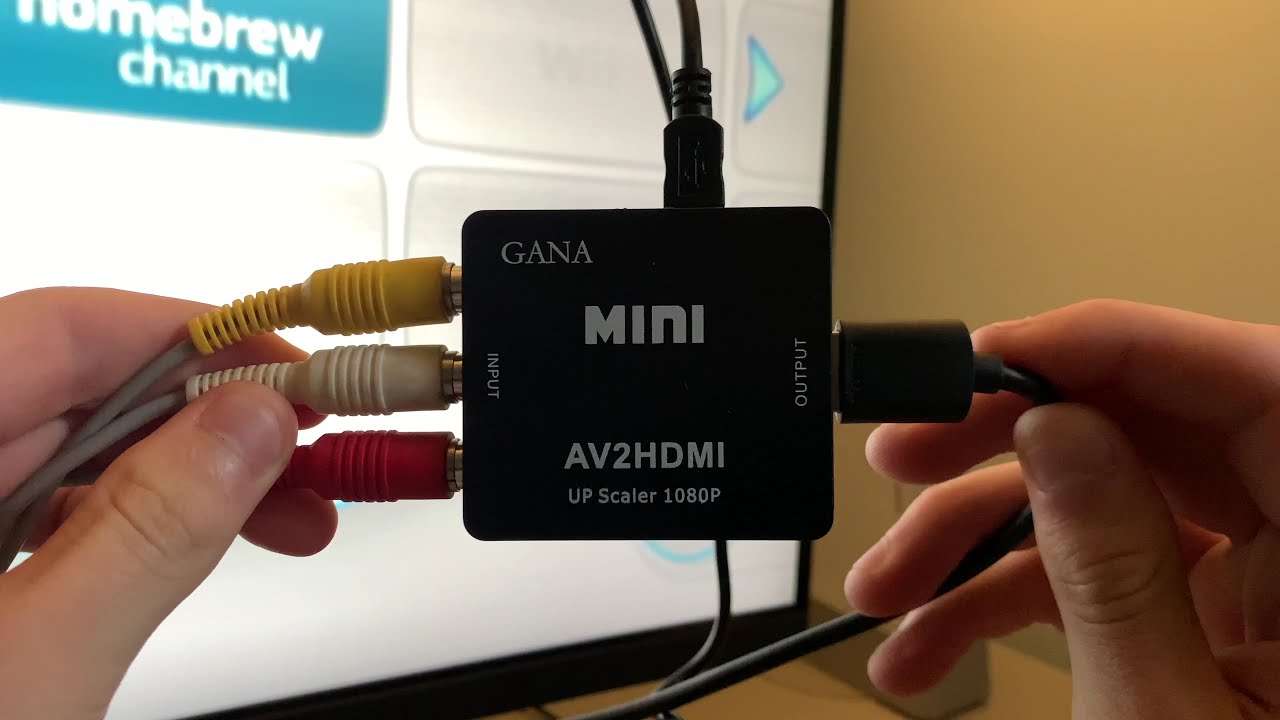
- HDMI Converter or AV to HDMI Adapter: If your TV lacks component or composite inputs, you may need an HDMI converter or AV to HDMI adapter. These devices convert the analog signal from your Nintendo console into a digital HDMI signal that your smart TV can recognize. Ensure that the converter or adapter is compatible with your Nintendo console model.
When choosing cables and adapters, it’s vital to select high-quality options that provide optimal video and audio transmission. Cheap or poorly made cables and adapters can affect the overall gaming experience, resulting in low-quality visuals or distorted audio. Additionally, confirm the length of the cables based on the distance between your Nintendo console and the TV.
Once you have gathered the necessary cables and adapters, you are ready to move on to the next step: connecting your old Nintendo console to your TV using component inputs. If your TV doesn’t support component inputs, don’t worry! We will cover connecting through composite inputs and configuring the TV input settings in the following steps. Let’s proceed to the next step and get your Nintendo console ready for action!
Step 4: Connect the Nintendo to the TV using Component Inputs
If your smart TV supports component inputs, it’s time to connect your old Nintendo console using component video cables. Follow these steps to establish the connection:
- Locate the component inputs: Identify the component input ports on the back or side of your smart TV. These ports are usually color-coded with red, green, and blue labels.
- Connect the component video cables: Take one end of the component video cables and plug the red, green, and blue connectors into their corresponding ports on the TV. Ensure that the colors match correctly to avoid any signal issues.
- Connect the audio cables (optional): If your Nintendo console has separate audio connectors, locate the corresponding red and white ports labeled “audio in” on the TV. Connect the audio cables to their respective ports to ensure synchronized audio.
- Connect the component cables to your Nintendo console: Locate the corresponding component output ports on your Nintendo console. Plug the cables into the red, green, and blue ports, matching the colors accurately.
- Power on the Nintendo console: After ensuring all the cables are securely connected, turn on your old Nintendo console, and ensure a stable power supply.
- Select the component input: Use your TV’s remote control or on-screen menu to select the connected component input. Look for an “input” or “source” button on your remote control and cycle through the options until you find the component input labeled with the corresponding input number (e.g., Component 1, Component 2, etc.).
- Test the connection: With the Nintendo console powered on and the TV set to the component input, check for a clear video display and synchronized audio. If everything is working correctly, you should see the game’s graphics on the screen and hear the game audio through the TV’s speakers or connected audio system.
Once the connection is established, you can start playing your favorite Nintendo games on your smart TV using the component inputs. If your TV doesn’t have component inputs, not to worry! Proceed to the next step to connect your console using composite inputs and configure the TV input settings accordingly.
Step 5: Connect the Nintendo to the TV using Composite Inputs
If your smart TV only has composite inputs available, you can still connect your old Nintendo console using composite video cables. Follow these steps to establish the connection:
- Locate the composite inputs: Identify the composite input ports on the back or side of your smart TV. These ports are usually color-coded with yellow labels.
- Connect the composite video cables: Take one end of the composite video cable and plug the yellow connector into the yellow port on the TV.
- Connect the audio cables: If your Nintendo console has separate audio connectors, locate the corresponding white and red ports labeled “audio in” on the TV. Connect the white and red audio cables to their respective ports to ensure synchronized audio.
- Connect the composite cables to your Nintendo console: Locate the corresponding composite output ports on your Nintendo console. Plug the cables into the yellow port for video and match the colors for audio (white to white, red to red).
- Power on the Nintendo console: After ensuring all the cables are securely connected, turn on your old Nintendo console and ensure a stable power supply.
- Select the composite input: Using your TV’s remote control or on-screen menu, select the connected composite input. Look for an “input” or “source” button on your remote control, and cycle through the options until you find the composite input labeled with the corresponding input number or name (e.g., AV 1, AV 2, Composite, etc.).
- Test the connection: With the Nintendo console powered on and the TV set to the composite input, check for a clear video display and synchronized audio. If everything is working correctly, you should see the game’s graphics on the screen and hear the game audio through the TV’s speakers or connected audio system.
Once you have successfully connected your old Nintendo console using composite inputs, you’re ready to start playing your favorite games. However, to ensure the best viewing experience, you may need to configure the TV input settings. Proceed to the next step to learn how to do this and fine-tune your display settings.
Step 6: Configure the TV Input Settings
After connecting your old Nintendo console to your smart TV using either component or composite inputs, it’s important to configure the TV input settings for the best display quality. Follow these steps to fine-tune the settings:
- Access the TV menu: Use your TV’s remote control to access the on-screen menu. Look for a menu button or an icon that resembles a gear or settings.
- Navigate to the input settings: Within the TV menu, locate the settings related to input or source. The terminology may differ depending on your TV model. Look for options like “input settings,” “source settings,” or “external inputs.”
- Select the connected input: Identify the input that corresponds to your Nintendo console connection. If you connected via component inputs, choose the respective component input. If you connected via composite inputs, select the appropriate composite or AV input.
- Adjust picture settings: Within the input settings, you may have the option to adjust picture settings specifically for that input. Look for settings like “brightness,” “contrast,” “color,” and “sharpness.” Experiment with these settings to achieve the desired picture quality for your Nintendo games.
- Configure aspect ratio and screen fit: Some smart TVs provide options to adjust the aspect ratio and screen fit for each input. If necessary, ensure that the aspect ratio is set to the correct value (e.g., 4:3 for older Nintendo consoles) and adjust the screen fit to avoid any cutoff edges or stretching of the game display.
- Enable game mode (optional): Many smart TVs offer a game mode setting specifically designed for gaming consoles. This mode reduces input lag and enhances the gaming experience by optimizing the TV’s settings for faster response times. Check if your TV has a game mode option and enable it for smoother gameplay.
- Save and exit: Once you have adjusted the input settings to your preference, save the changes and exit the settings menu.
Configuring the TV input settings ensures that you get the best possible display quality for your old Nintendo console games on your smart TV. Take some time to explore the different picture and aspect ratio settings to find the optimal configuration for an immersive gaming experience.
With the TV input settings properly configured, you’re now ready to put your connection to the test and enjoy your favorite Nintendo games on the big screen. Let’s move on to the final step, where we will test the connection and make any necessary adjustments to the display settings.
Step 7: Test the Connection and Adjust Display Settings
With your old Nintendo console connected to your smart TV and the input settings configured, it’s time to test the connection and make any necessary adjustments to the display settings. Follow these steps to ensure the best gaming experience:
- Power on your Nintendo console and the smart TV.
- Select the appropriate input: Using your TV’s remote control or on-screen menu, select the input that corresponds to the connection you made in the previous steps (component or composite input).
- Launch a game: Insert a game cartridge or start a digital game on your Nintendo console.
- Check the display quality: Pay attention to the display quality of the game. Look for clear and vibrant graphics without any distortion or blurriness. If the display quality is not satisfactory, proceed to the next step to make necessary adjustments.
- Adjust the TV display settings: Use the TV’s remote control or on-screen menu to access the display settings. Look for options related to picture quality, such as brightness, contrast, color, and sharpness. Experiment with these settings to optimize the visuals for your Nintendo games.
- Fine-tune the aspect ratio: If you notice any cropping of the game display or stretching of the image, review the aspect ratio settings. Ensure that the aspect ratio is set correctly (e.g., 4:3 for older Nintendo consoles) to maintain the original proportions of the game.
- Test different games and scenes: Try playing different games and navigate through various scenes to assess the overall display quality. Make any necessary adjustments to the display settings to achieve the best visuals for different games.
- Enjoy your gaming experience: Once you are satisfied with the display quality and settings, sit back, relax, and enjoy your nostalgic gaming experience on your smart TV.
By testing the connection and adjusting the display settings, you can ensure that your old Nintendo console games are displayed optimally on your smart TV. Remember to save any changes made to the display settings to avoid readjusting each time you play a game.
Now that you have successfully connected your old Nintendo console to your smart TV and fine-tuned the display settings, you can immerse yourself in the captivating gameplay of your favorite retro games. Let the gaming adventures begin!
Conclusion
Congratulations! You have successfully connected your old Nintendo console to your modern smart TV, allowing you to relive the nostalgia of classic gaming on a big screen. Through the step-by-step process outlined in this guide, you have learned how to understand the requirements, check for component or composite inputs on your TV, gather the necessary cables and adapters, connect your Nintendo console, configure the TV input settings, and test the connection while adjusting the display settings.
Remember that the specific steps and requirements may vary based on your Nintendo console model and the TV you are using. It is essential to consult the user manuals for both devices and explore online resources for additional guidance. By taking the time to understand the requirements and following the provided instructions, you can ensure a successful connection and an enjoyable gaming experience.
Now, it’s time to dive into the world of your favorite Nintendo games, whether it’s guiding Mario through the Mushroom Kingdom or embarking on epic adventures with Link. Enjoy the immersive graphics, the iconic soundtracks, and the thrill of gameplay as you relive the memories of your childhood or discover classic games for the first time.
If you encounter any difficulties during the setup process or experience any issues with the display or audio quality, don’t hesitate to refer back to this guide or seek assistance from online forums and communities dedicated to retro gaming enthusiasts.
So, gather your Nintendo console, plug in the cables, power on the TV, and let the gaming journey begin! Get ready to embark on a nostalgic adventure, where pixels come to life, and memories are resurrected. Happy gaming!