Introduction
Welcome to our guide on how to connect your SNES (Super Nintendo Entertainment System) to your smart TV. If you’re a retro gaming enthusiast or simply looking to relive the nostalgia of the classic SNES games, you’ve come to the right place.
The SNES is a beloved gaming console that was released in the early 1990s and remains popular among gaming enthusiasts. However, with the advancement of technology, it can be a bit challenging to connect the SNES to newer smart TVs, which primarily support HDMI connections. In this guide, we’ll walk you through the step-by-step process of connecting your SNES to your smart TV, ensuring you can enjoy your favorite SNES games with improved visuals and sound.
Before we dive into the process, it’s important to note that the specific steps may vary depending on the model of your SNES console and smart TV. However, the general principles will remain the same, allowing you to adapt the instructions to your specific setup.
In the next section, we’ll cover the preparations you need to make before connecting your SNES to your smart TV. This includes gathering the necessary cables and ensuring your SNES console is in working condition. Let’s get started!
Preparing your SNES console
Before you can connect your SNES to your smart TV, there are a few things you need to do to ensure everything goes smoothly. Follow these steps to prepare your SNES console:
1. Check the condition of your SNES console: Start by inspecting your console to ensure it is in good working condition. Check for any visible damage or loose connections that may hinder the connection process.
2. Clean the cartridge slot and game cartridges: Over time, dust and debris can accumulate in the cartridge slot of your SNES console, which can affect its performance. Use a clean, dry cloth or a specialized cartridge cleaner to gently clean the slot. Additionally, clean the game cartridges to ensure optimal performance.
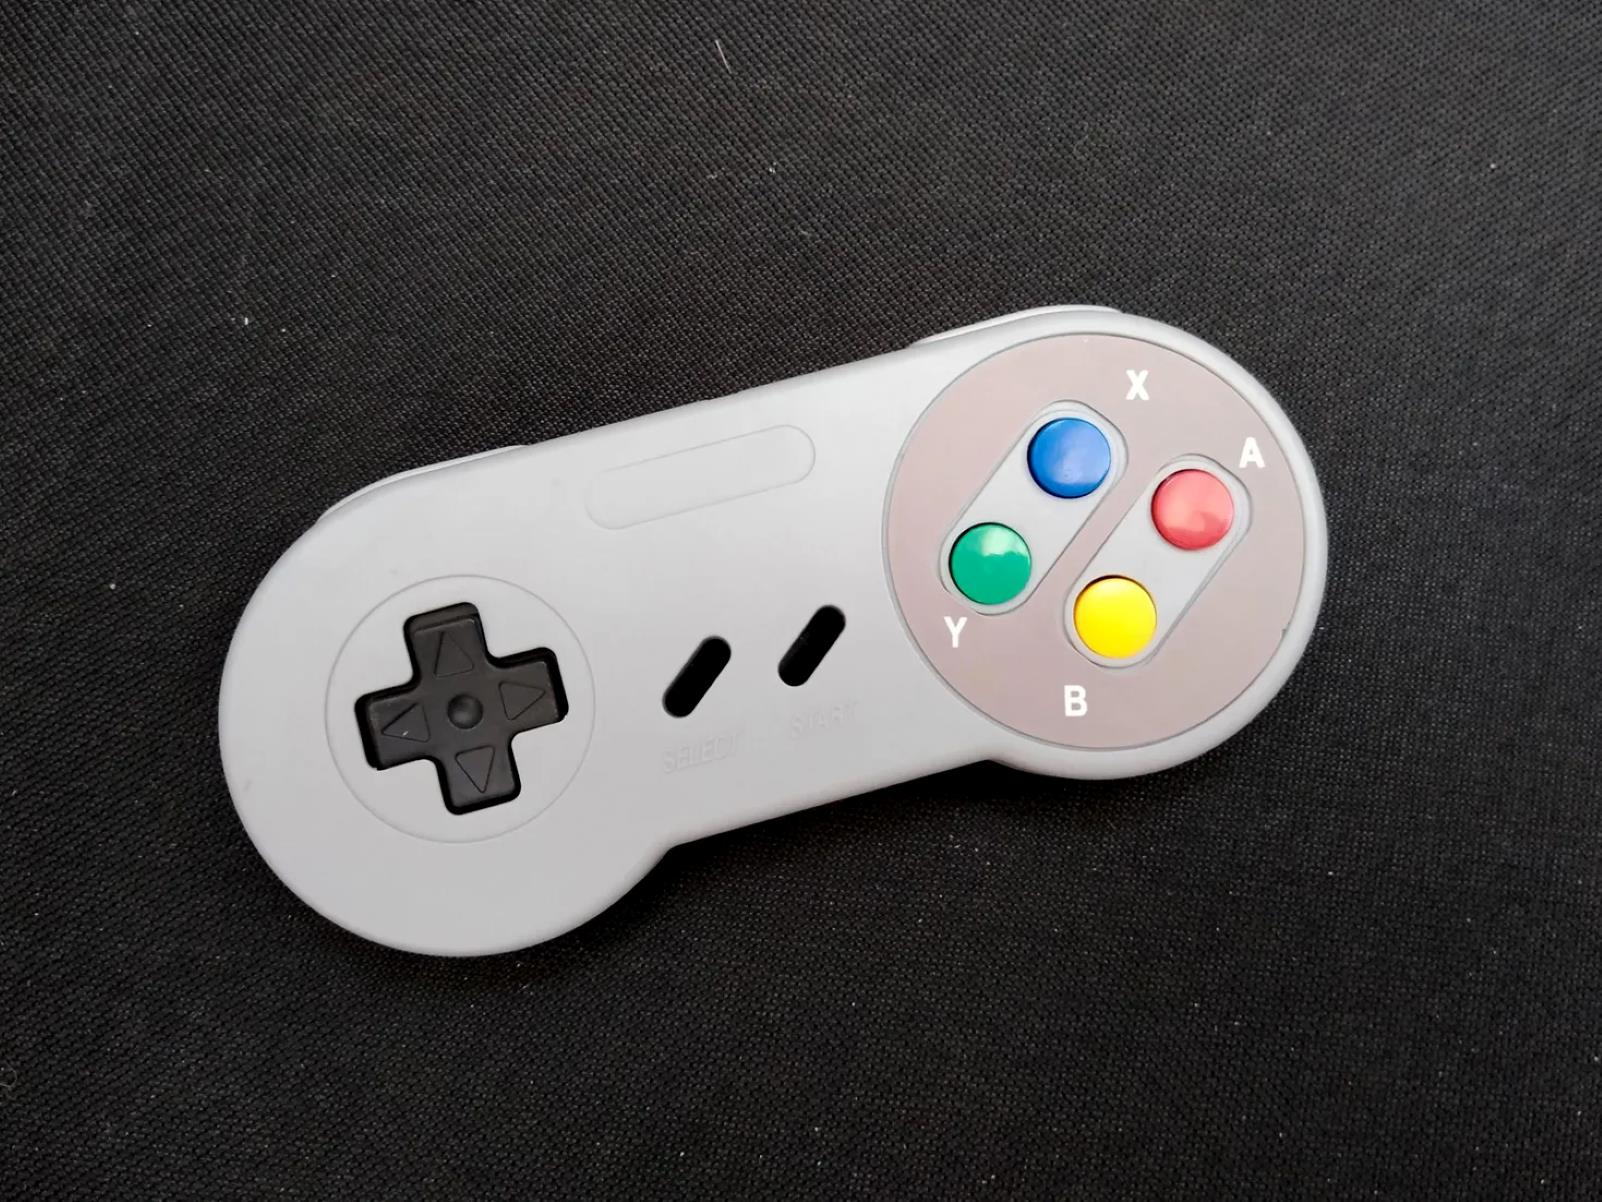
3. Test your SNES controller: Connect your SNES controller to the console and test its functionality. Press each button to ensure it is responsive and functions as intended. If you encounter any issues, you may need to clean the controller or consider replacing it.
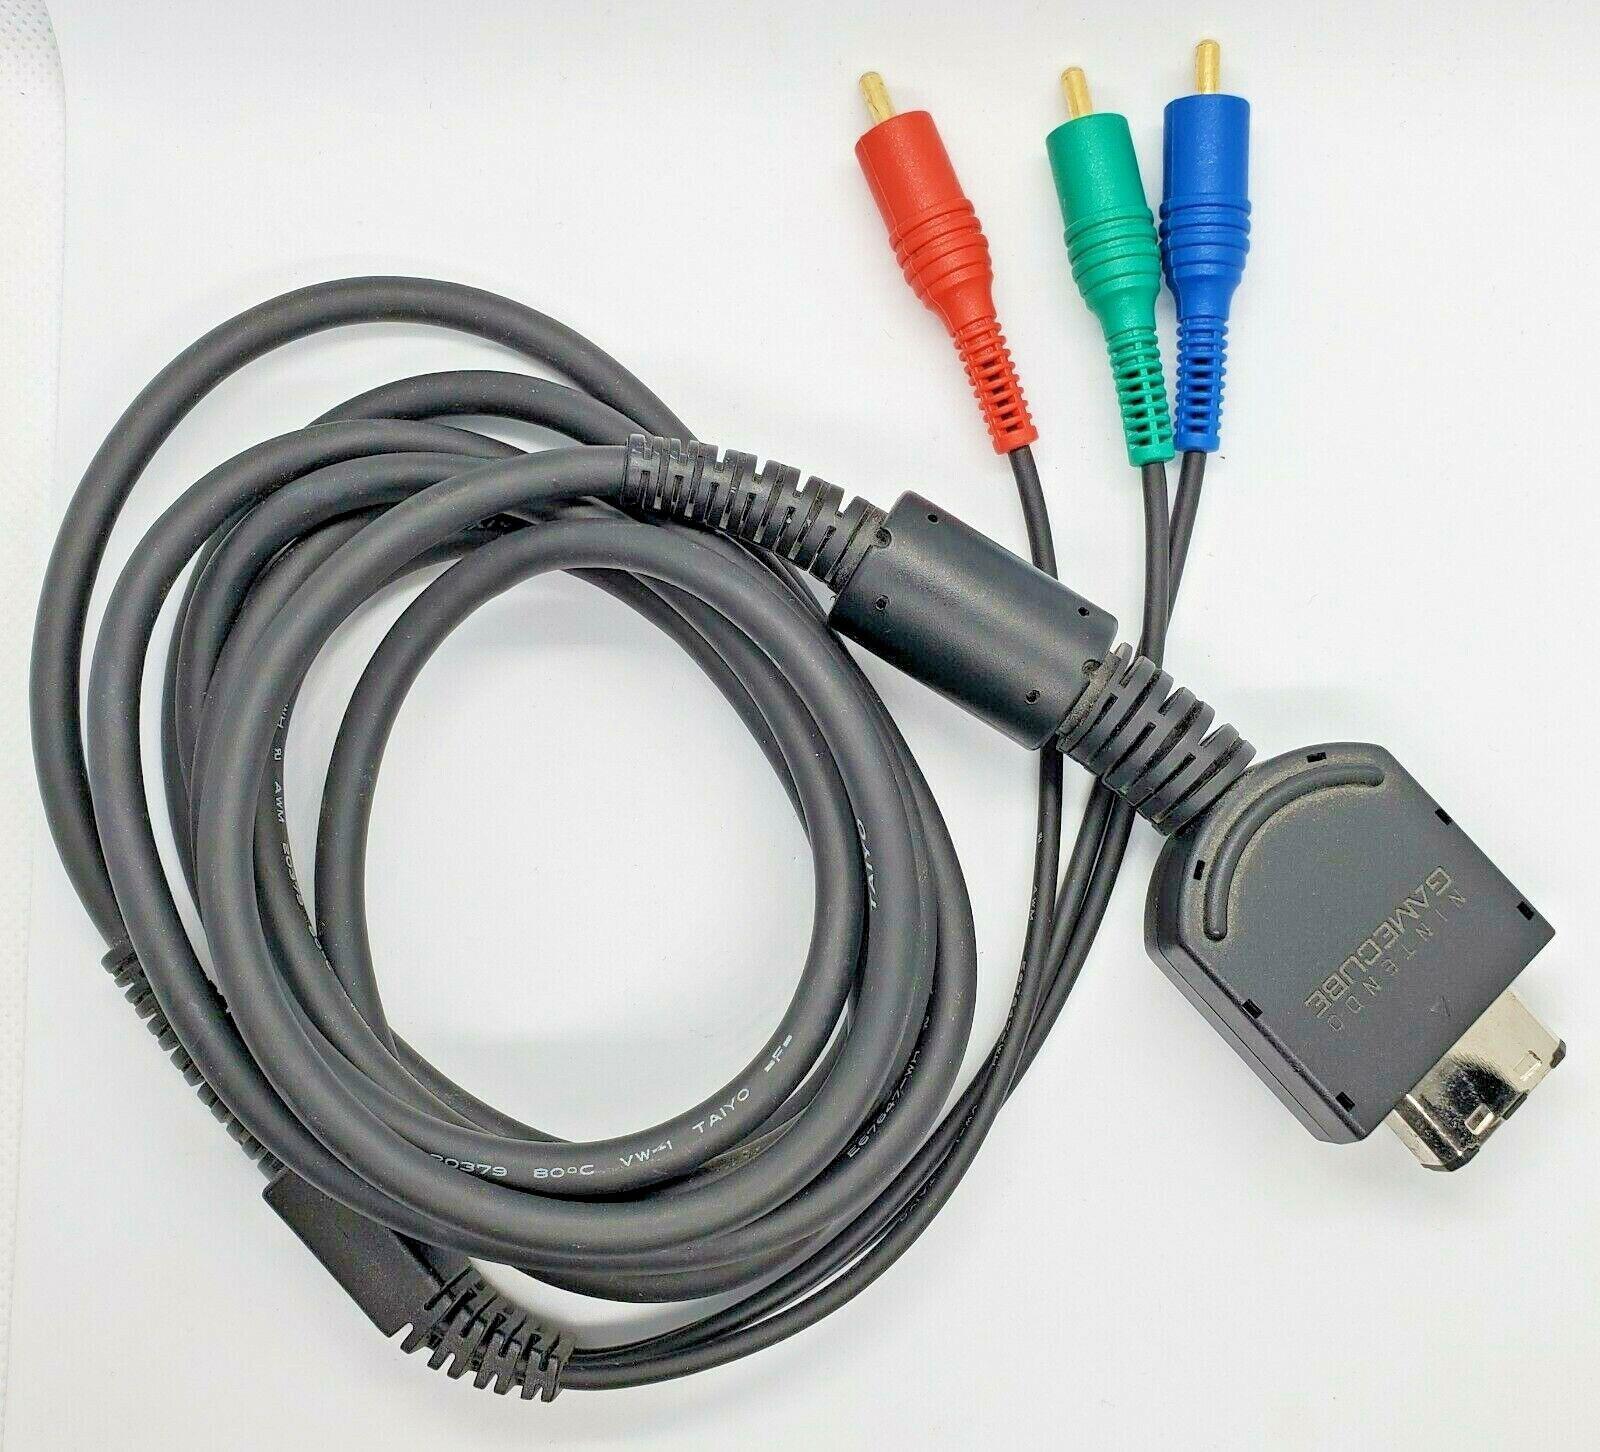
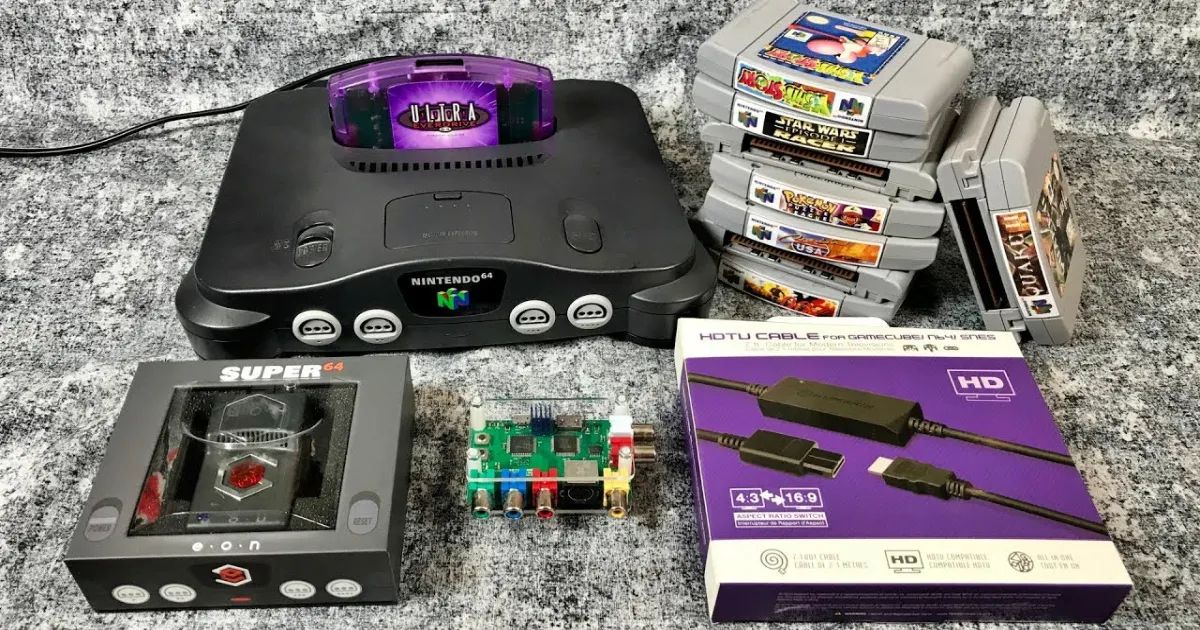
4. Ensure you have the necessary cables: The SNES console typically uses an AV cable or an RF cable to connect to a TV. Check if your console includes these cables. If not, you can easily find compatible cables online or at gaming stores.
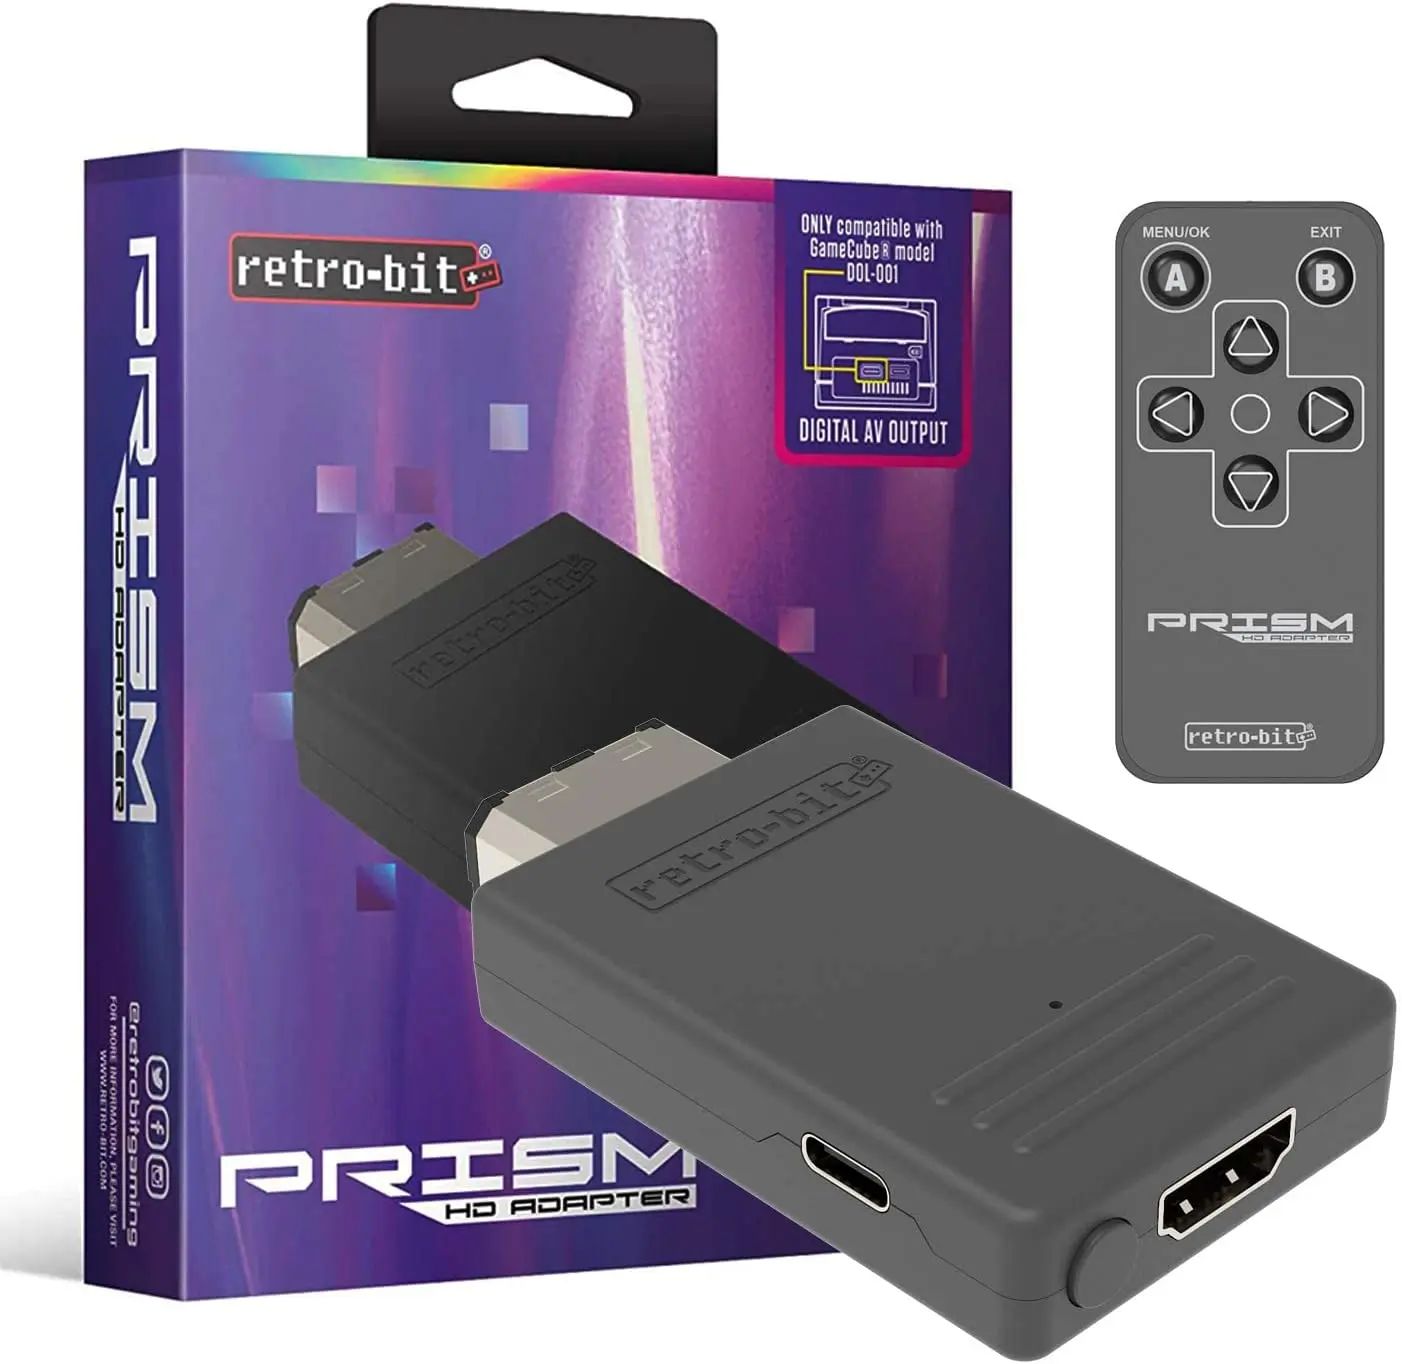
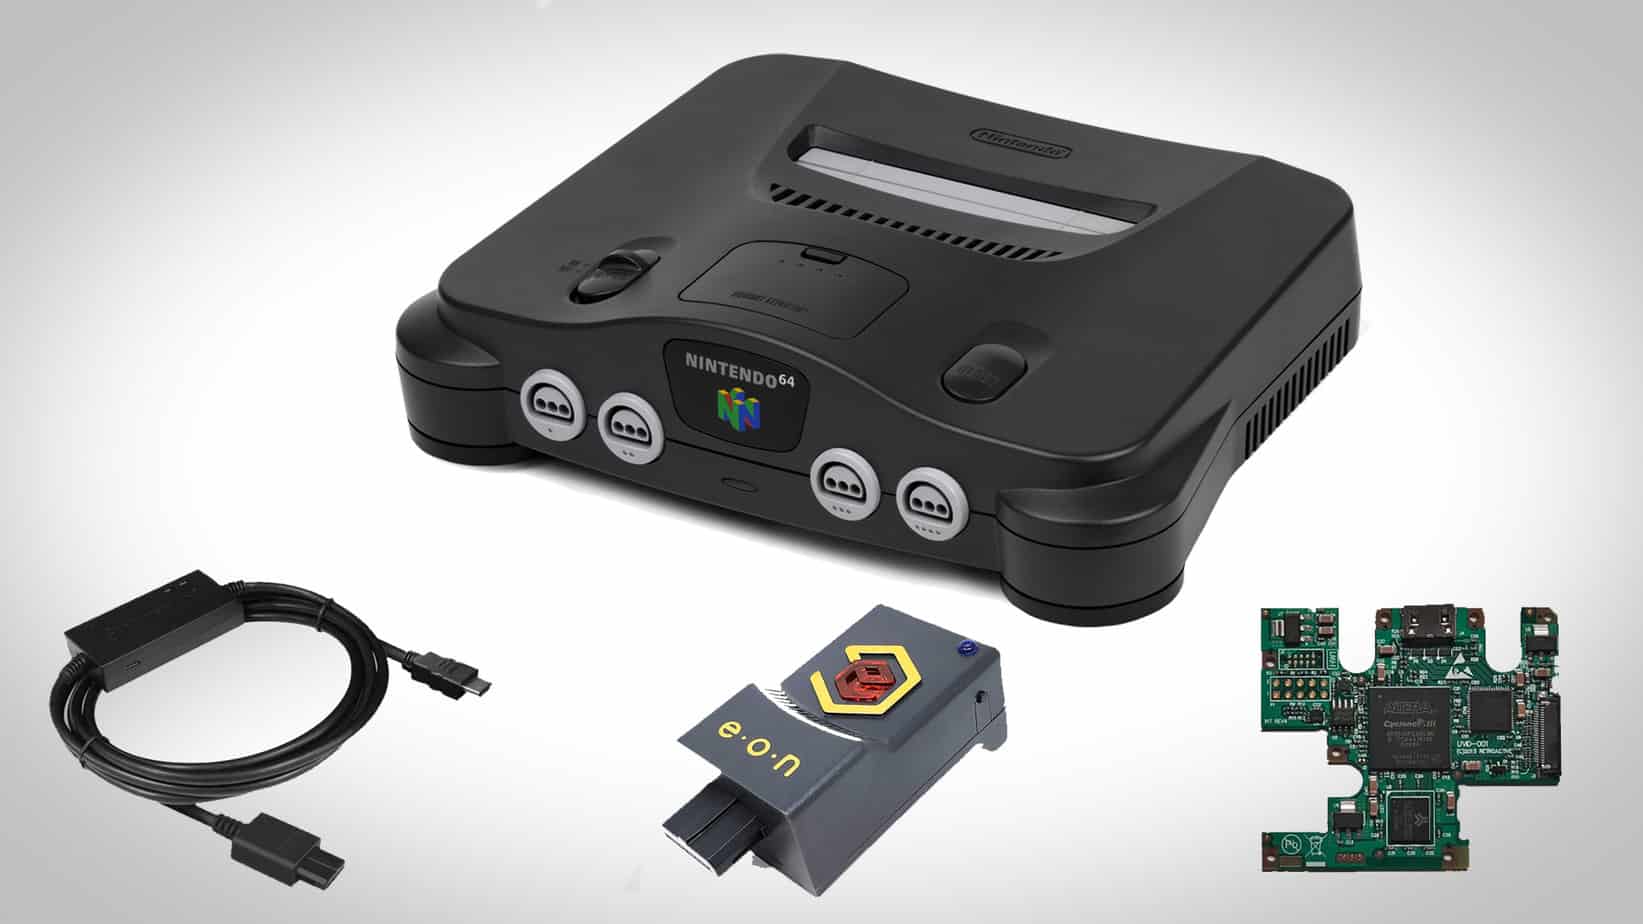
5. Acquire an HDMI adapter: Most modern smart TVs only support HDMI connections. To connect your SNES to a HDMI-enabled TV, you’ll need an HDMI adapter specifically designed for the SNES. Look for reputable brands and ensure the adapter is compatible with your SNES model.
Once you have completed these preparations, you are ready to connect your SNES console to your smart TV. In the next section, we will guide you through the process of making the necessary connections.
Connecting the SNES to your smart TV
Now that you have prepared your SNES console, it’s time to connect it to your smart TV. Follow these steps to establish the connection:
1. Identify your TV’s input ports: Take a look at the back or side of your smart TV to find the available input ports. Look specifically for an HDMI port, as this is what we’ll be using to connect the SNES.
2. Connect the SNES to the HDMI adapter: Attach the AV or RF cable provided with your SNES console to the console itself. Then, connect the other end of the cable to the HDMI adapter. Ensure it is securely plugged in.
3. Connect the HDMI adapter to the TV: Insert the HDMI adapter into the HDMI port of your smart TV. Make sure it is inserted fully and securely.
4. Power on the SNES console: Turn on your SNES console and ensure it is functioning properly. You should see the power LED indicator light up, indicating that the console is receiving power.
5. Switch the TV input: Grab your TV remote and navigate to the input or source selection menu. Look for the input source that corresponds to the HDMI port you connected the SNES to. Select it to switch the TV to the SNES input.
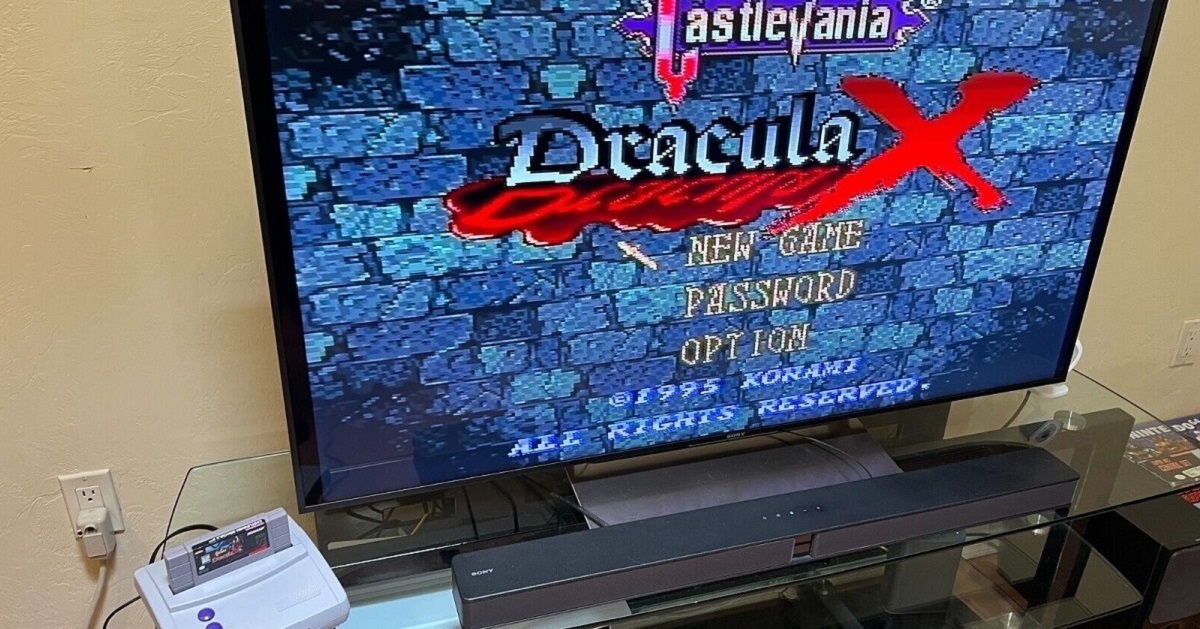
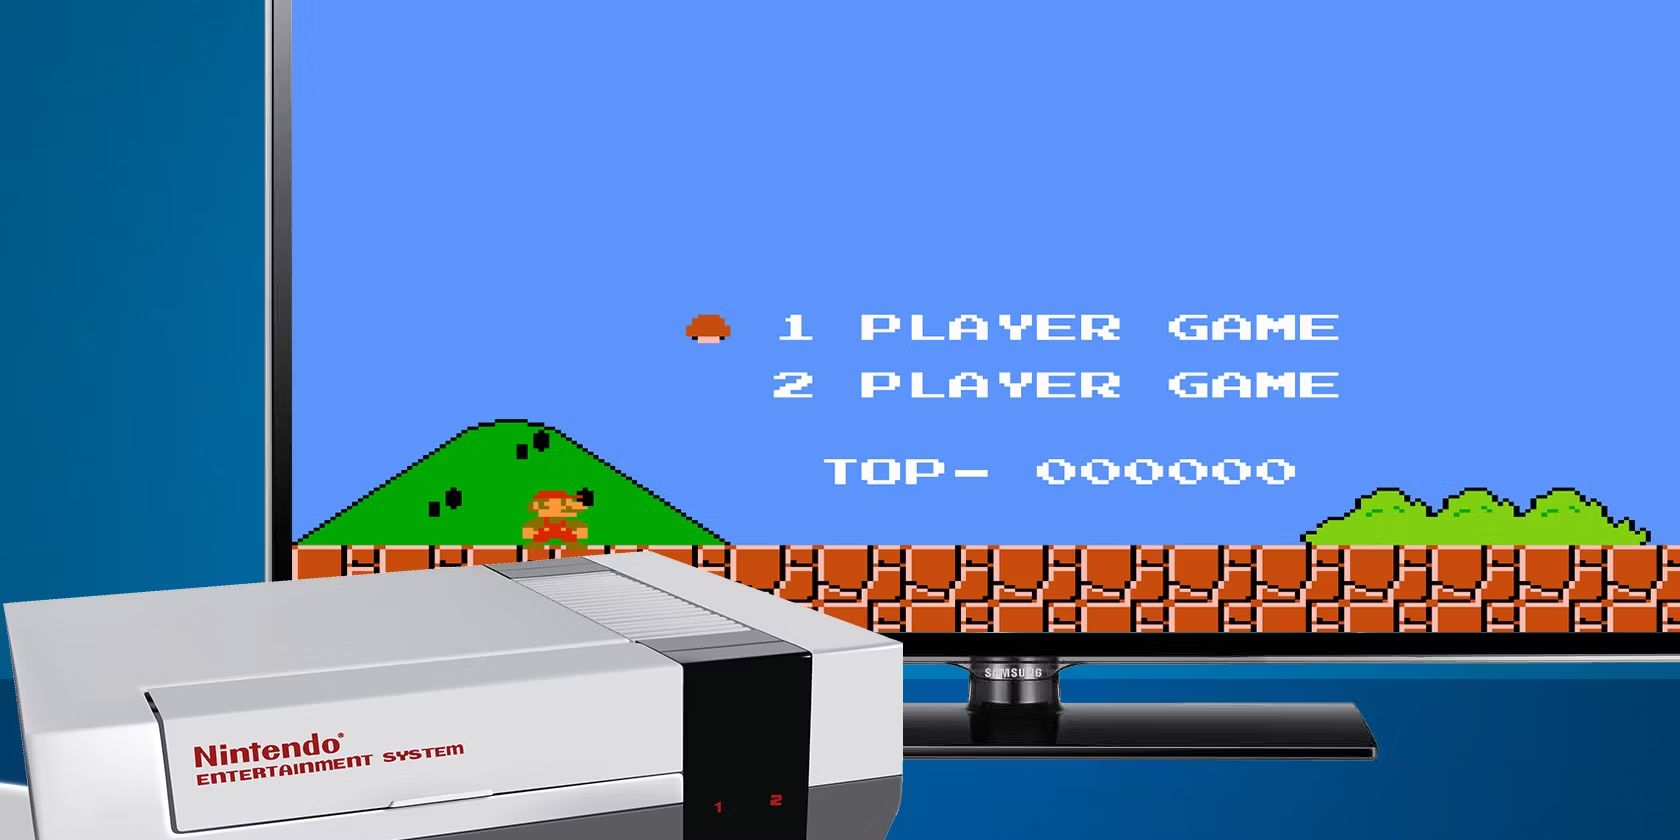
6. Test the connection: With the SNES input selected on your smart TV, you should now see the SNES display on your TV screen. Grab a game cartridge, insert it into the console, and test if you can play the game. Use the SNES controller to navigate and interact with the game.
If you don’t see the SNES display on your TV or encounter any issues, refer to the troubleshooting section later in this guide for potential solutions. Otherwise, proceed to the next section to adjust the TV settings for optimal display and performance.
Adjusting the TV settings
After successfully connecting your SNES to your smart TV, it’s important to adjust the TV settings to ensure the best display and performance for your gaming experience. Follow these steps to optimize the TV settings:
1. Display settings: Access the TV’s menu and navigate to the display settings. Adjust the brightness, contrast, and sharpness settings to your preference. Experiment with these settings to achieve the best visual quality for your SNES games.
2. Aspect ratio: Many smart TVs offer different aspect ratio options. For the best experience, choose a 4:3 or square aspect ratio setting. This will ensure that the SNES games maintain their original proportions without stretching or distorting the images.
3. Game mode: Some smart TVs have a dedicated game mode that reduces input lag and enhances the gaming experience. Enable this mode if available, as it can help improve the responsiveness and smoothness of your gameplay.
4. Audio settings: Adjust the TV’s audio settings to your preference. Depending on your smart TV model, you may have options such as surround sound, equalizer settings, or audio presets. Experiment with these settings to find the audio quality that suits your preferences.
5. Audio output options: If you prefer to use external speakers or a sound system for better audio quality, ensure that your smart TV is set to output the audio through the desired audio output option. This can typically be found in the TV’s audio settings menu.
Once you have made the necessary adjustments, test your SNES games again to see how they appear and sound on your smart TV. Remember that personal preferences vary, so adjust the settings according to your own preferences to enhance your gaming experience.
If you encounter any issues or problems with the display, audio, or performance of your SNES games, refer to the troubleshooting section in the next part of this guide for potential solutions.
Troubleshooting common issues
While connecting your SNES to your smart TV is generally a straightforward process, you may encounter some common issues along the way. Here are some troubleshooting tips to help you address these problems:
1. No display on the TV:
- Ensure that all the cables are securely connected to both the SNES console and the TV.
- Verify that the TV is switched to the correct input source for the SNES.
- Try using a different HDMI port on your smart TV if available.
- If using an RF cable, make sure the TV is set to the appropriate channel (often channel 3 or 4).
2. Distorted or stretched display:
- Check the aspect ratio setting on your smart TV and adjust it to 4:3 or square.
- Explore the display settings on the TV and adjust brightness, contrast, and sharpness accordingly.
- If the issue persists, try using a different HDMI adapter or cable.
3. Poor or no audio:
- Ensure that the audio cables are securely connected between the SNES console and the TV or external audio system.
- Check the audio settings on your smart TV and make sure the volume is not muted or set too low.
- Verify that the audio output settings on your smart TV are correctly configured.
- If using external speakers or a sound system, ensure that it is connected and powered on.
4. Input lag or responsiveness issues:
- Enable the game mode or any similar setting on your smart TV to reduce input lag.
- Try using a different HDMI adapter or cable to see if the issue is resolved.
- Ensure that your SNES controller is in good working condition.
If you’ve tried these troubleshooting steps and are still experiencing issues, consult the user manual for your SNES console and smart TV for further guidance or consider seeking technical support from the manufacturers.
Now that you’ve resolved any issues and adjusted the TV settings, you’re ready to enjoy your favorite SNES games on your smart TV with optimal display and performance. Happy gaming!
Conclusion
Congratulations! You have successfully connected your SNES console to your smart TV, allowing you to enjoy the classic SNES games with improved visuals and sound. By following the steps outlined in this guide, you have overcome the challenges of connecting a legacy gaming system to a modern smart TV.
We began by preparing your SNES console, ensuring it was in good working condition and gathering the necessary cables and adapters. Then, we walked you through the process of making the physical connections between your SNES and smart TV. We also discussed the importance of adjusting the TV settings to optimize your gaming experience.
Throughout this process, it is important to troubleshoot any common issues that may arise. We provided troubleshooting tips for problems such as a missing display, distorted visuals, audio issues, and input lag. By following these troubleshooting steps, you can overcome these challenges and ensure a smooth gaming experience.
Remember that each SNES console and smart TV setup may have unique characteristics, so feel free to adapt the instructions and recommendations to suit your specific requirements. Consulting the user manuals for your console and TV can provide additional guidance if needed.
Now that you’re all set, it’s time to sit back, grab a SNES game cartridge, and immerse yourself in the joys of retro gaming. Whether you’re rekindling the memories of your childhood or experiencing the SNES classics for the first time, enjoy the nostalgia and fun that the SNES has to offer.
Thank you for choosing our guide to connect your SNES to your smart TV. We hope this information has been helpful and that you have a blast playing your favorite SNES games on the big screen!