Introduction
Are you a fan of classic video games? Do you remember the joy of playing Super Nintendo Entertainment System (SNES) games back in the day? Well, guess what? You can now relive those nostalgic moments by downloading and playing your favorite games on the SNES Classic Edition.
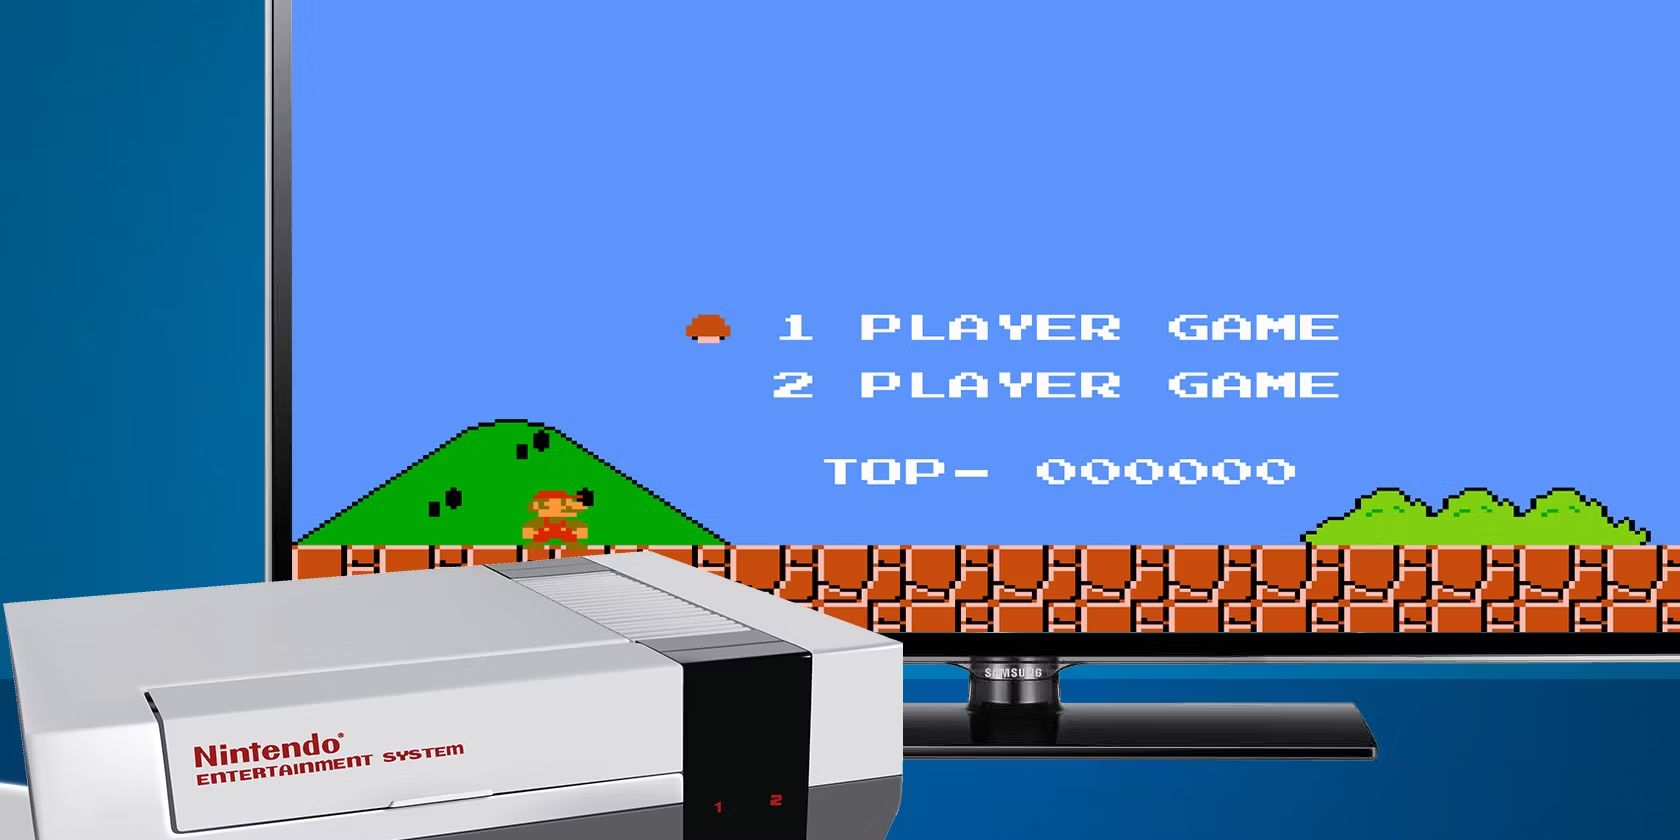
The SNES Classic Edition is a mini version of the iconic SNES console from the 90s. It comes pre-loaded with a selection of popular games, but if you want to expand your gaming library, you have the option to download and add more games to the console.
In this guide, we will take you through the step-by-step process of downloading games on the SNES Classic. Whether you’re a gaming enthusiast looking to relive your childhood or someone new to the world of retro gaming, this guide will help you get started with downloading games on your SNES Classic Edition.
Before we dive into the details, it’s important to note that downloading or distributing copyrighted games without the appropriate permissions is illegal. Therefore, we strongly advise you to only download games that you own or have the legal rights to use.
Now that we’ve got the legal bit out of the way, let’s get started and see how you can expand your gaming collection on the SNES Classic Edition!
Step 1: Set Up the Snes Classic
Before you can start downloading games on your SNES Classic, you need to ensure that the console is set up and ready to go. Here’s how you can set up your SNES Classic:
- Unbox your SNES Classic and connect it to your TV using the HDMI cable provided.
- Plug in the power adapter to turn on the console.
- Follow the on-screen instructions to complete the initial setup process, such as selecting the language and date/time settings.
- Connect the SNES Classic to your computer using a USB cable.
- Make sure the console is in “USB Mode.” You can do this by going to the “Settings” menu on the SNES Classic and selecting “Change Folders” to switch to the USB connection.
Once you have successfully set up your SNES Classic and connected it to your computer, you’re ready to move on to the next step—installing Hakchi CE.
It’s important to note that modifying your SNES Classic requires some technical knowledge and may void the warranty. Proceed with caution and at your own risk.
In the next section, we will guide you through the process of installing Hakchi CE, a popular tool that allows you to customize and add games to your SNES Classic.
Step 2: Install Hakchi CE
Hakchi CE is a powerful software tool that enables you to modify and customize your SNES Classic. It provides an intuitive interface and a wide range of features to enhance your gaming experience. To install Hakchi CE, follow the steps below:
- Download the latest version of Hakchi CE from the official website. Make sure to choose the version that is compatible with your operating system (Windows, Mac, or Linux).
- Once the download is complete, extract the files from the Hakchi CE archive to a dedicated folder on your computer.
- Launch the Hakchi CE application by running the executable file.
- Connect your SNES Classic to your computer using the USB cable.
- In the Hakchi CE main window, click on the “Kernel” menu and select “Install/Repair.” This will install the necessary drivers for the SNES Classic and ensure proper communication between the console and your computer.
- Follow the instructions provided by Hakchi CE to complete the installation process.
Once the installation is complete, you will see a notification indicating that the SNES Classic is successfully connected to Hakchi CE.
Congratulations! You have now installed Hakchi CE and are ready to proceed with downloading games for your SNES Classic. In the next section, we will guide you through the process of downloading game ROMs.
Step 3: Download Game ROMs
Now that you have Hakchi CE installed and ready to go, it’s time to download game ROMs that you want to play on your SNES Classic. ROMs are digital copies of the original game cartridges and are used to emulate the games on your console.
Here’s how you can download game ROMs for your SNES Classic:
- Open your preferred web browser and search for reputable websites that offer SNES game ROMs. Make sure to choose a trustworthy source to ensure the authenticity and quality of the ROM files.
- Navigate to the website and browse through the available games. You can search for specific titles or explore different genres to find your favorite games.
- Once you have found a game ROM that you want to download, click on the download link or button. The ROM file will be saved to your computer’s designated download location.
- Repeat this process for each game you want to add to your SNES Classic. Remember to only download games that you own or have obtained the legal rights to use.
It’s worth mentioning that some ROM files may be in a compressed format, such as ZIP or RAR. In such cases, you will need to extract the files using a file extraction tool, such as WinRAR or 7-Zip, before proceeding.
With your game ROMs downloaded and ready, you are now one step closer to expanding your gaming collection on the SNES Classic. In the next section, we will show you how to add the downloaded games to Hakchi CE.
Step 4: Add Games to Hakchi
Now that you have downloaded the game ROMs for your SNES Classic, it’s time to add them to Hakchi CE. This process allows you to organize and manage your game library within the software.
Follow these steps to add games to Hakchi CE:
- In Hakchi CE, click on the “Add Games” button located in the toolbar. This will open a file explorer window.
- Navigate to the folder where you have saved your downloaded game ROM files.
- Select the ROM files you want to add to Hakchi. You can hold down the Ctrl key while clicking to select multiple files.
- Click on the “Open” button to add the selected games to Hakchi CE. The software will analyze and import the games into its library.
- Once the games are imported, you can customize their details, such as the game title and cover art, by right-clicking on the game and selecting “Edit Game.” This step is optional but recommended for a better visual experience.
Hakchi CE also allows you to organize your games into folders and create custom game lists. This feature makes it easier to navigate and access your favorite games on the SNES Classic.
Take some time to organize and customize your game library within Hakchi CE to ensure a personalized and enjoyable gaming experience on your SNES Classic. In the next section, we will show you how to sync the games from Hakchi CE to your SNES Classic console.
Step 5: Customize Game Library
Now that you have added games to Hakchi CE, you can further customize your game library to suit your preferences. This step allows you to enhance the visual appeal and organization of your games on the SNES Classic.
Here are some ways you can customize your game library:
- Game Covers: Hakchi CE automatically retrieves cover art for the games you add. However, if the cover art is missing or you prefer a different one, you can manually update the game covers by right-clicking on the game, selecting “Google,” and choosing the desired cover image from the search results.
- Box Art: In addition to game covers, you can also add box art images to give your library a more authentic feel. Simply search for the box art image online, save it to your computer, and then drag and drop it onto the game in Hakchi CE.
- Custom Game Lists: You can create custom game lists to group similar games together. For example, you can create separate lists for platformers, RPGs, or sports games. To create a custom game list, right-click on the games tab in Hakchi CE and select “Create New Custom Game List.”
- Game Descriptions: If you want to provide additional information about a game, such as a brief description or gameplay tips, you can edit the game’s details by right-clicking on the game and selecting “Edit Game.” This allows you to add personalized descriptions for each game in your library.
By customizing your game library in Hakchi CE, you can create a personalized and visually appealing collection of games on your SNES Classic. Take some time to explore these customization options and make your gaming experience even more enjoyable.
In the next section, we will guide you through the process of syncing the games from Hakchi CE to your SNES Classic console, so you can start playing your downloaded games.
Step 6: Sync Games to SNES Classic
After customizing your game library in Hakchi CE, it’s time to sync the games to your SNES Classic console. This process transfers the selected games from your computer to the console, allowing you to play them directly on the SNES Classic.
Follow these steps to sync games to your SNES Classic:
- Make sure your SNES Classic is connected to your computer using the USB cable.
- In Hakchi CE, click on the “Synchronize” button located in the toolbar. This will initiate the syncing process.
- Hakchi CE will analyze the games and prepare them for syncing. This may take a few moments, depending on the number of games you have added.
- Once the analysis is complete, you will be presented with a list of games that will be synced to the SNES Classic. Review the list to ensure it includes all the games you want to play.
- Click on the “Synchronize Selected Games” button to start the syncing process.
- Hakchi CE will transfer the games to your SNES Classic, and a progress bar will indicate the status of the syncing process.
- Once the syncing process is complete, you will see a notification confirming that the games have been successfully transferred to your SNES Classic.
Disconnect your SNES Classic from the computer, and you can now enjoy playing your downloaded games on the console.
Remember, whenever you want to add or remove games from your SNES Classic in the future, you can simply connect it to Hakchi CE and repeat the syncing process.
Now that you have successfully synced games to your SNES Classic, it’s time to sit back, relax, and enjoy the wonderful world of retro gaming!
Step 7: Enjoy Your Downloaded Games
Congratulations! You have successfully downloaded games and added them to your SNES Classic using Hakchi CE. Now it’s time to dive into the world of retro gaming and enjoy the games you have added.
To enjoy your downloaded games on the SNES Classic, follow these steps:
- Disconnect your SNES Classic from your computer if it is still connected via USB.
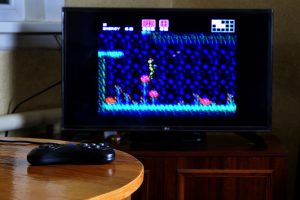
- Connect the SNES Classic to your TV using the HDMI cable, and plug it into a power source.
- Turn on your TV and switch to the appropriate HDMI input to display the SNES Classic screen.
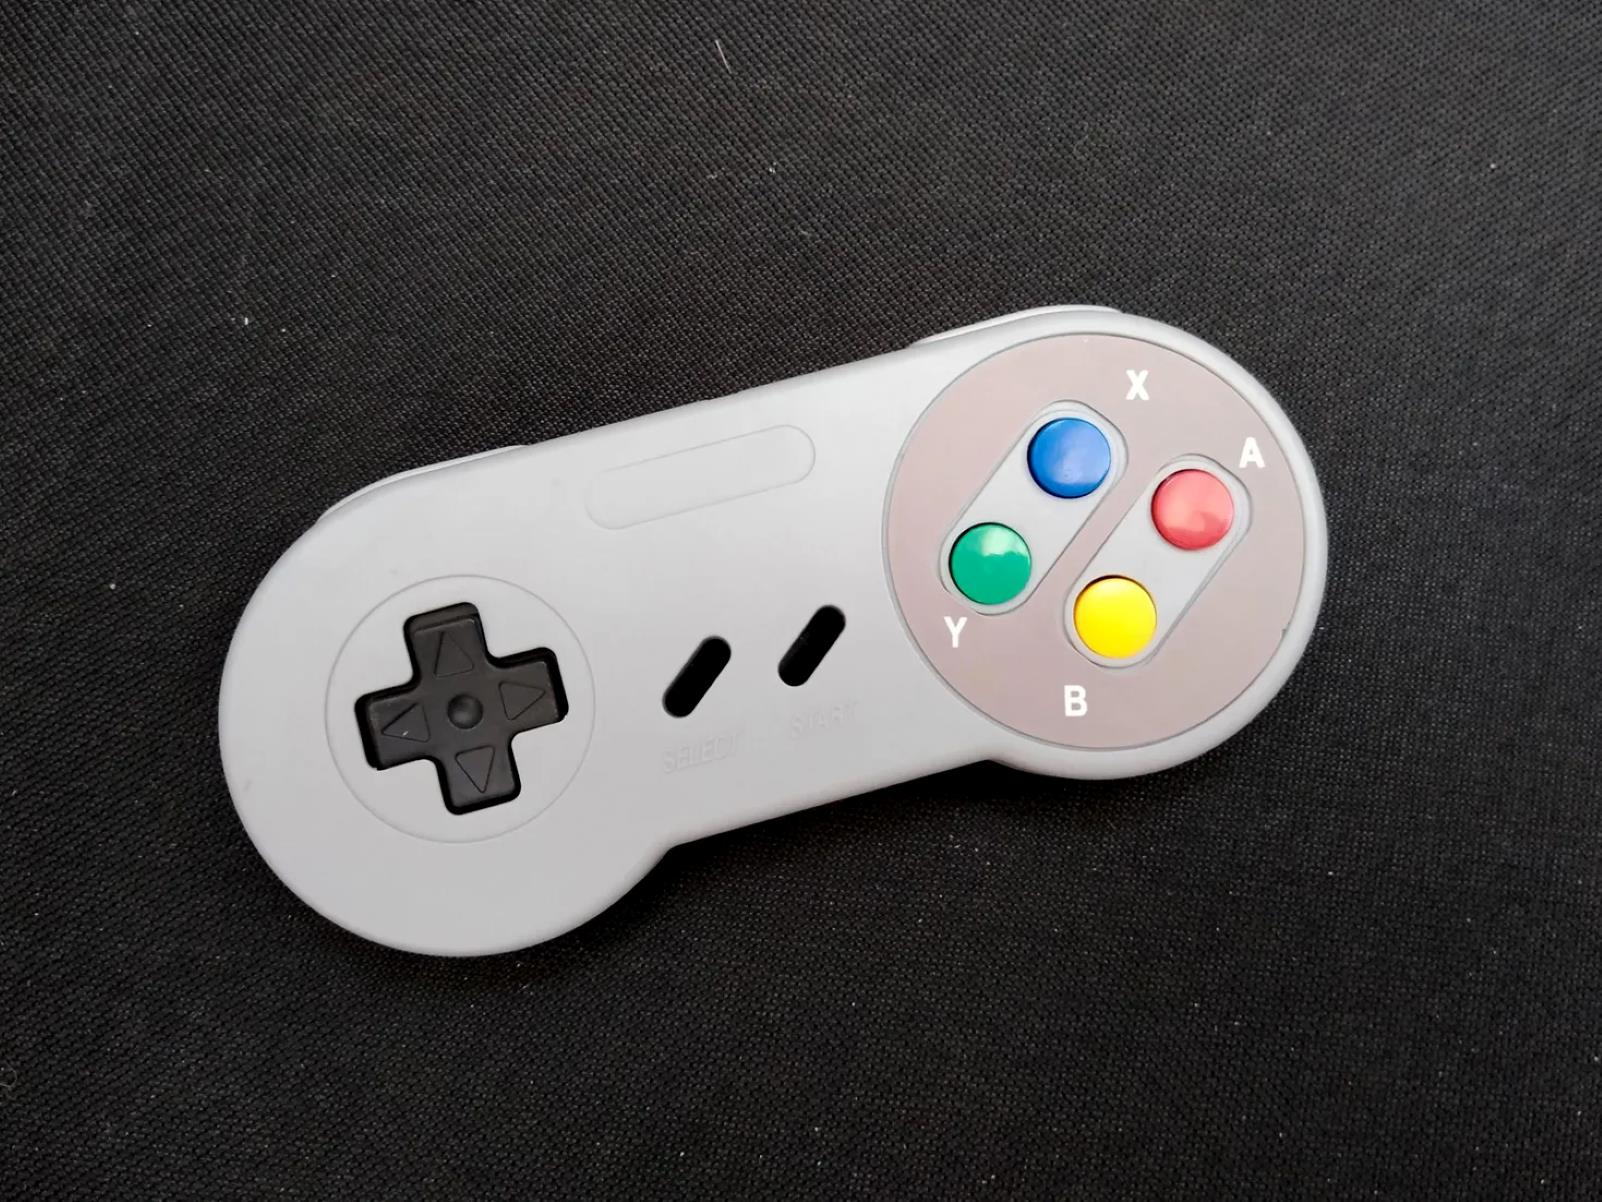
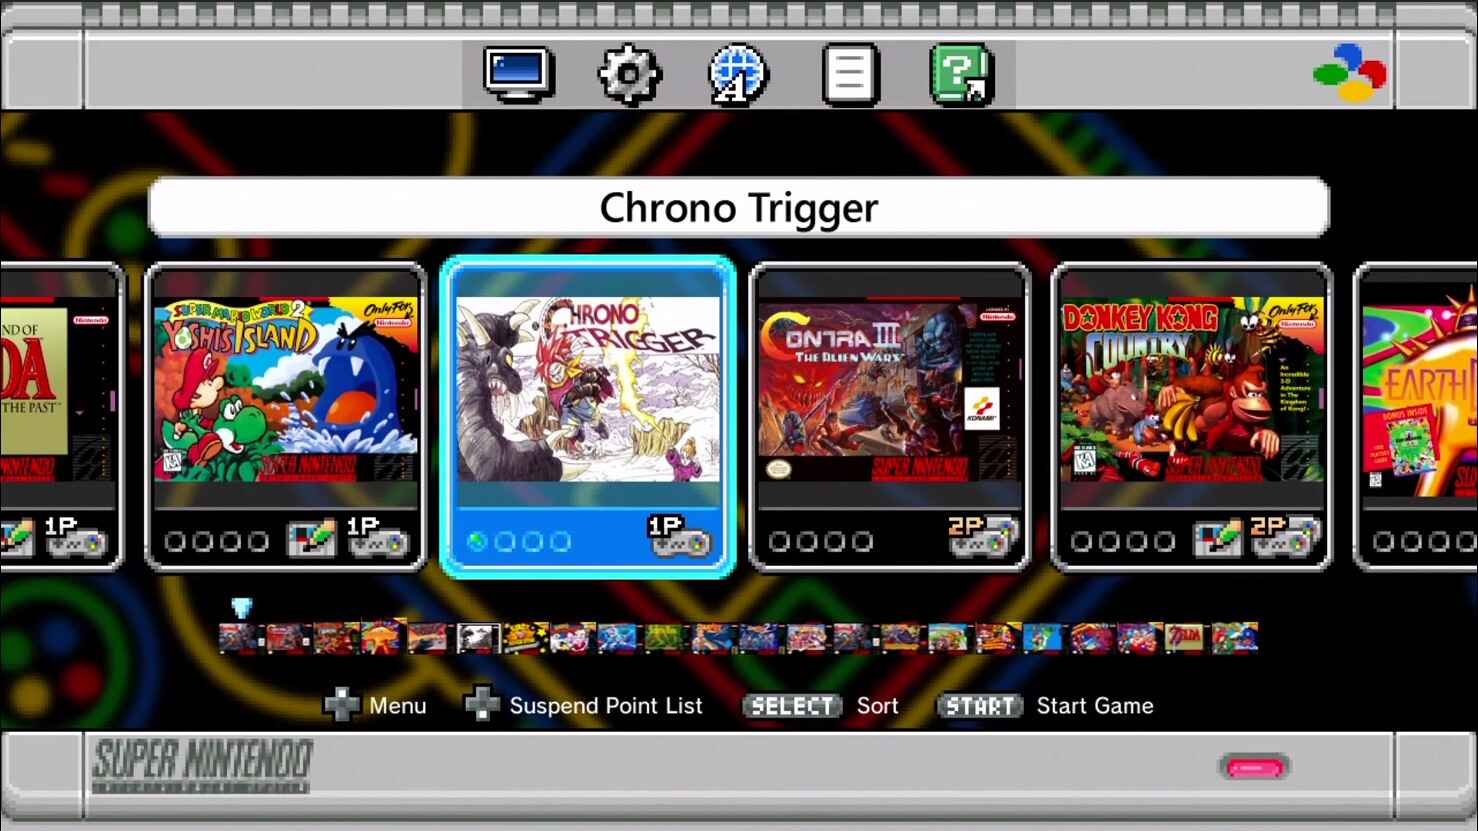
- On the SNES Classic, navigate through the main menu using the provided controller.
- Select the game you want to play from the list of available games. You will see the cover art and game information you added in Hakchi CE.
- Press the Start button on the controller to launch the selected game.
- Enjoy playing your downloaded game on the SNES Classic, just like you would with the original console!
Immerse yourself in the nostalgia of classic gaming as you explore the vast library of games on your SNES Classic. Relive your favorite childhood memories or discover new gems from the retro gaming era.
Remember to properly store and take care of your SNES Classic, and enjoy the countless hours of entertainment it provides.
If you want to add more games in the future or make any changes to your library, simply follow the previous steps in this guide to utilize Hakchi CE and continue expanding your gaming collection.
Now, grab your controller and get ready to experience the magic of retro gaming on your SNES Classic!
Conclusion
Congratulations on successfully downloading and playing games on your SNES Classic Edition! By following the steps outlined in this guide, you have unlocked a world of classic gaming nostalgia right at your fingertips.
The SNES Classic Edition, along with the powerful Hakchi CE software, allows you to expand your gaming library and enjoy a vast selection of games from the golden era of gaming. From iconic titles like Super Mario World and The Legend of Zelda: A Link to the Past to hidden gems and fan favorites, the SNES Classic has something for everyone.
Remember to always download and play games that you own or have obtained the legal rights to use. Respect the intellectual property rights of game developers and publishers.
With Hakchi CE, you can not only add games to your SNES Classic but also customize your library with cover art, box art, custom game lists, and more. Take the time to make your collection visually appealing and organized to enhance your gaming experience.
Syncing games from your computer to the SNES Classic is a straightforward process with Hakchi CE. You can easily add or remove games as desired, giving you the flexibility to curate your collection based on your preferences.
Now that you know how to download games on the SNES Classic, it’s time to relive those fond memories or experience classic gaming for the first time. Grab your controller, power up your SNES Classic, and immerse yourself in the timeless joy of retro gaming.
Enjoy your downloaded games, have fun exploring the iconic worlds, and may your gaming adventures on the SNES Classic be filled with excitement and nostalgia!