Introduction
Are you a fan of retro gaming? Do you miss the nostalgia of playing classic Nintendo 64 (N64) games? If you own a Smart TV, you’re in luck! Setting up your N64 on a Smart TV is easier than you might think. In this guide, we’ll walk you through the steps to ensure a smooth and enjoyable gaming experience.
The Nintendo 64, released in 1996, revolutionized the gaming industry with its advanced 3D graphics and iconic game library. While traditional CRT televisions were the go-to option back in the day, the rise of Smart TVs presents an opportunity to play these beloved games on a modern display. With some simple adjustments and the right equipment, you can relive those memorable gaming sessions from your childhood.
Before we dive into the setup process, let’s talk about the compatibility of your Smart TV. Not all Smart TVs are created equal, and it’s important to ensure that your TV supports the necessary inputs for connecting your N64 console. Don’t worry; we’ll guide you through this step-by-step.
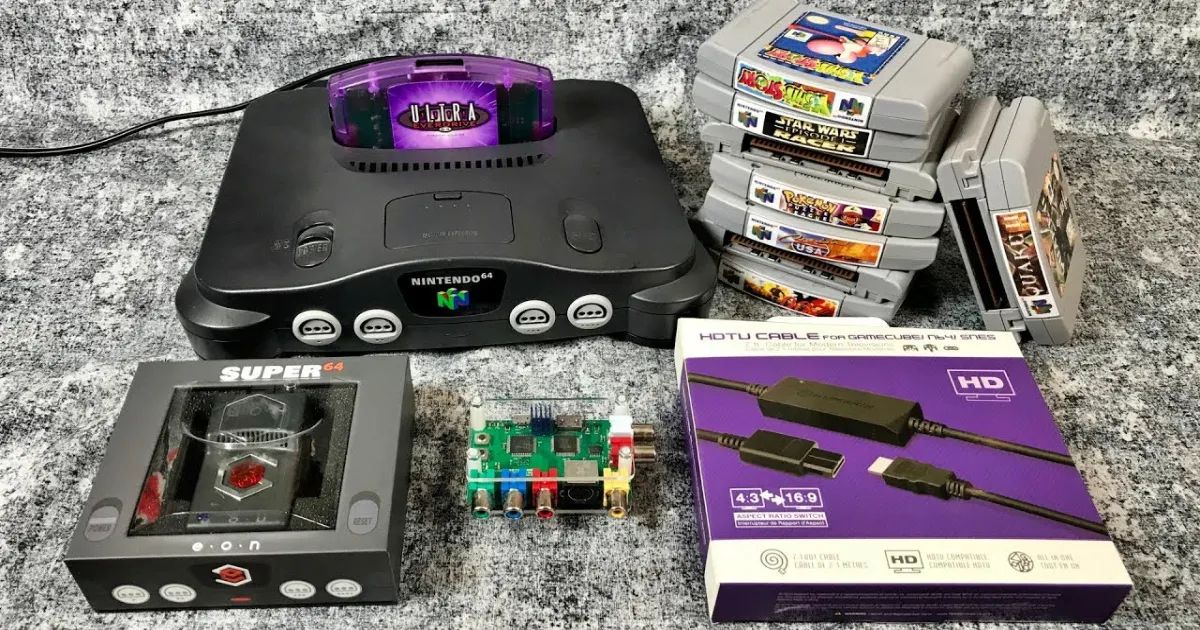
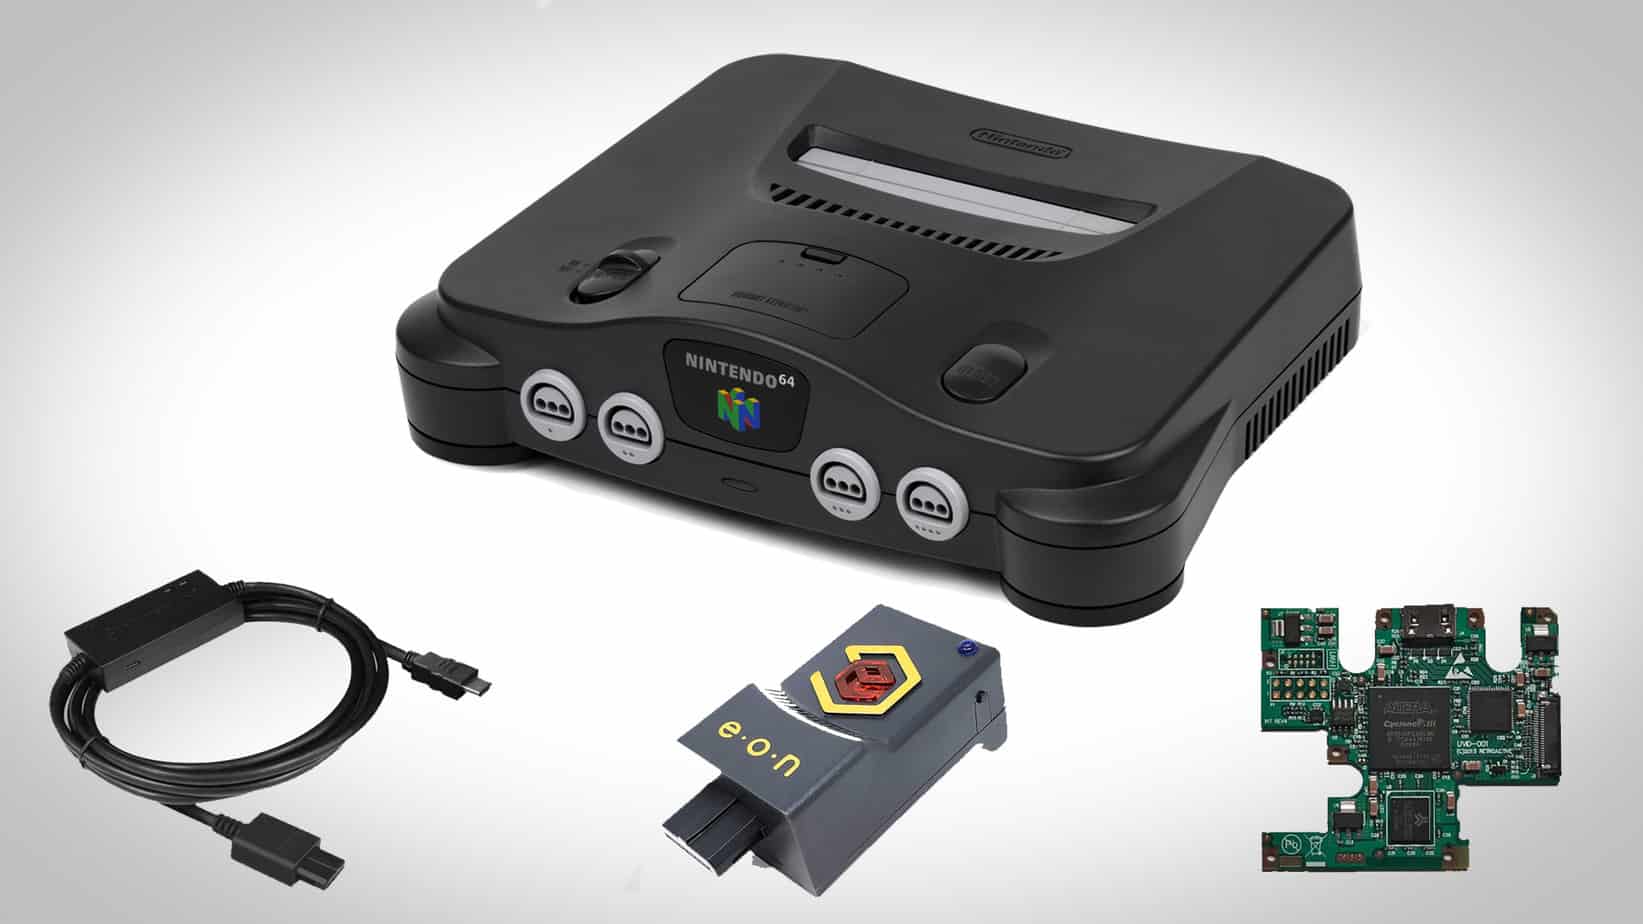
In this guide, we assume that you already have your N64 console and Smart TV. If not, make sure to get your hands on these essential components before proceeding. Additionally, it’s helpful to have the necessary cables and adapters specific to your TV and N64 model. These items can usually be purchased online or at gaming hardware stores.
So, let’s get started on setting up your N64 on your Smart TV. With the right equipment and a little bit of patience, you’ll be able to enjoy your favorite N64 games in no time. Let’s dive into the details of each step to ensure a successful and hassle-free setup process.
Step 1: Check the Compatibility of Your Smart TV
Before you begin the setup process, it’s crucial to ensure that your Smart TV is compatible with connecting a Nintendo 64 console. Smart TVs come in various models and have different input options, so it’s essential to verify that your TV has the necessary connections.
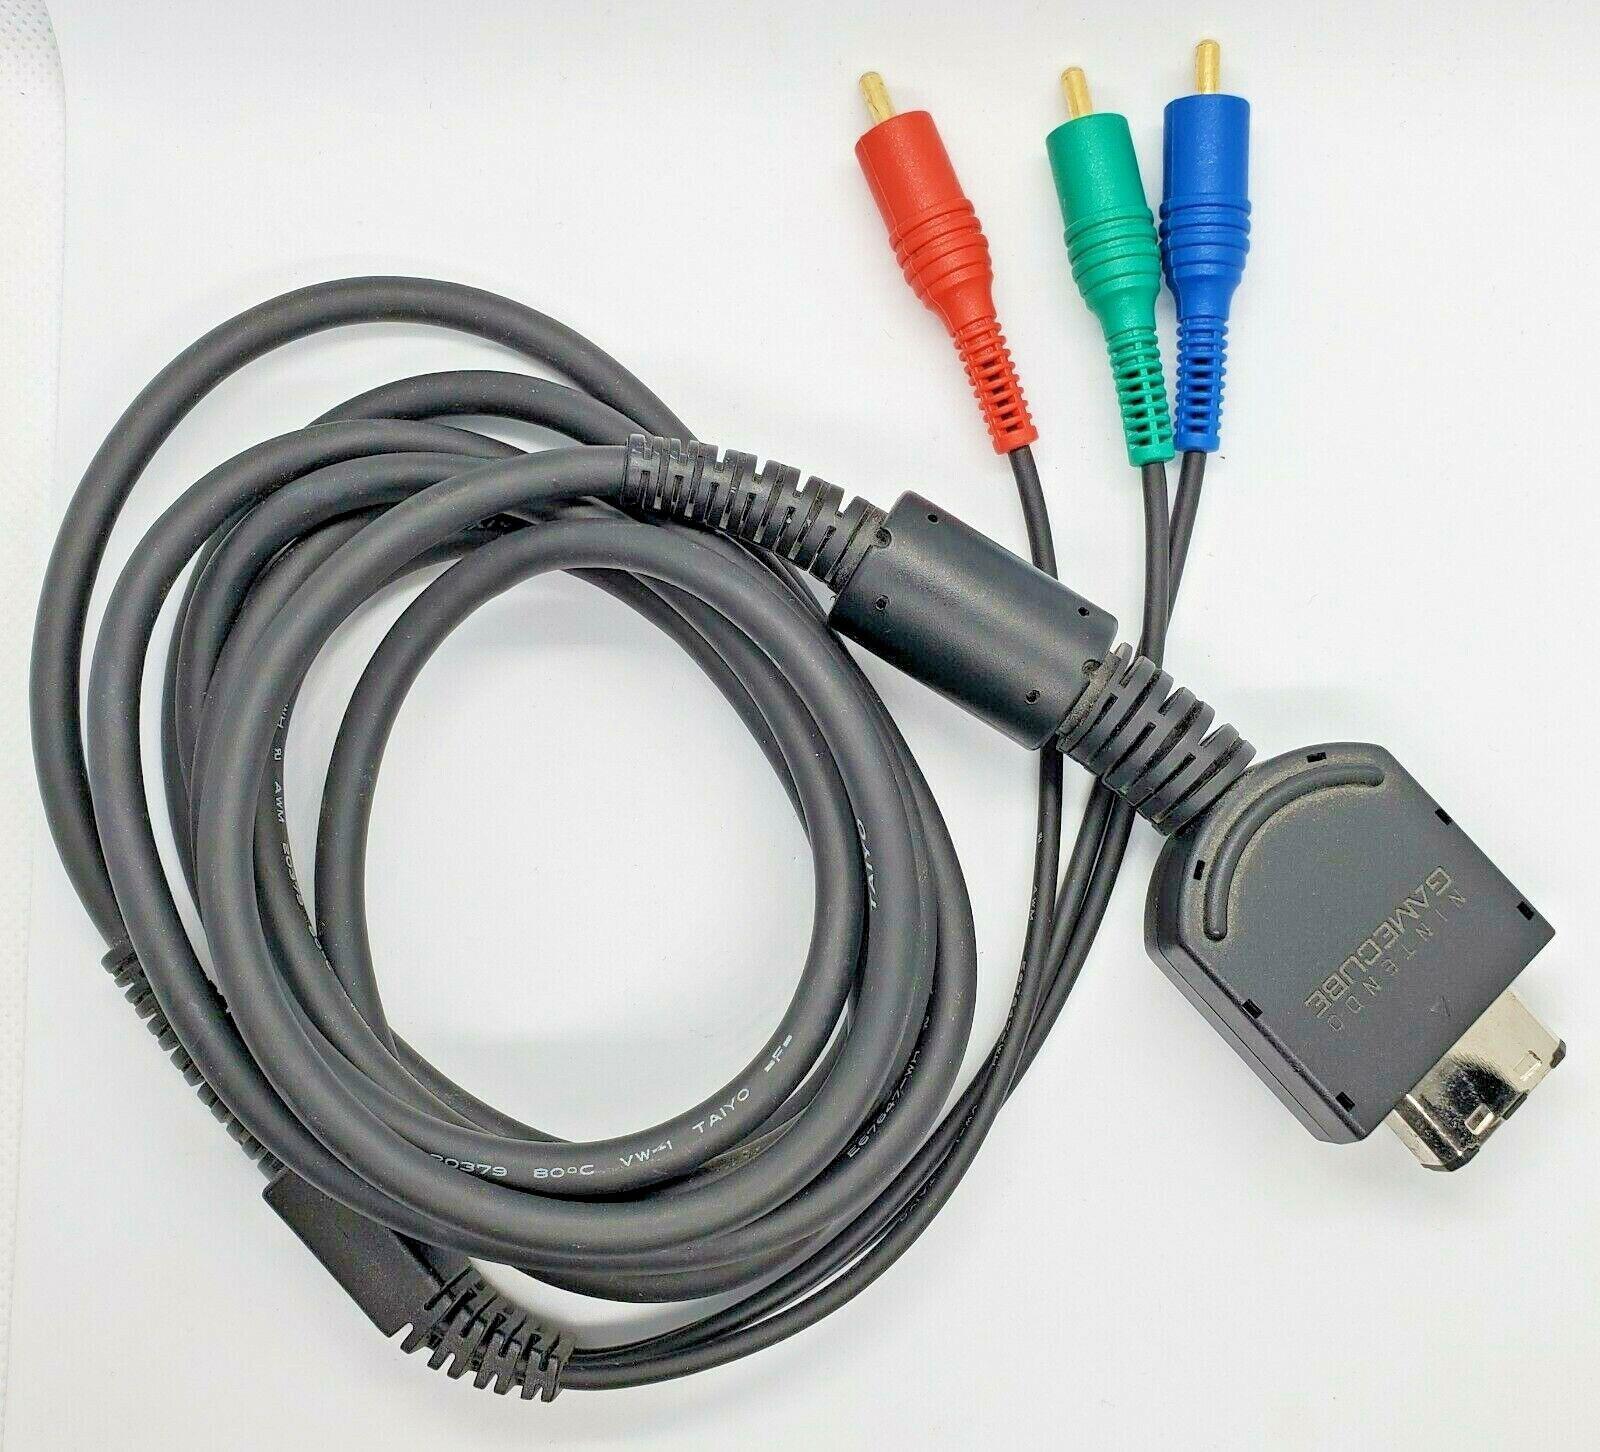
The first thing you want to look for is an “AV” or “Input” button on your TV’s remote control. This button allows you to switch between different input sources. Check for composite or component inputs on your TV, as these are the most common options for connecting the N64. Composite inputs typically have three color-coded jacks (red, white, and yellow), while component inputs have five jacks (red, green, blue, red, and white).
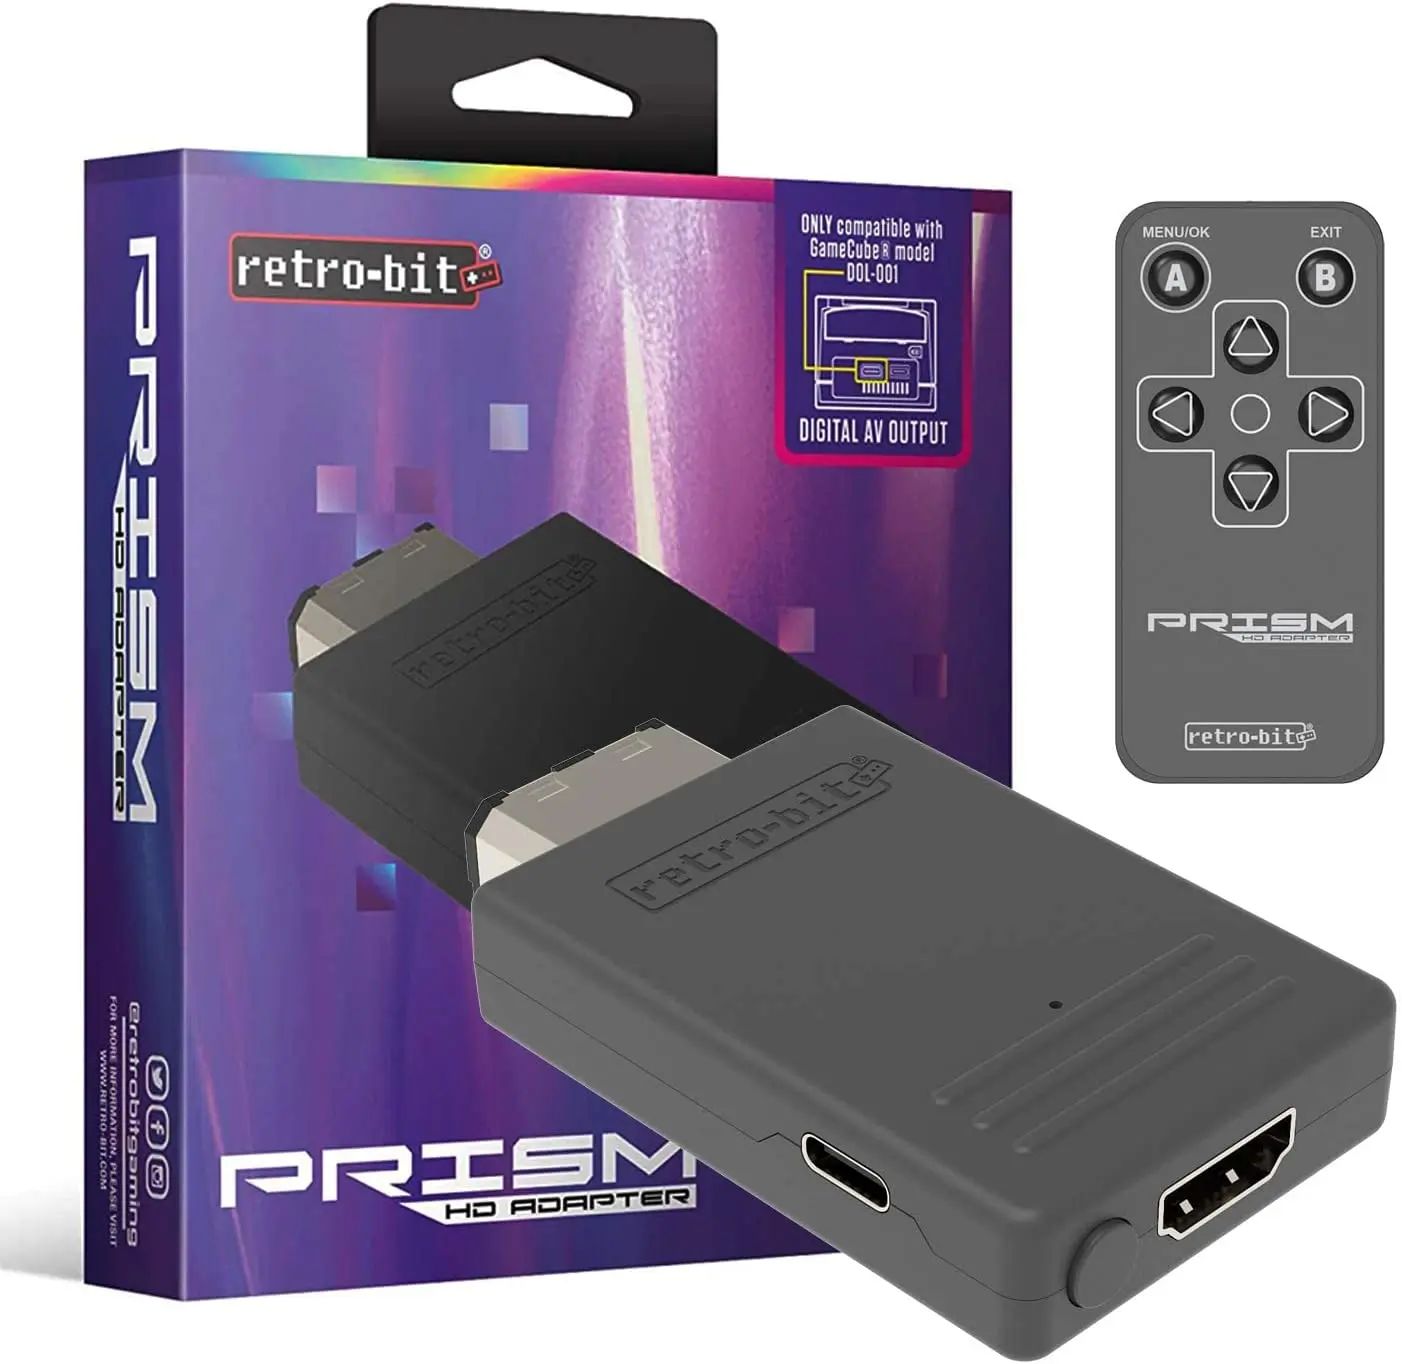
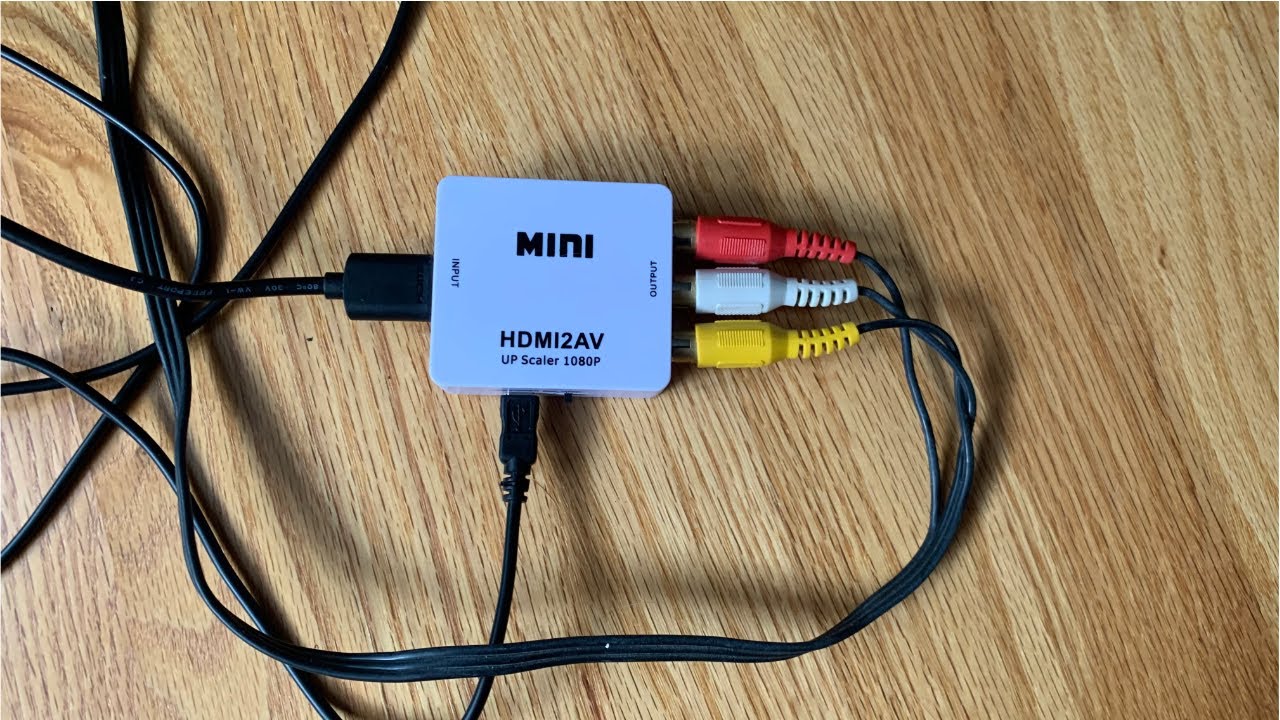
If your Smart TV lacks these traditional analog connections, don’t fret. Some modern TVs only provide HDMI inputs, which might seem incompatible at first. However, you can still connect your N64 console using an HDMI-to-RCA converter. These converters are readily available online and in electronics stores, allowing you to bridge the gap between old and new technology.
Additionally, check if your Smart TV supports running games in the original 4:3 aspect ratio. Most modern TVs are optimized for widescreen 16:9 content, which can cause N64 games to appear stretched or distorted. Look for display settings or zoom options in your TV’s menu that allow you to switch to the correct aspect ratio for the best gaming experience.
Once you have confirmed that your Smart TV is compatible and has the necessary input options, you’re one step closer to setting up your N64. In the next step, we’ll gather the required equipment to make the connection between your N64 console and Smart TV.
Step 2: Gather the Required Equipment
Now that you’ve confirmed the compatibility of your Smart TV, it’s time to gather the necessary equipment to connect your N64 console. Depending on your TV and N64 model, you may need a few additional items to ensure a smooth and seamless setup process.
The first item you’ll need is an RCA cable. This cable consists of three connectors – red, white, and yellow – which will be used to transmit audio and video signals from your N64 console to your Smart TV. Make sure the length of the cable is sufficient to reach from your TV to where you plan to place your N64 console.
If your Smart TV doesn’t have composite or component inputs, you’ll also need an HDMI-to-RCA converter. This small device allows you to convert the analog signals from your N64 into a digital HDMI signal that can be recognized by your TV. These converters are widely available online and come in various models, so make sure to choose one that suits your needs.
Furthermore, it’s crucial to have the appropriate power adapter for your N64 console. While the original power adapter that came with your console should suffice, double-check its condition to ensure it’s in proper working order. If you need a replacement adapter, you can find compatible options online or contact Nintendo customer support for assistance.
Lastly, consider investing in a surge protector or power strip to protect your N64 console and Smart TV from power surges and electrical damage. These accessories provide an extra layer of protection and help to extend the lifespan of your devices.
Once you’ve gathered all the necessary equipment, you’re ready to move on to the next step: connecting your N64 console to your Smart TV. Let’s dive into the details of this crucial step, which will bring your nostalgic gaming experience to life once again.
Step 3: Connect the N64 Console to your Smart TV
With all the required equipment in hand, it’s time to connect your N64 console to your Smart TV. Follow these simple steps to ensure a successful connection:
- Locate the AV or input ports on your Smart TV. These ports are typically color-coded – yellow for video and red/white for audio.
- Take the RCA cable and connect the yellow plug to the yellow video input port on your TV. Insert the red and white plugs into the corresponding audio input ports.
- If you’re using an HDMI-to-RCA converter, connect the RCA cables to the converter instead. Then, connect the HDMI cable from the converter to an available HDMI input on your TV.
- Plug the power adapter into the N64 console, and then plug it into a power outlet.
- Turn on your Smart TV and switch to the input source that corresponds to the port you connected the RCA cables to.
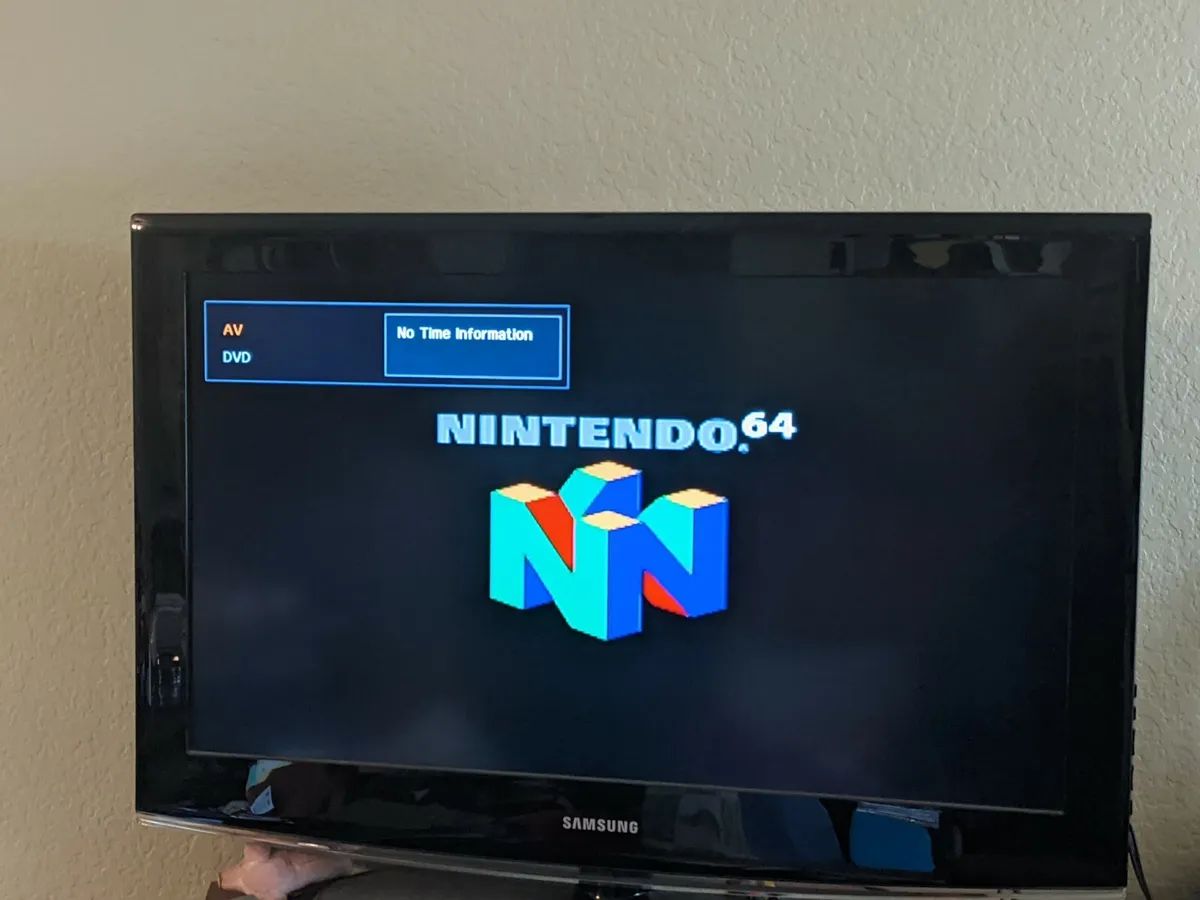
- Power on your N64 console. You should see the Nintendo logo or the game menu appear on your TV screen.
Once you’ve completed these steps, your N64 console should be successfully connected to your Smart TV. If you experience any issues with the connection or if the video/audio quality is not satisfactory, double-check the cable connections and ensure that the input source on your TV is set correctly.
It’s important to note that each Smart TV model may have different labeling or menu options for selecting the input source. Refer to your TV’s user manual or consult the manufacturer’s website for specific instructions on switching between different inputs.
Now that the connection is established, it’s time to move on to the next step: configuring the display settings on your Smart TV. This step is crucial for optimizing the visuals and ensuring the best gaming experience. Let’s explore that in detail in the upcoming section.
Step 4: Configure the Display Settings on Your Smart TV
After successfully connecting your N64 console to your Smart TV, it’s important to configure the display settings to ensure the best visual experience while playing. Follow these steps to optimize the display settings on your Smart TV:
- Access your Smart TV’s menu or settings by pressing the menu button on your TV’s remote control.
- Navigate to the display or picture settings. The exact location of these settings may vary depending on your TV’s brand and model.
- Look for an aspect ratio or screen size option. Set it to “4:3” to match the original aspect ratio of N64 games. This will prevent the games from appearing stretched or distorted on your Smart TV.
- Adjust the brightness, contrast, and color settings according to your preferences. You may want to experiment with these settings to find the optimal balance for your gaming experience.
- If available, disable any image enhancement or motion smoothing features. These features can sometimes introduce input lag or artifacts that may affect the gameplay negatively.
- Save your changes and exit the display settings menu.
By configuring the display settings correctly, you’ll ensure that N64 games are displayed as intended, preserving the authentic retro gaming experience. Take your time to fine-tune the settings to your liking, as personal preferences may vary.
It’s important to note that not all Smart TVs have the same display settings options or terminology. If you’re having trouble locating or adjusting the display settings, refer to your TV’s user manual or visit the manufacturer’s website for specific instructions.
Now that you’ve optimized the display settings on your Smart TV, it’s time to move on to the next step: adjusting the audio settings. This step will ensure that you can enjoy the full audio experience while playing your favorite N64 games. Let’s explore that in detail in the upcoming section.
Step 5: Adjust the Audio Settings on Your Smart TV
To have the best gaming experience with your N64 on your Smart TV, it’s essential to adjust the audio settings properly. Follow these steps to ensure optimal audio quality:
- Access the audio settings menu on your Smart TV. This can usually be done by pressing the menu button on your TV’s remote control and navigating to the audio or sound settings.
- Check if there are any preset audio modes available, such as “Standard,” “Cinema,” or “Game.” Select the mode that best suits your preferences.
- Adjust the volume level according to your preference. It’s advisable to set the volume to a comfortable level that allows you to hear the game’s audio clearly without being too loud.
- If your Smart TV has an equalizer or sound enhancement settings, you can experiment with them to fine-tune the audio quality. However, it’s best to keep these adjustments minimal for a more authentic gaming experience.
- Save your changes and exit the audio settings menu.
By adjusting the audio settings, you can enhance the immersive experience of playing N64 games on your Smart TV. The sound effects, music, and voices will come to life, adding to the nostalgic journey.
Just like the display settings, the audio settings on Smart TVs may vary in terms of options and terminology. If you’re having trouble locating or adjusting the audio settings, refer to your TV’s user manual or consult the manufacturer’s website for specific instructions.
With the audio settings properly adjusted, you’re almost ready to start gaming on your N64 console. The next step involves setting up the N64 controller so that you can fully enjoy the gameplay. Let’s delve into that in the upcoming section.
Step 6: Set Up the N64 Controller
Setting up the N64 controller is crucial to ensure smooth and precise gameplay. Follow these steps to properly set up your N64 controller for an optimal gaming experience:
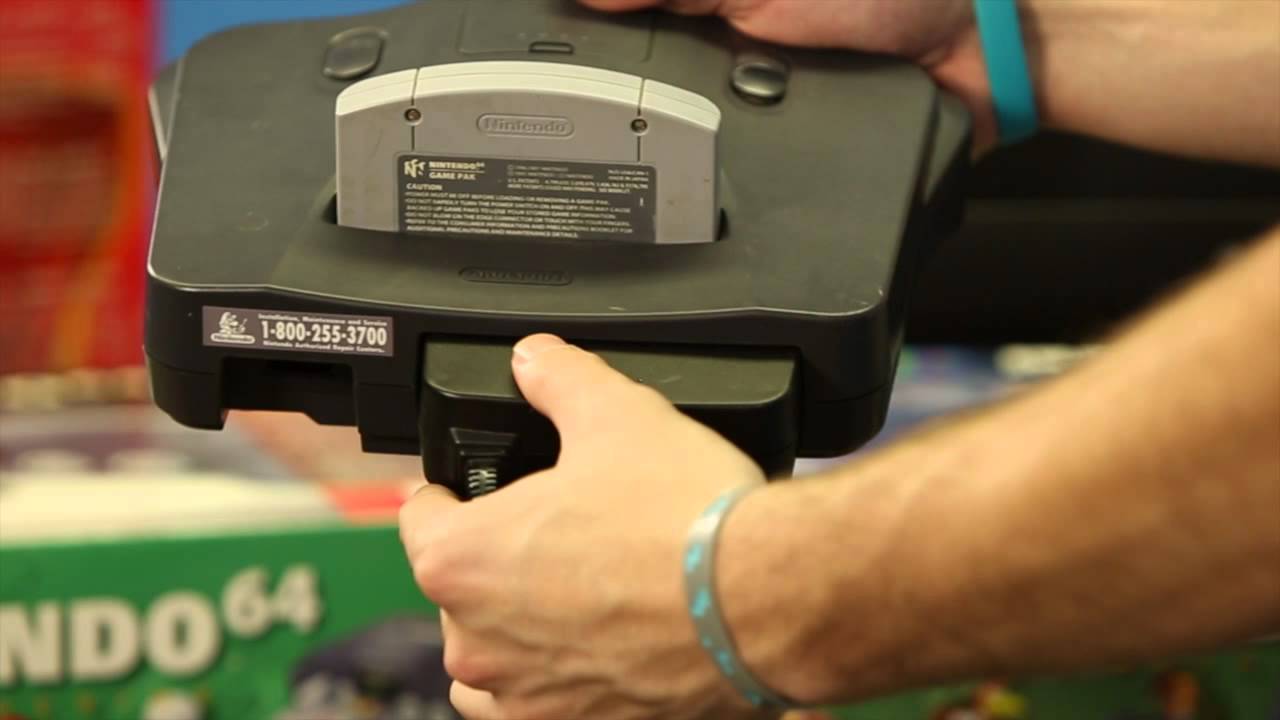
- Take the N64 controller and plug it into one of the controller ports on the front of the N64 console.
- Ensure that the controller is securely inserted, and the connectors are aligned properly.
- If you have multiple controllers, repeat the same process for each controller you want to use.
- Turn on your N64 console and wait for it to boot up completely.
- To ensure that the controller is functioning correctly, navigate to the game menu or select a game. Test the buttons and joystick to make sure they respond accurately.
- If you encounter any issues with the controller, try unplugging it and plugging it back in. If the problem persists, you may need to clean the controller or consider replacing it.
By setting up the N64 controller correctly, you’ll have precise control over your gameplay, allowing you to fully immerse yourself in the world of N64 gaming.
It’s worth noting that the N64 controller features a unique design with a central joystick and additional buttons. Take some time to get familiar with the controls if you’re new to N64 gaming. Each game may have different control schemes and button configurations, so consult the game’s manual or in-game options for more information.
Now that your N64 controller is properly set up, it’s time for the final step: testing your N64 setup on your Smart TV. Let’s explore that in the next section to ensure everything is working as expected.
Step 7: Test Your N64 Setup on Smart TV
After completing all the previous steps, it’s crucial to test your N64 setup on your Smart TV to ensure everything is functioning as expected. Follow these steps to perform a quick test:
- Select a game from your N64 game library and insert it into the N64 console.
- Power on your N64 console and wait for it to boot up.
- Switch your Smart TV to the input source you connected your N64 to.
- Using the N64 controller, navigate through the game menu and start playing the selected game.
- Pay attention to the graphics, audio, and overall performance of the game. Ensure that there are no visible issues, such as screen flickering or audio distortion.
- Test the N64 controller’s buttons and joystick responsiveness to ensure smooth gameplay.
- If you encounter any issues during the test, double-check the connections, settings, and make adjustments as necessary. Refer back to the previous steps for troubleshooting tips.
By testing your N64 setup on your Smart TV, you can verify that all components are functioning correctly, ensuring an enjoyable gaming experience. If you’re satisfied with the performance and everything is working as expected, you’re ready to dive into countless hours of retro gaming fun.
It’s important to note that N64 games may vary in terms of graphics and gameplay quality. Some older games may not look as crisp or polished as modern titles, due to the limitations of the N64 hardware. However, the charm and nostalgia of playing classic N64 games on your Smart TV more than make up for any visual shortcomings.
Congratulations! You’ve successfully set up your N64 on your Smart TV. Now, sit back, relax, and enjoy reliving the golden era of gaming with your favorite N64 titles.
Conclusion
Setting up your N64 on a Smart TV allows you to relive the nostalgic memories of playing classic Nintendo 64 games. By following the steps outlined in this guide, you can enjoy hours of retro gaming fun in the comfort of your own home.
We started by checking the compatibility of your Smart TV to ensure that it has the necessary inputs for connecting the N64 console. Then, we discussed gathering the required equipment, such as RCA cables and HDMI-to-RCA converters, to establish the connection between your N64 and Smart TV.
Next, we walked through the process of connecting the N64 console to your Smart TV, followed by configuring the display and audio settings to optimize your gaming experience. We also covered setting up the N64 controller to ensure precise control during gameplay.
Finally, we emphasized the importance of testing your N64 setup on your Smart TV to ensure everything is functioning properly. By following these steps, you can immerse yourself in the world of N64 gaming and rediscover the joy of playing timeless classics.
Remember, each Smart TV may have slightly different settings and options, so consult your TV’s user manual or manufacturer’s website for specific instructions if needed. If you encounter any issues, don’t hesitate to troubleshoot, recheck the connections, or seek assistance from gaming forums or support channels.
Now that you have successfully set up your N64 on your Smart TV, it’s time to embark on an exciting journey filled with iconic characters, challenging levels, and unforgettable gaming moments. Let the nostalgia take over as you relive the magic of the Nintendo 64 era. Happy gaming!