Introduction
Are you a fan of retro gaming? Do you still have your trusty Nintendo 64 (N64) console but want to enjoy the classic games on a modern high-definition television (HDTV)? Well, you’re in luck! In this guide, we will show you how to hook up your N64 to HDMI, allowing you to experience the nostalgic joy of your favorite games in stunning HD quality.
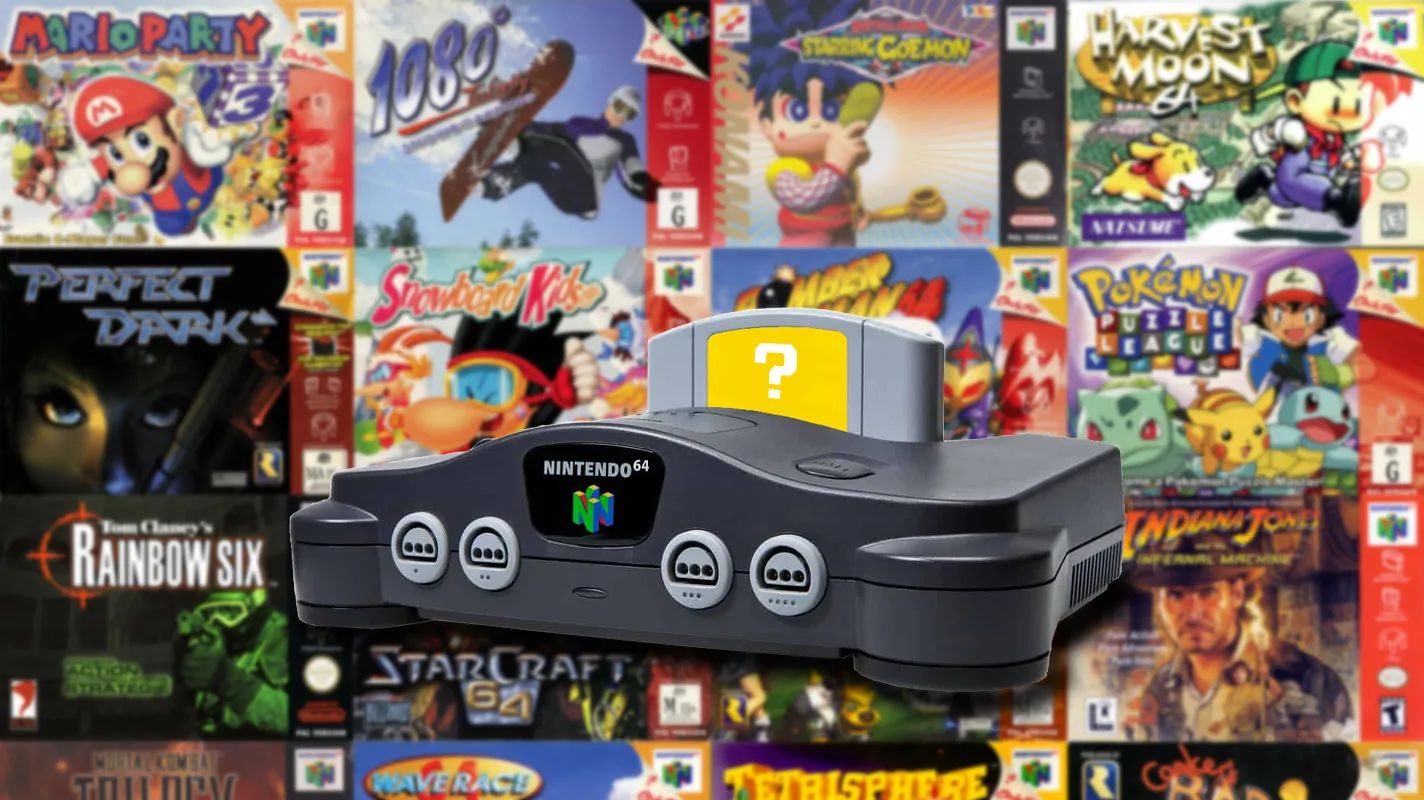
The N64, released in the mid-90s, introduced revolutionary 3D gaming experiences like Super Mario 64, The Legend of Zelda: Ocarina of Time, and GoldenEye 007. While the console originally connected to older CRT TVs using composite or RF cables, modern TVs predominantly support HDMI, making it necessary to adapt the N64’s output to HDMI.
While it may seem daunting at first, setting up your N64 with HDMI is a relatively straightforward process. You’ll need a few key components, such as an HDMI adapter specifically designed for the N64, which converts the console’s analog output into a digital signal compatible with HDMI. Additionally, you will need an HDMI cable and, of course, your N64 console and HDTV.
In this guide, we will walk you through each step of the setup process, providing clear instructions and tips to ensure a seamless connection. We will cover gathering the necessary equipment, connecting the N64 to the HDMI adapter, connecting the HDMI adapter to the TV, adjusting TV settings, and troubleshooting common issues that may arise along the way.
So, dust off your N64, grab your HDMI adapter, and let’s get started on transforming your gaming experience from nostalgic to breathtakingly clear and vibrant.
Step 1: Gather the necessary equipment
Before we dive into the process of hooking up your N64 to HDMI, let’s make sure you have all the necessary equipment on hand. Here are the items you’ll need:
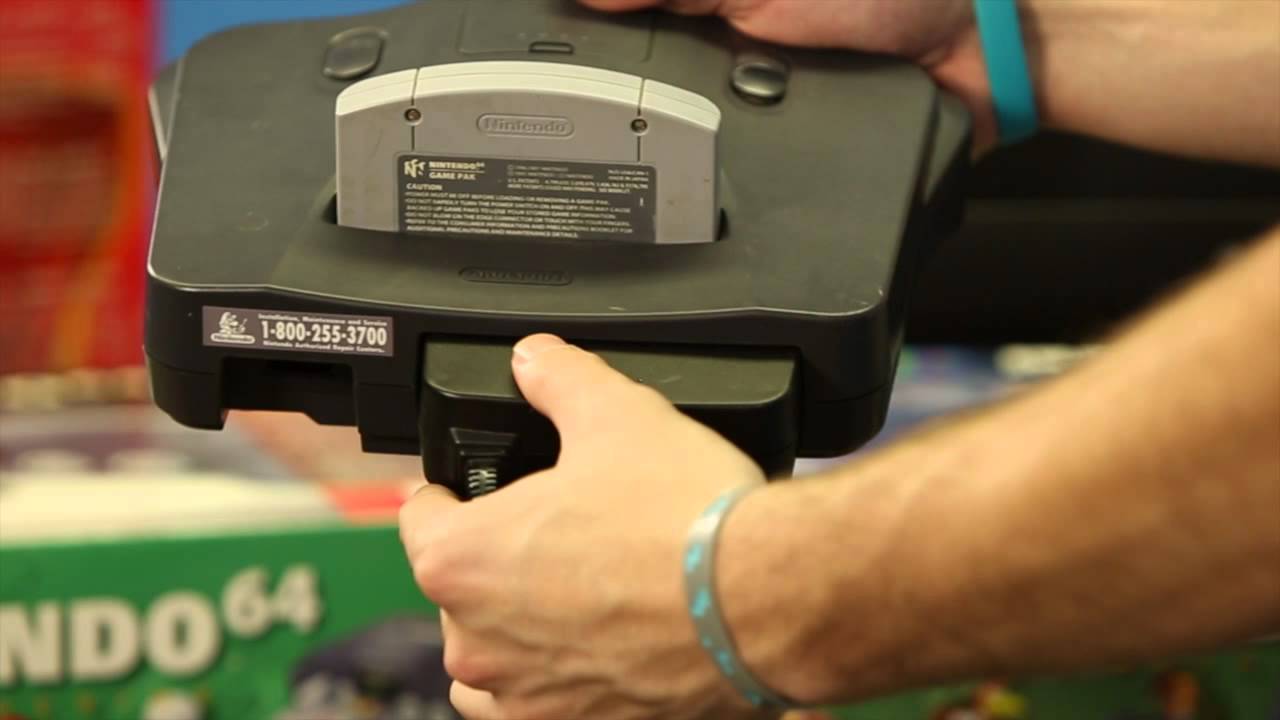
- N64 Console: Ensure that you have your Nintendo 64 console in good working condition. If it’s been sitting in storage for a while, you may want to give it a quick clean and check that all the cables and connections are intact.
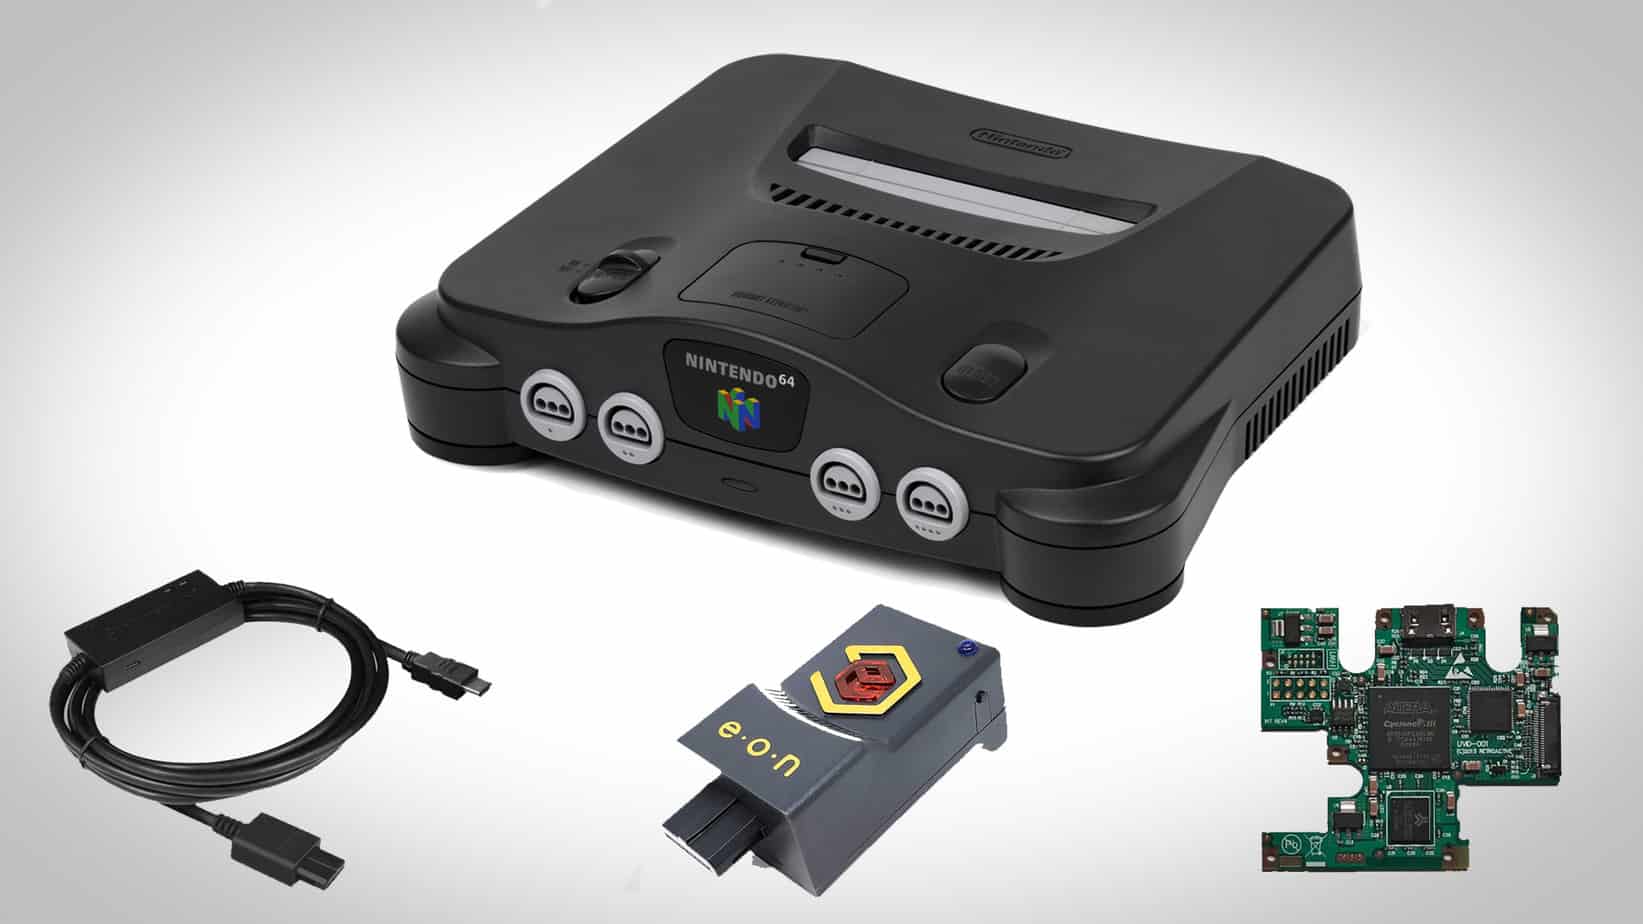
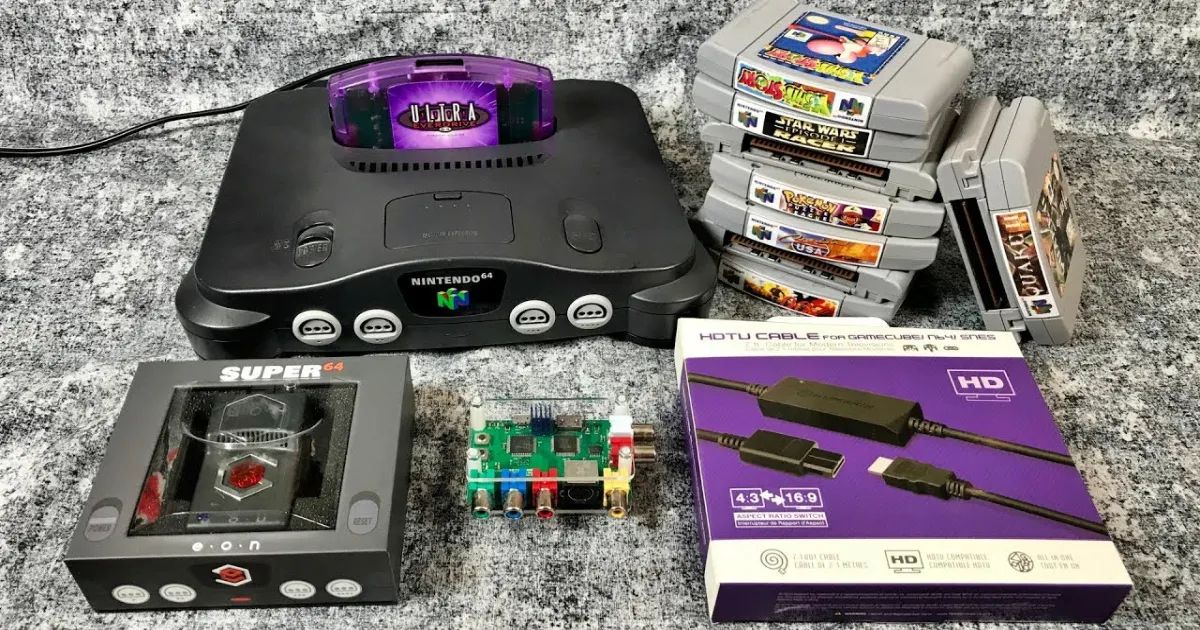
- HDMI Adapter: You’ll need an HDMI adapter specifically designed for the N64. These adapters are readily available online or at gaming stores. Make sure to read reviews and choose a reliable one that suits your needs.
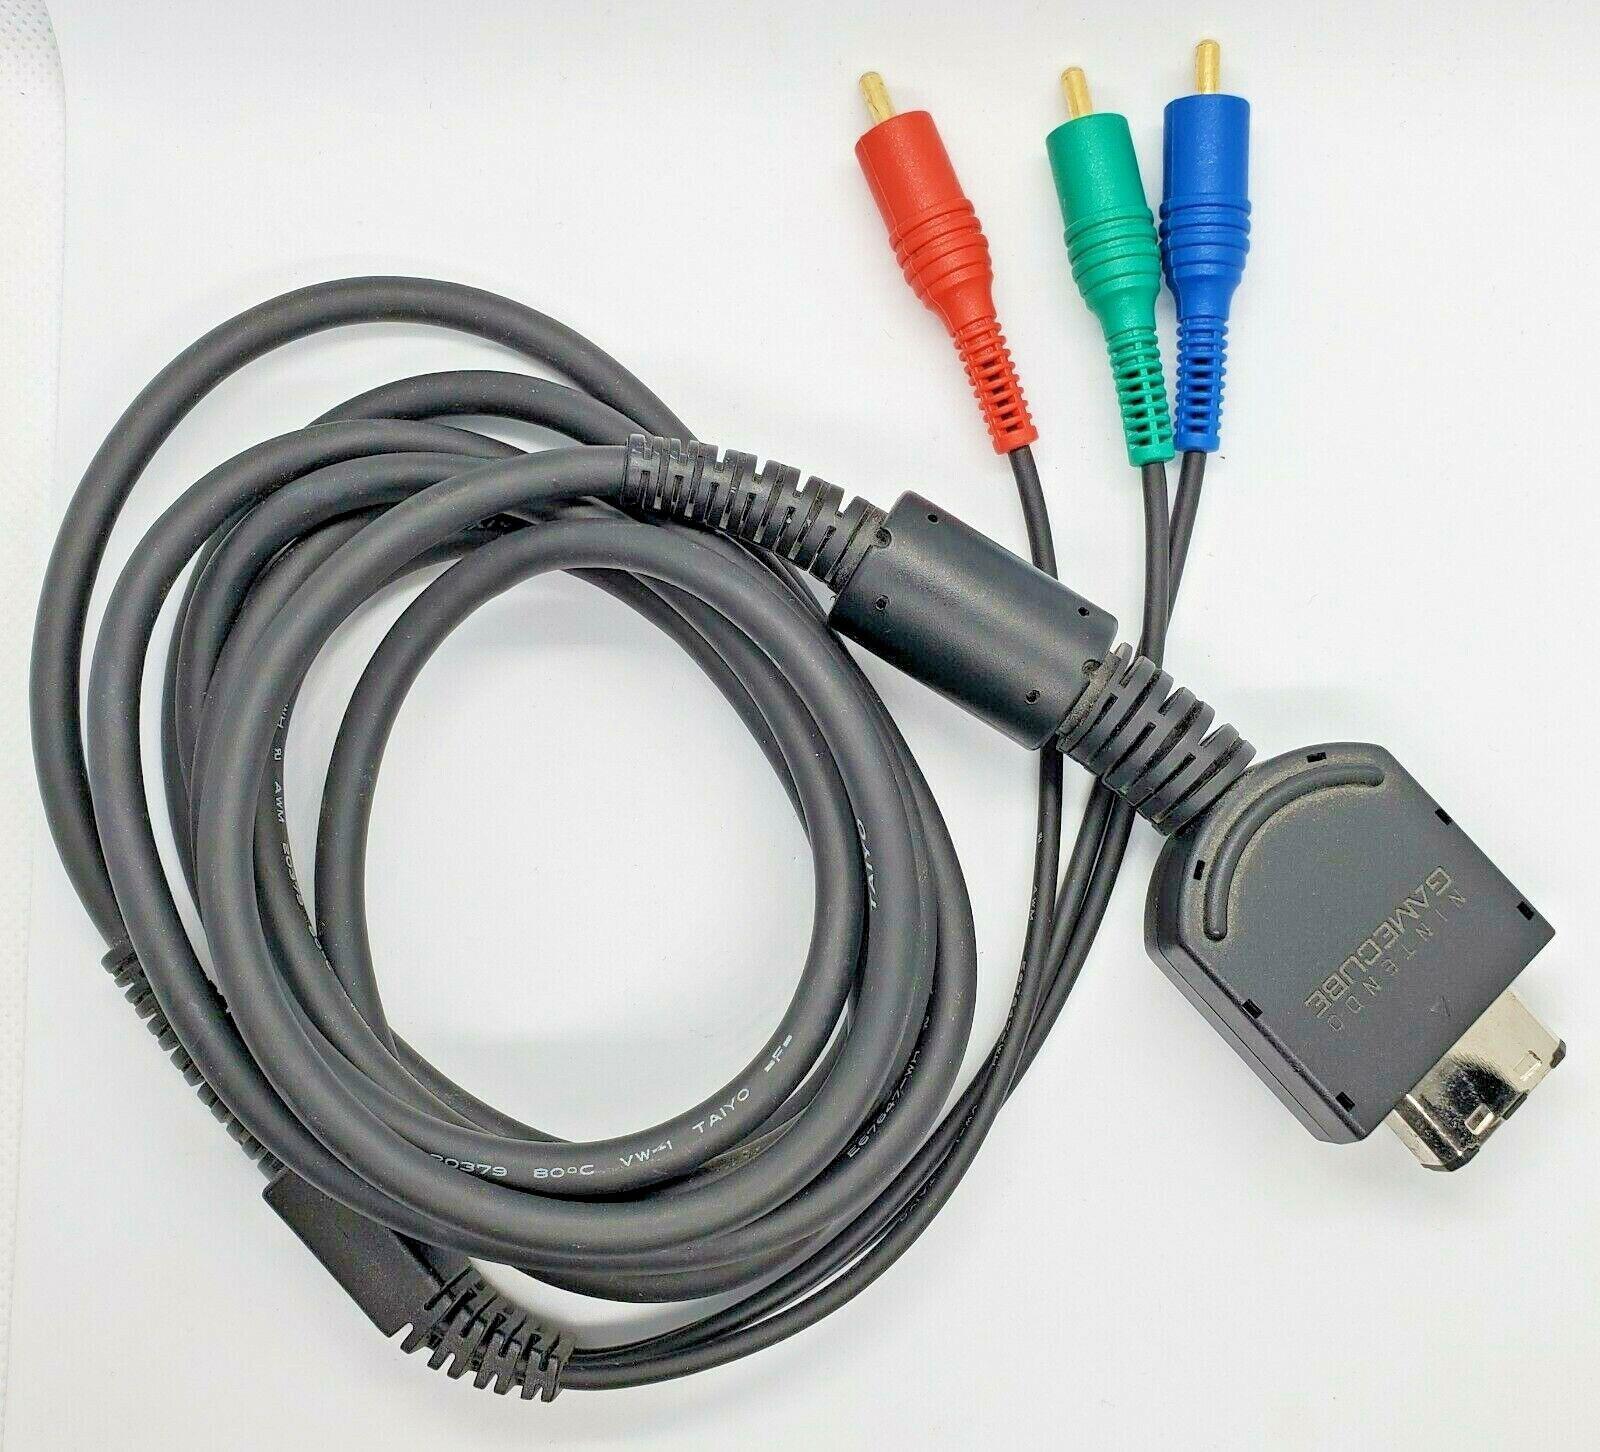
- HDMI Cable: Get yourself an HDMI cable that is long enough to connect your N64 to your TV. Aim for a high-quality cable that supports 1080p resolution, as this will ensure optimal video quality.
- HDTV: Of course, you’ll need a modern HDTV with an available HDMI port. Most newer TVs have multiple HDMI ports, so choose the one that suits your setup best.
Once you have gathered all these items, you’re ready to proceed to the next steps. It’s always a good idea to double-check that you have everything on the list before you start the setup process. This will save you time and frustration if you discover midway that you’re missing a crucial component.
In the next step, we will guide you through the process of connecting your N64 to the HDMI adapter. Get ready to breathe new life into your classic gaming console!
Step 2: Connecting the N64 to the HDMI adapter
Now that you have all the necessary equipment, it’s time to connect your N64 to the HDMI adapter. Follow these steps:
- Power off: Make sure your N64 console is turned off and unplugged from any power source.
- Locate the AV Out port: On the back of your N64 console, you will find an AV Out port. It’s a rectangular port with multiple pins.
- Plug in the HDMI adapter: Take your HDMI adapter and plug it into the AV Out port of your N64 console. Make sure it is firmly inserted and properly aligned.
- Connect the HDMI cable: Take one end of your HDMI cable and plug it into the HDMI port of the adapter. Again, ensure a secure connection.
- Secure the cables: Use cable ties or clips if needed to keep the HDMI adapter and cable neatly organized and secure.
That’s it! You have successfully connected your N64 to the HDMI adapter. Now, let’s move on to the next step and connect the HDMI adapter to your TV.
Note: Different HDMI adapters may have slight variations in their design and connection methods. Make sure to refer to the instructions provided with your specific HDMI adapter to ensure proper installation.
Step 3: Connecting the HDMI adapter to the TV
With the N64 connected to the HDMI adapter, the next step is to connect the HDMI adapter to your TV. Follow these simple instructions:
- Choose the HDMI port: Look at the back or sides of your TV and locate the HDMI ports. Take note of which HDMI port you will be using for connecting your N64.
- Plug in the HDMI cable: Take the other end of the HDMI cable that is connected to the HDMI adapter, and plug it securely into the HDMI port on your TV.
- Select the input source: On your TV remote, find and press the input/source button to access the list of available input sources. Use the arrow keys on the remote to select the HDMI input corresponding to the port you connected the N64 to.
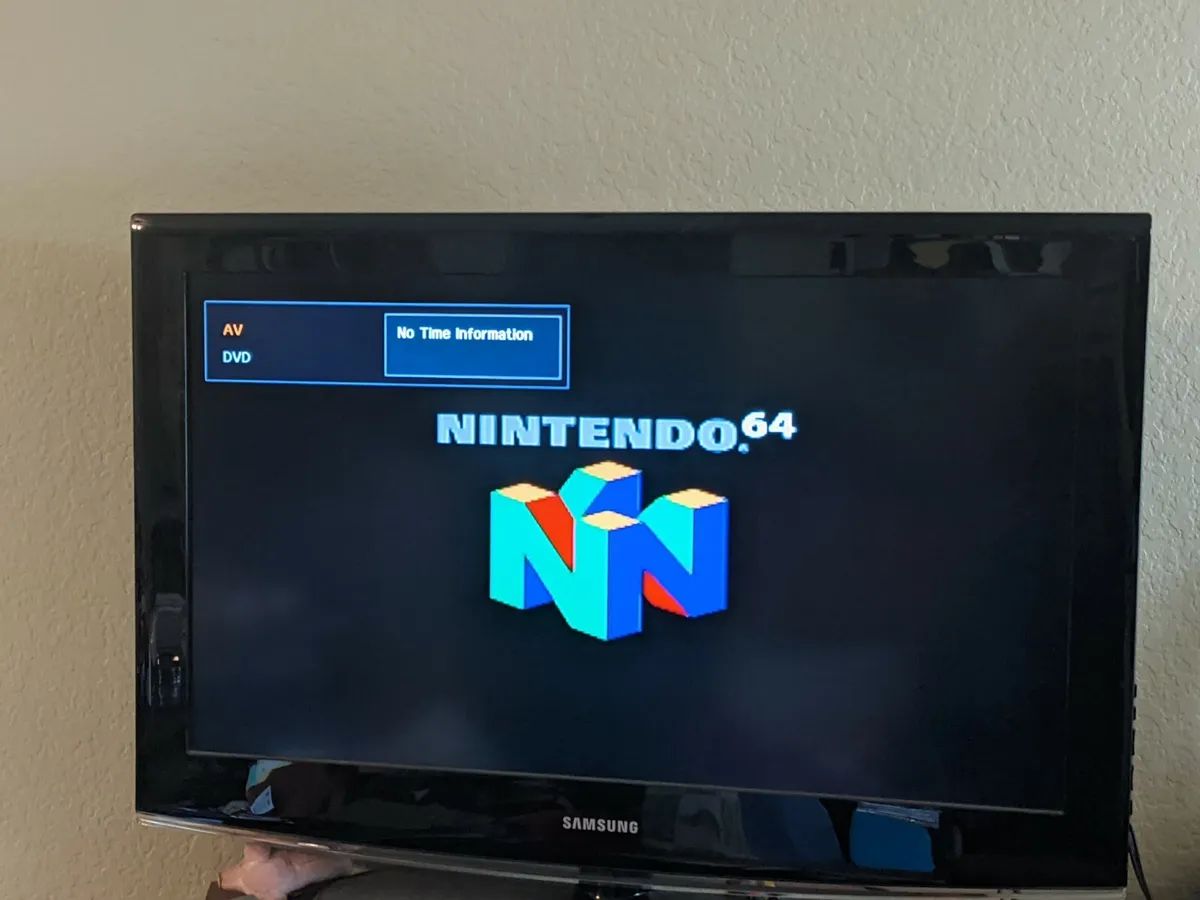
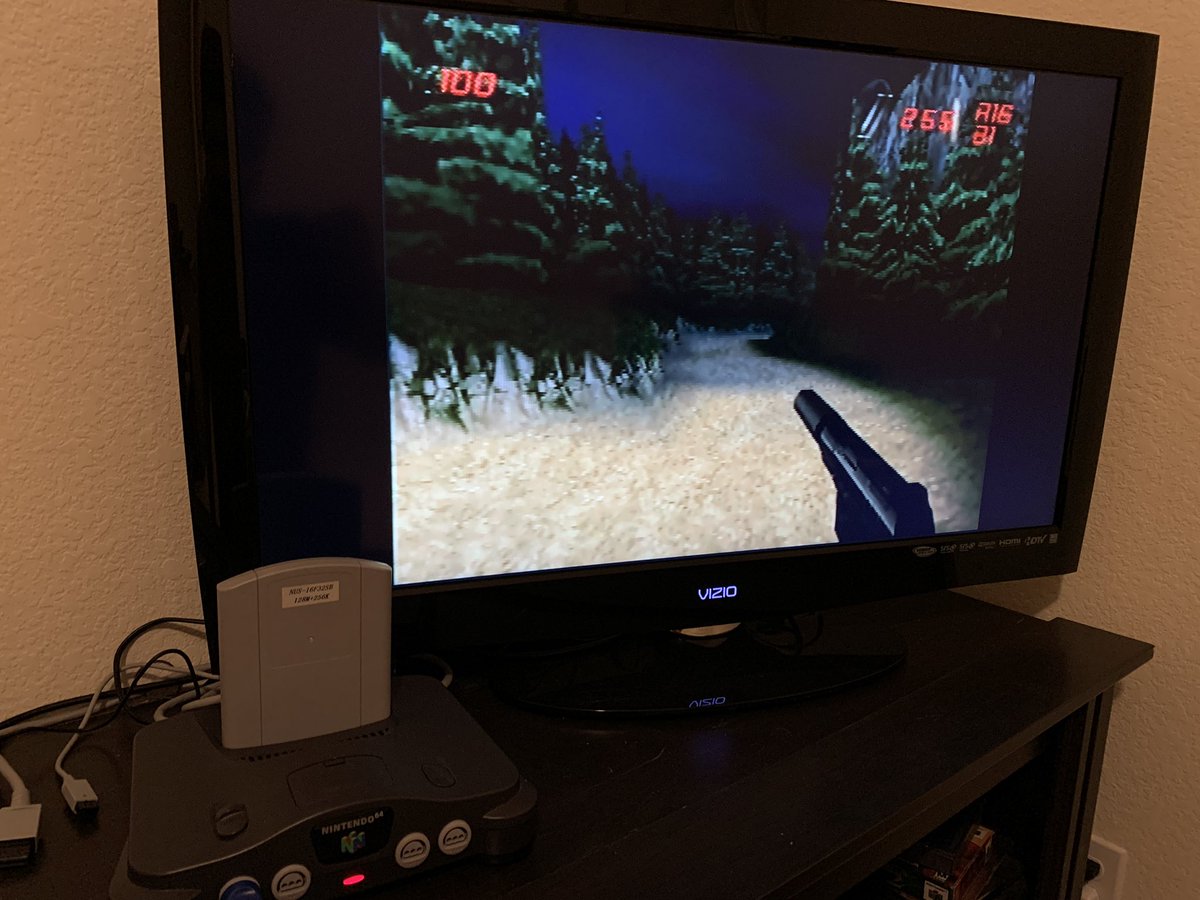
- Power on the N64: Turn on your N64 console and wait for it to boot up. You should see your N64 gameplay appear on the TV screen.
- Adjust settings (if necessary): If the screen appears stretched, distorted, or not centered properly, you may need to adjust the aspect ratio or screen settings on your TV. Consult your TV’s user manual for instructions on how to fine-tune the display settings.
Congratulations! You have successfully connected the HDMI adapter to your TV. Now, it’s time to move on to the next step and make any necessary adjustments to the TV settings to ensure the best gaming experience.
Step 4: Adjusting the TV settings
After connecting your N64 to the TV via the HDMI adapter, it’s essential to make a few adjustments to optimize the display quality. Here’s what you need to do:
- Aspect ratio: Access your TV’s settings menu and locate the aspect ratio or picture size options. Choose the setting that displays the gameplay in its original 4:3 aspect ratio for a more authentic experience.
- Screen positioning: If the N64 gameplay appears off-center or too close to the edges of the screen, use your TV’s screen positioning or overscan settings to adjust the display. This will help ensure that the entire image is visible.
- Picture mode: Experiment with different picture modes on your TV to find the one that best suits your preferences. Some options include Standard, Game Mode, or Cinema Mode. Each mode may provide different color saturation, contrast, and sharpness levels, so find the setting that enhances your gaming experience.
- Audio settings: If you encounter any issues with the audio, check your TV’s sound settings. Ensure that the audio output is set to stereo or surround sound, depending on your audio setup.
- Other video enhancements: Some modern TVs offer additional video enhancement features like sharpness, noise reduction, or motion smoothing. Experiment with these settings to find the balance that enhances gameplay without compromising visual quality.
By fine-tuning these settings, you can achieve the best possible visual and audio experience while playing your favorite N64 games on your HDTV. Take your time to customize the settings to your liking, and don’t hesitate to consult your TV’s user manual for detailed instructions on accessing and adjusting these settings.
Now that you have adjusted the TV settings, you’re all set to enjoy the full glory of your N64 games in stunning high-definition!
Step 5: Troubleshooting common issues
While setting up your N64 with HDMI is a relatively straightforward process, you may encounter some common issues along the way. Here are a few troubleshooting tips to help you overcome these challenges:
- No signal: If you’re not getting a signal on your TV, double-check that all the cables are securely connected. Ensure that the HDMI cable is plugged into the correct ports on the N64 and the TV. Also, verify that the TV is set to the correct input/source for the HDMI port you connected the N64 to.
- Poor picture quality: If you notice the picture quality is not as clear or sharp as you expected, try a different HDMI cable. Make sure you’re using a high-quality cable that supports a resolution of 1080p. Additionally, check if your TV has any video enhancement settings that may be affecting the picture quality.
- Audio issues: If you’re experiencing audio problems, ensure that the N64’s audio cables are securely connected to the HDMI adapter. Double-check that the TV’s audio settings are correctly configured, and that the volume is not muted or too low.
- Aspect ratio and screen positioning: If the N64 gameplay appears stretched or off-center on the screen, adjust the aspect ratio or screen positioning settings on your TV, as mentioned in Step 4. Refer to your TV’s user manual for detailed instructions on accessing and modifying these settings.
- Compatibility issues: In rare cases, certain HDTVs may have compatibility issues with specific HDMI adapters. If you encounter compatibility issues or unusual behavior, try using a different HDMI adapter from a reputable brand or consult the manufacturer’s support for further assistance.
If you still encounter difficulties or have unique issues with your specific setup, don’t hesitate to seek support from online communities, forums, or the manufacturer’s customer support. They can provide guidance tailored to your situation.
By troubleshooting any problems you encounter, you can ensure a smooth and enjoyable gaming experience with your N64 connected to HDMI.
Conclusion
Congratulations! You have successfully hooked up your N64 to HDMI and transformed your gaming experience from the nostalgic CRT era to stunning high-definition visuals. By following the steps outlined in this guide, you have unlocked the potential of your classic N64 console on modern HDTVs.
We started by gathering the necessary equipment, including the N64 console, HDMI adapter, HDMI cable, and an HDTV with an available HDMI port. Then, we connected the N64 to the HDMI adapter, ensuring a secure connection between the console and the adapter.
Next, we connected the HDMI adapter to the TV, selecting the appropriate HDMI port and making sure the connection was secure. We then adjusted the TV settings to optimize the display quality, fine-tuning the aspect ratio, screen positioning, and picture mode to suit our preferences.
Lastly, we discussed common troubleshooting tips for resolving issues such as no signal, poor picture quality, audio problems, aspect ratio, and compatibility. By troubleshooting these issues, you can overcome any obstacles that may arise during the setup process.
Now that you have successfully set up your N64 with HDMI, it’s time to revisit your favorite games and experience them in a new light. Enjoy the crisp visuals, enhanced audio, and the nostalgia that comes with playing classic titles in high definition.
Remember, gaming is all about having fun, so make sure to immerse yourself in the incredible worlds and adventures that the N64 has to offer. Happy gaming!