Introduction
Welcome to the world of Nintendo Switch gaming! With its ever-growing library of games, it’s important to have enough storage space to download and enjoy your favorite titles. While the Nintendo Switch comes with internal storage, it may not be sufficient for all your gaming needs. Thankfully, the Switch allows you to expand your storage by using an SD card.
In this guide, we will walk you through the process of downloading and installing Switch games directly onto your SD card. By doing so, you’ll be able to free up valuable internal storage space and have the flexibility to download as many games as you desire. So, get your SD card ready and let’s dive in!
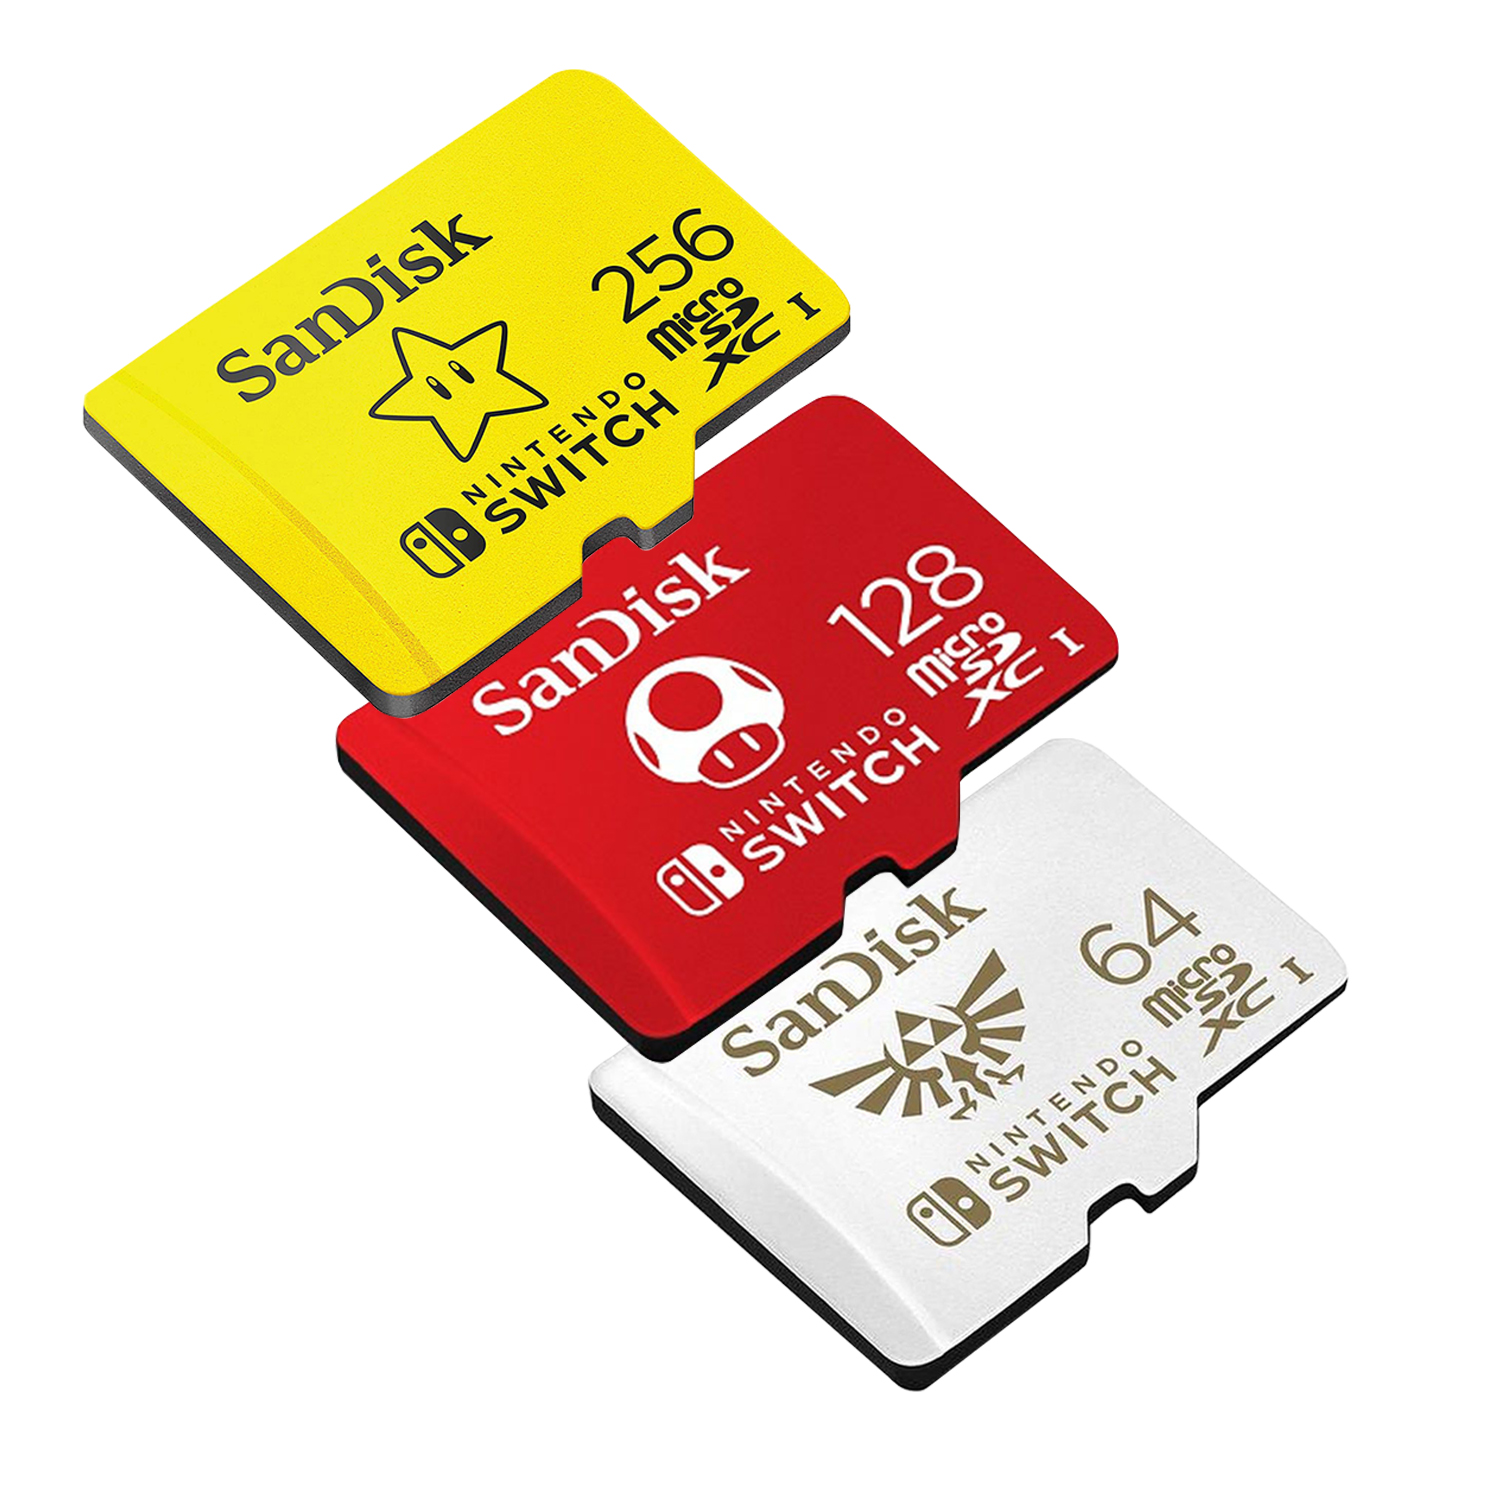
Please note that this guide assumes you already have a Nintendo Switch console and an SD card. If you haven’t purchased an SD card yet, make sure to get one with sufficient storage capacity (recommended minimum of 64GB) to accommodate your gaming collection.
Now, without further ado, let’s get started on the journey of downloading and installing Switch games onto your SD card!
Requirements
Before we proceed with the step-by-step process of downloading and installing Switch games onto your SD card, let’s take a moment to ensure that you have all the necessary requirements:
- A Nintendo Switch Console: You will need a Nintendo Switch console to access the Nintendo eShop and download games. Make sure your console is updated to the latest firmware version for optimal performance.
- An SD Card: To store and install games, you’ll need an SD card. The Nintendo Switch supports microSD cards and microSDHC cards (up to 32GB) as well as microSDXC cards (up to 2TB). Choose a card with sufficient storage capacity to accommodate your game collection.
- Internet Connection: A stable internet connection is crucial for accessing the Nintendo eShop and downloading games. Make sure your Switch console is connected to a Wi-Fi network or has a reliable internet connection.
- Nintendo Account: To access the Nintendo eShop and download games, you’ll need a Nintendo Account. If you don’t have one, you can create a new account directly from your Switch console or through the official Nintendo website.
Having these requirements in place will ensure a smooth and hassle-free experience as you proceed with the following steps. If you’re confident that you have everything ready, let’s move on to formatting the SD card.
Step 1: Formatting the SD Card
Before you can start downloading and installing Switch games onto your SD card, you need to ensure that the card is properly formatted. Formatting will erase all the existing data on the card, so it’s essential to back up any important files beforehand.
To format the SD card, follow these steps:
- Power off your Nintendo Switch console.
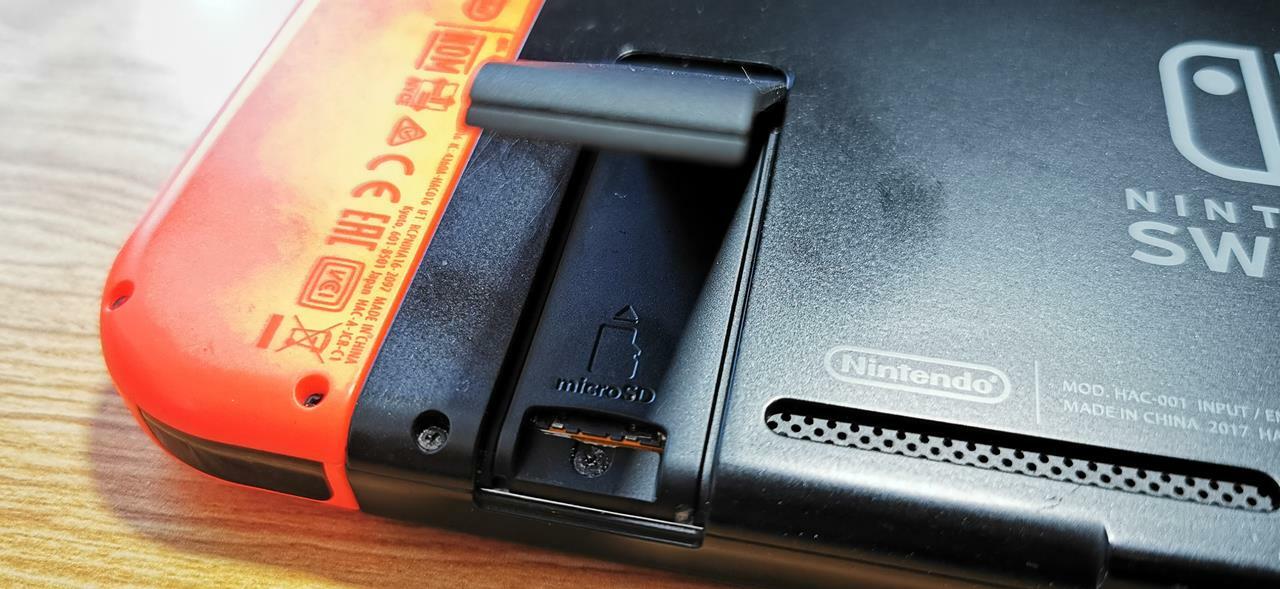
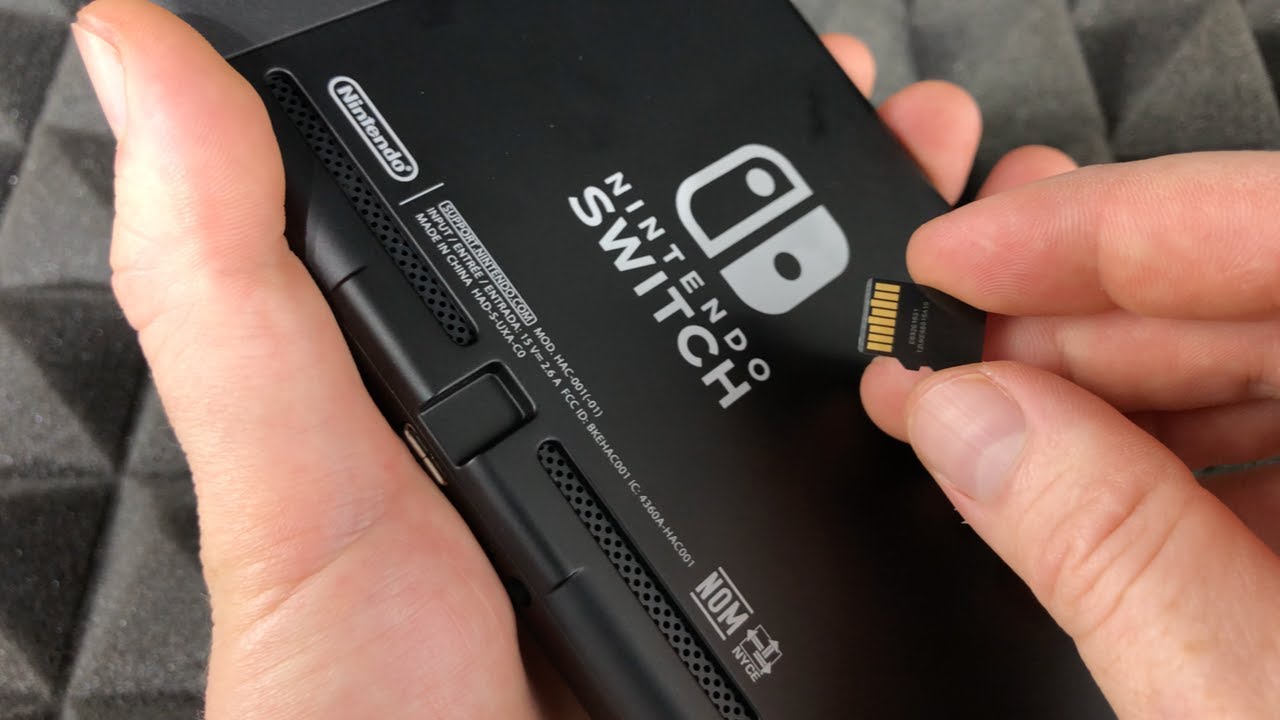
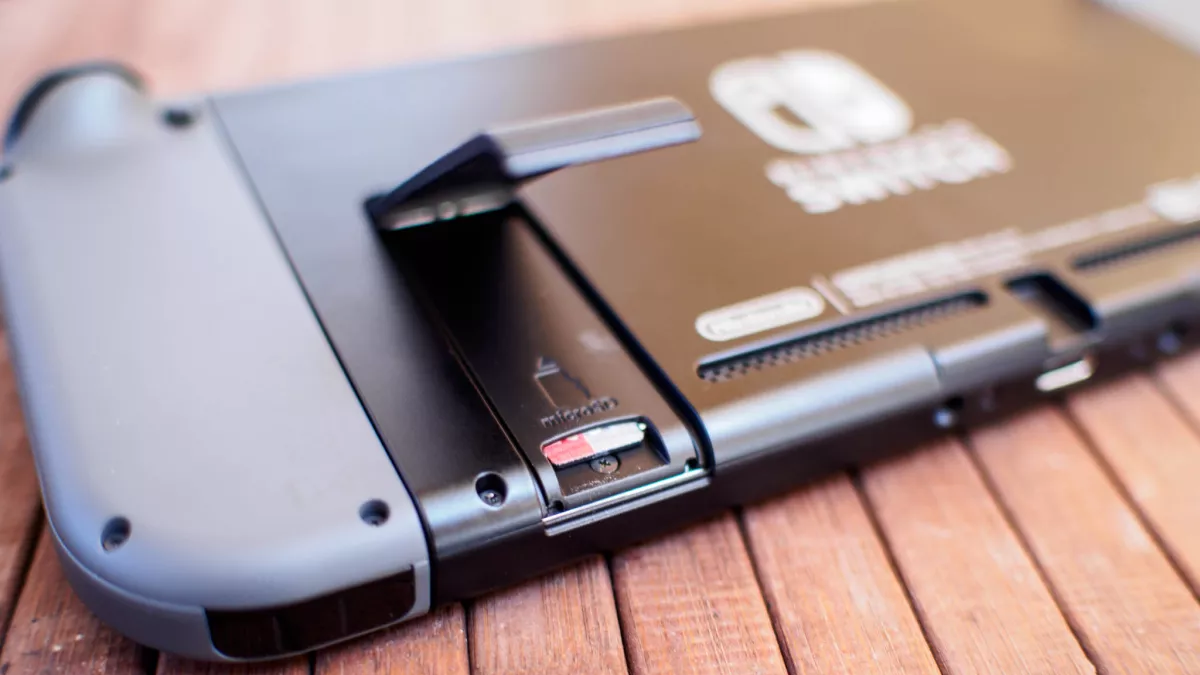
- Locate the SD card slot on the back of the console.
- Gently insert the SD card into the slot, making sure it is properly aligned.
- Turn on the console by pressing the power button.
- From the Home menu, select “System Settings.”
- Scroll down and choose “Data Management” from the menu.
- Select “Manage save data/screenshots” and then choose “Delete save data/screenshots.”
- Find the SD card listed under “Internal Storage” and select it.
- Choose “Format” and confirm the formatting process.
- Wait for the formatting to complete. This may take a few minutes depending on the size of your SD card.
Once the formatting is finished, your SD card is ready to be used for downloading and installing Switch games. Remember that formatting the card will erase all data, so ensure that you have a backup of any important files.
Now that your SD card is properly formatted, you can proceed to the next step: setting the SD card as the default storage option on your Nintendo Switch console.
Step 2: Setting the SD Card as the Default Storage Option
Now that your SD card is formatted, the next step is to set it as the default storage option on your Nintendo Switch console. By doing this, any games you download will automatically be installed onto the SD card, helping you free up space on the internal storage.
To set the SD card as the default storage option, follow these steps:
- Power on your Nintendo Switch console.
- From the Home menu, select “System Settings.”
- Scroll down and choose “Data Management” from the menu.
- Select “Manage software.”
- Under “Data location”, choose “Downloaded Software.”
- Select “microSD card” to set it as the default storage option.
- Confirm your selection and exit the settings menu.
With the SD card now set as the default storage option, any games you download from the Nintendo eShop will automatically be installed onto the SD card instead of the internal storage. This will help you optimize the use of your console’s available space and ensure that you can download and enjoy more games without worry.
Now that the SD card is ready to store your games, let’s move on to the exciting part – downloading Switch games from the eShop!
Step 3: Downloading Switch Games from the eShop
With the SD card set as the default storage option, you’re now ready to start downloading Switch games from the Nintendo eShop. The eShop offers a wide range of games, including popular titles, indie gems, and exclusive Nintendo releases.
Follow these steps to download Switch games from the eShop:
- Power on your Nintendo Switch console.
- From the Home menu, select the Nintendo eShop icon.
- Browse through the available games or search for a specific title using the search bar.
- Select the game you wish to download.
- On the game’s details page, choose the “Download” or “Purchase” option.
- If the game is free, select “Download.” If it has a price, follow the prompts to complete the purchase.
- Wait for the download to complete. The download time may vary depending on the size of the game and the speed of your internet connection.
During the download process, you will see a progress bar indicating the status of the download. Once the game is fully downloaded, you can proceed to the next step to install it onto your SD card.
It’s worth mentioning that some games may require additional storage space on the internal storage even when downloading them onto the SD card. In such cases, the console will prompt you to confirm the installation process and allocate the necessary space.
Now that you know how to download Switch games from the eShop, let’s move on to the next step: installing the downloaded games onto your SD card.
Step 4: Installing Switch Games to the SD Card
Now that you’ve successfully downloaded Switch games from the eShop, the next step is to install them onto your SD card. This will ensure that the games are stored and accessible directly from the card, freeing up valuable space on your console’s internal storage.
Follow these steps to install Switch games onto your SD card:
- Ensure that your Nintendo Switch console is turned on and the SD card is inserted.
- From the Home menu, select the “System Settings” option.
- Scroll down and choose “Data Management” from the menu.
- Select “Manage software.”
- Under the “Software on microSD card” section, you will see a list of installed games.
- Select the game you want to install onto the SD card.
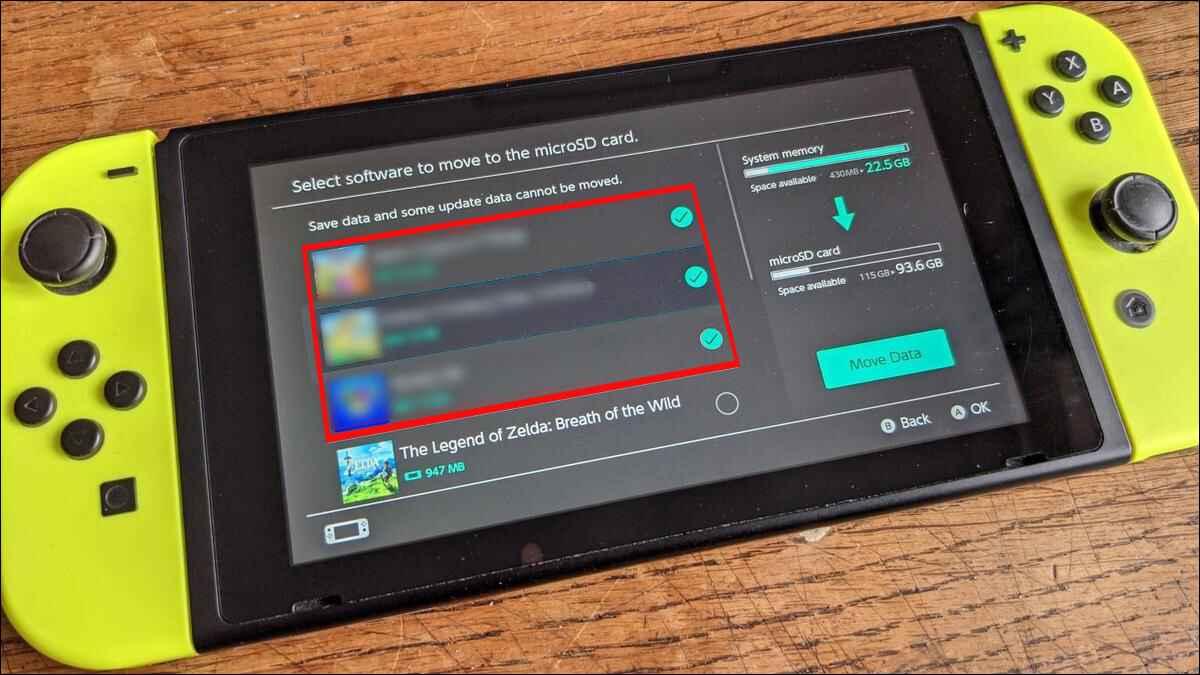
- Choose the “Move Data” option.
- Follow the prompts to confirm the installation process and allocate the game to the SD card.
- Wait for the installation process to complete. The time it takes will depend on the size of the game and the speed of your SD card.
Once the installation is finished, the game will be stored on the SD card, and you can access and play it directly from there. Repeat the above steps for each game you want to install onto the SD card.
It’s important to note that while the game may be installed on the SD card, some data, such as updates and save files, may still be stored on the internal storage. This is normal and allows for smoother gameplay and performance. However, the majority of the game’s data will be stored on the SD card, saving you valuable internal storage space.
Now that you’ve successfully installed your downloaded games onto the SD card, let’s move on to the final step: managing your Switch games on the SD card.
Step 5: Managing Switch Games on the SD Card
Once you have installed your Switch games onto the SD card, it’s important to understand how to manage and organize them effectively. This will help you keep track of your game collection, make room for new games, and ensure smooth gameplay.
Here are some tips for managing your Switch games on the SD card:
- Deleting Games: If you no longer play a certain game or need to make space for new downloads, you can delete games from your SD card. To do this, go to “System Settings,” select “Data Management,” choose “Manage software,” and then select the game you want to delete. Follow the prompts to confirm the deletion process.
- Updating Games: Regularly check for updates on the Nintendo eShop for your installed games. Updates often include bug fixes, enhancements, and new features. To update a game, go to the eShop, select the game you want to update, and choose the “Update” option.
- Transferring Games: If you want to transfer games from one SD card to another or from the console’s internal storage to the SD card, you can do so through the “Data Management” settings. Follow the prompts to initiate the transfer process and ensure both the source and destination storage options have sufficient space.
- Organizing with Folders: To keep your game library organized, you can create folders on the Home menu and group games based on genre, favorites, or any other criteria. Simply select a game icon, choose the “Move/Add to Folder” option, and create a new folder or add to an existing one.
By effectively managing your Switch games on the SD card, you can maintain a well-organized collection and optimize your console’s storage space. Regularly assess your game library, delete unwanted games, and update your favorites to ensure a smooth gaming experience.
Congratulations! You’ve now learned how to download, install, and manage Switch games on your SD card. With these steps, you can enjoy a wide range of games while maximizing your available storage space. Happy gaming!
Conclusion
Congratulations on successfully learning how to download, install, and manage Switch games on your SD card! By following the step-by-step process outlined in this guide, you can enjoy a larger game library without worrying about running out of internal storage space on your Nintendo Switch console.
Remember, formatting your SD card, setting it as the default storage option, downloading games from the eShop, and installing them onto the SD card are essential to optimizing your gaming experience. Managing your games by deleting unwanted titles, updating games for improvements, and organizing them with folders will help you stay organized and make the most out of your available storage space.
Whether you’re a casual gamer or a die-hard Nintendo enthusiast, having an SD card to expand your storage capacity is a convenient and practical solution. It allows you to download and play your favorite Switch games without worrying about limited internal storage constraints.
Just remember to choose an SD card with ample storage capacity, ensure stable internet connectivity, and keep an eye on any updates or additional downloads required for optimal gameplay.
Now that you have all the knowledge you need, it’s time to start building your gaming library, exploring new titles, and immersing yourself in the exciting world of Nintendo Switch gaming. Enjoy the thrill of playing your favorite games and discovering new adventures, all while making the most of your console’s available storage space.
Thank you for following this guide, and happy gaming!