Introduction
Welcome to the world of the Nintendo Switch, a versatile gaming console that offers a unique hybrid gaming experience. Whether you’re playing at home on your TV or taking your gaming on the go, the Nintendo Switch offers endless entertainment possibilities. However, with a limited amount of internal storage, you may find yourself needing extra space to store your games, DLCs, and other digital content. That’s where an SD card comes in handy.
An SD card is a small, portable storage device that can be easily inserted into your Nintendo Switch to expand its storage capacity. With an SD card, you can download and store more games, save files, screenshots, and videos, without worrying about running out of space. It’s a cost-effective and convenient solution that allows you to enjoy your gaming experience to the fullest.
In this article, we will guide you through everything you need to know about SD cards for your Nintendo Switch. We will cover where the SD card slot is located, how to insert an SD card into your console, how to transfer and manage data between the console and the SD card, and address some frequently asked questions. So, let’s get started and make sure you have all the information you need to maximize your gaming experience on the Nintendo Switch!
Why you may need an SD card for your Nintendo Switch
As a Nintendo Switch owner, you may be wondering why you would need an SD card when the console already comes with internal storage. The answer is simple: the internal storage of the Nintendo Switch is limited, and it can quickly fill up, especially if you are a fan of digital downloads or have a large collection of games.
Here are a few reasons why you may need an SD card:
- More space for games: The Nintendo Switch has a growing library of digital games available for download. With an SD card, you can download and store more games, giving you a wider selection to choose from without worrying about deleting older games to make room.
- Expandable storage for DLCs and updates: Many games today come with additional downloadable content (DLC) and updates, which can take up a significant amount of storage space. By using an SD card, you can keep your console’s internal storage free for system updates and save the SD card for game-specific content.
- Save space for screenshots and videos: The Nintendo Switch allows you to capture screenshots and record videos of your gameplay. These media files can quickly accumulate and consume storage. With an SD card, you can capture and store more screenshots and videos without worrying about running out of space.
- Convenience and portability: An SD card is small and portable, making it easy to carry around and swap between consoles. If you have multiple Nintendo Switch consoles or frequently play with friends, having an SD card can simplify the process of transferring your games and data.
By investing in an SD card for your Nintendo Switch, you can unlock the full potential of your console and enjoy an expanded storage capacity, allowing you to indulge in your gaming passions without limitations.
Where is the SD card slot located on the Nintendo Switch?
If you’ve decided to get an SD card for your Nintendo Switch, you may be wondering where exactly the SD card slot is located. The location of the SD card slot may vary depending on which model of the Nintendo Switch you have.
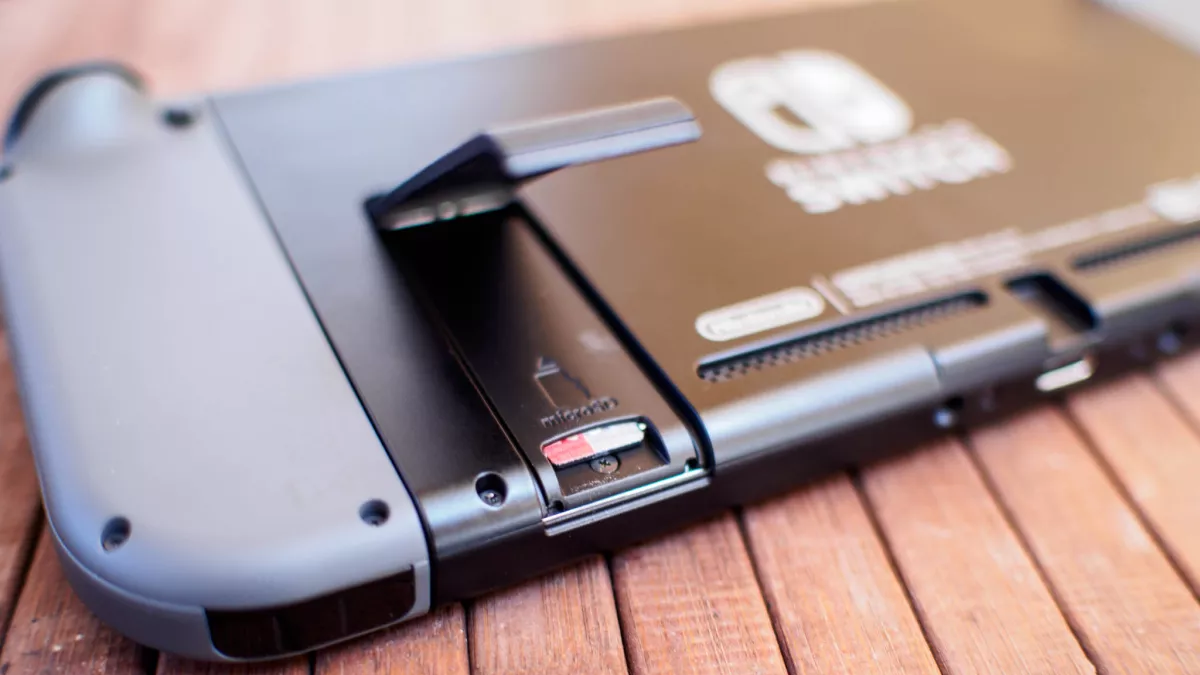
In the original Nintendo Switch model, the SD card slot is located beneath the console’s kickstand. To access the SD card slot, follow these steps:
- Flip up the kickstand at the back of the console.
- Locate a small latch near the bottom of the kickstand that holds the SD card slot cover in place.
- Using your fingernail or a small tool, gently push the latch towards the top of the console to release the SD card slot cover.
- Once the cover is open, you’ll find the SD card slot, which is slightly recessed into the console.
- Insert your SD card into the slot with the gold contacts facing down and towards the console.
- Push the SD card in until it clicks into place.
- Close the SD card slot cover by pressing it down until it locks back into position.
- Finally, lower the kickstand back into its original position.
It’s essential to note that the newer Nintendo Switch models, such as the Nintendo Switch Lite, have the SD card slot located on the outside of the console. In this case, you can easily access the SD card slot without needing to open any covers or kickstands.
With the SD card slot now located, you’re ready to insert an SD card into your Nintendo Switch and start enjoying the benefits of expanded storage capacity for your favorite games and digital content.
How to insert an SD card into your Nintendo Switch
Inserting an SD card into your Nintendo Switch is a straightforward process that requires just a few simple steps. Here’s a step-by-step guide on how to insert an SD card into your console:
- Start by flipping up the kickstand located at the back of the console (only applicable for the original Nintendo Switch model).
- Locate the SD card slot cover, which is near the bottom of the kickstand. If the cover is closed, gently push the latch upwards to release it.
- Once the SD card slot cover is open, you’ll see the SD card slot, which is slightly recessed into the console.
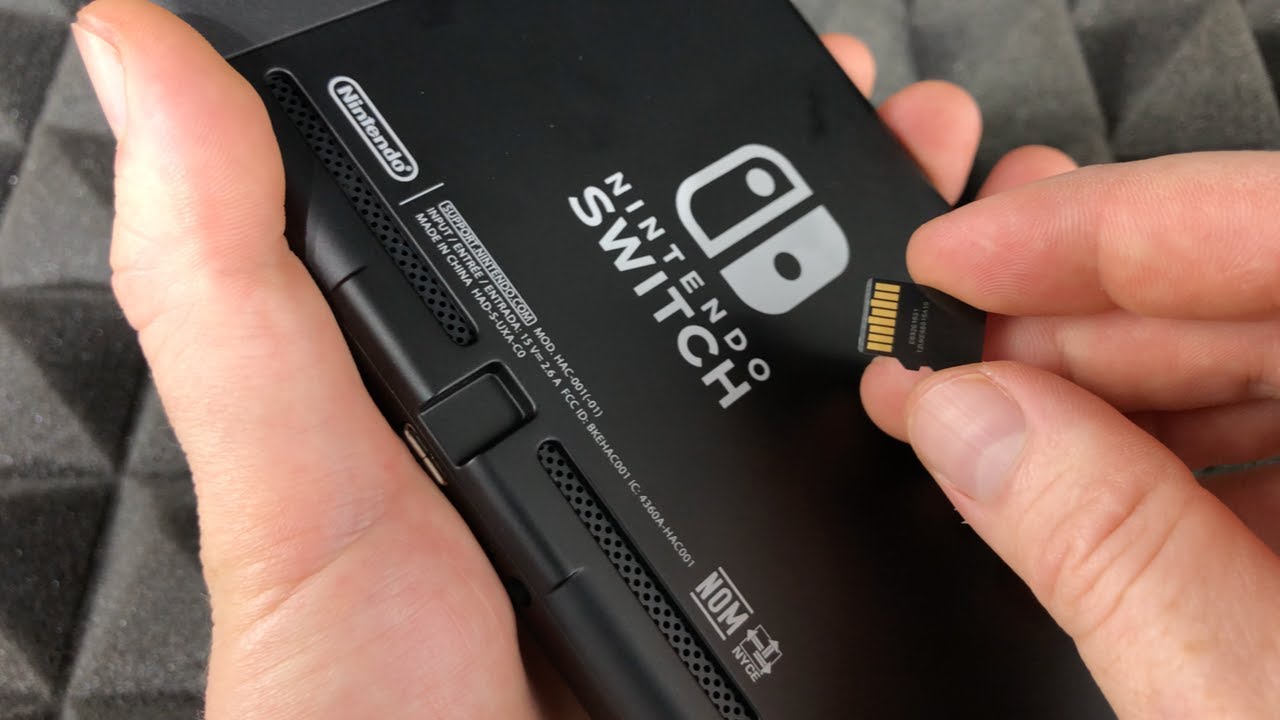
- Take your SD card and position it so that the gold contacts are facing down and towards the console.
- Gently insert the SD card into the slot until it clicks into place. Ensure that the SD card is fully inserted and properly aligned.
- Close the SD card slot cover by pressing it down until it locks back into position (for the original Nintendo Switch model).
- If you opened the kickstand earlier, lower it back into its original position (for the original Nintendo Switch model).
And that’s it! You have successfully inserted an SD card into your Nintendo Switch. Your console will automatically recognize the SD card’s presence and begin using it as additional storage.
It’s worth noting that if you ever need to remove the SD card, make sure to power off your Nintendo Switch before doing so. This precaution ensures that your console doesn’t accidentally access the SD card while it is being removed, which could lead to data loss or corruption.
With your SD card properly inserted, you can now enjoy the expanded storage capacity it provides for your games, save files, screenshots, and other digital content on your Nintendo Switch.
How to transfer or move data between the console and SD card
Transferring or moving data between the console and an SD card on your Nintendo Switch is a useful feature that allows you to manage your storage and keep your digital content organized. Whether you want to free up space on your console or transfer data from one SD card to another, here’s how you can do it:
- Moving data from console to SD card:
- Go to the Home Menu on your Nintendo Switch.
- Select “System Settings” and then choose “Data Management” from the menu.
- Scroll down and select “Manage Software.”
- Choose the game or application you want to move to the SD card.
- Select “Archive Software” and follow the on-screen prompts to confirm.
- The software will be removed from the console’s internal storage and transferred to the SD card.
- Moving data from SD card to console:
- Go to the Home Menu on your Nintendo Switch.
- Open “System Settings” and select “Data Management.”
- Scroll down and choose “Manage Software.”
- Select the game or application you want to move to the console.
- Select “Move Software” and follow the on-screen prompts to confirm.
- The software will be transferred from the SD card to the console’s internal storage.
- Moving data from one SD card to another:
- Power off your Nintendo Switch and remove the original SD card.
- Insert the new SD card into the console.
- Power on your Nintendo Switch, and the console will recognize the new SD card.
- Go to the Home Menu and open “System Settings” followed by “Data Management.”
- Select “Manage Save Data/Screenshots and Videos” and then choose “Move Data Between Console / microSD Card.”
- Follow the on-screen prompts to transfer the data from the original SD card to the new SD card.
By following these steps, you can easily transfer or move data between your Nintendo Switch’s internal storage and the SD card, ensuring that your digital content is organized and your console’s storage space is effectively managed.
How to manage your SD card storage on the Nintendo Switch
Managing your SD card storage on the Nintendo Switch is essential to ensure that you have enough space for your games, save files, and other digital content. Here are some tips and steps to help you effectively manage your SD card storage:
- Checking SD card usage:
- Go to the Home Menu on your Nintendo Switch.
- Open “System Settings” and select “Data Management.”
- Choose “microSD Card Management” to view the space used and available on your SD card.
- Deleting games and software:
- Go to the Home Menu and select “System Settings.”
- Choose “Data Management” and then “Manage Software.”
- Select the game or software you want to delete from the SD card.
- Choose “Delete Software” and follow the prompts to confirm the deletion.
- Archiving games and software:
- Follow the same steps as deleting games and software but choose “Archive Software” instead.
- Archiving removes the game or software from the console’s internal storage but retains the save data. You can restore it later if needed.
- Transferring screenshots and videos:
- Go to the Album on your Nintendo Switch.
- Select the screenshots or videos you want to transfer from the SD card.
- Choose “Copy” to copy them to the console’s internal storage or “Move” to remove them from the SD card.
- Formatting the SD card:
- Formatting the SD card erases all data on it. Make sure to back up any important files before proceeding.
- Go to the Home Menu and select “System Settings.”
- Choose “System” and then “Formatting Options.”
- Select “Format microSD Card” and follow the prompts to format the SD card.
By regularly checking your SD card usage, deleting or archiving games and software you no longer need, transferring screenshots and videos, and formatting the SD card when necessary, you can effectively manage your SD card storage on the Nintendo Switch. This will help ensure that you have enough space for new games and content while keeping your digital library organized and easily accessible.
Frequently asked questions about SD cards for the Nintendo Switch
Here are answers to some frequently asked questions about SD cards for the Nintendo Switch:
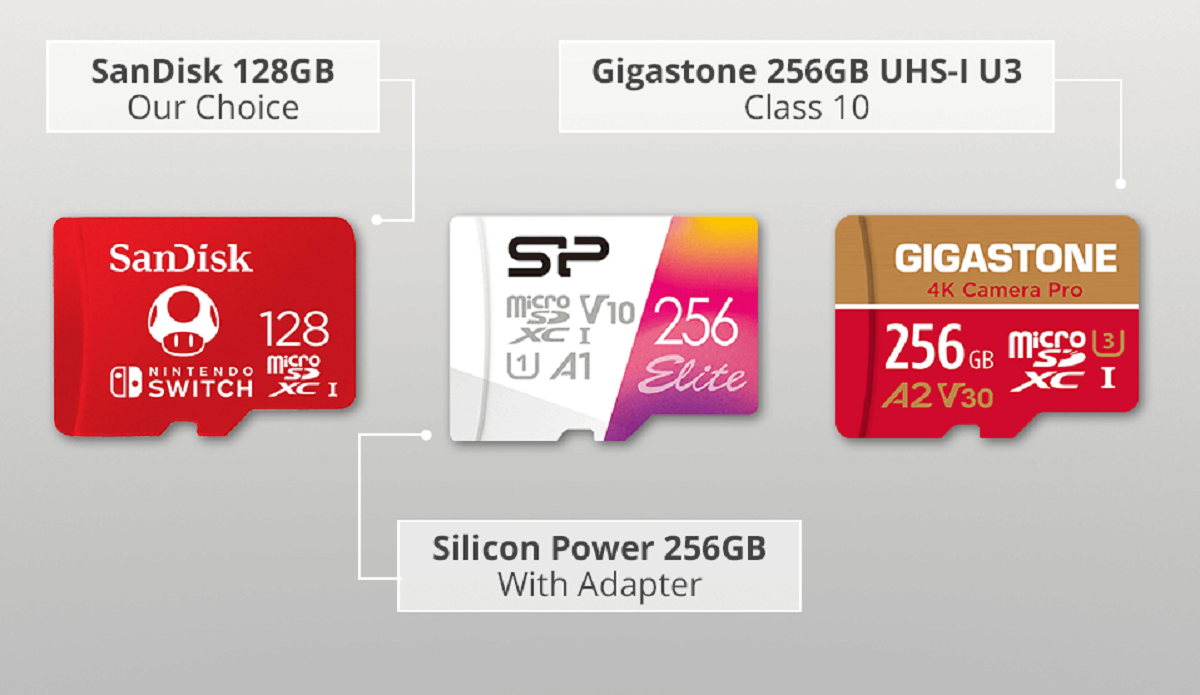
- What size SD card should I get for my Nintendo Switch?
- Can I use multiple SD cards with my Nintendo Switch?
- Can I transfer my saved game data to a new SD card?
- Are all games compatible with an SD card?
- Can I use the same SD card for multiple Nintendo Switch consoles?
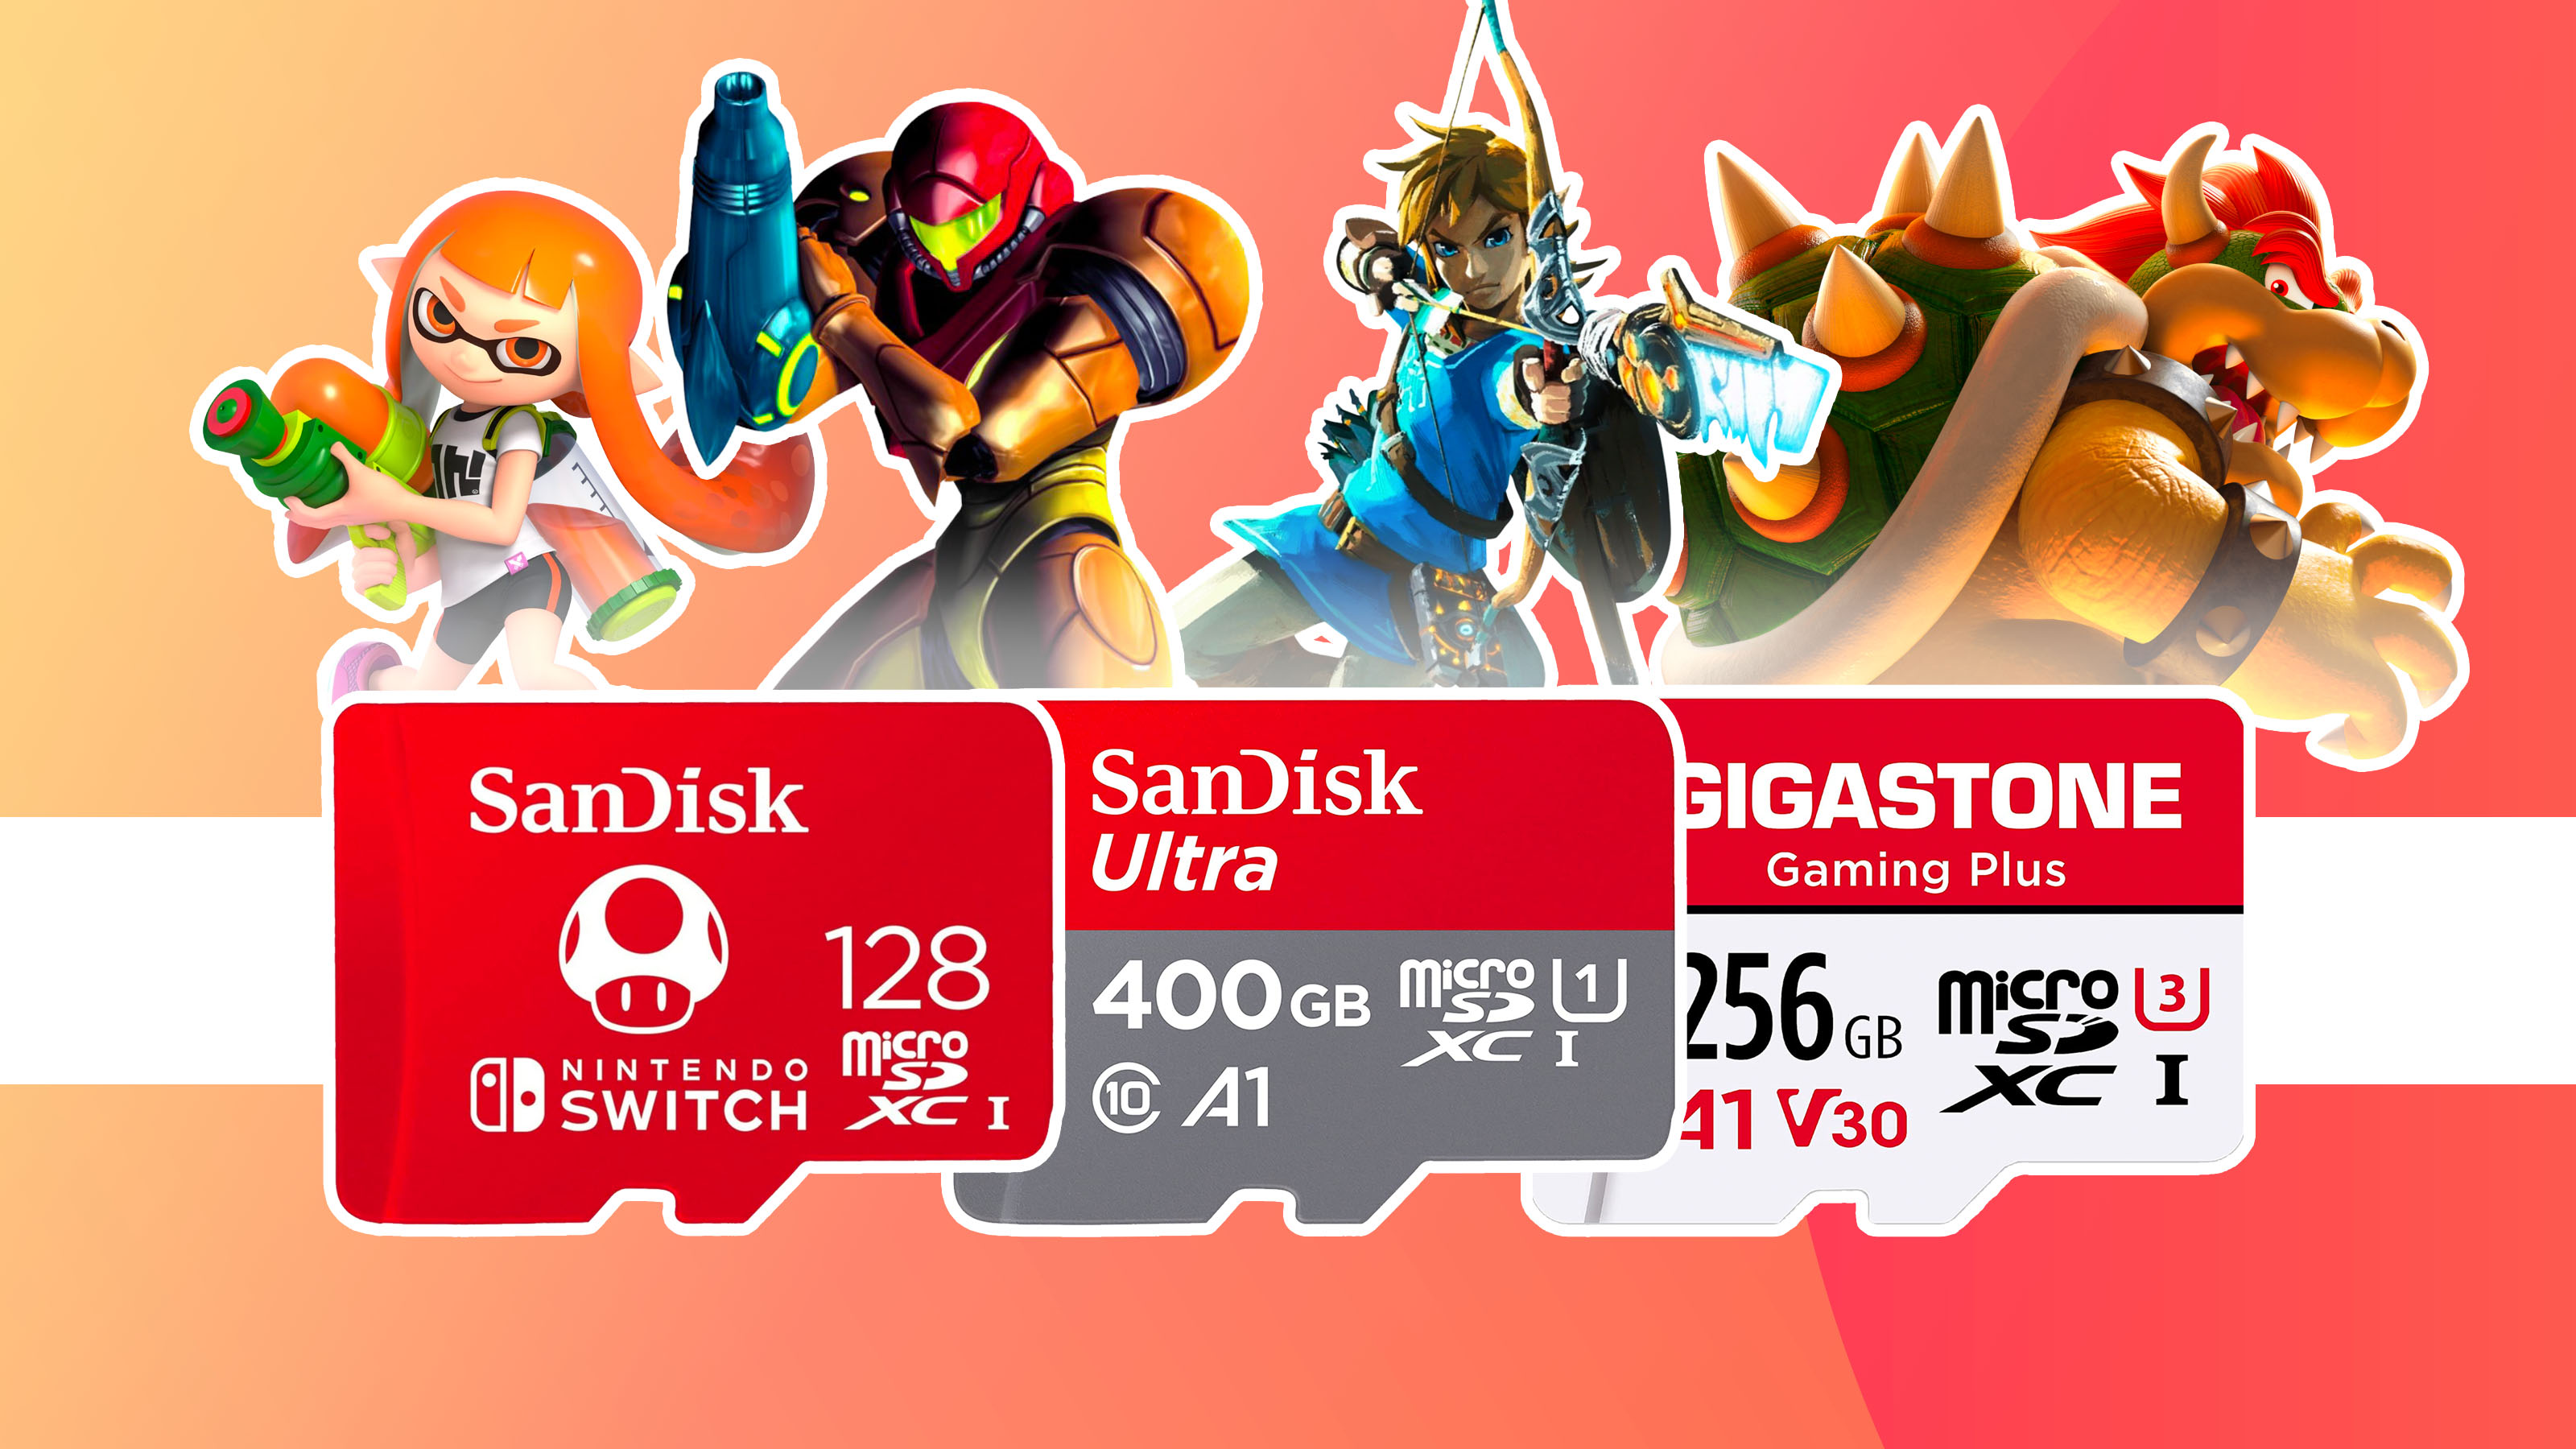
The Nintendo Switch supports microSDHC and microSDXC cards of up to 2TB. However, as of now, the largest microSD card available on the market is 1TB. It’s recommended to get an SD card with at least 64GB or higher to ensure you have enough storage capacity for your games and content.
Yes, you can use multiple SD cards with your Nintendo Switch. You can easily swap out SD cards to access different games and content. However, make sure to properly power off your console before inserting or removing an SD card.
No, the saved game data is tied to the console’s internal storage or the original SD card it was saved on. You cannot directly transfer the saved game data to a new SD card. However, by redownloading the game and signing in with your Nintendo account, your progress may be synced through cloud saves if the game supports it.
Most Nintendo Switch games are compatible with an SD card. However, some games, particularly those that require fast loading times, may perform better when stored on the console’s internal storage. It’s recommended to check the game’s requirements or consult the game’s manual for specifics.
Yes, you can use the same SD card for multiple Nintendo Switch consoles. However, games and content tied to a specific console may not be accessible on a different console. The save data may also not transfer between consoles unless you have a Nintendo Switch Online subscription and utilize the cloud save feature.
These are just a few of the common questions regarding SD cards for the Nintendo Switch. If you have any other inquiries or need further assistance, it’s best to refer to the Nintendo Switch’s official support documentation, contact their customer support, or consult online forums and communities dedicated to the Nintendo Switch.
Conclusion
In conclusion, an SD card is a valuable accessory for your Nintendo Switch, providing you with the additional storage capacity you need to fully enjoy your gaming experience. With an SD card, you can store more games, DLCs, save files, and media content without worrying about running out of space on your console’s internal storage.
We discussed various aspects of SD cards for the Nintendo Switch, including why you may need one, where to find the SD card slot on your console, how to insert an SD card, and how to transfer or move data between the console and SD card. Proper management of your SD card storage ensures that you can effectively organize your digital content and keep your console running smoothly.
Remember to choose a suitable SD card size, check your SD card usage, and utilize options such as deleting or archiving games, transferring screenshots and videos, and formatting the SD card when necessary. Be mindful of compatibility and consider the loading time requirements for certain games.
By following these guidelines and taking advantage of the benefits an SD card offers, such as convenience, portability, and expanded storage space, you can optimize your gaming experience on the Nintendo Switch. So, go ahead and enhance your gaming library with an SD card, and enjoy all the fantastic games the Nintendo Switch has to offer!