Introduction
The Nintendo Switch is a versatile gaming console that offers a wide range of entertainment options. Whether you want to play the latest games, watch movies, or listen to music, the Switch has you covered. One of the key features of the Switch is its ability to expand storage space by using an external SD card. This allows you to download more games, store screenshots and videos, and have all your digital content in one place.
If you’re new to the Nintendo Switch or have never inserted an SD card before, don’t worry. In this guide, we’ll walk you through the steps on how to insert an SD card into your Switch. It’s a simple process, and once you’ve done it, you’ll have the added storage space to enhance your gaming experience.
Before we dive into the steps, it’s essential to note that the Nintendo Switch is compatible with microSD, microSDHC, and microSDXC cards. These cards are widely available and come in different storage capacities. Depending on your needs, choose an SD card that has enough space for your games and multimedia files.
Step 1: Locate the SD Card Slot
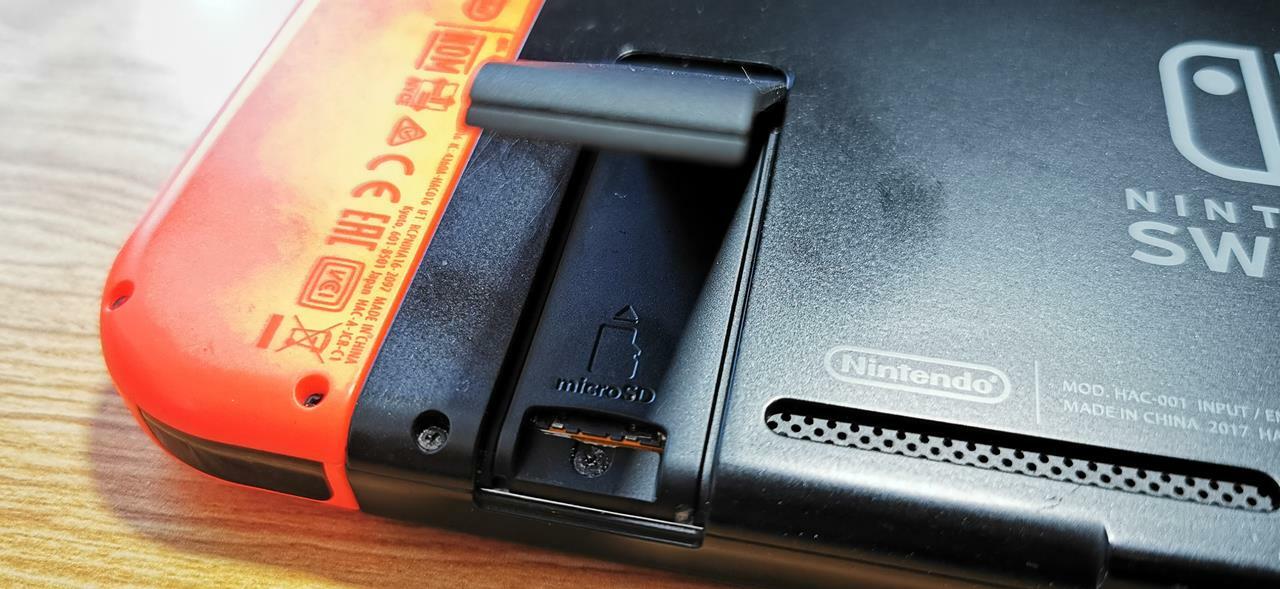
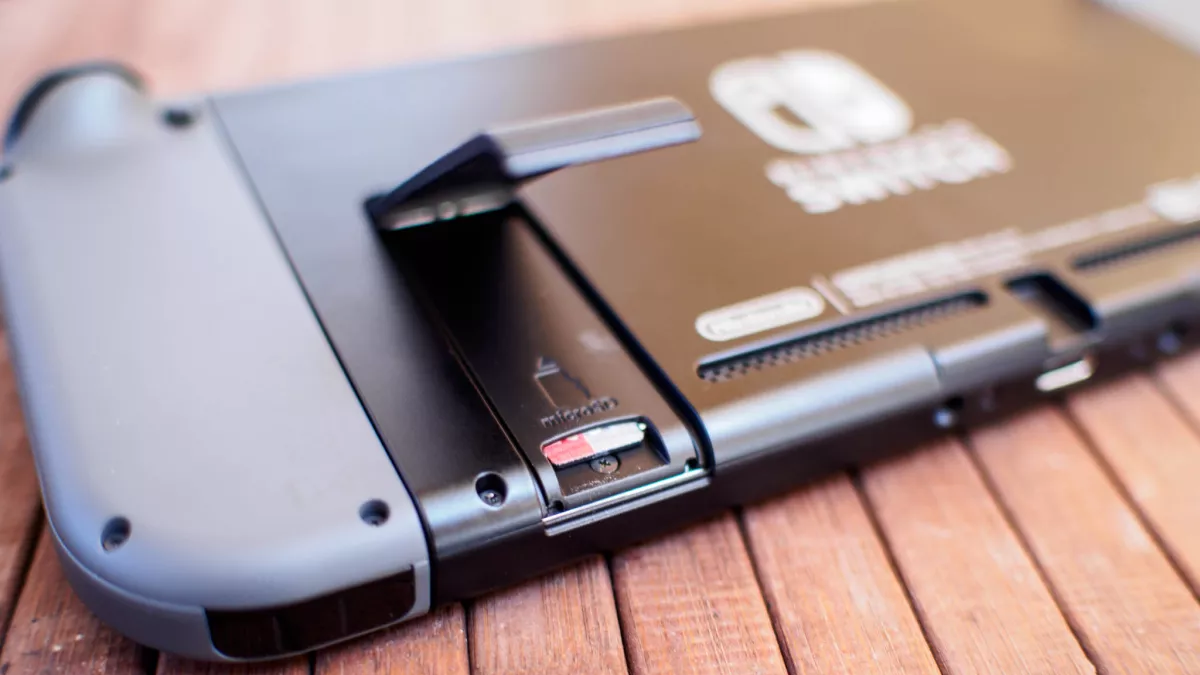
The first step in inserting an SD card into your Nintendo Switch is locating the SD card slot. The SD card slot is located behind the kickstand on the back of the Switch console. To access it, flip up the kickstand until it clicks into place.
You will find the SD card slot positioned next to the kickstand hinge. It is a small rectangular slot with a thin opening. The slot is labeled with an icon that looks like a memory card, making it easy to identify.
Before proceeding to the next step, ensure that your Nintendo Switch is powered off. This will prevent any data transfer errors or damage to the SD card. It’s also a good idea to remove any existing SD card from the slot, if you have one inserted, to make way for the new one.
If you are having trouble locating the SD card slot, consult the instruction manual or check online resources for visual guides or videos that can assist you in finding it.
Step 2: Prepare the SD Card
Now that you’ve located the SD card slot, it’s time to prepare the SD card for insertion. Before inserting the card into your Nintendo Switch, there are a few important things to consider.
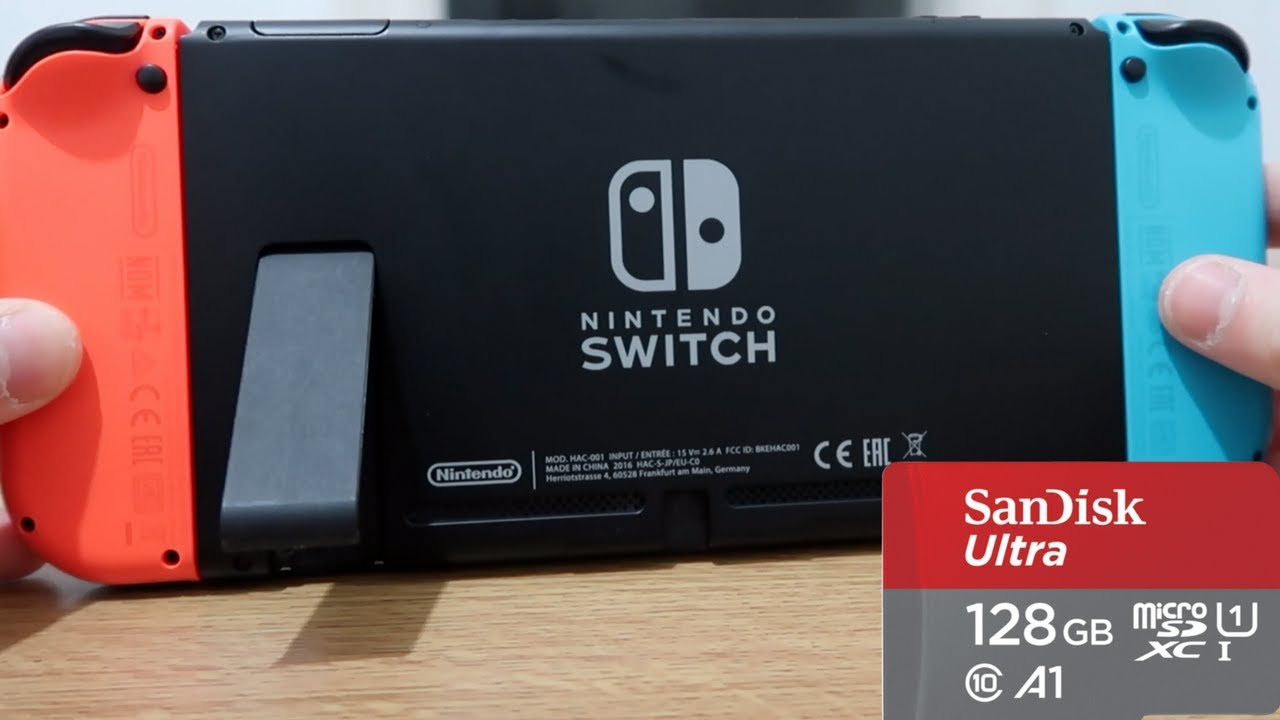
First, ensure that the SD card you’re using is compatible with the Nintendo Switch. As mentioned earlier, the Switch supports microSD, microSDHC, and microSDXC cards. Additionally, it’s recommended to use a high-quality SD card from a reputable brand to ensure optimal performance and reliability.
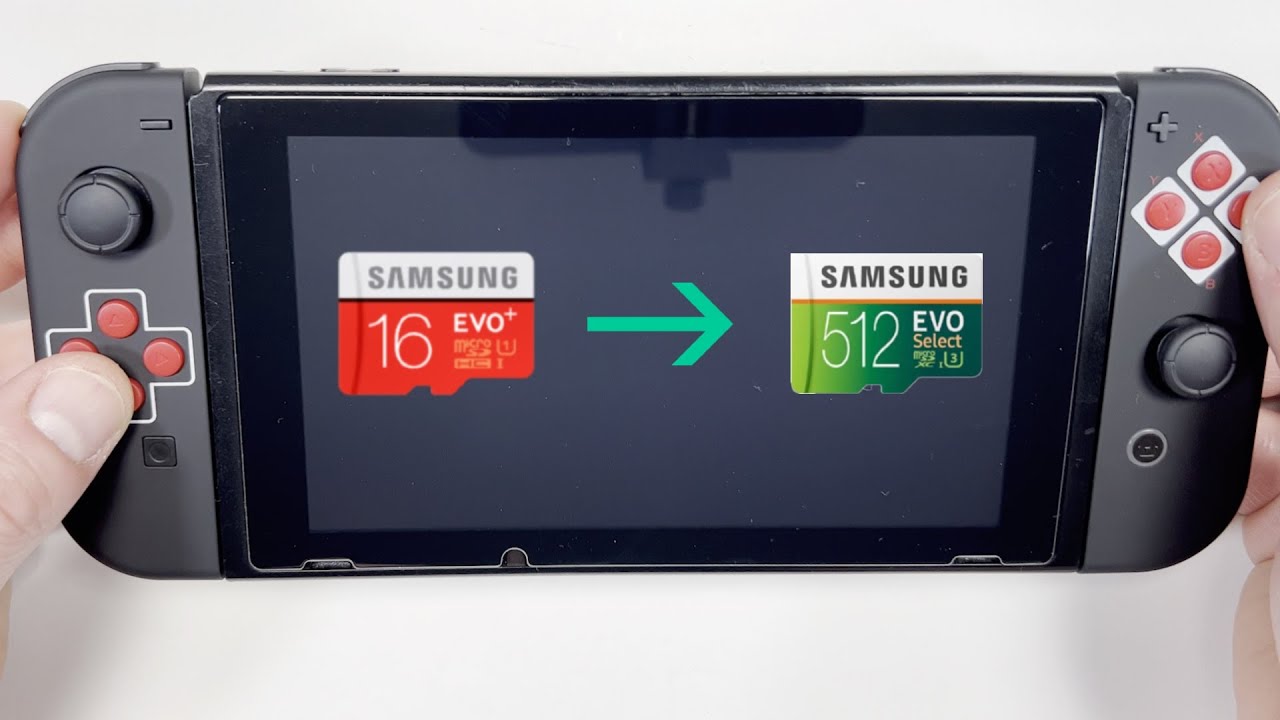
Next, check the storage capacity of the SD card. Depending on your needs, choose a card with sufficient space to store your games, screenshots, and other digital content. It’s always better to have more storage capacity than you think you’ll need, as games and updates can take up a significant amount of space.
Before inserting the SD card, it’s advisable to format it. This will ensure that it is properly recognized by the Nintendo Switch and ready to be used. To format the SD card, insert it into a computer, locate the drive, right-click on it, and select “Format”. Choose the appropriate file system (exFAT is recommended), give it a name if desired, and click “Format” to begin the process. Once formatting is complete, your SD card is ready to be inserted into the Switch.
Handling the SD card with care is vital to prevent damage. Avoid touching the gold contacts on the card and handle it by its edges. Any physical damage, such as bends or scratches, can lead to data loss or connectivity issues.
With your SD card formatted and ready, you’re now prepared to move on to the next step: inserting it into your Nintendo Switch.
Step 3: Insert the SD Card into the Switch
Now that you have prepared your SD card, it’s time to insert it into your Nintendo Switch. Follow these simple steps to ensure a successful insertion:
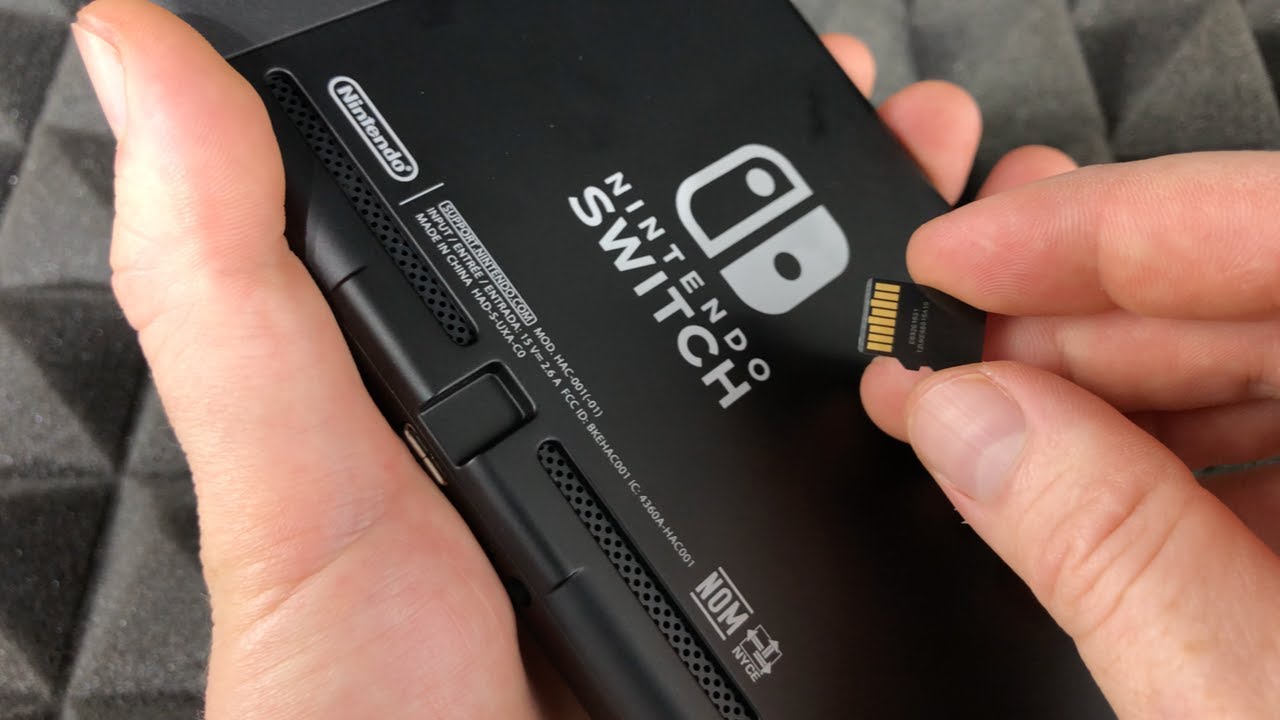
- Hold the SD card with the label facing up and the gold contacts facing down.
- Align the notched corner of the SD card with the notched corner of the SD card slot on the Nintendo Switch. This ensures that you insert the card in the correct orientation.
- Gently slide the SD card into the slot until it is fully inserted. Be careful not to force it or apply excessive pressure, as this could damage the card or the slot.
- Once the SD card is inserted, you should hear a slight clicking sound, indicating that it has been securely placed into position.
- Carefully close the kickstand if you had it open to access the SD card slot.
It’s important to note that the Nintendo Switch supports hot-swapping of SD cards, which means you can insert or remove an SD card while the console is powered on. However, it’s always a good practice to power off your Switch before inserting or removing an SD card to minimize the risk of data corruption.
With the SD card successfully inserted into your Nintendo Switch, you now have additional storage space to expand your gaming library and store multimedia files. The next step is to power on the Switch and ensure that the SD card is recognized.
Step 4: Power on the Switch
With the SD card securely inserted into your Nintendo Switch, it’s time to power on the console. Here’s how you can do it:
- Press the power button located on the top-left corner of the Switch. It is the small round button with the power icon.
- The console will boot up, and you will see the Nintendo logo on the screen.
- Wait for the system to fully power on, and you will be greeted with the home screen.
It’s important to note that when you power on your Switch for the first time after inserting an SD card, the system might prompt you to configure the SD card as the default storage option for game downloads and updates. Follow the on-screen instructions to set up your preferences.
Once the home screen appears, you can start enjoying your Nintendo Switch experience with the added convenience of expanded storage capacity provided by the SD card. Now, it’s time to verify if the SD card is recognized by the console.
If, for any reason, the SD card is not recognized or you encounter any issues during the power-up process, ensure that the card is properly inserted and try restarting the console. If the problem persists, you may need to troubleshoot further or seek assistance from Nintendo support.
Step 5: Check if the SD Card is Recognized
After powering on your Nintendo Switch with the newly inserted SD card, it’s essential to check if the console recognizes the card. Follow these steps to verify its recognition:
- Navigate to the home menu by pressing the home button on your Joy-Con controller.
- Scroll through the menu options until you reach the “System Settings” option, which is represented by a gear icon. Select it.
- In the System Settings menu, scroll down and select the “Data Management” option.
- Choose the “Data Management” option again on the next screen to access the storage settings.
- Under “Data Management,” you will see different options for managing your storage, including the ability to view the internal storage and the SD card.
- Select the “microSD Card” option to view the details of the SD card.
- If your SD card is recognized and functioning correctly, you will see the available and used storage space on the card.
If the SD card does not appear or is not recognized in the “Data Management” menu, it may indicate an issue with the card or the insertion. Try reinserting the card, ensuring that it is properly seated in the slot. Additionally, make sure to use a supported SD card and check for any compatibility issues.
If you encounter any difficulties or error messages while accessing the SD card in the “Data Management” menu, consider formatting the SD card again or seeking technical support from Nintendo.
Once you have confirmed that the SD card is recognized by the Nintendo Switch and functioning correctly, you can start transferring or downloading games, storing screenshots, and enjoying the additional storage capacity.
Step 6: Safely Remove the SD Card from the Switch
If you ever need to remove the SD card from your Nintendo Switch, it’s crucial to follow the proper procedure to avoid data loss or damage. Here’s how you can safely remove the SD card:
- First, ensure that your Nintendo Switch is powered off. This step is crucial to prevent any data corruption or damage to the SD card.
- Locate the kickstand on the back of the Switch and flip it up to access the SD card slot.
- Gently press the edge of the SD card, and it will pop out slightly from the slot.
- Using your fingers or a pair of tweezers, carefully pull the SD card out of the slot.
- Avoid applying excessive force or bending the card during this process to prevent any physical damage.
- Once the SD card is removed, close the kickstand if it was opened.
It’s important to note that abruptly removing the SD card while the Switch is powered on or actively accessing data can lead to file corruption or loss. Always make sure to power off the console and follow the proper removal procedure.
If you plan to insert a different SD card after removing the existing one, it’s recommended to power off the Switch before inserting the new card. This ensures a clean and error-free transition between cards.
If you no longer need the SD card or want to switch to a larger capacity card, consider backing up your data and transferring it to the new card before removing it from the Switch.
By following these simple steps, you can safely remove the SD card from your Nintendo Switch without risk of data loss or damage. Always handle the SD card with care and store it in a safe place when not in use to extend its lifespan and protect your valuable data.
Conclusion
Inserting an SD card into your Nintendo Switch is a straightforward process that expands your storage capacity and enhances your gaming experience. By following the steps outlined in this guide, you can easily insert and utilize an SD card with your Switch.
From locating the SD card slot to preparing and inserting the card, each step ensures that the process is seamless and error-free. Powering on the Switch and checking if the SD card is recognized provides confirmation that the card has been successfully inserted and is functioning properly.
Remember to handle the SD card with care, avoid applying excessive force, and always power off the Switch before removing or inserting the card. Following these precautions will help prevent data loss or damage to both the card and the console.
With an SD card inserted, you have the freedom to download more games, store screenshots and videos, and have all your digital content readily accessible on your Nintendo Switch. The expanded storage space allows you to enjoy a vast library of games without worrying about running out of memory.
Keep in mind that different SD card brands and capacities may have varying performance and compatibility. It’s important to choose a high-quality SD card from a reputable brand and follow the recommended specifications for optimal performance.
Now that you know how to insert an SD card into your Nintendo Switch, you can take full advantage of the console’s storage expansion feature and immerse yourself in hours of gaming enjoyment. Have fun exploring all the possibilities that the extra space provides!