Introduction
Welcome to our guide on how to format an SD card for your Switch! If you are experiencing issues with your SD card or looking to upgrade to a larger capacity, formatting the SD card is a necessary step. Formatting will erase all data on the card, so it is vital to back up any important data before proceeding.
In this article, we will walk you through the different methods of formatting an SD card for your Switch. We will cover formatting through the Switch itself, formatting through a computer, and using third-party software. Additionally, we will discuss the importance of backing up your data and how to restore it after formatting the SD card.
Formatting an SD card can improve its performance and resolve compatibility issues with your Switch. Whether you are encountering errors or simply want to start fresh, this guide will provide you with the necessary steps to format your SD card effectively.
Please note that proper formatting will ensure the SD card functions optimally with your Switch. It is essential to follow the instructions carefully to avoid any data loss or potential damage to your SD card or Switch.
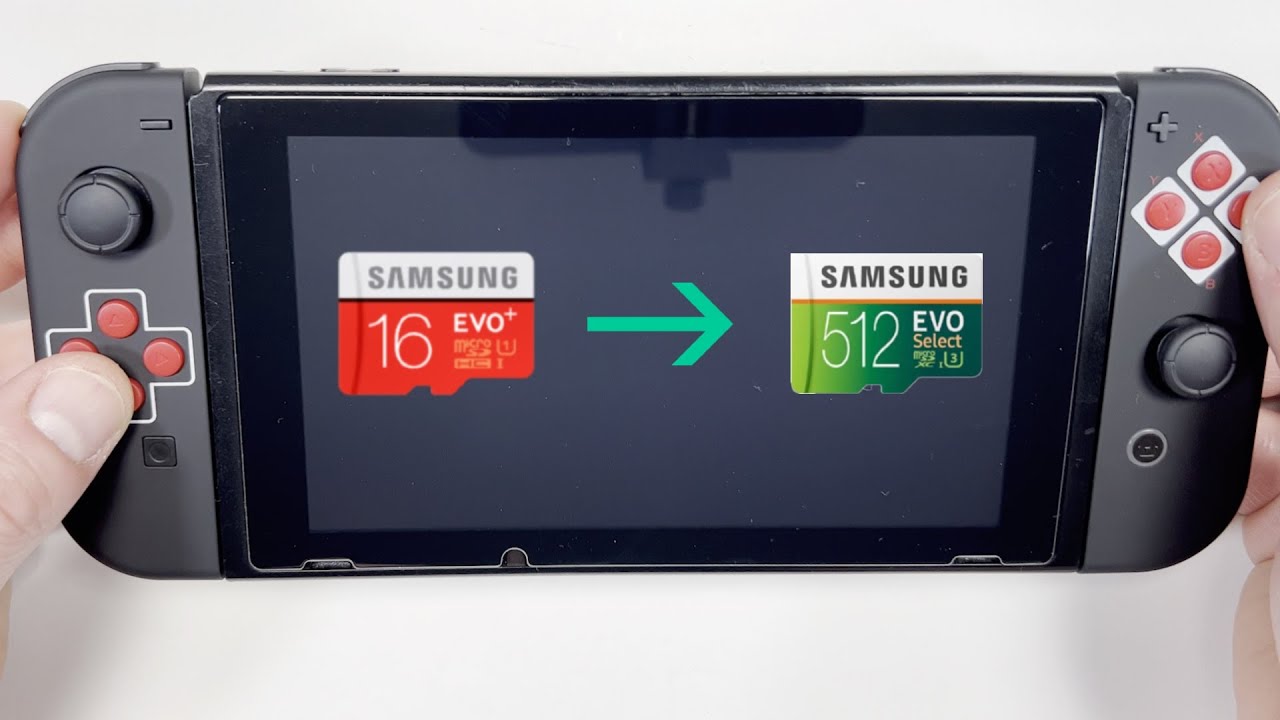
Before we delve into the formatting process, let’s first check whether your SD card is compatible with the Switch.
Checking Compatibility
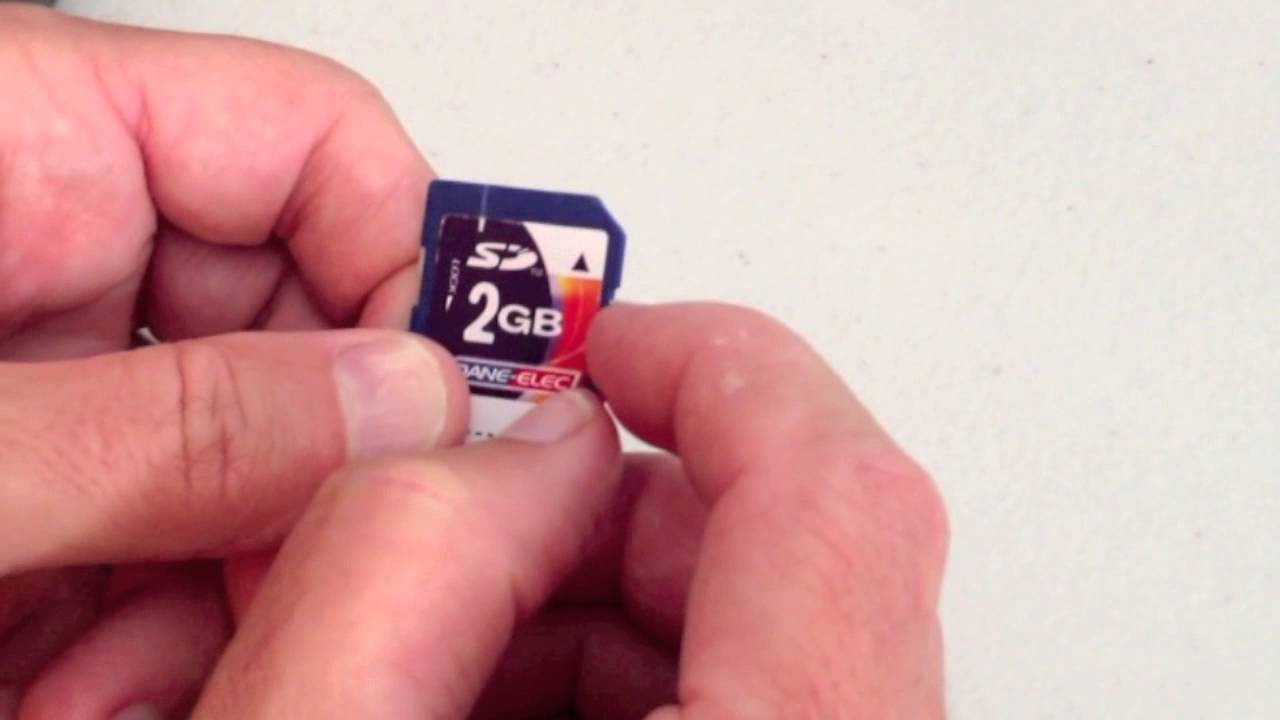
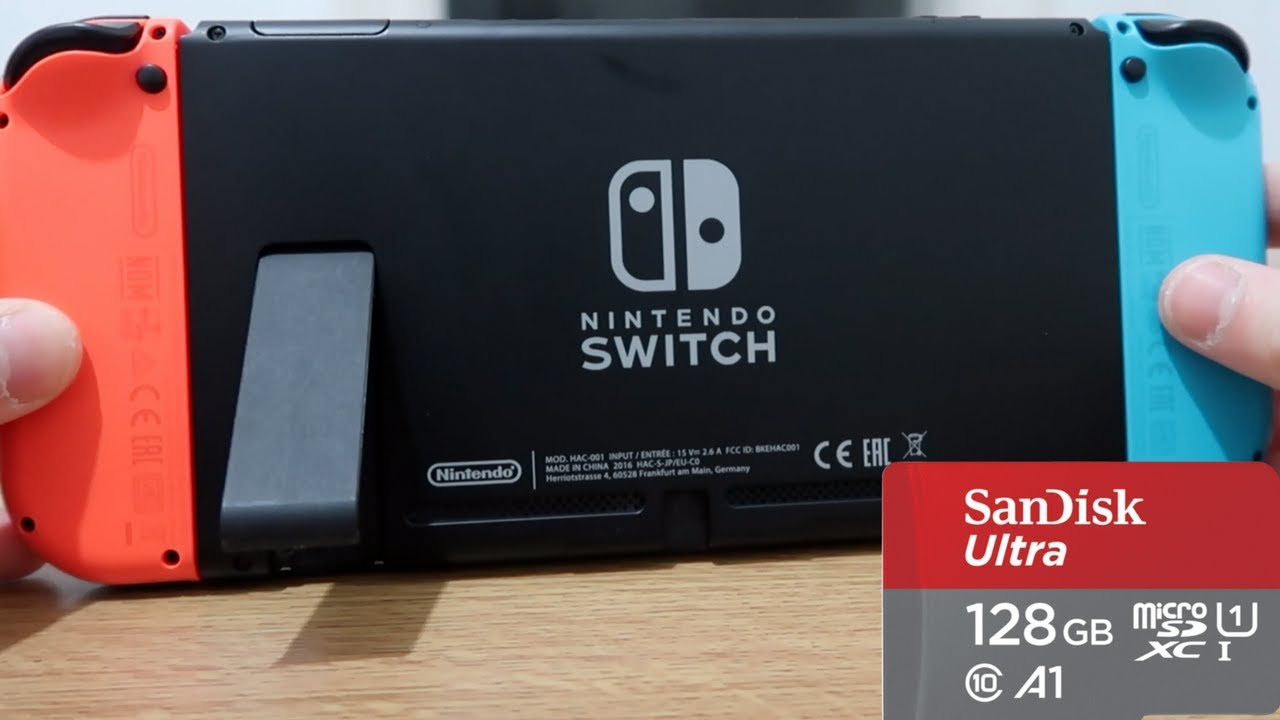
Before formatting your SD card for the Switch, it’s important to ensure that the card is compatible with the device. The Nintendo Switch supports microSD and microSDHC cards up to 32GB in size and microSDXC cards up to 2TB in size.
To check if your SD card is compatible with the Switch, follow these steps:
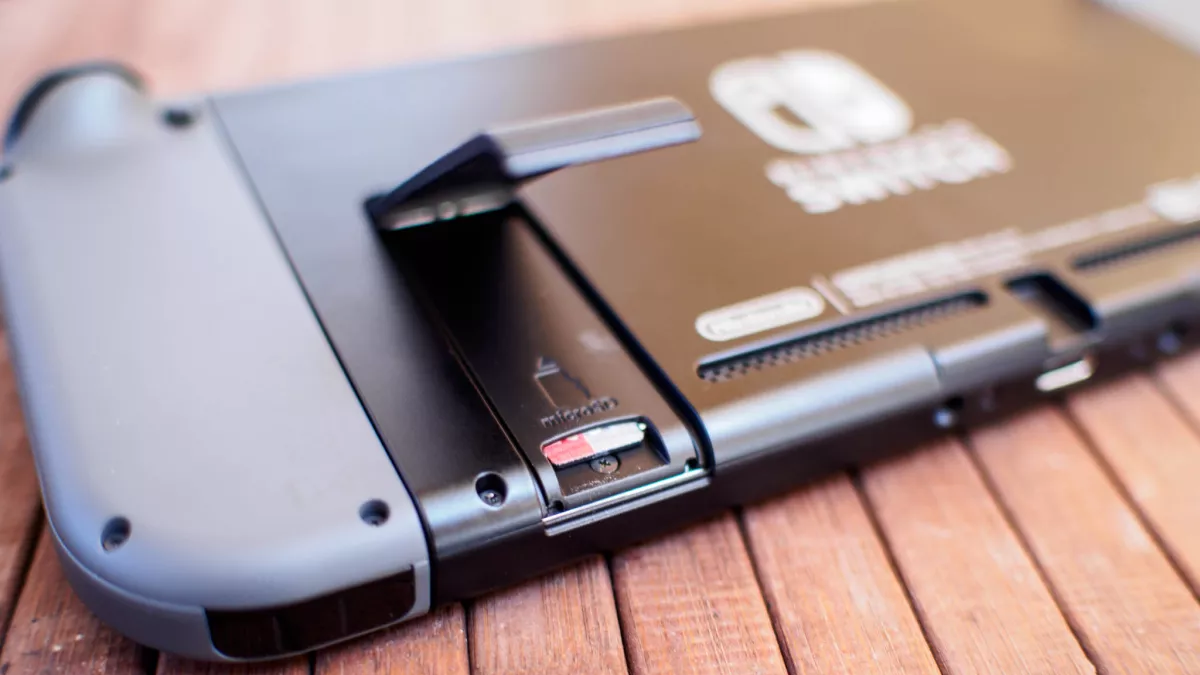
- Remove the SD card from your Switch if it is currently inserted.
- Inspect the SD card for any labels or markings indicating the size and type of the card. The capacity and type should be clearly specified on the card itself.
- If the capacity is 32GB or below and the card is labeled as microSD or microSDHC, it is compatible with the Switch.
- If the capacity is above 32GB and the card is labeled as microSDXC, it is compatible as long as it is formatted in the appropriate file system (FAT32 or exFAT).
If your SD card meets the compatibility requirements, you can proceed with the formatting process. However, if your SD card is not compatible or if you are unsure about its compatibility, it is recommended to use a card that falls within the supported limits to avoid any potential issues or data loss.
Once you have confirmed that your SD card is compatible, the next step is to back up any data you may have stored on the card. This will ensure that you can restore your files after formatting without losing any important information.
Let’s move on to the next section, where we will discuss how to back up your data before formatting the SD card.
Backing Up Data
Before formatting your SD card for the Switch, it is crucial to back up any data stored on the card. This will ensure that you can restore your files and continue using them after the formatting process.
To back up your data from the SD card, follow these steps:
- Insert the SD card into your computer using an SD card reader or an adapter.
- Open the file explorer or finder on your computer and navigate to the SD card’s location.
- Select the files and folders you want to back up and copy them to a new folder on your computer.
- Alternatively, you can use backup software or cloud storage services to automatically back up your files from the SD card to the cloud.
Make sure you have successfully copied all the necessary files before proceeding with the SD card formatting. Double-check the backup folder to ensure that it contains all the important data you want to preserve.
It is also a good practice to verify the integrity of your backup by opening a few files to confirm that they are accessible and intact.
Once you have completed the backup process and verified your files, you are ready to format the SD card. We will cover different methods of formatting in the following sections, including formatting through the Switch itself, formatting through a computer, and using third-party software.
Now let’s proceed to the section where we will discuss how to format the SD card using the Switch.
Formatting SD Card through Switch
The Nintendo Switch provides a built-in option to format the SD card directly through the system’s settings. Follow the steps below to format your SD card using the Switch:
- Ensure your Switch is powered on and connected to a stable power source.
- On the Home menu, select “System Settings”.
- Scroll down and select “Data Management”.
- Choose “Manage microSD Card” to access the options related to your SD card.
- Select “Format microSD Card”.
- Confirm your decision by selecting “Format” when prompted.
- Wait for the formatting process to complete. This may take a few moments depending on the size of your SD card.
- Once the formatting is finished, your SD card is now ready to be used with your Switch.
It’s important to note that formatting the SD card will erase all data on it, so ensure that you have backed up your files before proceeding. If you haven’t performed a backup yet, refer to the earlier section on how to back up your data.
If you prefer to format the SD card through your computer or utilize additional formatting options, continue reading to the next sections where we will discuss alternative methods of formatting the SD card.
Now that you know how to format the SD card through the Switch, let’s move on to formatting the SD card using a computer.
Formatting SD Card through Computer
If you prefer to format your SD card for the Switch using a computer, you have two options: formatting through the operating system or using third-party formatting software. Here’s how you can format the SD card through your computer:
Formatting through Operating System:
- Insert the SD card into your computer using an SD card reader or an adapter.
- Open the file explorer or finder on your computer and locate the SD card.
- Right-click on the SD card and select “Format”.
- Choose the file system as either FAT32 or exFAT (consult your Switch’s documentation or the Nintendo website for the recommended file system).
- Ensure that the Quick Format option is selected.
- Click “Start” to begin the formatting process.
- Wait for the formatting to complete. This may take a few minutes.
- Once the formatting is finished, safely eject the SD card from your computer.
Formatting with Third-Party Software:
If the built-in formatting tools of your operating system do not offer the desired options or if you encounter any issues, you can use third-party software to format the SD card. Some popular options include SD Memory Card Formatter by SD Association, MiniTool Partition Wizard, and EaseUS Partition Master. Follow the instructions provided by the chosen software to format the SD card effectively.
After formatting the SD card through your computer, it is essential to properly eject the card before removing it to avoid any potential data corruption. Once the SD card is formatted, you can insert it back into your Switch and begin using it.
Now that you have learned how to format the SD card through a computer, let’s explore an alternative method using third-party software.
Formatting SD Card with Third-Party Software
If you encounter any issues or require more advanced formatting options, you can consider using third-party software to format your SD card for the Switch. These software options provide additional features and flexibility compared to the built-in options offered by the Switch or the operating system. Here’s how you can format the SD card using third-party software:
- Download and install a reliable third-party formatting software such as SD Memory Card Formatter, MiniTool Partition Wizard, or EaseUS Partition Master.
- Insert the SD card into your computer using an SD card reader or an adapter.
- Open the third-party software and locate the SD card within the program.
- Select the SD card and choose the option to format it.
- Follow the prompts and select the desired file system (FAT32 or exFAT) and any other formatting options you prefer.
- Click on “Start” or a similar button to initiate the formatting process.
- Wait for the software to format the SD card. The time required may vary based on the SD card’s size and speed.
- Once the formatting is complete, safely eject the SD card from your computer.
Third-party software can provide additional features such as disk partitioning or error checking. However, it is essential to use reputable software and ensure that you select the correct options to avoid inadvertently causing any damage or data loss.
After formatting the SD card with third-party software, insert it back into your Switch, and it will be ready for use. Remember to handle the SD card with care and follow proper ejection procedures before removing it from your computer.
Now that you have learned how to format the SD card using third-party software, it’s time to move on to the next section, where we will discuss restoring data to a formatted SD card.
Restoring Data to Formatted SD Card
After formatting your SD card for the Switch, you can now begin restoring your backed-up data. Here’s how you can restore data to a formatted SD card:
- Insert the formatted SD card into your computer using an SD card reader or an adapter.
- Open the file explorer or finder on your computer and locate the backup folder containing your backed-up data.
- Select the files and folders you want to restore and copy them to the formatted SD card.
- Ensure that you place the files in the appropriate directories or folders on the SD card to maintain the original file structure.
- Once the data transfer is complete, safely eject the SD card from your computer.
- Insert the SD card back into your Switch.
When you power on your Switch, it should recognize the restored data on the SD card. You can now access your files and continue using your apps and games as before.
It’s crucial to note that if you have formatted the SD card without creating a backup, all data on the card will be permanently deleted, and it won’t be recoverable. Therefore, it is essential to perform regular backups to avoid losing any valuable data.
If you encounter any issues with accessing or restoring your data, double-check that the files are correctly placed on the SD card and that they are compatible with the Switch. In some cases, you may need to redownload or reinstall certain apps or games to ensure proper functionality.
Now that you have restored your data to the formatted SD card, you can enjoy using your Switch without losing any important files. In the following section, we will briefly summarize the key points covered in this guide.
Conclusion
In this guide, we have explored the various methods of formatting an SD card for your Switch. It is essential to check the compatibility of your SD card and back up your data before proceeding with the formatting process. Formatting through the Switch itself provides a convenient option, while formatting through a computer or using third-party software offers additional features and flexibility.
Remember to follow the instructions carefully when formatting your SD card to avoid any data loss or potential damage. Always handle the SD card with care and ensure proper ejection procedures when removing it from your computer.
Restoring your backed-up data to the formatted SD card allows you to continue using your Switch without losing any important files. Regular backups are crucial to protect your valuable data and make it easier to recover in case of unexpected situations.
We hope this guide has provided you with the necessary information on how to format an SD card for your Switch. By following the steps outlined in this guide, you can effectively format your SD card and optimize its performance with your Switch.
If you have any further questions or encounter any challenges during the formatting process, refer to the official Nintendo documentation or consult the support resources available on the Nintendo website.
Thank you for reading, and we wish you success in formatting your SD card for your Switch!