Introduction
SD cards are widely used for storing and transferring data, whether it’s for cameras, smartphones, or other electronic devices. However, encountering a write protection error can be frustrating, as it prevents you from modifying or adding any new files to the SD card.
Write protection is a security feature that protects the data on an SD card from being accidentally or maliciously overwritten or deleted. While it is a useful feature for safeguarding important files, it can become problematic when you actually need to make changes to the card. Luckily, there are several methods you can try to fix a write-protected SD card and regain access to the full functionality of your storage device.
This article will guide you through various solutions, from simple methods like sliding the lock switch on the SD card to more advanced techniques involving disk management and firmware updates. Keep in mind that not all methods may work for every situation, so it’s recommended to try them in the order they are presented until you find a solution that works for you.
Before we delve into the methods, it’s important to note that attempting any of these fixes carries a certain level of risk. It’s always a good idea to back up any important files on your SD card before proceeding, as some methods may involve formatting the card, which will erase all data. Additionally, if your SD card is still under warranty, it’s advisable to contact the manufacturer for assistance to avoid voiding the warranty.
With that said, let’s explore the various methods you can try to fix write-protected SD cards and regain control over your valuable data.
Understanding Write Protection
Write protection is a feature that prevents any modifications from being made to the data stored on an SD card. It is a safeguard against accidental deletion or overwriting of important files. This feature is typically implemented in the form of a physical lock switch on the side of the SD card, or through software settings within the device or operating system.
When the write protection feature is enabled, you will not be able to delete, add, or modify any files on the SD card. This can be beneficial in certain scenarios where you want to prevent important data from being tampered with, such as protecting critical system files or maintaining the integrity of sensitive information.
However, there may be instances where you need to remove the write protection to perform necessary tasks such as transferring files, formatting the card, or updating firmware. It is important to understand the different causes of write protection in order to apply the appropriate fix.
Write protection on an SD card can occur due to various reasons:
- Lock switch: The physical lock switch on the side of the SD card may be accidentally engaged. This switch is designed to toggle the write protection feature on or off. You can simply slide the switch to the unlocked position to disable write protection.
- File system settings: The file system settings on the SD card may be configured to read-only, preventing any write operations. This can happen when the SD card is used on multiple devices or when the file system gets corrupted. Software-based fixes can often resolve this issue.
- Malware or viruses: In some cases, malware or viruses may enable write protection on the SD card to prevent any changes to the infected files. Running a thorough scan using an updated antivirus software can help identify and remove any malicious software.
- Firmware issues: Outdated or faulty firmware on the SD card can cause write protection issues. Updating the firmware through the manufacturer’s website or software can resolve this problem.
- Hardware malfunction: In rare cases, there may be a hardware malfunction in the SD card itself that triggers write protection. In such instances, contacting the manufacturer for support or replacing the SD card may be necessary.
By understanding the reasons behind write protection, you can effectively troubleshoot and resolve the issue. In the following sections, we will explore various methods to remove write protection from an SD card, allowing you to continue accessing and modifying your files as needed.
Identifying Write Protection on an SD Card
Before attempting any troubleshooting methods, it is important to verify if your SD card is indeed write-protected. Here are some indicators that can help you identify if write protection is enabled:
- Error message: When attempting to copy, delete, or modify files on the SD card, you may receive an error message stating that the card is write-protected. This is a clear indication that the write protection feature is enabled.
- Physical lock switch: Most SD cards have a physical lock switch located on the side. If this switch is in the locked position, it means that write protection is enabled. Conversely, if the switch is in the unlocked position, write protection is disabled.
- “Read-only” indication: Some devices or operating systems may display a “read-only” indication when you try to modify files on a write-protected SD card. This serves as a visual confirmation that write protection is in effect.
- Disabled write options: When viewing the properties of the SD card, you may find that the write or modify options are grayed out or unavailable. This indicates that write protection is active.
It’s important to note that not all SD cards have a physical lock switch. Some devices may implement write protection solely through software settings. In such cases, you will need to explore software-based methods to disable write protection.
By identifying the presence of write protection on your SD card, you can move forward with the appropriate troubleshooting methods to remove the write protection and regain full access to your data.
In the following sections, we will explore several methods that can help you fix a write-protected SD card. It’s recommended to try these methods in the order presented until you find a solution that works for your specific situation.
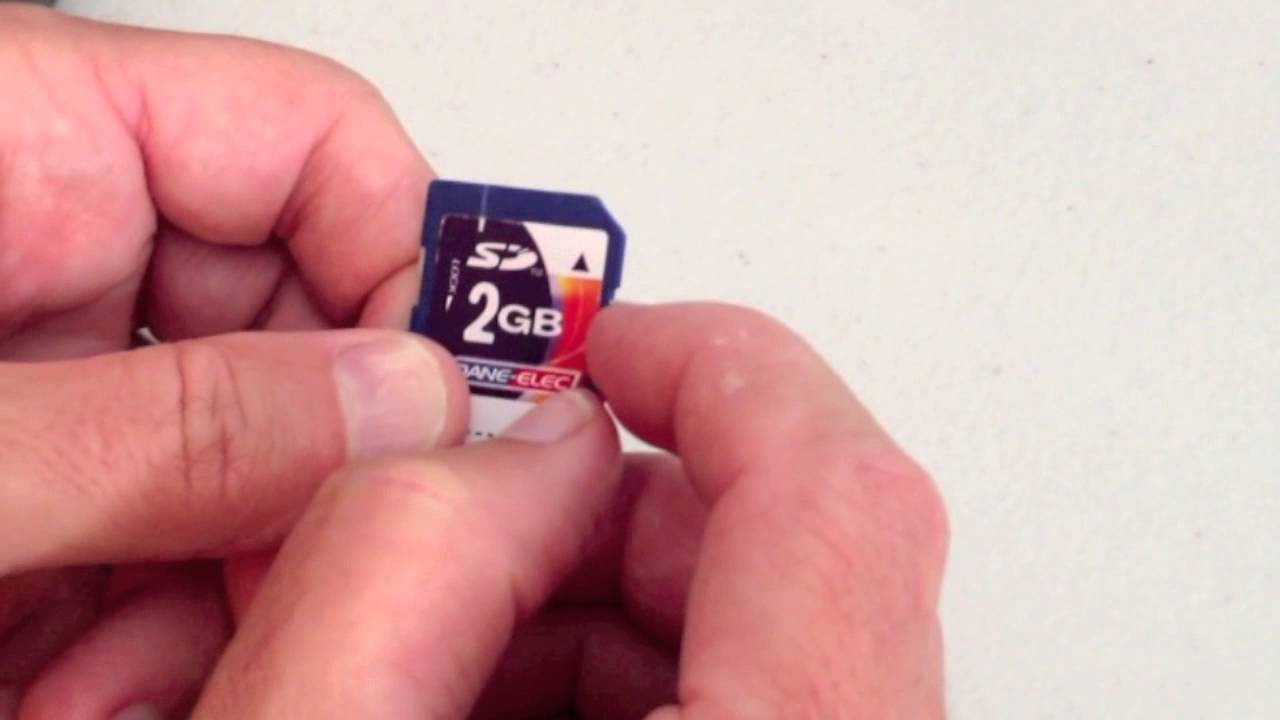
Method 1: Sliding the Lock Switch on the SD Card
The easiest and most straightforward method to remove write protection from an SD card is to check and adjust the position of the physical lock switch on the side of the card. Here’s how you can do it:
- Locate the lock switch on the side of the SD card. It is usually a small slider that can be moved up or down.
- Ensure that the lock switch is in the unlocked position. This is typically indicated by an arrow or an “unlocked” label.
- If the lock switch is already in the unlocked position, gently slide it to the locked position and then back to the unlocked position. This can help reset the switch and potentially resolve any issues with write protection.
- Insert the SD card back into your device and check if the write protection error is resolved.
Remember to handle the SD card with care and avoid applying excessive force when sliding the lock switch to prevent any damage to the card.
If the lock switch is not present on your SD card or if sliding the switch does not resolve the write protection issue, it may be necessary to explore other methods to remove the write protection. Don’t worry, we’ll cover additional troubleshooting steps in the following sections.
It’s important to note that the lock switch on the SD card is a physical mechanism that can enable or disable write protection. Therefore, it is essential to ensure that the switch is in the correct position before proceeding to other troubleshooting methods.
Now that we have addressed the simplest fix, let’s move on to Method 2, where we will explore how to disable write protection through the Windows Registry Editor.
Method 2: Using Windows Registry Editor
If sliding the lock switch on the SD card did not resolve the write protection issue, you can try using the Windows Registry Editor to disable write protection. Follow these steps:
- Press Windows Key + R to open the Run dialog box.
- Type “regedit” in the text field and click OK to open the Windows Registry Editor.
- In the left pane of the Registry Editor, navigate to the following key:
HKEY_LOCAL_MACHINE\SYSTEM\CurrentControlSet\Control\StorageDevicePolicies - If the “StorageDevicePolicies” key does not exist, right-click on the “Control” key, select New, and then choose Key. Name the new key as “StorageDevicePolicies”.
- Within the “StorageDevicePolicies” key, right-click on the right pane and select New > DWORD (32-bit) Value. Name the new value as “WriteProtect”.
- Double-click on the “WriteProtect” value and set the Value data to “0”.
- Click OK to save the changes.
- Close the Registry Editor and restart your computer.
After the computer restarts, insert the SD card and check if the write protection has been removed. You should now be able to modify, delete, or copy files to the SD card without encountering any write protection errors.
It’s important to exercise caution when working with the Windows Registry Editor as it contains critical system settings. Any incorrect modification to the registry can cause system instability or other issues. Always create a backup of the registry before making any changes.
If Method 2 did not solve the write protection problem, don’t worry. We have more methods to explore. In the following section, we will discuss Method 3, which involves formatting the write-protected SD card.
Method 3: Formatting the Write Protected SD Card
If the previous methods did not resolve the write protection issue on your SD card, you can try formatting the card to remove any restrictions. Formatting the SD card will erase all data stored on it, so make sure to back up any important files before proceeding. Here’s how you can format a write-protected SD card:
- Insert the write-protected SD card into your computer’s card reader.
- Open File Explorer (Windows Key + E) and locate the SD card under the “This PC” or “Computer” section.
- Right-click on the SD card and select Format.
- In the format options window, make sure the File system is set to FAT32 (for compatibility with most devices) or exFAT (for larger file sizes).
- Uncheck the Quick Format option to perform a full format that ensures all data is wiped from the card.
- Click Start to begin the formatting process.
- Wait for the formatting process to complete. This may take a few minutes depending on the size of the SD card.
- Once the formatting is done, you should receive a confirmation message.
- Remove the SD card from the card reader and reinsert it into your device.
After formatting the SD card, the write protection should be removed, and you should be able to use the card without encountering any write protection errors. Remember to transfer your backed-up files back onto the SD card if needed.
If Method 3 didn’t resolve the issue, don’t worry, we still have more methods to discuss. In the following section, we will explore Method 4, which involves utilizing the Diskpart command in the Command Prompt.
Method 4: Utilizing Diskpart Command in Command Prompt
If the previous methods were unsuccessful in removing the write protection from your SD card, you can try using the Diskpart command in the Command Prompt. Diskpart is a powerful command-line utility that allows you to manage disk partitions and volumes. Here’s how you can use Diskpart to fix the write-protected SD card:
- Open the Command Prompt by pressing Windows Key + R to open the Run dialog box. Type “cmd” and press Enter.
- In the Command Prompt window, type
diskpartand press Enter to launch the Diskpart utility. - At the Diskpart prompt, type
list diskand press Enter to view a list of available disk drives on your computer. - Identify the disk number that corresponds to your SD card. Note the disk number for the SD card.
- Type
select disk #, replacing “#” with the disk number of your SD card, and press Enter. - To remove the write protection, enter the following command and press Enter:
attributes disk clear readonly - Wait for the operation to complete. Diskpart will display a confirmation message when it’s done.
- Exit Diskpart by typing
exitand pressing Enter.
Once you have completed these steps, remove the SD card from your computer and reinsert it. The write protection should now be disabled, allowing you to make changes to the SD card without any issues.
If Method 4 didn’t work for you, don’t worry. We still have a few more methods to go through. In the following section, we will discuss Method 5, which involves using the Disk Management tool.
Method 5: Using Disk Management
If the previous methods have not resolved the write protection issue on your SD card, you can try using the Disk Management tool in Windows. Disk Management allows you to manage and format disk partitions on your computer. Here’s how you can use Disk Management to fix the write-protected SD card:
- Make sure the write-protected SD card is inserted into your computer’s card reader.
- Press Windows Key + X and select Disk Management from the menu that appears.
- In the Disk Management window, locate the SD card among the listed disks. It should be labeled as “Removable” and have a size corresponding to your SD card.
- Right-click on the volume of the SD card and select Delete Volume.
- Confirm the deletion by clicking Yes.
- Right-click on the unallocated space of the SD card and select New Simple Volume.
- Follow the instructions in the New Simple Volume Wizard to create a new partition on the SD card.
- Assign a drive letter to the SD card and format it using the options provided in the wizard. Make sure to select an appropriate file system (such as FAT32 or exFAT) for compatibility with your device.
- Wait for the formatting process to complete. Once done, the write protection should be removed from the SD card.
- Eject and reinsert the SD card to ensure that the changes take effect.
After performing these steps, the write protection should be successfully removed from the SD card. You can now use the SD card without encountering any write protection errors.
If Method 5 did not solve the issue, don’t worry. We have a few more methods to explore. In the following section, we will discuss Method 6, which involves changing permissions in File Explorer.
Method 6: Changing Permissions in File Explorer
If you’re still facing write protection on your SD card, you can try changing the permissions in File Explorer to regain access to modify or add files. Here’s how you can change permissions in File Explorer:
- Insert the write-protected SD card into your computer’s card reader.
- Open File Explorer (Windows Key + E) and locate the SD card under the “This PC” or “Computer” section.
- Right-click on the SD card and select Properties.
- In the Properties window, go to the Security tab.
- Click on the Edit button.
- A new window will appear. On this window, click Add.
- Type “Everyone” in the text field and click Check Names. The text should be underlined, indicating that it has been recognized.
- Click OK to close the Select Users or Groups window.
- In the Permissions window, under the Group or user names section, select “Everyone”.
- Under the Permission for Everyone section, check the box for Full Control.
- Click Apply and then OK to save the changes.
After changing the permissions, try accessing the SD card and see if the write protection error has been resolved. You should now have full control over modifying, deleting, or adding files on the SD card.
If Method 6 did not solve the write protection issue, don’t worry. We have a couple more methods to explore. In the following section, we will discuss Method 7, which involves updating the SD card’s firmware.
Method 7: Updating SD Card Firmware
If the previous methods have not resolved the write protection issue on your SD card, it’s worth considering updating the firmware of the SD card. Firmware is the software embedded in the hardware of the SD card, and updating it can often resolve various issues, including write protection problems. Here’s how you can update the firmware of your SD card:
- Visit the website of the SD card’s manufacturer and navigate to the support or downloads section.
- Look for any available firmware updates for your specific model of SD card.
- Download the firmware update file to your computer.
- Ensure that the write-protected SD card is inserted into your computer’s card reader.
- Run the firmware update file and follow the instructions provided by the manufacturer to update the firmware of the SD card.
- Once the firmware update process is complete, remove the SD card from the card reader and reinsert it into your device.
Updating the firmware can often resolve write protection issues by ensuring that the SD card’s software is up to date and compatible with your device. It’s important to note that not all SD cards support firmware updates, so check with the manufacturer’s website to determine if there are any available updates for your specific SD card model.
If Method 7 did not solve the write protection problem, don’t lose hope. We have one more method to explore. In the following section, we will discuss Method 8, which involves contacting the manufacturer for assistance.
Method 8: Contacting the Manufacturer
If none of the previous methods have resolved the write protection issue on your SD card, it may be time to reach out to the manufacturer for further assistance. The manufacturer’s support team will have the expertise and knowledge to address specific issues related to their SD cards. Here’s what you can do:
- Visit the website of the SD card’s manufacturer.
- Look for a support or contact section on their website.
- Find the appropriate contact information, such as a customer support phone number or email.
- Reach out to the manufacturer’s support team and provide them with details about your SD card and the write protection issue you’re experiencing.
- Follow their instructions and provide any requested information or documentation.
- Engage in troubleshooting steps recommended by the manufacturer’s support team.
- Depending on the situation and the warranty of your SD card, they may offer a repair or replacement if it is determined that the write protection issue is a result of a hardware fault.
Remember to provide as much information as possible to the manufacturer’s support team, including the model and serial number of your SD card, details about your system or device, and any troubleshooting steps you have already attempted. This will help them diagnose the issue more effectively and provide you with the most appropriate solution.
It’s important to note that contacting the manufacturer should be considered when all other methods have been exhausted, and your SD card is still under warranty. They will be best equipped to provide specific guidance and solutions tailored to your SD card’s make and model.
With Method 8, we have covered various troubleshooting methods for resolving write protection on your SD card. Hopefully, one of these methods has been successful in removing the write protection and allowing you to access and modify your files without any issues.
Remember to always exercise caution when working with sensitive storage devices like SD cards. Back up important data regularly to prevent any potential data loss in case of unforeseen circumstances.
Should you encounter any other issues or concerns with your SD card in the future, don’t hesitate to reach out to the manufacturer or seek professional assistance to ensure the best possible outcome.
Conclusion
Encountering a write protection error on an SD card can be frustrating, but with the methods outlined in this article, you can effectively troubleshoot and resolve the issue. It’s important to keep in mind that not all methods may work for every situation, so it’s recommended to try them in the order presented until you find a solution that works for your specific SD card.
We started by understanding write protection and the various reasons behind it, including physical lock switches, file system settings, malware or viruses, firmware issues, and hardware malfunctions. By gaining this understanding, you can pinpoint the cause of write protection and apply the appropriate fix.
We then explored eight different methods to remove write protection from an SD card. From sliding the lock switch and using the Windows Registry Editor to formatting the card and updating the firmware, each method offers a potential solution to the problem. Changing permissions in File Explorer and contacting the manufacturer are also viable options when other methods fail.
Remember to approach each method with caution and back up important data before attempting any fixes that involve formatting or modifying the SD card. Additionally, if your SD card is still under warranty, it’s advisable to contact the manufacturer for assistance to avoid voiding the warranty.
Hopefully, by following the methods outlined in this article, you have successfully resolved the write protection issue on your SD card and regained full control over your valuable data. If you continue to experience problems, don’t hesitate to seek professional assistance or reach out to the manufacturer’s support team for further guidance.
Thank you for reading, and we wish you the best of luck in resolving the write protection issue on your SD card!