When to Check Your Raspberry Pi SD Card Health
Run a check on your Raspberry Pi SD card health every few months if you use the Pi daily, and immediately whenever you notice instability. The realistic lifespan of an SD card in a Raspberry Pi is 6-18 months under heavy 24/7 use (like a home server or automation hub) and 3-5 years with light, occasional use. Frequent write cycles are the main reason SD cards degrade, so regular checks prevent silent data corruption that can destroy your OS and personal files without any obvious warning. Before testing, a quick clean sd card removes hidden junk that can mimic failing hardware, and if you need to repurpose a card afterward, knowing how to format sd card Sony a7iii ensures a clean start for other devices.
Signs Your Raspberry Pi SD Card May Be Failing
Your Pi will often give you practical symptoms before the card dies completely. Watch for these red flags:
- Frequent crashes or freezes, the system reboots on its own or locks up during normal tasks.
- File corruption, files become unreadable, directories disappear, or you see "Input/output error" when opening documents.
- Slow I/O, boot times stretch from seconds to minutes, and even simple commands like
lslag noticeably. - Write errors, you try to save a file or run
apt update, and the Pi reports a read-only file system or "No space left on device" despite having free space.
If you see any of these, run the diagnostics below immediately. Don't wait, a card that shows these signs can fail permanently within days.
Method 1: Run a File System Check (fsck) on Your SD Card
This is the fastest way to check raspberry pi sd card health for logical errors. fsck scans the file system structure and repairs issues like bad inodes, corrupted directories, and broken journal entries. You can run it from any Linux machine, including the Pi itself if you boot it from a different SD card or USB drive.
- Power off the Pi and remove the SD card. Insert it into a card reader connected to a Linux computer (or use a USB reader on the Pi itself, booted from another medium).
- Identify the device name. Run
lsblkin the terminal and look for the card, it will typically appear asmmcblk0orsdbwith partitions likesdb1andsdb2. - Unmount all partitions on the card. For example:
sudo umount /dev/sdb1andsudo umount /dev/sdb2. If you get "target is busy", close any file manager windows that might have the card open. - Run the check on the main Linux partition (usually the second one):
sudo fsck -f /dev/sdb2. The-fflag forces a full check even if the card appears clean. - Allow the tool to complete. It will list errors found and automatically fix most of them. If it asks "Fix?" type
yand press Enter. - Repeat the check on the boot partition if present:
sudo fsck -f /dev/sdb1. - If
fsckreports "clean" but you still see symptoms, the card may have physical damage that no logical repair can fix.
This command only checks the file system, not the physical memory cells. For a deeper media scan, move to Method 2.
Method 2: Diagnose with Third-Party Software on a Separate Computer
The Pi cannot fully self-test its own boot medium while running, the OS is actively using the card, so a write test would corrupt the system. Instead, use a separate computer with a card reader for a thorough media scan. These tools write test patterns to every block and read them back, revealing bad sectors and false capacity.
- H2testw (Windows): It takes 1-2 hours per 32GB. Any red errors indicate physical damage. A card that fails here is beyond repair, replace it.
- F3 (macOS): This performs a read-only verification. For a true write test, use the terminal command
sudo dd if=/dev/zero of=/dev/rdiskX bs=1m(replacerdiskXwith your card's identifier), then re-format the card. If the command reports errors, the card is failing. - Linux,
badblocks: Runsudo badblocks -wsv /dev/sdb(replacesdbwith your card's device). The-wflag performs a destructive write test, so back up your data first. Any "read error" or "bad block" output means the card's physical storage is degrading.
Use this method when fsck passes but you still suspect hardware issues, or when you want to verify a new card before trusting it with critical data.
Why SMART Monitoring Tools Won't Work on Most Consumer SD Cards
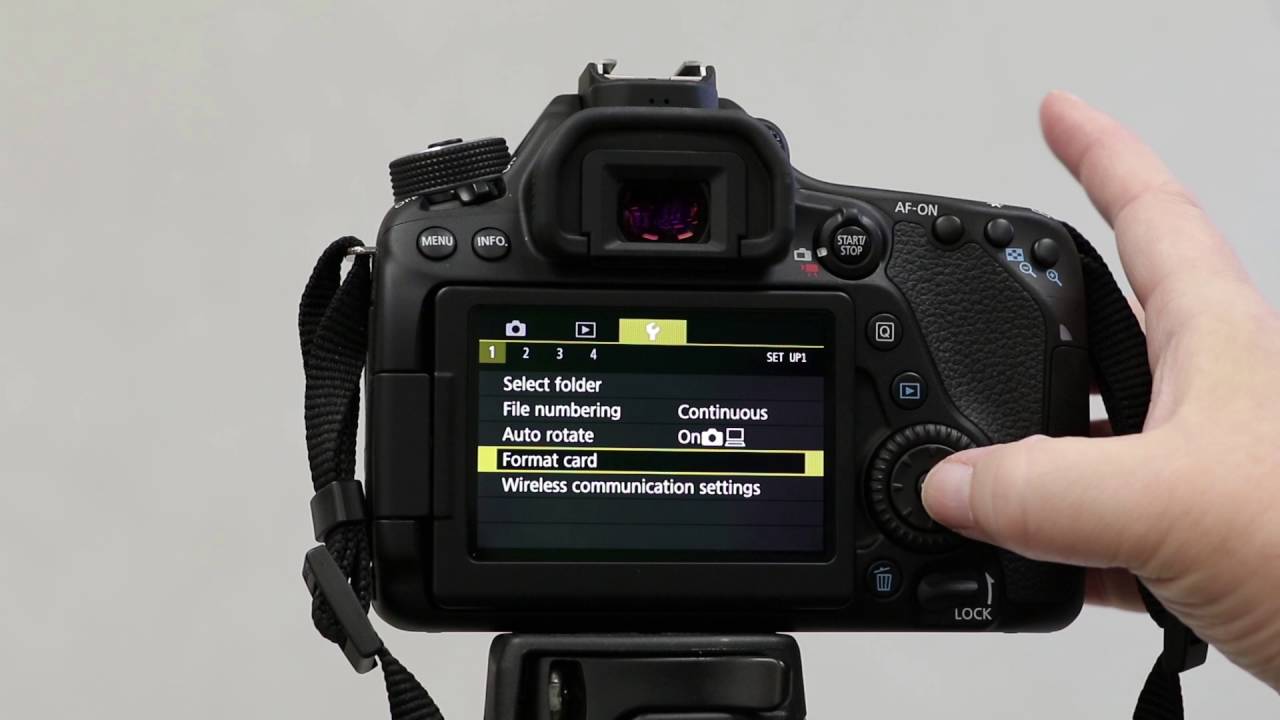
You might have heard of smartctl or similar tools for checking hard drives. Here's the verified fact: most consumer-grade SD cards do not support S.M.A.R.T. (Self-Monitoring, Analysis, and Reporting Technology) data, meaning tools like smartctl typically cannot report wear levels or detailed health statistics for them. The controller chips on standard cards simply don't expose this information to the host system. If you run sudo smartctl -a /dev/mmcblk0 on a typical card, you'll get "device does not support SMART" or empty output. Don't waste time trying to make it work, it's a hardware limitation, not a configuration issue. If you need actual wear-level metrics for a 24/7 project, you must buy industrial-grade cards (like MLC NAND types) that explicitly advertise SMART support, and even then, you'll need a compatible reader and software. If you're repurposing a card from a camera, a proper format sd card on canon camera first ensures a clean filesystem for your Pi.
Protect Your Data: Backup and Prevent Future Failures
After any health check, take these actionable steps to protect your data and extend your card's life:
- Back up immediately, use
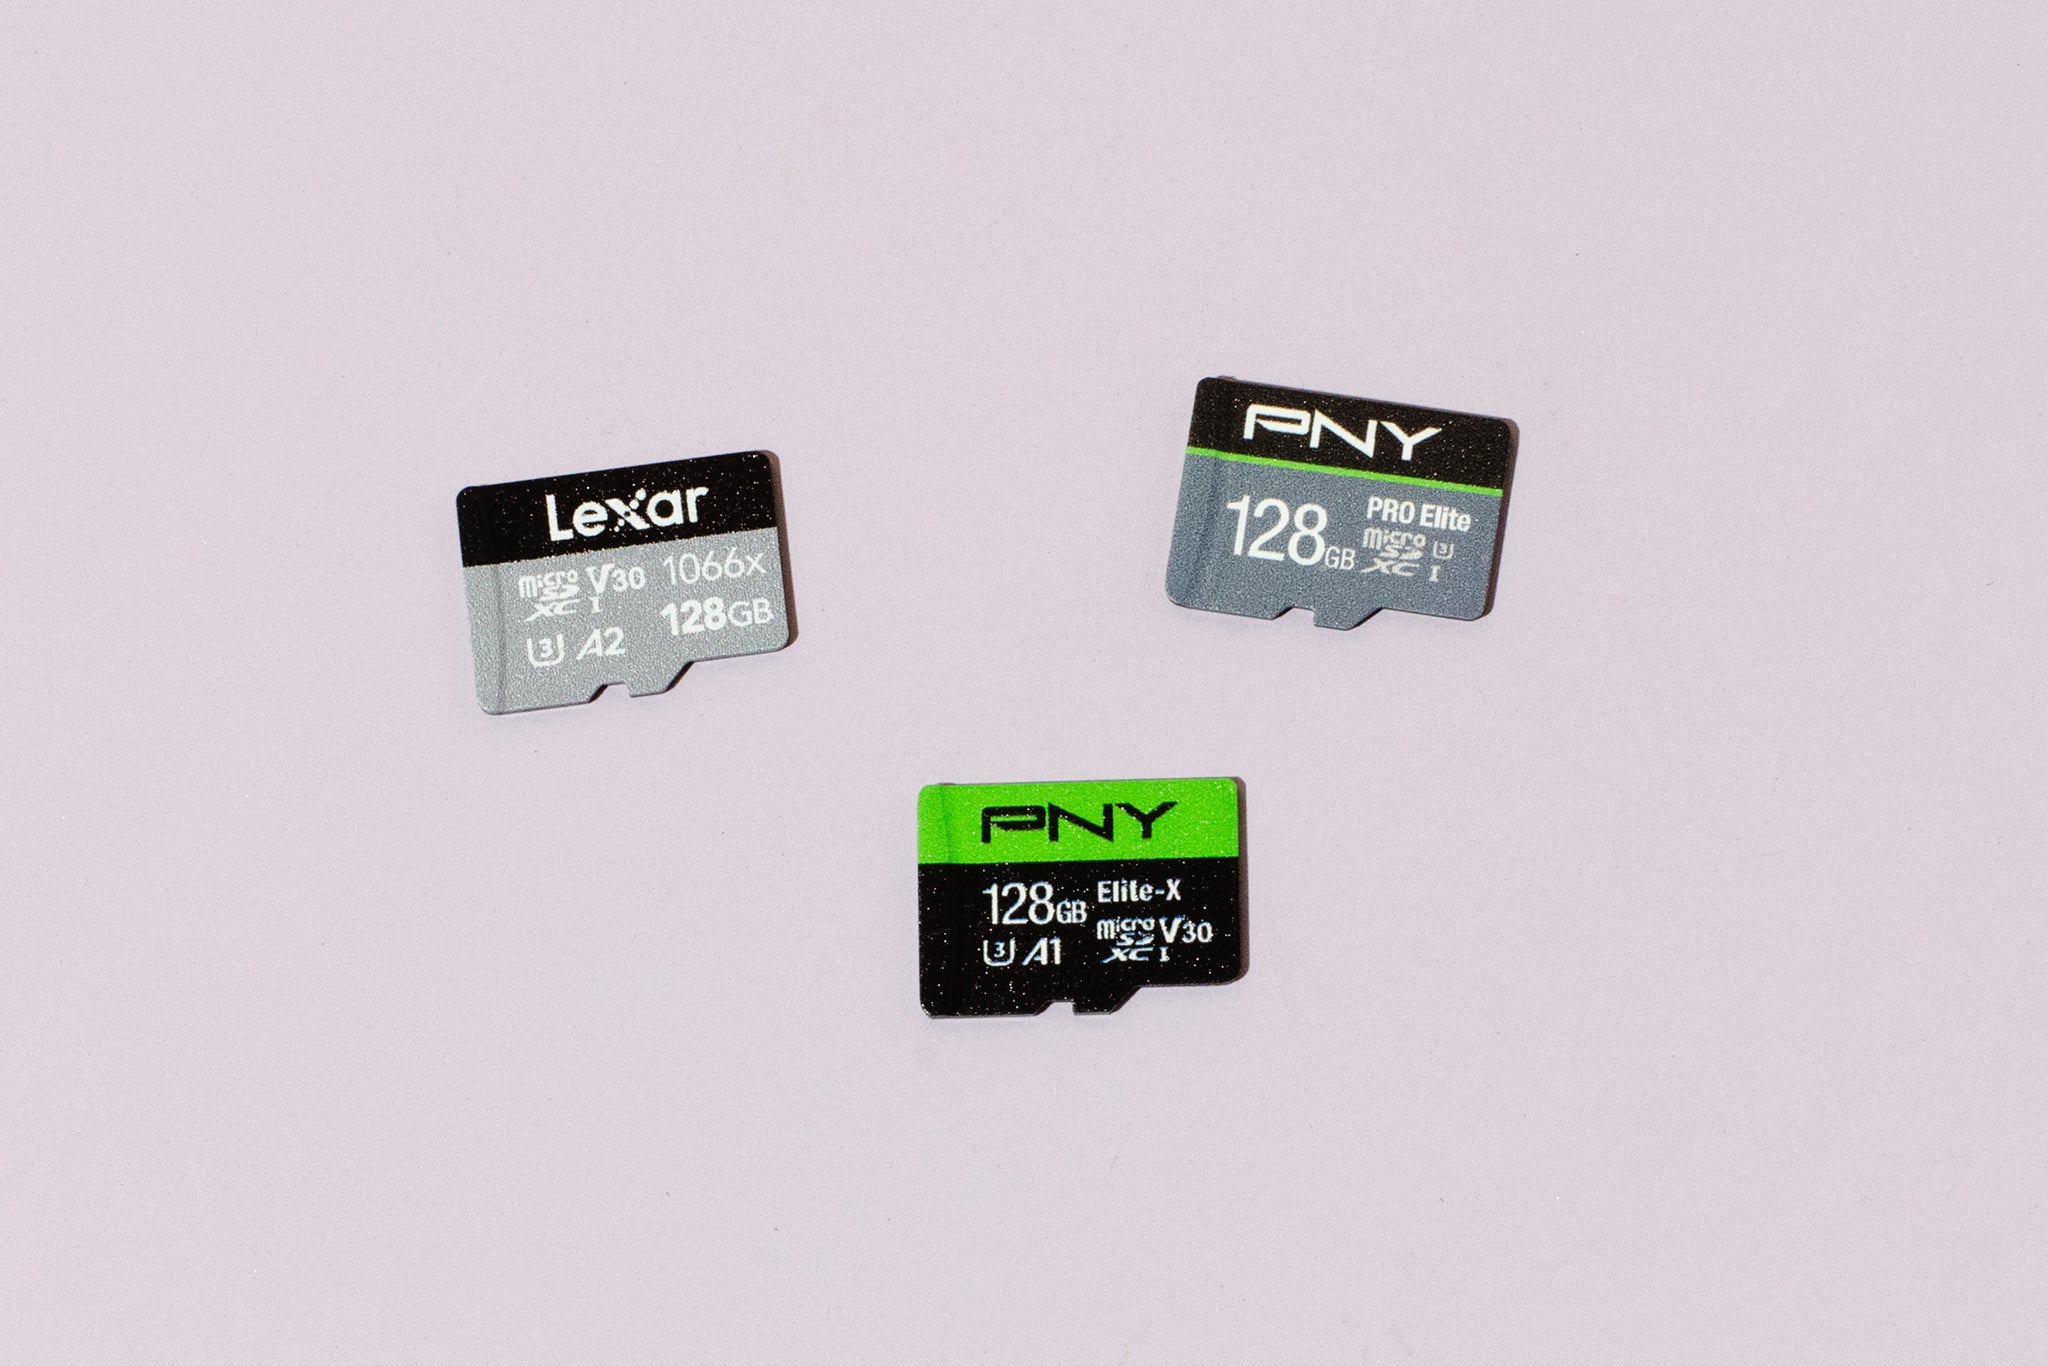
ddto clone the entire card to an image file on another drive:sudo dd if=/dev/sdb of=~/pi-backup.img bs=4M. Do this before running any destructive tests. - Use a larger card, a 64GB or 128GB card lasts longer than a 16GB one because wear-leveling algorithms have more free space to distribute writes across. The extra capacity gives the controller more blocks to cycle through, reducing the average wear per cell.
- Choose high-endurance cards for 24/7 projects, standard consumer cards have 300-1,000 program/erase cycles, while high-endurance or industrial-grade MLC cards offer 3,000-10,000+ cycles. For a home server running 24/7, a high-endurance card can last years instead of months.
- Reduce writes, move logs to RAM (using
tmpfs), disable unnecessary swap, and uselog2ramto minimize SD card writes. Every write you eliminate adds days to the card's life. - Set up automatic backups, schedule a weekly
rsyncto a network drive or use a tool likerpi-cloneto create a bootable backup SD card. If your primary card fails, you can swap in the backup and keep running.
Regular checks and backups are the only real defense against SD card failure. A card can die without warning, but with these methods, you'll catch most problems early and have a recovery path ready.