Introduction
An SD card, or Secure Digital card, is a portable storage device commonly used in cameras, smartphones, and other electronic devices to store photos, videos, and other files. While SD cards are known for their convenience and durability, they can sometimes encounter issues that prevent proper functioning.
In this guide, we will explore the various steps you can take to repair an SD card that is experiencing problems. Whether your SD card is not being recognized by your device or you are encountering errors when trying to access the data on it, we will provide you with practical solutions to get your SD card back up and running.
It is important to note that not all SD card issues can be fixed. In some cases, the card may be physically damaged or corrupted beyond repair. However, before giving up on your SD card, it’s worth going through the troubleshooting steps outlined in this guide to maximize your chances of a successful repair.
Please keep in mind that repairing an SD card may involve formatting the card, which will erase all the data stored on it. Therefore, it is crucial to always back up your data before attempting any repairs. If you have a recent backup, you can easily restore your files once the card is repaired.
So, let’s dive into the troubleshooting steps and techniques that will help you repair your SD card and regain access to your valuable data.
Understanding the Issue
Before we jump into troubleshooting and repairing your SD card, it is important to have a clear understanding of the issue you are facing. By identifying the problem, you can determine the appropriate course of action and increase the chances of successfully fixing the card.
Here are some common issues you may encounter with your SD card:
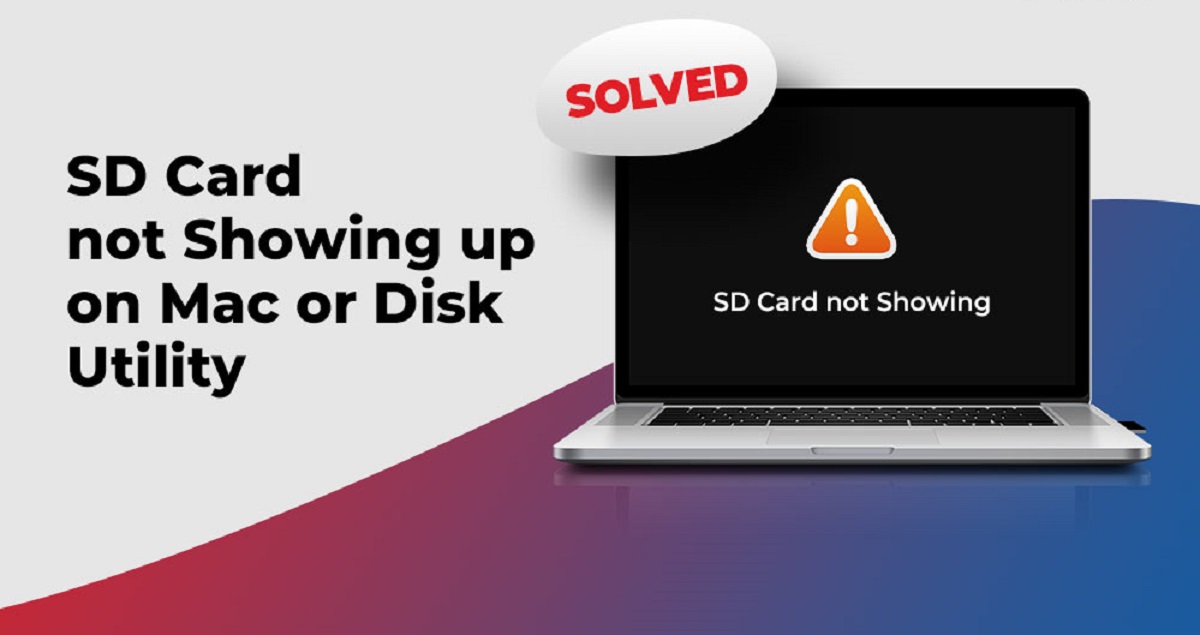
- SD card not being recognized: Your device may fail to detect the SD card altogether. This could be due to a loose connection, incompatible formatting, or a damaged card reader.
- Data inaccessible: You can see the SD card listed on your device, but when you try to access your files, you encounter read or write errors. This could indicate corruption or file system issues.
- Error messages: Your device may display error messages such as “SD card is damaged” or “SD card is locked.” These messages can provide clues about the underlying problem.
- Slow performance: Your SD card may be functioning, but you notice sluggish read or write speeds. This could be caused by fragmentation, excessive files, or a slow card.
Understanding the specific issue with your SD card will help you determine the best approach to repair it. It is also essential to consider any recent changes or events that may have caused the issue, such as dropping the card, exposure to water or extreme temperatures, or abrupt removal without safely ejecting it from the device.
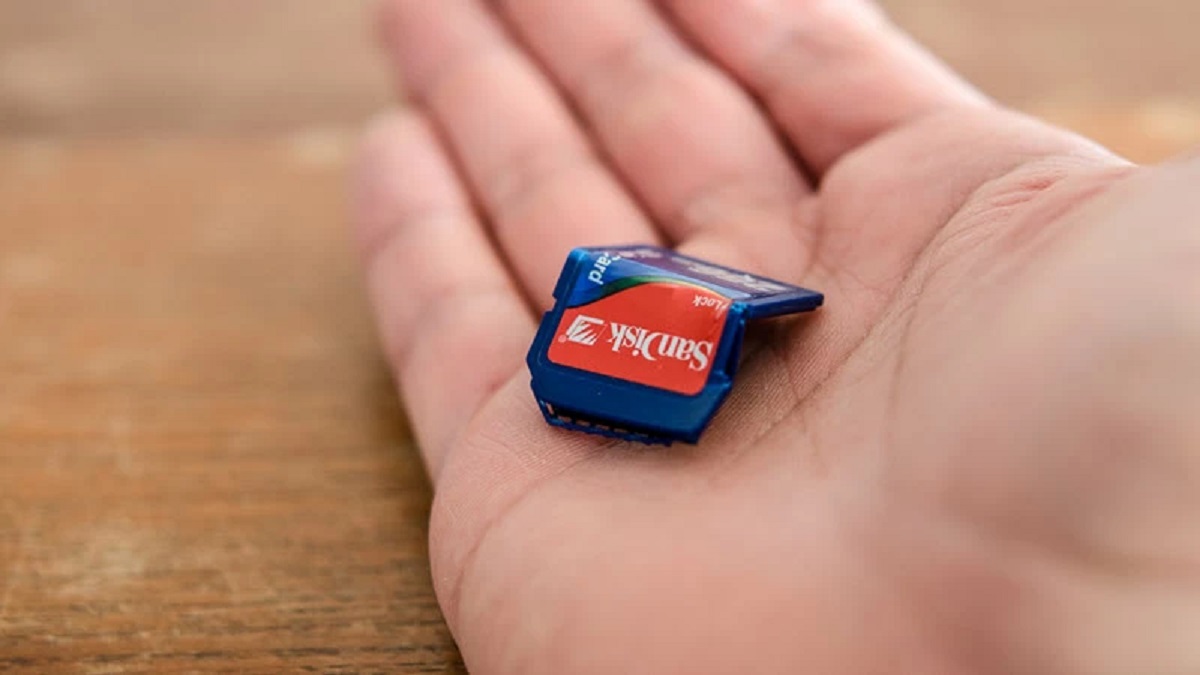
It is worth mentioning that if your SD card is physically damaged, such as a cracked casing or broken connectors, repair options may be limited. In such cases, it is advisable to seek professional help or consider replacing the card.
Now that we have identified some common issues, let’s move on to the next step – backing up the data on your SD card.
Backup the Data
Before attempting any repairs or troubleshooting steps, it is crucial to back up the data on your SD card. This ensures that even if the repair process erases the data or makes it inaccessible, you still have a safe copy to restore.
Here’s how you can back up the data from your SD card:
- Connect the SD card to a computer: Use a memory card reader or insert the SD card into the appropriate slot on your computer.
- Create a new folder: Open File Explorer (Windows) or Finder (Mac) and create a new folder where you will copy the contents of the SD card. Give the folder a descriptive name to easily identify it later.
- Select all the files and folders: Navigate to the SD card, select all the files and folders, and copy them by either right-clicking and selecting ‘Copy’ or using the keyboard shortcut (Ctrl+C on Windows, Command+C on Mac).
- Paste the files into the new folder: Go to the previously created folder and paste the files by right-clicking and selecting ‘Paste’ or using the keyboard shortcut (Ctrl+V on Windows, Command+V on Mac).
Depending on the size of the data on your SD card, the copying process may take some time. Be patient and ensure that the process is completed successfully, without any errors or interruptions.
Once the data has been backed up, double-check to ensure that all the files and folders are present in the new folder and that they can be opened without any issues. This will give you peace of mind knowing that your data is safe even if something goes wrong during the repair process.
With your data securely backed up, you can now proceed with the troubleshooting steps to repair your SD card.
Basic Troubleshooting Steps
When faced with an SD card issue, it is always a good idea to start with some basic troubleshooting steps. These steps can often resolve minor issues and get your SD card working again without the need for more complex solutions.
Here are some basic troubleshooting steps you can try:
- Restart your device: Sometimes, a simple restart can fix minor glitches with the device’s card reader or file system. Power off your device completely, wait for a few seconds, and then power it back on.
- Clean the contacts: Dust or debris on the metal contacts of your SD card or card reader can prevent proper connectivity. Use a soft, lint-free cloth to gently clean the contacts on both the card and the reader.
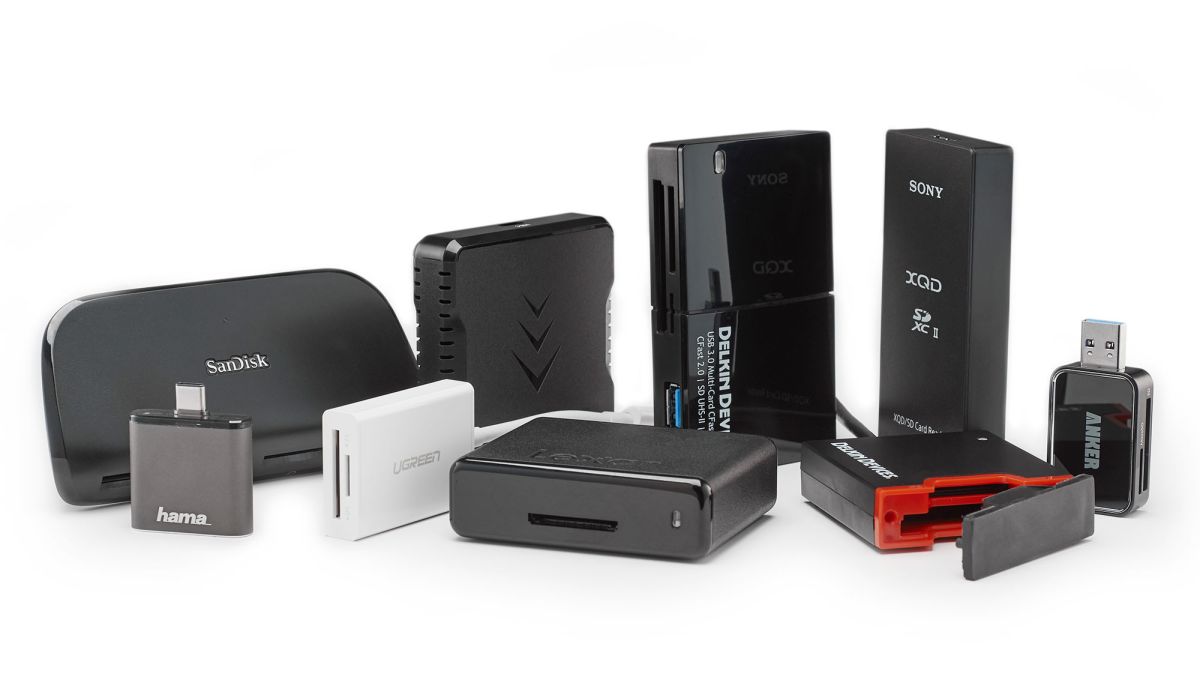
- Try a different device or card reader: If your SD card is not being recognized by one device, try inserting it into a different device or card reader. This can help identify if the issue lies with the SD card or the original device’s card reader.
- Check for card write protection: Some SD cards have a physical write protection switch that prevents files from being modified or deleted. Ensure that the switch is in the “unlocked” position.
- Remove and reinsert the SD card: Sometimes, the SD card may not be properly seated in the card reader. Remove the card, wait for a few seconds, and then reinsert it firmly into the slot.
After performing these basic troubleshooting steps, check if your SD card is functioning properly. If the issue persists, don’t worry – there are still other methods to try in order to repair your SD card, which we will cover in the following sections.
Keep in mind that if the data on your SD card is crucial and you have not backed it up yet, it is recommended to avoid any further troubleshooting and move on to professional data recovery services that specialize in handling damaged SD cards.
Now, let’s move on to the next step – formatting the SD card.
Formatting the SD Card
If your SD card is experiencing issues such as file system corruption or unrecognized partitions, formatting the card may be a solution. Formatting will erase all data on the SD card, so it is essential to have a backup before proceeding with this step.
Here’s how you can format your SD card:
- Insert the SD card: Connect the SD card to your computer using a card reader or by inserting it into the appropriate slot.
- Open File Explorer or Finder: Navigate to the SD card by opening File Explorer on Windows or Finder on Mac.
- Right-click on the SD card: Right-click on the SD card icon and select the “Format” option from the menu. Alternatively, you can also click on the “Erase” button on a Mac.
- Choose the file system: Select the desired file system for the SD card. For compatibility across different devices, it is recommended to choose the FAT32 file system.
- Start the formatting process: Click on the “Start” button to begin the formatting process. You may be prompted to confirm the action and warned that all data will be erased.
- Wait for the process to complete: Be patient, as the formatting process may take a few seconds or minutes, depending on the size of the SD card.
- Eject the SD card: Once the formatting process is complete, safely eject the SD card from your computer.
After formatting the SD card, it should be clean and ready to be used again. However, keep in mind that formatting only resolves software-related issues and not physical damage.
Before copying your backed-up data back onto the SD card, it is advisable to test it to ensure that it is functioning correctly. We will cover the testing process in the next section.
Now that you have formatted your SD card, let’s explore other options to repair your SD card, including using the command prompt and third-party software.
Using Command Prompt to Repair the SD Card
If your SD card is still experiencing issues after formatting or if you encounter error messages that suggest file system corruption, you can try using the Command Prompt (Windows) or Terminal (Mac) to repair the card.
Here’s how you can repair your SD card using the Command Prompt:
- Connect the SD card: Insert the SD card into the appropriate card reader and connect it to your computer.
- Open Command Prompt: Open the Command Prompt by pressing the Windows key + R, typing “cmd,” and pressing Enter.
- Type diskpart: In the Command Prompt window, type “diskpart” and press Enter. This will open the DiskPart utility.
- List the disks: Type “list disk” and press Enter. This will display a list of all the disks connected to your computer.
- Select the SD card: Locate your SD card from the list by identifying its size and type. Type “select disk X” (replace X with the disk number corresponding to your SD card) and press Enter.
- Clean the SD card: Type “clean” and press Enter. This will remove all partitions and data on the SD card.
- Create a new partition: Type “create partition primary” and press Enter. This will create a new primary partition on the SD card.
- Format the partition: Type “format fs=fat32 quick” and press Enter. This will format the partition using the FAT32 file system.
- Assign a drive letter: Type “assign” and press Enter. This will assign a drive letter to the SD card.
- Exit DiskPart: Type “exit” and press Enter to exit the DiskPart utility.
After following these steps, the SD card should be repaired and ready for use. Make sure to safely eject the SD card before removing it from the card reader.
If using the Command Prompt does not resolve the issue with your SD card, there are third-party software options available that can help in repairing and recovering data from SD cards. We will explore these options in the next section.
Remember, always backup your important data before attempting any repairs to minimize the risk of data loss.
Using Third-Party Software for Repairing
If the previous troubleshooting steps did not fix the issues with your SD card, or if you are facing more complex problems like severe corruption or physical damage, using third-party software can be a helpful option for repairing the card.
Here are some popular third-party software tools that are specifically designed for repairing and recovering data from SD cards:
- Recuva: Recuva is a user-friendly data recovery tool that can help recover files from damaged or corrupted SD cards. It supports various file formats and provides an easy-to-use interface to guide you through the recovery process.
- PhotoRec: PhotoRec is a powerful open-source tool that specializes in recovering lost files, including photos, videos, and documents, from various storage devices, including SD cards. It works on multiple platforms and supports a wide range of file formats.
- Disk Drill: Disk Drill is another popular data recovery software that supports SD cards. It offers both a free and a paid version, with the paid version providing additional features like advanced recovery algorithms and the ability to preview recoverable files.
- Stellar Data Recovery: Stellar Data Recovery is a comprehensive data recovery tool that can help in recovering deleted or lost files from various storage devices, including SD cards. It offers a step-by-step process to guide you through the recovery process.
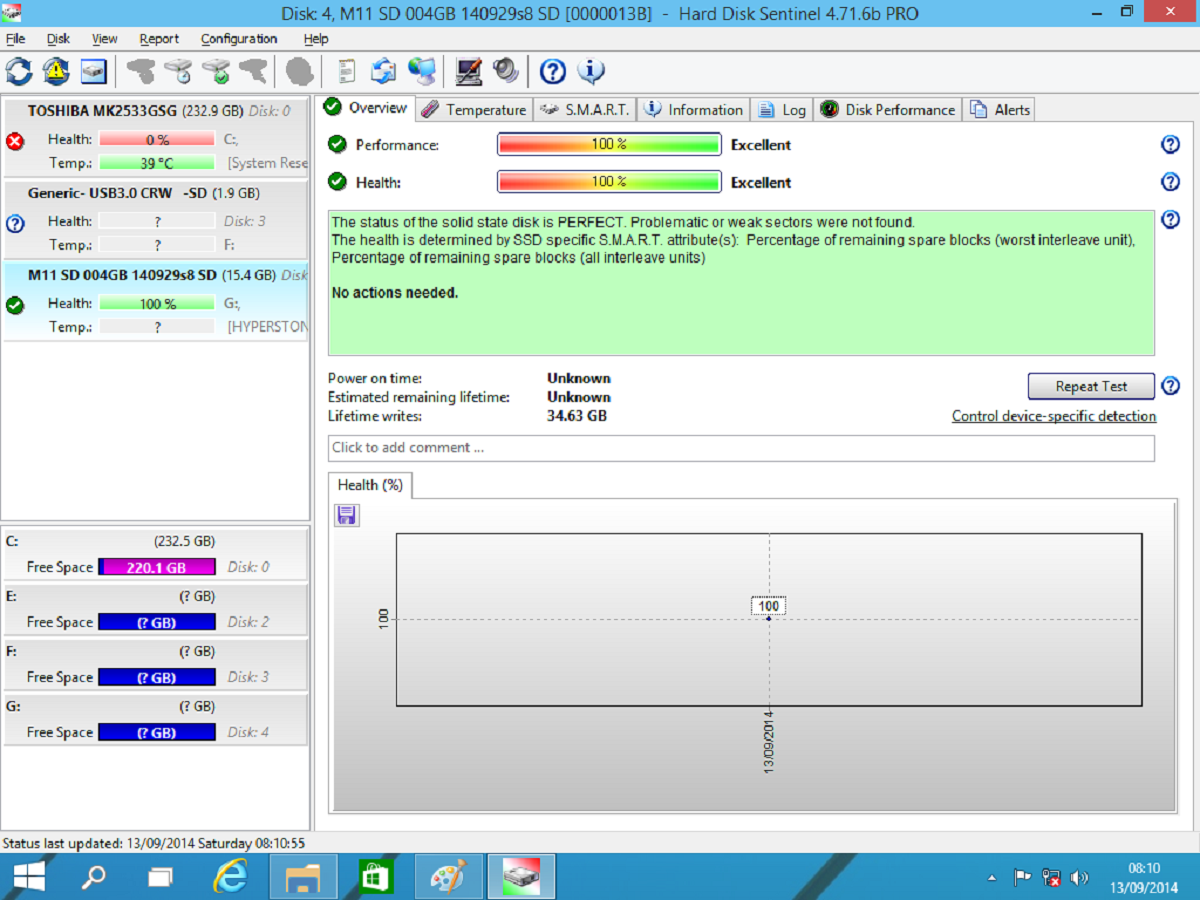
When using third-party software, it is important to follow the instructions provided by the software provider and carefully select the appropriate recovery options based on your specific situation. Keep in mind that data recovery success is not guaranteed, especially if the SD card is severely damaged or corrupted.
It is important to note that some third-party software options may require a paid license for full functionality or for recovering larger amounts of data. Evaluate your specific needs and choose the software that best suits your requirements and budget.
Once you have successfully repaired or recovered your data using third-party software, it is recommended to test the SD card to ensure that it is functioning properly. We will discuss the testing process in the next section.
Now that you are aware of third-party software options, let’s proceed to the next step – testing the repaired SD card.
Test the Repaired SD Card
After attempting repairs or recovering data from your SD card, it is essential to test the card to ensure that it is functioning properly. Testing will help determine if the repairs were successful and if the card is ready to be used again for storing your files.
Here are some steps you can follow to test your repaired SD card:
- Insert the SD card: Insert the SD card into the device or card reader where you intend to use it.
- Check card recognition: Verify whether the computer or device recognizes the SD card and shows it as a valid storage option.
- Access stored files: Try accessing the files and folders on the SD card. Ensure that you can open, copy, and modify files without encountering any errors or delays.
- Create new files: Create a test file or folder on the SD card and verify that it is saved successfully without any issues.
- Perform read and write tests: Copy a large file onto the SD card and check the speed at which it is written. Similarly, copy a file from the SD card to another location and check the speed at which it is read. This will help ensure that the read and write operations are performing optimally.
- Repeat tests on multiple devices: Try the above steps on multiple devices or card readers to ensure compatibility and consistent performance across different systems.
If the repaired SD card passes all the above tests without any errors or issues, it can be considered as successfully repaired and ready to be used for storing your files.
However, if you still encounter problems or notice any abnormalities, it may indicate that further repairs or data recovery efforts are required. In such cases, you can consider seeking professional help from a data recovery service or replacing the SD card if it is physically damaged.
Remember to regularly back up your data from the SD card to prevent data loss in the future.
Now that you have tested the repaired SD card and confirmed its functionality, you can proceed to safely use it for your storage needs.
Conclusion
Repairing an SD card can be a challenging task, but with the right knowledge and steps, it is possible to fix many common issues. In this guide, we have discussed various troubleshooting steps and techniques to repair an SD card.
First, we emphasized the importance of understanding the issue and identifying the specific problem with the SD card. This helps determine the appropriate course of action for repair.
We then highlighted the crucial step of backing up the data on the SD card before attempting any repairs. This ensures that you have a safe copy of your files in case of data loss during the repair process.
Next, we explored basic troubleshooting steps that can often resolve minor issues, such as restarting the device or cleaning the contacts on the SD card.
If basic troubleshooting does not resolve the issue, we discussed formatting the SD card, which can fix file system corruption and unrecognized partitions. However, it is important to remember that formatting will erase all data on the card, so having a backup is essential.
In cases where formatting or basic troubleshooting is ineffective, we explained how to use the Command Prompt (Windows) or Terminal (Mac) to repair the SD card by removing partitions, creating a new partition, and formatting it.
In the event that the previous methods do not work, we mentioned the option of using third-party software specifically designed for repairing and recovering data from SD cards. These software tools can offer advanced recovery capabilities, but success is not guaranteed for all situations.
After any repairs or data recovery, we stressed the importance of testing the repaired SD card to ensure its proper functioning. This involves checking card recognition, accessing files, performing read and write tests, and verifying compatibility across multiple devices.
In conclusion, repairing an SD card requires a combination of careful troubleshooting, data backup, and the use of appropriate tools or software. It is always recommended to handle SD cards with care, regularly back up data, and seek professional assistance if necessary.
By following the steps and techniques discussed in this guide, you can increase the chances of successfully repairing your SD card and regain access to your valuable files.


