Introduction
Have you ever experienced the heart-wrenching moment when you insert your SD card into your device, only to find out it is damaged? Losing precious memories captured in photographs can be devastating. But fear not, there is hope for recovering those valuable pictures from your damaged SD card.
SD cards are the go-to choice for expanding storage in digital cameras, smartphones, and other electronic devices. Unfortunately, they can be susceptible to physical damage, such as water or impact, or logical damage, like file corruption or accidental deletion. However, with the right approach and tools, you can often retrieve your precious pictures and videos from a damaged SD card.
In this guide, we will walk you through the step-by-step process of recovering pictures from a damaged SD card. Whether the damage is minor or severe, we will provide you with practical solutions to help you retrieve your cherished memories. Before we dive into the recovery methods, it’s essential to take some precautions to ensure the best chances of successful recovery.
Remember, every situation is unique, and not all methods may work for your specific case. It’s crucial to evaluate the extent of SD card damage before attempting any recovery methods. Without further ado, let’s get started on the road to picture recovery!
Understanding SD Card Damage
Before we embark on the journey of recovering pictures from a damaged SD card, it’s important to understand the different types of damages that can occur. By having a clear understanding of the damage, you can better assess the situation and choose the appropriate recovery method.
SD card damage can be categorized into two main types: physical damage and logical damage.
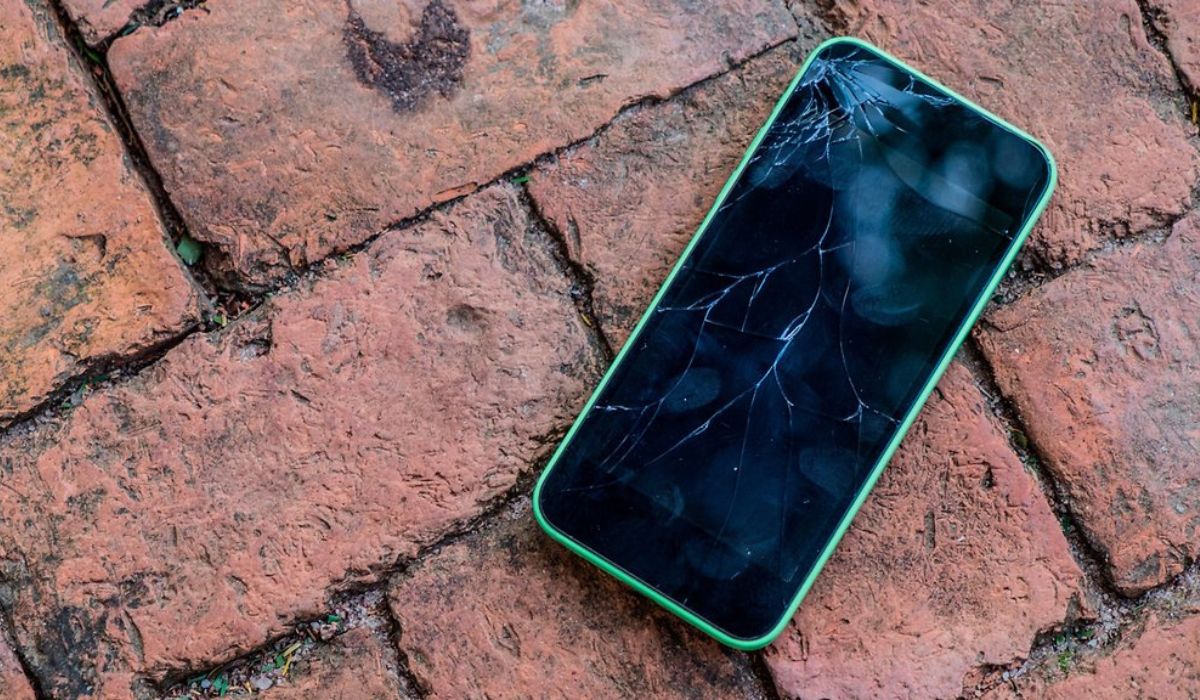
Physical damage refers to any external harm that the SD card sustains. This includes water exposure, extreme temperatures, physical impact, or even bending or breaking the card. When a physical damage occurs, it may render the card unreadable or inaccessible.
Logical damage, on the other hand, refers to internal issues within the card’s file system. This can be caused by file corruption, accidental deletion, or formatting errors. Logical damage often results in missing or corrupt files, making them inaccessible by the device.
It’s important to note that sometimes both physical and logical damages can occur simultaneously, amplifying the complexity of the recovery process.
Understanding the type and extent of damage will help you determine the appropriate recovery method to utilize. In the following sections, we will explore various recovery options and techniques to retrieve your valuable pictures from a damaged SD card.
Now that we have a grasp of SD card damage, let’s move on to the first step before starting the recovery process – taking necessary precautions to ensure the safety of your data.
Step 1: Precautions Before Starting the Recovery Process
Before diving into the process of recovering pictures from a damaged SD card, it’s crucial to take some precautions to ensure the safety of your data. Following these precautions will help to prevent further damage and increase the chances of successfully retrieving your precious photos.
1. Stop Using the Damaged SD Card: As soon as you realize that your SD card is damaged, remove it from the device and avoid using it further. Continued use can exacerbate the damage and potentially overwrite the data, making it harder to recover. Handle the SD card with care and keep it in a safe place until you’re ready to begin the recovery process.
2. Avoid Formatting or Repairing: It’s important to resist the temptation to format or repair the damaged SD card using your device or any software. These actions can potentially erase the existing data or make the recovery process more challenging. Keep the SD card in its current state and refrain from attempting any repairs until you have exhausted the recovery options.
3. Use a Card Reader: Instead of connecting the damaged SD card directly to your device, use a reliable SD card reader to access the data. The card reader eliminates the risk of further damage to your device and provides a stable and secure connection. Make sure to use a high-quality card reader that is compatible with your SD card type.
4. Create a Backup: If you have a backup of your SD card data, it’s always recommended to restore it to avoid any potential data loss. Regularly creating backups of your photos and files is a good practice that can save you from the frustration of data recovery in the future.
5. Work in a Clean and Dust-Free Environment: When handling the damaged SD card, ensure that you are working in a clean and dust-free environment. Dust particles or debris can further damage the delicate components of the card. Use a soft, lint-free cloth to wipe the card gently if necessary.
By following these precautions, you can minimize the risk of further damage to your SD card and increase the likelihood of successful recovery. Now that you have taken the necessary precautions, it’s time to evaluate the extent of the SD card damage, which we will discuss in the next section.
Step 2: Evaluation of SD Card Damage
After taking necessary precautions, the next step in recovering pictures from a damaged SD card is to evaluate the extent of the damage. Understanding the severity of the damage will help you determine the appropriate recovery method to employ.
Here are a few indicators to help you assess the level of SD card damage:
- Physical Damage: Inspect the SD card for any visible signs of physical damage, such as cracks, bends, or water exposure. If the card is visibly damaged, the chances of data recovery may be lower.
- Device Recognition: Insert the SD card into a card reader and check if your computer or device recognizes it. If the SD card is not detected, it could indicate significant damage or connection issues.
- Error Messages: While attempting to access the SD card, take note of any error messages displayed by your device or recovery software. These error messages can provide valuable information about the type and extent of the damage.
- Unusual Noises: If you hear clicking, grinding, or other unusual noises when the SD card is connected, it may suggest mechanical damage within the card. Mechanical damage often requires professional help for recovery.
- Data Accessibility: Try to access the files on the SD card using different devices or recovery software. If you can partially access or view some files, it indicates that the damage may be limited and there is a higher chance of successful recovery.
By evaluating the above factors, you can get a better understanding of the damage and its implications. Keep in mind that every situation is unique, and the level of damage may vary. It’s recommended to document the observed damage and error messages for reference during the recovery process.
If the damage is minor and the SD card can be recognized by your device, you can proceed with software-based recovery methods. However, if the damage is severe or you are unsure about the recovery process, it’s advisable to seek professional help. In the next section, we will explore different software-based recovery methods to retrieve your pictures from a damaged SD card.
Step 3: Using Data Recovery Software
If your evaluation of the SD card damage indicates that it’s suitable for software-based recovery, the next step is to utilize data recovery software. This method is often the most straightforward and cost-effective way to recover pictures from a damaged SD card. Here’s how to go about it:
- Research and Choose Reliable Data Recovery Software: There are several data recovery software options available online. Take the time to research and choose a reputable and reliable software that is specifically designed for SD card recovery. Read reviews, check user ratings, and compare features to find the most suitable software for your needs.
- Download and Install the Software: Once you have chosen the data recovery software, download it from a trusted source and follow the installation instructions. Ensure that the software is compatible with your operating system.
- Connect the Damaged SD Card: Insert the damaged SD card into a card reader and connect it to your computer. Ensure that the card reader is recognized by the computer.
- Launch the Data Recovery Software: Open the data recovery software on your computer and select the appropriate recovery options for SD card recovery. These options may include file types, scan methods, or specific folders to recover from.
- Start the Scan: Initiate the scanning process by clicking on the “Start” or “Scan” button in the software interface. The software will then analyze the SD card for recoverable files.
- Preview and Recover: Once the scanning is complete, the software will display a list of recoverable files. Preview the files to ensure they are intact and then select the pictures you want to recover. Choose a safe location on your computer to save the recovered files.
- Save and Safely Eject the SD Card: After successfully recovering the pictures, save the recovered files to a location of your choice on your computer. Safely eject the SD card from the card reader to avoid any damage.
It’s essential to note that the success of data recovery software depends on various factors, such as the extent of the damage and the effectiveness of the software. In some cases, the software may not be able to retrieve all the pictures or may recover them in a partially corrupted state. Be prepared for such possibilities and backup the recovered files as soon as possible.
If you are unable to recover the pictures using data recovery software or the damage is severe, do not despair. There are additional manual methods and professional services that can help in the recovery process, which we will discuss in the following sections.
Step 4: Manual Methods for SD Card Recovery
If data recovery software fails to retrieve your pictures from a damaged SD card, or if you prefer to explore alternative methods, there are manual techniques you can try. These methods require a bit more technical knowledge and can be time-consuming, but they may yield positive results. Here are a few manual methods for SD card recovery:
- Using Command Prompt: If your SD card is not accessible due to logical damage or corruption, you can try using Command Prompt (Windows) or Terminal (Mac) to repair the file system. Use the “chkdsk” command (for Windows) or the “fsck” command (for Mac) followed by the drive letter or path of the SD card. This method can fix minor file system errors and recover files.
- Changing Drive Letter: In some cases, the SD card may not be visible in the file explorer due to conflicting drive letters. To resolve this issue, open the Disk Management utility in Windows or Disk Utility in Mac and assign a new drive letter to the SD card. This can make the SD card accessible again and allow you to recover the pictures.
- Manually Copying Files: If you can access the SD card but some files are corrupted or missing, you can manually copy the remaining files to a safe location on your computer. Use the file explorer or command prompt/terminal to navigate to the SD card, locate the pictures, and copy them to a secure location.
- Data Carving: Data carving is a technique that involves scanning the SD card for specific file signatures to recover deleted or lost files. Specialized data carving tools can recognize file patterns and extract them from the SD card. This method is complex and requires technical expertise, so it’s recommended for advanced users or professionals.
These manual methods may or may not be successful depending on the nature and extent of the SD card damage. It’s important to exercise caution, follow step-by-step instructions, and create backups of the recovered files as you proceed. If you are uncomfortable with the manual methods or unable to recover the pictures using them, it may be time to consider professional help, which we will discuss in the next section.
Step 5: Seeking Professional Help
If you have exhausted all available recovery options and still cannot retrieve your pictures from the damaged SD card, it may be time to consider seeking professional help. Professional data recovery services specialize in the recovery of data from severely damaged storage devices, including SD cards. Here’s what you need to know about seeking professional assistance:
1. Research reputable data recovery companies: Take the time to research and find reputable data recovery companies that have experience in SD card recovery. Look for companies that have positive customer reviews, a high success rate, and offer a free evaluation of your SD card.
2. Contact and provide necessary information: Reach out to the data recovery companies you have identified and provide them with the necessary information about your damaged SD card. This may include details about the type of damage, error messages encountered, and any recovery attempts you have made.
3. Send the SD card for evaluation: The data recovery company will provide instructions on how to securely package and send your damaged SD card to their facility. They will conduct a thorough evaluation of the card to determine the extent of the damage and the likelihood of successful recovery.
4. Receive a detailed assessment and quote: Once the evaluation is complete, the data recovery company will provide you with a detailed assessment of the SD card’s condition and the chances of recovering your pictures. They will also provide a quote for the recovery services, including any necessary repairs or component replacements.
5. Give approval and wait for recovery: If you decide to proceed with the recovery, give your approval to the data recovery company. They will then initiate the recovery process using specialized equipment and techniques. The time required for recovery will depend on the complexity of the damage.
6. Receive the recovered data: Once the recovery process is complete, the data recovery company will provide you with the recovered data in a secure format. Ensure that you thoroughly review and verify the recovered pictures before making the final payment.
Professional data recovery services can be costly, but they offer the expertise and resources needed to recover data from severely damaged SD cards. If your pictures hold sentimental or significant value, seeking professional help may be your best option.
Now that you are aware of the professional help available, let’s move on to the final step – prevention tips to avoid future SD card damage.
Step 6: Prevention Tips to Avoid Future SD Card Damage
Preventing SD card damage is always better than having to go through the hassle of recovering lost pictures. To safeguard your valuable data and avoid future SD card damage, follow these prevention tips:
- Handle with Care: Treat your SD card with care and avoid any unnecessary rough handling or dropping. Even a small impact can cause physical damage to the card.
- Avoid Extreme Temperatures: Extreme temperatures, both hot and cold, can damage electronic devices and storage media like SD cards. Keep your SD cards away from direct sunlight, excessive heat, and cold environments.
- Use Quality Card Readers: When transferring data from or to your SD card, use high-quality card readers that are compatible with your SD card type. Avoid using cheap or unreliable card readers that can potentially damage the card or corrupt the files.
- Keep the Card Connection Clean: Periodically clean the connectors on your SD card to remove dirt, dust, or debris that can hinder proper connection or damage the card. Use a soft, lint-free cloth or a small brush to gently clean the connectors.
- Safely Eject the Card: Always use the proper method to eject your SD card from the device or card reader. Abruptly removing the card while it is still being accessed can lead to data corruption or damage to the card itself.
- Create Regular Backups: Make a habit of regularly backing up the contents of your SD card to a separate storage device or cloud storage. This ensures that even if the SD card gets damaged, you will have a copy of your valuable pictures and files.
- Avoid Overloading the Card: Avoid filling your SD card to its maximum capacity. Maintaining some free space on the card provides breathing room and helps prevent file corruption or fragmentation.
- Scan for Viruses: Regularly scan your SD card for viruses or malware using reliable antivirus software. Viruses can corrupt files or even cause physical damage to the card.
- Backup Before Formatting: Before formatting your SD card or making any significant changes, ensure that you have a backup of all the data. Formatting erases all the files on the card, so having a backup ensures you don’t lose any important pictures.
By following these prevention tips, you can extend the lifespan of your SD card and significantly reduce the risk of data loss due to damage. Taking proactive measures to protect your data is essential, so be mindful of how you handle and use your SD card.
With these prevention tips in mind, you are now well-equipped to handle SD card damage and protect your valuable pictures in the future. Remember, prevention is always better than cure when it comes to data loss. Safeguard your memories and enjoy worry-free usage of your SD cards!
Conclusion
Recovering pictures from a damaged SD card can be a daunting task, but with the right approach and tools, it is often possible to retrieve your cherished memories. In this guide, we have walked through the step-by-step process of recovering pictures from a damaged SD card.
We began by understanding the different types of SD card damages, distinguishing between physical and logical damage. We then discussed the necessary precautions to take before starting the recovery process, emphasizing the importance of stopping card usage, avoiding formatting or repairing attempts, and creating backups.
Next, we explored various recovery methods, starting with data recovery software. We learned how to choose reliable software, connect the damaged SD card, and use the software to scan, preview, and recover the pictures. For more severe cases, we provided manual methods such as using command prompt, changing drive letter, manually copying files, and data carving.
In instances where all the efforts fail or the damage is extensive, we advised seeking professional help from reputable data recovery companies. We outlined the steps involved, including research, evaluation, sending the SD card, and receiving the recovered data. Professional help can be a costly but valuable option when precious pictures are at stake.
Finally, we discussed prevention tips to avoid future SD card damage, emphasizing careful handling, avoiding extreme temperatures, using quality card readers, keeping connectors clean, and creating regular backups. By adopting these preventive measures, you can minimize the risk of data loss in the future.
Remember, every situation is unique, and there is no guarantee of complete success in recovering pictures from a damaged SD card. It is important to approach the recovery process with patience and an understanding that not all data may be recoverable.
We hope that this guide has provided you with the knowledge and confidence to tackle SD card damage and retrieve your valuable pictures. Always prioritize data protection and consider backups as an essential component of your storage strategy. By following proper precautions and utilizing the appropriate recovery methods, you can increase the chances of successfully recovering your cherished memories from a damaged SD card.