Introduction
The Motorola Razr M is a remarkable piece of technology, boasting a sleek design and powerful functionality. However, there may come a time when you need to disassemble this device for repairs or maintenance. Whether you're a tech enthusiast or a professional technician, having a comprehensive disassembly guide is crucial for navigating the intricate components of the Razr M.
This disassembly guide will walk you through the step-by-step process of dismantling the Motorola Razr M, providing valuable insights into the internal structure of this cutting-edge mobile device. By following this guide, you'll gain a deeper understanding of the Razr M's internal components, allowing you to perform repairs and upgrades with confidence.
From removing the back cover to accessing the motherboard and display assembly, each step is meticulously detailed to ensure a smooth disassembly process. By the end of this guide, you'll have the knowledge and expertise to navigate the intricate internals of the Motorola Razr M, empowering you to tackle various maintenance tasks with precision and efficiency.
So, grab your tools and let's embark on a journey into the inner workings of the Motorola Razr M. Get ready to unravel the secrets of this remarkable device and gain a newfound appreciation for its intricate engineering. Let's dive into the disassembly process and unlock the potential for hands-on exploration and maintenance of the Motorola Razr M.
Tools Required
Before embarking on the disassembly process of the Motorola Razr M, it's essential to gather the necessary tools to ensure a smooth and efficient dismantling experience. Having the right tools at your disposal will not only streamline the disassembly process but also minimize the risk of damaging the device's components. Here's a comprehensive list of tools required for disassembling the Motorola Razr M:
-
Precision Screwdriver Set: A precision screwdriver set is indispensable for removing the tiny screws that secure the Razr M's components. It typically includes various screwdriver heads, such as Phillips, Torx, and flathead, to accommodate the different types of screws found within the device.
-
Plastic Opening Tools: These non-conductive and non-marring tools are essential for prying open the Razr M's housing without causing damage. Plastic opening tools come in various shapes and sizes, allowing for gentle yet effective separation of the device's components.
-
Spudger: A spudger, or pry tool, is invaluable for safely disconnecting delicate ribbon cables and connectors within the Razr M. Its non-metallic and anti-static properties make it ideal for maneuvering and releasing internal components without risking electrostatic discharge or damage.
-
Tweezers: Precision tweezers are crucial for handling small and delicate components during the disassembly process. They enable precise manipulation of tiny screws, connectors, and cables, ensuring careful and controlled handling of intricate parts.
-
Suction Cup: A suction cup with a built-in handle is essential for lifting the Razr M's display assembly without causing damage. This tool creates a secure grip on the screen, facilitating its safe removal and minimizing the risk of accidental breakage.
-
Heat Gun or Hair Dryer: In some cases, applying gentle heat to the device's adhesive components can aid in loosening them for easier separation. A heat gun or hair dryer set to a low heat setting can help soften adhesive bonds, particularly when removing the back cover or display assembly.
-
Anti-Static Wrist Strap: To prevent electrostatic discharge (ESD) from damaging the Razr M's sensitive internal components, an anti-static wrist strap is essential. This wrist strap safely grounds static electricity, safeguarding the device from potential ESD-related harm during the disassembly process.
By ensuring that these essential tools are readily available, you'll be well-equipped to tackle the disassembly of the Motorola Razr M with confidence and precision. With these tools at your disposal, you can approach the intricate internals of the Razr M with the assurance that you're prepared for a seamless and successful disassembly process.
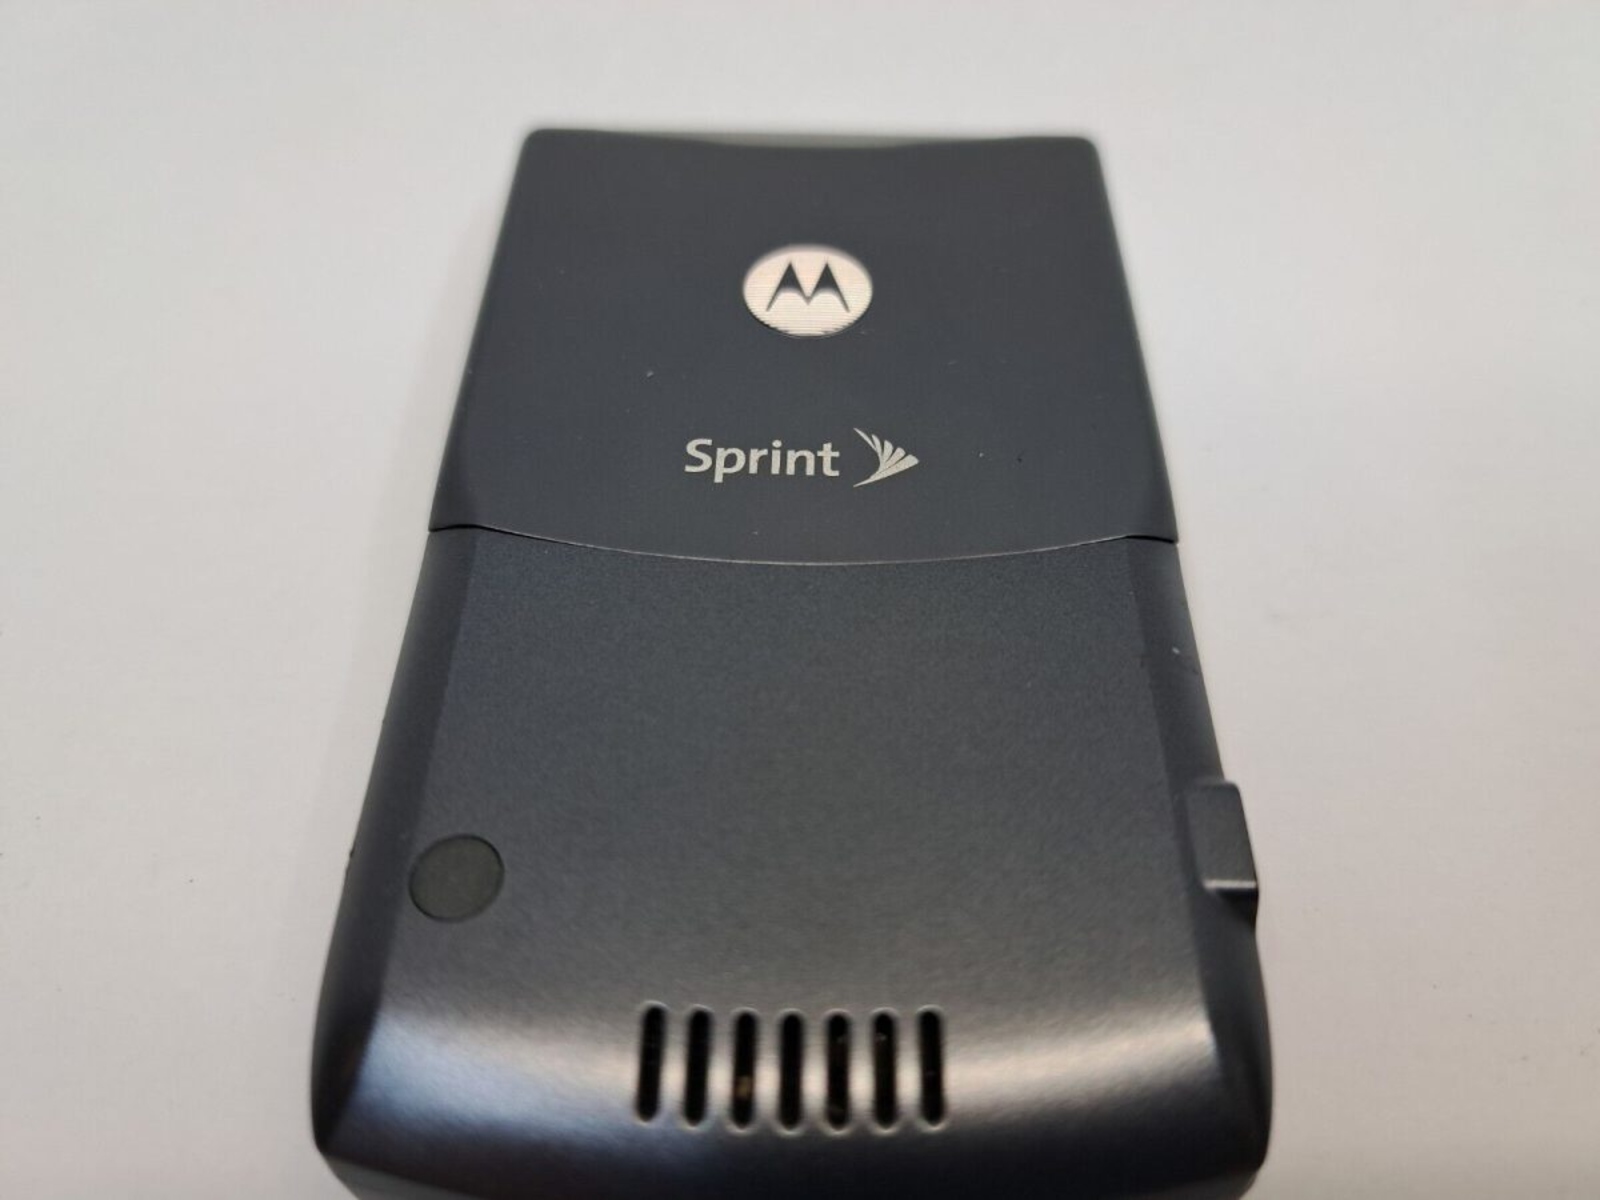
Back Cover Removal
Removing the back cover of the Motorola Razr M is the initial step in gaining access to its internal components. This process requires precision and care to avoid damaging the device's exterior and delicate internal parts. Here's a detailed guide on how to safely remove the back cover of the Razr M:
-
Power Off the Device: Before beginning the disassembly process, ensure that the Razr M is powered off to prevent any potential electrical hazards during the removal of the back cover.
-
Locate the Notch: The back cover of the Razr M features a small notch or groove along the edge, typically positioned near the charging port or the bottom of the device. This notch serves as the entry point for prying open the back cover.
-
Use a Plastic Opening Tool: Gently insert a plastic opening tool into the notch, applying slight pressure to create a separation between the back cover and the device's frame. It's crucial to use a non-conductive and non-marring tool to prevent scratches or damage to the device's exterior.
-
Work Around the Edges: Once the initial separation is achieved, carefully slide the plastic opening tool along the edges of the Razr M, gradually releasing the clips securing the back cover to the frame. Exercise patience and caution to avoid applying excessive force, as this could lead to unintended damage.
-
Lift Off the Back Cover: As the clips are released, the back cover will gradually loosen from the device's frame. Once all the clips are disengaged, gently lift the back cover away from the Razr M, taking care not to strain or damage the connecting cables or components inside.
-
Set Aside the Back Cover: Place the removed back cover in a safe and clean location, ensuring that it is protected from dust and debris. This will prevent any potential contamination or damage to the back cover while you proceed with the disassembly process.
By following these steps with precision and attention to detail, you can successfully remove the back cover of the Motorola Razr M without causing harm to the device. This careful approach sets the stage for accessing the internal components of the Razr M, allowing for further exploration and maintenance tasks as needed.
The removal of the back cover marks the initial phase of the disassembly process, setting the stage for accessing the intricate internal components of the Motorola Razr M. With the back cover safely removed, you're now ready to proceed to the next steps in the disassembly journey, gaining deeper insights into the inner workings of this innovative mobile device.
Battery Removal
Removing the battery of the Motorola Razr M is a critical step in the disassembly process, requiring careful attention to ensure the safe extraction of the power source. By following the detailed steps outlined below, you can effectively remove the battery from the Razr M without compromising its integrity.
-
Disconnect the Battery Connector: Before proceeding with the battery removal, it's essential to disconnect the battery connector to prevent any potential electrical mishaps. Locate the battery connector on the device's motherboard and use a spudger or non-metallic tool to gently pry it away from its socket. This action effectively cuts off the power supply from the battery, ensuring a safe disconnection.
-
Identify the Battery Location: The battery of the Razr M is typically situated beneath the motherboard, secured in place by adhesive or retaining clips. Carefully locate the battery within the device, taking note of its positioning and any securing mechanisms that may be in place.
-
Release the Battery Adhesive: In some instances, the battery may be affixed to the device's frame or housing with adhesive. Using a plastic opening tool, carefully apply gentle pressure to the edges of the battery, gradually loosening it from the adhesive. Exercise caution to avoid puncturing or damaging the battery during this process.
-
Lift Out the Battery: Once the adhesive is sufficiently loosened, gently lift the battery away from its housing, ensuring a smooth and controlled extraction. Take care to avoid bending or stressing the battery, as this could lead to potential damage or compromise its functionality.
-
Handle with Care: As you remove the battery, maintain a steady and controlled grip to prevent accidental drops or impacts. Batteries are sensitive components and should be handled with the utmost care to avoid any potential damage or safety hazards.
-
Secure the Removed Battery: Place the extracted battery in a safe and designated location, away from any sources of heat or moisture. Storing the battery in a secure environment helps safeguard it from potential damage and ensures its integrity during the disassembly process.
By meticulously following these steps, you can successfully remove the battery from the Motorola Razr M, paving the way for further exploration of its internal components. With the battery safely extracted, you gain access to additional elements of the device, setting the stage for comprehensive maintenance and repair tasks as needed.
SIM Card and SD Card Removal
Removing the SIM card and SD card from the Motorola Razr M is a straightforward yet essential aspect of the disassembly process. By carefully extracting these external storage and connectivity components, you can ensure their safe removal without causing any damage to the device or the cards themselves. Here's a detailed guide on how to remove the SIM card and SD card from the Razr M:
-
Locate the SIM Card Tray: The SIM card tray is typically positioned on the side of the Razr M, often near the top or bottom edge of the device. It may be identified by a small pinhole or a removable cover that conceals the tray.
-
Insert the Ejection Tool: Utilize the provided SIM card ejection tool or a small paperclip to gently insert it into the pinhole on the SIM card tray. Apply light pressure to engage the internal mechanism, causing the tray to partially eject from the device.
-
Remove the SIM Card Tray: Once the tray is partially ejected, carefully pull it out from the device using your fingers. The SIM card will be securely seated within the tray, and it can be easily removed by gently sliding it out from its slot.
-
Handle the SIM Card with Care: As you remove the SIM card, handle it with care to avoid bending or damaging the delicate metal contacts. Place the SIM card in a safe location to prevent any potential loss or damage during the disassembly process.
-
Locate the SD Card Slot: The SD card slot is typically positioned adjacent to the SIM card tray, providing expandable storage options for the Razr M. Similar to the SIM card tray, it may feature a small cover or slot for easy access.
-
Eject the SD Card: If the SD card slot includes a spring-loaded mechanism, gently press the exposed edge of the SD card to initiate its ejection from the device. If the slot features a removable cover, carefully open it to access the SD card.
-
Remove the SD Card: Once the SD card is partially ejected or accessible, carefully slide it out from the slot using your fingers. Exercise caution to avoid applying excessive force or causing any damage to the SD card or the device's internal components.
-
Secure the Removed Cards: Place the extracted SIM card and SD card in a designated location, ensuring that they are protected from dust, moisture, or any potential physical damage. Storing the cards in a safe environment safeguards their integrity during the disassembly process.
By following these steps with precision and attention to detail, you can successfully remove the SIM card and SD card from the Motorola Razr M, facilitating further exploration of its internal components. With these external components safely extracted, you gain access to additional elements of the device, setting the stage for comprehensive maintenance and repair tasks as needed.
Motherboard and Display Assembly Removal
Removing the motherboard and display assembly from the Motorola Razr M is a pivotal stage in the disassembly process, requiring meticulous attention to detail and precision. This critical step provides access to the core components of the device, allowing for in-depth maintenance and repair tasks. Here's a comprehensive guide on how to effectively remove the motherboard and display assembly from the Razr M:
-
Disconnect Internal Cables: Before proceeding with the removal, carefully disconnect any internal cables and connectors that are linked to the motherboard and display assembly. Utilize a spudger or non-metallic tool to gently release the ribbon cables and connectors, ensuring a safe disconnection of the components.
-
Unscrew Retaining Screws: Locate and unscrew the retaining screws that secure the motherboard and display assembly to the device's frame. A precision screwdriver set is essential for this step, as it allows for the precise removal of the screws without causing damage to the surrounding components.
-
Release Display Assembly: Once the retaining screws are removed, carefully lift the display assembly away from the device's frame. Exercise caution to avoid placing strain on the display cables and connectors, ensuring a smooth and controlled separation of the assembly from the Razr M.
-
Extract the Motherboard: With the display assembly removed, focus on extracting the motherboard from the device. Gently lift the motherboard from its housing, taking care to avoid any unnecessary bending or flexing of the delicate components.
-
Handle with Care: Throughout the removal process, handle the motherboard and display assembly with the utmost care to prevent any accidental damage. These components are sensitive and require gentle manipulation to ensure their integrity during the disassembly.
-
Secure the Removed Components: Once the motherboard and display assembly are extracted, place them in a secure and clean location to prevent any potential contamination or damage. Storing these components in a safe environment safeguards their functionality and facilitates further inspection or repair as needed.
By meticulously following these steps, you can successfully remove the motherboard and display assembly from the Motorola Razr M, gaining access to the core components of the device. This critical phase sets the stage for comprehensive maintenance and repair tasks, empowering you to delve deeper into the intricate internals of the Razr M with confidence and precision.
Camera and Speaker Removal
Removing the camera and speaker components from the Motorola Razr M is a crucial aspect of the disassembly process, requiring meticulous attention to detail and precision. These components play integral roles in the device's functionality, and their safe removal is essential for maintenance and repair tasks. Here's a comprehensive guide on how to effectively remove the camera and speaker from the Razr M:
Camera Removal
- Identify the Camera Module: Locate the camera module within the device, typically positioned on the rear or front-facing side, depending on the specific model of the Razr M.
- Disconnect the Camera Connector: Before proceeding with the removal, carefully disconnect the camera connector from the device's motherboard. Use a spudger or non-metallic tool to gently release the ribbon cable or connector, ensuring a safe disconnection.
- Unscrew Retaining Screws: If the camera module is secured with retaining screws, utilize a precision screwdriver set to carefully remove the screws, allowing for the subsequent extraction of the camera.
- Gently Extract the Camera: Once the connector and retaining screws are addressed, gently lift the camera module away from its housing. Exercise caution to avoid any damage to the delicate lens or internal components of the camera.
Speaker Removal
- Locate the Speaker Unit: Identify the speaker unit within the Razr M, typically situated in close proximity to the device's motherboard or within the housing of the device.
- Disconnect the Speaker Connector: Similar to the camera removal process, carefully disconnect the speaker connector from the device's motherboard. Use a spudger or non-metallic tool to release the ribbon cable or connector, ensuring a safe disconnection.
- Unscrew Retaining Screws: If the speaker unit is secured with retaining screws, utilize a precision screwdriver set to carefully remove the screws, facilitating the subsequent extraction of the speaker.
- Gently Extract the Speaker: Once the connector and retaining screws are addressed, gently lift the speaker unit away from its housing, ensuring a smooth and controlled separation.
Throughout the removal process, handle the camera and speaker components with the utmost care to prevent any accidental damage. These components are vital for the device's functionality and require gentle manipulation to ensure their integrity during the disassembly. Once removed, place the camera and speaker components in a secure and clean location to prevent any potential contamination or damage, safeguarding their functionality and facilitating further inspection or repair as needed.
By meticulously following these steps, you can successfully remove the camera and speaker components from the Motorola Razr M, gaining access to these integral elements of the device. This critical phase sets the stage for comprehensive maintenance and repair tasks, empowering you to delve deeper into the intricate internals of the Razr M with confidence and precision.
Conclusion
In conclusion, the disassembly process of the Motorola Razr M unveils the intricate engineering and design of this remarkable mobile device. By following the comprehensive disassembly guide, you've gained valuable insights into the internal components and structure of the Razr M, empowering you to perform maintenance, repairs, and upgrades with confidence and precision.
Throughout the disassembly journey, you've navigated through essential steps, from removing the back cover and extracting the battery to accessing the motherboard, display assembly, camera, and speaker components. Each phase of the disassembly process has provided a deeper understanding of the Razr M's internal architecture, highlighting the meticulous craftsmanship and advanced technology integrated into the device.
As you've carefully handled the delicate components and utilized the necessary tools, you've embraced a hands-on exploration of the Razr M's internal workings, fostering a deeper appreciation for its engineering marvel. The removal of the SIM card and SD card further emphasized the device's adaptability and expandable storage capabilities, showcasing the versatility of the Razr M beyond its external facade.
By successfully removing the motherboard and display assembly, you've gained access to the core components of the Razr M, setting the stage for comprehensive maintenance and repair tasks. The extraction of the camera and speaker components further underscored the device's multimedia capabilities, highlighting the seamless integration of advanced imaging and audio technologies within the Razr M.
As you secure the removed components in a safe and designated location, you've upheld the integrity of the Razr M's internal elements, ensuring their protection and readiness for further inspection or repair. This meticulous approach reflects your dedication to preserving the functionality and longevity of the Razr M, embodying a commitment to responsible device maintenance and care.
In essence, the disassembly process of the Motorola Razr M has not only equipped you with the knowledge and expertise to navigate its internal components but also fostered a deeper connection with the device's intricate design and capabilities. Whether for maintenance, repair, or simply gaining a deeper understanding of its inner workings, the disassembly journey has unveiled the Razr M's hidden complexities and potential for hands-on exploration.
As you conclude this disassembly guide, you stand poised to embark on further maintenance tasks or reassembly with newfound confidence and a heightened appreciation for the technological marvel that is the Motorola Razr M. With a deeper understanding of its internal architecture and a commitment to responsible device care, you're well-prepared to harness the full potential of the Razr M and ensure its continued performance and longevity.