Introduction
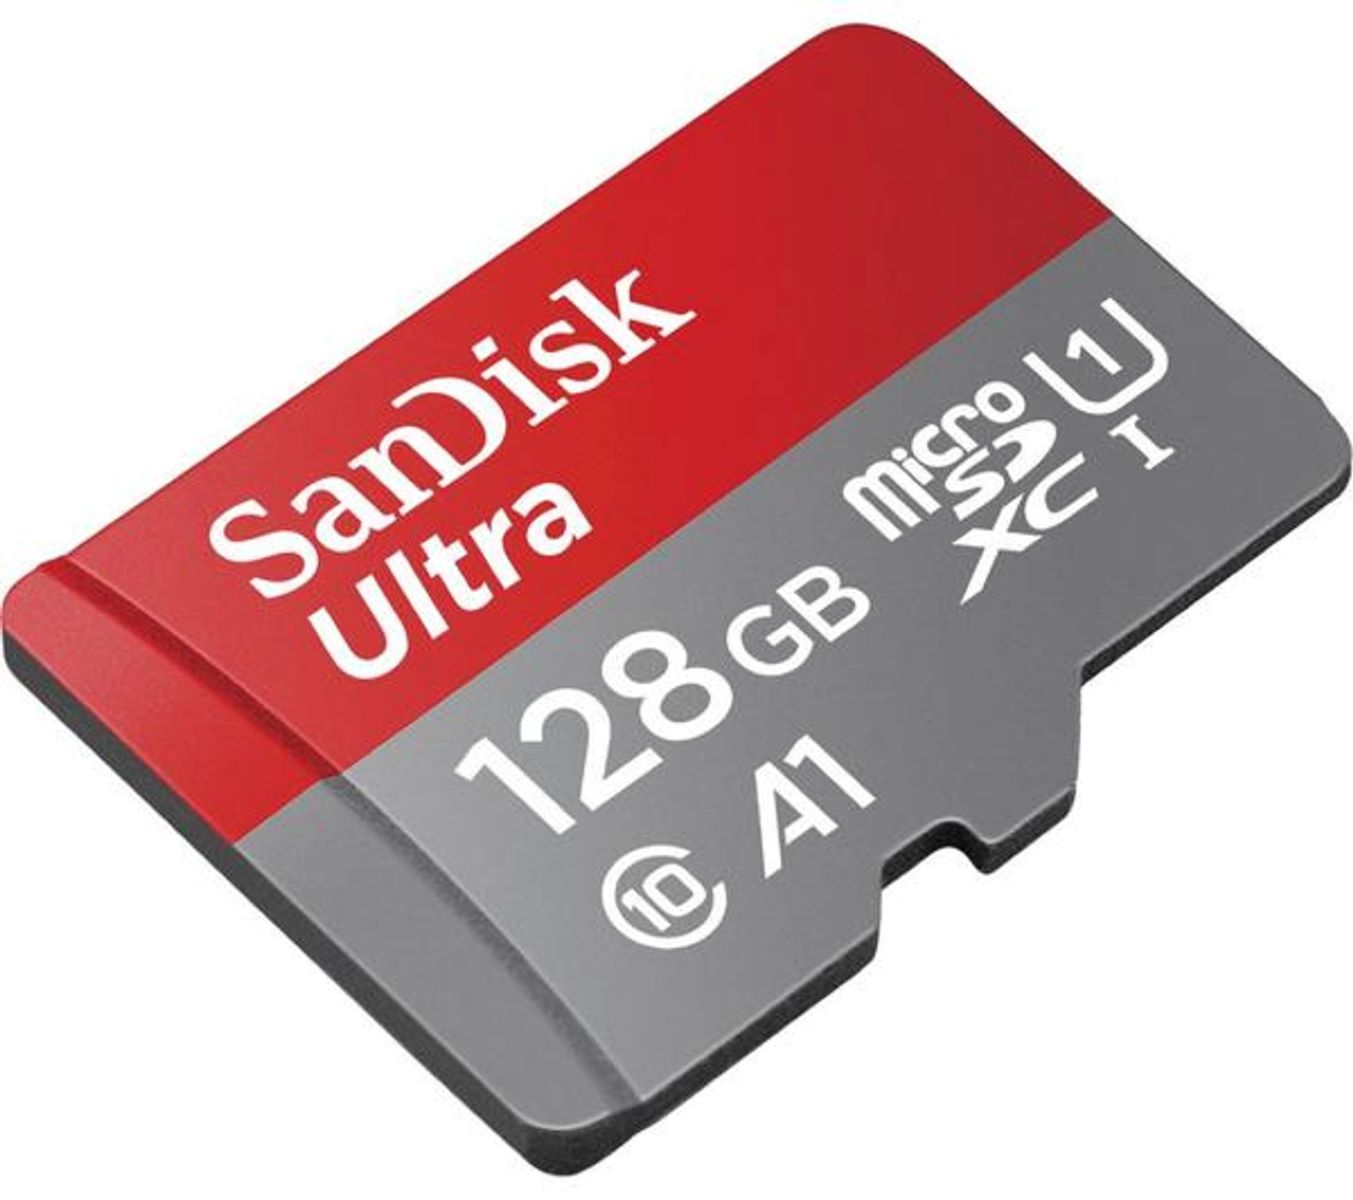
When it comes to using a dash cam, having a properly formatted SD card is essential. The SD card is the storage device that captures and stores all the footage recorded by your dash cam. Over time, the card can become cluttered with old files and data, leading to performance issues and potential errors during recording. In order to maintain the optimal functioning of your dash cam and ensure that it is continuously recording without any hiccups, regular formatting of the SD card is necessary.
In this article, we will guide you through the process of formatting your SD card on a dash cam. Whether you are encountering errors or simply want to wipe the card clean, formatting is a straightforward solution. Before we dive into the steps, it’s important to understand why formatting is necessary and the precautions you should take before proceeding.
By the end of this article, you’ll have a clear understanding of how to format your SD card on a dash cam, as well as troubleshooting tips for common issues that may arise during the process.
Why do you need to format your SD card?
Formatting the SD card on your dash cam serves several important purposes. Let’s take a closer look at why formatting is necessary:
- Optimal Performance: Over time, the SD card can accumulate unnecessary files and data, resulting in fragmented storage. This can lead to slower performance and potential errors during recording. Formatting the SD card allows for a clean slate, ensuring that the card is functioning at its best.
- Prevent Data Corruption: Dash cams continuously record footage, sometimes for long periods of time. This constant writing and rewriting of data can increase the risk of file corruption. By formatting the SD card regularly, you can reduce the chances of data corruption and ensure that your recorded footage remains intact and accessible.
- Clearing Old Files: Formatting the SD card removes all the existing files and data, giving you a fresh start. This is particularly useful if you want to free up space on the card or if you notice any glitches or compatibility issues. It also helps in organizing your footage, making it easier to navigate and locate specific recordings.
- Fixing Errors: In some cases, formatting the SD card can resolve common errors that may occur during recording, such as freezing or crashing. This is because formatting removes any potential software or compatibility conflicts, ensuring a smoother operation of your dash cam.
- Compatibility and Firmware Updates: Some dash cams require specific formats in order to function properly or to install firmware updates. By formatting the SD card, you ensure that it is compatible with your dash cam’s requirements and can take advantage of the latest software enhancements for optimal performance.
By understanding the significance of formatting your SD card on a dash cam, you can maintain its efficiency, prolong its lifespan, and enjoy a seamless recording experience. Now that we’ve explored the reasons behind formatting, let’s go over the precautions you should take before proceeding.
Precautions before formatting
Before you proceed with formatting the SD card on your dash cam, it’s important to take a few precautions to ensure a smooth and successful process. Here are some key considerations:
- Backup your data: Before formatting the SD card, make sure to backup any important data or files you want to keep. Formatting erases all the data on the card, so it’s crucial to have a backup to prevent any data loss.
- Check compatibility: Verify that your dash cam’s firmware is up to date and that it supports the specific type and capacity of your SD card. Some older dash cams may not support high-capacity SD cards, so it’s essential to check the manufacturer’s guidelines.
- Ensure sufficient power: Ensure that your dash cam has enough battery power or is connected to a reliable power source during the formatting process. Sudden power loss during formatting can lead to card corruption or incomplete formatting.
- Remove write protection: If your SD card has a write protection switch, ensure that it is unlocked before attempting to format it. Write protection prevents any changes or formatting on the card.
- Use the dash cam’s built-in format function: It’s recommended to use the format function provided within your dash cam’s settings menu rather than formatting the card on a computer. This ensures compatibility and reduces the risk of potential formatting errors.
- Patience is key: Formatting an SD card may take some time depending on the size and speed of the card. Be patient and avoid interrupting the process, as it may result in incomplete formatting or card corruption.
By adhering to these precautions, you can minimize the risk of data loss, ensure compatibility, and successfully format your SD card on the dash cam. Now that you are aware of the necessary precautions, let’s move on to the steps involved in formatting the SD card on your dash cam.
How to format the SD card on your dash cam
Formatting the SD card on your dash cam is a fairly straightforward process. Here are the steps to follow:
- Backup your data: As mentioned earlier, ensure that you have backed up any important data or files from the SD card to prevent data loss.
- Access the settings menu: Power on your dash cam and navigate to the settings menu. The location of the settings menu may vary depending on the model of your dash cam, but it is typically accessed through a button or touchscreen interface.
- Select the SD card options: Within the settings menu, look for the option related to the SD card. It may be labeled as “Storage,” “Memory,” or something similar.
- Choose the formatting option: Once you have accessed the SD card options, look for the formatting option. Depending on the dash cam model, it may be labeled as “Format,” “Format SD card,” or “Delete all data.
- Confirm the formatting: Before proceeding with the formatting, the dash cam will typically display a confirmation message, warning you that all data on the SD card will be erased. Review the message and confirm your intention to format the card.
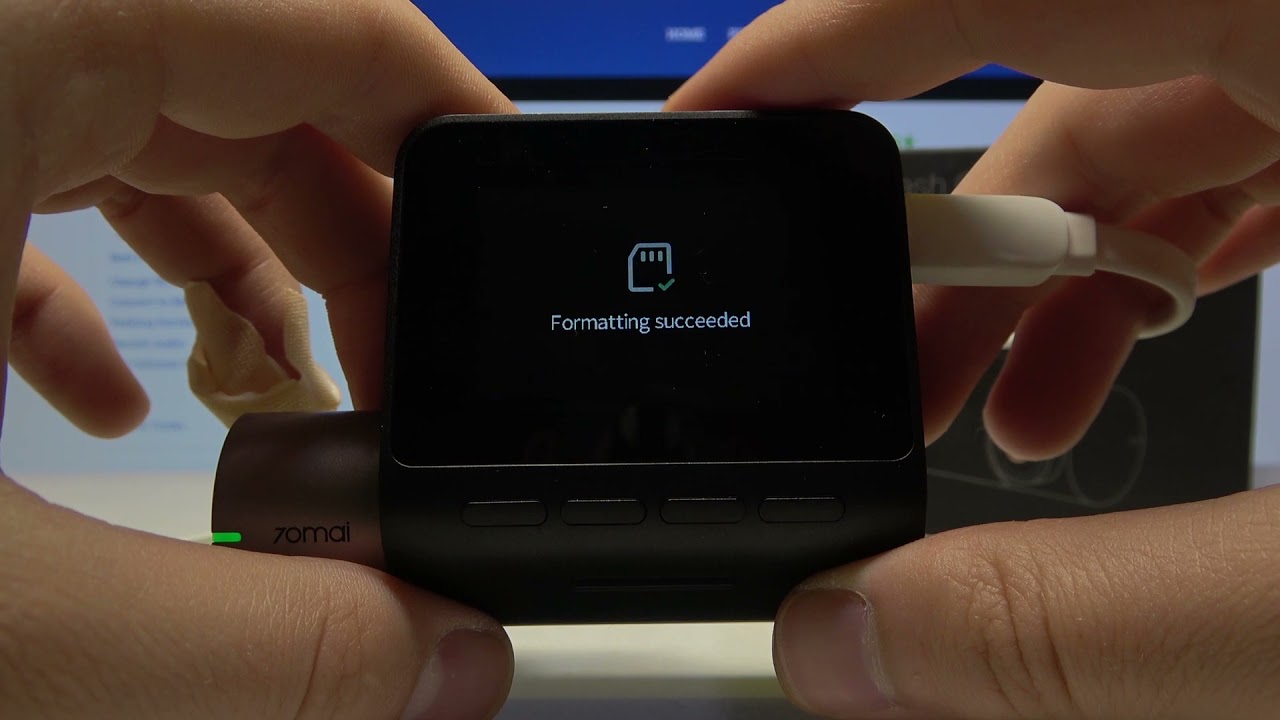
- Wait for the formatting to complete: Once you have confirmed the formatting, the dash cam will begin the process. Allow the formatting to complete, which may take a few minutes depending on the size of the SD card.
- Verify the formatting: After the formatting is completed, the dash cam may display a confirmation message indicating that the process was successful. Some models may automatically restart after formatting.
- Test the SD card: To ensure that the SD card is functioning properly after formatting, check if the dash cam is recording new footage and if you can access the recorded files without any issues.
Following these steps will enable you to format the SD card on your dash cam and start with a clean slate. However, if you encounter any issues or errors during the formatting process, there are troubleshooting steps you can take, which we will explore in the next section.
Troubleshooting common issues during formatting
While formatting the SD card on your dash cam is usually a smooth process, there may be instances where you encounter issues or errors. Here are some common problems and their possible solutions:
- Formatting error: If you receive an error message during formatting, double-check that the SD card is properly inserted into the dash cam. Remove and reinsert the card to ensure a secure connection. If the error persists, try using a different SD card or formatting it on a computer using the appropriate software.
- Formatting taking too long: If the formatting process seems to be taking an unusually long time, ensure that your dash cam has sufficient battery power or is connected to a power source. Interrupting the formatting process can lead to card corruption. If the issue persists, try formatting the SD card on a computer using the appropriate software.
- SD card not recognized: If your dash cam doesn’t recognize the SD card after formatting, try removing the card and cleaning the contacts with a soft cloth or compressed air. Gently reinsert the card and check if it is detected. If the problem persists, try using a different SD card or consult the manufacturer for further assistance.
- Incompatibility issues: If the dash cam doesn’t support the formatted SD card or experiences compatibility issues, check the dash cam’s specifications and recommended card types. Ensure that the formatted SD card meets the necessary requirements. If not, use a compatible SD card to avoid further issues.
- Continuous formatting errors: If you consistently encounter formatting errors, it may indicate a problem with either the SD card or the dash cam itself. Try using a different SD card to see if the issue persists. If it does, contact the dash cam manufacturer or seek professional assistance for further troubleshooting.
By following these troubleshooting techniques, you can address common issues that may occur during the formatting process. Remember to exercise patience and take the necessary precautions to ensure a successful formatting experience.
Conclusion
Formatting the SD card on your dash cam is an important maintenance task that ensures optimal performance and reliability. By following the steps outlined in this article, you can easily format your SD card and address any issues that may arise during the process.
We discussed the reasons why formatting is necessary, including improving performance, preventing data corruption, clearing old files, fixing errors, and ensuring compatibility with firmware updates. It’s important to take precautions before formatting, such as backing up your data, checking compatibility, ensuring sufficient power, removing write protection, using the dash cam’s built-in format function, and being patient during the process.
If you encounter any issues during formatting, troubleshooting techniques such as checking connections, cleaning contacts, using different SD cards, and seeking professional assistance can help you overcome common obstacles.
By regularly formatting your SD card on the dash cam, you can maintain its efficiency and prolong its lifespan. A properly formatted SD card ensures smooth recording, allows for easy file management, and reduces the risk of data loss or errors.
Remember to consult your dash cam’s manual for specific instructions on formatting as the process may vary depending on the device model. By following the guidelines provided by the manufacturer, you can ensure that you are formatting your SD card correctly.
Keep in mind that formatting the SD card erases all the data stored on it. Therefore, it’s vital to back up any important files before proceeding with the formatting process.
By taking the time to format your SD card on a regular basis, you can maintain the optimal performance of your dash cam and ensure that it continuously records without any issues. So, don’t forget to include formatting in your dash cam maintenance routine and enjoy hassle-free recording whenever you hit the road.